Articles
How To Build A Range Hood
Modified: October 20, 2024
Learn how to build a range hood with our informative articles. Discover step-by-step instructions and expert tips for a functional and stylish kitchen addition.
(Many of the links in this article redirect to a specific reviewed product. Your purchase of these products through affiliate links helps to generate commission for Storables.com, at no extra cost. Learn more)
Introduction
When it comes to creating a functional and stylish kitchen, a range hood is an essential component. A range hood not only helps to remove smoke, odors, and grease from the air, but it can also add a touch of elegance to your kitchen design. While there are many ready-made range hoods available in the market, building your own custom range hood can be a rewarding and cost-effective project.
In this article, we will guide you through the step-by-step process of building a range hood from scratch. Whether you have basic DIY skills or you’re a seasoned handyman, this project can be completed with a few simple tools and materials. By following our instructions, you’ll be able to customize your range hood to perfectly match your kitchen décor and ventilation needs.
Before we dive into the construction process, it’s important to familiarize yourself with the basic principles of range hood functionality. A range hood is designed to extract airborne contaminants that are produced during cooking. It pulls in the polluted air, filters out grease and other particles, and then expels the clean air back into the kitchen or vents it outside. It’s also crucial to ensure that your range hood meets local building codes and regulations to ensure proper installation and safe operation.
So, roll up your sleeves and get ready to embark on a DIY journey to create your own stunning and efficient range hood. Follow our step-by-step instructions, and before you know it, you’ll have a beautiful and functional range hood that will enhance your cooking experience and add value to your kitchen.
Key Takeaways:
- Create a custom range hood to enhance your kitchen’s style and functionality. Follow step-by-step instructions to build, install, and optimize your DIY range hood for improved ventilation and a personalized touch.
- Ensure proper placement, size, and installation of your range hood to maximize effectiveness and visual appeal. Test and adjust your range hood for optimal performance, and enjoy the benefits of a clean, stylish, and efficient kitchen environment.
Read more: How To Build A Curved Range Hood
Step 1: Gather Materials and Tools
The first step in building a range hood is to gather all the necessary materials and tools. Here’s a list of what you’ll need:
- Range hood kit or individual components (such as fan, filters, and lighting)
- Wood or metal for the hood frame
- Plywood or other material for the hood cover
- Nails, screws, or strong adhesive
- Drill and drill bits
- Saw (circular saw or jigsaw)
- Tape measure
- Safety goggles and gloves
Make sure to choose materials that are suitable for your kitchen’s style and your ventilation needs. For the hood cover, you can use decorative panels, stainless steel sheets, or even reclaimed wood for a rustic look.
In addition to the materials, gather all the necessary tools and safety equipment. Safety goggles and gloves are important to protect your eyes and hands during the construction process. A drill with various bits will be needed to attach components and make holes for ventilation ducts. A saw (circular saw or jigsaw) is essential for cutting the wood or metal to the desired size.
Before you start purchasing materials, it’s a good idea to measure the space where the range hood will be installed. Take accurate measurements of the width, height, and depth to ensure a proper fit. Keep in mind any additional clearance required for the ventilation duct and any cabinets or shelving above the range hood.
Once you have gathered all the necessary materials and tools, you’re ready to move on to the next step: determining the placement and size of your range hood.
Step 2: Determine the Placement and Size
Choosing the right placement and size for your range hood is crucial for its effectiveness and visual appeal. Consider the following factors when determining the placement:
- Location above the cooking surface: The range hood should be installed directly above the cooking surface, whether it’s a stovetop or range. This ensures that it effectively captures the smoke, steam, and odors created during cooking.
- Clearance from the cooking surface: There should be sufficient clearance between the bottom of the range hood and the cooking surface. It’s recommended to have at least 24-30 inches of clearance to allow for unobstructed cooking and to prevent any possible heat damage to the range hood.
- Clearance from cabinets and other objects: Ensure that there is enough space between the range hood and any cabinets or objects above it. This will prevent any obstructions and allow for proper ventilation.
Measure the dimensions of your range hood kit or components to determine the optimal size for your range hood. The width of the range hood should be slightly wider than the cooking surface to ensure effective capture of airborne contaminants. Consider the height and depth based on your kitchen layout and personal preferences.
Once you have determined the placement and size, mark the area on the wall or underside of the cabinet where the range hood will be installed. Use a level to ensure that the placement is straight and aligned. This will serve as a guide during the installation process.
With the placement and size determined, you’re now ready to move on to the next step: installing the ventilation duct.
Step 3: Install the Ventilation Duct
The proper installation of the ventilation duct is crucial for the effective operation of your range hood. Here’s a step-by-step guide to help you install the ventilation duct:
- Measure and mark the location of the vent opening on the wall or ceiling. This should be directly above the area where the range hood will be installed.
- Using a drill and appropriate drill bit, create a pilot hole at the center of the marked vent opening.
- Using a reciprocating saw or a jigsaw, carefully cut along the marked vent opening. Ensure that the hole is large enough to accommodate the ventilation duct.
- If the duct will be vented outside, attach a wall or roof cap to the exterior of your home. Follow the manufacturer’s instructions for proper installation.
- Measure the length of the ventilation duct needed to connect the range hood to the vent opening. Be sure to account for any bends or turns that may be required for the duct to fit properly.
- Cut the ventilation duct to the measured length using tin snips or a duct cutter. Ensure that the edges are smooth and free from any burrs.
- Attach one end of the ventilation duct to the range hood’s exhaust outlet, following the manufacturer’s instructions. Secure it tightly with duct tape or metal clamps.
- Feed the other end of the duct through the vent opening and attach it to the wall or roof cap. Again, ensure a tight and secure connection.
- Seal any gaps or joints in the ventilation duct with aluminum foil tape or duct sealant to prevent air leaks.
It’s important to follow local building codes and regulations when installing the ventilation duct. This may include requirements for duct insulation, fire-rated ducts, or certain clearances from combustible materials.
Once the ventilation duct is properly installed, you can proceed to the next step: building the hood frame.
Step 4: Build the Hood Frame
The next step in building your range hood is constructing the hood frame. The frame will provide support for the hood cover and house the internal components of the range hood. Follow these steps to build the hood frame:
- Measure and cut pieces of wood or metal to the desired dimensions of your hood frame. Ensure that the width and depth of the frame match the size of your range hood components.
- If using wood, assemble the pieces together using screws or nails. If using metal, use metal brackets or welding to secure the frame.
- Make sure the corners are square and the frame is sturdy and level. Use a level or carpenter’s square to check the alignment.
- Attach a crossbeam or support bar across the top of the frame to provide additional stability.
- If desired, add reinforcement braces or corner brackets to strengthen the frame.
While building the hood frame, it’s important to consider the weight of the hood cover and any additional components that will be installed. Ensure that the frame can handle the load without sagging or compromising its integrity.
Be mindful of any electrical outlets or switches that may be located behind the hood frame. Ensure that they remain accessible and not obstructed by the frame.
Once the hood frame is built and secure, you can move on to the next step: installing the hood frame.
Read more: What Is A Range Hood
Step 5: Install the Hood Frame
With the hood frame built and ready, it’s time to install it in its designated location. Follow these steps to properly install the hood frame:
- Position the hood frame against the wall or underneath the cabinet, aligning it with the previously marked placement.
- Using a drill and appropriate screws or nails, secure the hood frame to the wall or cabinet. Ensure it is firmly attached and level.
- Check for any gaps or unevenness between the hood frame and the wall or cabinet. If necessary, add shims or adjust the frame to achieve a flush fit.
- Double-check that the hood frame is securely anchored and can support the weight of the hood cover and internal components.
During installation, it’s important to consider proper clearances between the hood frame and surrounding objects. Ensure there is enough space for the ventilation duct, as well as any cabinets or shelving located above the range hood.
If the hood frame is being installed underneath a cabinet, ensure that it is positioned centrally and aligns with the front edges of the cabinet. This will provide a visually appealing and symmetrical look to the range hood.
Once the hood frame is securely installed, you can proceed to the next step: attaching the ventilation system.
When building a range hood, make sure to properly size the hood to the stove and use the appropriate materials for ventilation to ensure proper airflow and safety.
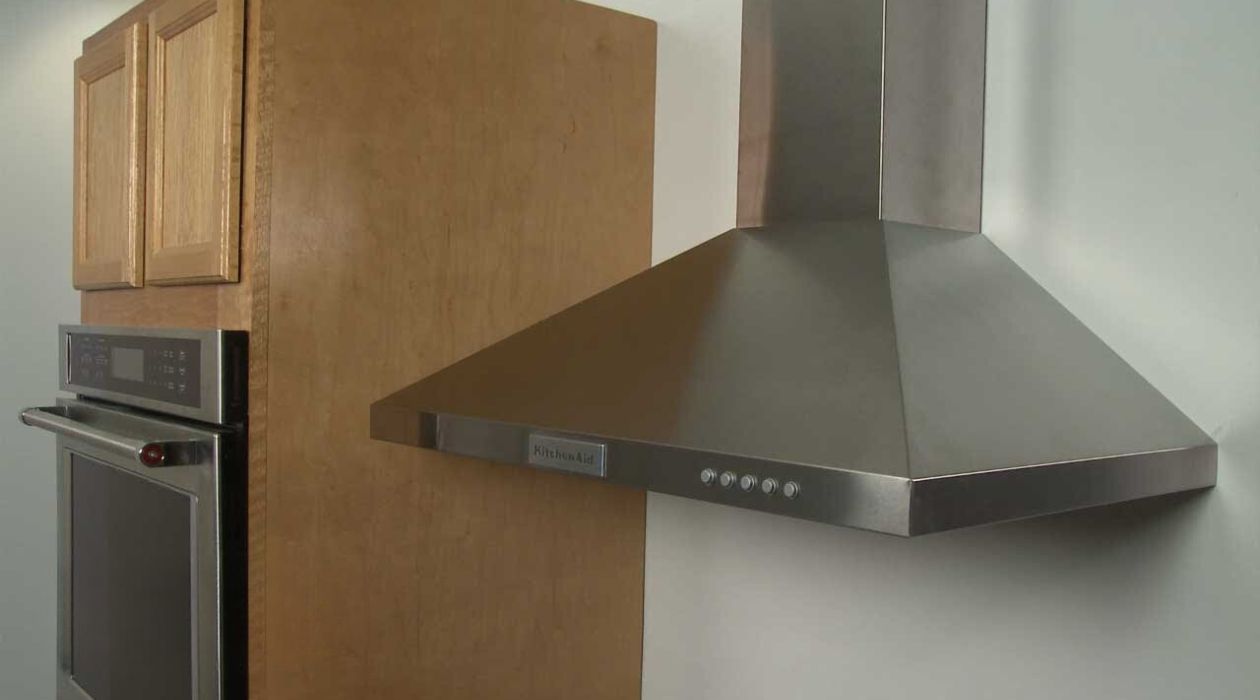
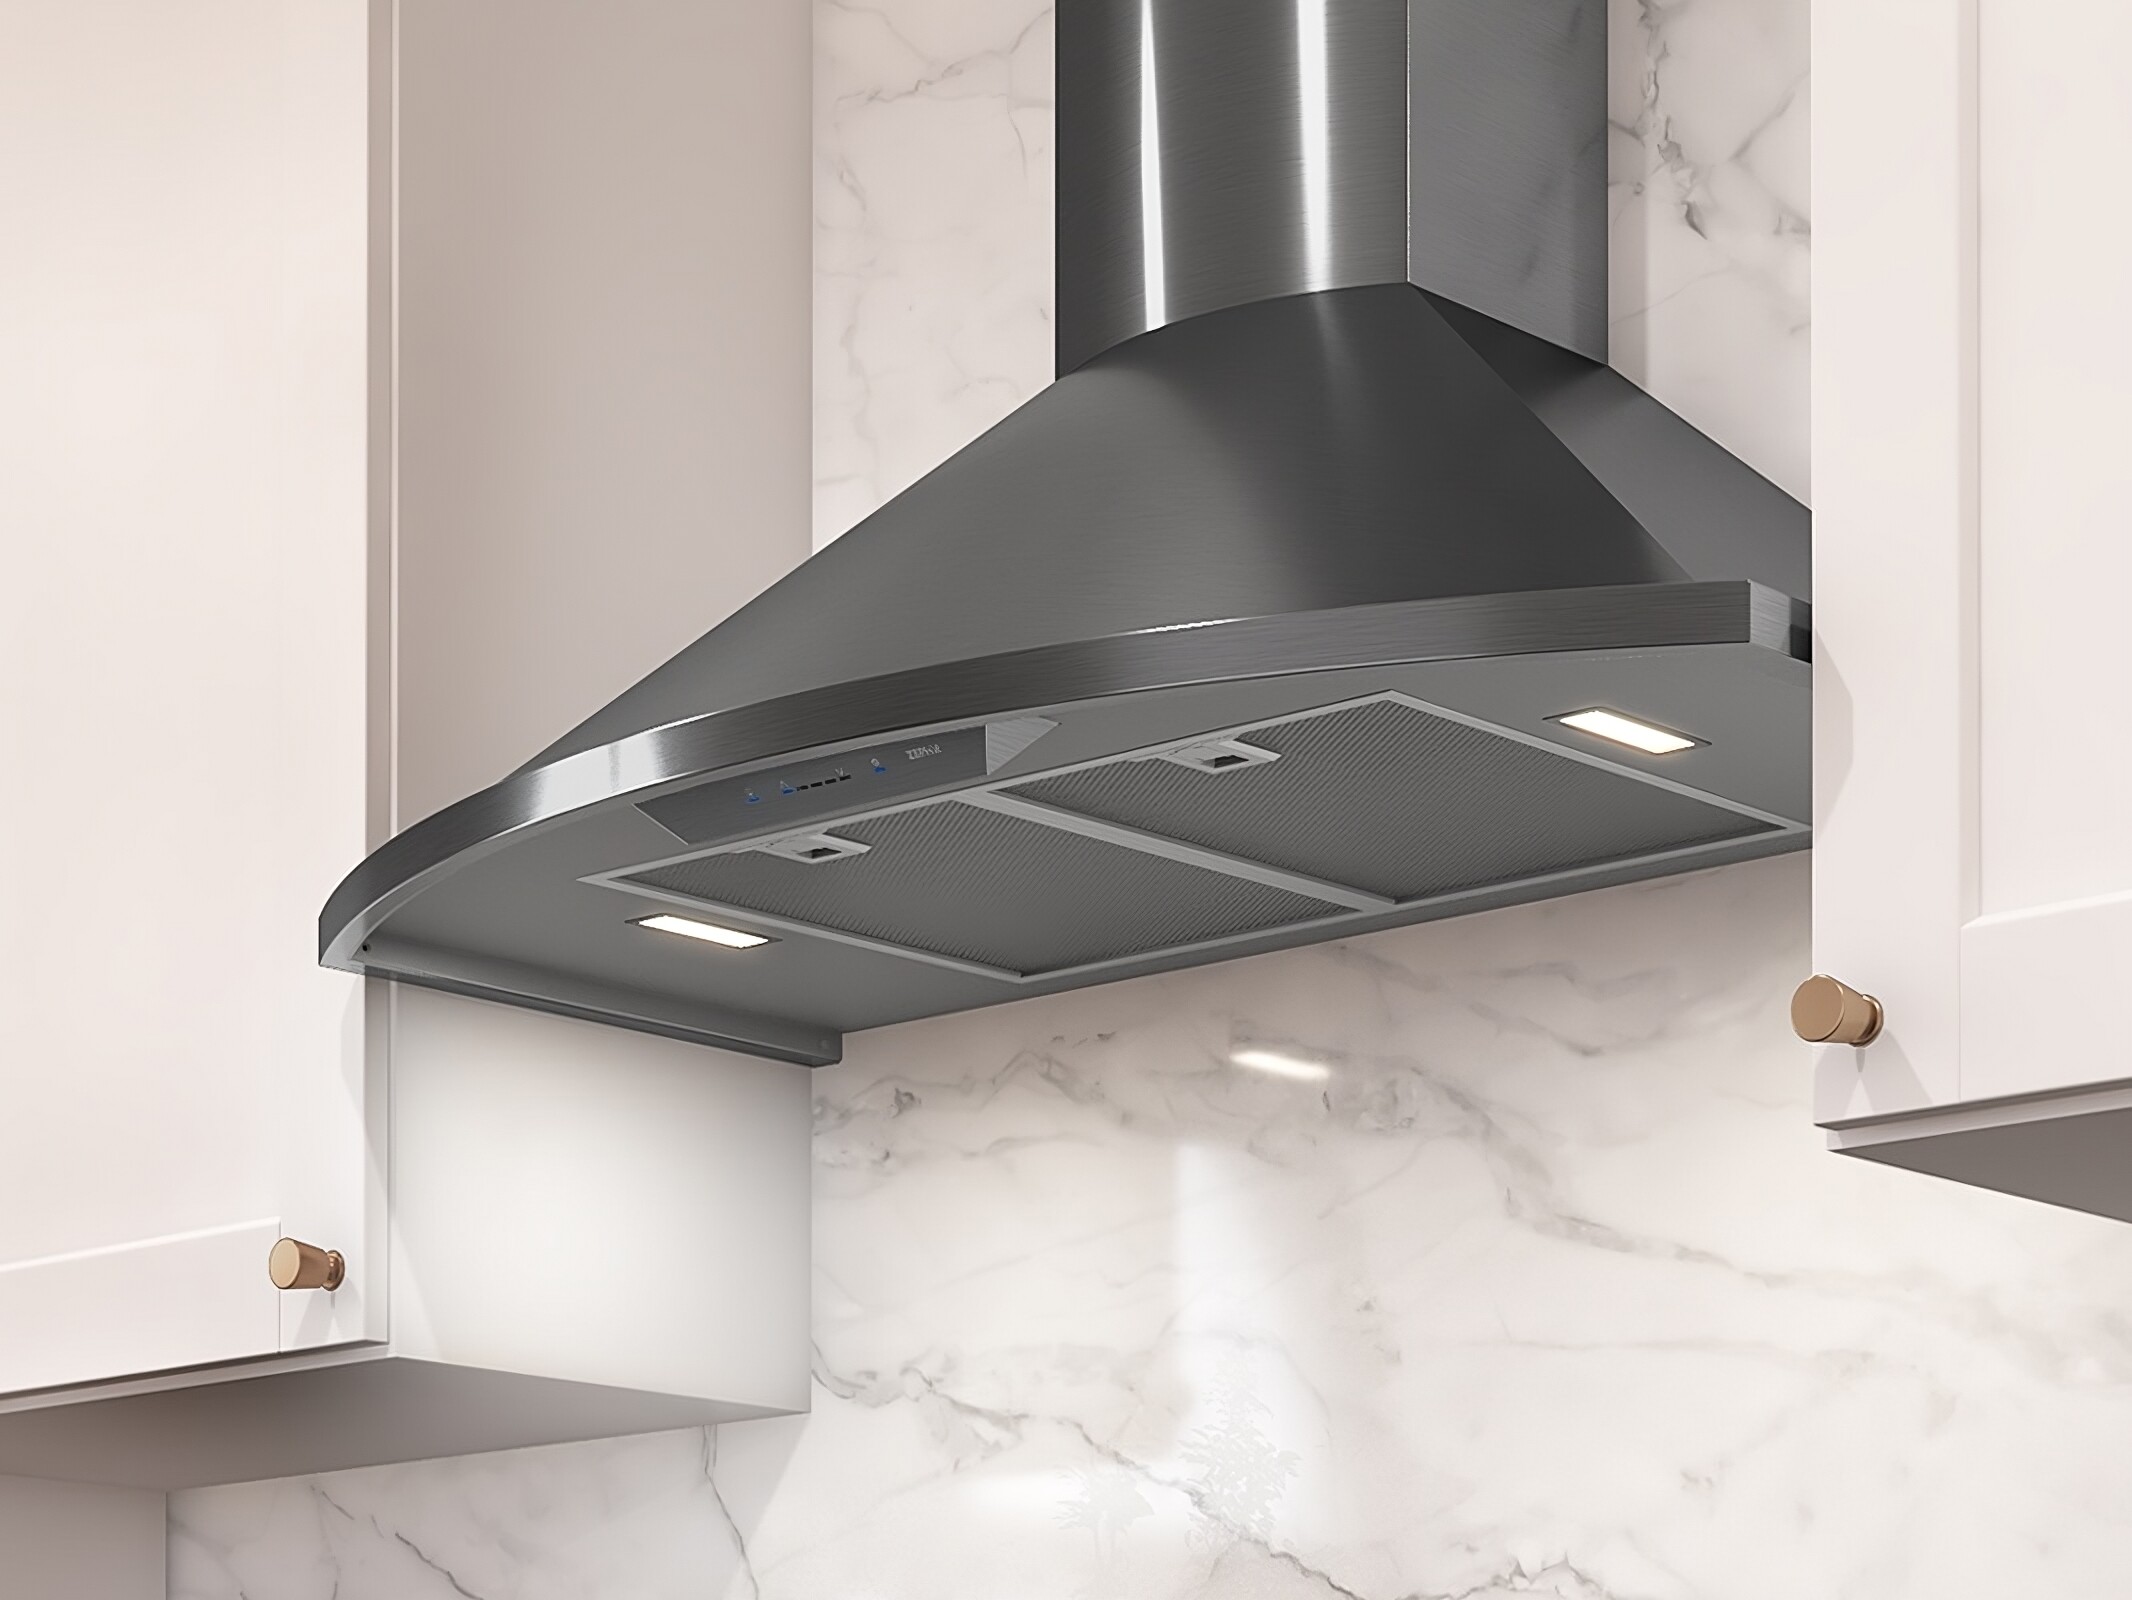
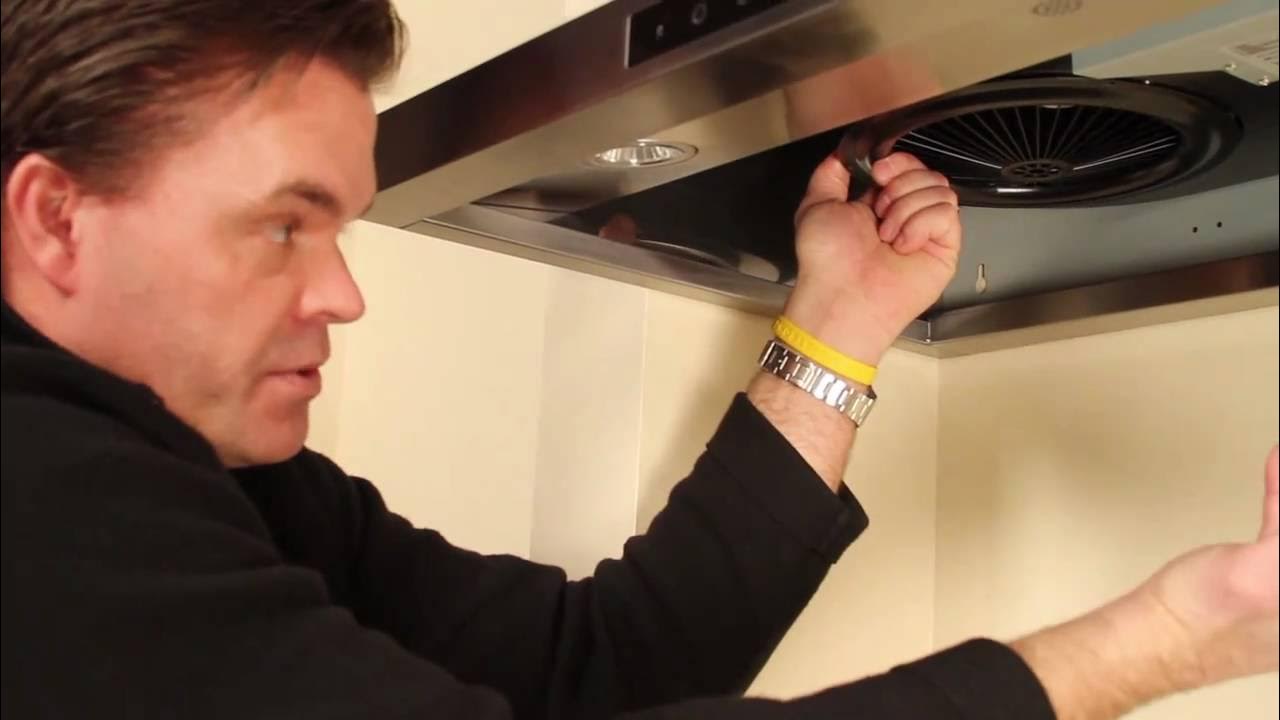
Step 6: Attach the Ventilation System
Now that you have the hood frame in place, it’s time to attach the ventilation system. Follow these steps to ensure a proper installation:
- Attach the fan unit to the inside of the hood frame according to the manufacturer’s instructions. Make sure it is securely mounted and properly aligned.
- Connect the ventilation duct to the exhaust outlet of the fan unit. Use duct tape or metal clamps to ensure a tight and secure connection.
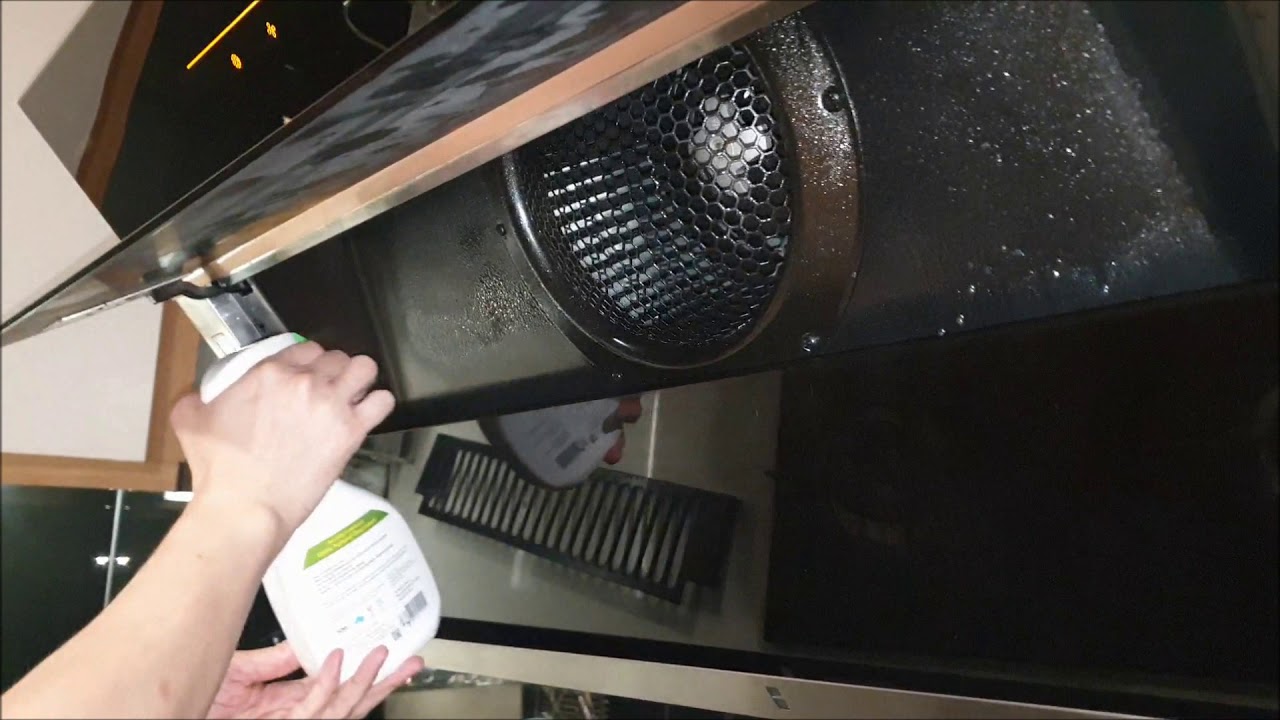
- If your range hood includes filters, install them according to the manufacturer’s instructions. Filters are designed to trap grease and other airborne particles, preventing them from being recycled back into your kitchen.
- If your range hood includes lighting, install the light fixtures according to the manufacturer’s instructions. Ensure they are properly wired and securely attached to the hood frame.
Throughout the installation process, it’s important to refer to the manufacturer’s instructions for proper assembly and wiring. Different range hood models may have specific requirements and procedures.
Before finalizing the installation, double-check all connections to ensure they are tight and secure. Test the ventilation system and lights to ensure they are functioning properly.
With the ventilation system attached, you can now move on to the next step: installing the hood cover.
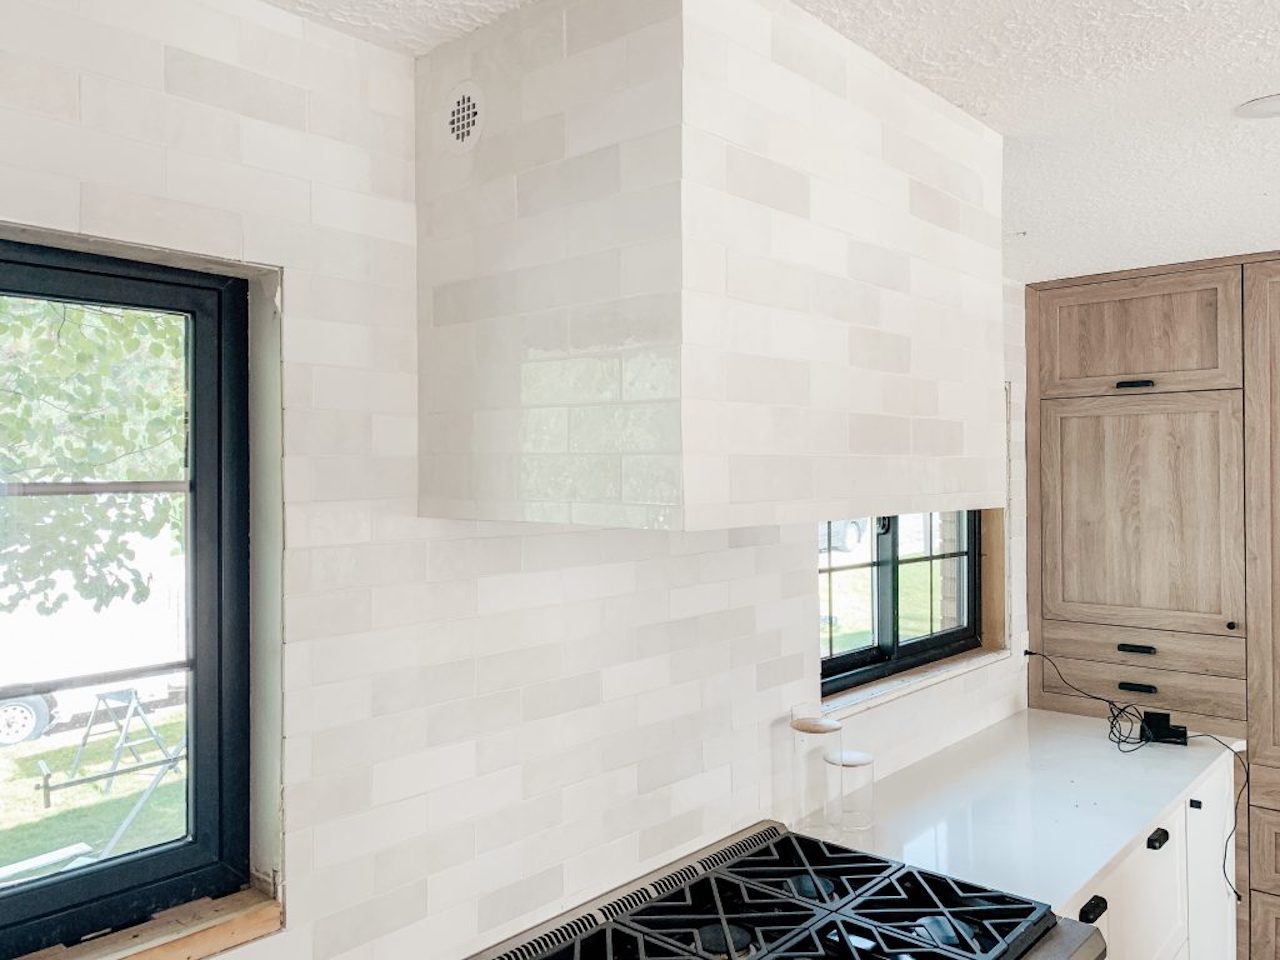
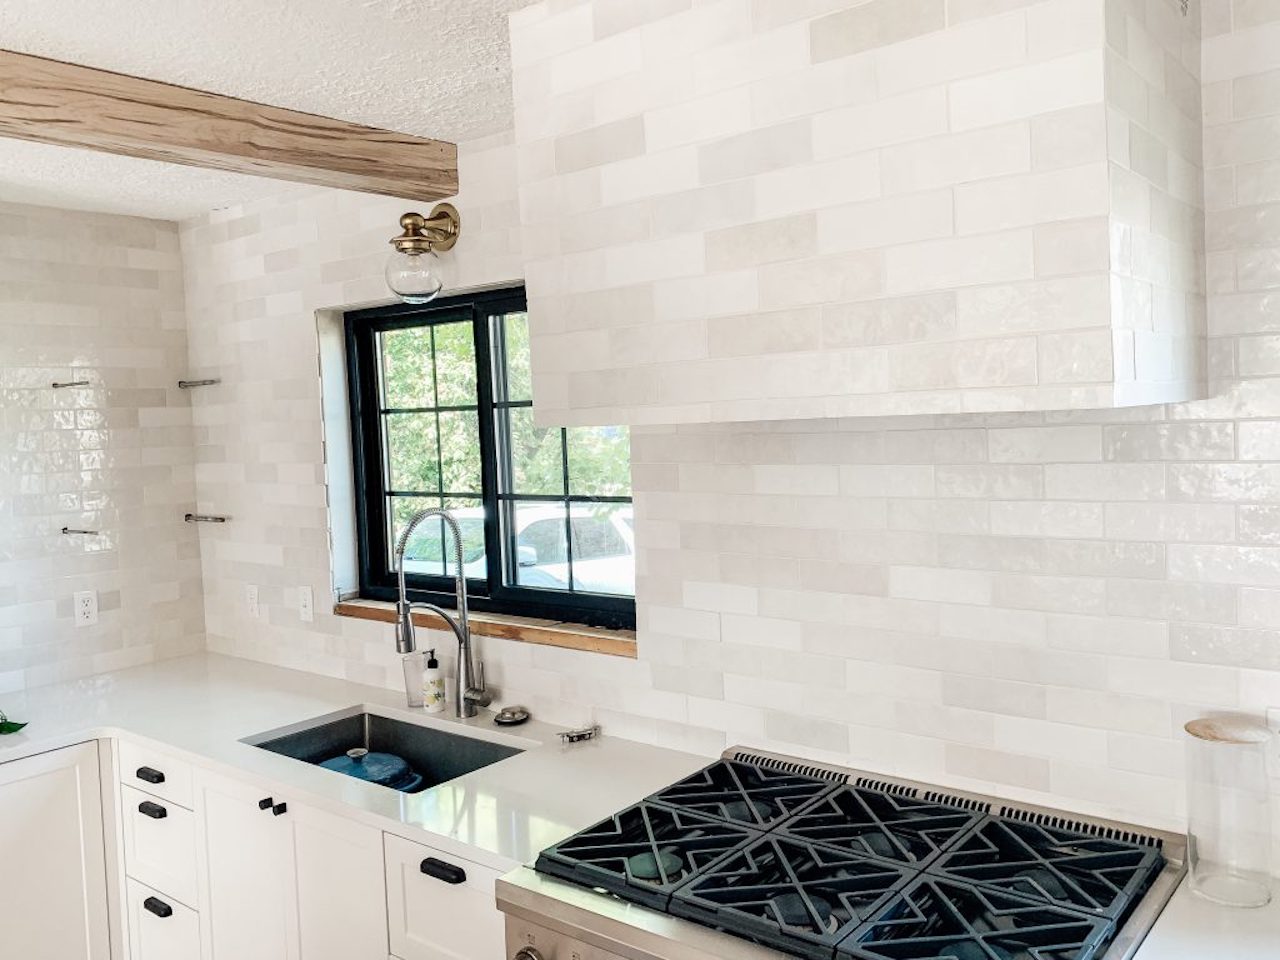
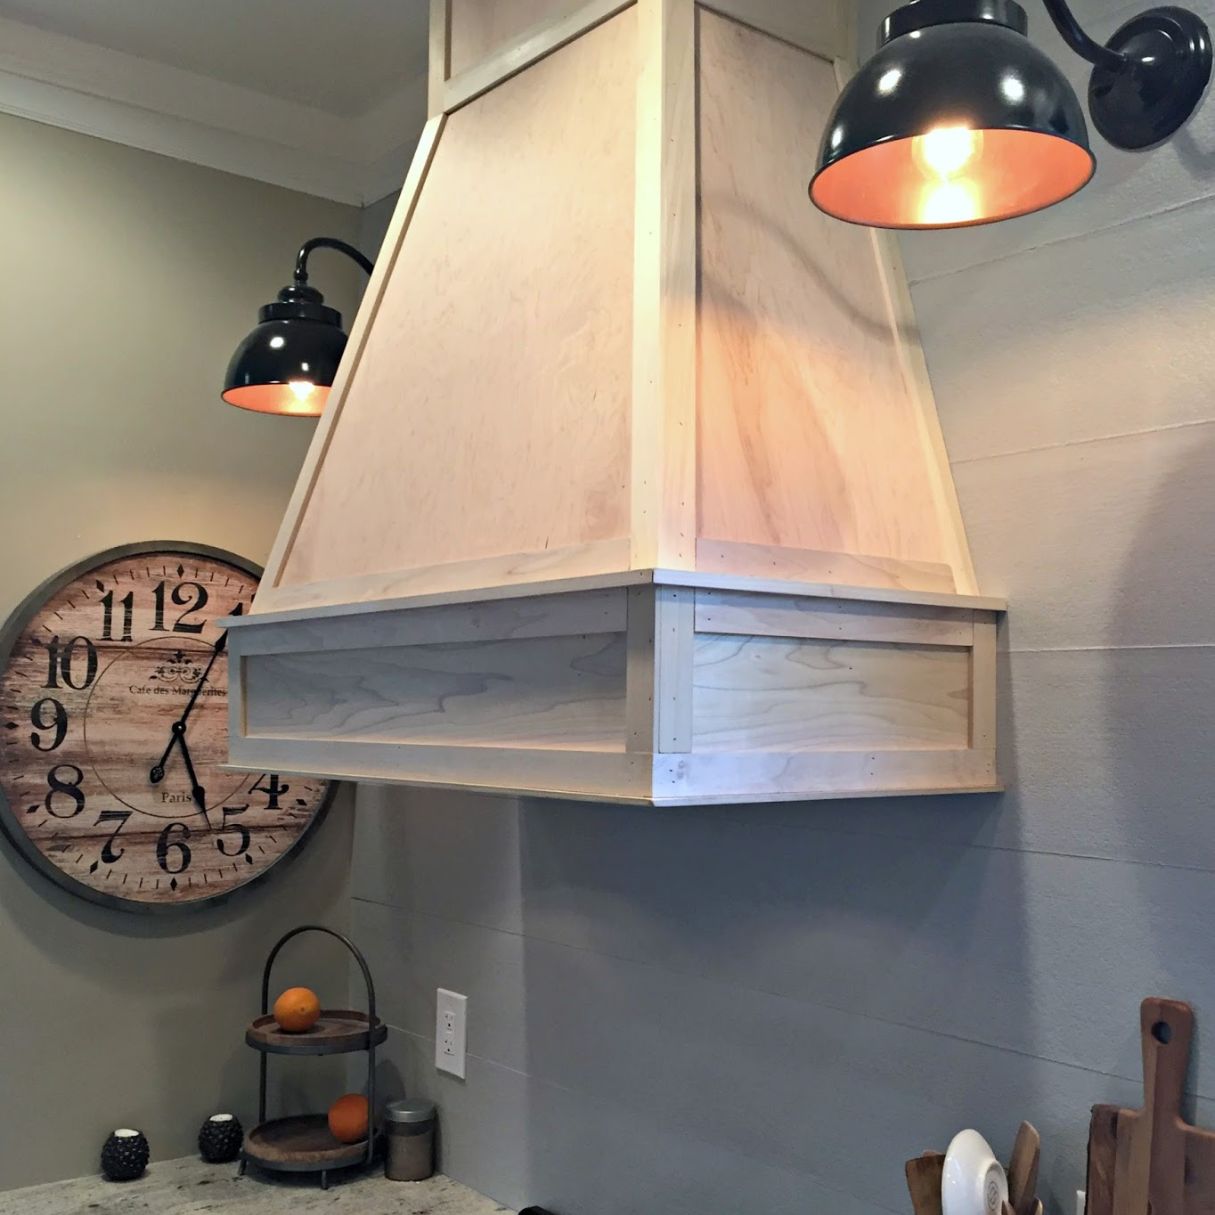
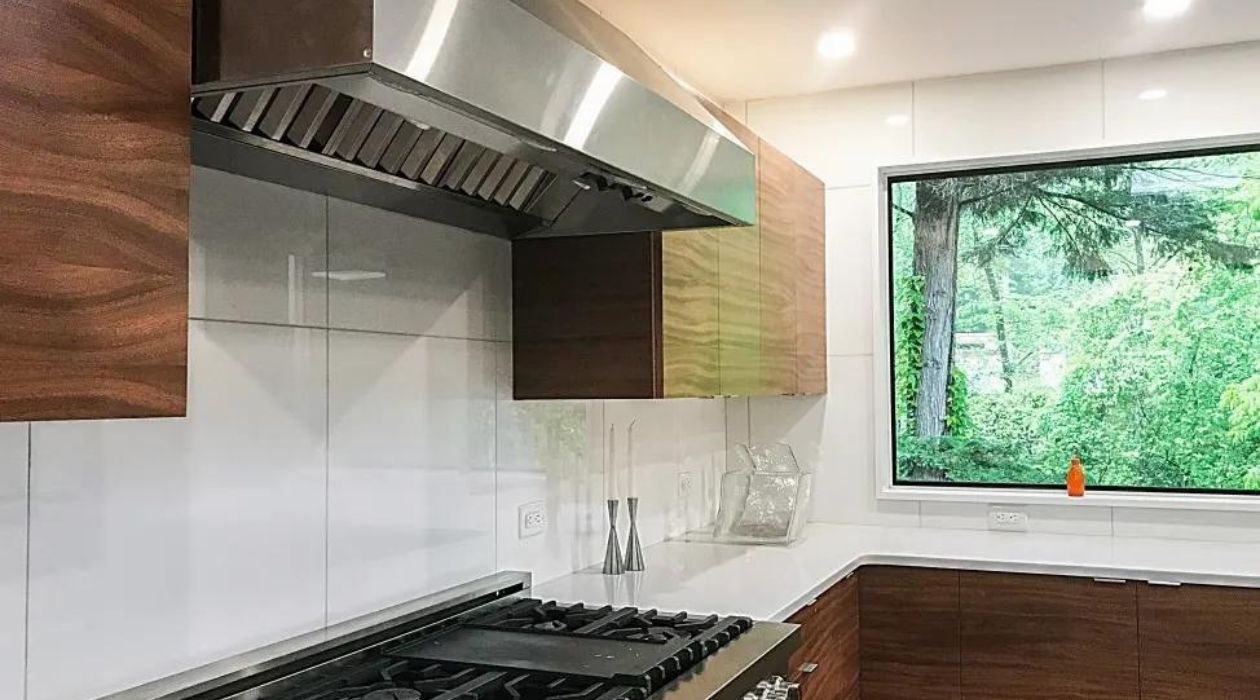
Step 7: Install the Hood Cover
Installing the hood cover is the next step in completing your range hood. The cover not only adds a stylish finishing touch to your range hood but also helps to direct the airflow and protect the internal components. Follow these steps to install the hood cover:
- Measure and cut the hood cover material to fit the dimensions of the hood frame. Depending on your chosen material, you may need to use a circular saw, jigsaw, or other appropriate cutting tools.
- Place the cut hood cover material onto the hood frame, ensuring that it fits properly and covers the entire frame without any gaps.
- Secure the hood cover to the hood frame using nails, screws, or a suitable adhesive, following the manufacturer’s instructions.
- If necessary, add additional support or reinforcement to ensure the hood cover is securely fastened to the frame.
- Double-check that the hood cover is level and aligned with the rest of the range hood.
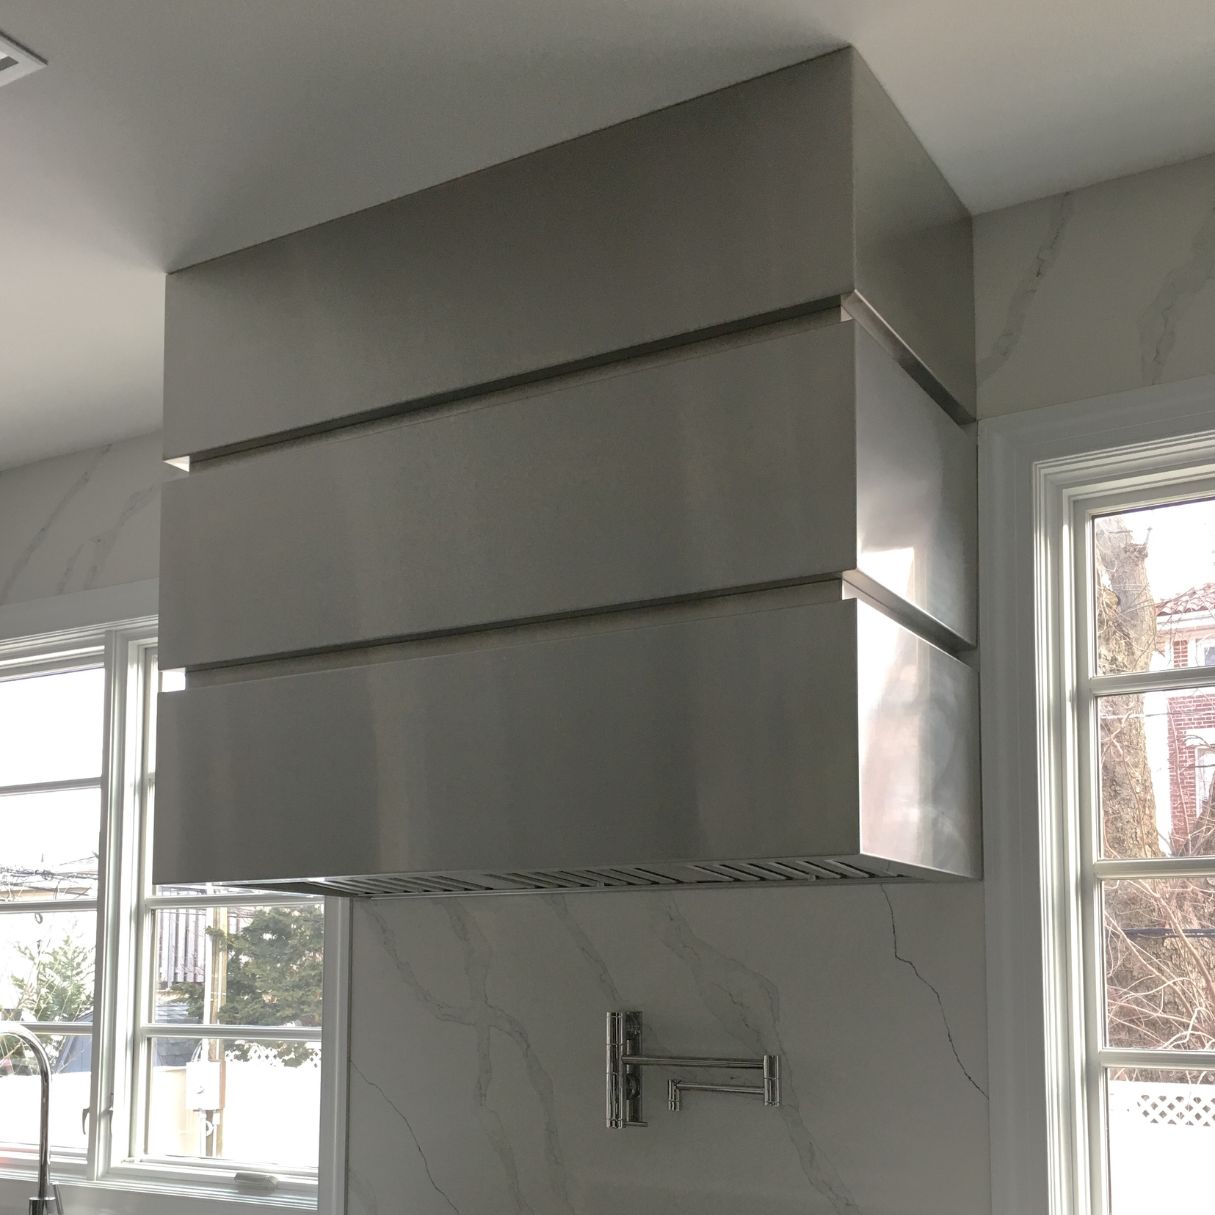
When selecting a material for the hood cover, consider durability, ease of maintenance, and how well it complements your kitchen’s aesthetic. Common options include plywood, stainless steel, glass, or decorative panels.
Ensure that the hood cover does not obstruct the operation of the ventilation system and that there is sufficient clearance for the airflow to freely enter and exit the range hood.
Once the hood cover is securely installed, you can proceed to the next step: connecting the range hood to power.
Step 8: Connect to Power
After successfully installing the hood cover, it’s time to connect your range hood to power. Follow these steps to ensure a safe and proper connection:
- Locate the electrical junction box behind the hood frame or in a nearby location. Ensure that the power supply is turned off before proceeding.
- Carefully remove the junction box cover to access the wiring connections.
- Refer to the manufacturer’s instructions to identify the appropriate electrical connections for your specific range hood model.
- Connect the range hood’s wiring to the corresponding wires in the electrical junction box. Use wire connectors or wire nuts to securely join the wires together.
- Double-check that all connections are properly tightened and insulated to prevent any electrical hazards.
- Replace the junction box cover and secure it in place.
- Turn on the power supply and test the range hood to ensure it is functioning correctly.
It’s crucial to follow electrical safety guidelines and local electrical codes when connecting your range hood to power. If you are unsure about any aspect of the electrical installation, it’s recommended to consult a licensed electrician.
Once the range hood is successfully connected to power and operational, you can move on to the final step: testing and adjusting the range hood.
Read more: How To Paint Range Hood
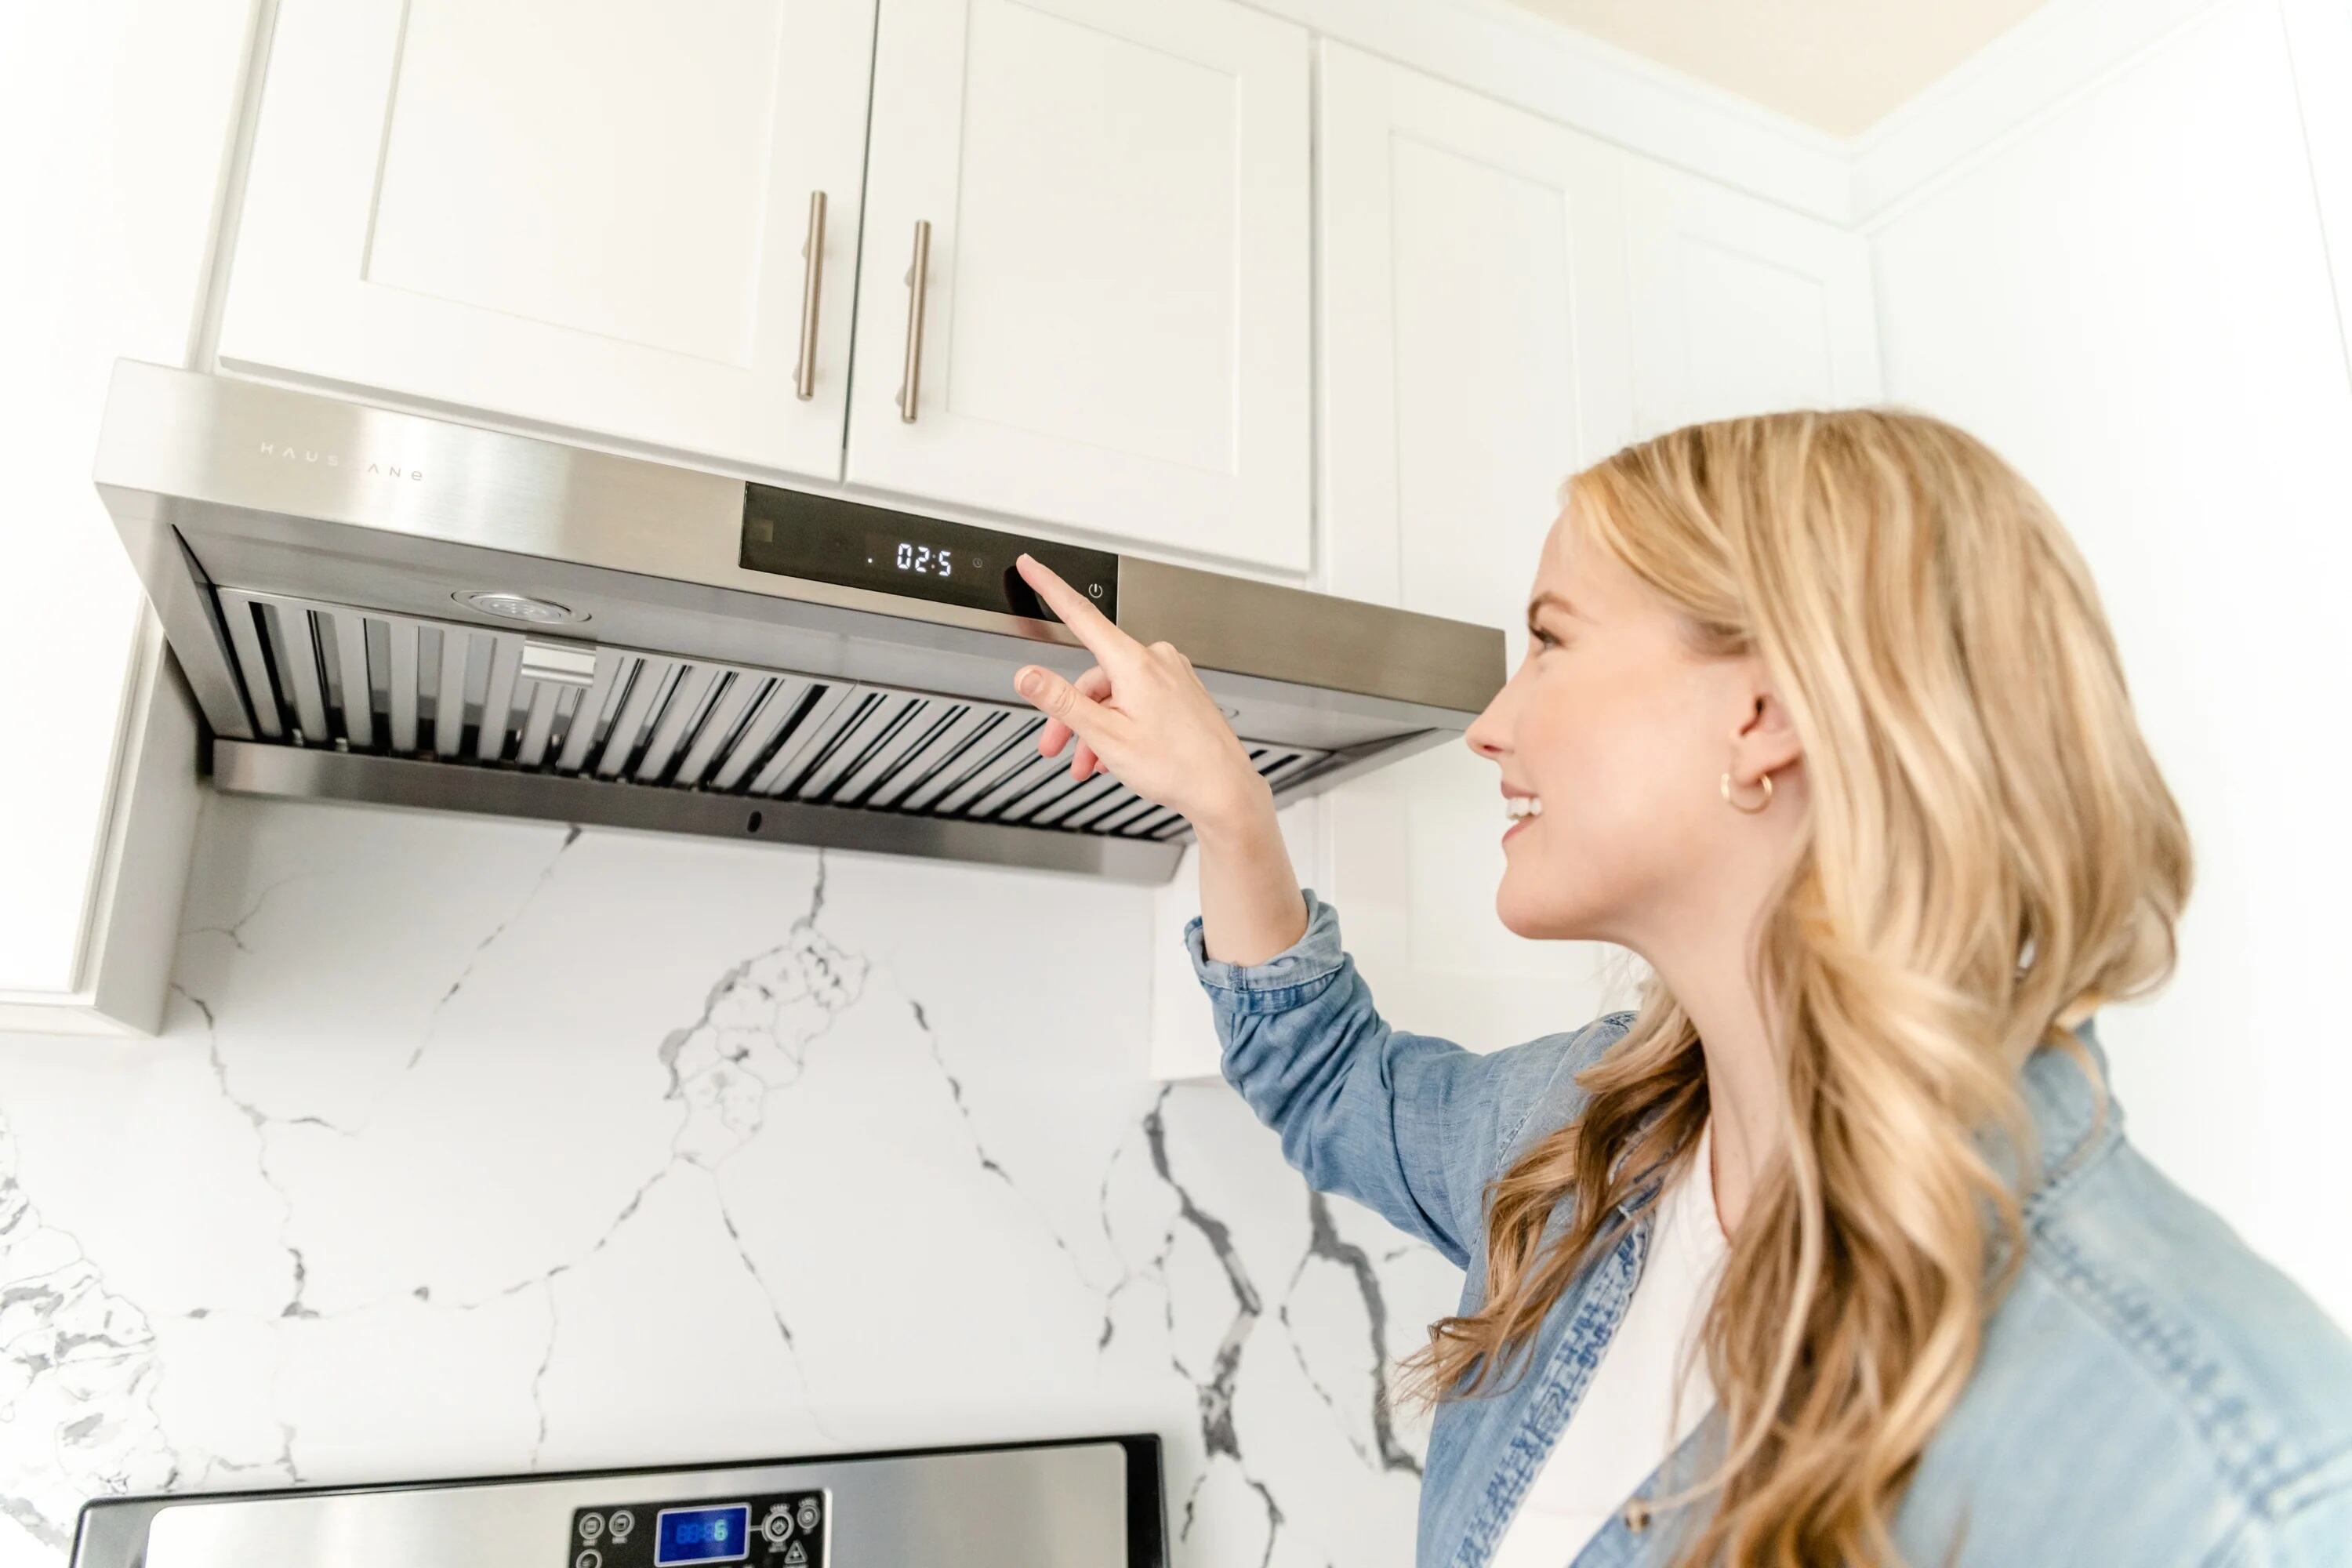
Step 9: Test and Adjust
The final step in building your range hood is to test its functionality and make any necessary adjustments. Here’s what you need to do:
- Turn on the range hood and check if the fan is operating smoothly and quietly. Listen for any unusual noises or vibrations.
- Check the airflow by holding a tissue or lightweight paper near the hood cover. Ensure that it is being pulled towards the range hood, indicating proper suction.
- Test the lighting fixtures to ensure they provide adequate illumination for your cooking area.
- If your range hood has adjustable fan speeds, test each setting to ensure they are working properly.
- If you notice any issues during the testing process, troubleshoot the problem accordingly. Check all connections, wires, and ventilation ducts to ensure they are secure and free from any blockages or obstructions.
- Make any necessary adjustments to the fan speed, lighting, or hood cover alignment to optimize the performance and aesthetics of your range hood.
- Continue to monitor your range hood’s performance over time, and perform regular maintenance as recommended by the manufacturer.
It’s important to note that proper maintenance is crucial for the long-term functionality and efficiency of your range hood. Clean or replace the filters regularly to ensure optimal air circulation and prevent grease buildup. Consult the manufacturer’s guidelines for specific maintenance recommendations.
By testing and adjusting your range hood, you can ensure that it is operating effectively, promoting a clean and pleasant kitchen environment.
Congratulations! You have successfully built and installed your own range hood. Enjoy the benefits of improved ventilation, reduced odors, and a stylish addition to your kitchen.
Conclusion
Congratulations on completing the process of building your own range hood! By following the steps outlined in this article, you have created a functional and stylish addition to your kitchen. Building your range hood not only allows you to customize it to your specific needs and design preferences but also provides a cost-effective and rewarding DIY project.
We began by gathering the necessary materials and tools, ensuring that everything was in place for a smooth construction process. Then, we determined the placement and size of the range hood, taking into consideration factors such as location, clearance, and aesthetics.
Next, we installed the ventilation duct to ensure effective airflow and proper ventilation. The hood frame was built and securely installed, providing support for the hood cover and housing the internal components of the range hood.
With the ventilation system attached, we proceeded to install the hood cover, adding the finishing touch to the range hood. Lastly, we connected the range hood to power, following electrical safety guidelines and ensuring proper wiring connections.
After completing the construction and installation, we emphasized the importance of testing and adjusting the range hood. By carefully evaluating its functionality and making any necessary adjustments, you can ensure optimal performance and a pleasant cooking experience.
Remember to perform regular maintenance on your range hood, including cleaning or replacing filters, to keep it operating efficiently and effectively. Regularly monitor its performance to address any issues promptly.
Building your range hood not only enhances the functionality of your kitchen but also adds a personal touch and aesthetic appeal. Enjoy the benefits of improved air quality, reduced odors, and a more stylish and efficient cooking environment.
Thank you for joining us on this DIY journey. We hope this article has provided you with valuable insights and guidance in building your own range hood. Happy cooking!
Frequently Asked Questions about How To Build A Range Hood
Was this page helpful?
At Storables.com, we guarantee accurate and reliable information. Our content, validated by Expert Board Contributors, is crafted following stringent Editorial Policies. We're committed to providing you with well-researched, expert-backed insights for all your informational needs.


0 thoughts on “How To Build A Range Hood”