Articles
How To Make A Wood Chip Path
Modified: October 18, 2024
Learn how to create a stunning wood chip path with our informative articles. Discover expert tips and techniques for a beautiful and functional pathway.
(Many of the links in this article redirect to a specific reviewed product. Your purchase of these products through affiliate links helps to generate commission for Storables.com, at no extra cost. Learn more)
Introduction
Creating a wood chip path is a great way to add a natural and rustic touch to your garden or outdoor space. Whether you want a pathway to guide visitors through your yard or simply a picturesque feature to enjoy, a wood chip path can be a beautiful and functional addition to any landscape.
In this article, we will guide you through the step-by-step process of making a wood chip path. From selecting the perfect location to maintaining the path for years to come, we will provide you with all the information you need to create a stunning and durable path.
Before getting started, it’s important to note that a wood chip path works best in areas with moderate foot traffic. If you anticipate heavy use or need a more permanent solution, you may want to consider other options such as a paved or gravel path.
Now, let’s dive into the process of creating your own wood chip path and transform your outdoor space into a charming and inviting oasis.
Key Takeaways:
- Create a stunning wood chip path by carefully selecting the location, clearing the area, and gathering materials. Proper preparation, installation, and maintenance will result in a durable and visually appealing addition to your outdoor space.
- Enhance the beauty and functionality of your garden with a wood chip path. Follow the step-by-step process to design, construct, and maintain a charming and inviting pathway that complements your landscape and provides a natural touch to your outdoor oasis.
Read more: How To Make A Wood Chip Play Area
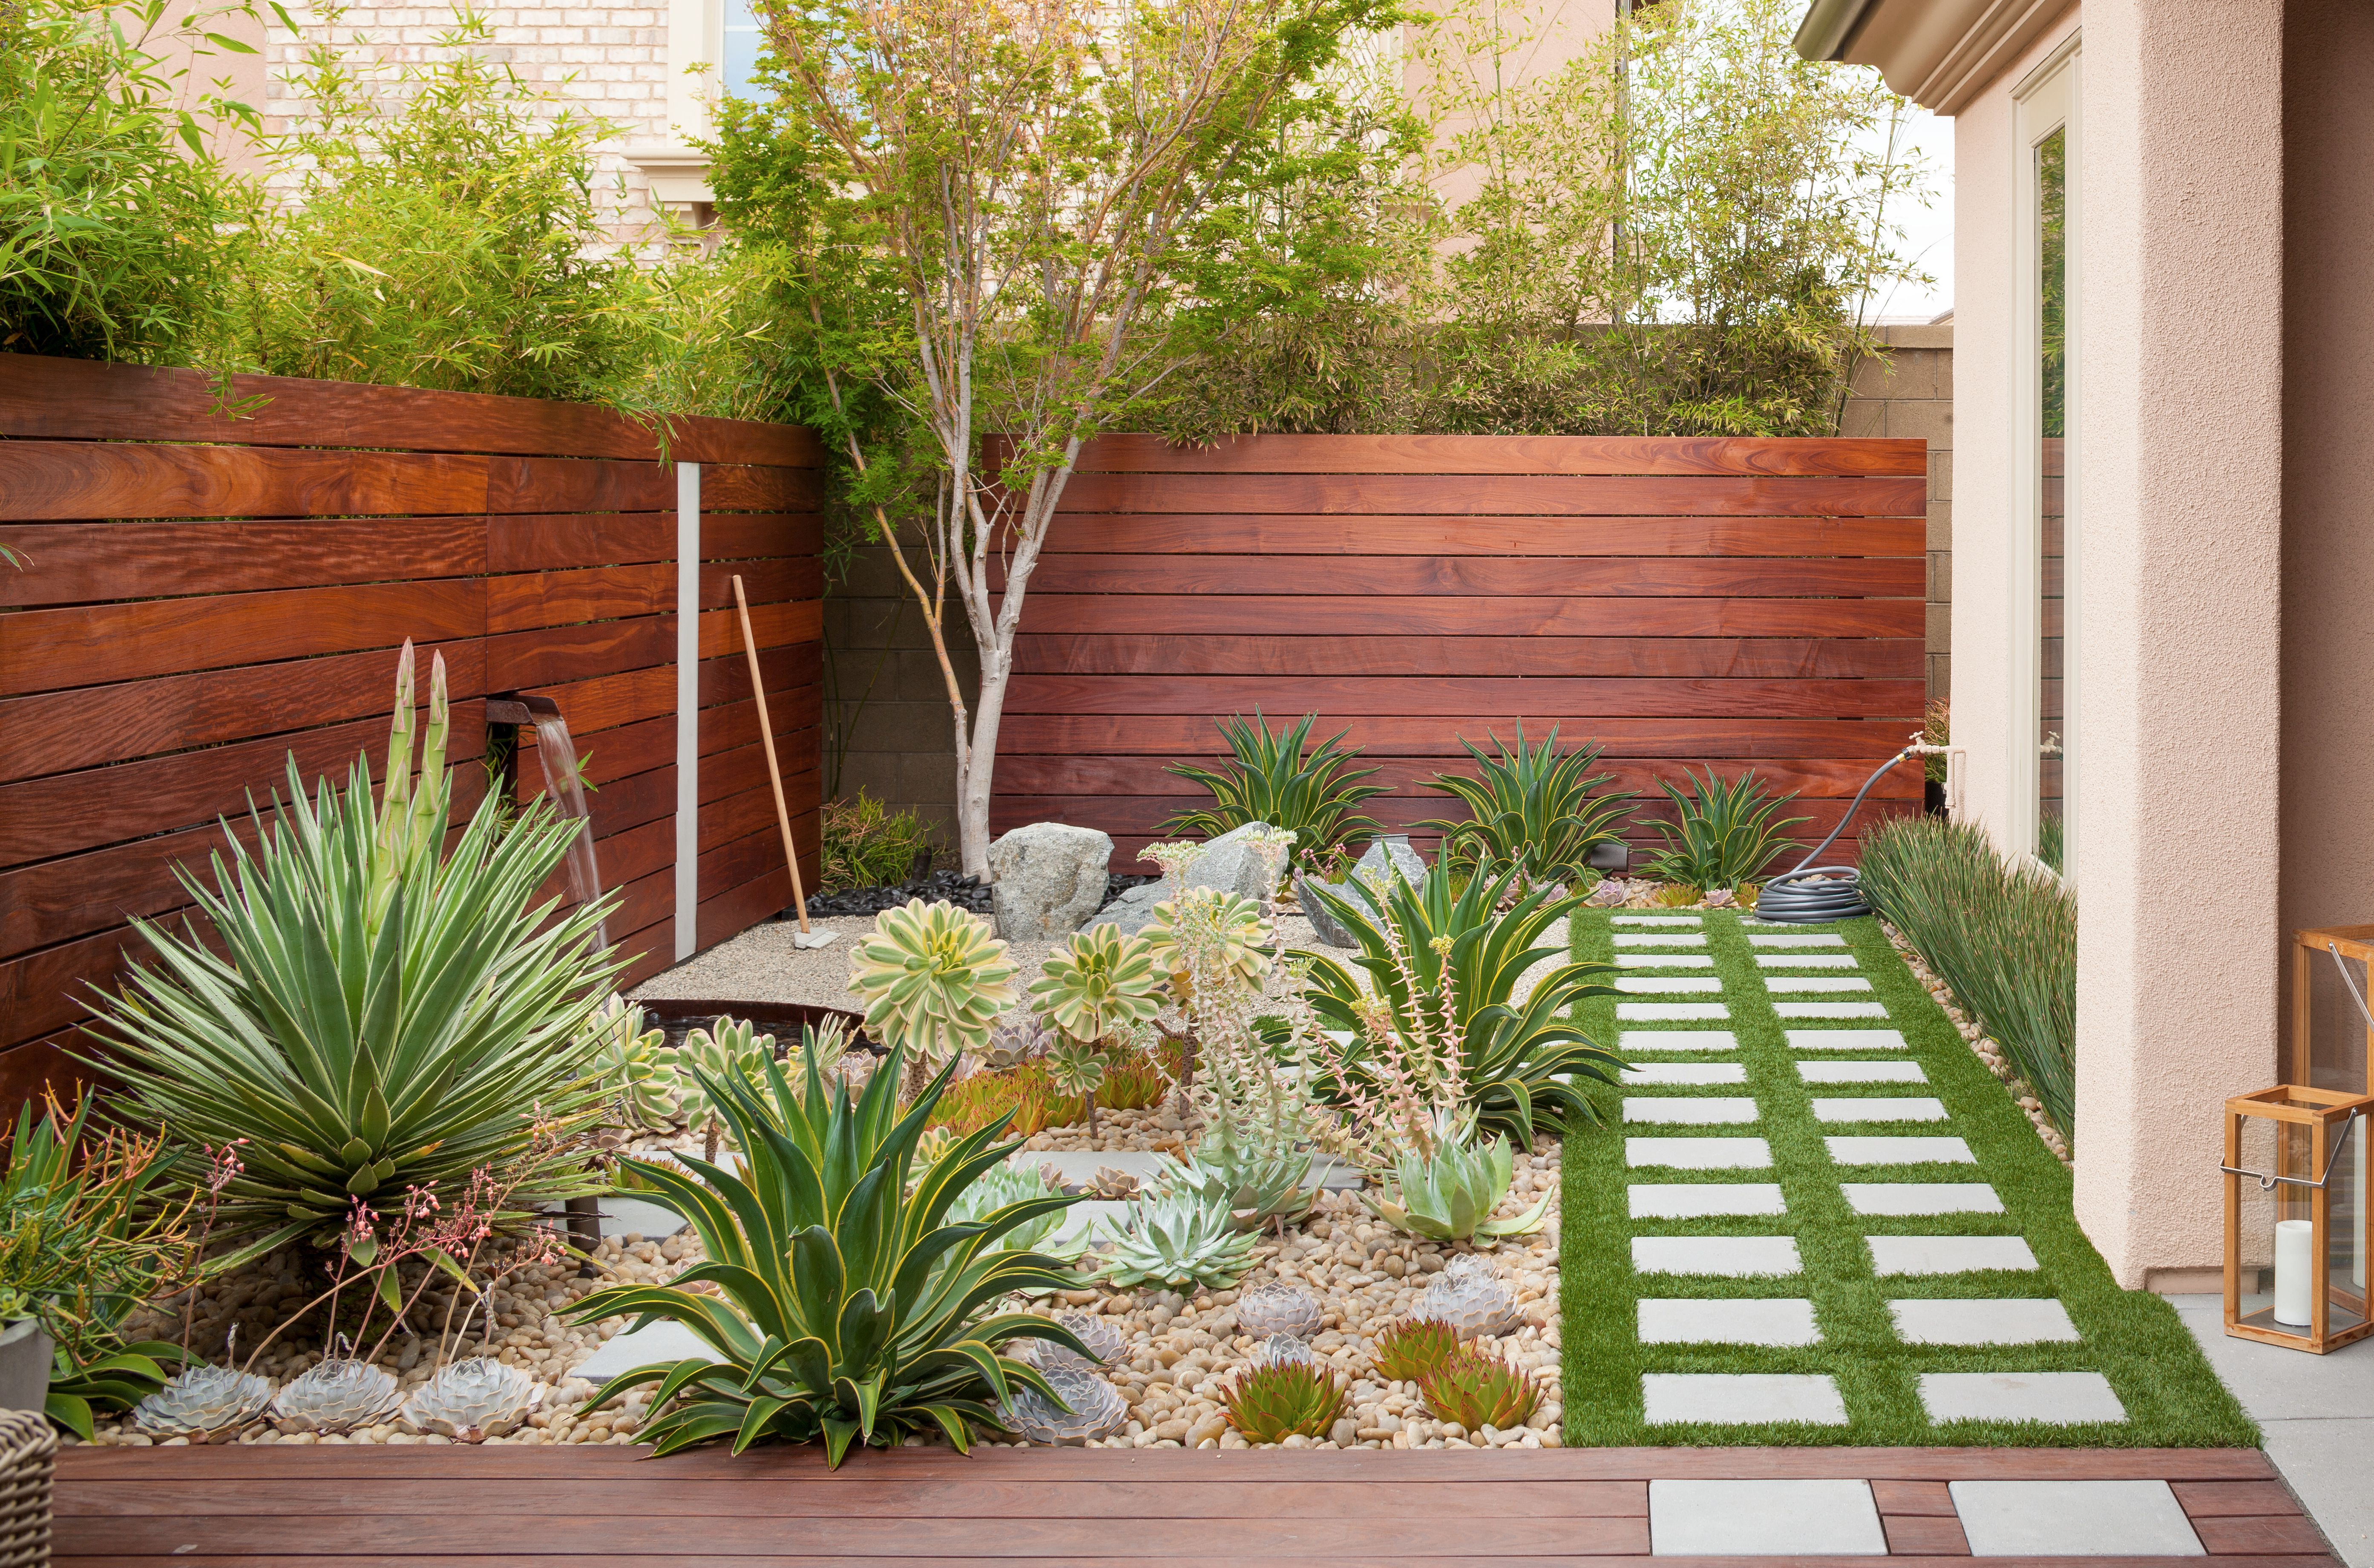
Step 1: Selecting the Location
The first step in creating a wood chip path is to carefully select the location where you want it to be. Take some time to assess your outdoor space and consider the following factors:
- Functionality: Determine the purpose of your wood chip path. Is it meant to provide easy access to a specific area of your garden? Or do you simply want to create a meandering path for aesthetic reasons? Understanding the functionality of the path will help you decide on the best location.
- Visibility: Choose a location that will make your wood chip path a focal point in your outdoor space. Consider areas that are easily visible from your house or other key vantage points. This will enhance the overall appeal of your landscape.
- Natural Features: Take into account the natural features of your yard, such as trees, plants, or existing pathways. Incorporating these elements into your wood chip path can create a harmonious and cohesive design.
- Sunlight and Shade: Observe the sunlight and shade patterns in your chosen location. Keep in mind that a wood chip path in a heavily shaded area may require more maintenance to prevent excessive moisture and the growth of moss or algae.
- Slope and Drainage: Consider the slope and drainage of the area. It’s important to choose a location that allows for proper water runoff to prevent water accumulation on the path. This can help ensure the longevity of your wood chips and maintain a safe walking surface.
Once you have considered these factors, mark out the desired path using stakes and string or spray paint. This will give you a clear visual representation of your wood chip path and help you move forward with the next steps of the process.
Now that you have selected the perfect location for your wood chip path, let’s move on to step two: clearing the area.
Step 2: Clearing the Area
Before you can start building your wood chip path, it’s essential to clear the area of any vegetation, debris, or obstacles that may be in the way. Follow these steps to ensure a clean and smooth foundation for your path:
- Remove Plants: Start by removing any existing plants or grass in the path’s designated area. Use a shovel or garden trowel to dig up plants, making sure to remove their roots to prevent regrowth.
- Clear Debris: Next, clear the area of any debris such as rocks, branches, or other objects that may hinder the path’s construction. Dispose of the debris properly or repurpose it for other purposes in your garden.
- Address Weeds and Grass: Take measures to prevent weeds and grass from growing through your wood chip path. Use a weed barrier fabric or apply a layer of landscape fabric directly on the cleared area. This will help suppress weed growth and keep your path looking tidy.
- Smooth the Ground: Ensure the ground is level and free of any uneven spots or bumps. Use a garden rake or a shovel to flatten the area and create a smooth surface for the wood chips to be laid.
By clearing the area effectively, you lay the foundation for a well-constructed wood chip path. Now that the area is ready, it’s time to move on to step three: gathering materials.
Step 3: Gathering Materials
Now that you have cleared the area for your wood chip path, it’s time to gather the necessary materials. Here’s what you’ll need:
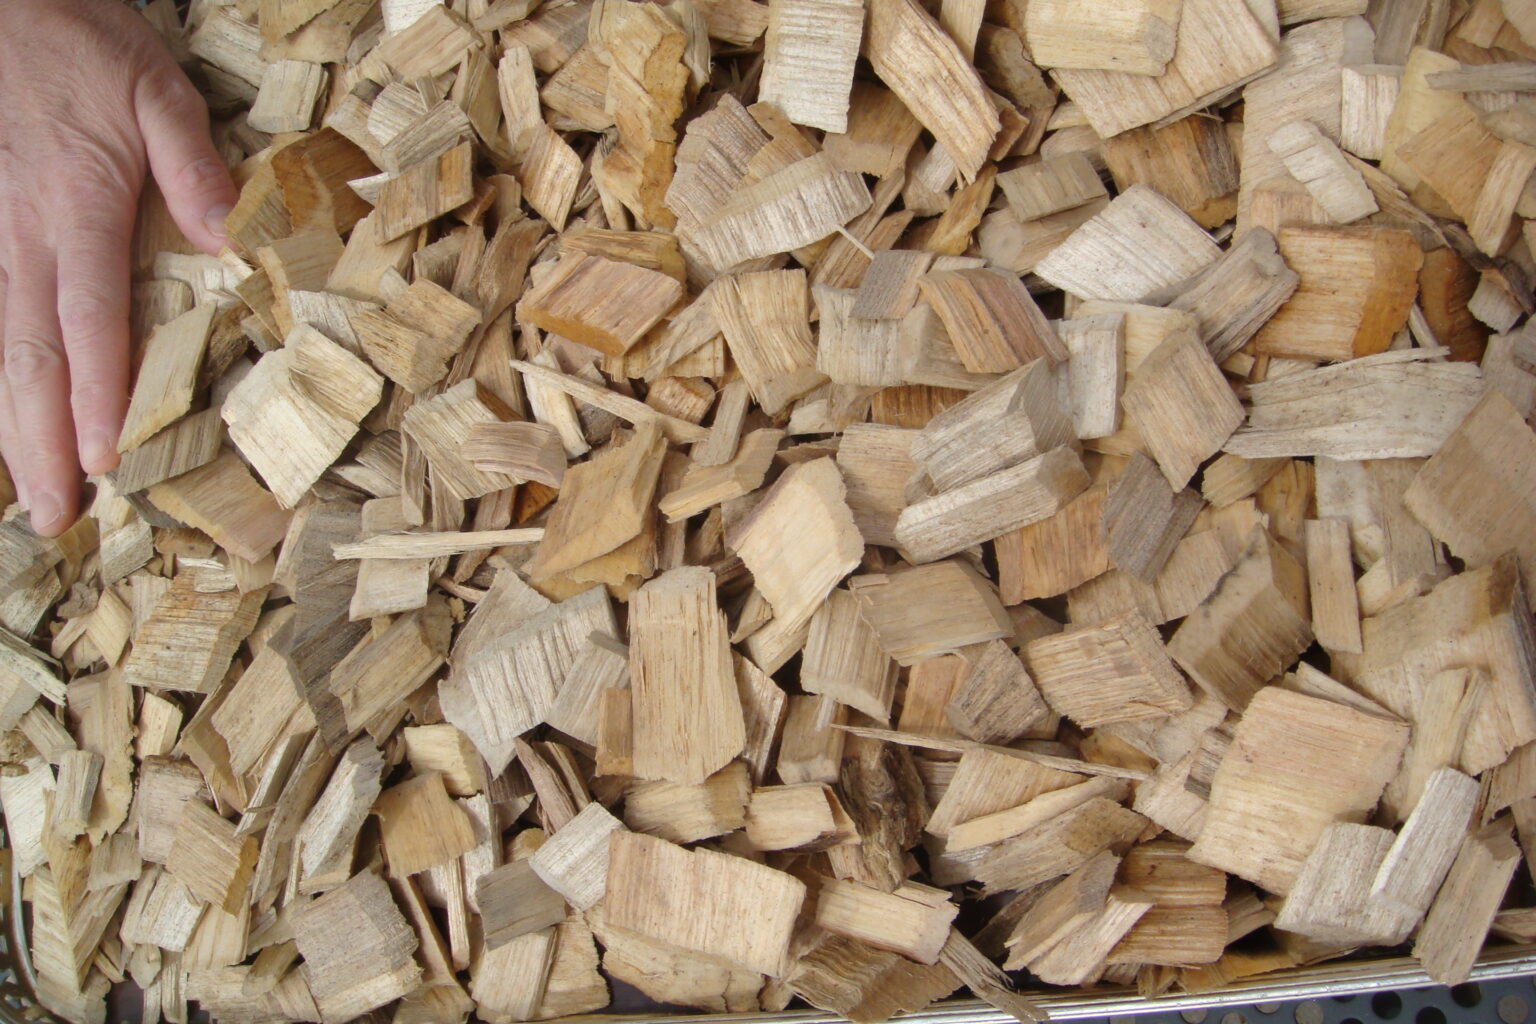
- Wood Chips: The main material for your path will be wood chips. You can purchase them from a local garden center or tree service company. Consider the type of wood chips you want based on your aesthetic preferences and availability.
- Weed Barrier Fabric: To further minimize weed growth, you will need weed barrier fabric. This helps create a barrier between the ground and the wood chips, preventing weeds from penetrating the surface.
- Shovel or Garden Trowel: You will need a shovel or garden trowel to spread and level the wood chips. This will help create an even and visually appealing path.
- Wheelbarrow: A wheelbarrow will come in handy for transporting and spreading the wood chips. It allows for easier movement of the material throughout the path.
- Edging Material: Depending on your preference, you may want to add edging to your wood chip path. This can be done using materials like stones, bricks, or metal edging. Edging helps define the path and prevents the wood chips from spreading into adjacent areas.
- Gloves and Protective Gear: Protect your hands and skin by wearing gloves while handling the materials. Additionally, consider wearing protective gear like safety glasses or a dust mask when working with wood chips.
Once you have gathered all the necessary materials, you’re ready to proceed to the next step: preparing the ground for the wood chip path.
Step 4: Preparing the Ground
Before laying down the wood chips, it’s essential to properly prepare the ground to ensure a stable and long-lasting path. Follow these steps to prepare the ground:
- Install Weed Barrier Fabric: Lay down the weed barrier fabric over the cleared area. Trim it to fit the path’s dimensions, leaving a few inches of overlap on the edges. Secure the fabric in place with landscape fabric stakes or pins.
- Compact the Soil: Use a tamper or the back of a shovel to compact the soil underneath the weed barrier fabric. This will provide a stable base for the wood chips and prevent sinking or unevenness over time.
- Consider Drainage: If your path is in an area prone to heavy rainfall or poor drainage, consider adding a layer of gravel or crushed stone beneath the weed barrier fabric. This will help facilitate proper water drainage and prevent water pooling on the path.
- Ensure Levelness: Use a level or a straight board to ensure that the ground is level and even. Adjust the soil as needed to achieve a uniform surface.
- Trim Edging (if applicable): If you plan to add edging to your wood chip path, make sure to install it before proceeding. Trim the edging material to fit the path’s dimensions and secure it firmly in place.
- Inspect the Path: Before moving on to the next step, take a final walk along the path to check for any remaining debris or irregularities. Make any necessary adjustments or corrections at this stage.
By properly preparing the ground, you create a solid foundation for your wood chip path. Now it’s time to move on to the exciting part – laying down the wood chips!
When creating a wood chip path, be sure to lay down a weed barrier fabric before adding the wood chips. This will help prevent weeds from growing through the path and keep it looking tidy.
Read more: How To Store Wood Chips
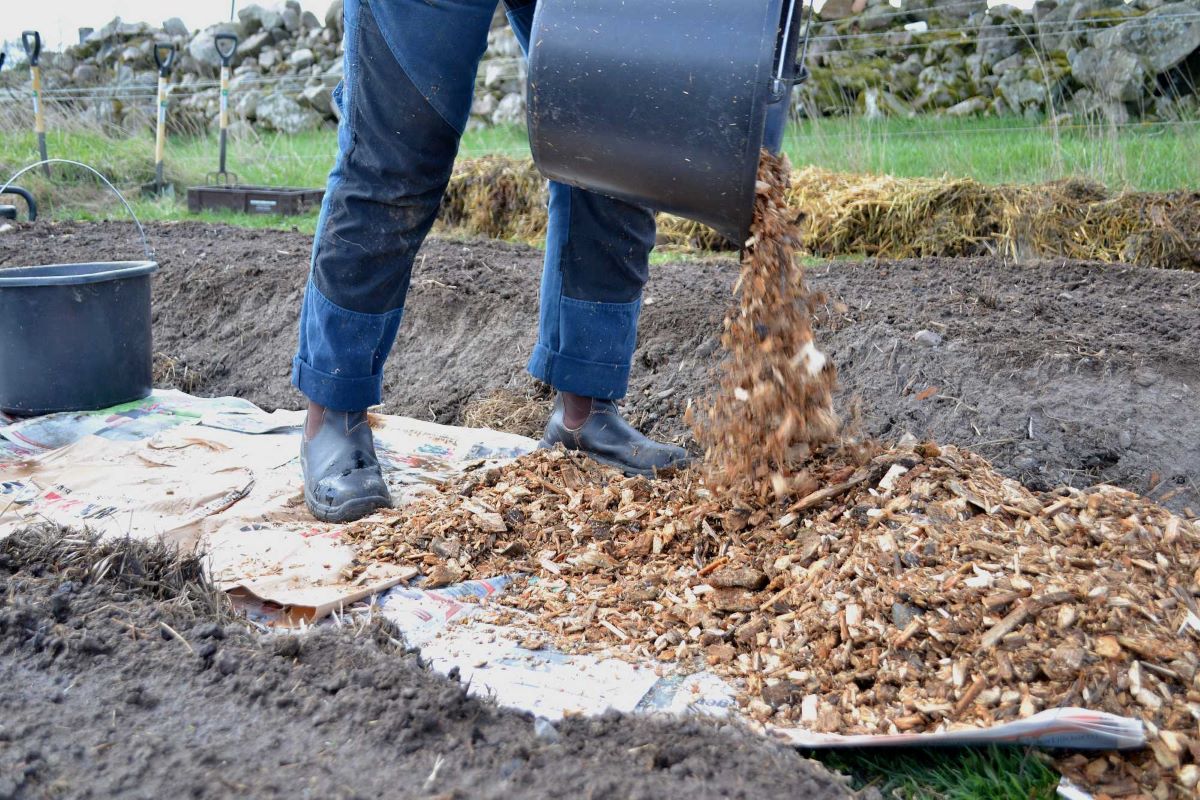
Step 5: Laying the Wood Chips
Now that the ground is prepared, it’s time to start laying the wood chips and bring your path to life. Follow these steps to ensure a successful installation:
- Start at One End: Begin laying the wood chips at one end of the path. This will allow you to work systematically and ensure a consistent coverage throughout.
- Spread Evenly: Use a shovel or garden trowel to spread the wood chips evenly over the prepared area. Aim for a depth of about 2-3 inches for a comfortable walking surface. Adjust the amount of wood chips as needed.
- Work in Small Sections: To maintain control over the distribution of wood chips, work in small sections at a time. This will allow you to achieve an even coverage and avoid excessive material wastage.
- Rake and Smooth: After spreading the wood chips, use a rake to lightly smooth and level the surface. This will ensure an even and visually appealing path that is comfortable to walk on.
- Check for Gaps: As you progress, keep an eye out for any gaps or areas with insufficient wood chip coverage. Fill in these areas as needed to maintain consistency and avoid tripping hazards.
- Take Breaks (if necessary): Depending on the size of your path, you may need to take breaks during the process. This will prevent fatigue and allow you to assess the progress from a fresh perspective.
As you lay down the wood chips, step back occasionally to evaluate the overall appearance and make any necessary adjustments. Keep in mind that the wood chips may settle over time, so it’s essential to initially lay them slightly higher to account for this.
With your wood chips laid down, it’s time to move on to the next step: leveling and compacting.
Step 6: Leveling and Compacting
After laying the wood chips, it’s important to level and compact them to create a stable and well-maintained path. Follow these steps to ensure a finished look that will withstand regular use:
- Use a Garden Rake: Start by using a garden rake to gently level the wood chips. Work the rake back and forth, spreading the material evenly and filling any visible gaps or uneven areas.
- Compact with a Tamper: Once the initial leveling is complete, use a tamper or the back of a shovel to compact the wood chips. Apply firm and even pressure, especially on areas where foot traffic is expected to prevent future settling.
- Replenish Wood Chips (if necessary): During the leveling and compacting process, a small amount of wood chips may shift or settle. If you notice any areas with low coverage, add a thin layer of wood chips to ensure a uniform appearance.
- Walk Along the Path: Take a walk along the path to test its stability and comfort. Pay attention to any crunching or shifting sounds, as this may indicate areas that require further compaction or additional wood chips.
- Make Final Adjustments: If you notice any unevenness or areas that need improvement, make the necessary adjustments. This could involve adding or removing wood chips, raking, or compacting the material as needed.
By leveling and compacting the wood chips, you create a more durable and visually appealing path. This step ensures that the wood chips stay in place, reducing the need for frequent maintenance.
With the wood chips properly leveled and compacted, it’s time to move on to the next step: edging the path to give it a polished look and prevent the wood chips from spreading into surrounding areas.
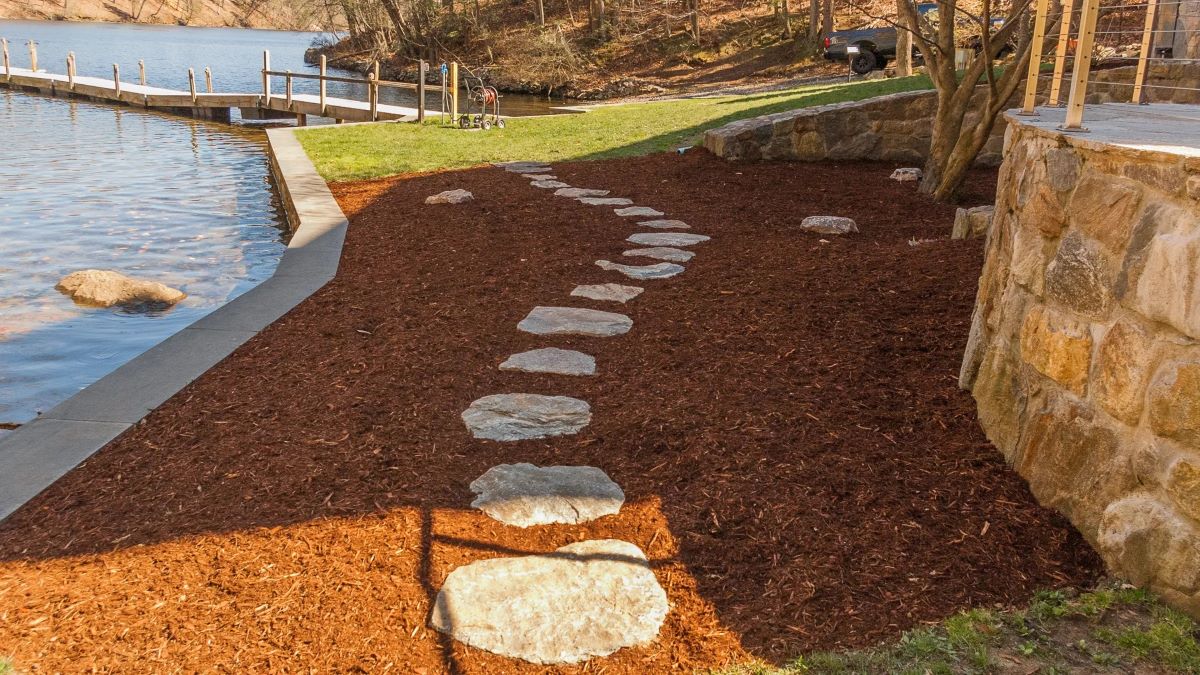
Step 7: Edging the Path
Edging the wood chip path provides a finishing touch, defining its boundaries and preventing the wood chips from spreading into adjacent areas. Here are the steps to follow when edging your path:
- Select the Edging Material: Choose the type of edging material that suits your aesthetic preferences and functional needs. Popular options include stones, bricks, metal, or even flexible plastic edging.
- Prepare the Path Edges: Using a shovel or garden trowel, create a small trench along the edges of the path. The trench should be slightly wider and deeper than the chosen edging material.
- Install the Edging: Place the edging material into the trench, ensuring it is level and firmly embedded. Use a rubber mallet or a heavy hammer to gently tap the edging into place, securing it in the ground.
- Align the Edging: Check that the edging material is positioned straight and aligns with the desired path shape. Make any necessary adjustments to achieve a uniform and visually appealing look.
- Backfill the Trench: Once the edging is secured, backfill the trench with soil or wood chips to cover the exposed edges. This helps to blend the edging with the path and create a seamless transition.
- Compact the Edging: Use the tamper or the back of a shovel to compact the soil or wood chips around the edging. This ensures stability and prevents the edging from shifting or becoming loose.
Properly installed edging adds a polished and professional touch to your wood chip path. It also helps maintain the defined shape and prevents the wood chips from spreading into surrounding areas, ensuring the longevity of your path.
With the edging in place, your wood chip path is almost complete. In the final step, we’ll cover some important maintenance tips to keep your path looking its best for years to come.
Step 8: Maintenance Tips
Maintaining your wood chip path will help keep it looking beautiful and ensure its longevity. Follow these maintenance tips to preserve your path:
- Regular Inspection: Periodically inspect your wood chip path for any signs of damage, unevenness, or weeds. Address these issues promptly to prevent further deterioration.
- Replenish Wood Chips: Over time, the wood chips may decompose or shift, resulting in areas with thin coverage. Keep a supply of wood chips on hand and replenish the path as needed to maintain a consistent depth.
- Manage Weed Growth: Despite the weed barrier fabric, some weeds may still manage to sprout. Remove these weeds manually or use a suitable weed killer, being careful not to damage the wood chips or surrounding plants.
- Address Drainage Issues: Observe the path after rainfall to ensure proper water drainage. If you notice water pooling or excessive moisture, consider improving the path’s drainage by adding additional gravel beneath the weed barrier fabric.
- Trim Overhanging Branches: If there are nearby trees or shrubs with overhanging branches, regularly trim them to prevent leaves, twigs, or debris from accumulating on the path. This will help maintain its cleanliness.
- Protect Against Erosion: If your wood chip path is adjacent to sloped areas, consider adding retaining walls or other erosion control measures to prevent the wood chips from being washed away during heavy rains.
- Periodic Raking: Use a garden rake to periodically rake the wood chips, especially after heavy use or strong winds. This helps redistribute the material and keeps the path looking tidy.
- Enjoy and Relax: Don’t forget to take a moment to enjoy your wood chip path. It’s a beautiful addition to your outdoor space where you can take leisurely walks, relax, and connect with nature.
By following these maintenance tips, you can keep your wood chip path in great condition for years to come. Regular care and attention will ensure that it remains a beautiful and functional feature in your garden.
With these steps and tips, you now have all the information you need to create and maintain a stunning wood chip path. Enjoy the process, embrace your creativity, and transform your outdoor space into a charming and inviting oasis.
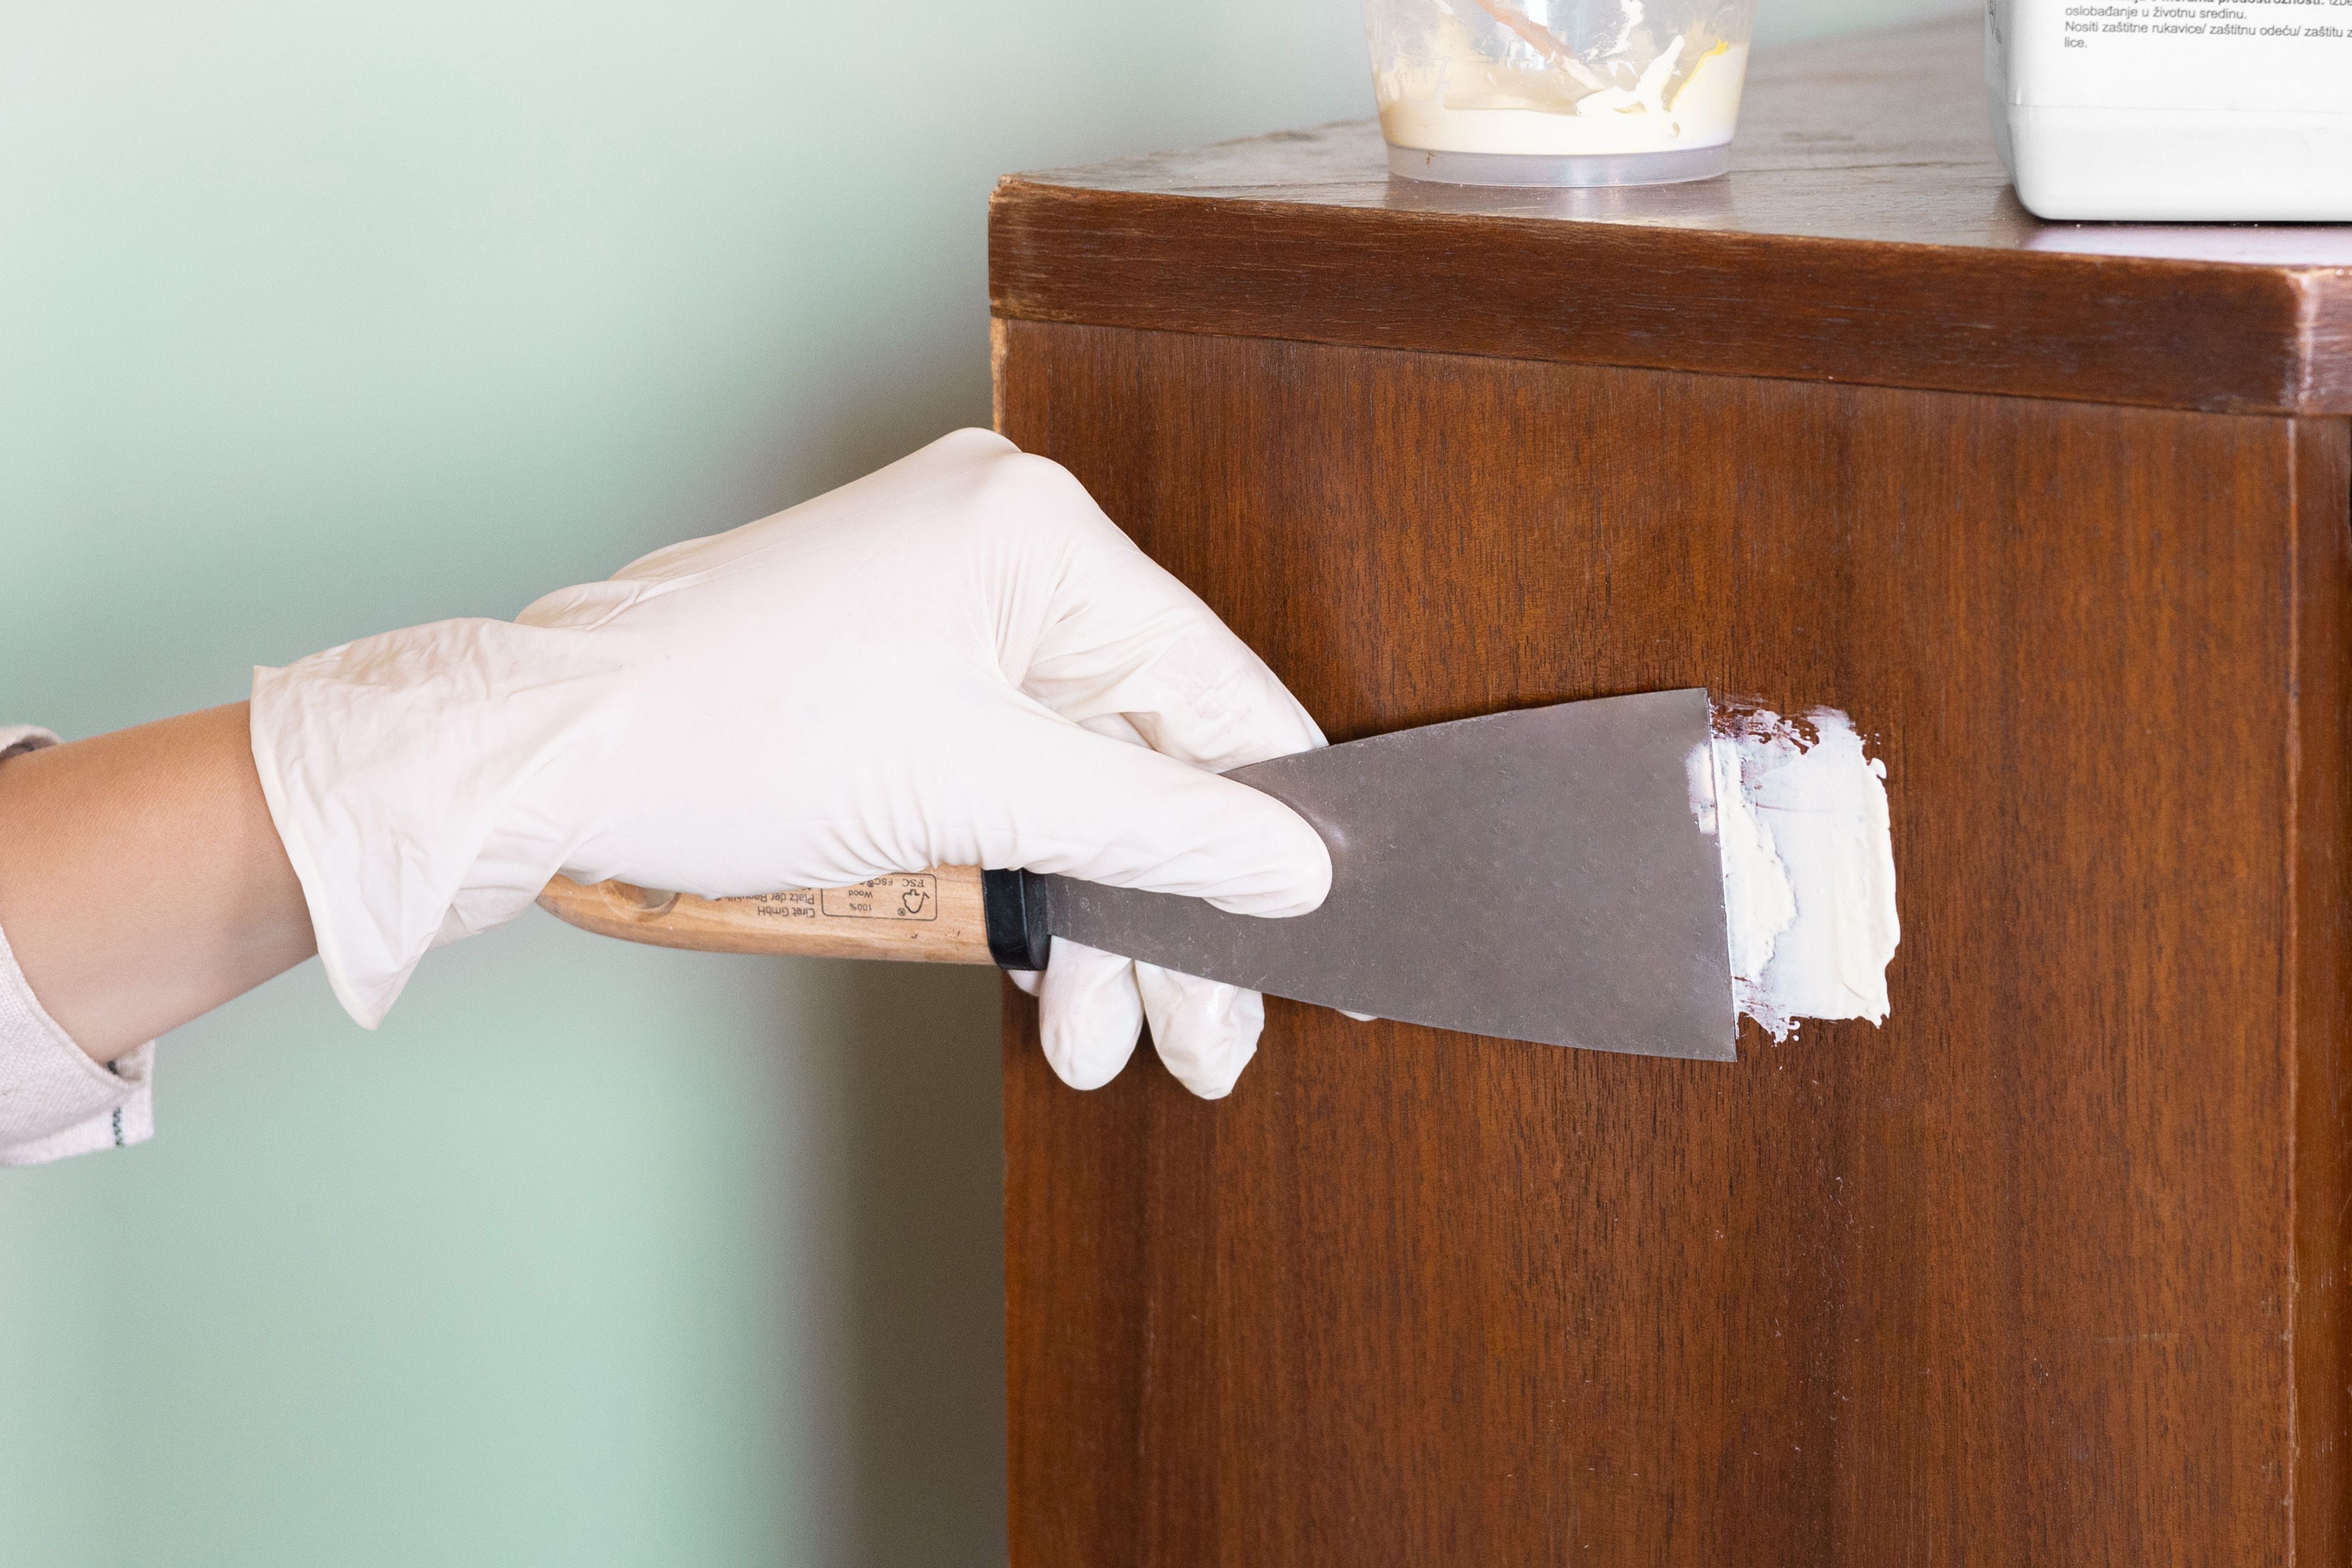
Read more: How To Fix A Chip In Wood Floor
Conclusion
Creating a wood chip path is a delightful way to enhance the beauty and functionality of your garden or outdoor space. By following the steps outlined in this article, you can successfully design and construct a stunning path that adds a touch of nature to your landscape.
From selecting the perfect location to clearing the area, gathering materials, preparing the ground, and laying the wood chips, each step plays a crucial role in creating a durable and visually appealing path. Edging the path and implementing regular maintenance practices will further enhance its longevity and keep it looking its best.
Remember to choose a location that suits your needs and compliments the existing elements of your landscape. Take your time to clear the area thoroughly and gather the necessary materials. Properly preparing the ground, leveling and compacting the wood chips, and adding edging will contribute to a finished path that is both functional and attractive.
Maintaining your wood chip path is essential to ensure its continued beauty. Regular inspections, replenishing wood chips, managing weed growth, and addressing any drainage or erosion issues will help keep your path in excellent condition year after year. Don’t forget to enjoy the fruits of your labor and take moments to relax and appreciate the natural beauty of your wood chip path.
Now, armed with the knowledge and guidance provided in this article, it’s time to get started on your own wood chip path project. Embrace your creativity, put your green thumb to work, and create a picturesque path that will bring joy and tranquility to your outdoor space.
Frequently Asked Questions about How To Make A Wood Chip Path
Was this page helpful?
At Storables.com, we guarantee accurate and reliable information. Our content, validated by Expert Board Contributors, is crafted following stringent Editorial Policies. We're committed to providing you with well-researched, expert-backed insights for all your informational needs.


0 thoughts on “How To Make A Wood Chip Path”