Articles
How To Fix Chipped Wood On Furniture
Modified: September 2, 2024
Learn how to easily fix chipped wood on furniture with our step-by-step guide. Restore the beauty of your favorite pieces with these simple DIY techniques.
(Many of the links in this article redirect to a specific reviewed product. Your purchase of these products through affiliate links helps to generate commission for Storables.com, at no extra cost. Learn more)
Introduction
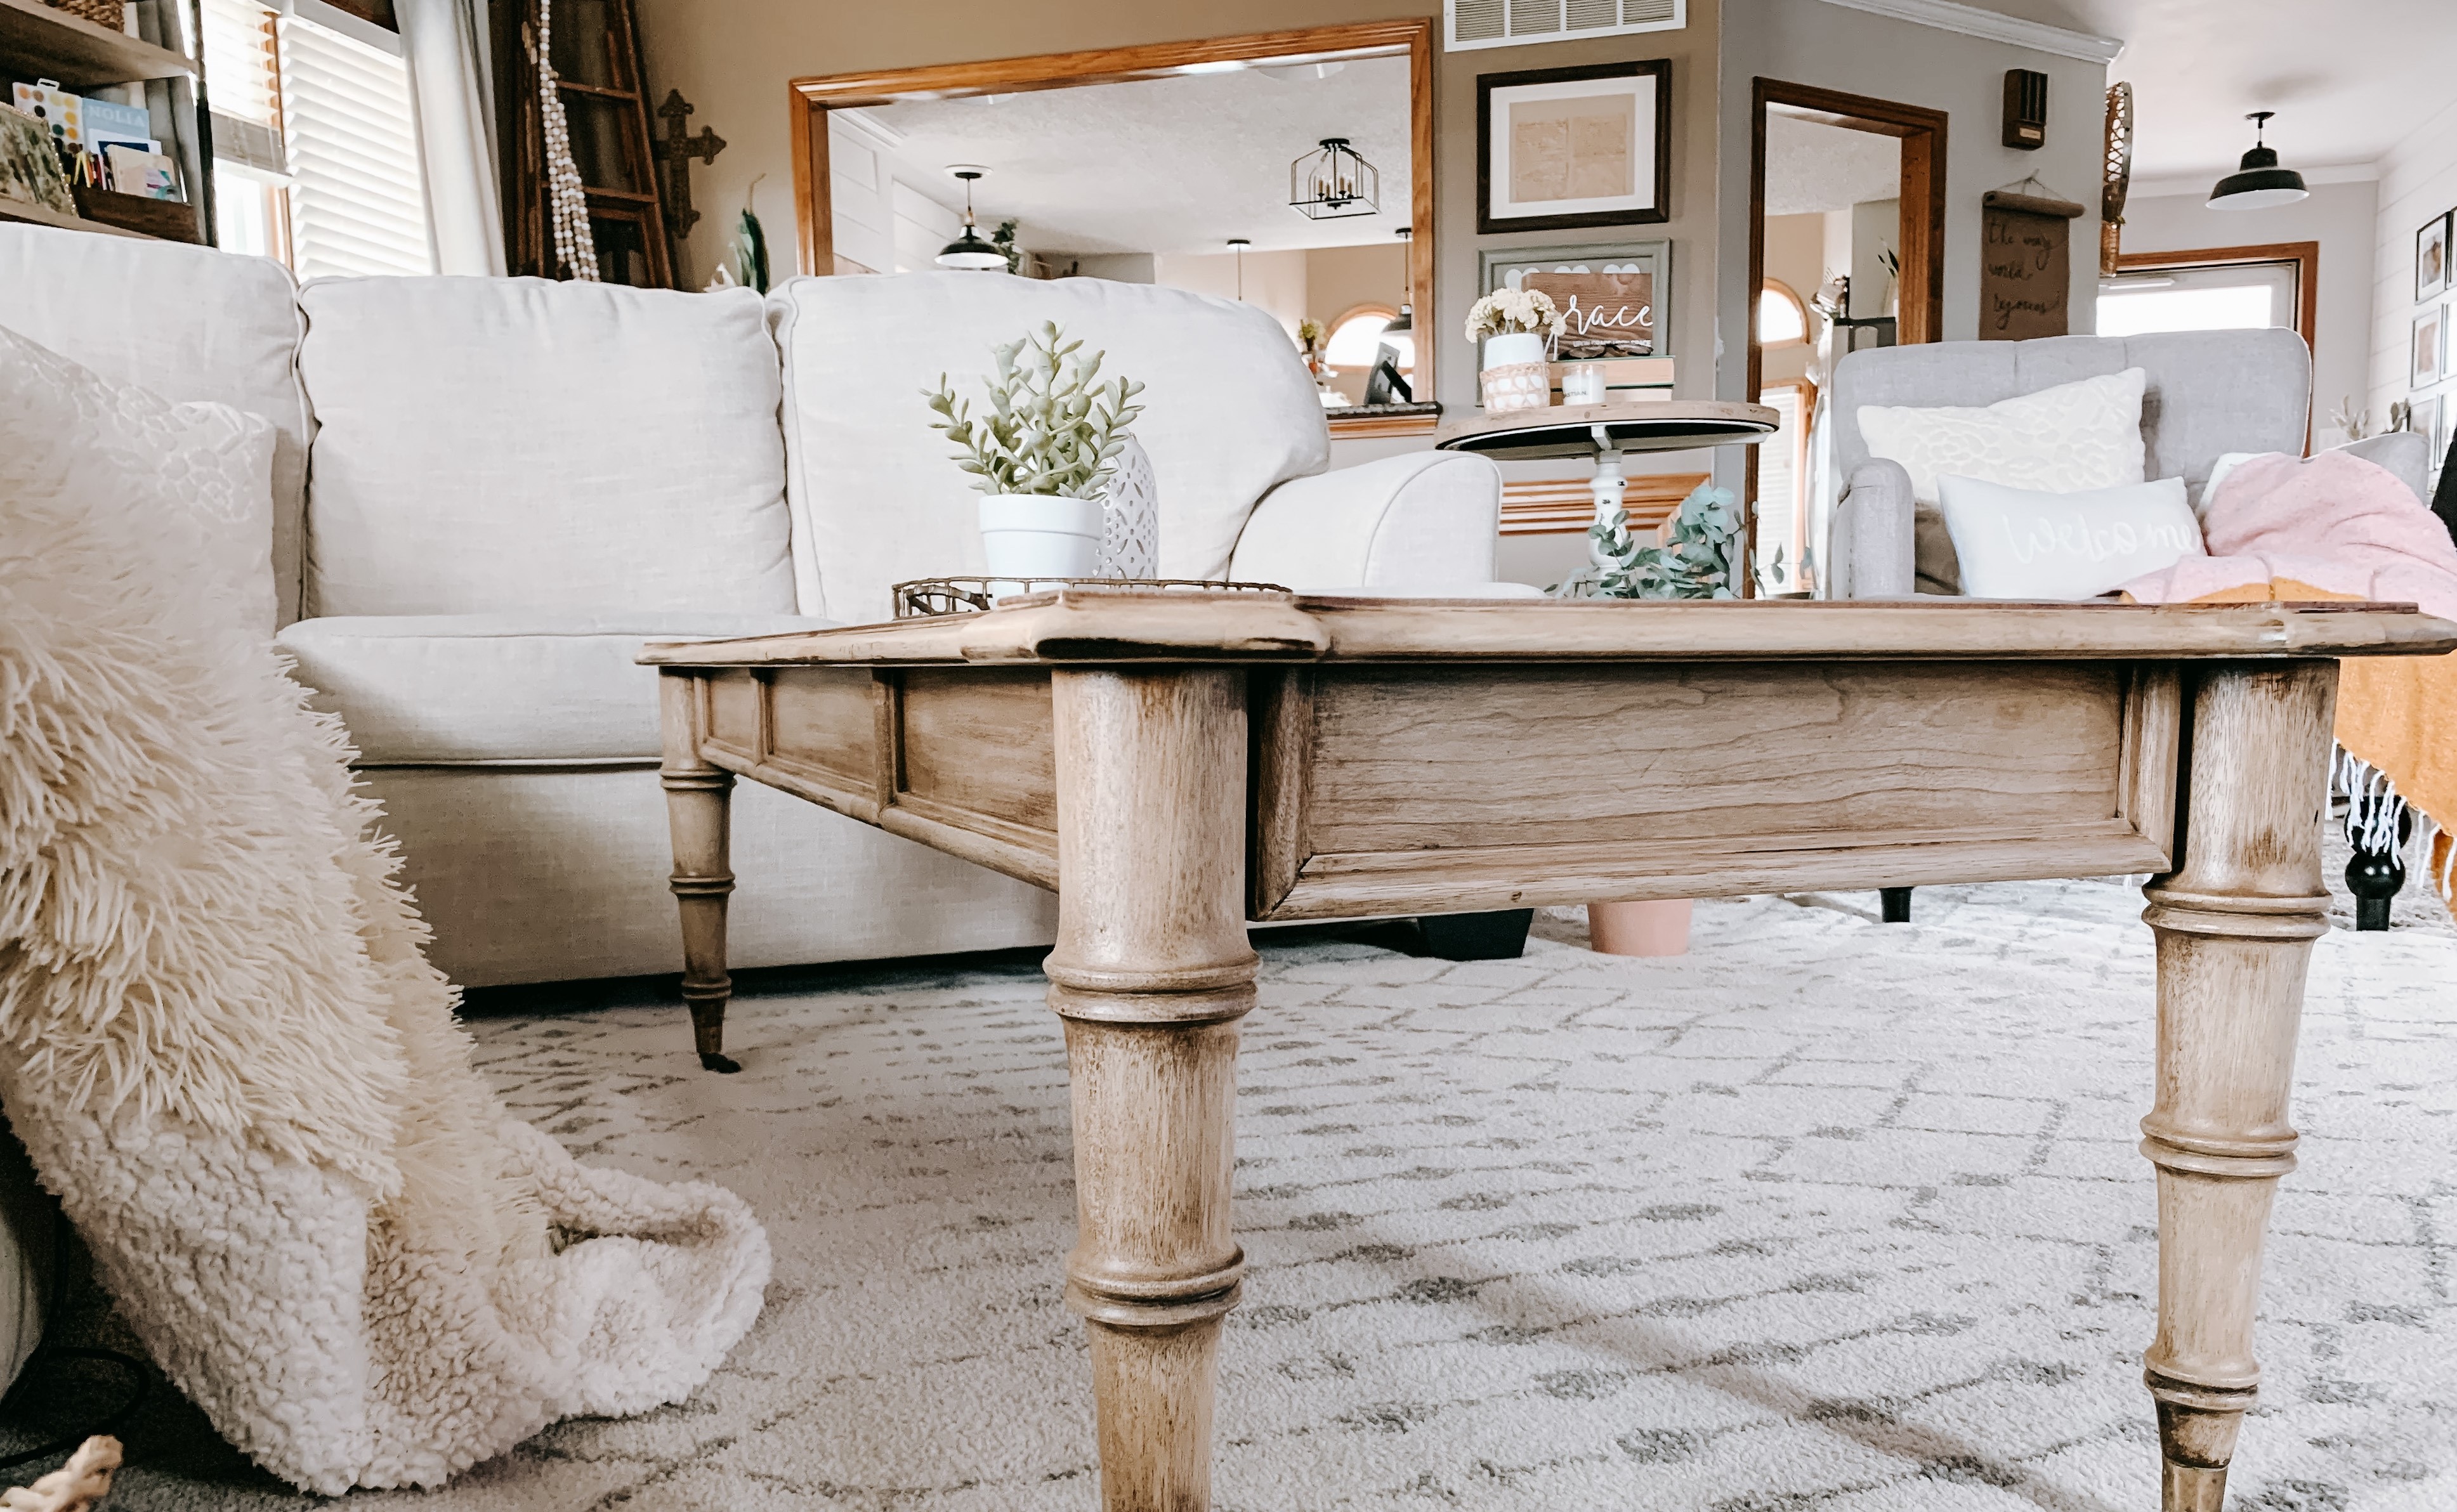
When it comes to furniture, nothing is more disappointing than discovering a chipped piece. Whether it’s a scratch from moving or an accidental bump, a chipped wood surface can detract from the overall beauty of your furniture. But fear not! With a little know-how and some basic tools, you can easily fix chipped wood on your furniture and restore it to its former glory.
Understanding how to fix chipped wood involves a step-by-step process that starts with assessing the damage and ends with a finished repair. In this article, we will guide you through each of these steps, providing you with the knowledge and skills necessary to tackle this common issue.
Before we dive into the repair process, it’s worth noting that the exact steps may vary depending on the type of wood and finish of your furniture. It’s always a good idea to test any products or techniques on a small, inconspicuous area first to ensure that they don’t cause any further damage. Now, let’s get started on fixing those chipped wood surfaces!
Key Takeaways:
- Easily restore chipped wood furniture by assessing, cleaning, filling, sanding, and matching the color. Finish with a protective coating and buffing for a seamless, professional repair.
- Don’t let chipped wood furniture get you down! With patience and attention to detail, you can transform and rejuvenate damaged pieces, restoring their beauty for years to come.
Read more: How To Fix A Chip In Wood Floor
Step 1: Assess the Damage
Before you begin the repair process, it’s important to assess the extent of the damage. Take a close look at the chipped area and determine whether it’s a minor chip or a larger piece of wood that’s completely broken off. This will help you determine the best approach for repairing it.
If the chip is small and shallow, you can proceed with a simple fix using wood filler. However, if the damage is more severe and involves a larger piece of wood, you may need to consider more extensive repairs, such as replacing the damaged section or seeking professional help.
Another aspect to consider during the assessment is the color and finish of your furniture. Is the chipped area in a visible spot? Does the chip affect the overall aesthetic appeal of the piece? This will help you prioritize the repair and determine how much effort and time you want to invest in fixing it.
Once you have assessed the damage, you’ll have a better understanding of the level of repair needed and can move on to gathering the necessary tools and materials.
Step 2: Gather the Necessary Tools and Materials
Before you begin the repair process, you’ll need to gather the necessary tools and materials to ensure a successful fix.
Here are some tools and materials you may need:
- Wood filler: This is a putty-like substance that you’ll use to fill in the chipped area.
- Putty knife: You’ll need a putty knife to apply the wood filler smoothly and evenly.
- Sandpaper: Depending on the severity of the chip, you’ll need sandpaper of various grits to smooth the repaired area.
- Stain or paint: If the chipped area has affected the color or finish of the wood, you’ll need a stain or paint that matches the original shade.
- Brushes: You’ll need brushes to apply the stain or paint evenly onto the repaired area.
- Protective coating: To ensure the longevity of the repair, you may want to apply a protective coating, such as polyurethane or lacquer.
- Clean cloth and mild cleaner: Before starting the repair, it’s essential to clean the damaged area to remove any dirt or residue.
These are just the basic tools and materials you’ll need for most wood chip repairs. Depending on the specific circumstances of your furniture and the damage, you may require additional items. Make sure you have everything ready before you move on to the next step.
Now that you have all the necessary tools and materials, it’s time to clean the damaged area in preparation for the repair.
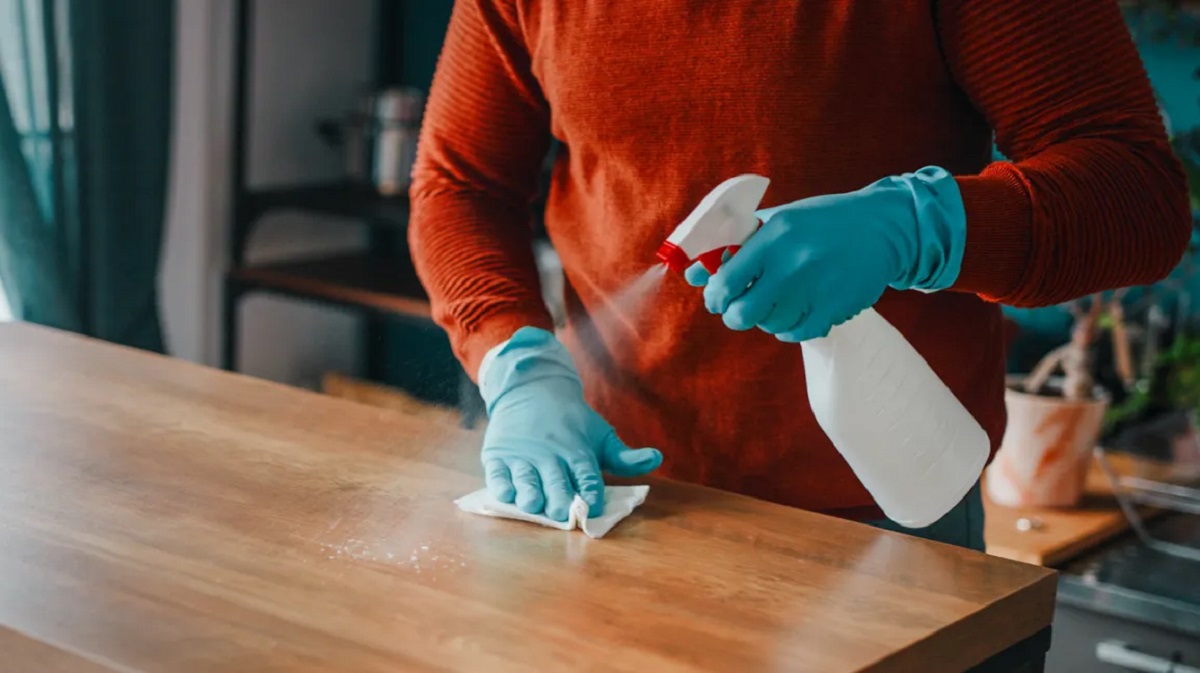
Step 3: Clean the Damaged Area
Before you begin the repair process, it’s important to thoroughly clean the damaged area. This will ensure that the wood filler adheres properly and that the finished repair looks seamless.
Start by using a clean cloth and a mild cleaner to gently wipe the chipped area. This will remove any dirt, dust, or residue that may be present. Be careful not to apply too much pressure, as you don’t want to further damage the wood surface.
After cleaning the area, allow it to dry completely. This will ensure that the wood filler adheres effectively and doesn’t get compromised by any moisture. Depending on the type of wood and the environment, this could take anywhere from a few minutes to a few hours. Patience is key in achieving a successful repair.
Once the area is dry, you’re ready to move on to the next step: filling the chip with wood filler.
Note: If you notice any loose or splintered wood around the chipped area, it’s a good idea to gently remove and smooth it out before applying the wood filler. This will help create a clean and even surface for the repair.
Now that the damaged area is clean and dry, it’s time to use wood filler to fill in the chip and restore the damaged wood surface.
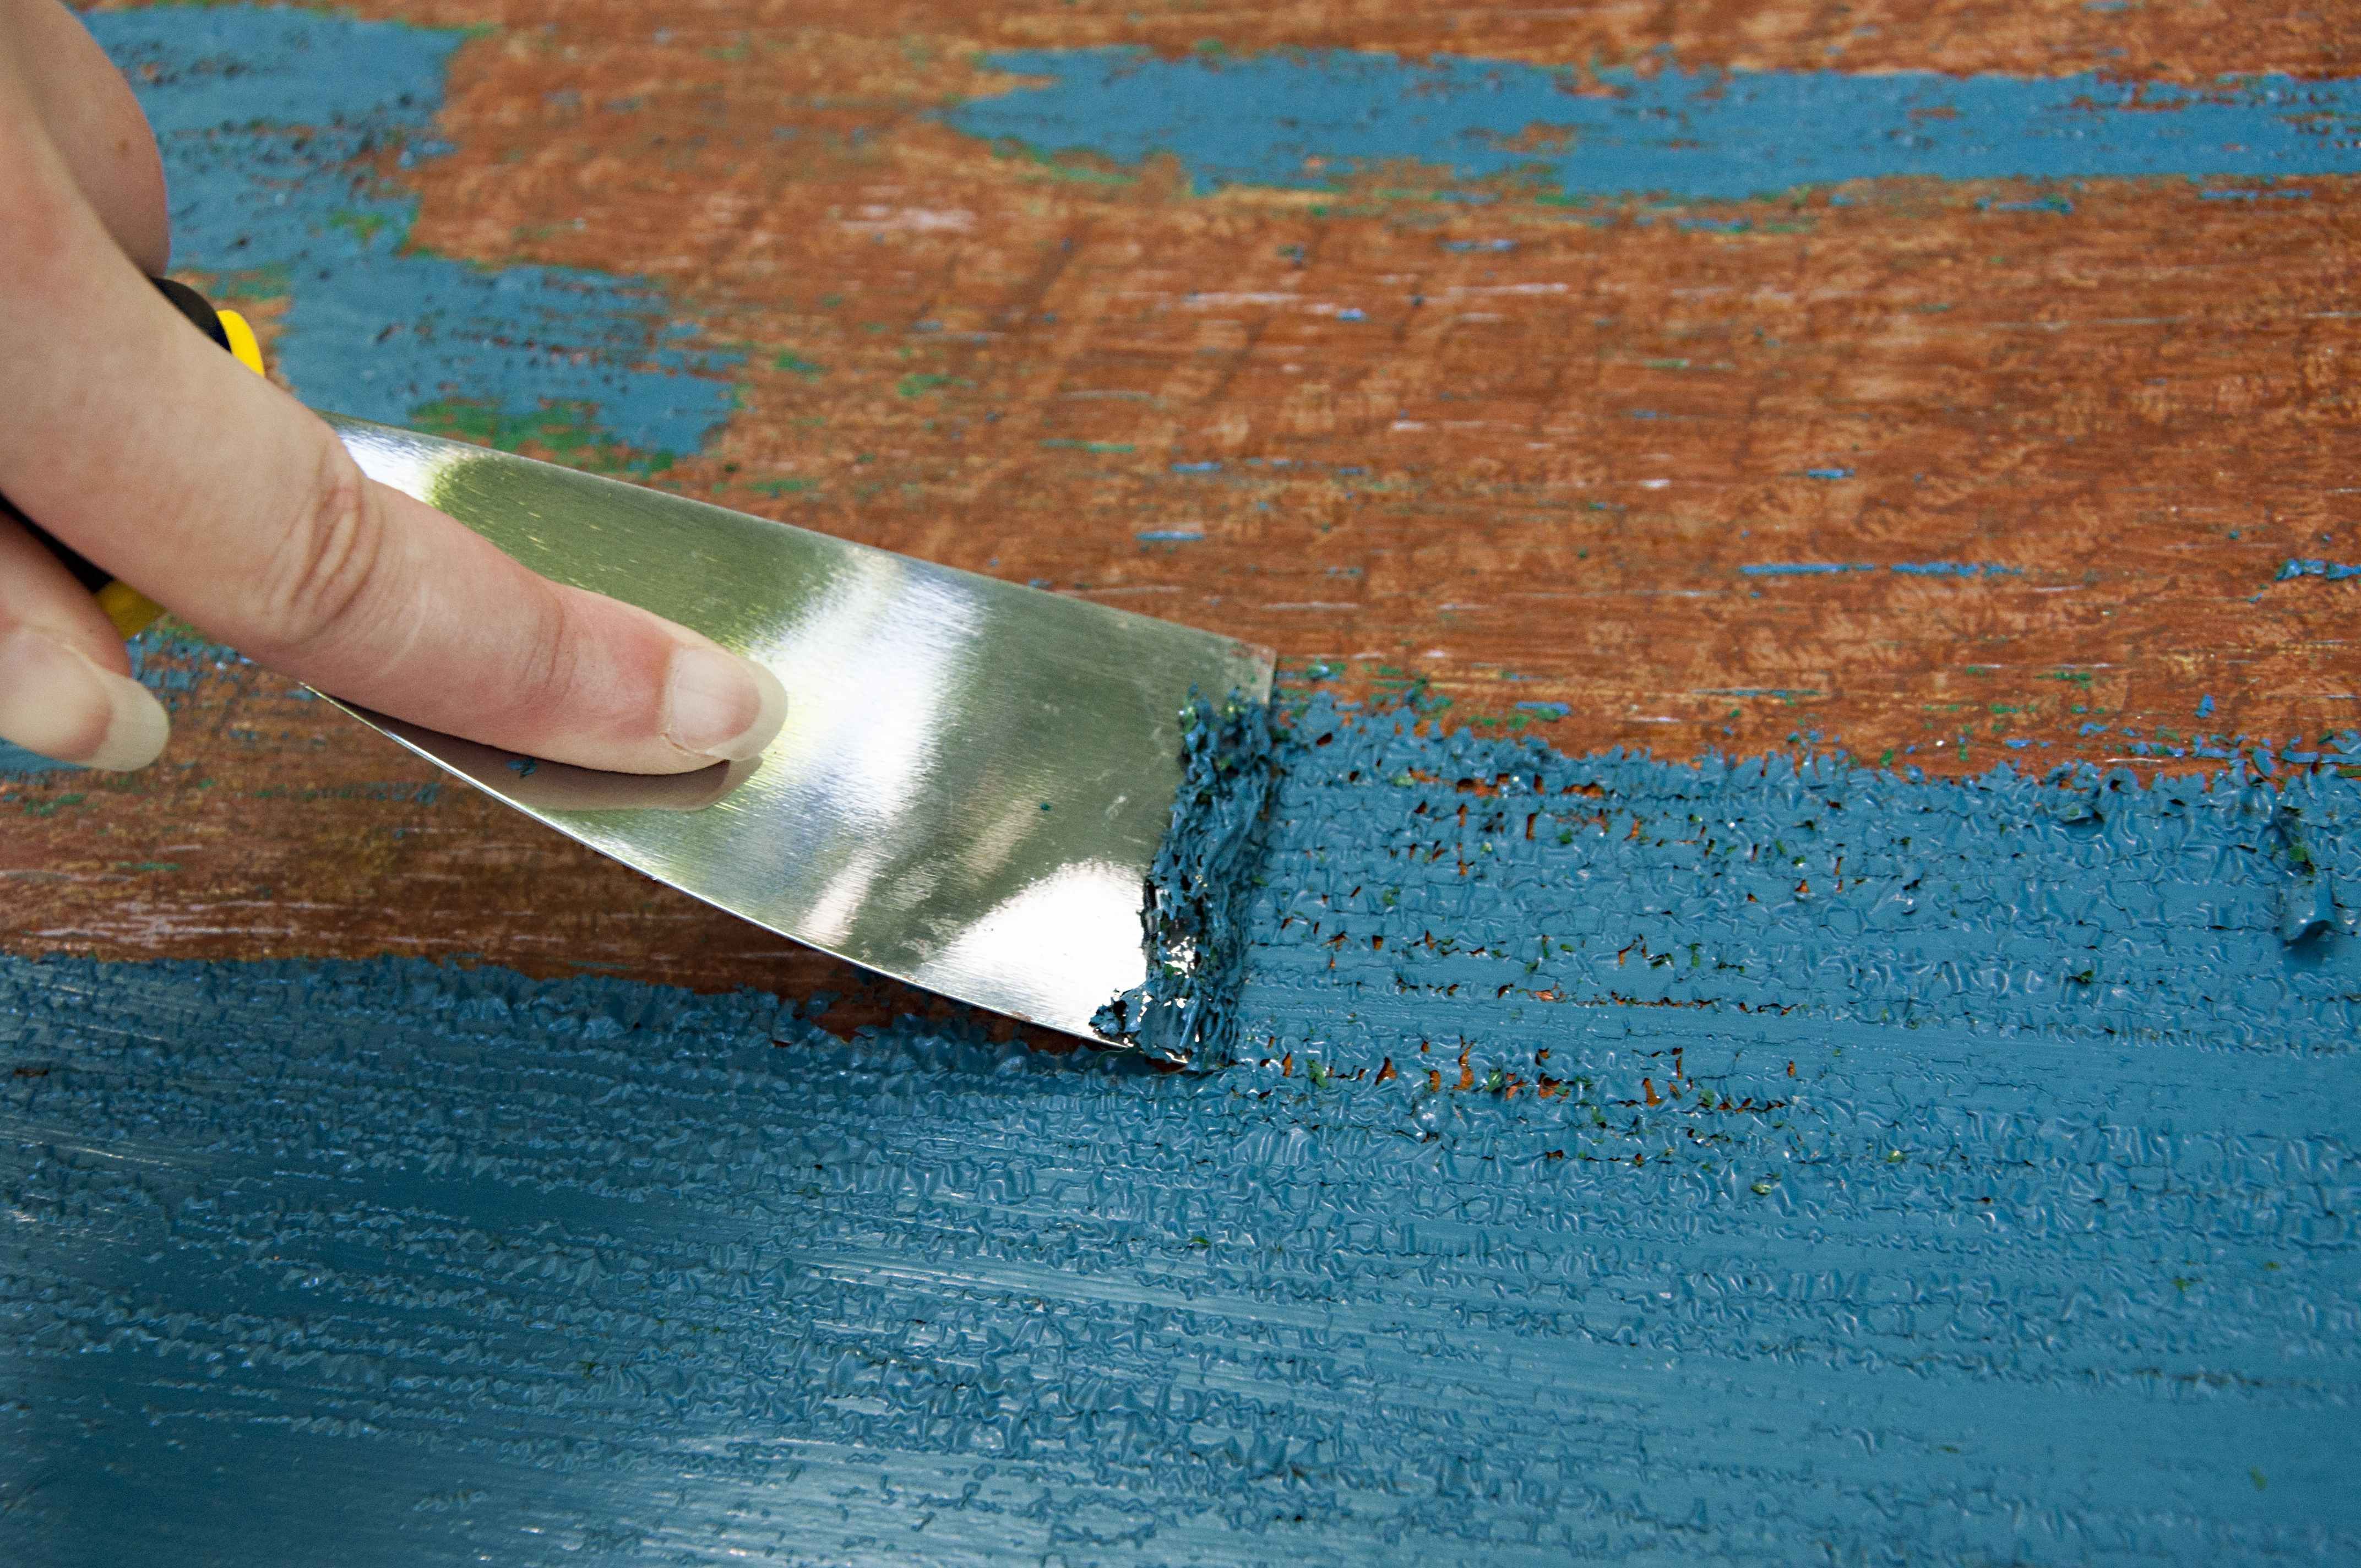
Step 4: Fill the Chip with Wood Filler
Now that the damaged area is clean and dry, it’s time to fill the chip with wood filler. This step will help to restore the missing wood and create a smooth surface for the repair.
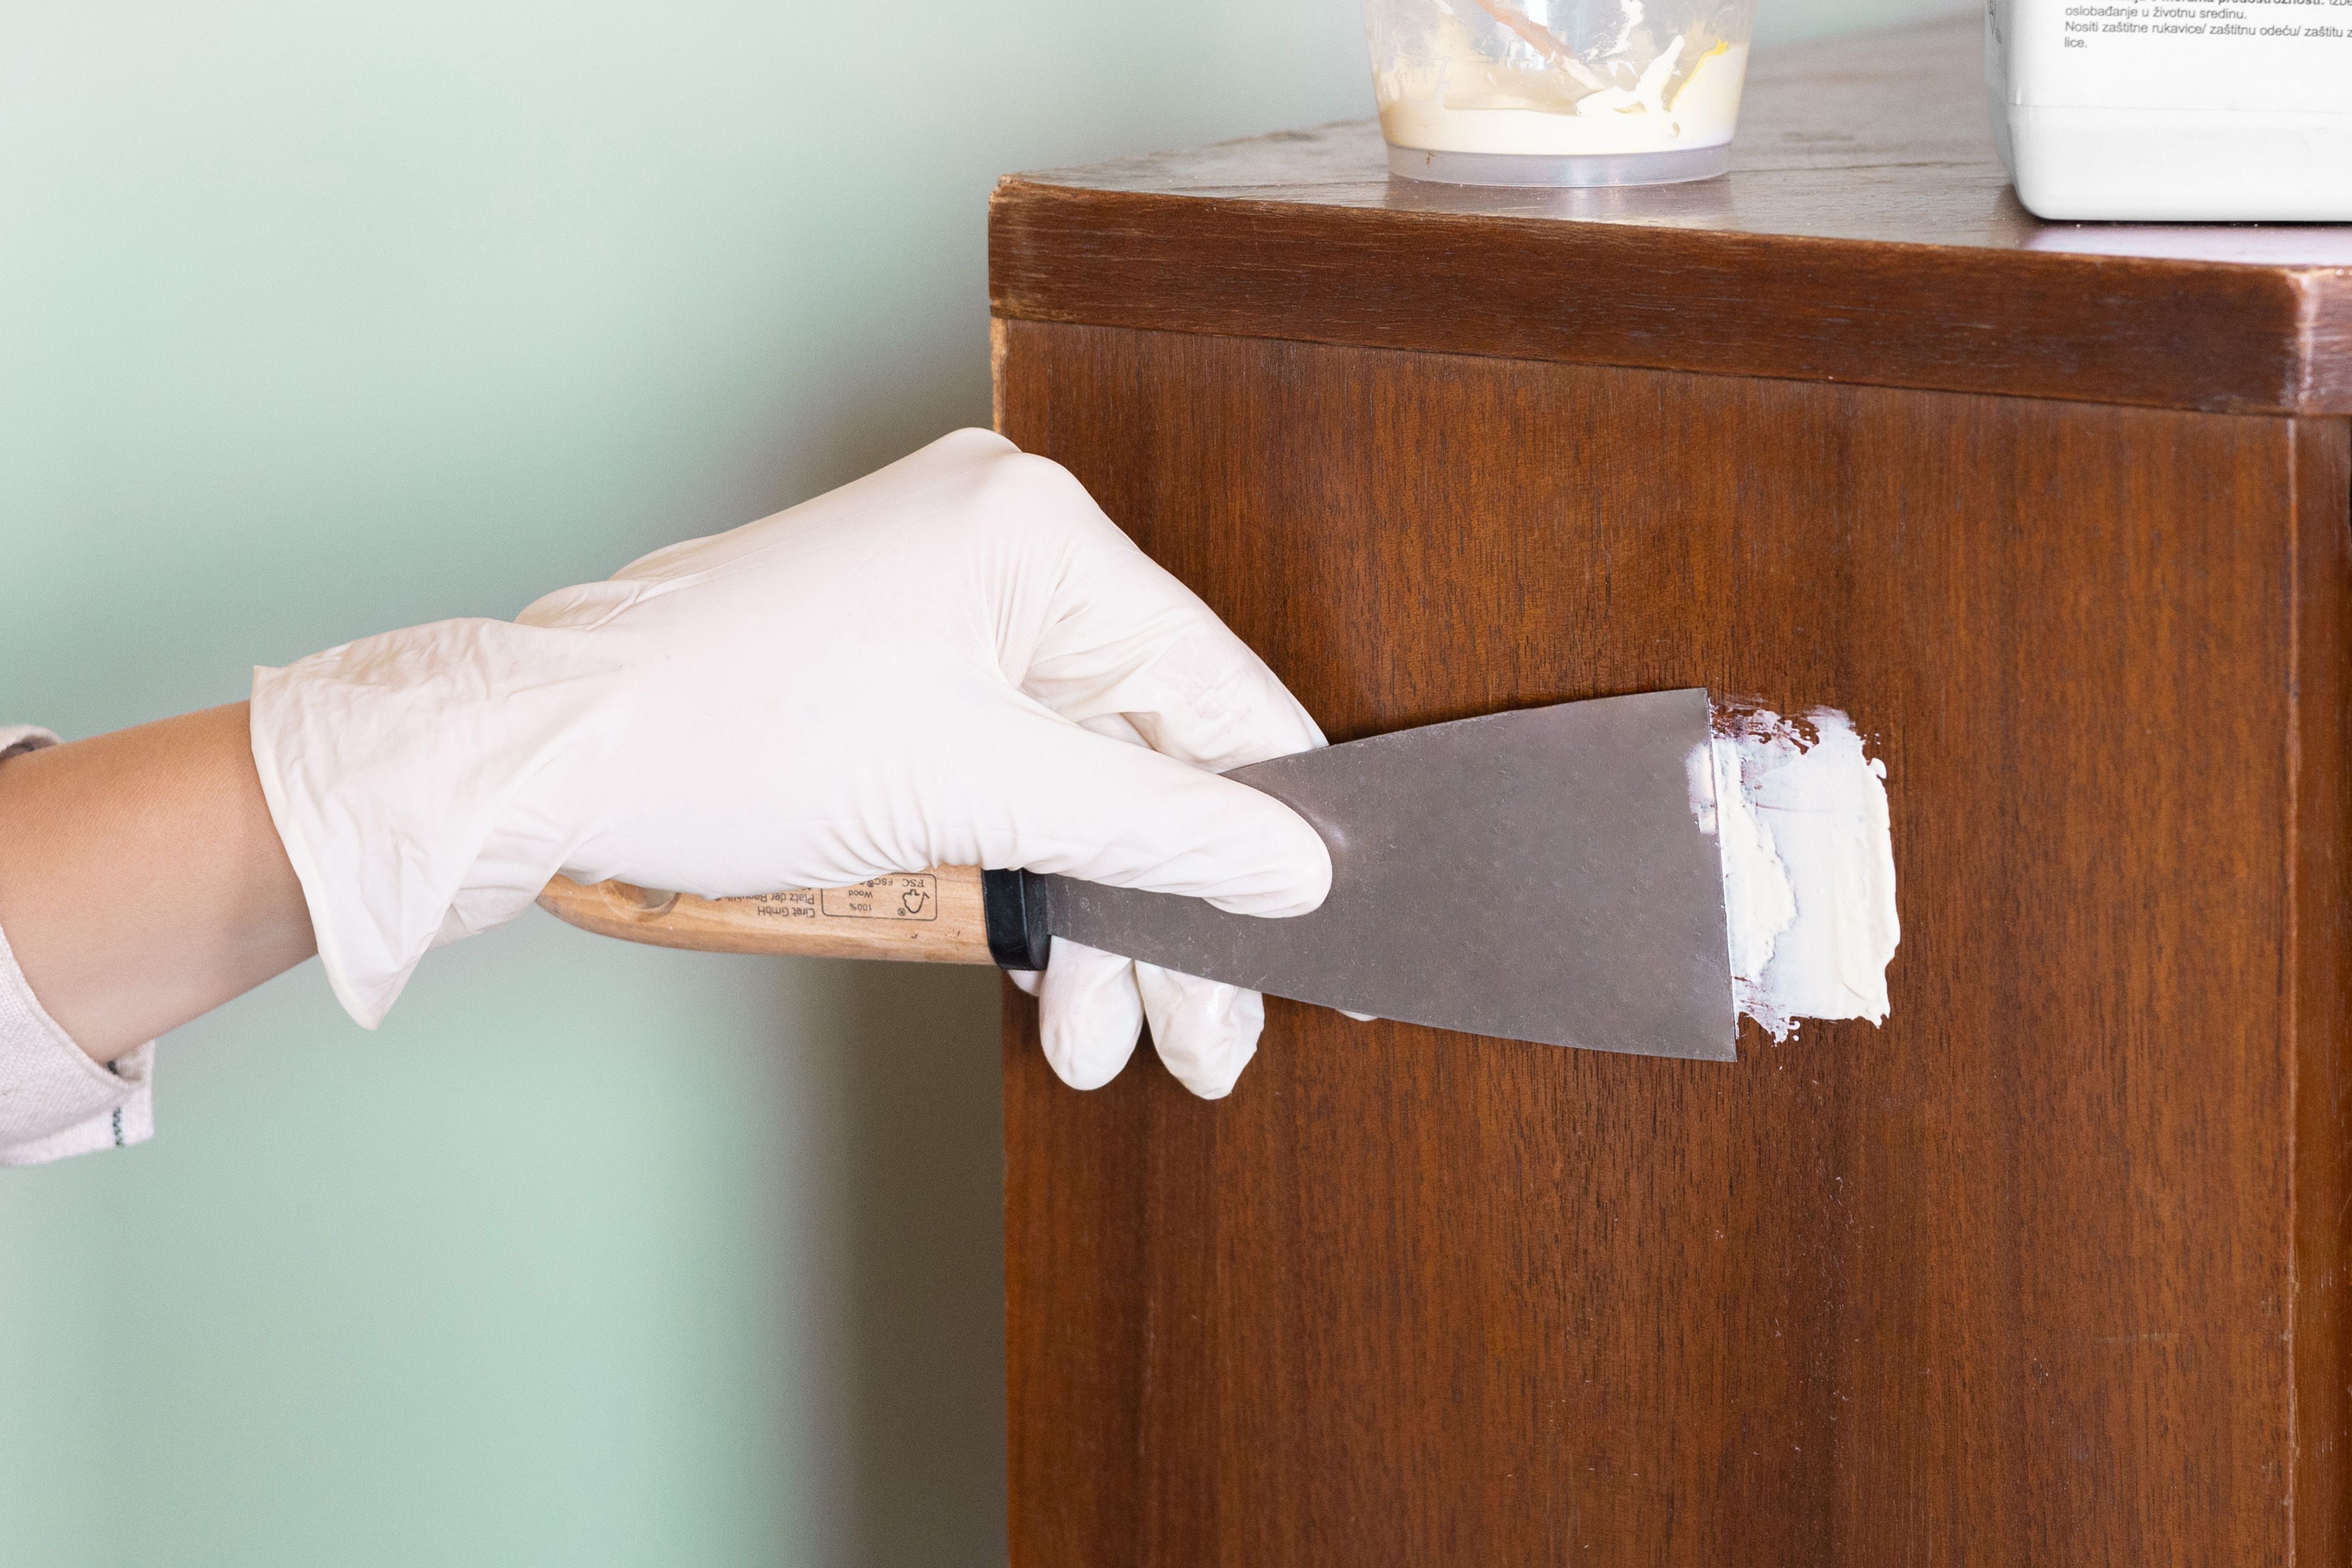
Begin by applying a small amount of wood filler to the chipped area using a putty knife. Ensure that the filler is evenly distributed and completely fills the chip. Use the putty knife to smooth the filler, creating a level surface.
Be mindful of any intricate details or contours in the wood surface. Use the putty knife to carefully shape the filler to match the surrounding area. This will help to blend the repair seamlessly and ensure a natural-looking finish.
Once you have filled the chip with wood filler, allow it to dry according to the manufacturer’s instructions. This can typically range from a few minutes to a few hours.
After the wood filler has dried completely, inspect the repaired area. If necessary, you can apply another layer of filler to achieve a smooth and level surface. Repeat the drying process for each layer until you are satisfied with the repair.
Keep in mind that the color of the wood filler may differ from the surrounding wood. This will be addressed in the next step when we match the color to achieve a seamless repair.
Once the wood filler is completely dry and you are satisfied with the repair, it’s time to move on to the next step: sanding the filled area.
Read more: How To Fix Cracked Wood Furniture
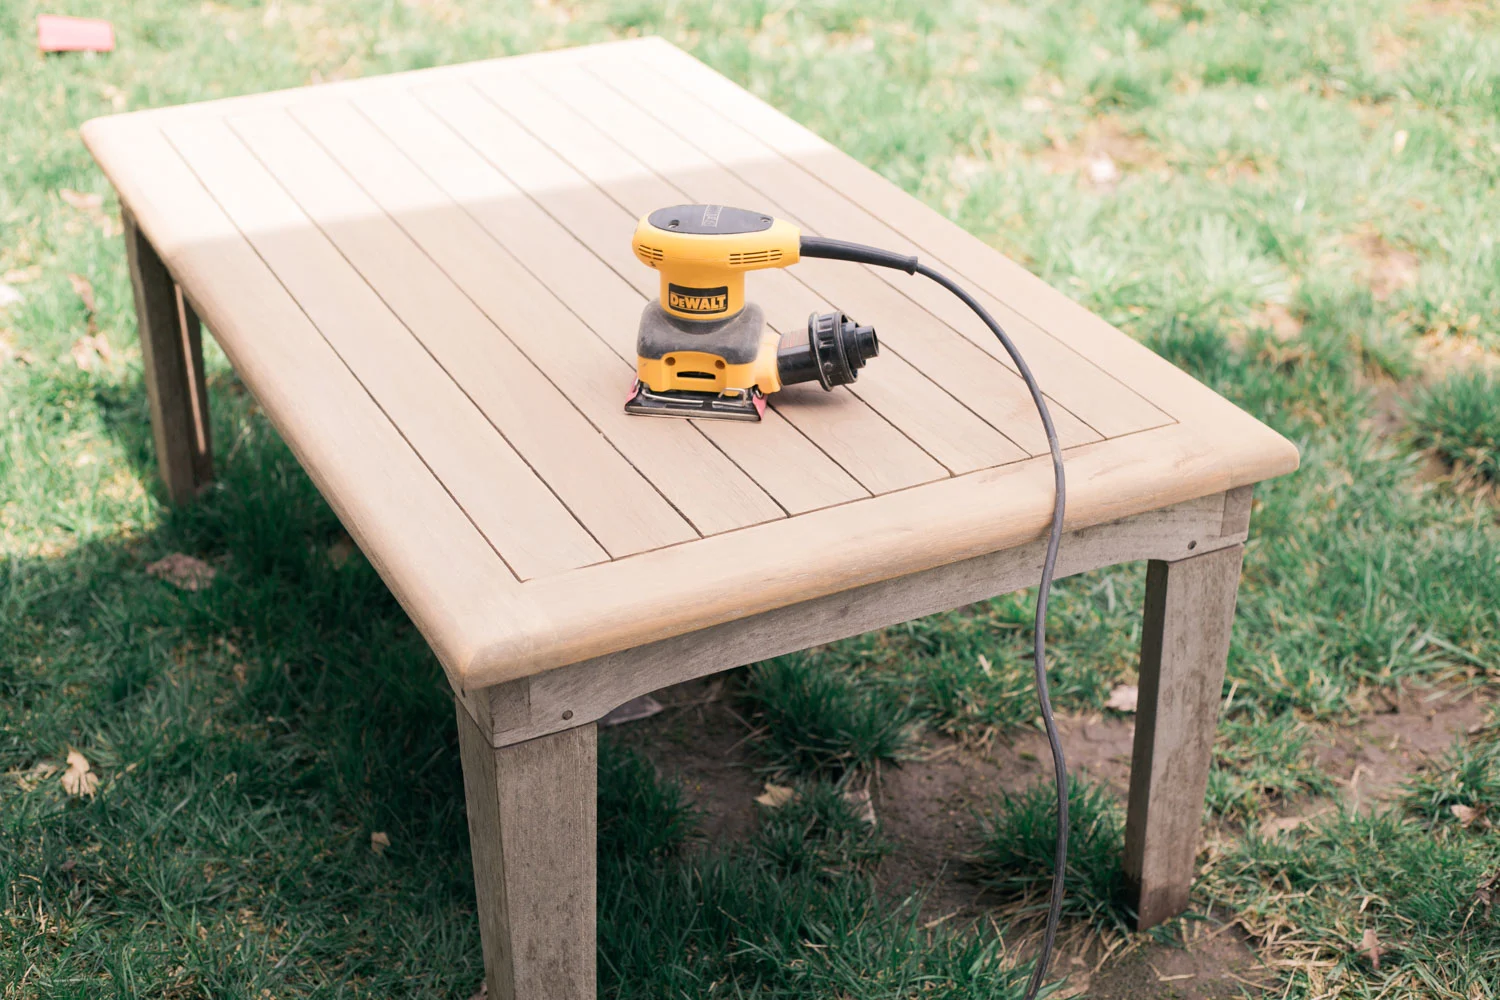
Step 5: Sand the Filled Area
After the wood filler has dried and created a smooth surface, the next step is to sand the filled area. Sanding will help to blend the repair with the surrounding wood and create a seamless finish.
Start by using a piece of sandpaper with a medium grit to sand the filled area. This will help to remove any excess filler and create a level surface. Sand in a circular motion, being careful not to apply too much pressure. You want to gradually blend the filler with the surrounding wood.
As you sand, periodically check the area to ensure that the repair is blending well. If necessary, you can switch to a finer grit sandpaper to achieve a smoother finish. Continue sanding until the repaired area feels smooth to the touch and seamlessly blends with the rest of the wood surface.
After sanding, gently wipe away any dust or residue with a clean cloth. This will help you assess the quality of the repair and make any necessary adjustments.
If, during the sanding process, you notice any unevenness or inconsistencies in the repair, you can apply another layer of wood filler and repeat the drying and sanding steps. It’s important to achieve a smooth and flawless surface before moving on to the next step.
Once you are satisfied with the smoothness and blend of the repair, it’s time to match the color of the wood and ensure the repaired area matches the rest of the furniture.
In the next step, we will discuss how to match the color and achieve a seamless finish.
Use wood filler to fill in the chipped area, then sand it smooth once it’s dry. Match the color with a wood stain or paint for a seamless finish.
Step 6: Match the Color
Matching the color of the repaired area to the rest of the furniture is crucial in achieving a seamless finish. This step will help to ensure that the repair is not noticeable and that the chip blends in naturally with the surrounding wood.
One way to match the color is by using a wood stain that matches the original shade of the furniture. Before applying the stain, test it on a small, inconspicuous area to ensure it closely matches the existing color.
If the stain alone does not achieve the desired color match, you can consider using a combination of stains or even custom-mixing your own color. Experimentation and patience may be required to achieve the closest match.
Another option is to use paint to match the color of the repaired area. If your furniture has a painted finish, matching the paint color can be achieved by taking a small sample of the paint to a local paint store for color matching.
Regardless of whether you choose to use stain or paint, it’s important to apply the color sparingly and gradually build up the color to match the surrounding wood. Use a small brush or sponge applicator to apply the color evenly, focusing on the repaired area.
Once the color is applied, allow it to dry completely. Observe the repaired area in different lighting conditions to ensure the color match is satisfactory. If needed, make additional adjustments by applying more color or using different shades until the repaired area seamlessly blends with the rest of the furniture.
After achieving the desired color match, it’s time to move on to the next step: applying a protective coating.
In step 7, we will discuss how to apply a protective coating to safeguard the repair and maintain its longevity.
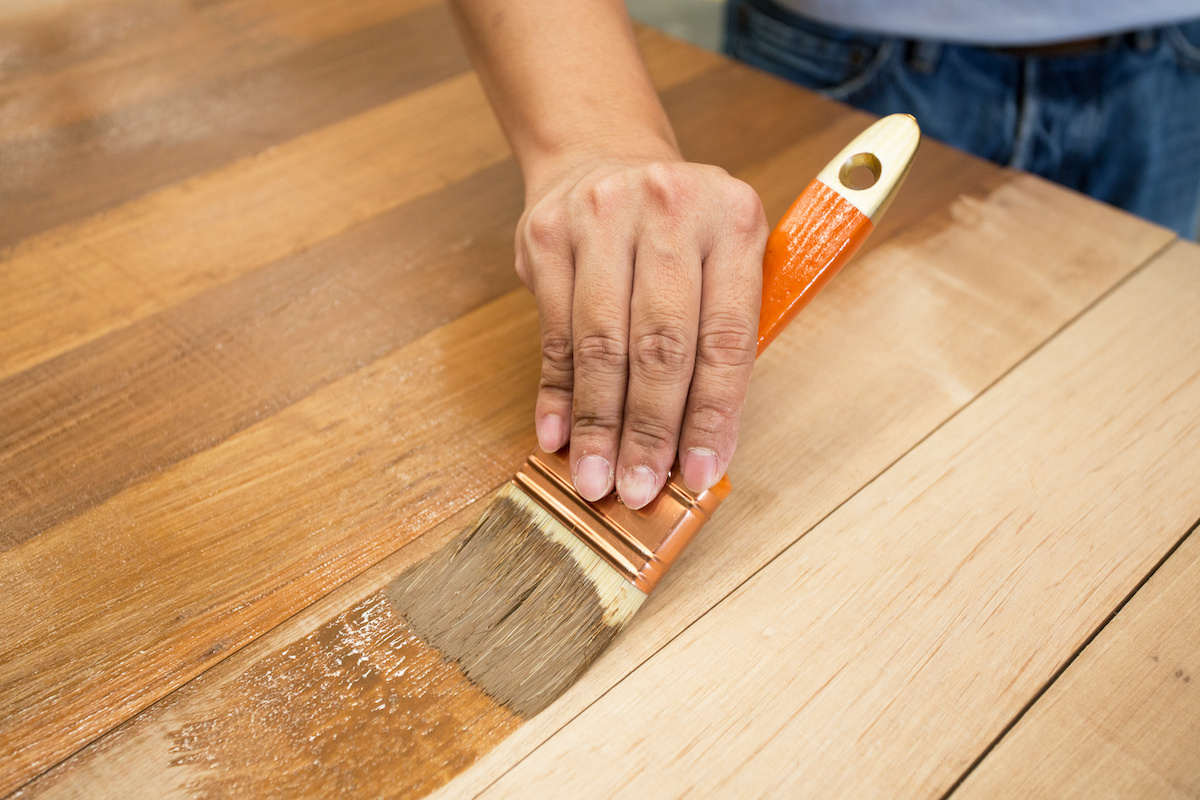
Step 7: Apply Wood Stain or Paint
Now that you have matched the color of the repaired area to the rest of the furniture, it’s time to apply a wood stain or paint to ensure a cohesive finish. This step will help to protect the wood and give the repaired area a professional and polished look.
If you are using wood stain, start by stirring the stain thoroughly. Using a brush or a clean cloth, apply a thin and even coat of stain to the repaired area. Follow the grain of the wood to achieve a natural and seamless finish. Allow the stain to penetrate the wood for the recommended time specified by the manufacturer.
If you are using paint, similarly prepare the paint by stirring it well. Use a brush or a foam roller to apply a thin layer of paint to the repaired area. Apply the paint evenly and smoothly, taking care to blend it with the surrounding wood. Allow the paint to dry completely before proceeding.
After applying the wood stain or paint, assess the color and coverage. If necessary, apply additional coats to achieve the desired depth and consistency. Remember to allow each coat to dry completely before applying the next one.
Throughout the application process, it’s essential to maintain a clean and organized workspace to avoid any unwanted drips or spills. Protect the surrounding furniture or flooring by using drop cloths or newspaper.
Once you are satisfied with the color and coverage, it’s time to move on to the next step: applying a protective coating.
In step 8, we will discuss the importance of applying a protective coating to safeguard the repair and prolong its lifespan.
Step 8: Finish with a Protective Coating
Applying a protective coating is an important step in the wood chip repair process. It not only enhances the durability of the repair but also adds a layer of protection to the entire piece of furniture.
There are several options for protective coatings, including polyurethane, lacquer, or varnish. Choose a finish that matches the existing finish on the furniture, or opt for a clear coat to preserve the natural look of the wood.
Before applying the protective coating, make sure the repaired area is clean and free from any dust or debris. Use a clean cloth or a tack cloth to wipe away any particles that may interfere with the application.
Using a brush or a foam applicator, apply the protective coating evenly over the repaired area and extend it slightly beyond the repaired section. Follow the manufacturer’s instructions for drying time and apply additional coats as necessary, allowing sufficient drying time between each coat.
When applying the protective coating, be mindful of any drips or excess product pooling in one area. Smooth out any unevenness or drips with a brush to ensure a consistent finish. Take your time and work in a well-ventilated area to allow for proper drying and minimize the risk of dust or debris adhering to the coating.
Once the protective coating is completely dry, gently sand the surface using a fine-grit sandpaper to achieve a smooth and uniform finish. Wipe away any dust with a clean cloth before proceeding to the next step.
In the final step, we will discuss how to buff and polish the repaired area to restore its shine and luster.
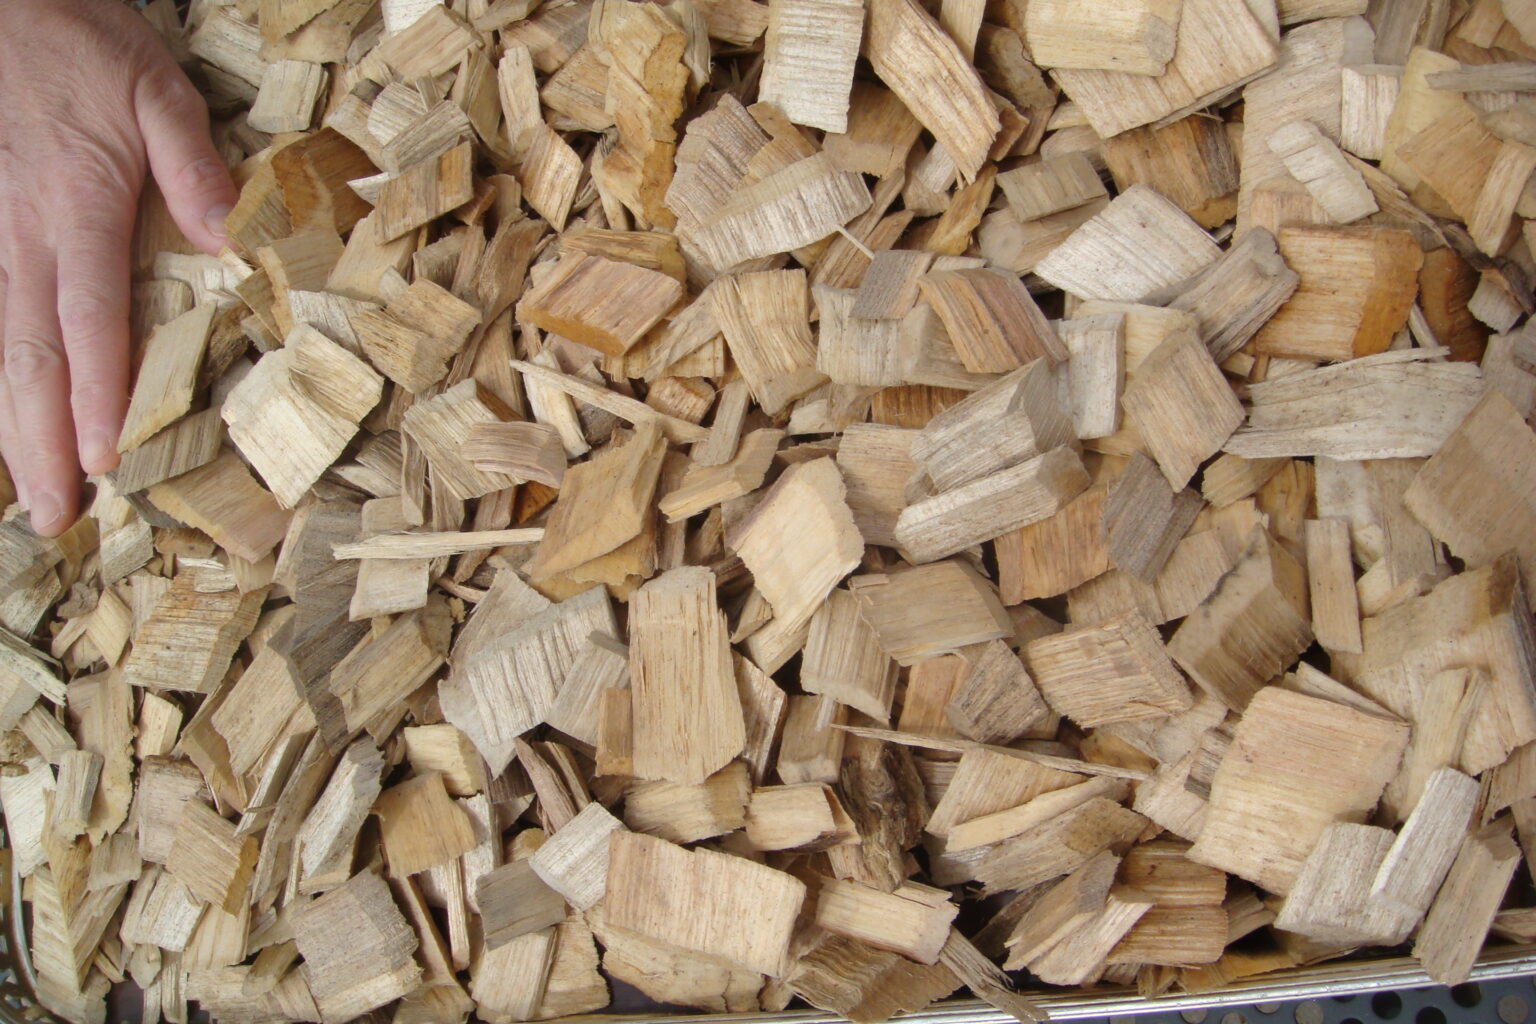
Read more: How To Store Wood Chips
Step 9: Buff and Polish the Repaired Area
The final step in the wood chip repair process is to buff and polish the repaired area to restore its shine and luster. This step will help to blend the repaired section seamlessly with the rest of the furniture and create a professional finish.
Start by using a fine-grit sandpaper or a sanding block to gently smooth the surface of the repaired area. Sand in the direction of the wood grain, taking care not to apply too much pressure and to keep the sanding consistent across the entire surface.
After sanding, wipe away any dust or debris using a clean cloth or a tack cloth. This will ensure a clean surface for polishing.
Next, apply a small amount of furniture polish or wax onto a soft cloth. Gently rub the cloth in a circular motion over the repaired area, working in small sections at a time. This will help to buff and polish the wood, restoring its shine and enhancing the beauty of the repaired section.
Continue buffing and polishing until the repair area matches the surrounding wood, and the entire piece of furniture has a consistent sheen.
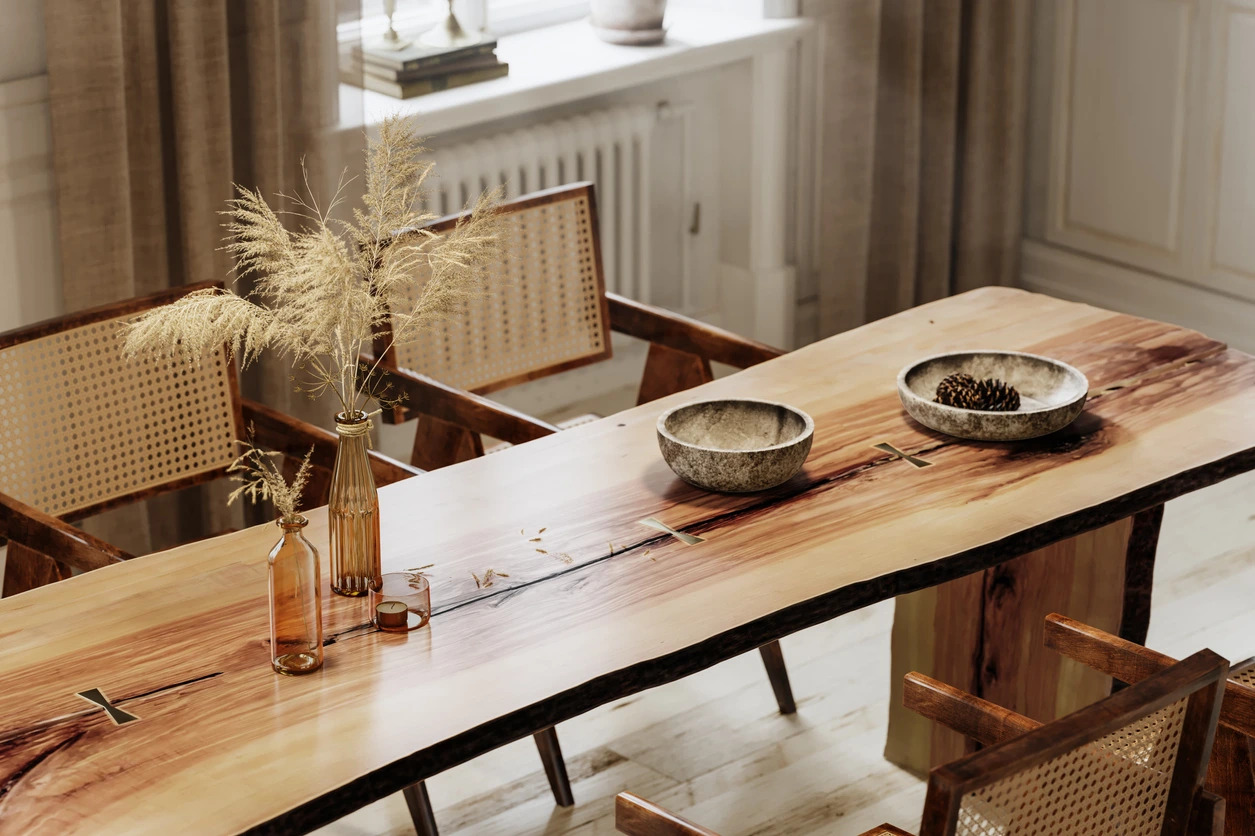
Once you are satisfied with the result, step back and admire your work. The repaired chip should now be virtually invisible, and your furniture restored to its former glory.
Remember, how well the repaired area blends with the rest of the furniture can depend on various factors, such as the complexity of the chip, the type of wood, and the proficiency of the repair. With practice and patience, you will become more skilled at achieving flawless repairs.
By following these steps and taking the time to assess, prepare, repair, and finish, you can successfully fix chipped wood on your furniture and enjoy its beauty for years to come.
Congratulations on completing the wood chip repair process!
Conclusion
Repairing chipped wood on your furniture doesn’t have to be a daunting task. By following the step-by-step process outlined in this article, you can easily restore your furniture to its former beauty and ensure that the repairs are seamless and long-lasting.
Remember, the key to a successful wood chip repair is in the preparation and attention to detail. Assess the damage, gather the necessary tools and materials, and clean the damaged area before filling it with wood filler. Sand the filled area, match the color to blend with the surrounding wood, and apply a protective coating for added durability.
Finally, buff and polish the repaired area to restore its shine and luster, ensuring that the chip is virtually invisible in the finished product.
Throughout the process, be patient and take your time. Don’t rush the repairs, as this can lead to mistakes and subpar results. Take care to match the color and finish, paying attention to the small details that will make your chip repair blend seamlessly with the rest of the furniture.
With a little effort and the right approach, you can transform a chipped and damaged piece of furniture into a beautiful and restored item that you can enjoy for years to come.
So don’t let chipped wood on your furniture bring you down. Take action, follow the steps, and take pride in your ability to fix and restore your beloved furniture pieces.
Remember, every chip is an opportunity for repair and rejuvenation. Embrace the challenge, unleash your creativity, and let your furniture shine once again.
Now that you're equipped to mend chipped wood on furniture, why not tackle larger projects around your home? Our guide on DIY home improvement provides practical tips for beginners and seasoned DIYers alike. If you're considering upgrading your living space, don't overlook the elegance leather furniture adds. Get savvy with our insights on furniture care to keep your pieces looking pristine. For enthusiasts eager to craft their own items, dive into woodworking to discover the top techniques and projects for the upcoming year.
Frequently Asked Questions about How To Fix Chipped Wood On Furniture
Was this page helpful?
At Storables.com, we guarantee accurate and reliable information. Our content, validated by Expert Board Contributors, is crafted following stringent Editorial Policies. We're committed to providing you with well-researched, expert-backed insights for all your informational needs.

0 thoughts on “How To Fix Chipped Wood On Furniture”