Articles
How To Make A Stepping Stone Path
Modified: October 20, 2024
Learn how to create a beautiful stepping stone path with our informative articles. Find step-by-step instructions and expert tips to guide you along the way.
(Many of the links in this article redirect to a specific reviewed product. Your purchase of these products through affiliate links helps to generate commission for Storables.com, at no extra cost. Learn more)
Introduction
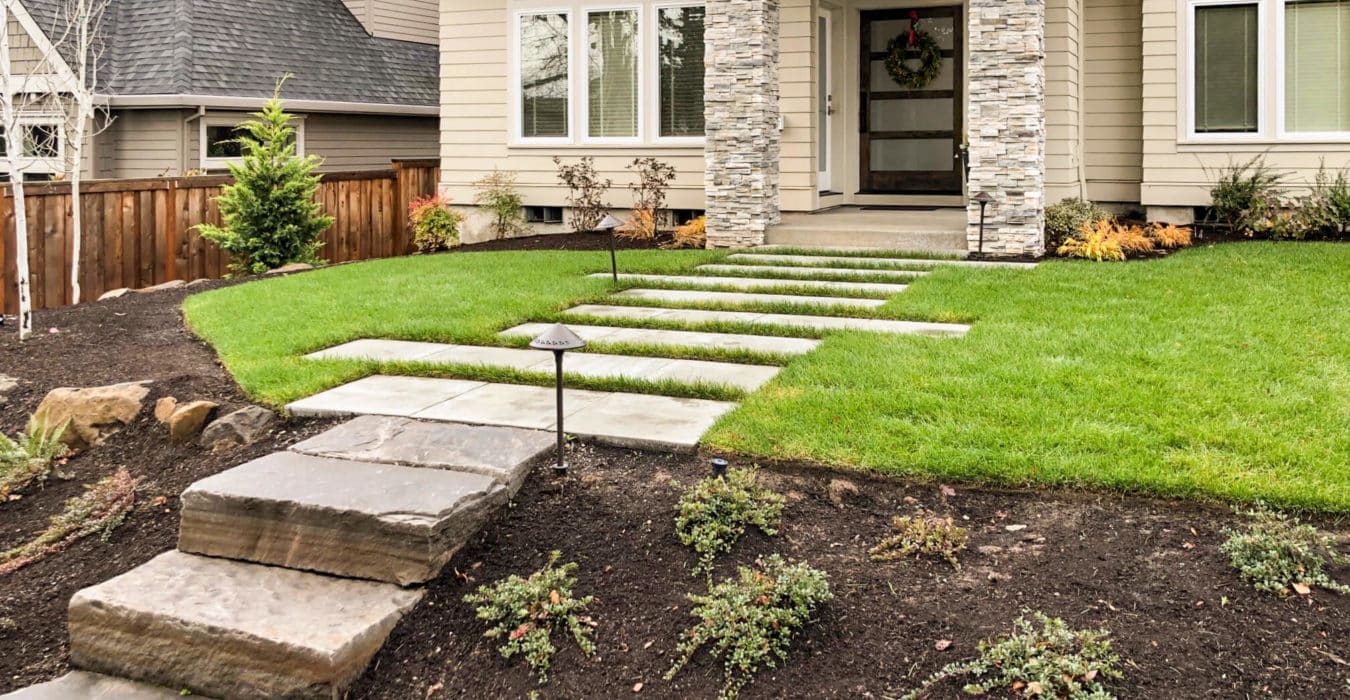
Creating a stepping stone path in your garden not only adds charm and functionality but also provides a personal touch to your outdoor space. Whether you want to enhance the beauty of your garden, create a path to guide visitors, or simply add a unique element to your landscaping, a stepping stone path is the perfect solution.
Stepping stones can be made from a variety of materials such as concrete, natural stone, or even recycled materials, allowing you to choose the option that best suits your style and budget. This versatile and customizable project offers endless possibilities for creativity.
In this article, we will guide you through the process of creating a stepping stone path step by step, providing helpful tips and tricks along the way. From gathering the necessary materials to adding the finishing touches, you’ll learn everything you need to know to embark on this exciting project.
But before we begin, it’s important to note that no two stepping stone paths are the same. Each garden is unique, and your path should reflect your personal taste and style. So feel free to adapt and customize these steps according to your specific needs and preferences.
Are you ready to take your garden to the next level? Let’s dive in and learn how to make a stepping stone path that will leave a lasting impression.
Key Takeaways:
- Create a personalized and durable stepping stone path by gathering materials, preparing the area, and adding finishing touches to reflect your unique style and vision.
- Enhance the beauty and functionality of your garden with a DIY stepping stone path, incorporating decorative elements, plants, and lighting for a stunning and inviting outdoor space.
Step 1: Gather Materials
The first step in creating a stepping stone path is to gather all the necessary materials. Here’s a list of items you’ll need:
- Stepping stones: Choose stones that are durable and suitable for outdoor use. You can opt for pre-made stepping stones from a garden center or create your own using concrete molds.
- Concrete mix: If you decide to make your own stepping stones, you’ll need a bag of concrete mix. Be sure to follow the instructions on the bag for the correct mixing ratios.
- Mold release agent: If you’re using concrete molds, a mold release agent will prevent the stepping stones from sticking to the molds during the curing process.
- Decorative elements: Add a personal touch to your stepping stone path by including decorative elements such as mosaic tiles, glass beads, or colored stones.
- Leveling tool: A leveling tool, such as a spirit level or a straight edge, will help ensure that your path is flat and even.
- Trowel or float: These tools are essential for spreading and shaping the concrete mix when making your own stepping stones.
- Gloves and safety glasses: Protect yourself while working with concrete by wearing gloves and safety glasses.
- Gravel or sand: Use gravel or sand as a base for your stepping stone path to provide stability and drainage.
- Landscaping fabric: To prevent weeds from growing through the gaps between the stepping stones, lay down landscaping fabric before placing the stones.
- Optional: Landscape edging: If you want to create defined borders for your path, consider using landscape edging materials such as bricks, pavers, or metal strips.
Before you begin the project, take inventory of the materials you already have and make a shopping list for any items you need to purchase. This way, you’ll have everything at hand when you’re ready to start creating your stepping stone path.
Now that you’ve gathered your materials, it’s time to move on to the next step: preparing the area where your stepping stone path will be placed.
Step 2: Prepare the Area
Before you start laying your stepping stones, it’s important to properly prepare the area where the path will be located. Follow these steps to ensure a solid foundation for your stepping stone path:
- Clear the area: Remove any existing vegetation, rocks, or debris from the path area. This will create a clean and level surface for your stepping stones.
- Mark the path: Use stakes and string or a garden hose to outline the desired path. This will serve as a guide as you prepare the area and lay the stepping stones.
- Level the ground: Use a shovel or garden rake to level the soil within the marked path area. Ensure that the ground is even and free from any bumps or depressions.
- Compact the soil: To create a stable base, compact the soil by gently tamping it down with the back of a shovel or a hand tamper. This will prevent the ground from settling and causing the stepping stones to shift over time.
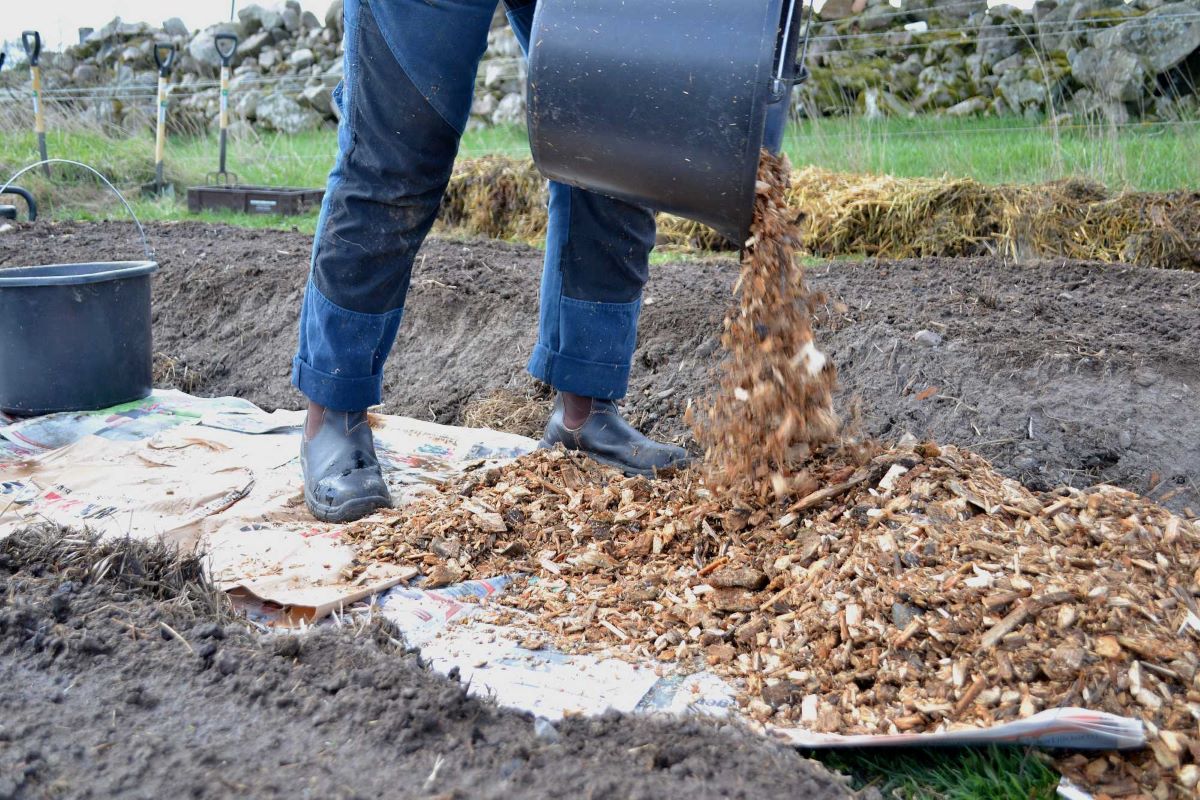
- Add a layer of gravel or sand: Pour a layer of gravel or sand over the compacted soil. This layer will provide additional stability, help with drainage, and prevent the stones from sinking into the ground.
- Level the gravel or sand: Use a leveling tool, such as a straight edge or a spirit level, to ensure that the layer of gravel or sand is even and flat. Adjust as needed to achieve a level surface.
- Install landscape fabric: Lay down a sheet of landscaping fabric over the gravel or sand. This will help to suppress weed growth and keep the path looking neat and tidy.
By taking the time to properly prepare the area, you’ll create a solid foundation for your stepping stone path. This will ensure that your path remains stable and level for years to come. Now that the area is ready, it’s time to move on to the next step: creating a base for the path.
Step 3: Create a Base for the Path
Creating a solid base for your stepping stone path is crucial to its stability and longevity. Follow these steps to create a strong and durable base:
- Add a layer of crushed stone: Begin by adding a layer of crushed stone on top of the landscaping fabric. This layer will provide additional stability and drainage for your path. Spread the crushed stone evenly, ensuring a thickness of about 2-3 inches.
- Compact the crushed stone: Use a hand tamper or a compacting tool to compress the crushed stone. This will help to create a firm and stable base for your stepping stones.
- Check for levelness: Use a leveling tool, such as a straight edge or a spirit level, to check the levelness of the crushed stone base. Adjust as necessary to ensure that the base is even and flat.
Once you’ve completed these steps, you’ll have a solid and level base for your stepping stone path. This base will provide a stable surface for the stepping stones and prevent them from shifting or sinking over time.
Now that you’ve created a strong foundation, it’s time to move on to the next step: laying the stepping stones.
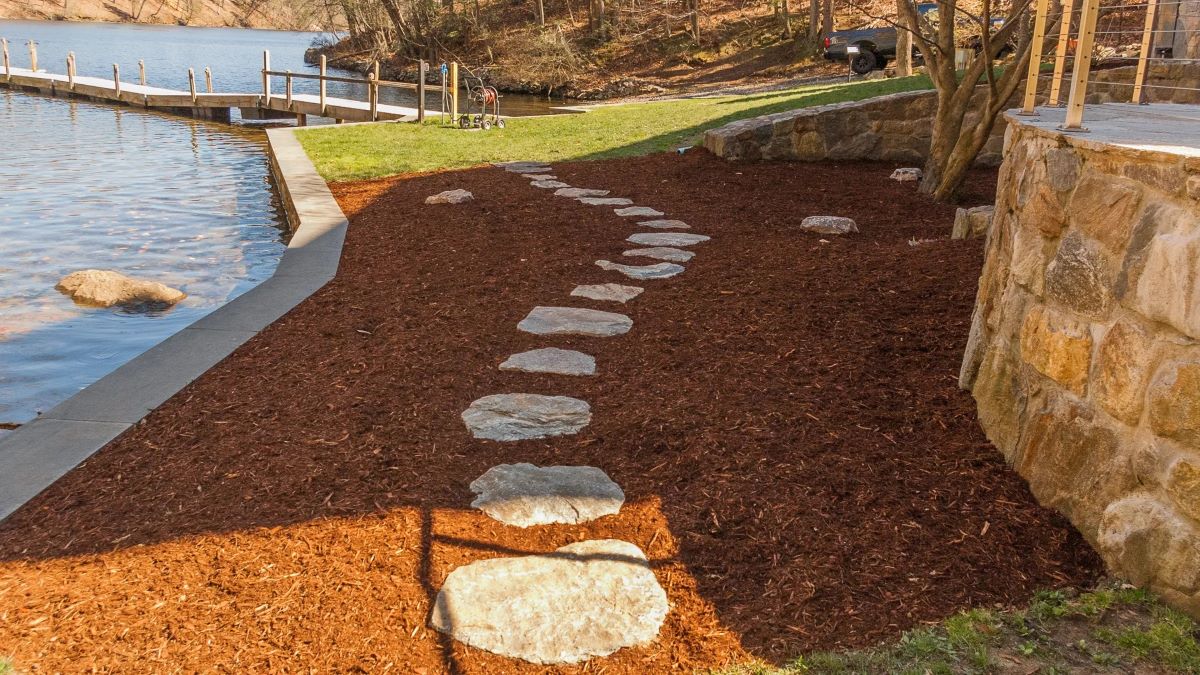
Step 4: Lay the Stepping Stones
With the base prepared, it’s time to start laying the stepping stones for your path. Follow these steps for a successful installation:
- Plan the placement: Before you start laying the stones, take some time to plan their placement. Consider the size and shape of the stones, the spacing between them, and the overall design of your path.
- Start at one end: Begin at one end of the path, placing the first stepping stone in the desired position. Press it down firmly into the base, ensuring it is level and stable.
- Continue placing the stones: Move along the path, placing the rest of the stepping stones in the planned positions. Maintain consistent spacing between the stones, using a gap of around 2-4 inches.
- Check for levelness: As you lay each stone, use a leveling tool to check for levelness. Adjust the stones as necessary to ensure that they are flat and even.
- Tap the stones: Once the stones are in place, gently tap them with a rubber mallet or a hand tamper to settle them into the base. This will improve stability and ensure that they are securely placed.
- Step, test, and adjust: Step on each stone to test its stability. If any stones feel wobbly or uneven, adjust the base or add additional material underneath to level them out.
Remember to step back and assess the overall appearance of your path as you lay the stones. Make any necessary adjustments to ensure that the path flows smoothly and aligns with your vision.
Once all the stepping stones are in place and properly leveled, you are ready to move on to the next step: filling in the gaps between the stones.
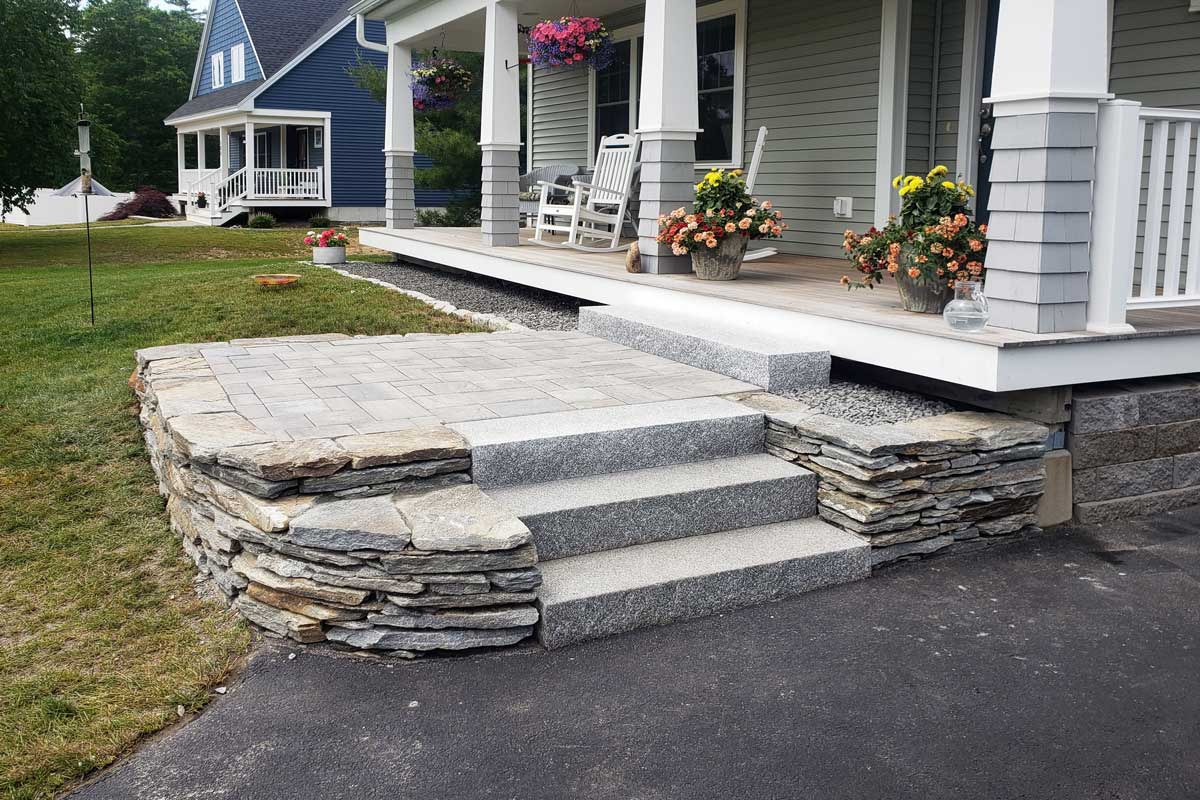
When making a stepping stone path, be sure to properly prepare the ground by removing any grass or weeds, leveling the area, and adding a base of sand or gravel for stability.
Read more: How To Make Outdoor Stone Steps
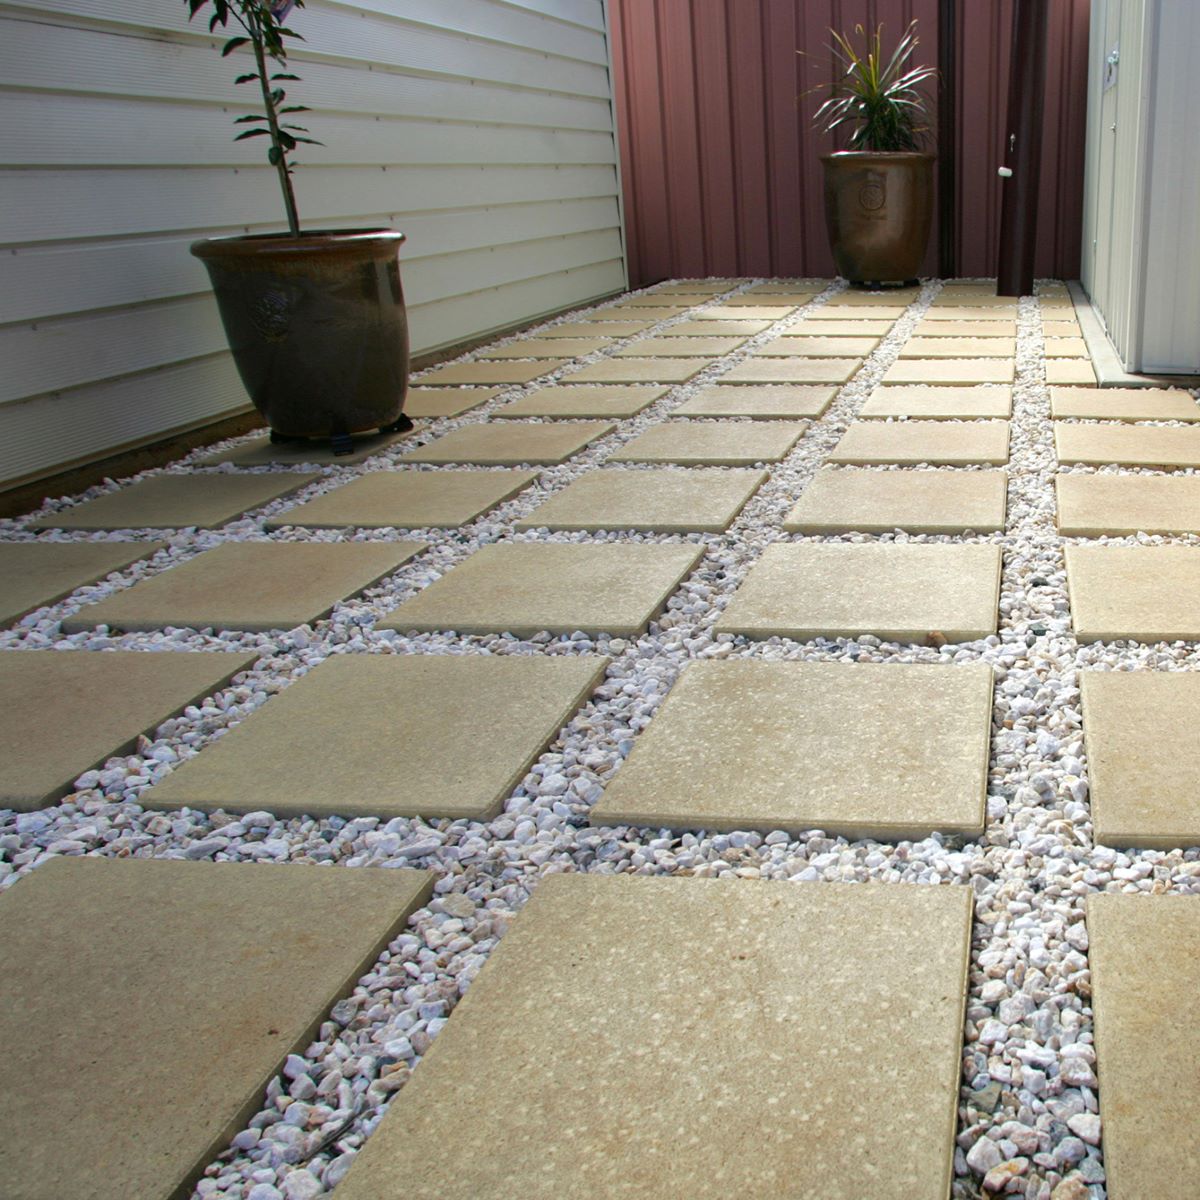
Step 5: Fill in the Gaps
Now that you have laid the stepping stones, it’s time to fill in the gaps between them. This will not only enhance the aesthetics of your path but also provide stability and prevent weed growth. Follow these steps to fill in the gaps:
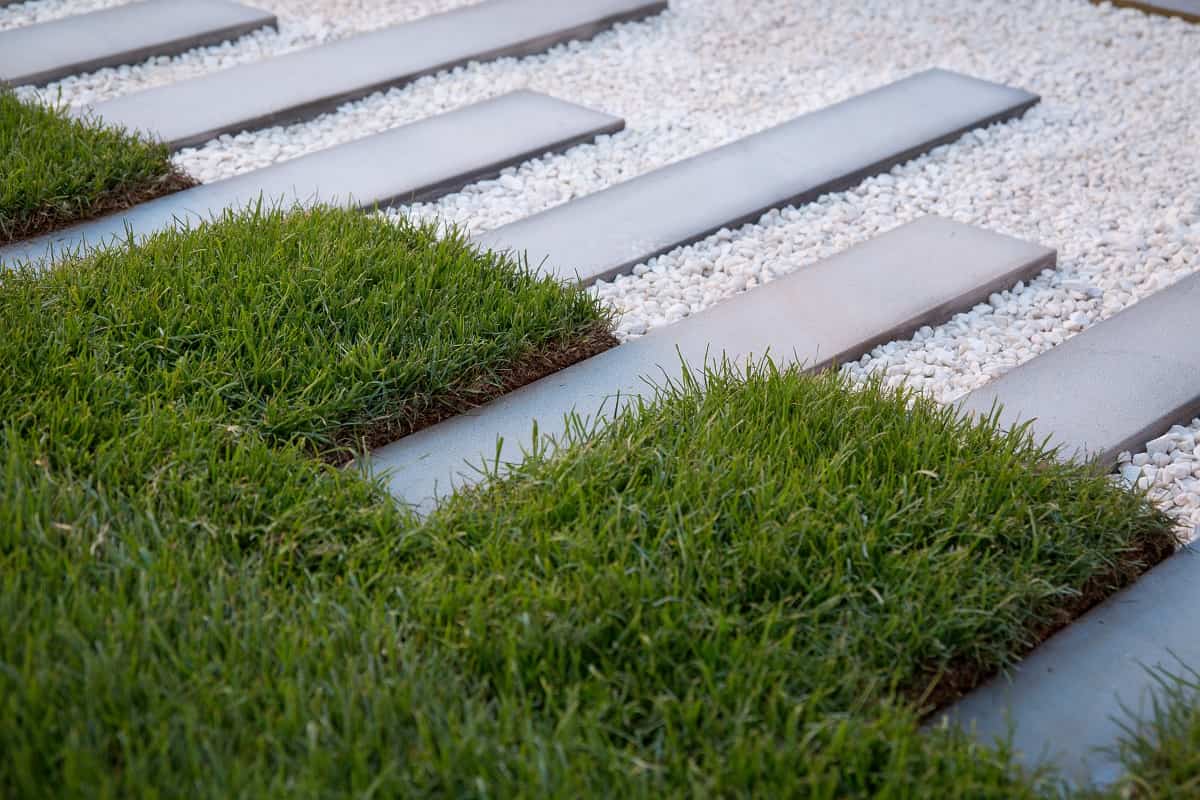
- Select your filling material: Choose a filling material such as fine gravel, crushed stone, or decorative sand for the gaps between the stepping stones. Select a material that complements the overall design of your path and garden.
- Pour the filling material: Carefully pour the filling material into the gaps between the stones. Use a small shovel or your hands to distribute the material evenly.
- Level the filling material: Level out the filling material by gently patting it down with your hands or using a trowel. Ensure that the gaps are adequately filled without any loose material.
- Brush off excess material: Use a broom or a brush to sweep away any excess filling material from the surface of the stepping stones. This will give your path a clean and finished look.
Take your time while filling in the gaps, paying attention to detail. Ensure that the filling material is flush with the tops of the stepping stones, creating a smooth and seamless transition between them.
Once you have filled in the gaps, you’re one step closer to completing your stepping stone path. However, to further secure the stones and add a professional touch, proceed to the next step: securing the stones.
Step 6: Secure the Stones
To ensure the long-term stability of your stepping stone path, it’s important to secure the stones in place. This will prevent them from shifting or wobbling over time. Follow these steps to secure the stones:
- Prepare a mortar mix: Mix a small batch of mortar according to the manufacturer’s instructions. Use a trowel to achieve a smooth and workable consistency.
- Apply mortar underneath the stones: Lift each stepping stone one at a time and apply a layer of mortar to the bottom using the trowel. This will create a bonding layer between the stone and the base.
- Place the stones back in position: Carefully place each stone back into its original position, pressing it down firmly into the mortar. Ensure that the stone is level and aligned with the rest of the path.
- Wipe off excess mortar: Use a damp cloth or sponge to wipe off any excess mortar that may have squeezed out from underneath the stones. This will give your path a clean and polished appearance.
- Allow the mortar to dry: Give the mortar ample time to dry and cure according to the manufacturer’s instructions. This will typically take 24 hours or more, depending on the specific product.
Securing the stones with mortar will provide a strong bond and prevent them from shifting or becoming loose over time. However, keep in mind that this step may not be necessary for all types of stepping stones, particularly if they are heavy or have a textured underside that provides good traction.
Once the mortar has dried and cured, your stepping stones will be securely fastened in place. However, there’s one more step to add those extra finishing touches to your path. Let’s move on to the final step: adding finishing touches.
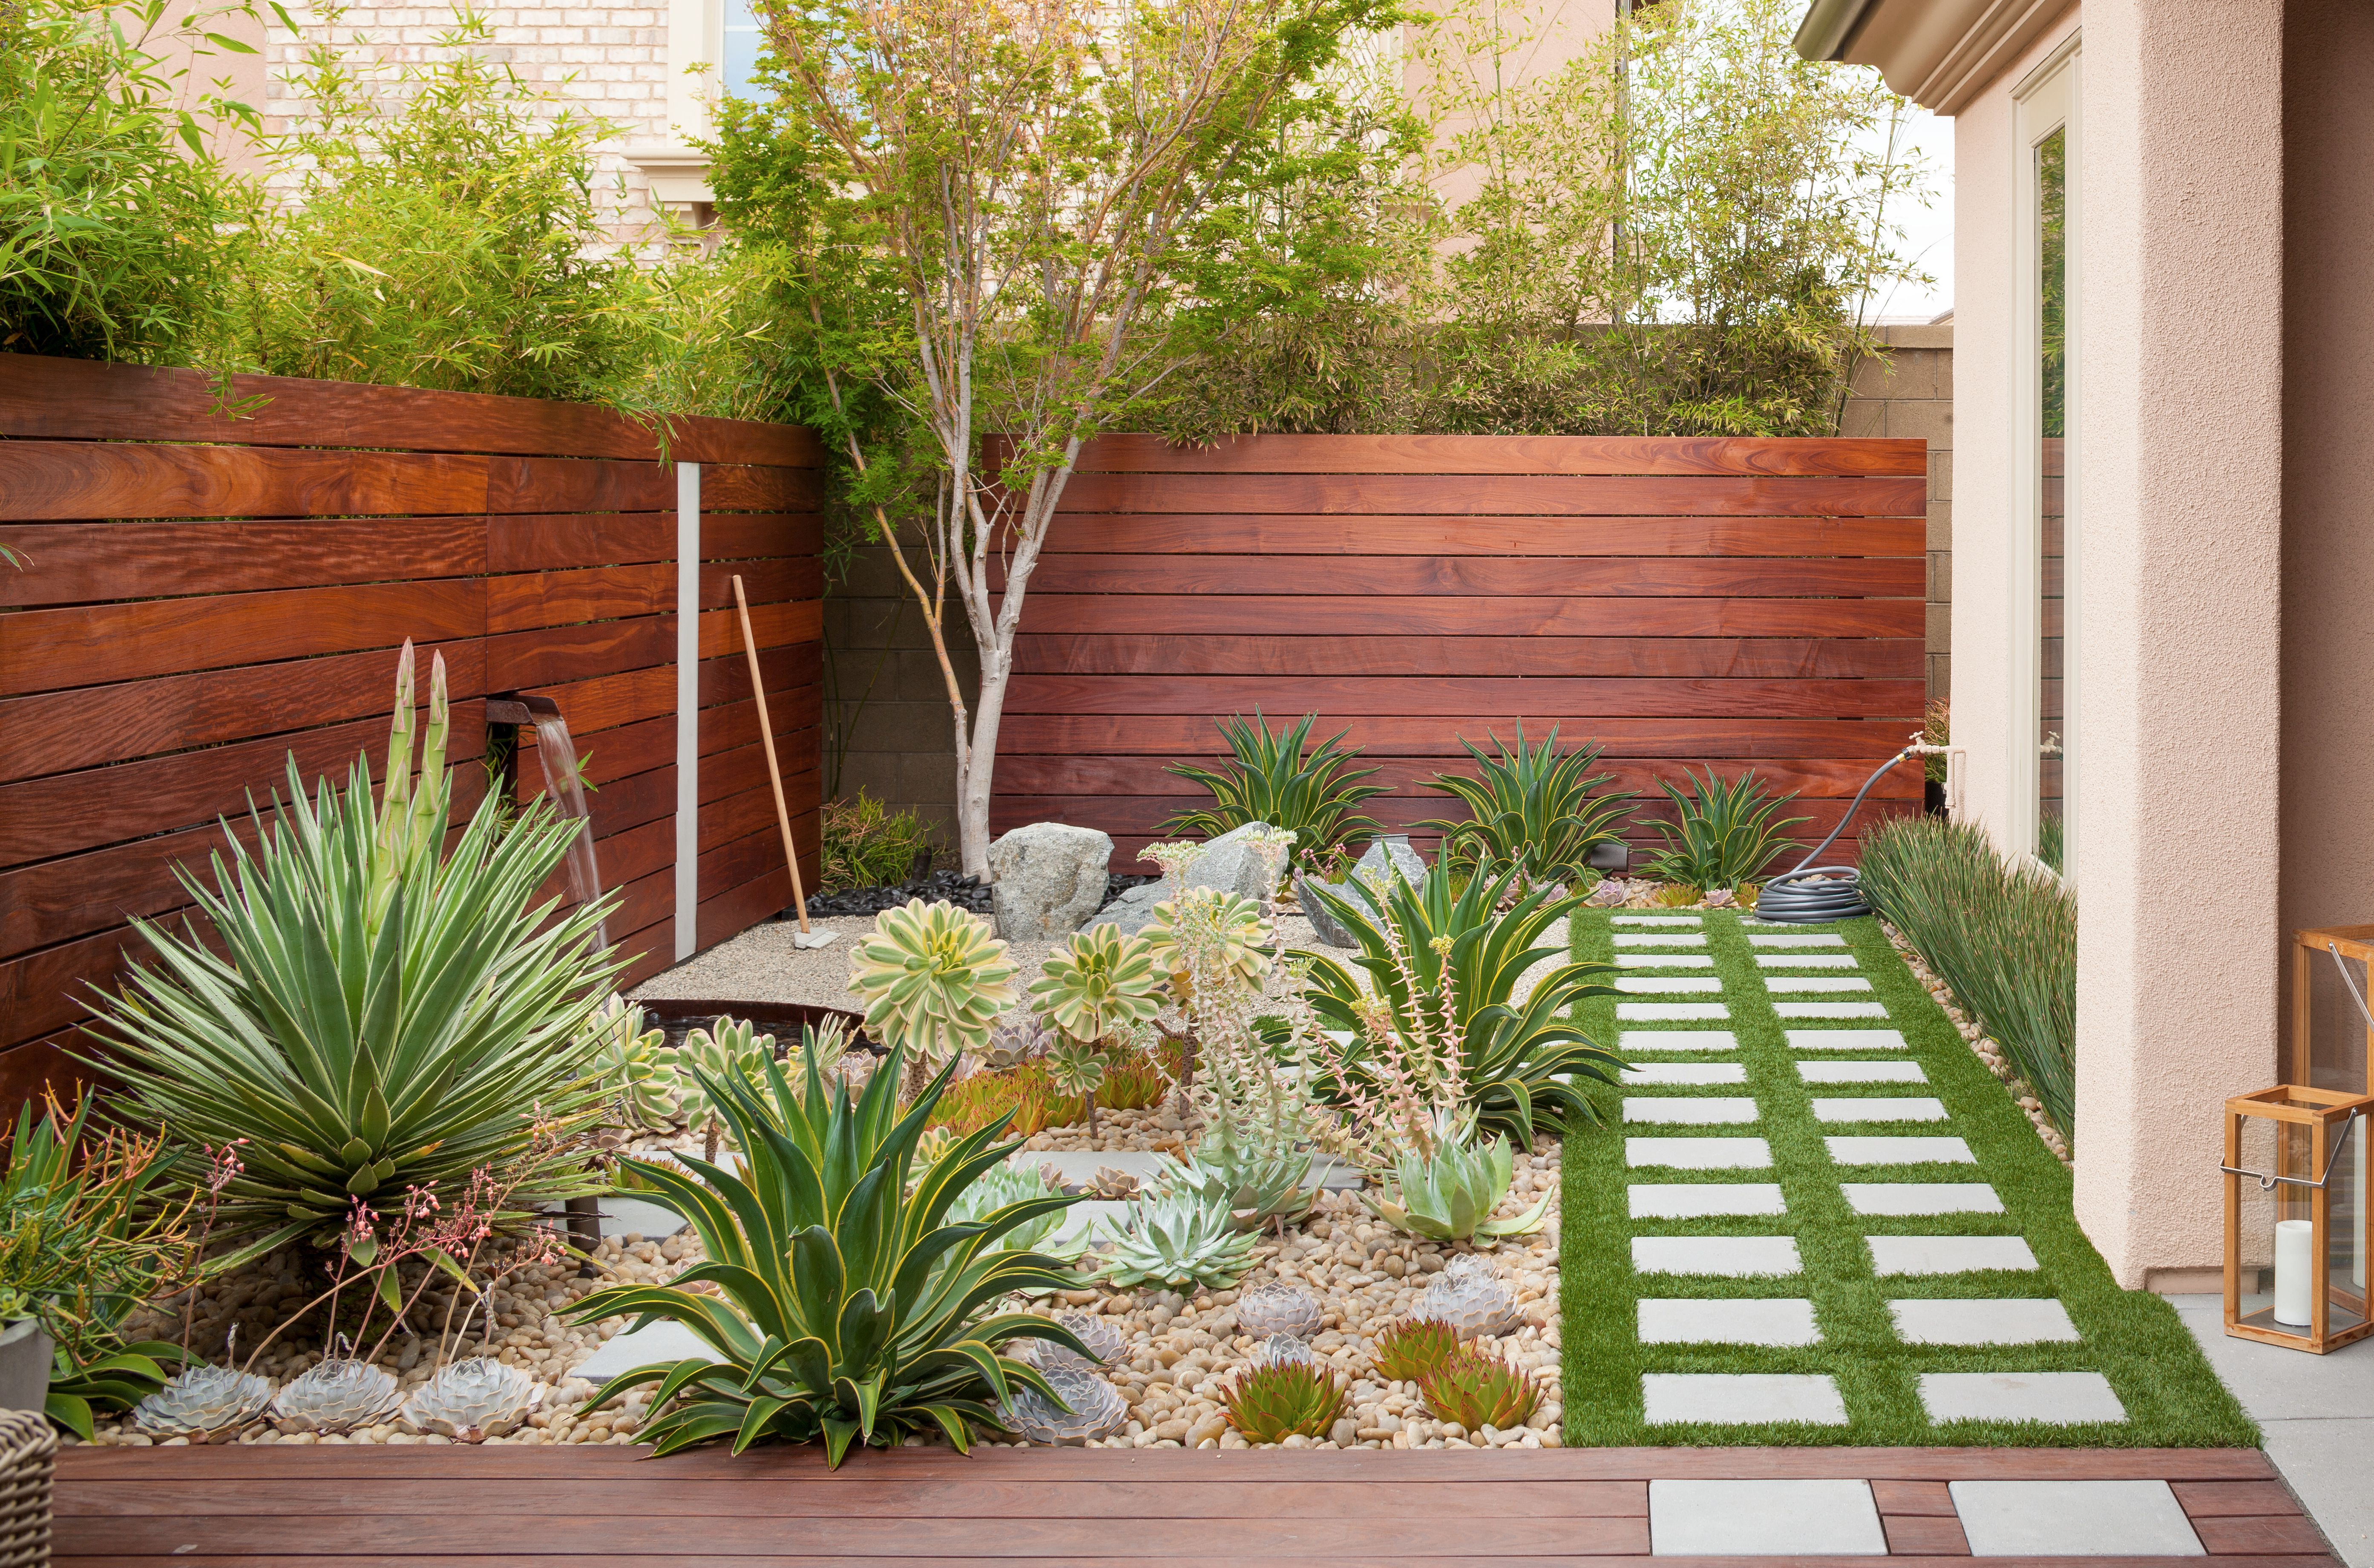
Step 7: Add Finishing Touches
Now that your stepping stone path is almost complete, it’s time to add those final touches that will truly elevate its appearance. Follow these steps to add the finishing touches to your path:
- Clean the stepping stones: Give your stepping stones a thorough cleaning to remove any dirt, debris, or residue that may have accumulated during the installation process. Use a brush or a damp cloth to gently clean the surfaces.
- Add decorative elements: If desired, enhance the look of your path by incorporating decorative elements. Consider adding colorful mosaic tiles, glass beads, or small stones between the stepping stones to create a visually appealing design.
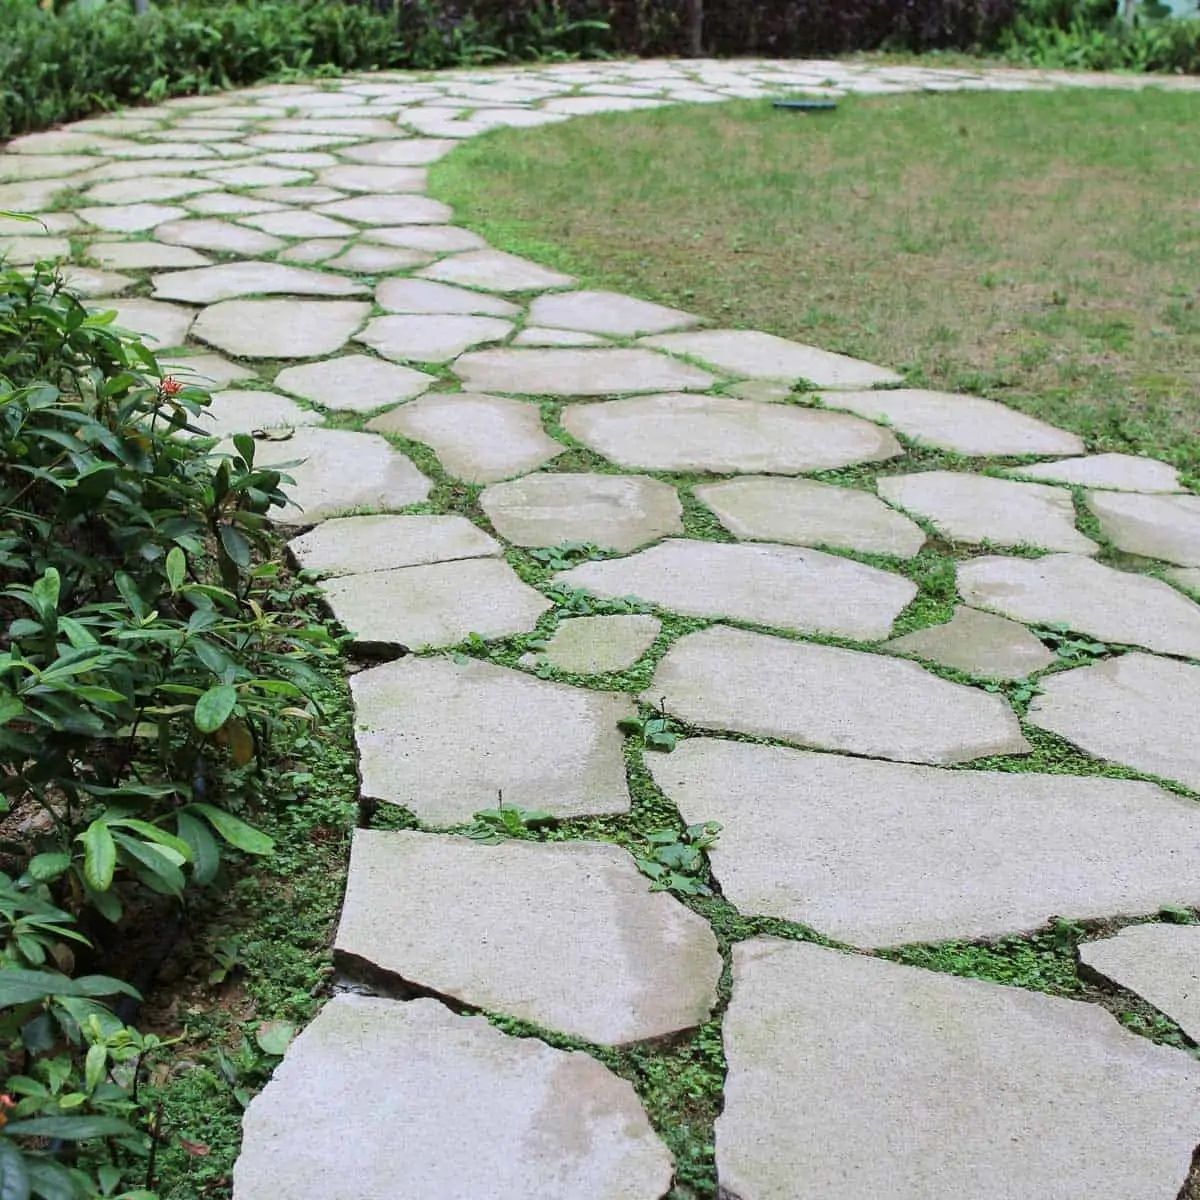
- Plant around the path: Embrace the natural beauty of your garden by planting low-growing plants, such as moss or creeping thyme, around the stepping stone path. This will soften the edges and add a touch of greenery.
- Install landscape edging: If you want to define the borders of your path and prevent the surrounding soil from encroaching, consider installing landscape edging materials. Use bricks, pavers, or metal strips to create a clean and polished edge.
- Add lighting: Illuminate your stepping stone path for added safety and ambiance. Install outdoor solar lights or low-voltage landscape lighting along the sides of the path to create a warm and inviting atmosphere at night.
These finishing touches will not only enhance the visual appeal of your stepping stone path but also add personality and charm to your outdoor space. Get creative and experiment with different elements to achieve the desired look and feel.
With the finishing touches complete, take a step back and admire your beautiful and functional stepping stone path. You’ve successfully created a unique and inviting feature in your garden that will be enjoyed for years to come.
Now it’s time to grab a cup of tea or coffee, sit back, and enjoy the fruits of your labor. Congratulations on a job well done!
Conclusion
Creating a stepping stone path in your garden is a rewarding DIY project that adds beauty, functionality, and a personal touch to your outdoor space. By following the steps outlined in this article, you can confidently embark on this creative journey and build a path that reflects your style and vision.
From gathering the necessary materials to securing the stepping stones in place, each step of the process is crucial in creating a durable and aesthetically pleasing path. Taking the time to properly prepare the area, level the ground, and create a solid base ensures the stability and longevity of your path.
Throughout the installation, don’t forget to add your own unique flair by choosing decorative elements, such as mosaic tiles or colored stones, and incorporating landscaping features like plants and lighting. These finishing touches will elevate the overall look of your stepping stone path and make it a standout feature in your garden.
Remember, the beauty of a stepping stone path lies in its versatility and customization. Feel free to adapt the steps and personalize them according to your garden’s specific needs and your creative preferences. Whether you desire a rustic pathway through a meadow or a contemporary trail in a modern landscape, the possibilities are endless.
This project not only enhances the functionality of your garden but also provides an opportunity to connect with nature and appreciate the beauty of your outdoor space. So, gather your materials, put on your gloves, and start creating a stepping stone path that will guide you on a journey of both practicality and imagination.
Enjoy the process, have fun, and relish in the satisfaction of creating a stunning stepping stone path that will delight you and your guests for years to come. Happy stepping stone path making!
Frequently Asked Questions about How To Make A Stepping Stone Path
Was this page helpful?
At Storables.com, we guarantee accurate and reliable information. Our content, validated by Expert Board Contributors, is crafted following stringent Editorial Policies. We're committed to providing you with well-researched, expert-backed insights for all your informational needs.


0 thoughts on “How To Make A Stepping Stone Path”