Articles
How To Make Garden Path
Modified: August 28, 2024
Learn how to create a beautiful garden path with our comprehensive gardening guide. Enhance your outdoor space with professional tips and techniques.
(Many of the links in this article redirect to a specific reviewed product. Your purchase of these products through affiliate links helps to generate commission for Storables.com, at no extra cost. Learn more)
Introduction
Creating a beautiful garden doesn’t stop at choosing the perfect flowers and plants. A well-designed garden path can add charm and functionality to any outdoor space. Whether you have a sprawling backyard or a small urban garden, a garden path can create a sense of whimsy, guide visitors to different areas of the garden, and provide a practical solution for navigating through your outdoor oasis.
In this article, we will guide you through the process of creating your own garden path. We will cover everything from planning and preparation to the final touches that will make your garden path a standout feature. So grab your gardening tools, put on your creative hat, and let’s get started on transforming your garden into a picturesque haven!
Key Takeaways:
- Create a garden path that complements your outdoor space by carefully planning the layout, clearing the area, and selecting the right materials to enhance the beauty and functionality of your garden.
- Infuse your garden path with personality and charm through thoughtful finishing touches such as decorative elements, groundcover plants, and regular maintenance, ensuring a durable and inviting feature in your outdoor oasis.
Read more: How To Make A Wood Chip Path
Materials Needed
- Measuring tape
- Garden hose or rope
- Shovel
- Garden edging material (such as bricks, stones, or pavers)
- Gravel or crushed stone
- Sand
- Landscape fabric
- Hand tamper
- Level
- Garden gloves
- Garden rake
- Water source
- Optional: decorative elements (such as lanterns, stepping stones, or plants)
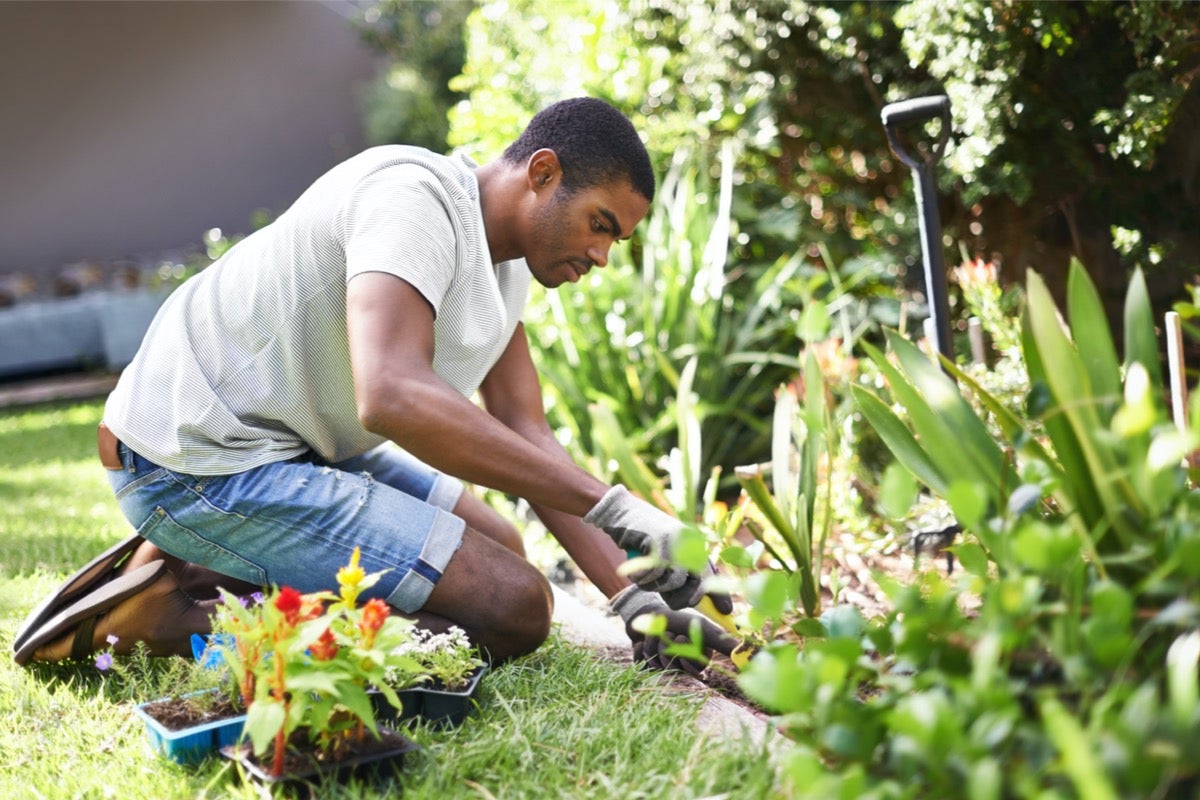
Before you begin creating your garden path, it’s important to gather all the necessary materials. Take inventory of the items you already have on hand and make a shopping list for anything you may need to purchase. Having everything at the ready will ensure a smooth and efficient path-building process.
Step 1: Planning the Path
The first step in creating a garden path is to plan its layout. Take a step back and visualize how you want the path to flow through your garden. Consider factors such as the overall design, the size of the path, and its purpose. Do you want a straight path leading from one point to another, or would you prefer a winding path that adds intrigue to your garden?
Once you have an idea of the path’s layout, use a measuring tape to determine its dimensions. Mark the beginning and end points of the path using stakes or spray paint. You can also use a garden hose or rope to mimic the shape of the path and adjust it until you are satisfied with the design.
Think about the width of the path as well. A narrower path can create a more intimate and cozy feel, while a wider path provides ample space for multiple people to walk side by side. Consider the surrounding landscape and the amount of foot traffic the path is likely to receive.
During the planning stage, also take into account any obstacles or features in your garden that the path may need to navigate around, such as trees, flower beds, or water features. Making note of these elements will help you determine the most practical and aesthetically pleasing path route.
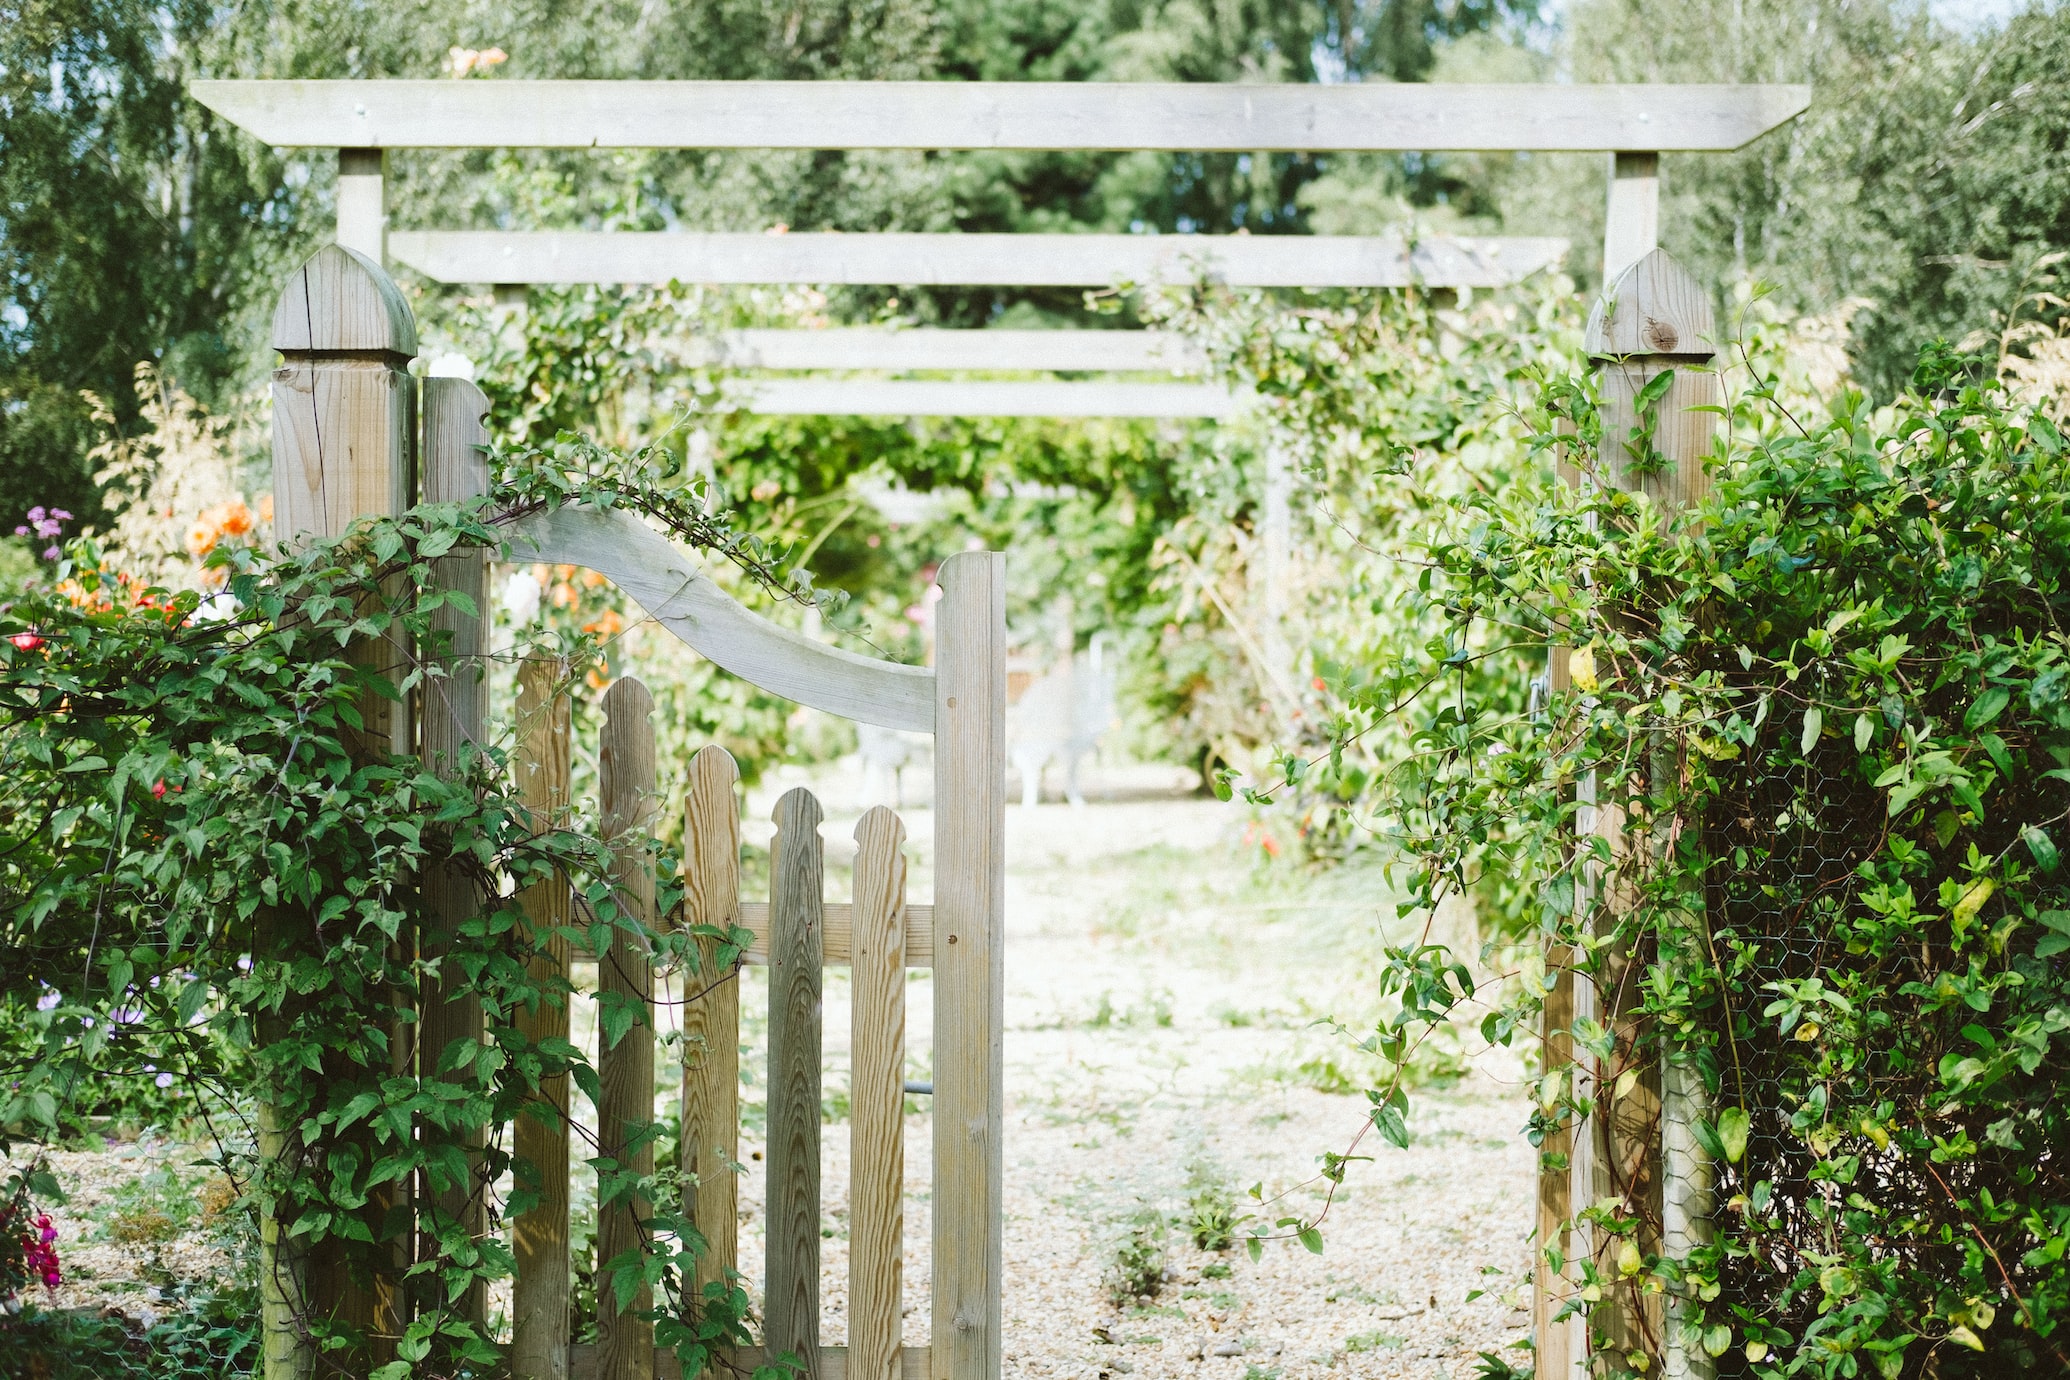
Don’t forget to consider the overall theme and style of your garden when planning the path. Choose materials, colors, and shapes that complement the existing elements in your outdoor space, whether it’s a rustic cottage garden or a modern landscaped oasis.
By planning your garden path thoroughly, you can ensure that it seamlessly integrates into your garden, enhances its beauty, and serves its purpose for years to come.
Step 2: Clearing the Path Area
With your path layout planned, it’s time to clear the area where the path will be located. Start by removing any existing vegetation, including grass, weeds, and plants, within the path boundaries. Use a shovel or garden spade to dig up and remove the vegetation, ensuring that you also remove the roots to prevent regrowth.
For larger areas, consider using a sod cutter or a rented mini-excavator to make the clearing process faster and more efficient. Follow the manufacturer’s instructions when using these tools to ensure safe operation.
As you clear the path area, pay attention to the grade and slope of the land. Ideally, the path should be slightly elevated to allow for proper drainage and to prevent water from pooling. If necessary, make adjustments to the soil by adding or removing it to achieve the desired slope.
During the clearing process, you may encounter rocks, stones, or other debris. Remove these obstacles from the path area to ensure a smooth and even foundation for the path.
Remember to wear gardening gloves to protect your hands during the clearing process, especially when removing sharp or thorny vegetation.
Once the path area is cleared, take a moment to step back and evaluate the space. Ensure that it aligns with your planned path layout and that any surrounding landscape features are accounted for. Making adjustments at this stage will save you time and effort later on.
With the path area cleared and prepared, you’re one step closer to having a well-defined and purposeful garden path. Next, we’ll move on to the important task of marking the path boundaries.
Step 3: Marking the Path
Now that the path area is cleared, it’s time to mark the boundaries of your garden path. Marking the path will serve as a guide during the construction process, ensuring that the path stays on track and maintains its desired shape.
Start by placing stakes at regular intervals along the path area. These stakes will serve as reference points for the width and alignment of the path. Use a rubber mallet or a hammer to firmly secure the stakes into the ground.
Next, attach a string or garden twine to the stakes, following the path’s planned layout. Ensure that the string is taut and level. This string will act as a visual guide for the edges of the path.
Walk along the path, making any necessary adjustments to the position of the stakes and string to achieve the desired path width and curvature.
Take measurements to ensure that the distance between the stakes is consistent. This will help maintain a uniform look and ensure that the path is well-proportioned.
Using the stakes and string as a guide, take a can of spray paint or marking paint and create a visible line on the ground to mark the path boundaries. This will further define the path area and serve as a reference during the excavation process.
Remember to consider any existing landscape features, such as flower beds or trees, and make necessary adjustments to the marked path boundaries to accommodate them.
Once you have marked the path, step back to assess its appearance and make any final adjustments. Ensure that it aligns with your initial vision and fits seamlessly within the surrounding garden landscape.
With the path boundaries clearly marked, you are now ready to move on to the next step: excavating the path area.
Read more: How To Make A Stepping Stone Path
Step 4: Excavating the Path
Now that the path boundaries are marked, it’s time to excavate the path area to create space for the path materials. Excavation is an important step as it allows for proper installation and ensures a stable and level path.
Begin by using a shovel or garden spade to dig out the soil within the marked path boundaries. Start at one end of the path and work your way across, removing the soil to a depth of about 4 to 6 inches. This depth allows for the necessary layers of base material to be added later on.
As you excavate, make sure to maintain a consistent depth across the entire path. Use a level to check for any uneven areas and make adjustments as needed.
Be mindful of the soil you remove during excavation. If it’s fertile and healthy, you may choose to repurpose it in other areas of your garden or save it for future projects.
If the soil in your garden is clay-like or prone to drainage problems, you may need to dig a little deeper and consider incorporating a drainage layer at the bottom of the excavation. This will help prevent water from accumulating and causing issues with your path in the future.
As you excavate, be cautious of any roots or underground utilities that may be present. Clear any roots or vegetation that may interfere with the path’s foundation.
Once the excavation is complete, take a walk along the path to ensure that it feels comfortable and properly sized. Make any necessary adjustments to the width or shape of the path at this stage.
Excavating the path is a crucial step in creating a sturdy and well-constructed garden path. With the path area cleared and properly excavated, it’s time to move on to the next step: creating a solid base layer for your path.
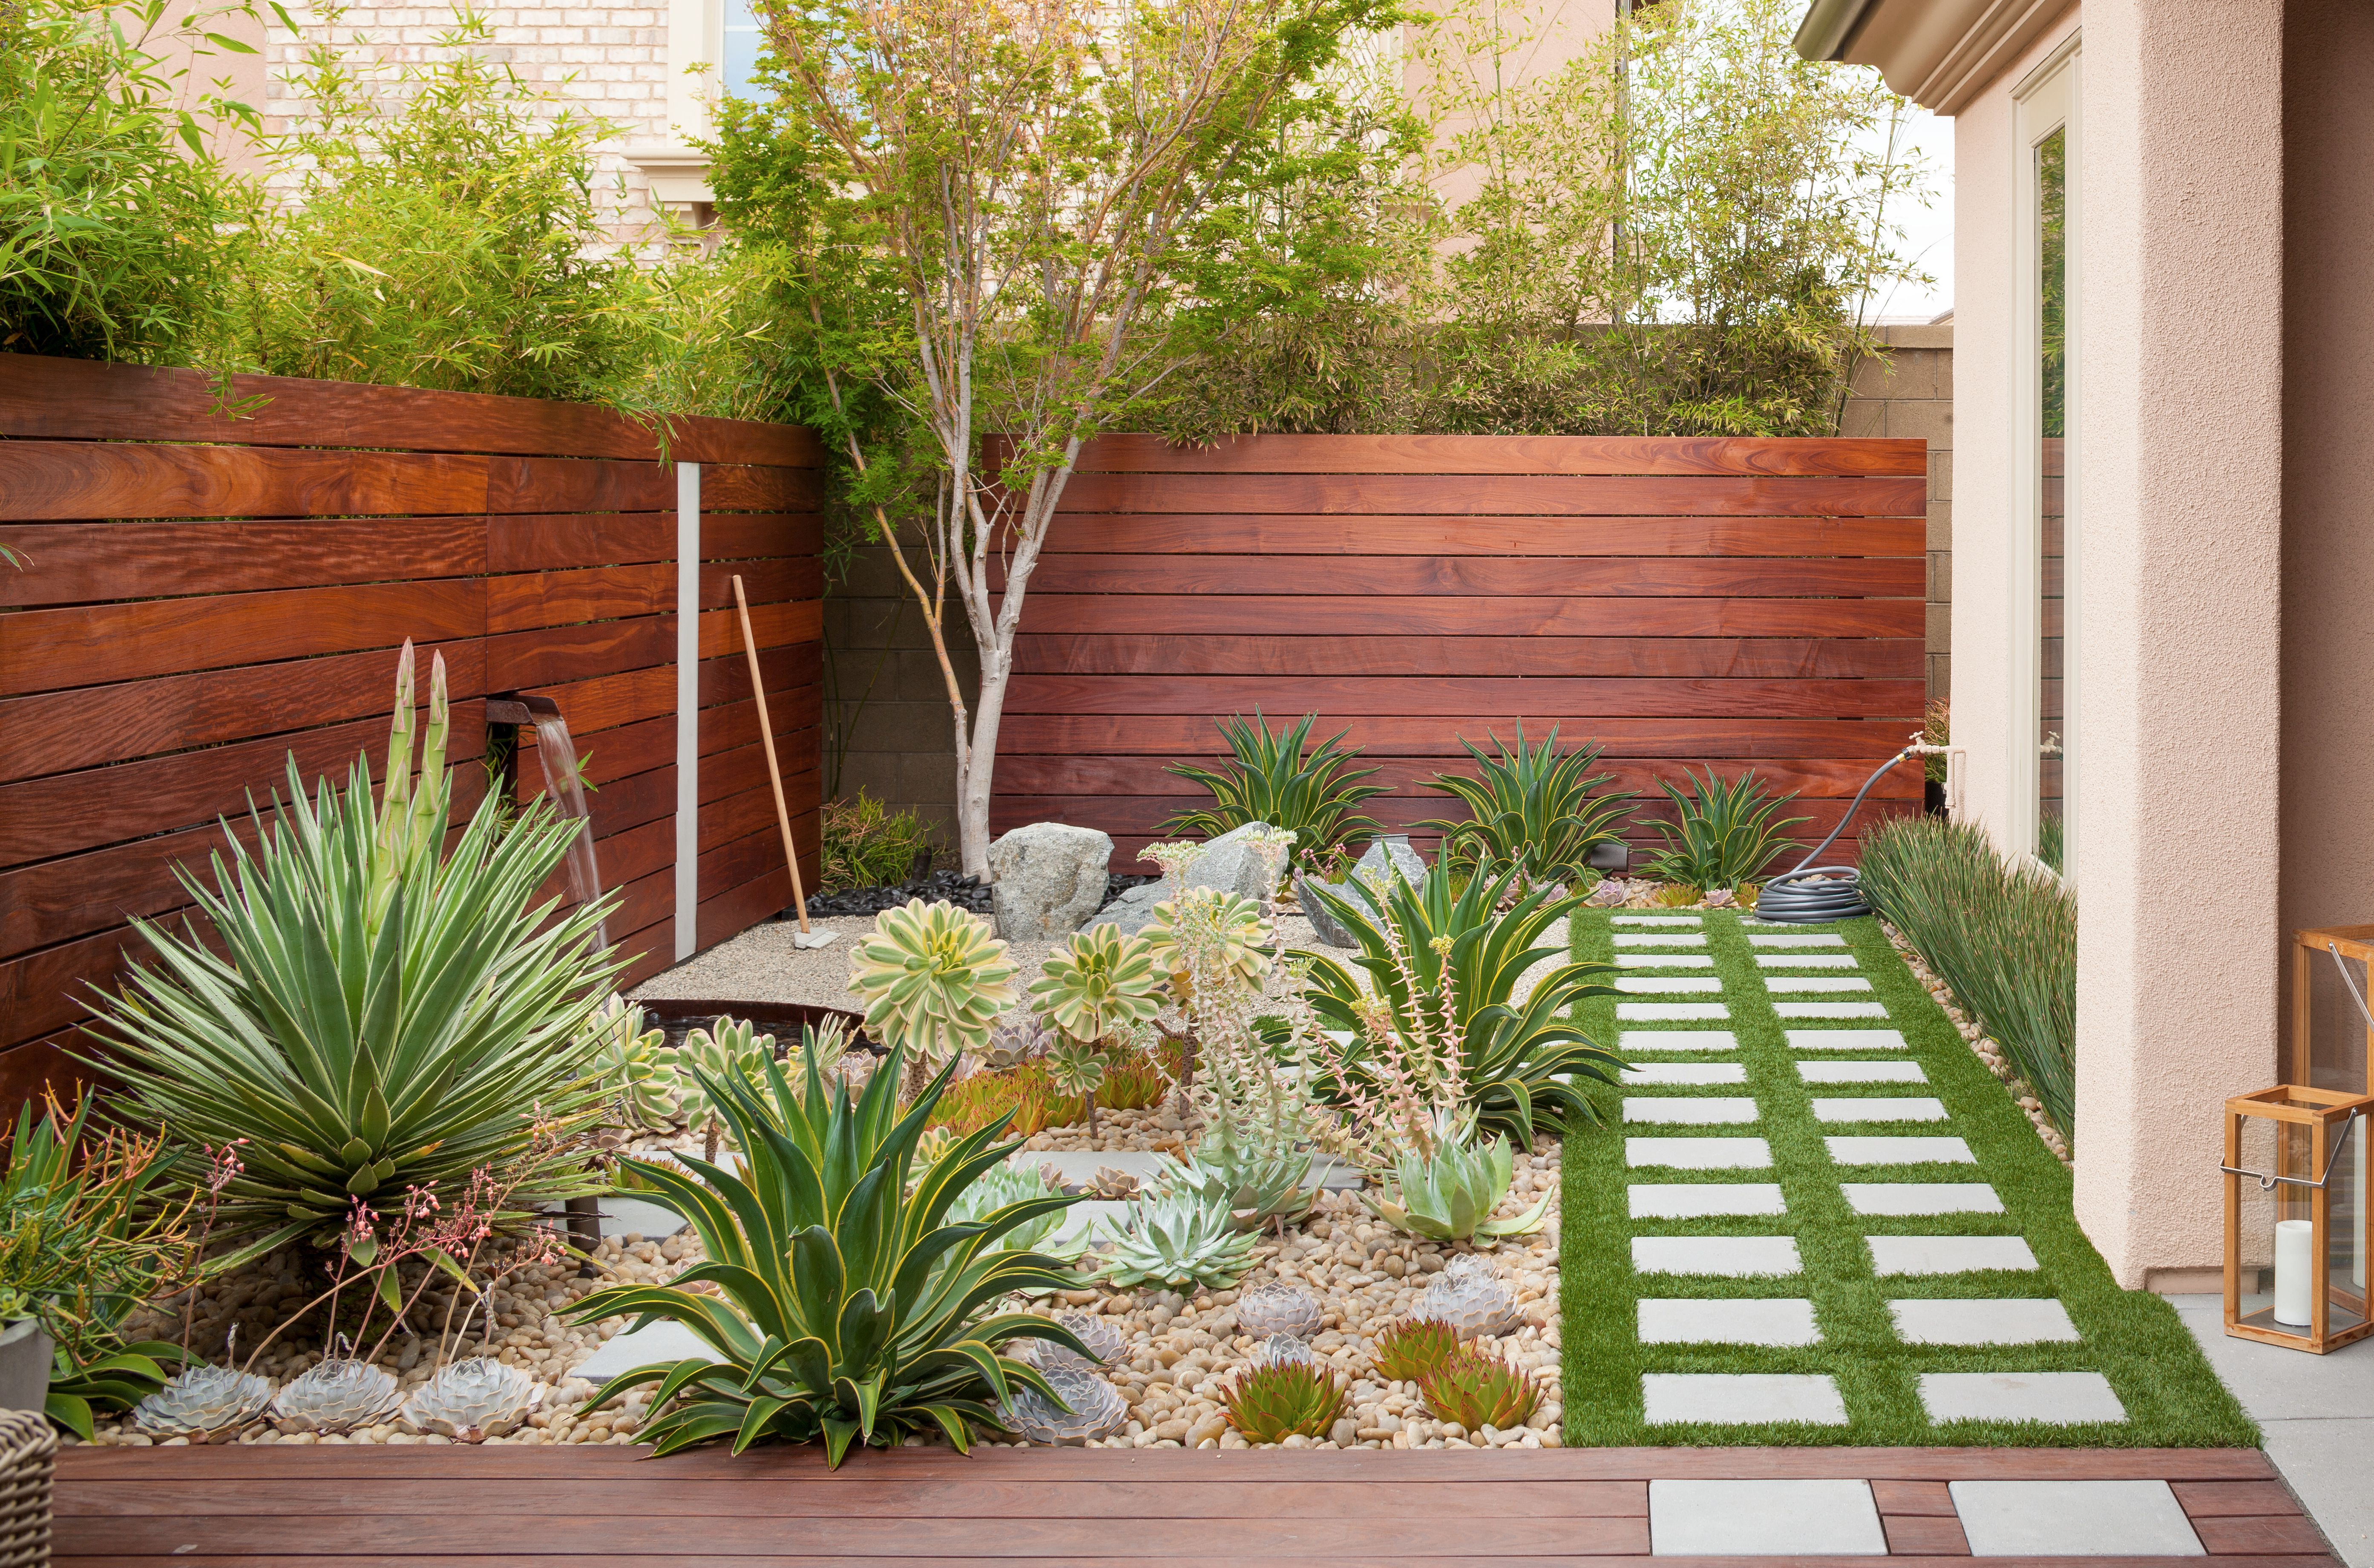
When making a garden path, consider using materials like gravel, stepping stones, or pavers for a durable and visually appealing surface. Properly prepare the ground by leveling and adding a base layer for stability.
Step 5: Creating a Base Layer
With the path area excavated, it’s time to create a solid base layer. This layer serves as the foundation for your garden path, providing stability and preventing uneven settling in the future.
Start by laying a landscape fabric or geotextile material over the excavated path area. This fabric will help prevent weed growth and help with drainage, while still allowing water to seep through.
Next, add a layer of gravel or crushed stone to the path area. This layer should be approximately 2 to 3 inches thick. Use a rake or shovel to spread the material evenly, ensuring that it reaches into the corners and edges of the path.
Once the gravel layer is in place, use a hand tamper or a plate compactor to compact the material. This will help create a solid and stable surface. Start from one end of the path and work your way across, applying even pressure as you go.
After compacting the gravel layer, check the level of the path using a level or a straightedge. Make adjustments as needed to ensure a consistently level surface. A level path not only looks attractive but also provides a comfortable walking surface.
It’s important to note that the base layer can vary depending on the type of path material you’ll be using. If you’re planning to use pavers or stones, consider using a layer of coarse sand or stone dust instead of gravel. This will provide a smoother and more even surface for laying the path materials.
Creating a solid base layer is crucial for the longevity and stability of your garden path. Take care to properly compact the gravel or sand layer to ensure a sturdy foundation. With the base layer in place, you’re ready to move on to the next step: setting the edging for your path.
Step 6: Setting the Edging
Setting the edging is an important step in creating a clean and defined garden path. The edging not only serves an aesthetic purpose but also helps keep the path materials in place and prevents them from spreading or shifting over time.
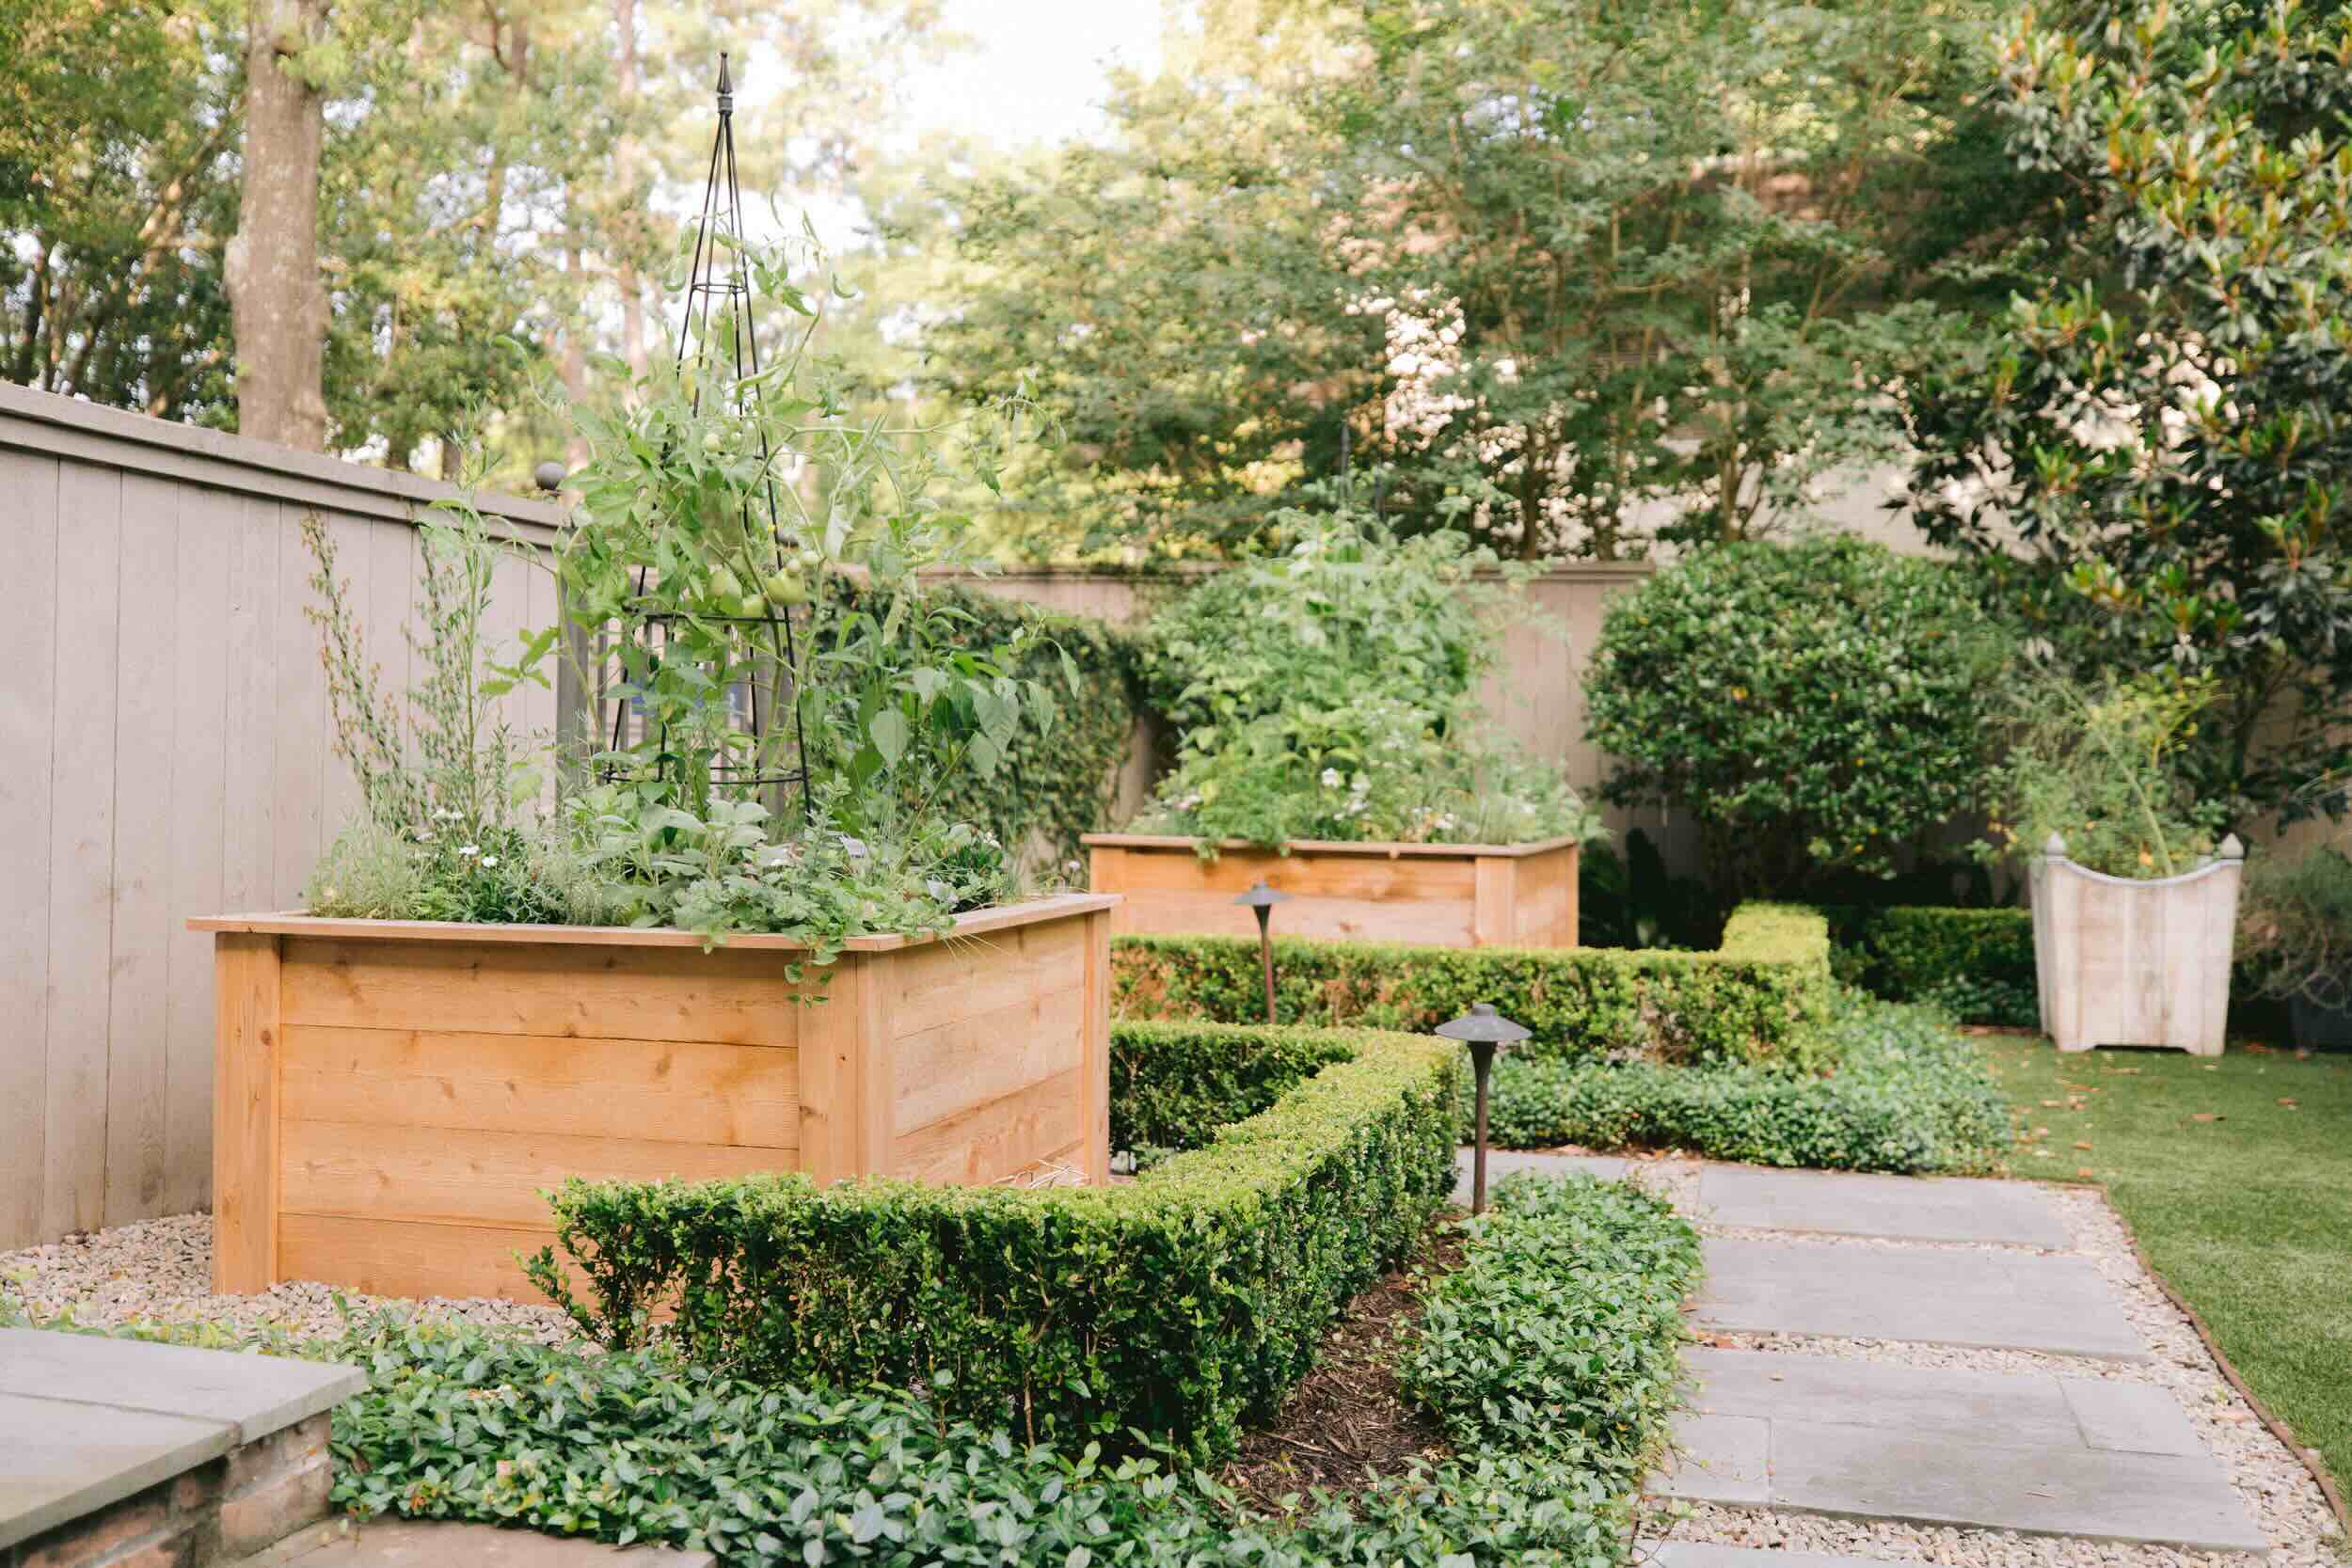
Choose the type of edging material that best suits your garden style and personal preference. Common edging options for garden paths include bricks, stones, or pavers. You can also opt for metal or plastic landscape edging for a more contemporary look.
Start by digging a shallow trench along the edges of the path, following the marked path boundaries. The trench should be deep enough to accommodate the edging material and allow it to sit flush with the path surface.
Place the edging material into the trench, ensuring that it is level and aligned with the marked path boundaries. Use a rubber mallet or a hammer to secure the edging in place, tapping it gently until it is firmly settled.
Continue placing the edging material along the entire length of the path, making any necessary adjustments to ensure a smooth and continuous line. As you install the edging, check for any gaps or uneven areas and make the necessary adjustments.
Once the edging is in place, backfill the trench with soil, gravel, or sand to secure the edging and create a stable base. Make sure to compact the backfill material gently to ensure stability.
Take the time to step back and examine the edging alignment and appearance. Make any necessary tweaks to ensure the edging is straight and properly aligned with the path. This will give your garden path a polished and professional look.
The edging adds the finishing touch to your garden path, giving it a clean and well-defined edge. With the edging set, you’re now ready to move on to the exciting step of filling the path with your chosen materials.
Step 7: Filling the Path
Now that the edging is in place, it’s time to fill the path with your chosen materials. The filling material not only adds visual appeal but also provides a comfortable and stable surface for walking on.
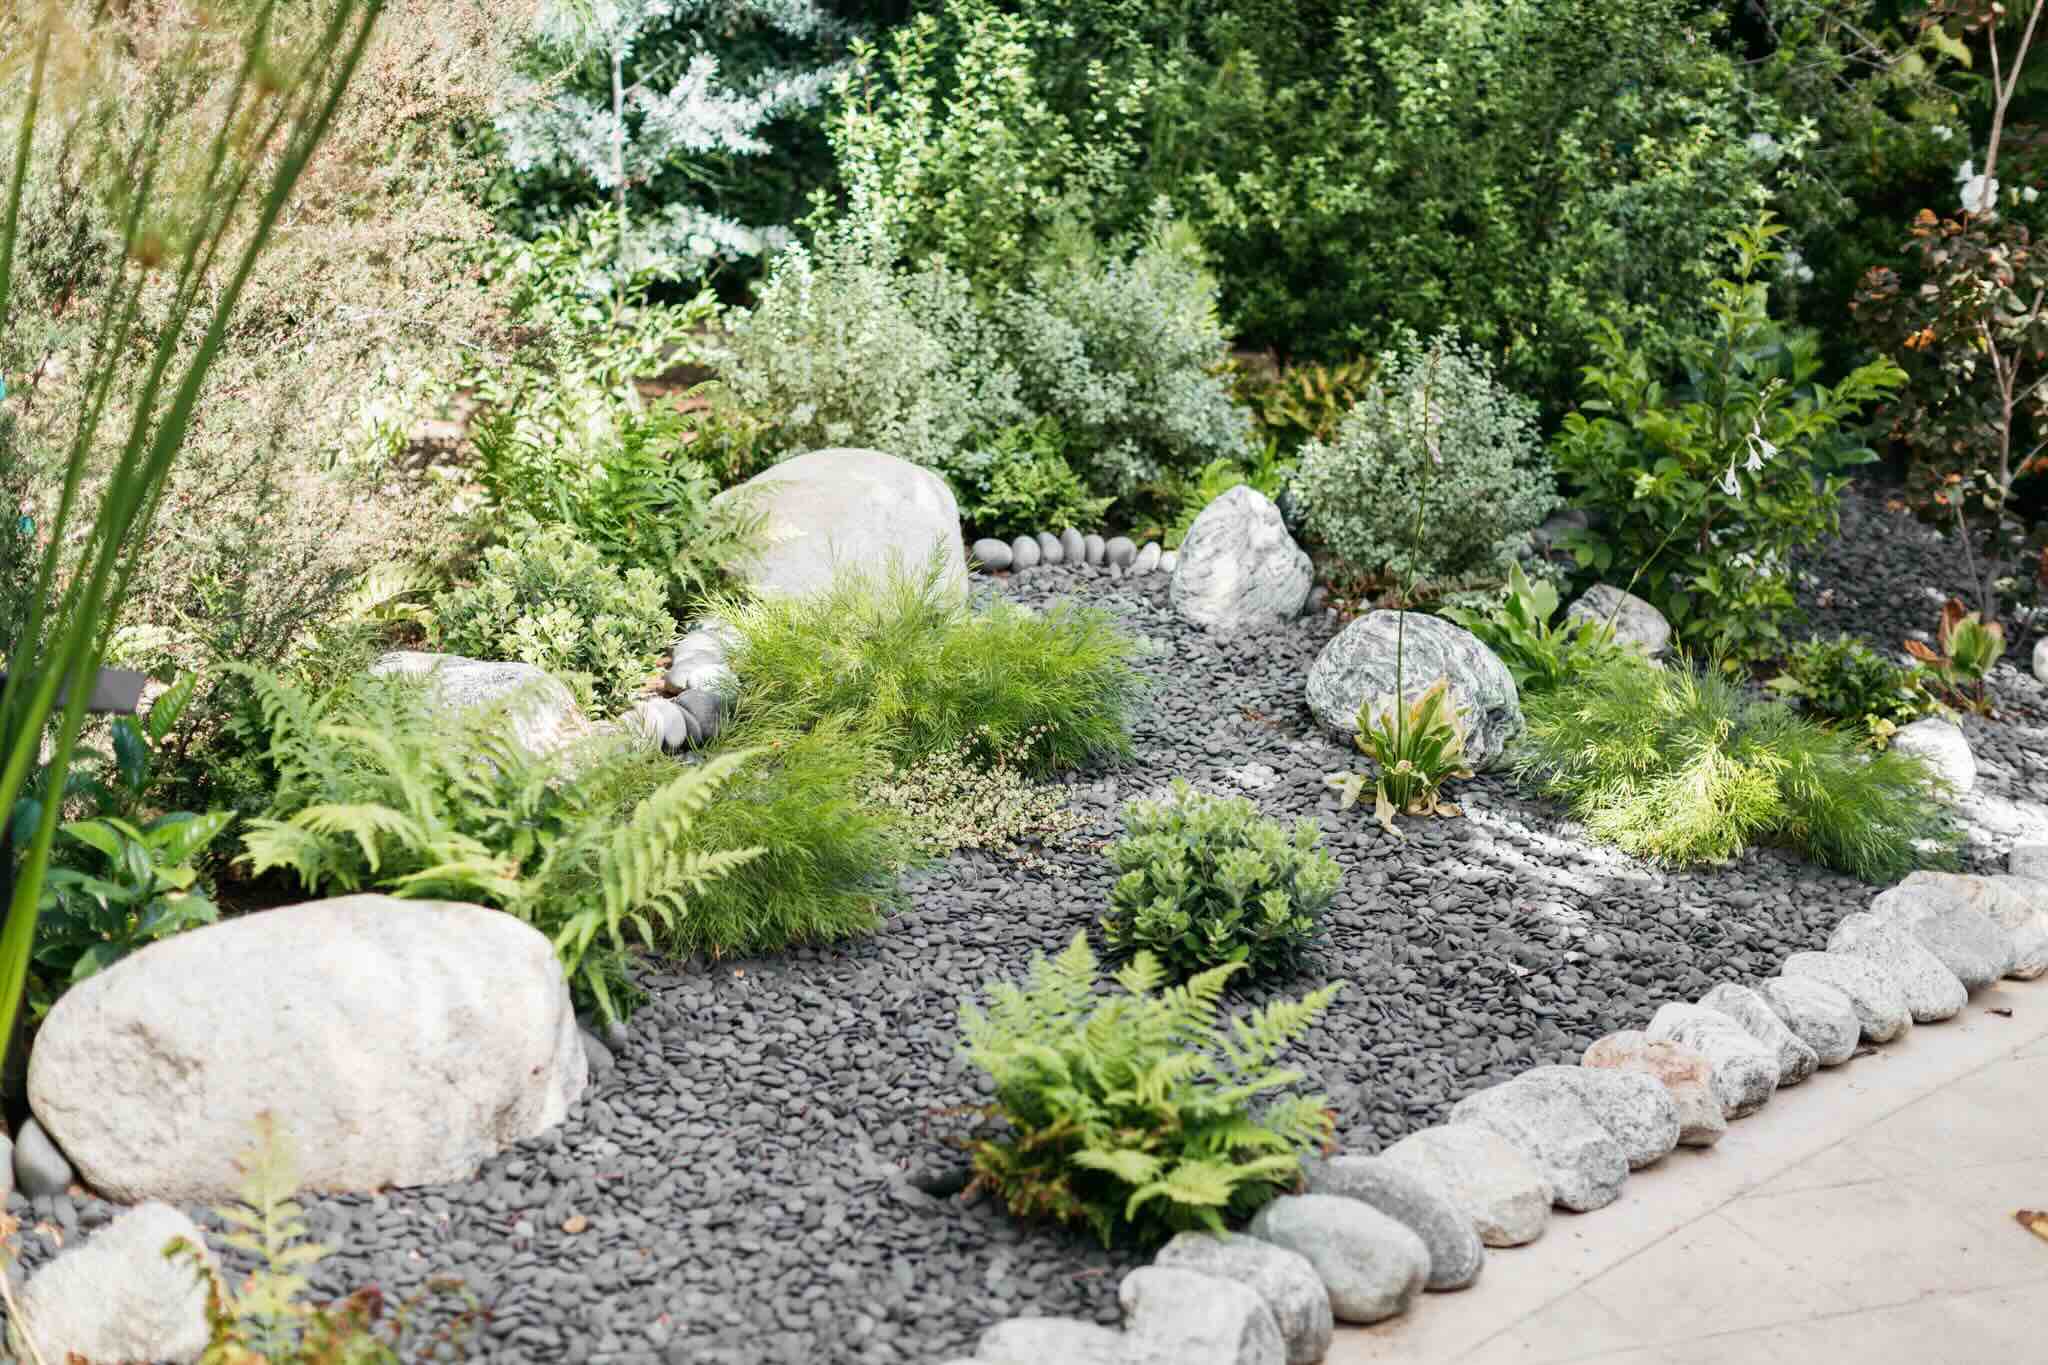
There are various options for filling your garden path, depending on your preferences and the overall aesthetic you want to achieve. Some popular choices include gravel, stepping stones, mulch, wood chips, or even a combination of materials.
If you decide to use gravel, choose a size and color that complements your garden style. Small, smooth pebbles are ideal for creating a softer and more natural feel, while larger stones can give your path a more rustic and dramatic look.
If you opt for stepping stones, consider their placement and spacing. Arrange them evenly along the path, ensuring they are level and stable. Use a spirit level to check the alignment and make adjustments as necessary.
Start by evenly distributing the filling material over the path area. Use a garden rake or a shovel to spread it out, ensuring that it reaches all corners and edges of the path. If you’re using gravel, aim for a depth of about 2 inches to provide ample coverage.
If you’re using stepping stones, place them carefully into the filling material, ensuring they are embedded securely. Arrange them in a pattern that is visually appealing and allows for comfortable stepping.
Once the filling material is in place, gently rake or sweep it to ensure a smooth and even surface. Take your time during this step to evenly distribute the material and create a level path.
If you’re using gravel as the filling material, consider using a garden roller to compact it slightly. This will help stabilize the gravel and prevent it from shifting or spreading over time.
Take a walk along the path to test its stability and comfort. Make any necessary adjustments to the filling material, such as adding more gravel or adjusting the position of stepping stones, until you are satisfied with the final result.
Filling the path is an exciting step that brings your garden path to life. Whether you choose gravel, stepping stones, or another material, this step will add texture, functionality, and character to your garden space.
Read more: How To Make A Raised Garden
Step 8: Compact and Level the Surface
With the path filled with your chosen materials, it’s important to take the time to compact and level the surface. This step ensures that the path is stable, comfortable to walk on, and visually appealing.
Start by using a hand tamper or a plate compactor to gently compact the filling material. Apply even pressure across the entire path surface, focusing on areas that may feel loose or uneven. This helps to create a firm and stable surface for walking.
Make sure to tamp the material in multiple directions to ensure proper compaction. This will help prevent settling and maintain the integrity of the path over time.
After compacting, use a garden rake or a broom to level the surface of the path. This will help smooth out any irregularities and create an even walking surface. By removing any bumps or uneven areas, you make the path safer and more comfortable for anyone strolling through your garden.
If you’re using gravel as the filling material, consider using a landscape rake or a garden rake with wide tines to gently rake the surface. This will help distribute the gravel evenly and create a uniform appearance.
For paths with a combination of materials, such as stepping stones surrounded by gravel or mulch, pay extra attention to the areas around the stepping stones. Ensure that the materials are level with the surface of the stones and evenly distributed around them.
Take the time to walk along the path and assess its stability and comfort. Make any necessary adjustments to the surface, adding or removing filling material as needed.
A compacted and level surface not only adds functionality but also enhances the aesthetic appeal of your garden path. With the path surface properly compacted and leveled, you’re ready for the final touches to complete your masterpiece.
Step 9: Finishing Touches
The final step in creating a beautiful garden path is adding the finishing touches. These small details can make a big difference in the overall appearance and functionality of your path.
Consider adding some decorative elements to your path, such as lanterns, solar-powered lights, or garden ornaments. These can add a touch of whimsy and create a magical ambiance in your garden, especially in the evening hours.
If your path includes stepping stones, think about incorporating groundcover plants or moss between them. This adds a pop of color and softens the pathway, enhancing its natural beauty.
You could also consider planting flowers or low-growing plants along the edges of the path. This can help blend the path seamlessly into the rest of your garden and create a harmonious and cohesive look.
Take the time to tidy up any loose ends or stray materials. Remove any excess filling material that may have spilled over the edging or onto the surrounding areas. Neatly trim and edge the lawn or garden beds adjacent to the path for a clean and polished appearance.
Regular maintenance is essential to keep your garden path in top condition. Sweep or rake the path regularly to remove debris, fallen leaves, or any weeds that may sprout. This will help keep your path looking pristine and inviting.
Lastly, step back and admire your handiwork. Take a moment to appreciate the beauty and functionality of your garden path. It’s a testament to your creativity and gardening skills.
Remember, a garden path is not only functional but also adds character to your outdoor space. So, let your personal style shine through with the finishing touches to create a garden path that reflects your unique taste and enhances your overall garden design.
With these finishing touches, your garden path is complete. It’s time to enjoy the fruits of your labor and take pleasure in walking through your beautiful garden oasis.
Conclusion
Creating a garden path is a rewarding and transformative project that can elevate the beauty and functionality of your outdoor space. With careful planning, proper materials, and attention to detail, you can design a path that seamlessly integrates into your garden and enhances its overall appeal.
Throughout this article, we’ve discussed each step of the path-building process. From planning the path and clearing the area to marking the boundaries, excavating the path, and setting the edging, you’ve learned the essential techniques to create a solid foundation.
With the base layer in place, you had the opportunity to fill the path with your chosen materials. Whether you opted for gravel, stepping stones, or another material, the filling process added the finishing touches to your path, making it an inviting and functional feature of your garden.
Remember to take pride in the work you’ve accomplished. Regular maintenance and upkeep will ensure your garden path remains a durable and beautiful element of your outdoor space for years to come.
Now that you have the knowledge and tools to create your own garden path, it’s time to seize the opportunity and embark on this fulfilling project. Let your creativity shine, experiment with different materials and styles, and enjoy the process of transforming your garden into a picturesque haven.
So, grab your gardening tools, put on your creative hat, and start envisioning your dream garden path. Embrace the joy of crafting something with your own hands and revel in the beauty of your garden masterpiece. Happy path-building!
After mastering your garden path, why not tackle more outdoor projects? Dive into creative endeavors that transform outdoor spaces into vibrant areas for relaxation and enjoyment. Whether you're crafting birdhouses or building benches, our guide on outdoor projects offers plenty of inspiration. Get hands-on with practical, easy-to-follow instructions that make any backyard shine. Ready for your next adventure in DIY creativity?
Frequently Asked Questions about How To Make Garden Path
Was this page helpful?
At Storables.com, we guarantee accurate and reliable information. Our content, validated by Expert Board Contributors, is crafted following stringent Editorial Policies. We're committed to providing you with well-researched, expert-backed insights for all your informational needs.


0 thoughts on “How To Make Garden Path”