Home>Garden Essentials>35 Gorgeous Window Boxes That Really Work

Garden Essentials
35 Gorgeous Window Boxes That Really Work
Modified: December 6, 2023
Fantastic window boxes that are guaranteed to breathe life into your space! Find out why they're so adored by many worldwide.
(Many of the links in this article redirect to a specific reviewed product. Your purchase of these products through affiliate links helps to generate commission for Storables.com, at no extra cost. Learn more)
Contrary to popular belief, gardening is far from “boring” – it’s actually one of the most therapeutic activities that one can do. And in this time of stress and turmoil, it’s become clear why growing a home garden has become a popular hobby for people of all ages.
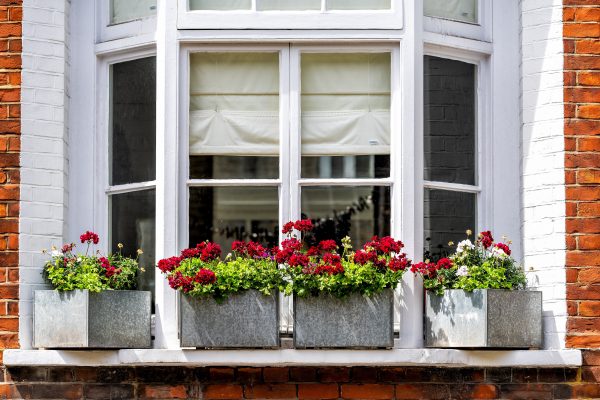
Not everyone has the luxury of space – for those living in apartments or condos, many are confined to the small spaces on their balconies or windows. Luckily, you can now get your green fix indoors. Thanks to the handy dandy window box, these tiny spaces can be transformed into green havens with little or even no effort. From cedar window boxes to metal ones, here are some amazing picks.
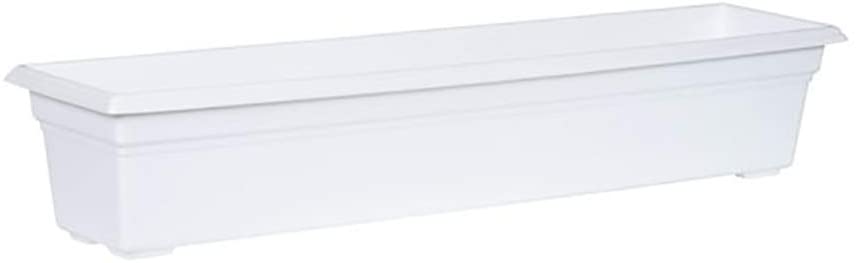
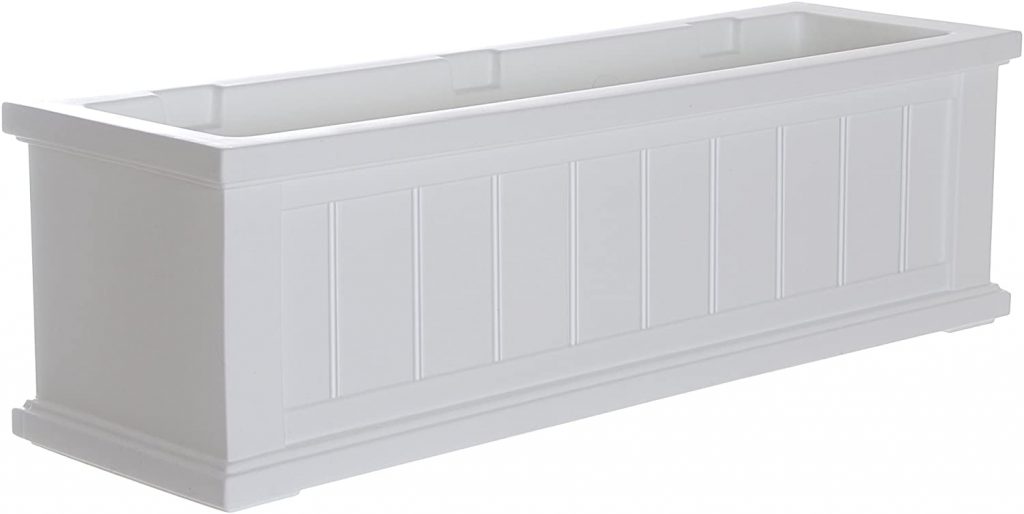
Picking a window box also includes putting the exterior of your home into consideration. The last thing you want is a window box that clashes with the design of your facade. A great way to avoid this is to opt for a completely white planter with a simple form and minimal detailing. This white plastic design is super lightweight and is also quite resistant to the outside forces.

If your home has a very classic dark vibe, your window planter box can also emulate the same feel and add detail to your house – such as this product by Mayne Fairfield. The paneling gives it a lot of depth and dimension which can almost fool anyone to thinking that the window box is part of the building itself. Although plastic is used, the texture of the paint gives it an almost concrete illusion.
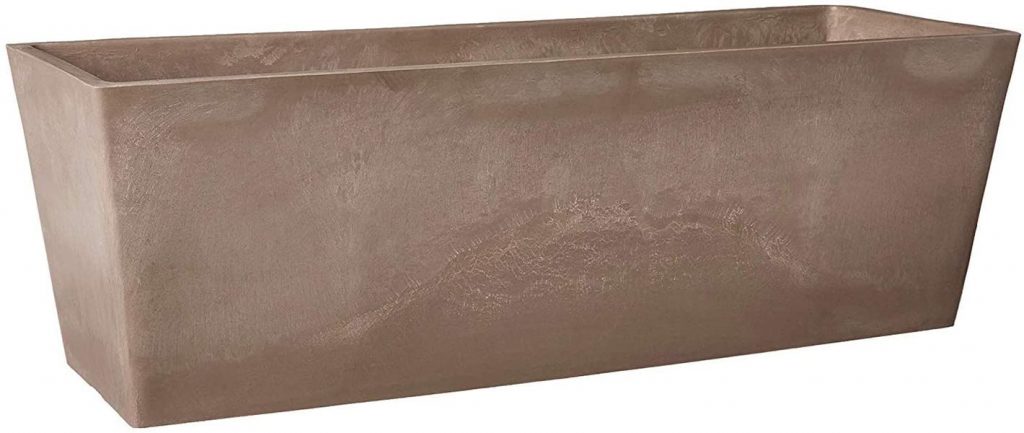
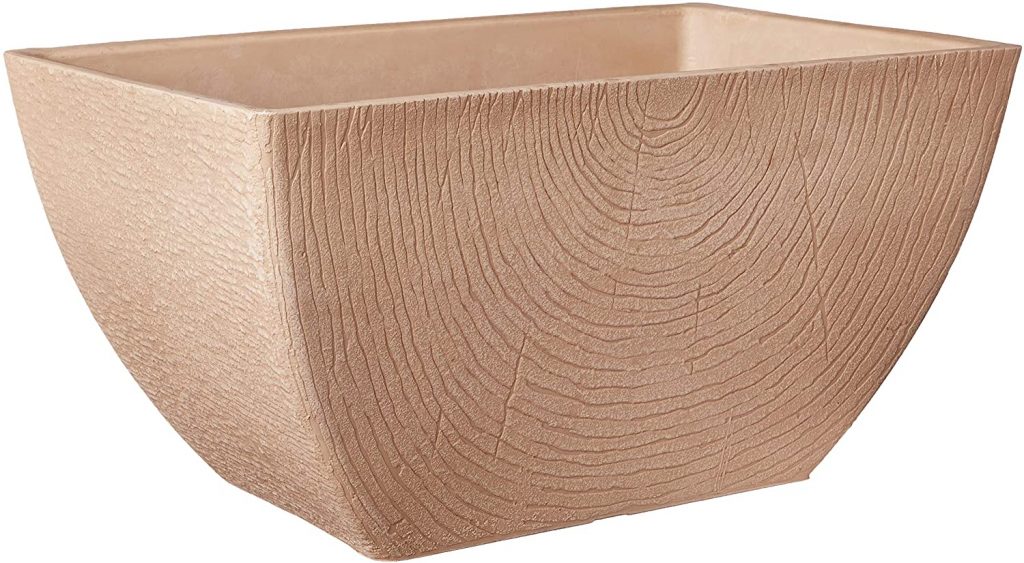
Real ceramic window boxes can be incredibly heavy. Especially for a window box of this size, it will be so difficult to carry around when it has plants inside. This modified plastic material is so textured that it gives off the effect of an aged terracotta pot while in reality, it’s actually a lightweight plastic window box that will carry your plants beautifully.
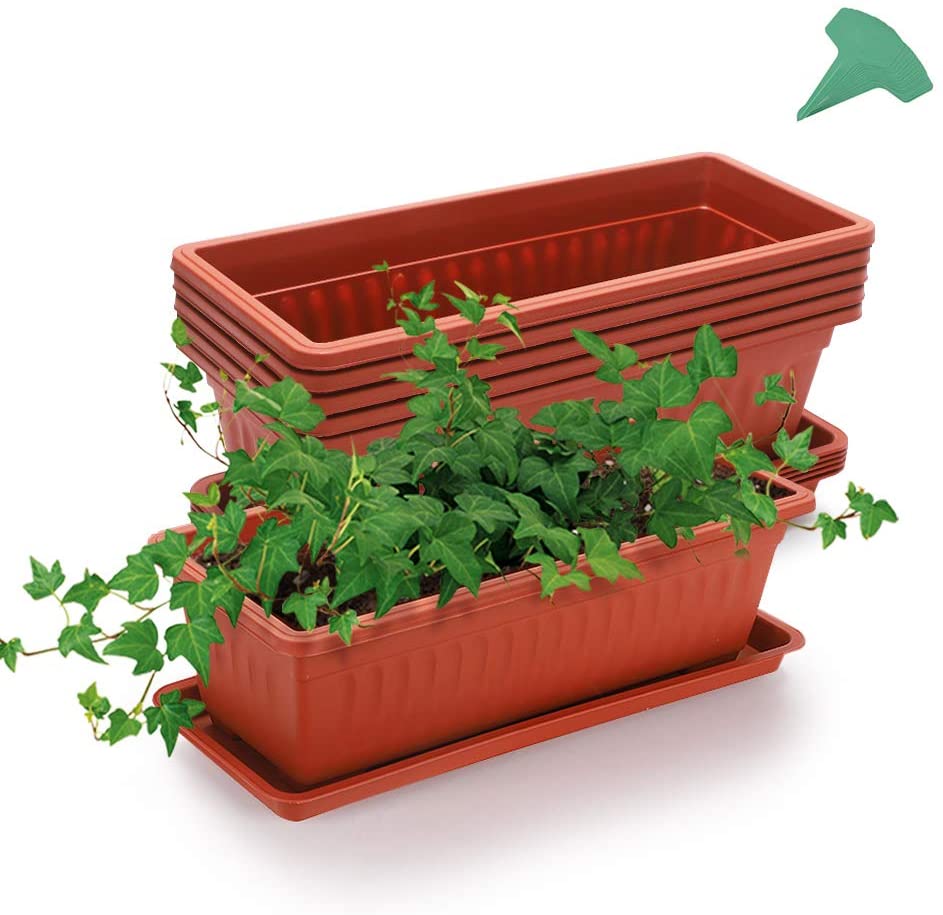
Probably the most classic of all, a terracotta colored plastic planter is the king of window box planters. It’s not made to blend into the building’s design but to give a warm and familiar feeling of a classic planter. It might even remind of old days living in a family home where there may be a small home garden. This particular planter is straightforward and requires little introduction. Your plants will definitely enjoy growing here. Plus, the dedicated trays at the bottom will catch any excess water instead of having it leak onto the ledge.
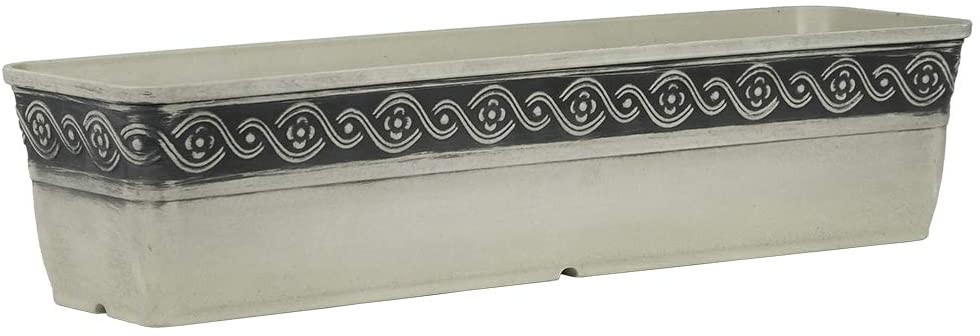
Your planters can have a vintage well-worn look if you want a more homey vibe to your home garden. Here, you have an off-white metal planter with intentionally smudged black paint detailing along the rim. The floral scroll pattern is also reminiscent of classic European design, and will instantly give your window that touch of old world class.
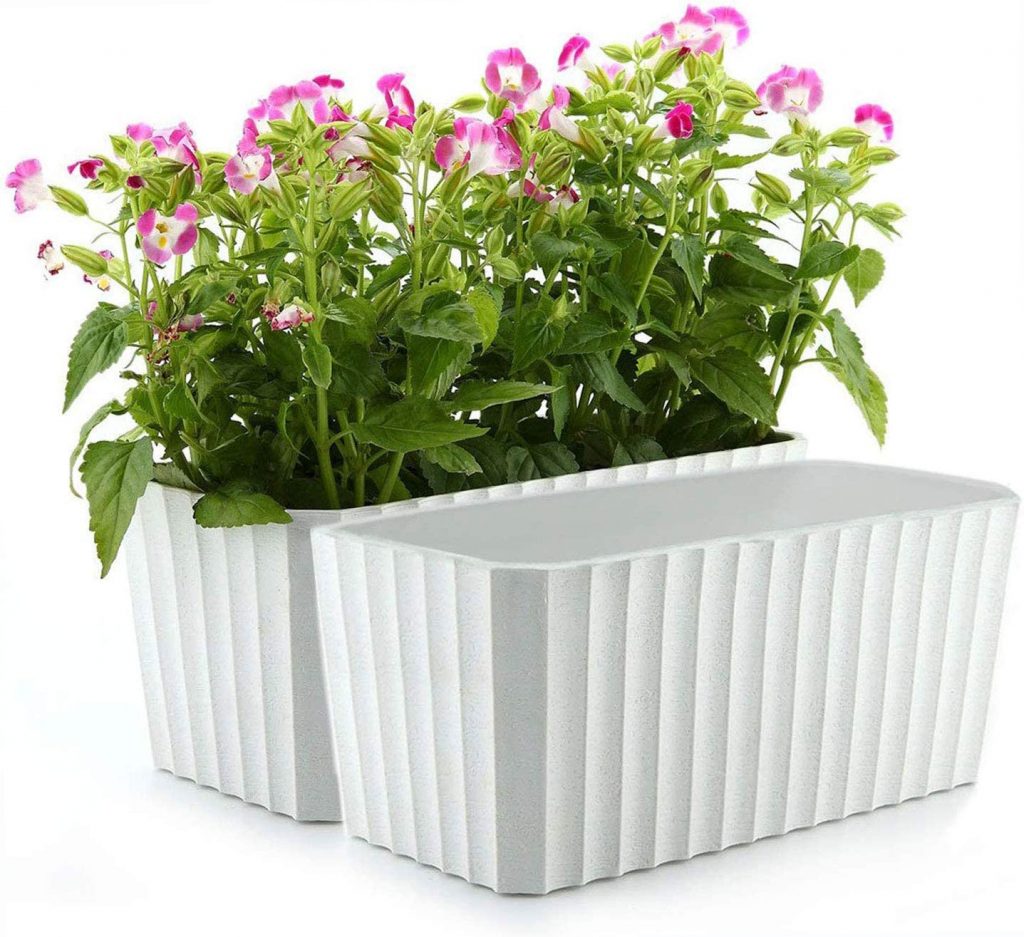
A self-watering planter could well be the friend you never knew you needed in life. Such a product recycles excess water and puts it back into the soil when it senses that it’s dry. It’s an intuitive form of technology that’s perfect for people who tend to be forgetful – worry not, for all the work will be done for you. Simply choose a specific day to water your plants instead of checking if the plants need water every day.
If you’re not a fan of metal or plastic and you simply seek a warmer and more natural touch to your window box, this rustic whitewashed option might just be what you need. It’s a simple, no-fuss planter that will give your windowsill a nice wooden accent, and combines the best of style and functionality.
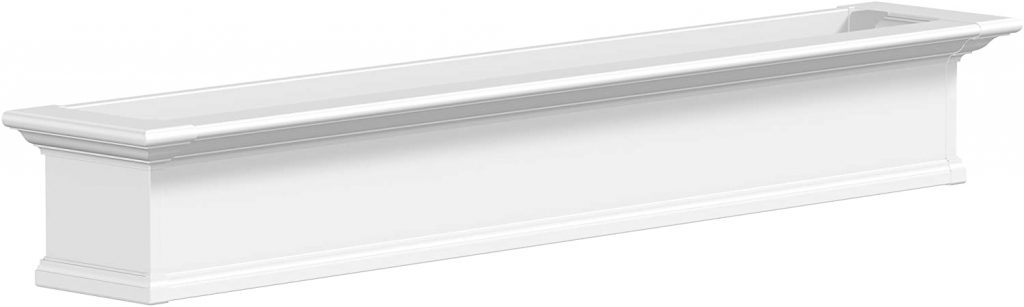
A beautiful classic house will require an equally beautiful window box. I imagine this would also look great on the window sills of some apartment buildings. The subtle detailing on the top and bottom of this crisp white planter is reminiscent of so many famous schools or government buildings, it instantly commands respect. There’s no doubt at all that this will sit beautifully in any home.
Although it looks like chopped wood, this is actually a resin-type plastic planter. Your window box need not just be a simple rectangular box. You can also try interesting shapes to liven up your view and create beautiful forms that come out once you put plants inside. A design like this would surely grab the eye of anyone who passes by!
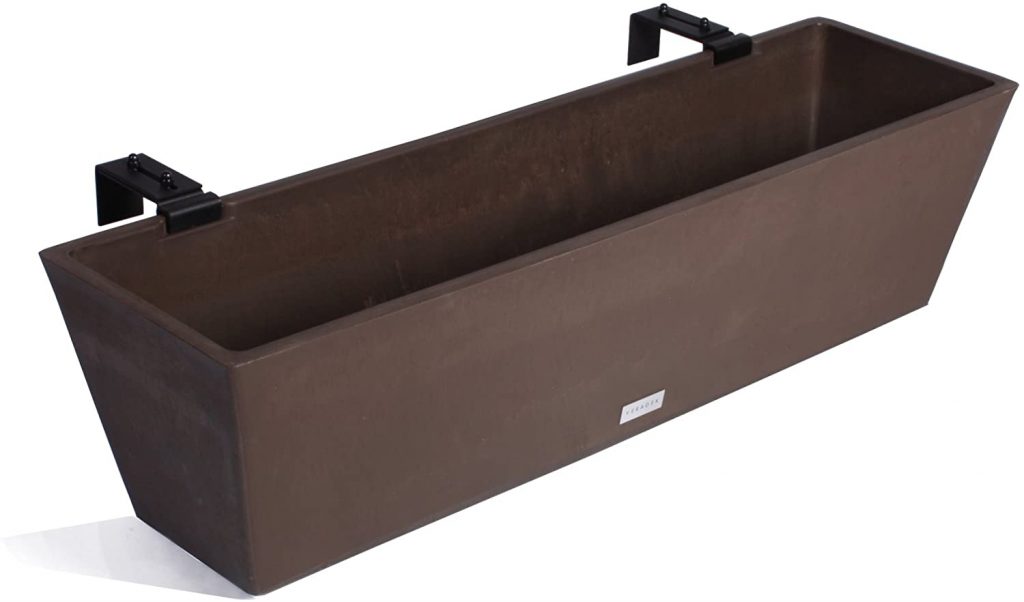
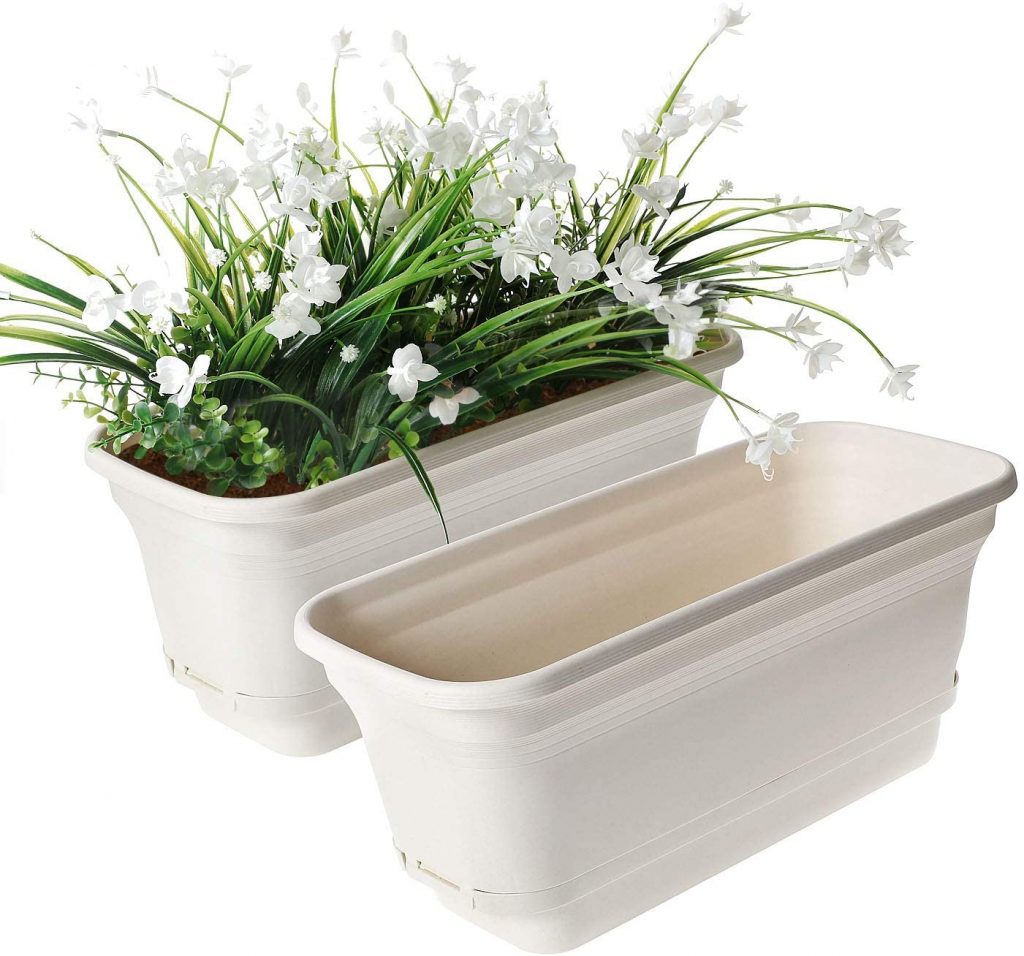
If your ledge isn’t big enough to accommodate a window box, you could go for a design that features metal hangers to be able to neatly mount them onto your window sill. This idea is simple, effortless, and seamless. This particular design features gorgeous neutral colors that will look natural against any building wall, and thin metal hooks that will secure themselves to your windows firmly.
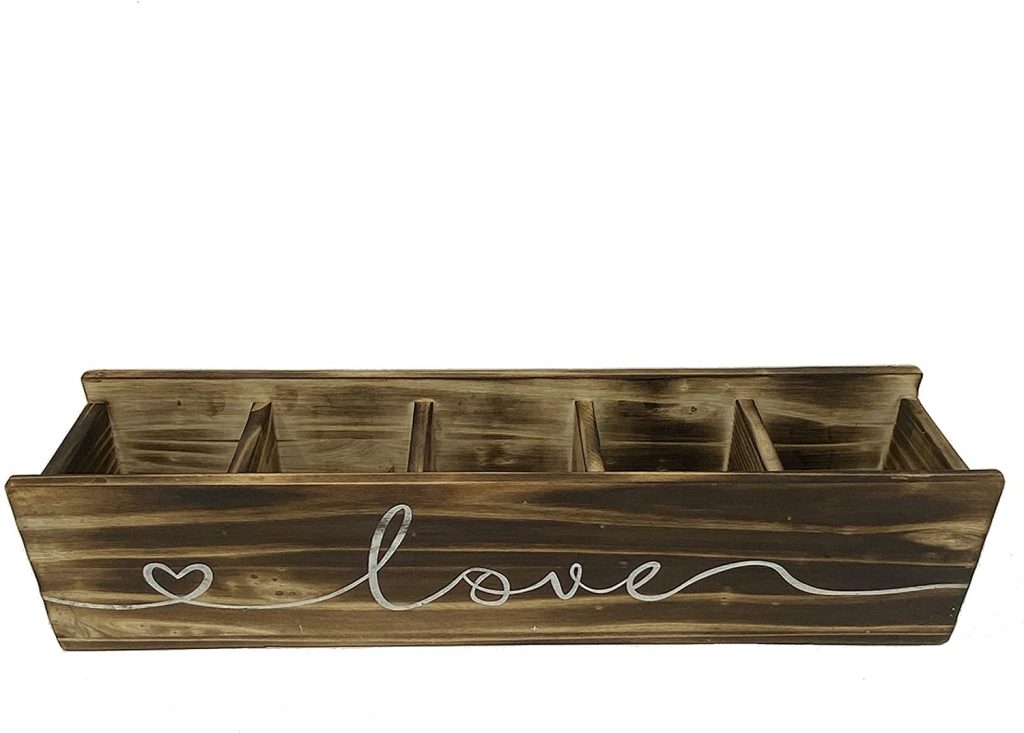
Having small divisions to accommodate various small plants is a smart way to make sure you can properly space out plants. This warm rustic wood pattern will definitely add coziness to your window, with its cute calligraphy engraving making it all the more adorable.
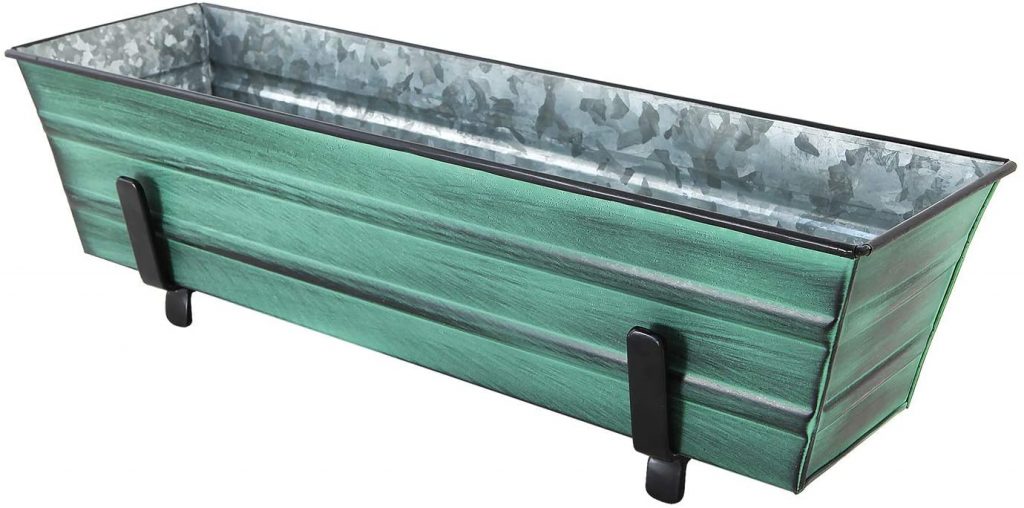
Brushed metal provides a unique texture that will always catch anyone’s eye. Metal is incredibly durable but also light at the same time. It also ages in a unique way that gives any space plenty of character. The inside of the metal planter has also been treated to withstand moisture, so you won’t have to worry about any damage and can instead focus on making your garden the most stunning one ever.
Another simple box design in a crisp white finish. You can never go wrong with a simple design that has a few ledges for dimension and slight recessed detailing for a minimal touch. This white planter looks sturdy and durable but it’s actually just made of a lightweight modified plastic. If you didn’t look closely, you’d think it was made of high quality painted wood panels!
There’s nothing quite as luxurious as a terracotta planter, especially if it’s aged beautifully like ancient pottery. However, it can be impractical in today’s times and – not to mention – insanely heavy as well. Thankfully, plastic planters are now able to replicate the texture and look of a clay pot or whatever material you can think of. This way, you don’t have to break the bank to get that stylish home garden you’ve always dreamed of.
One of the greatest fears plant owners have is that their plant boxes could get swept away by the wind, fall suddenly and hurt someone. To minimize such risks, opt for a window box made of heavier material like ceramic so you can be more confident that your window box will stay safely in place. This ceramic design is simple but textured to give your window sill some depth. It’s also good at maintaining the optimal temperature for the soil.

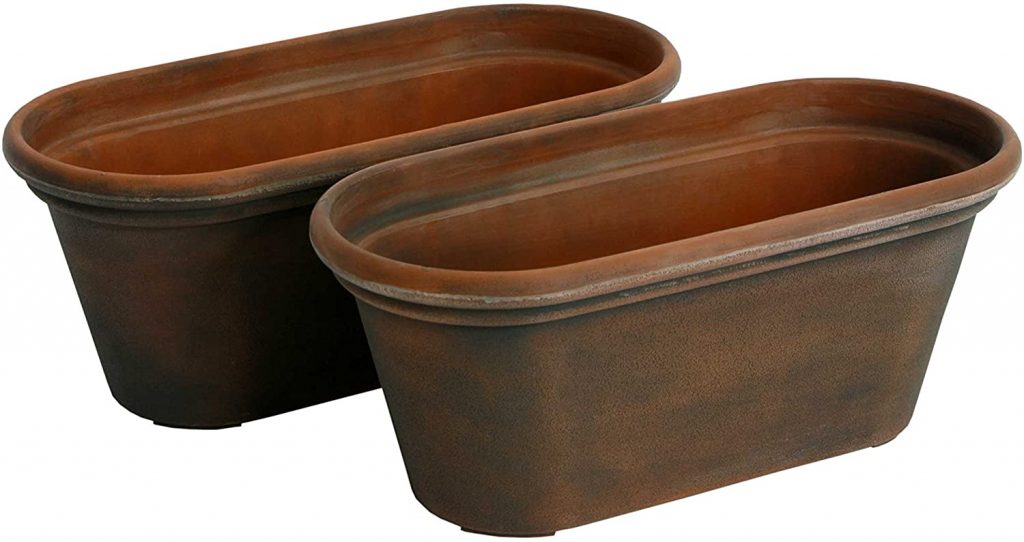
Looking to maximize the space in your home garden? One easy way to do so is to hang planters along the window sill or even rails of your balcony. Here, we have a classic terracotta color on a plastic planter for warming up a lifeless balcony area. The surface of the planter has some nice ridging to keep it from looking like a formless piece of plastic. Putting them side by side can create a lovely stream of plants along your rails.
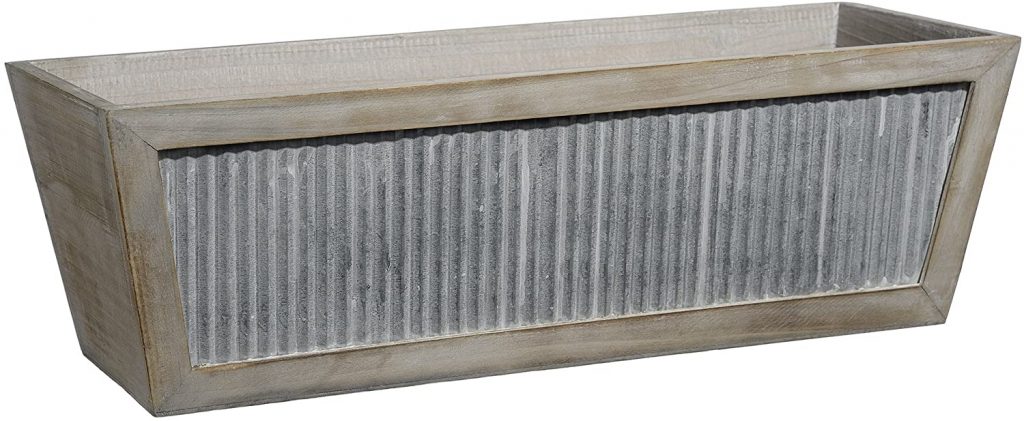
A shabby yet chic handmade look can easily give a space a feel of being lived in, which results in a cozier vibe. This window box has a mainly wooden frame with a corrugated metal accent for a little dose of shine and smooth texture to contrast the aged wood finish. Choose this if you wish for a trendy contemporary look for your plant box.
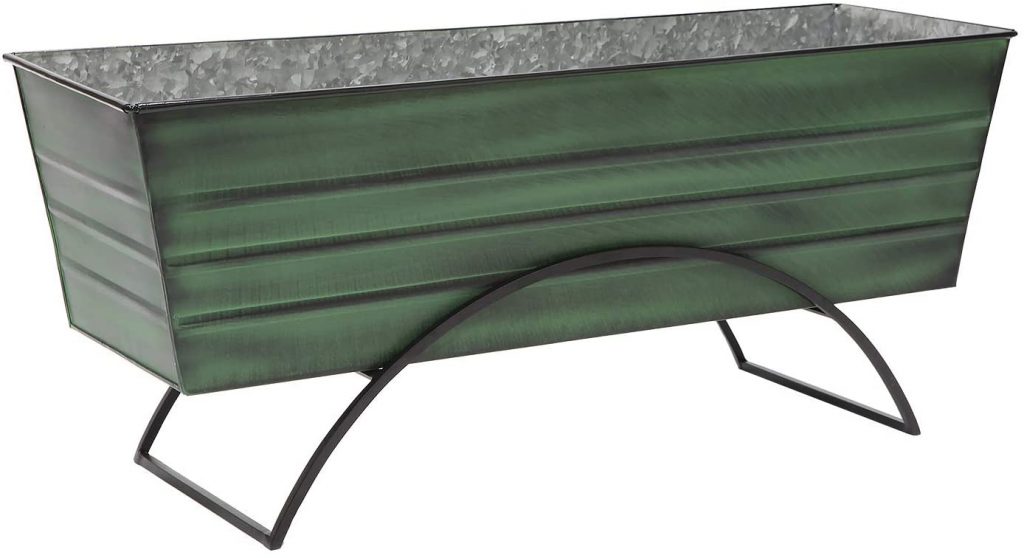
Your plant boxes can have interesting stands to not just elevate the window box, but also give it more form and make it less boring to look at. Thanks to its parabolic curved metal stand, this simple metal planter is given a futuristic and modern touch.
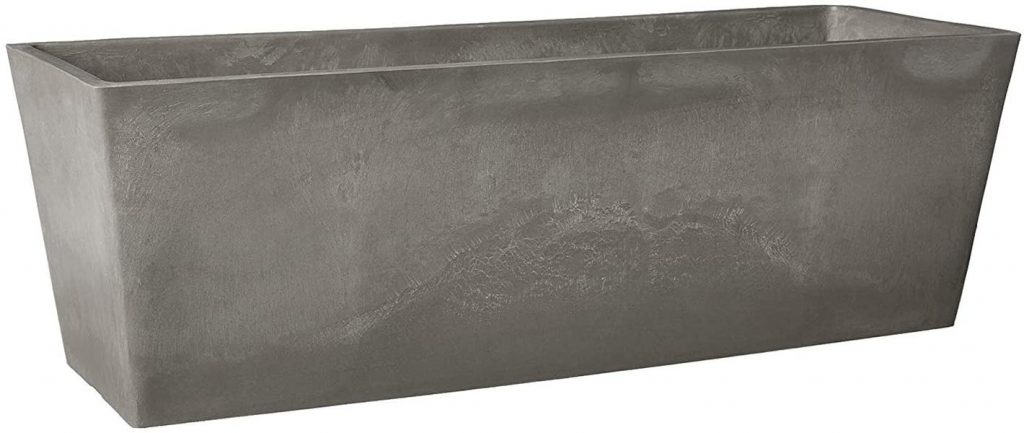
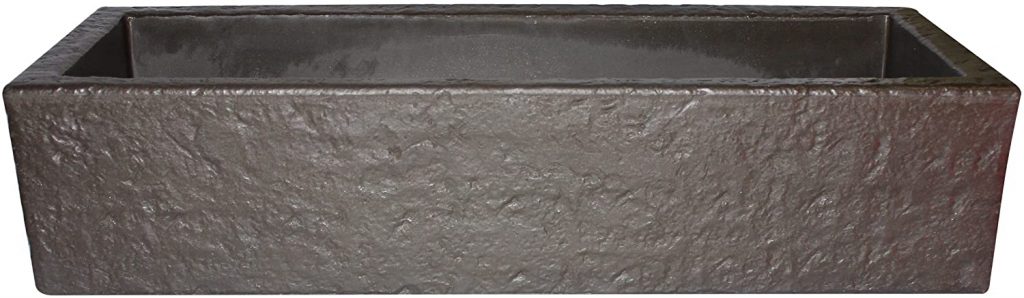
Polished concrete is still all the rage when it comes to world of interior design, so why not emulate this trend with your window box planters? This product may look like a concrete plant box because of its deep tone and textured brush finish, but it’s actually made from a type of modified plastic that’s lightweight but super durable. Put together with its minimalist form, this will definitely be any designer’s dream planter box.
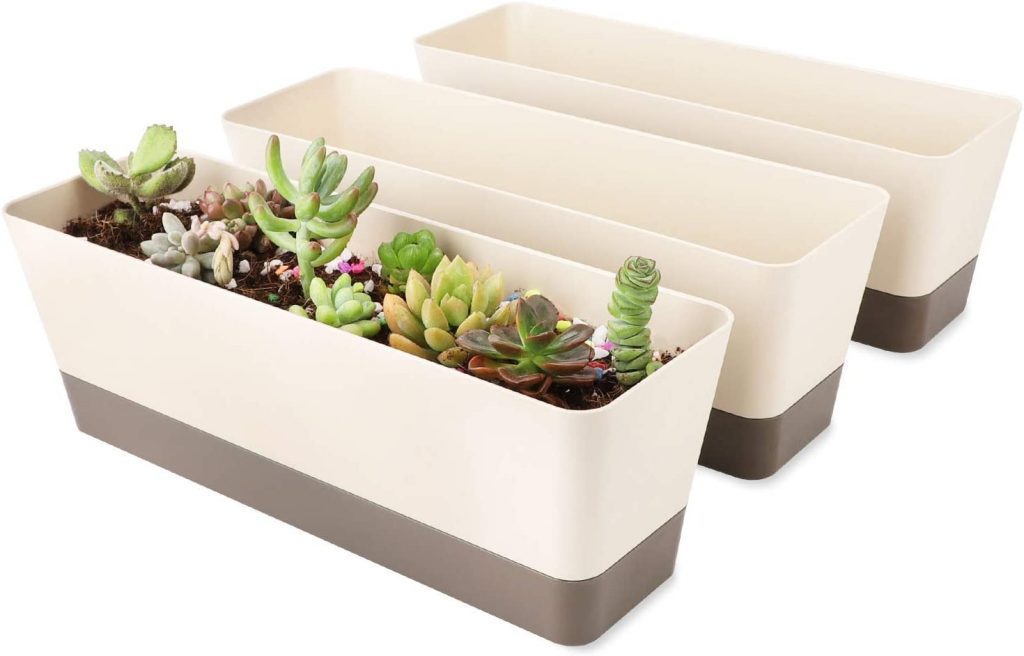
For a fashionable chic look, this smooth plastic planter with a neutral duo tone is reminiscent of a Chanel color palette while the curves keep its design very modern. This is another great example of a no-fail design as it will definitely go with anything in your home. Its seamless base can be detached to reveal a catch tray for excess water.
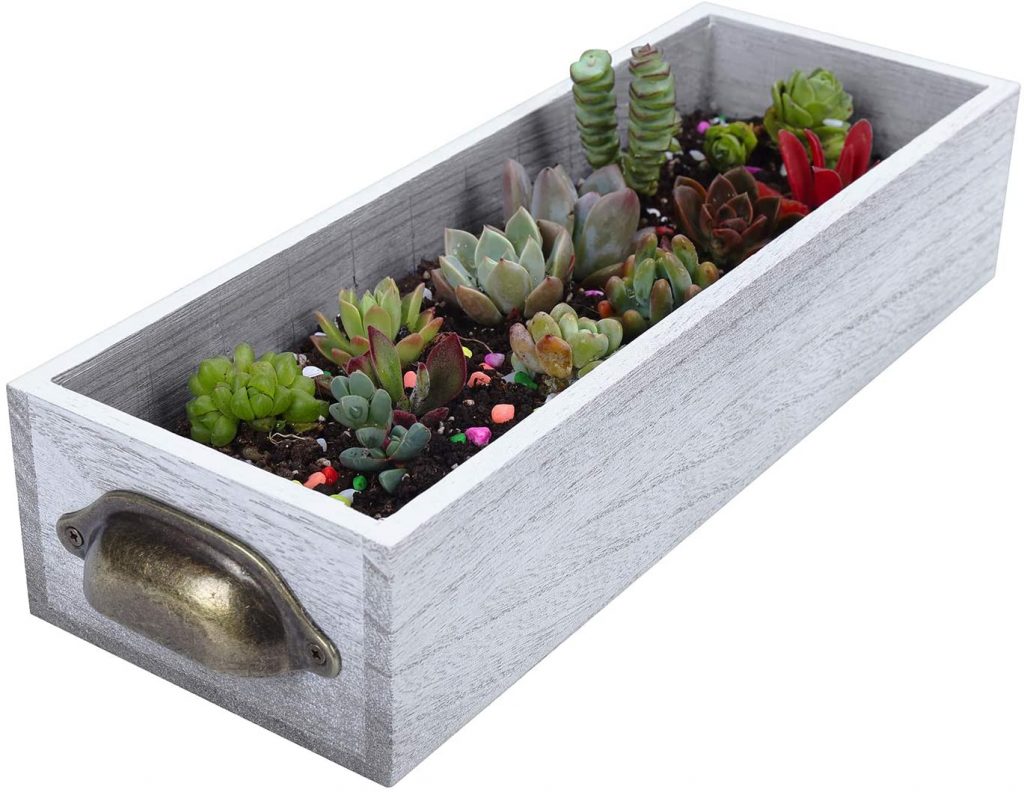
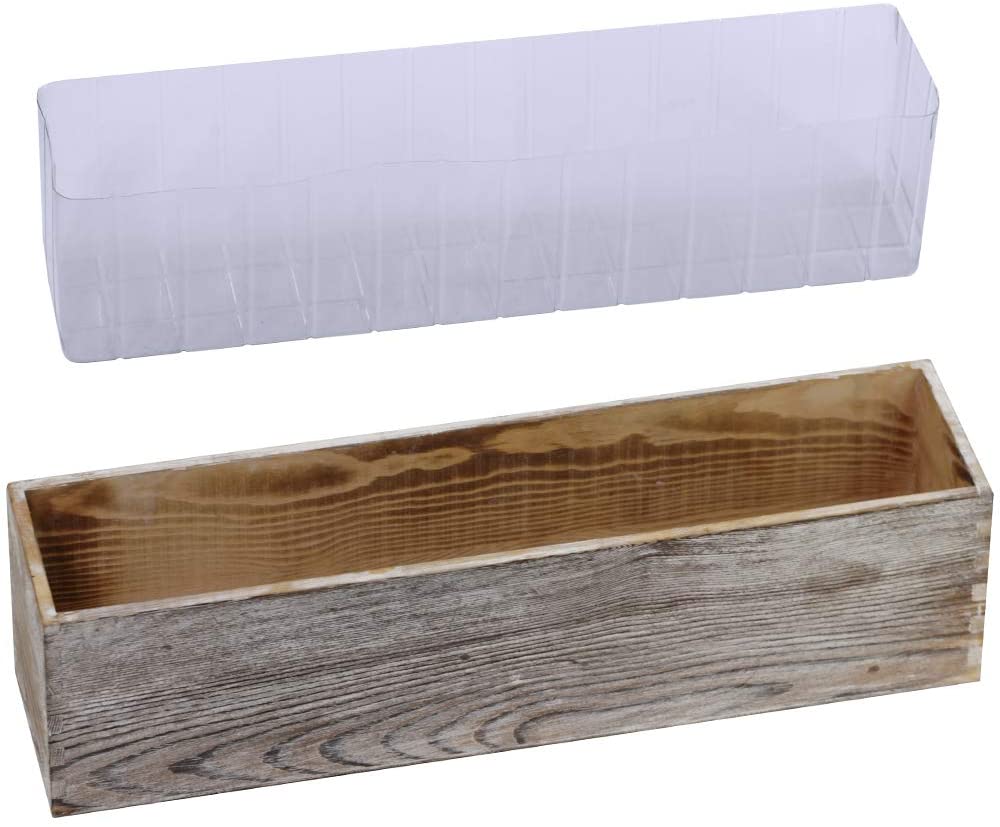
A vintage look can be easily achieved with a rustic wood with a sheer coat of white paint paired with aged metal hardware. This plant box will give your mini-garden plenty of character and an old world look that has a sturdy and reliable feeling. This also comes with a plastic sleeve to prevent any rot.
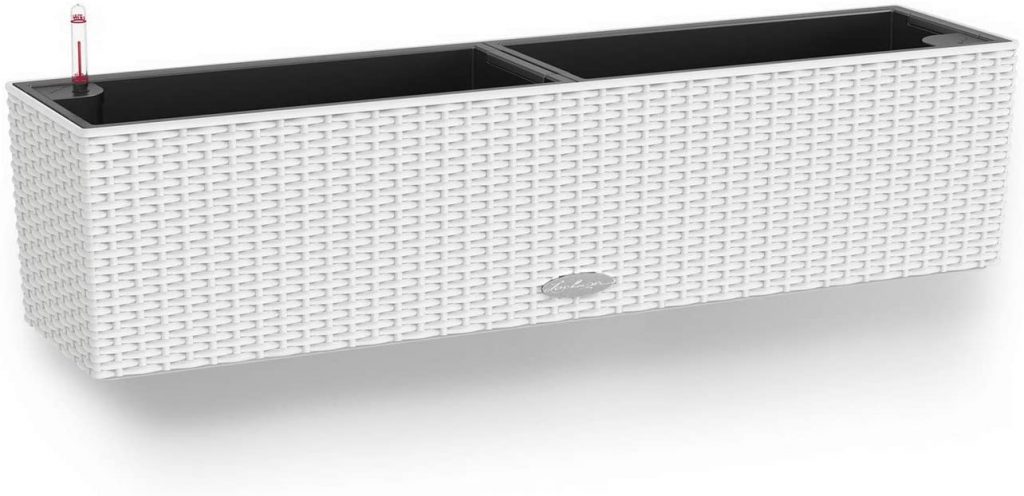
For a cute and light resort look, window boxes with a woven plastic material are also available, such as this one from Lechuza Balconera. Its crisp white color gives it such a fresh look while the woven pattern makes it very lightweight. Inside, the plant it carries is secured by a black plastic pot.
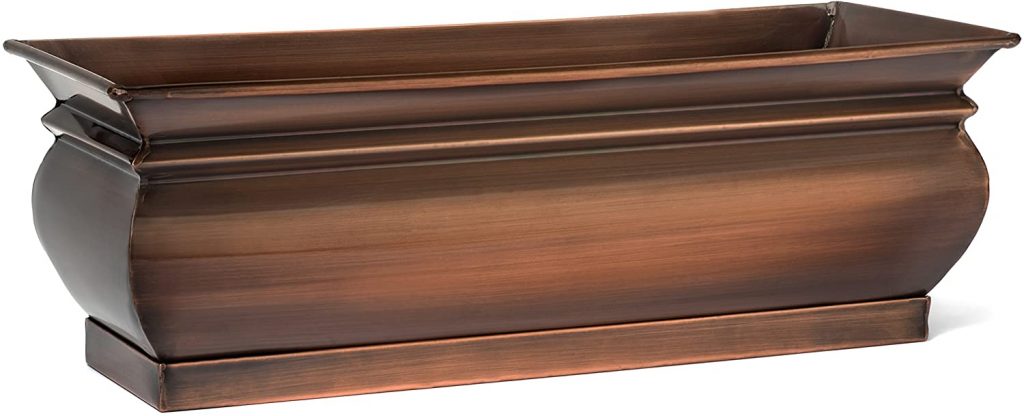
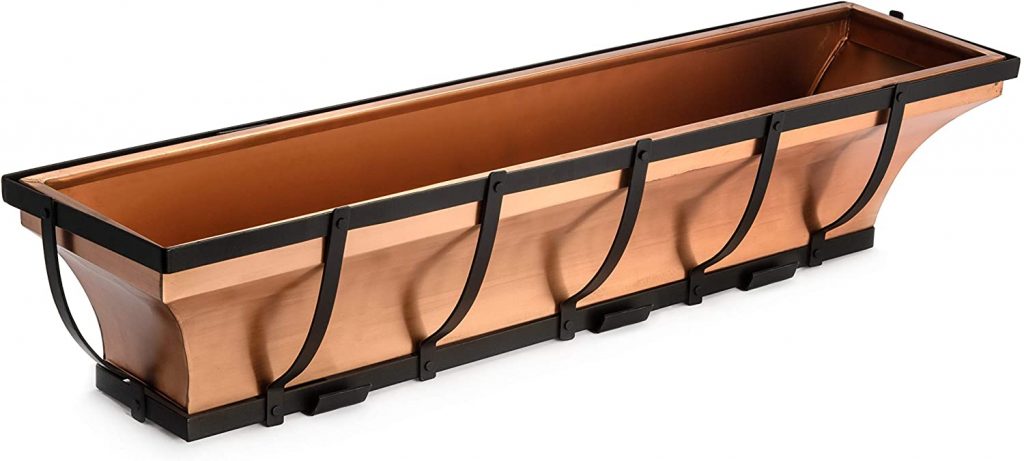
If you’re in the market for a window box that looks like a million bucks, look no further. This rustic planter brings on memories of a beautifully detailed column in a government building while the brushed copper look gives it an added look of luxury. The biggest twist? It’s actually quite affordable!
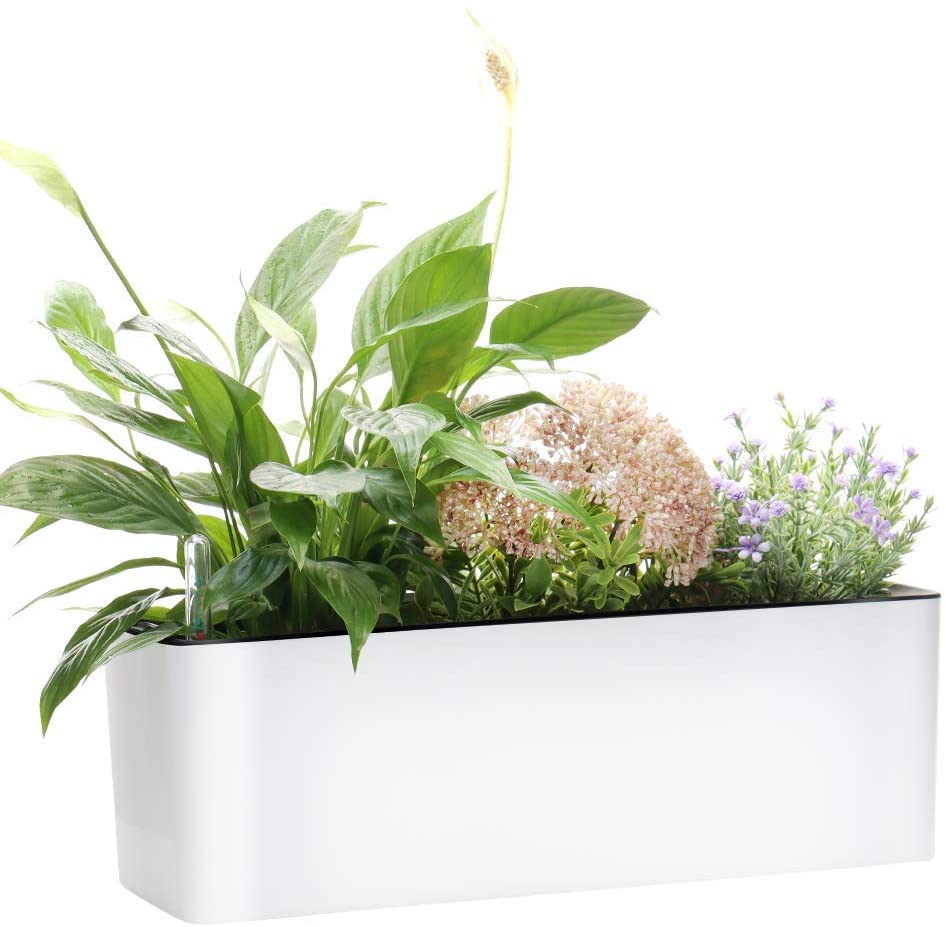
As proven by this window box, minimalist designs are often unparalleled. Not only is the form of this product super chic, it is also very functional. It features a self-watering mechanism for forgetful plant parents and comes with coconut coir soil that conceals the real soil underneath, so your plants look more appealing.
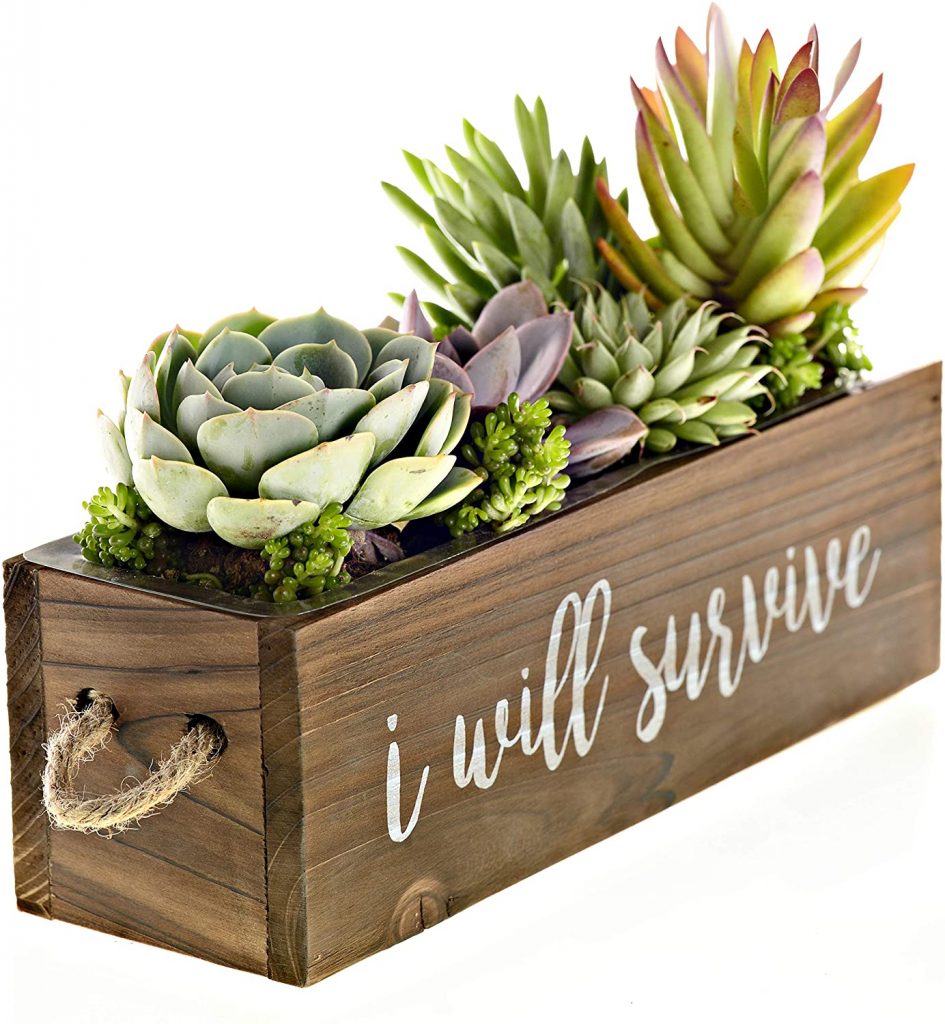
In contrast with the earlier vintage inspired plant box, this one is more on the old country style with its shabby construction and roped side handles. Its design is a nod to the typical serene, quiet life in the countryside where it’s just you and your houseplants against the world. The design also features a beautiful message for anyone who may need kind words.
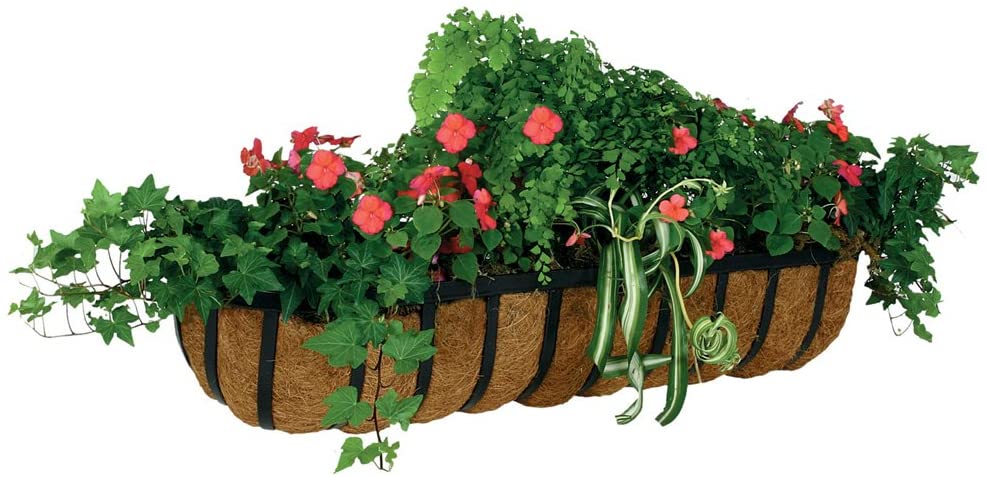
Since it can hold water and soil nicely, coconut liner is becoming an increasingly popular alternative to use as potting material. However, when made into large shapes, it can be a bit unstable so this design features an iron frame that looks like the fancy wrought iron gates of a mansion. If you have similar gates in your home, this will definitely serve as a wonderful complement to it.
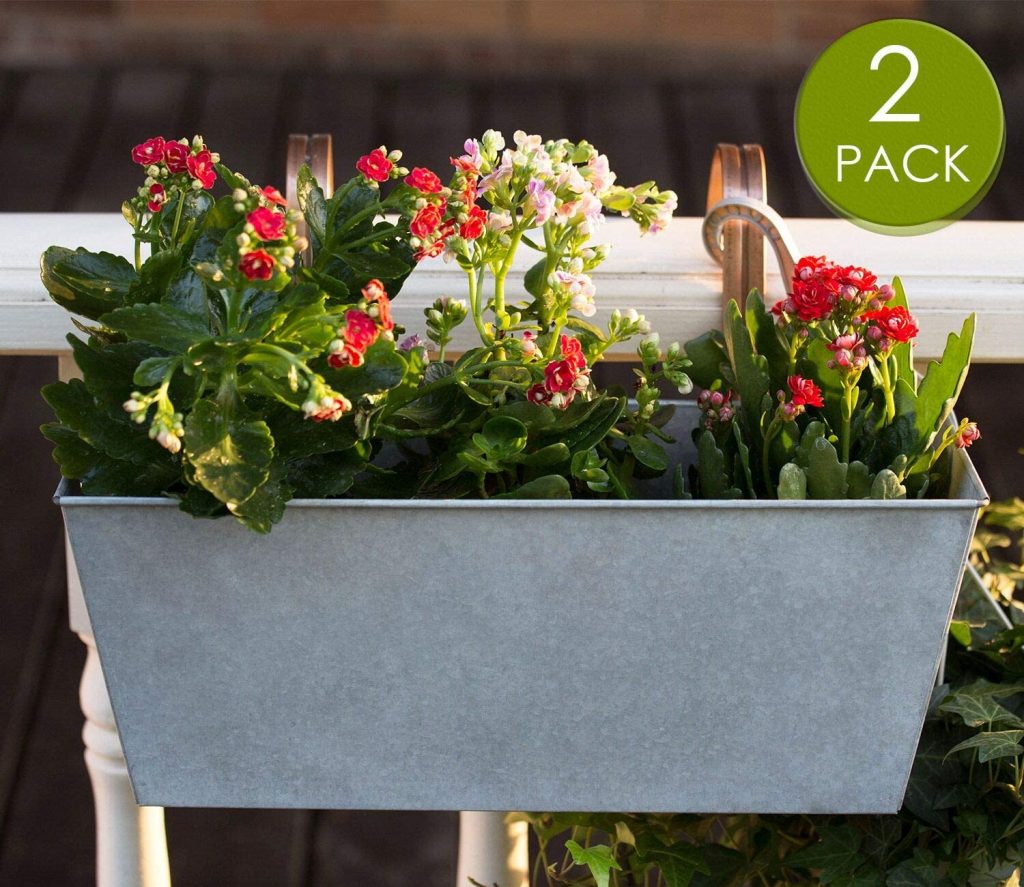
Sometimes, all you need is a simple metal planter to keep things easy and stress-free. There’s something about this design that is both cozy and comforting – possibly because it almost looks like you repurposed an old baking pan to be your window box. However, it’s sure to look gorgeous and become a wonderful home for your plant babies.
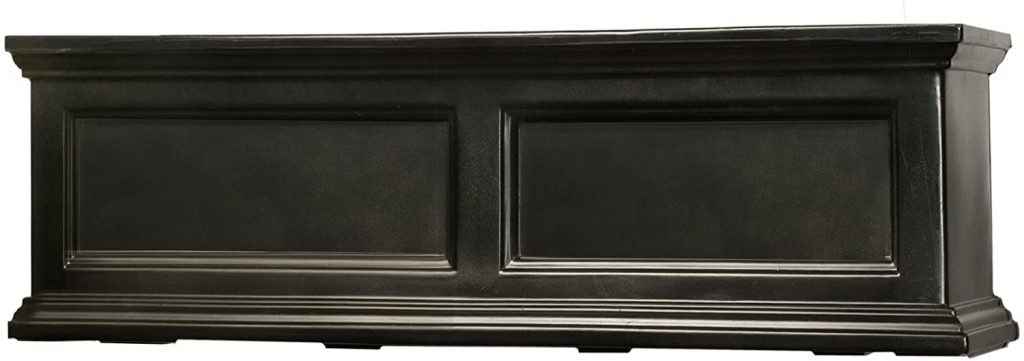
This classic window box design looks like it could have its very own spot in Bruce Wayne’s mansion. It’s dark and mysterious and brings all sorts of feelings of every dark cartoon we’ve watched. Not only is it incredibly sleek and finely detailed, it also comes with an affordable price tag, proving that luxurious furniture need not be expensive.
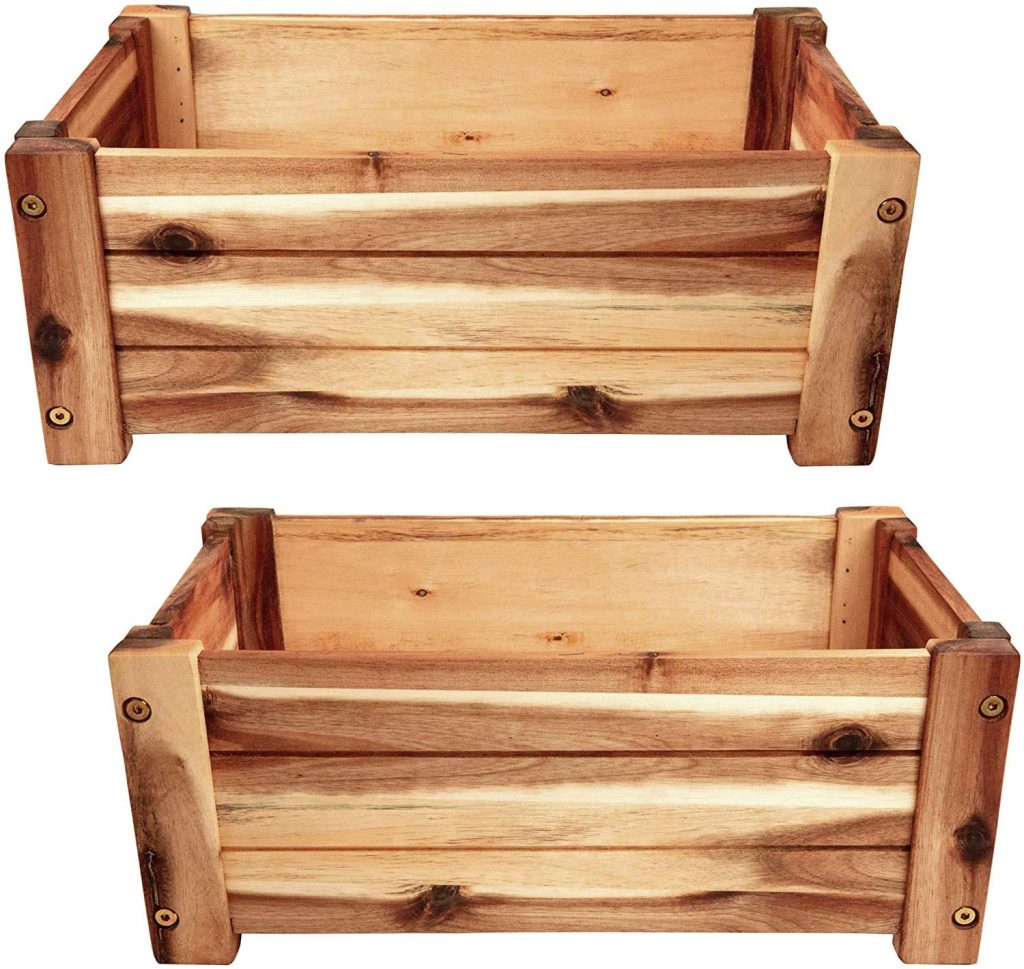
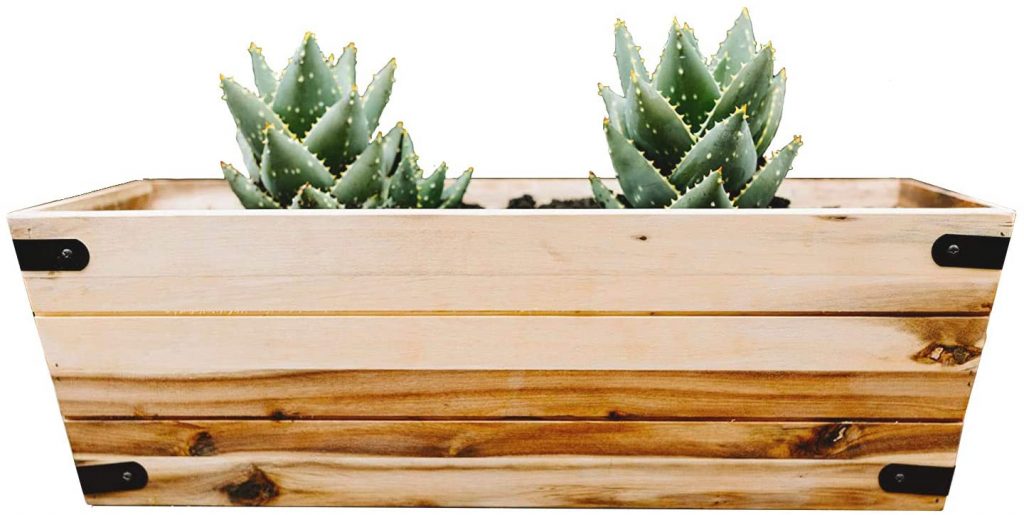
For the ultimate rustic touch, this simply constructed wood planter box will give that effect as if it’s something that came from a farm. Everything about this window box feels authentic, from the textured wood pattern to even the exposed connecting hardware keeping the box together.
A completely smooth surface can be dangerous because it can be hard to grip. It’s not uncommon to lose your hold, especially when the box is filled with plants and soil. This simple white plastic design not only goes with anything in your home, but it also give you a good grip thanks to the stylish recesses on its surface.
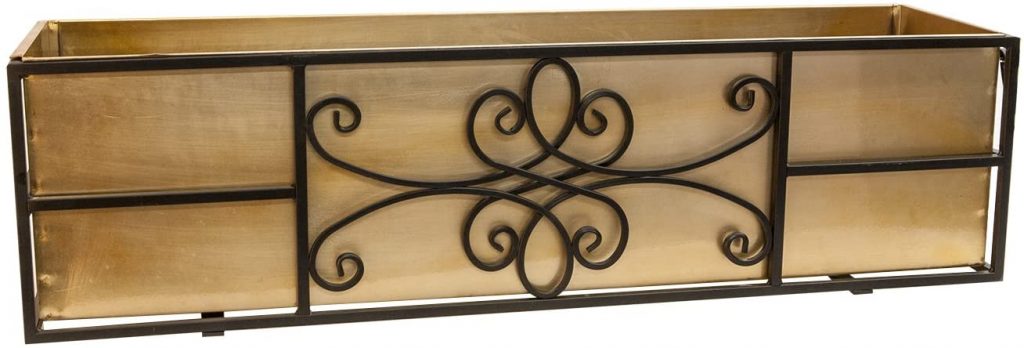
Like plastic, metal can be made into many elegant shapes and forms; unlike plastic, however, it possesses a unique strength and weight. This design features an intricate metal pattern with a gold metal box inside. There’s something about pairing black and gold that creates a dark but luxurious feel.
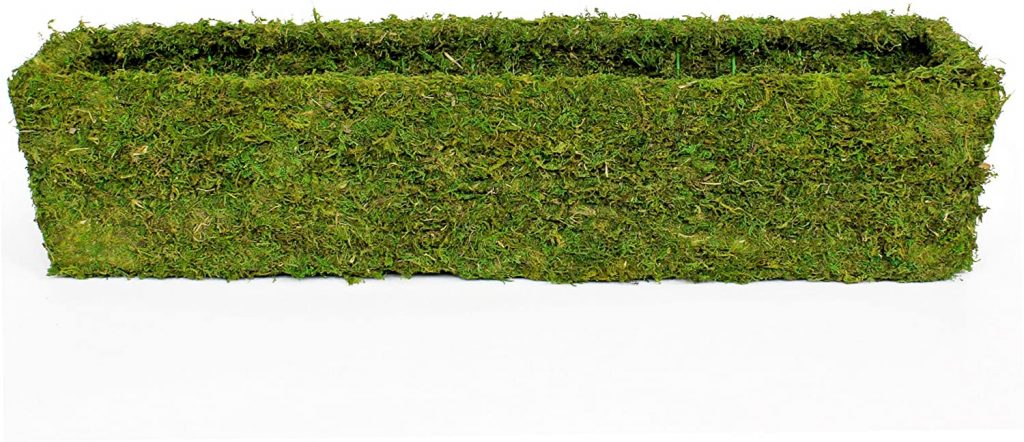
Probably the most unique window box in this list, Super Moss has their trademark MossWeave planters which are created from actual moss to form a sturdy planter that can hold soil, water, and plants. It will definitely add that natural touch to any home regardless of how it looks or how it’s designed. This special plant box will catch anyone’s eye and will make you feel like a pro at gardening.
Another gorgeous example of a metal planter, this design features multiple curves which is unique considering the fact that most window boxes take on box forms. This metal planter has curves running opposite each other as if to take up more space and create a more complicated form. There’s really not much to say, other than how incredibly classy this will look by your windows.
When looking for a nice accent to any space, textured wood is your best friend. This definitely can apply to your window box. If you have an industrial look for your interiors, why not keep it going with your choice of an equally industrial plant box?We the tone of this wood paired with the sleek black hardware.
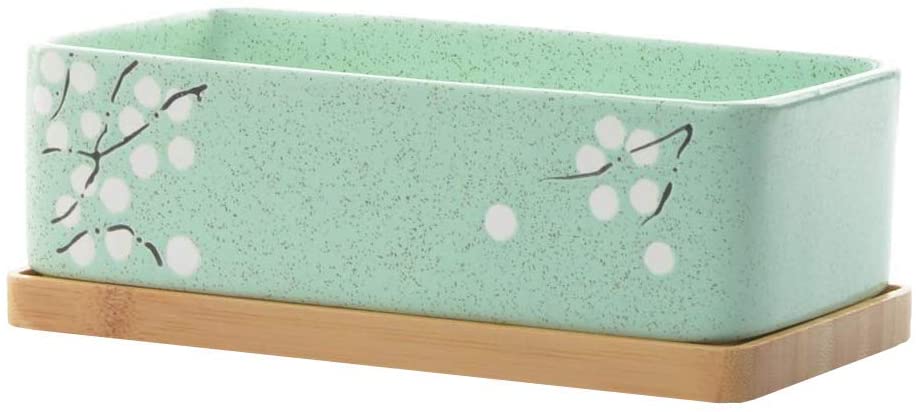
A little bit of a Japanese aesthetic can be clearly observed on this pretty and delicate window box design. The sandy mint green finish paired with the nature painting is like a breath of fresh air for any space. This is then taken to another level by including the light oak tray to catch excess water. There is little room for doubt that this is the cutest window box in existence!
Decorative window boxes such as those listed above can be both an extension of the interiors and exteriors of your home. It’s in a unique position that it can be admired both by you inside or even the people just casually passing by outside. Your plants will always need a nice and stable home for them to thrive as well as give you a lot of clean air to breathe, so why not have fun with the process of selecting your window box?
Go the safe route with a neutral and simple design, or further emphasize your interiors with an equally funky planter. You can also make it look like part of the architecture by matching it with the details of the facade. Either way, I’m confident you’d be surprised that a window box is so much more than just a place to try your latest favorite hobby!
Was this page helpful?
At Storables.com, we guarantee accurate and reliable information. Our content, validated by Expert Board Contributors, is crafted following stringent Editorial Policies. We're committed to providing you with well-researched, expert-backed insights for all your informational needs.

0 thoughts on “35 Gorgeous Window Boxes That Really Work”