Articles
How To Make Music Boxes
Modified: August 31, 2024
Learn how to create beautiful music boxes with our step-by-step craft storage guides. Discover easy techniques and ideas for making unique music boxes at home.
(Many of the links in this article redirect to a specific reviewed product. Your purchase of these products through affiliate links helps to generate commission for Storables.com, at no extra cost. Learn more)
Introduction
Music boxes have a timeless charm that can captivate anyone. They create a whimsical and nostalgic atmosphere, filling the air with enchanting melodies. Making your own music box can be a rewarding and creative project that allows you to personalize the design and showcase your craftsmanship.
In this article, we will guide you through the step-by-step process of making a music box. From choosing the right mechanisms to assembling and decorating your creation, you’ll learn all the essential techniques and tips to create a beautiful music box that brings joy to the ears.
Before we dive into the details, let’s take a moment to appreciate the magic of music boxes. Originating in the 18th century, music boxes were initially crafted as intricately designed mechanical devices that played melodies using a set of pins or discs. Over the years, music boxes have evolved in design and mechanism, becoming cherished collectible items and cherished gifts.
Creating a music box from scratch allows you to explore your creativity and showcase your woodworking or crafting skills. Whether you’re a beginner or an experienced artist, this project can be a delightful and fulfilling endeavor.
Next, we’ll discuss the materials and tools you’ll need to get started on your music box-making journey.
Key Takeaways:
- Create a personalized music box by choosing the right materials, mechanisms, and decorative elements. Unleash your creativity and craftsmanship to craft a unique and enchanting musical experience.
- Infuse your music box with personal touches and explore unconventional ideas to make it truly one-of-a-kind. From custom melodies to unique materials, let your imagination run wild in creating a delightful and memorable music box.
Read more: How To Make A Musical Water Fountain
Materials and Tools Needed
Before you begin creating your own music box, gather the necessary materials and tools. Here’s a list of what you’ll need:
Materials:
- Wooden base or box: Choose a sturdy, smooth-surfaced wooden base or box for your music box. This will serve as the foundation for your project.
- Music box mechanism: Select a music box mechanism that suits your artistic vision. These mechanisms come in various sizes and styles, so choose one that fits your project’s design and the desired melody.
- Music box paper or discs: You’ll need music box paper or discs that correspond to the chosen music box mechanism. These paper or discs have pre-drawn patterns of notes that the music box’s pins or discs will play.
- Decorative materials: Gather decorative materials such as paint, varnish, fabric, or other embellishments to add a personal touch to your music box.
- Adhesive: You’ll need glue or an adhesive to hold the different components of your music box together.
- Optional accessories: Consider adding accessories such as a decorative handle, drawer, or compartment to enhance the functionality and aesthetic appeal of your music box.
Tools:
- Saw: A saw will be needed to cut the wooden base or box to the desired shape and size.
- Sandpaper: Use sandpaper to smooth any rough edges or surfaces of the wooden base.
- Drill: A drill will be necessary to create holes for the music box mechanism and any additional accessories.
- Pliers: Pliers will help in bending and adjusting the pins or discs of the music box mechanism.
- Paintbrushes: If you plan to paint or varnish your music box, paintbrushes will come in handy.
- Scissors: You’ll need scissors to cut the music box paper or discs to the appropriate size.
Having all these materials and tools ready will make the music box-making process smoother and more enjoyable. Now that you have everything gathered, let’s move on to the first step: choosing a music box mechanism.
Step 1: Choosing a Music Box Mechanism
The music box mechanism is the heart of your music box. It determines the melodies that will be played and how they are produced. When choosing a music box mechanism, consider the following factors:
1. Melody: Decide on the melody you want your music box to play. Music box mechanisms come with a variety of pre-programmed melodies, ranging from classical tunes to popular songs. Choose a melody that resonates with you and fits the overall theme of your music box.
2. Size: Consider the size of the music box mechanism in relation to the dimensions of your wooden base or box. Ensure that the mechanism fits comfortably within the allotted space and leaves room for any additional features you plan to incorporate.
3. Operation: Determine how you want your music box to operate. Some mechanisms require a winding key, while others can be operated with a simple push-button. Choose the one that aligns with your preference and the intended user experience.
4. Durability and Quality: Look for a music box mechanism that is well-built and made from durable materials. This ensures that your music box will last for years to come and produce clear and melodious tones.
5. Customization Options: Consider whether the music box mechanism allows for customization. Some mechanisms come with interchangeable discs or pins, giving you the option to change melodies or create your own tunes.
Take your time exploring different options and read reviews or consult with experts to find a reliable and high-quality music box mechanism that suits your needs. Once you have chosen the perfect mechanism, you can move on to preparing the wooden base in the next step.
Step 2: Preparing the Wooden Base
Now that you have your music box mechanism selected, it’s time to prepare the wooden base or box that will serve as the foundation of your music box. Follow these steps to ensure a well-prepared and sturdy base:
1. Choose the Right Wooden Base: Select a wooden base or box that suits the size and design of your music box. You can find pre-made wooden boxes at craft stores or choose to create your own from scratch using a piece of sturdy wood.
2. Measure and Mark: Use a ruler and pencil to measure and mark the desired dimensions of your wooden base. Consider the size of the music box mechanism and any additional accessories you plan to incorporate.
3. Cut the Wood: Carefully cut the wooden base according to the marked dimensions using a saw. Take your time and ensure smooth and straight cuts.
4. Sand the Edges: Use sandpaper to smooth any rough edges or surfaces of the wooden base. This will create a polished and professional look and prevent splinters.
5. Drill Holes: Depending on the design of your music box and the requirements of the music box mechanism, drill holes in the appropriate positions. These holes will accommodate the pins or discs of the music box mechanism and any other components you plan to add.
6. Test Fit: Before proceeding with the assembly, do a test fit of the music box mechanism. Ensure that it fits securely in the drilled holes and that there is enough clearance for smooth operation.
Once you have completed these steps, your wooden base will be ready to hold the music box mechanism and other elements of your music box. Taking the time to prepare the wooden base properly will ensure a sturdy and visually appealing foundation for your creation.
In the next step, we will explore how to design and cut the music box paper or discs.
Step 3: Designing and Cutting the Music Box Paper
In this step, we will focus on designing and cutting the music box paper or discs that will produce the beautiful melodies in your music box. Follow these steps to create the music box paper:
1. Choose the Musical Notes: Decide on the musical notes or song you want your music box to play. You can find sheet music or transcribe your desired melody onto a sheet of paper.
2. Transfer the Notes: Use a pencil or pen to transfer the musical notes onto a blank sheet of music box paper or disc. Ensure that you accurately depict the duration and placement of each note.
3. Create a Pattern: Design a pattern on the music box paper that will guide the pins or discs of the music box mechanism. Use a ruler or template to create evenly spaced lines or circles, depending on the type of mechanism you are using.
4. Cut the Music Box Paper: Carefully cut along the marked pattern lines to create the individual music box paper strips or discs. Use scissors or a craft knife for precise cuts.
5. Test Fit: Before proceeding, perform a test fit of the music box paper on the music box mechanism. Ensure that the paper lines up correctly with the pins or discs and that it moves smoothly without any obstructions.
Remember, the design and cutting of the music box paper require precision and attention to detail. Take your time to ensure accurate placement of the notes and a clean-cut finish. This will guarantee a harmonious and melodious musical experience.
Now that you have your music box paper ready, it’s time to move on to the next step: assembling the music box paper onto the mechanism.
Read more: How To Store Music
Step 4: Assembling the Music Box Paper
Now that you have designed and cut the music box paper, it’s time to assemble it onto the music box mechanism. Follow these steps to ensure a proper and smooth assembly:
1. Align the Music Box Paper: Carefully align the pre-cut music box paper strips or discs with the pins or discs of the music box mechanism. Ensure that the notes on the paper match up with the corresponding pins or discs.
2. Attach the Music Box Paper: Use adhesive, such as glue or double-sided tape, to attach the music box paper to the pins or discs. Be careful not to use excessive adhesive that may hinder the movement of the mechanism.
3. Secure the Paper: Press down on the music box paper to ensure a secure and firm attachment. Smooth out any air bubbles or wrinkles that may have formed during the assembly process.
4. Trim Excess Paper: If necessary, trim any excess paper that extends beyond the boundaries of the music box mechanism. This will ensure that the paper does not interfere with the operation of the mechanism.
5. Test the Melody: Before proceeding, test the melody by turning the music box mechanism or activating it according to the specified method. Listen carefully to ensure that the music box paper produces the desired melody and that all the notes play correctly.
By following these steps, you will successfully assemble the music box paper onto the music box mechanism. Take your time during the assembly process to ensure precision and accuracy.
Now that the music box paper is securely attached to the mechanism, we can move on to the next step: installing the music box mechanism into the wooden base.
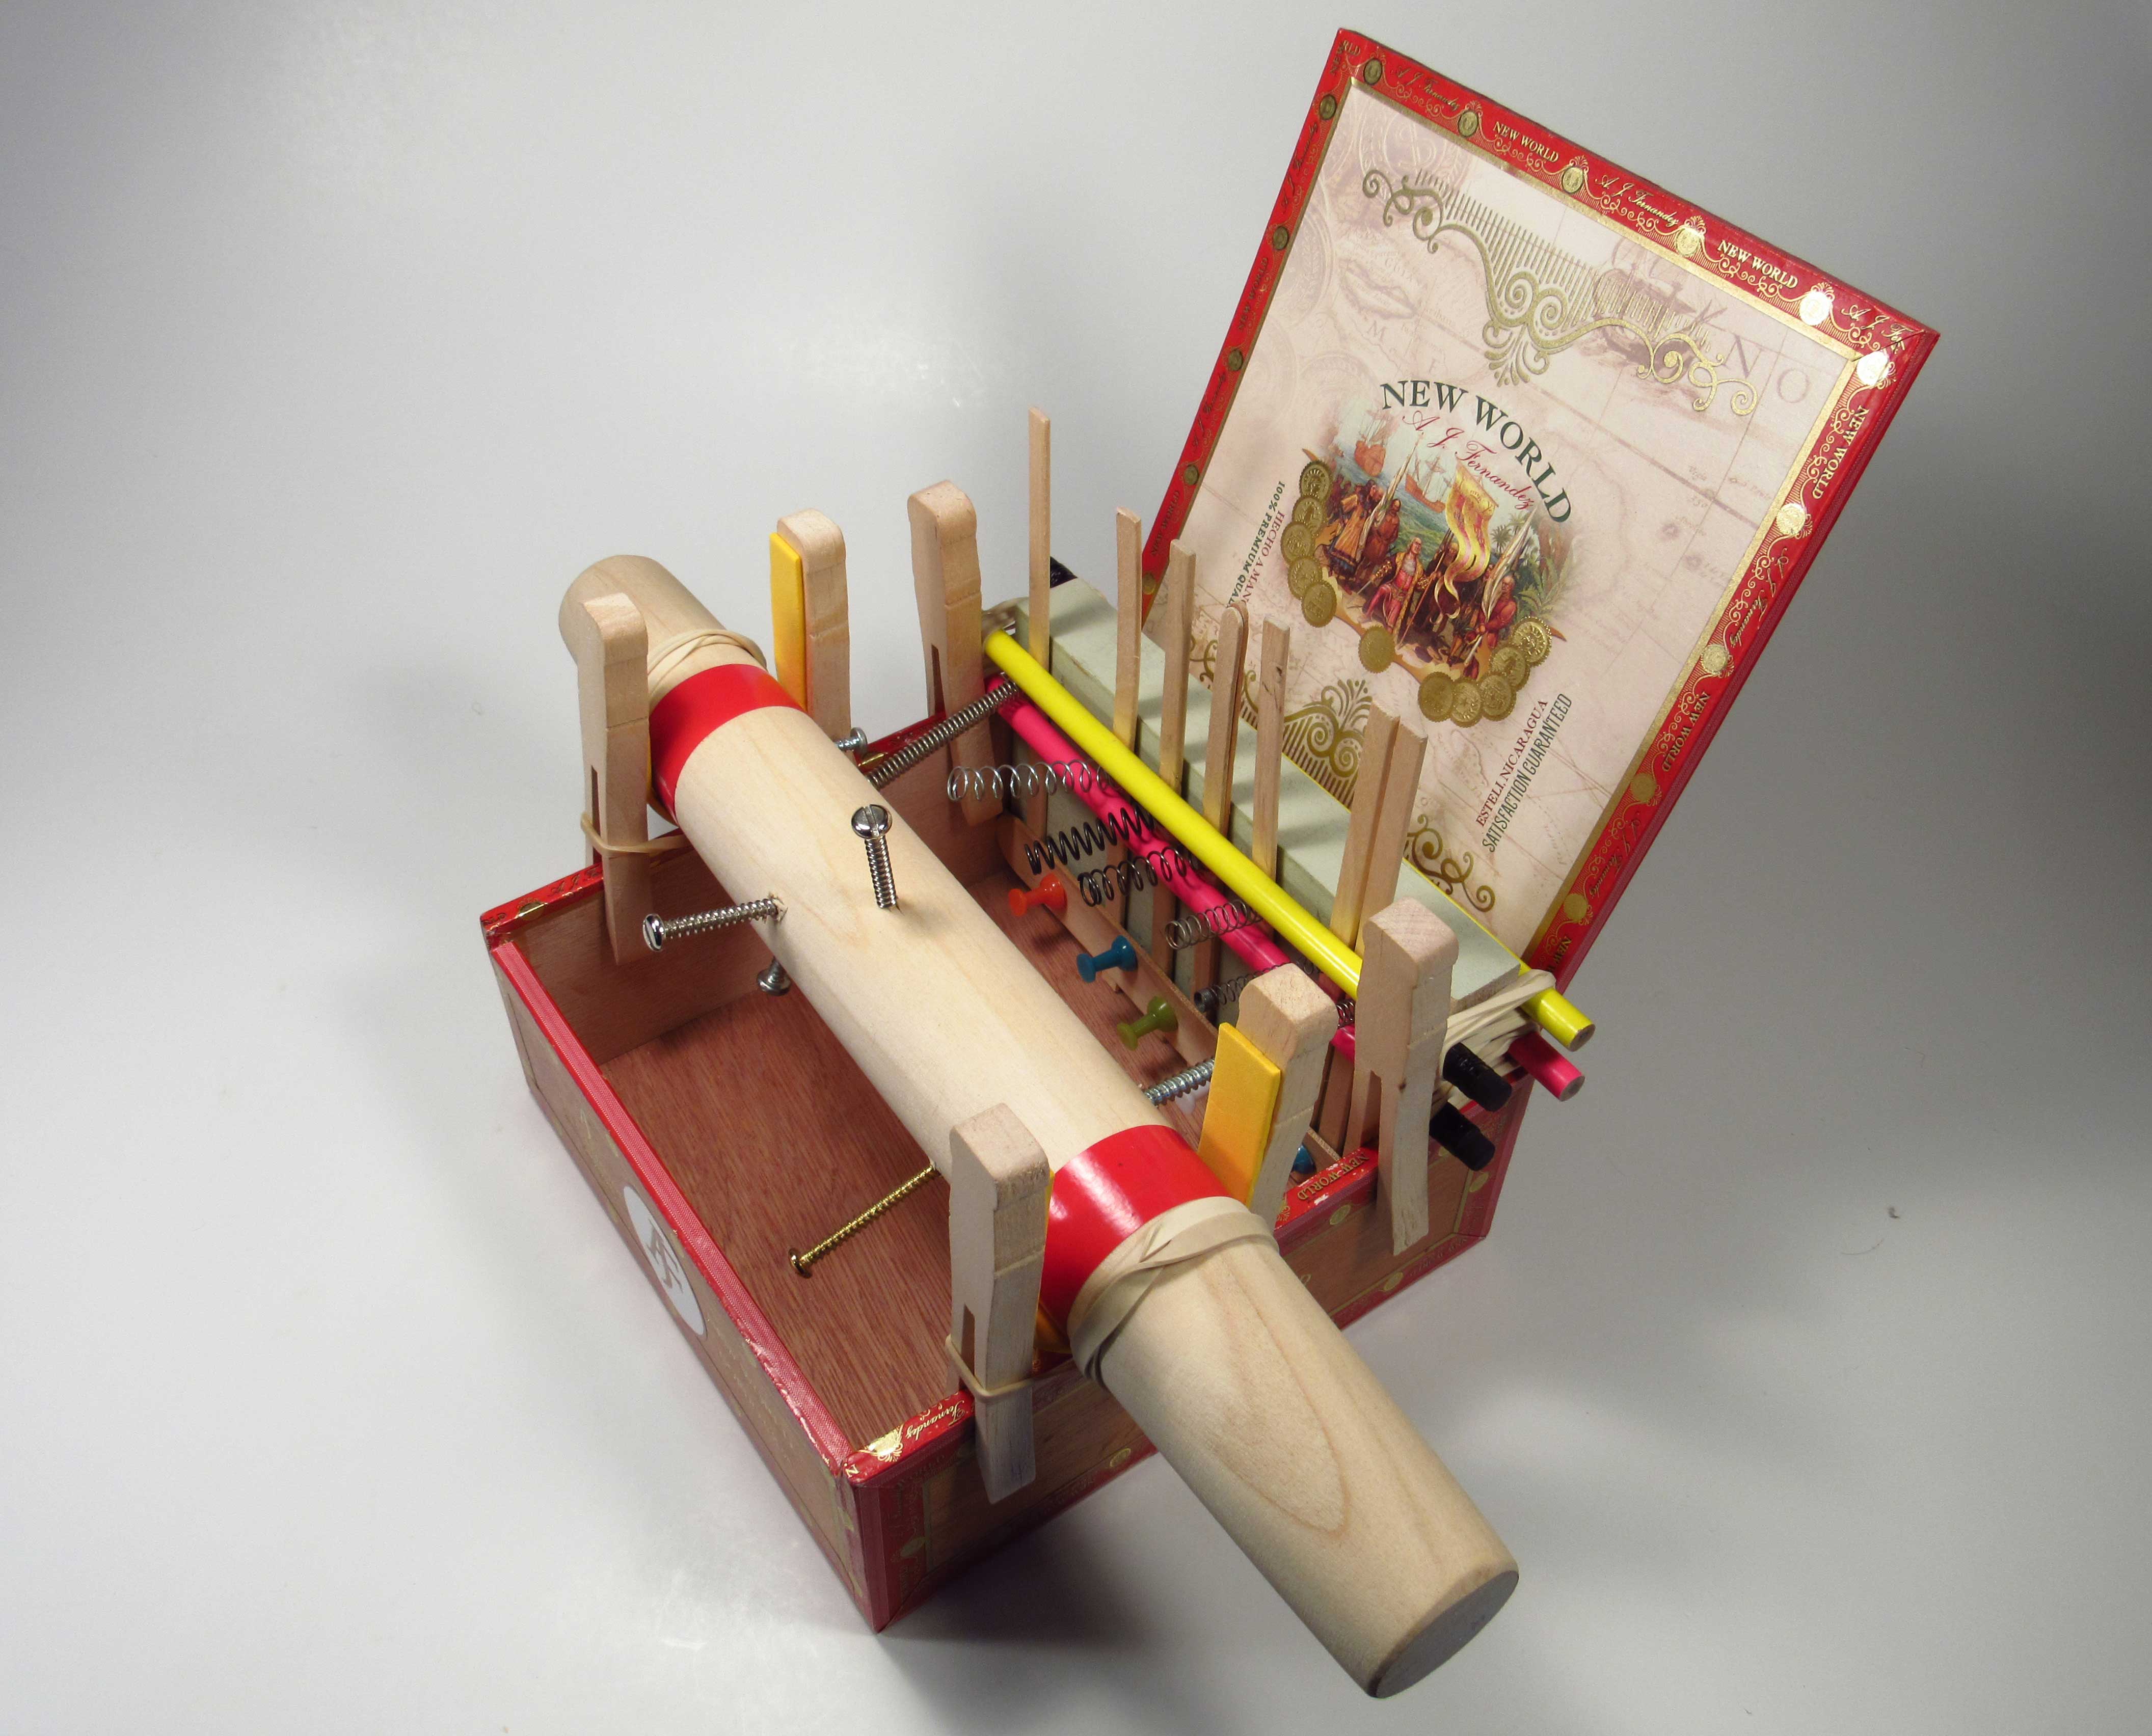
When making music boxes, carefully select the music mechanism for the desired tune. Use a sturdy, resonant material for the box to enhance the sound quality. Ensure the mechanism is securely attached and test the sound before finalizing the assembly.
Step 5: Installing the Music Box Mechanism
Now that you have the music box paper securely attached to the mechanism, it’s time to install the mechanism into the wooden base. Follow these steps to ensure proper installation:
1. Position the Music Box Mechanism: Carefully position the music box mechanism within the holes drilled in the wooden base. Ensure that it fits securely and aligns properly with the music box paper.
2. Check for Clearance: Ensure that there is enough clearance around the mechanism for it to move freely. Check that no components of the mechanism are obstructed by the wooden base or any other parts of the music box.
3. Secure the Mechanism: Use screws, nails, or other appropriate fasteners to secure the music box mechanism firmly in place. Make sure the mechanism is stable and does not move or wobble within the wooden base.
4. Test the Operation: Once the music box mechanism is installed, test its operation by either winding it up or activating it according to the specific mechanism’s instructions. Listen for the melody and ensure that it plays smoothly and without any issues.
5. Adjustments and Fine-tuning: If necessary, make any necessary adjustments or fine-tuning to ensure the music box mechanism operates optimally. This may include bending or adjusting pins or discs, lubricating moving parts, or making minor modifications to improve the sound quality.
By carefully installing the music box mechanism into the wooden base, you ensure that it is securely held in place and can produce the beautiful melodies your music box was designed for.
Now that the music box mechanism is installed, we can move on to the next step: decorating the music box to give it a personal touch.
Step 6: Decorating the Music Box
Now that the functional components of your music box are in place, it’s time to add a touch of personalization and visual appeal to your creation. Follow these steps to decorate your music box:
1. Choose a Theme: Decide on a theme or aesthetic that you want your music box to portray. Consider the intended recipient or the overall style you want to achieve. This will guide your material and design choices.
2. Paint or Stain: If desired, paint or stain the wooden base of your music box using your chosen colors. You can use acrylic paints, wood stains, or other types of suitable paint. Apply multiple coats as needed, allowing each coat to dry before applying the next.
3. Embellishments: Add decorative elements to enhance the overall look of your music box. This can include using adhesive gemstones, ribbon, lace, or other materials to create borders or patterns on the wooden base.
4. Personalization: Consider adding personal touches, such as monograms, names, or meaningful symbols, to make the music box more special. You can use carving tools, stencils, or even paint to incorporate these elements into the design.
5. Varnish or Seal: Once you have completed the decorative process, protect your design by applying a layer of varnish or sealant. This will preserve the colors, protect the wood, and give your music box a polished and finished look.
Remember, the goal is to create a visually appealing and customized music box that reflects your style and artistic vision. Take your time during the decorating process, allowing your creativity to flourish.
In the next step, we will explore the option of adding a handle or crank to your music box for a more interactive experience.
Step 7: Adding a Handle or Crank
Adding a handle or crank to your music box can enhance its interactivity and make it more enjoyable to use. Follow these steps to incorporate a handle or crank into your music box:
1. Select a Suitable Handle or Crank: Choose a handle or crank that matches the style and size of your music box. You can find various options at craft stores or online. Consider the material, shape, and functionality when making your selection.
2. Determine the Placement: Decide where you want to attach the handle or crank on your music box. This can be on the top, side, or front, depending on your design and preference.
3. Measure and Mark: Use a ruler or measuring tape to determine the exact placement of the handle or crank. Mark the drilling points or areas where it will be mounted.
4. Drill Holes or Attach Mounting Hardware: Depending on the type of handle or crank you are using, drill holes or attach the appropriate mounting hardware to secure it to the wooden base. Take care to align the holes or hardware properly to ensure a smooth and secure attachment.
5. Attach the Handle or Crank: Place the handle or crank in position and attach it securely to the music box. Use screws, bolts, or other appropriate fasteners, depending on the chosen handle or crank and the mounting hardware.
6. Test the Functionality: After attaching the handle or crank, test its functionality by rotating it or turning it according to the mechanisms’ instructions. Ensure that the handle or crank operates smoothly and allows for easy winding or activation of the music box.
Adding a handle or crank provides a tactile and interactive element to your music box. It allows the user to actively engage with the mechanisms and enjoy the melodies it produces.
Now that the handle or crank is in place, we can move on to the next step: testing and fine-tuning the music box to ensure optimal performance.
Read more: How To Make A Box Garden
Step 8: Testing and Fine-tuning the Music Box
Once you have completed the assembly and decoration of your music box, it’s important to test and fine-tune it to ensure that it operates smoothly and produces the desired sound. Follow these steps to test and fine-tune your music box:
1. Wind or Activate the Music Box: Depending on the type of mechanism you have chosen, wind it up or activate it according to the provided instructions. This will set the mechanism in motion and start playing the melody.
2. Listen Carefully: Listen closely to the melody produced by the music box. Pay attention to the sound quality, pitch, and timing of the notes. Make notes of any issues or adjustments that may be needed.
3. Adjust the Pins or Discs: If you notice any notes being played incorrectly or if the melody does not sound as desired, use pliers or other suitable tools to adjust the pins or discs on the music box mechanism. Bend them slightly to fine-tune the notes and improve the sound quality.
4. Lubricate Moving Parts: If you notice any stiffness or resistance in the movement of the music box mechanism, apply a small amount of lubricant to the appropriate parts. This will help ensure smooth and unhindered operation.
5. Test Multiple Times: Test the music box multiple times to verify that the adjustments made have improved the sound and functionality. Fine-tune further if necessary and continue testing until you are satisfied with the results.
6. Make Final Adjustments: Once you are satisfied with the performance of the music box, make any final adjustments or aesthetic changes as needed. This may include touching up the paint, repositioning decorative elements, or adding any final embellishments.
By carefully testing and fine-tuning your music box, you ensure that it operates at its best and produces the desired musical experience. Take your time during this step to ensure that every note is in tune and the melodies bring joy to both you and the listeners.
Congratulations! You have successfully completed all the steps to create your own beautiful and personalized music box. Enjoy the melodies it plays and showcase your craftsmanship with pride!
Remember, the journey doesn’t end here. You can always explore different melodies, designs, and materials to create more unique music boxes in the future. Let your creativity continue to flourish, and happy music box making!
Additional Tips and Ideas:
- Experiment with different music box mechanisms and melodies to create a collection of different songs and themes.
- Consider adding a small compartment or drawer to your music box to store small treasures or keepsakes.
- Create a personalized label or engraving on the bottom of the music box to add a special touch.
- Explore adding LED lights or other decorative elements that enhance the visual appeal of your music box.
Now it’s time for you to enjoy the enchanting melodies of your newly created music box. Happy listening!
Conclusion
Congratulations on completing your journey of creating a beautiful music box from scratch! By following the step-by-step instructions in this guide, you have crafted a personalized and enchanting piece that fills the air with mesmerizing melodies. The process of choosing a music box mechanism, preparing the wooden base, designing and cutting the music box paper, assembling the paper onto the mechanism, installing the mechanism into the base, decorating the music box, adding a handle or crank, and testing and fine-tuning have all come together to create a unique and delightful musical experience.
Throughout this project, you have had the opportunity to unleash your creativity and showcase your woodworking or crafting skills. From selecting the perfect melody to adding personalized touches and decorative elements, you have infused a part of yourself into your music box creation.
As you play your music box and listen to its melodies, it brings a sense of joy and wonder. The gentle tinkling and harmonious tones transport you to a world of nostalgia and beauty. Your music box is not only a work of art but also a reflection of the love and passion put into its creation.
Remember to continue exploring and experimenting with different melodies, designs, and materials. Each music box you make can be a unique expression of your creativity and a special gift for loved ones or a cherished addition to your own collection.
Now, take a moment to admire your handiwork and enjoy the soothing melodies of your music box. Let it be a reminder of the endless possibilities that come from combining craftsmanship and artistry.
Thank you for joining us on this musical journey. We hope you have found this guide helpful and inspiring. May your music box creation bring joy and delight to all who hear its enchanting melodies.
Happy music box making!
Additional Tips and Ideas
Creating a music box is a delightful and creative project that allows you to personalize your own miniature music maker. Here are some additional tips and ideas to further enhance your music box-making experience:
- Experiment with Different Materials: Instead of using a wooden base, explore other materials such as ceramic, glass, or even cardboard to create unique and unconventional music boxes.
- Customize the Music Box Paper: Instead of using pre-printed music box paper, consider creating your own designs or writing a personalized message on the paper. This adds an extra personal touch to your music box.
- Add More Complexity to the Mechanism: If you’re feeling adventurous, try incorporating multiple music box mechanisms into a single music box to create layered melodies or harmonies.
- Include a Wind-Up Key Mechanism: Instead of using a push-button mechanism, consider incorporating a wind-up key. This adds a vintage touch and allows for a more traditional music box experience.
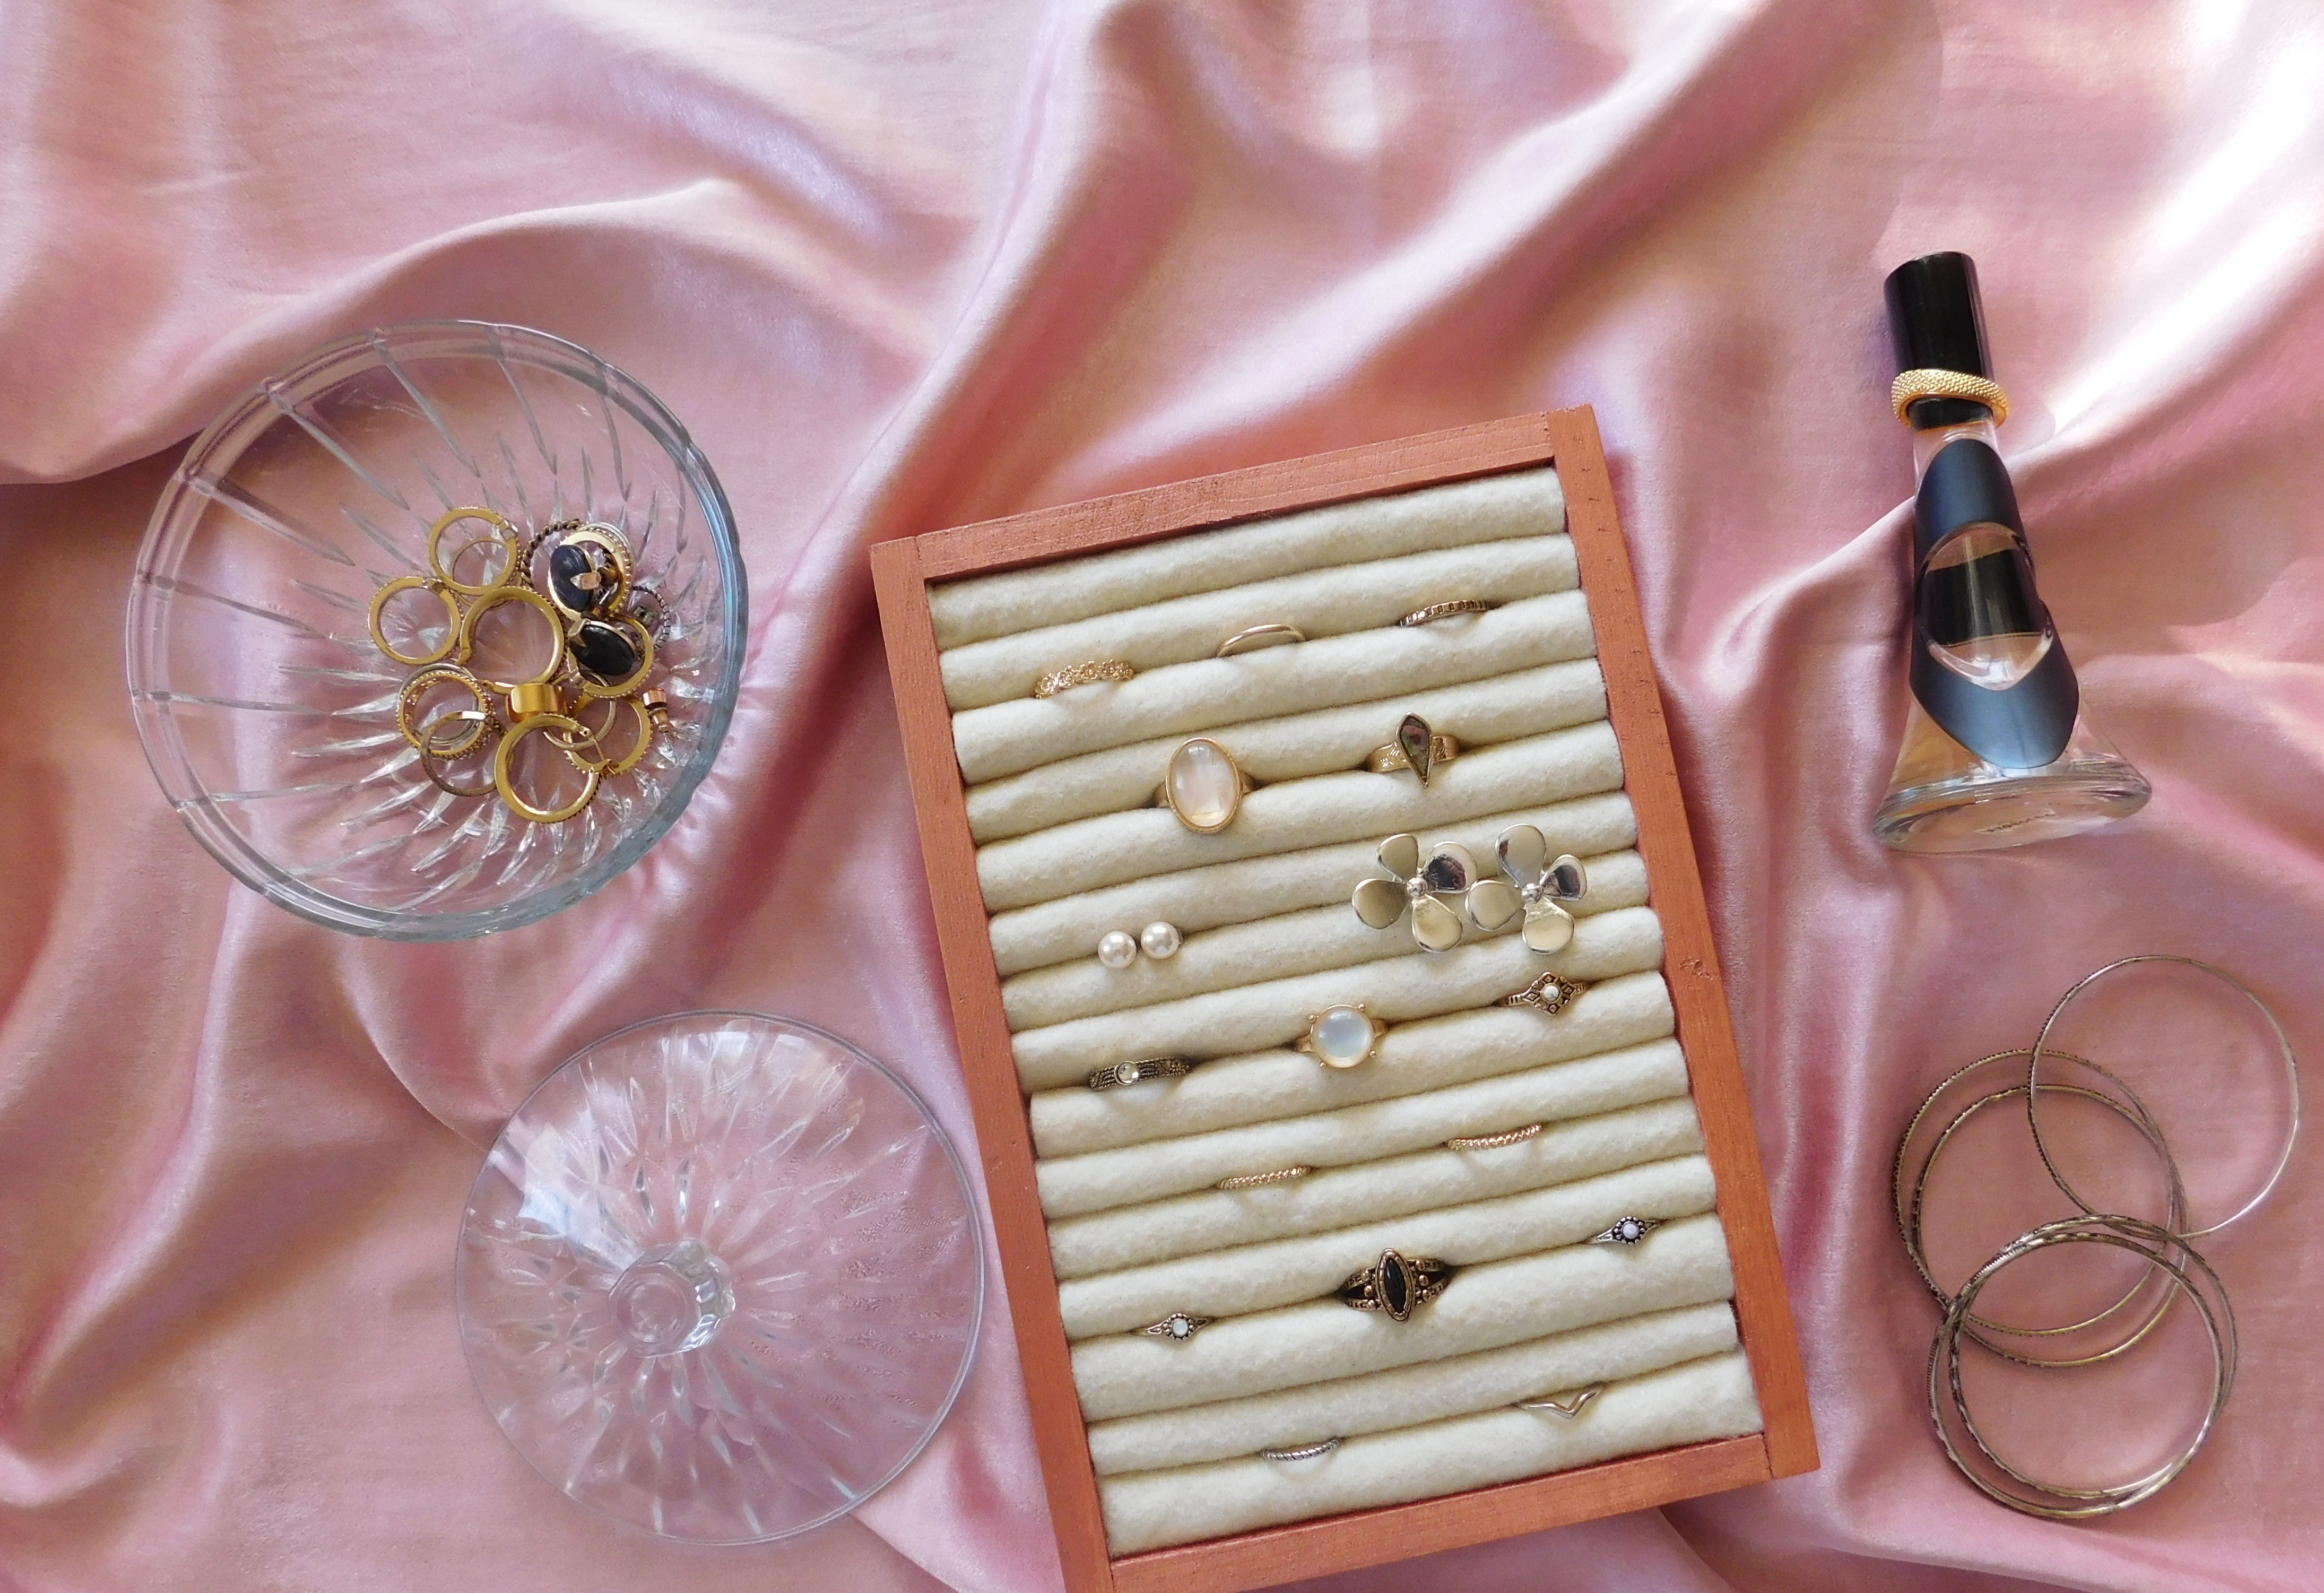
- Create a Music Box Jewelry Box: Combine the functionality of a music box with a jewelry box by adding compartments and hooks to store your precious accessories.
- Add Visual Elements: Enhance the visual appeal of your music box by adding hand-painted designs, decoupage, or even mini figurines that relate to the melody being played.
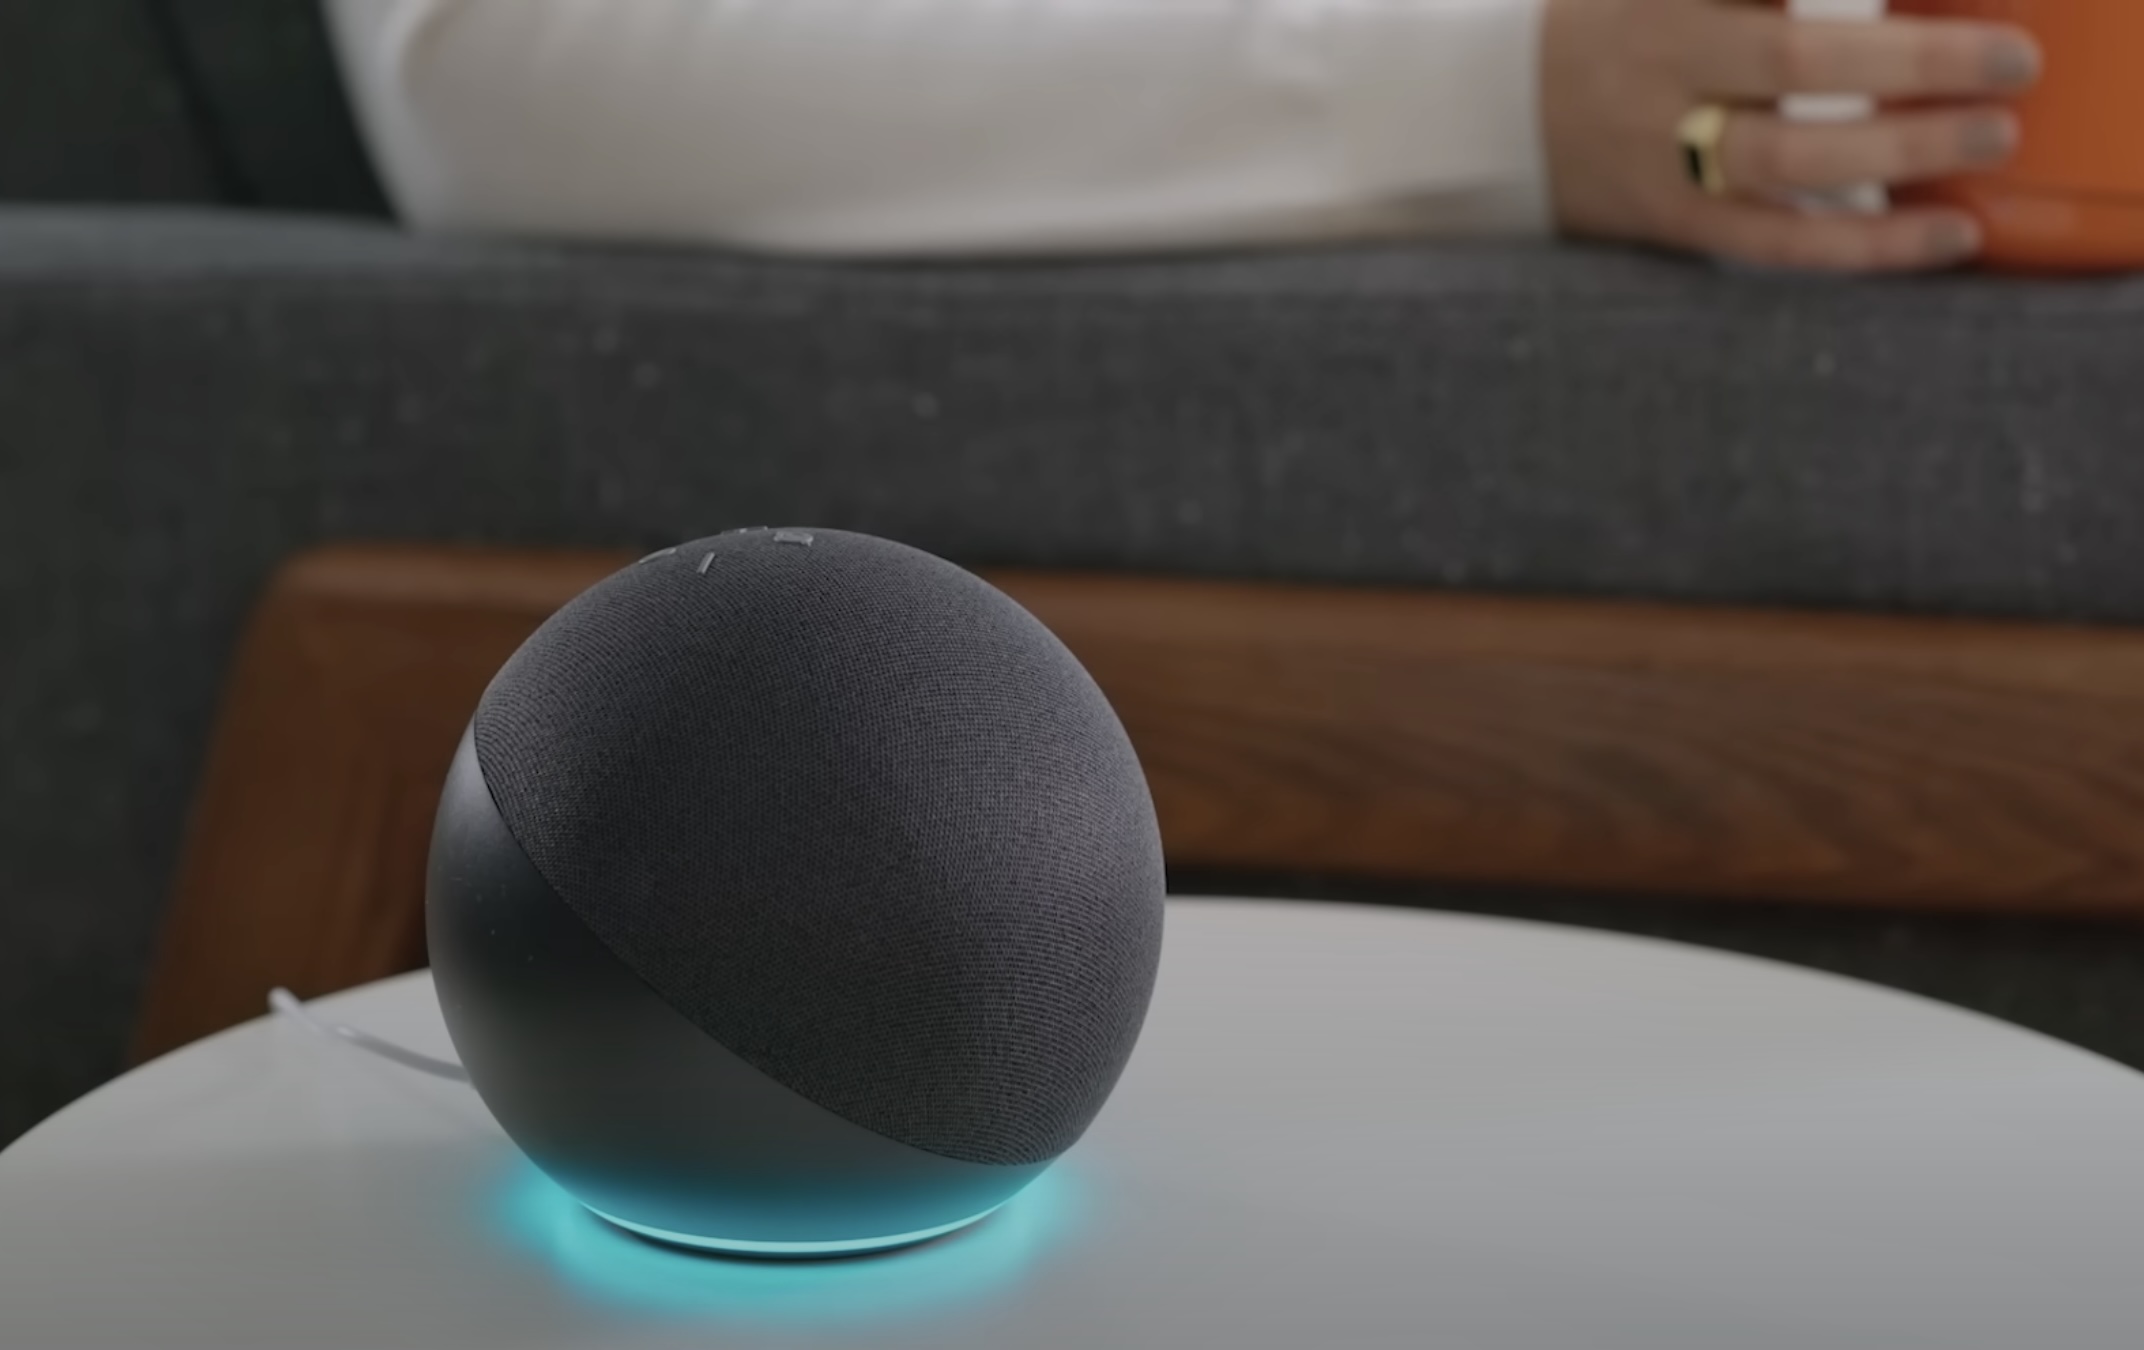
- Explore Electronic Music Box Modules: For a more modern twist, consider using electronic music box modules that allow you to program your own melodies or even connect to your computer to download new tunes.
- Personalize with Engraving or Initials: Include a special touch by engraving your initials, a name, or a special date on the bottom or side of the music box.
- Create a Theme or Story: Build your music box around a specific theme or tell a story through the design and melodies. This adds a unique and narrative element to your creation.
- Gift a Handmade Music Box: Share the joy of music boxes by gifting your handmade creation to loved ones for birthdays, anniversaries, or other special occasions.
Remember, the possibilities are endless when it comes to creating your own music box. Let your imagination soar and have fun exploring different ideas and techniques. Whether you choose a traditional or unconventional approach, the end result will be a cherished item that brings beauty and melody into your life.
Happy music box making!
Frequently Asked Questions about How To Make Music Boxes
Was this page helpful?
At Storables.com, we guarantee accurate and reliable information. Our content, validated by Expert Board Contributors, is crafted following stringent Editorial Policies. We're committed to providing you with well-researched, expert-backed insights for all your informational needs.


0 thoughts on “How To Make Music Boxes”