Articles
How To Make A Box Garden
Modified: October 20, 2024
Learn how to create a beautiful box garden with our step-by-step guide. Perfect for those with a passion for gardening!
(Many of the links in this article redirect to a specific reviewed product. Your purchase of these products through affiliate links helps to generate commission for Storables.com, at no extra cost. Learn more)
Introduction
Welcome to the wonderful world of gardening! Whether you have a large backyard or a small balcony, creating a box garden is a fantastic way to bring nature closer to your home. Box gardens, also known as raised bed gardens, offer a range of benefits, including better soil drainage, weed control, and easier access for planting and harvesting. In this article, we will guide you through the process of creating your own box garden, from choosing the right location to enjoying the bountiful harvest.
Before we dive into the details, let’s take a moment to appreciate why gardening is not only a practical hobby but also a delightful journey of nurturing and growth. Gardening provides an opportunity to reconnect with nature, reducing stress and promoting a sense of well-being. It allows you to witness the miracle of life as you sow seeds, watch them sprout, and nurture them into beautiful plants that bear flowers, fruits, or vegetables. The satisfaction of preparing a delicious meal with fresh ingredients straight from your garden is immensely gratifying.
Creating a box garden is perfect for both beginners and experienced gardeners. If you are new to gardening, starting with a box garden allows you to control the soil conditions, manage weeds more easily, and experiment with different plants in a manageable space. For experienced gardeners, box gardens provide an opportunity to maximize space utilization and create separate areas for different plant varieties.
Now that we have established the joys and benefits of gardening let’s move on to the practical aspects. In the next sections, we will explore choosing the right location for your box garden, selecting the type of box, gathering materials, preparing the area, assembling the box, filling it with soil, choosing the right plants, planting and maintaining the garden, and finally, harvesting the fruits of your labor.
So, roll up your sleeves, put on your gardening gloves, and let’s get started on this exciting venture of creating your very own box garden!
Key Takeaways:
- Creating a box garden is a delightful journey of nurturing and growth, offering benefits like better soil drainage and easier access for planting and harvesting. It’s a rewarding way to connect with nature and enjoy fresh, homegrown produce.
- Gardening is a continual learning process, allowing you to experiment with different plant varieties and techniques. Embrace the cycles of nature, cherish the moments of connection with the earth, and let the beauty of nature flourish in your own little corner of the world.
Read more: How To Build Vegetable Planter Boxes
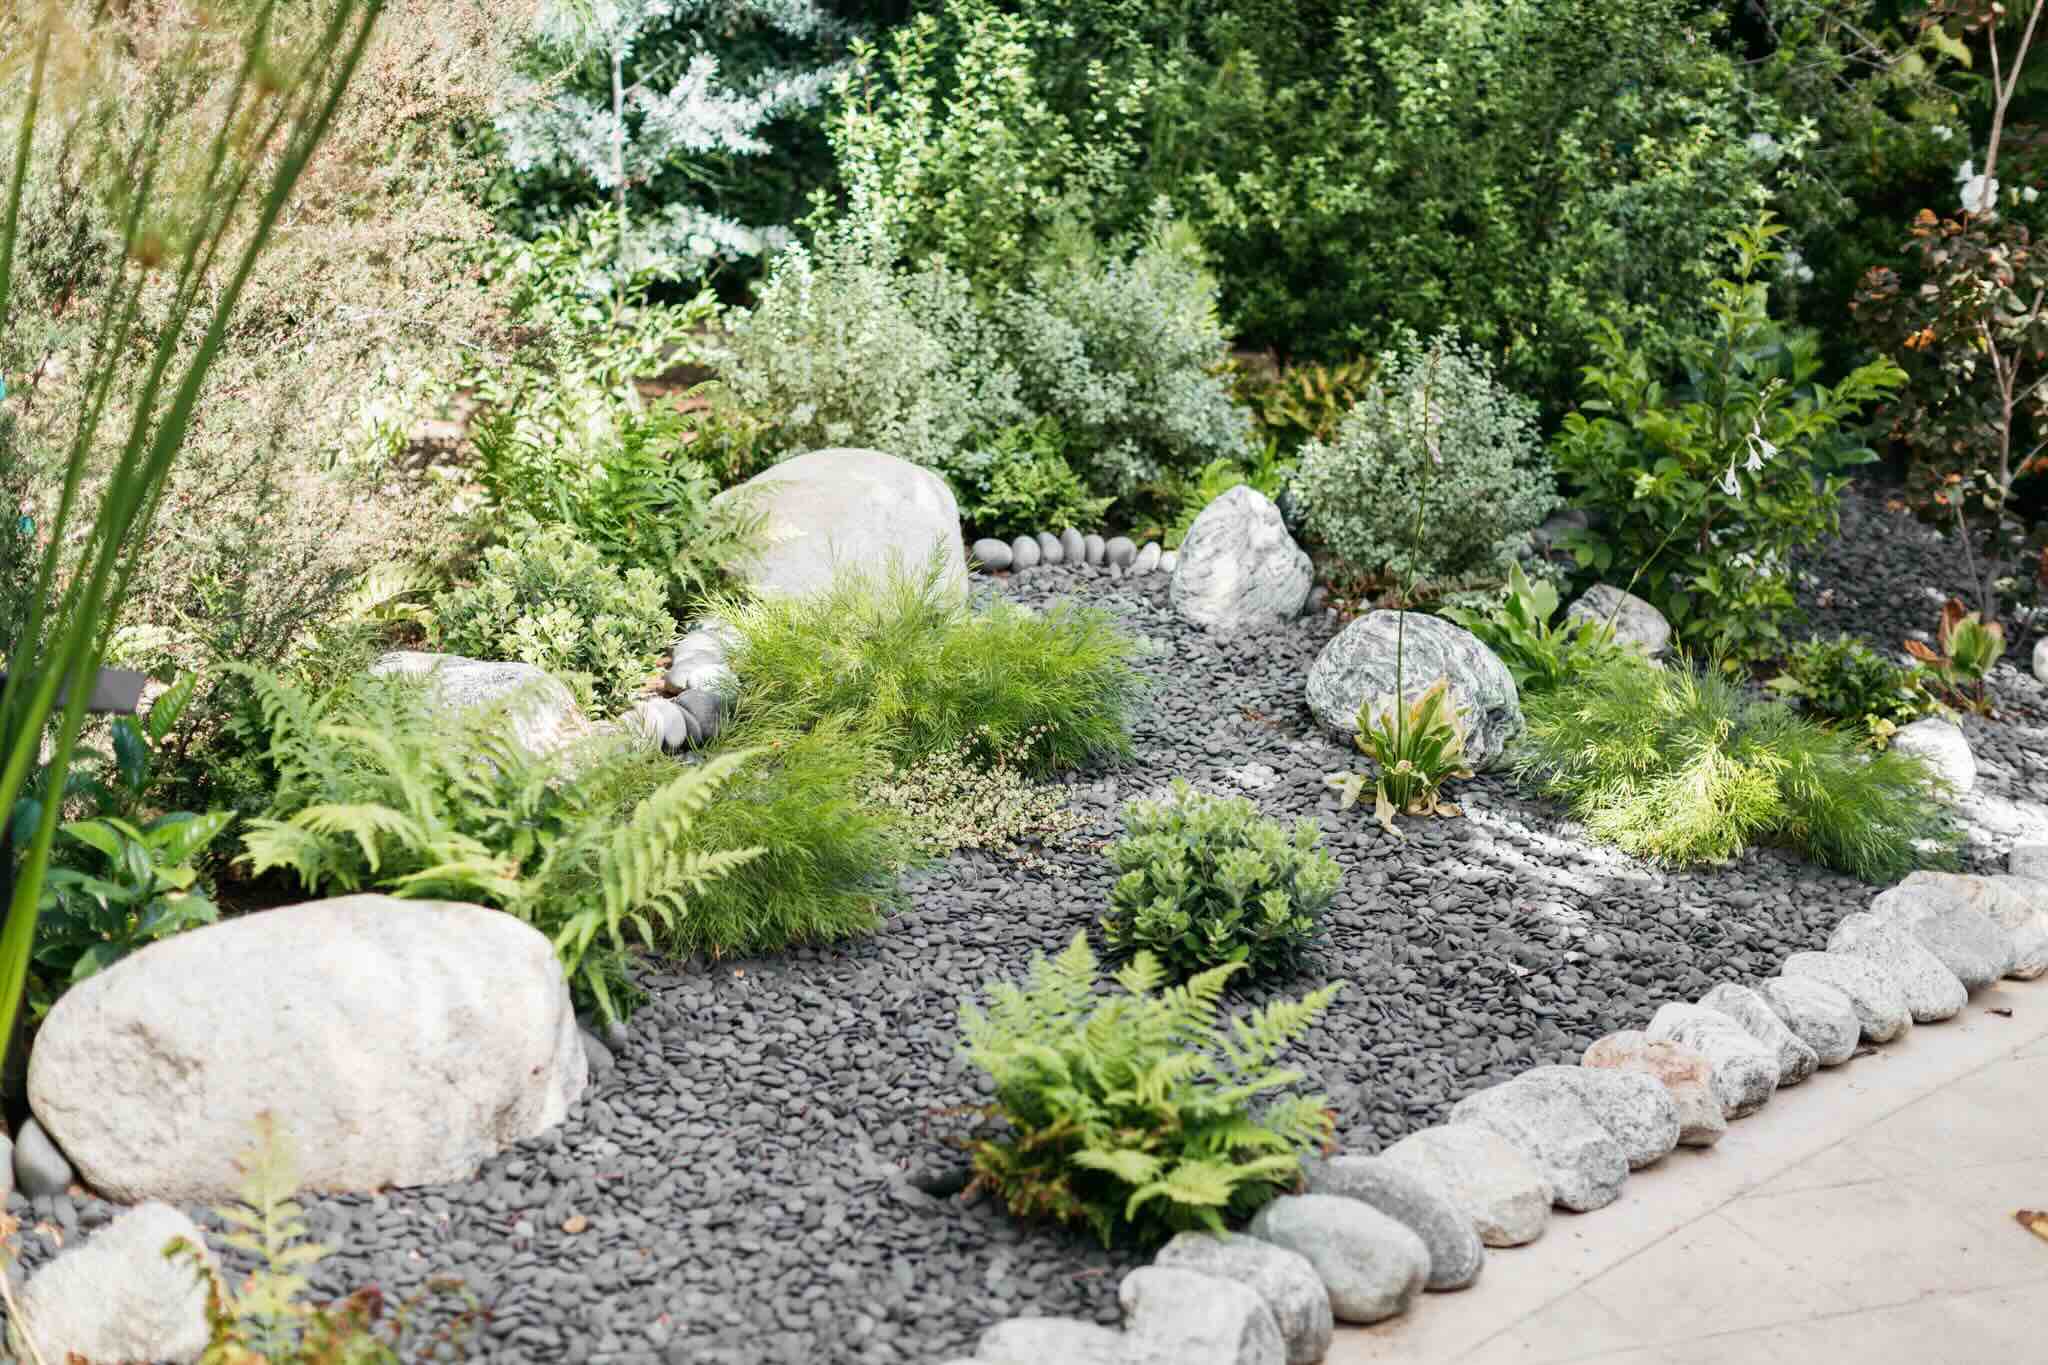
Choosing the Right Location
When it comes to choosing the location for your box garden, there are a few key factors to consider. First and foremost, you’ll need to find a spot that receives adequate sunlight. Most vegetables and flowering plants thrive in full sun, which is defined as at least six hours of direct sunlight per day. Pay attention to the path of the sun throughout the day to ensure that your chosen location will receive the required amount of sunlight.
In addition to sunlight, you’ll also want to consider the accessibility of the location. Make sure it’s easily accessible for watering, weeding, and harvesting. If the garden is too far from your water source, you may need to consider installing a drip irrigation system or using a long hose to reach the plants.
Next, take into account the conditions of your chosen location. Is the soil well-draining or does it tend to retain water? Most plants prefer soil that is moist but not waterlogged. If the soil in your chosen location is heavy and prone to waterlogging, you may need to improve drainage by adding organic matter or consider building a raised box garden to ensure proper drainage.
Consider the proximity to other structures as well. Avoid placing your box garden too close to trees or large shrubs, as their root systems can compete with the plants in the box garden for water and nutrients. Additionally, ensure that the garden is a safe distance away from any structures that could cast excessive shade.
Lastly, think about the aesthetic aspect of your box garden location. If your garden is visible from your home or patio, you may want to choose a location that adds beauty to your outdoor space. Consider the overall landscape design and seek a spot that enhances the visual appeal of your garden.
Once you’ve considered all these factors, it’s time to select the perfect location for your box garden. Remember, the right location can significantly impact the success of your garden and the overall enjoyment of your gardening experience. So choose wisely and get ready to embark on your gardening adventure!
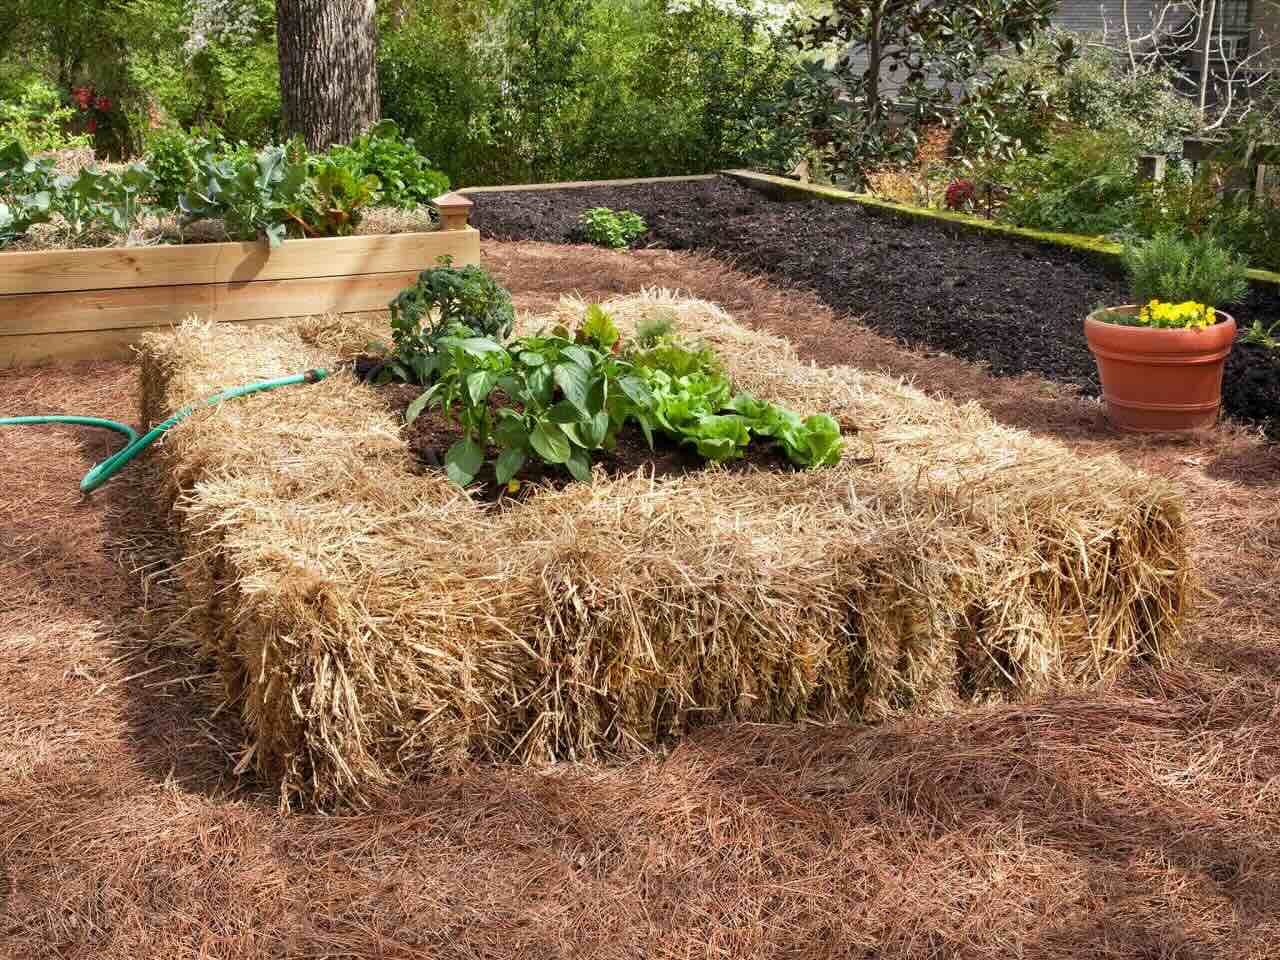
Selecting the Type of Box
Now that you have chosen the ideal location for your box garden, it’s time to select the type of box that will best suit your needs. There are several options to choose from, each with its own advantages and considerations.
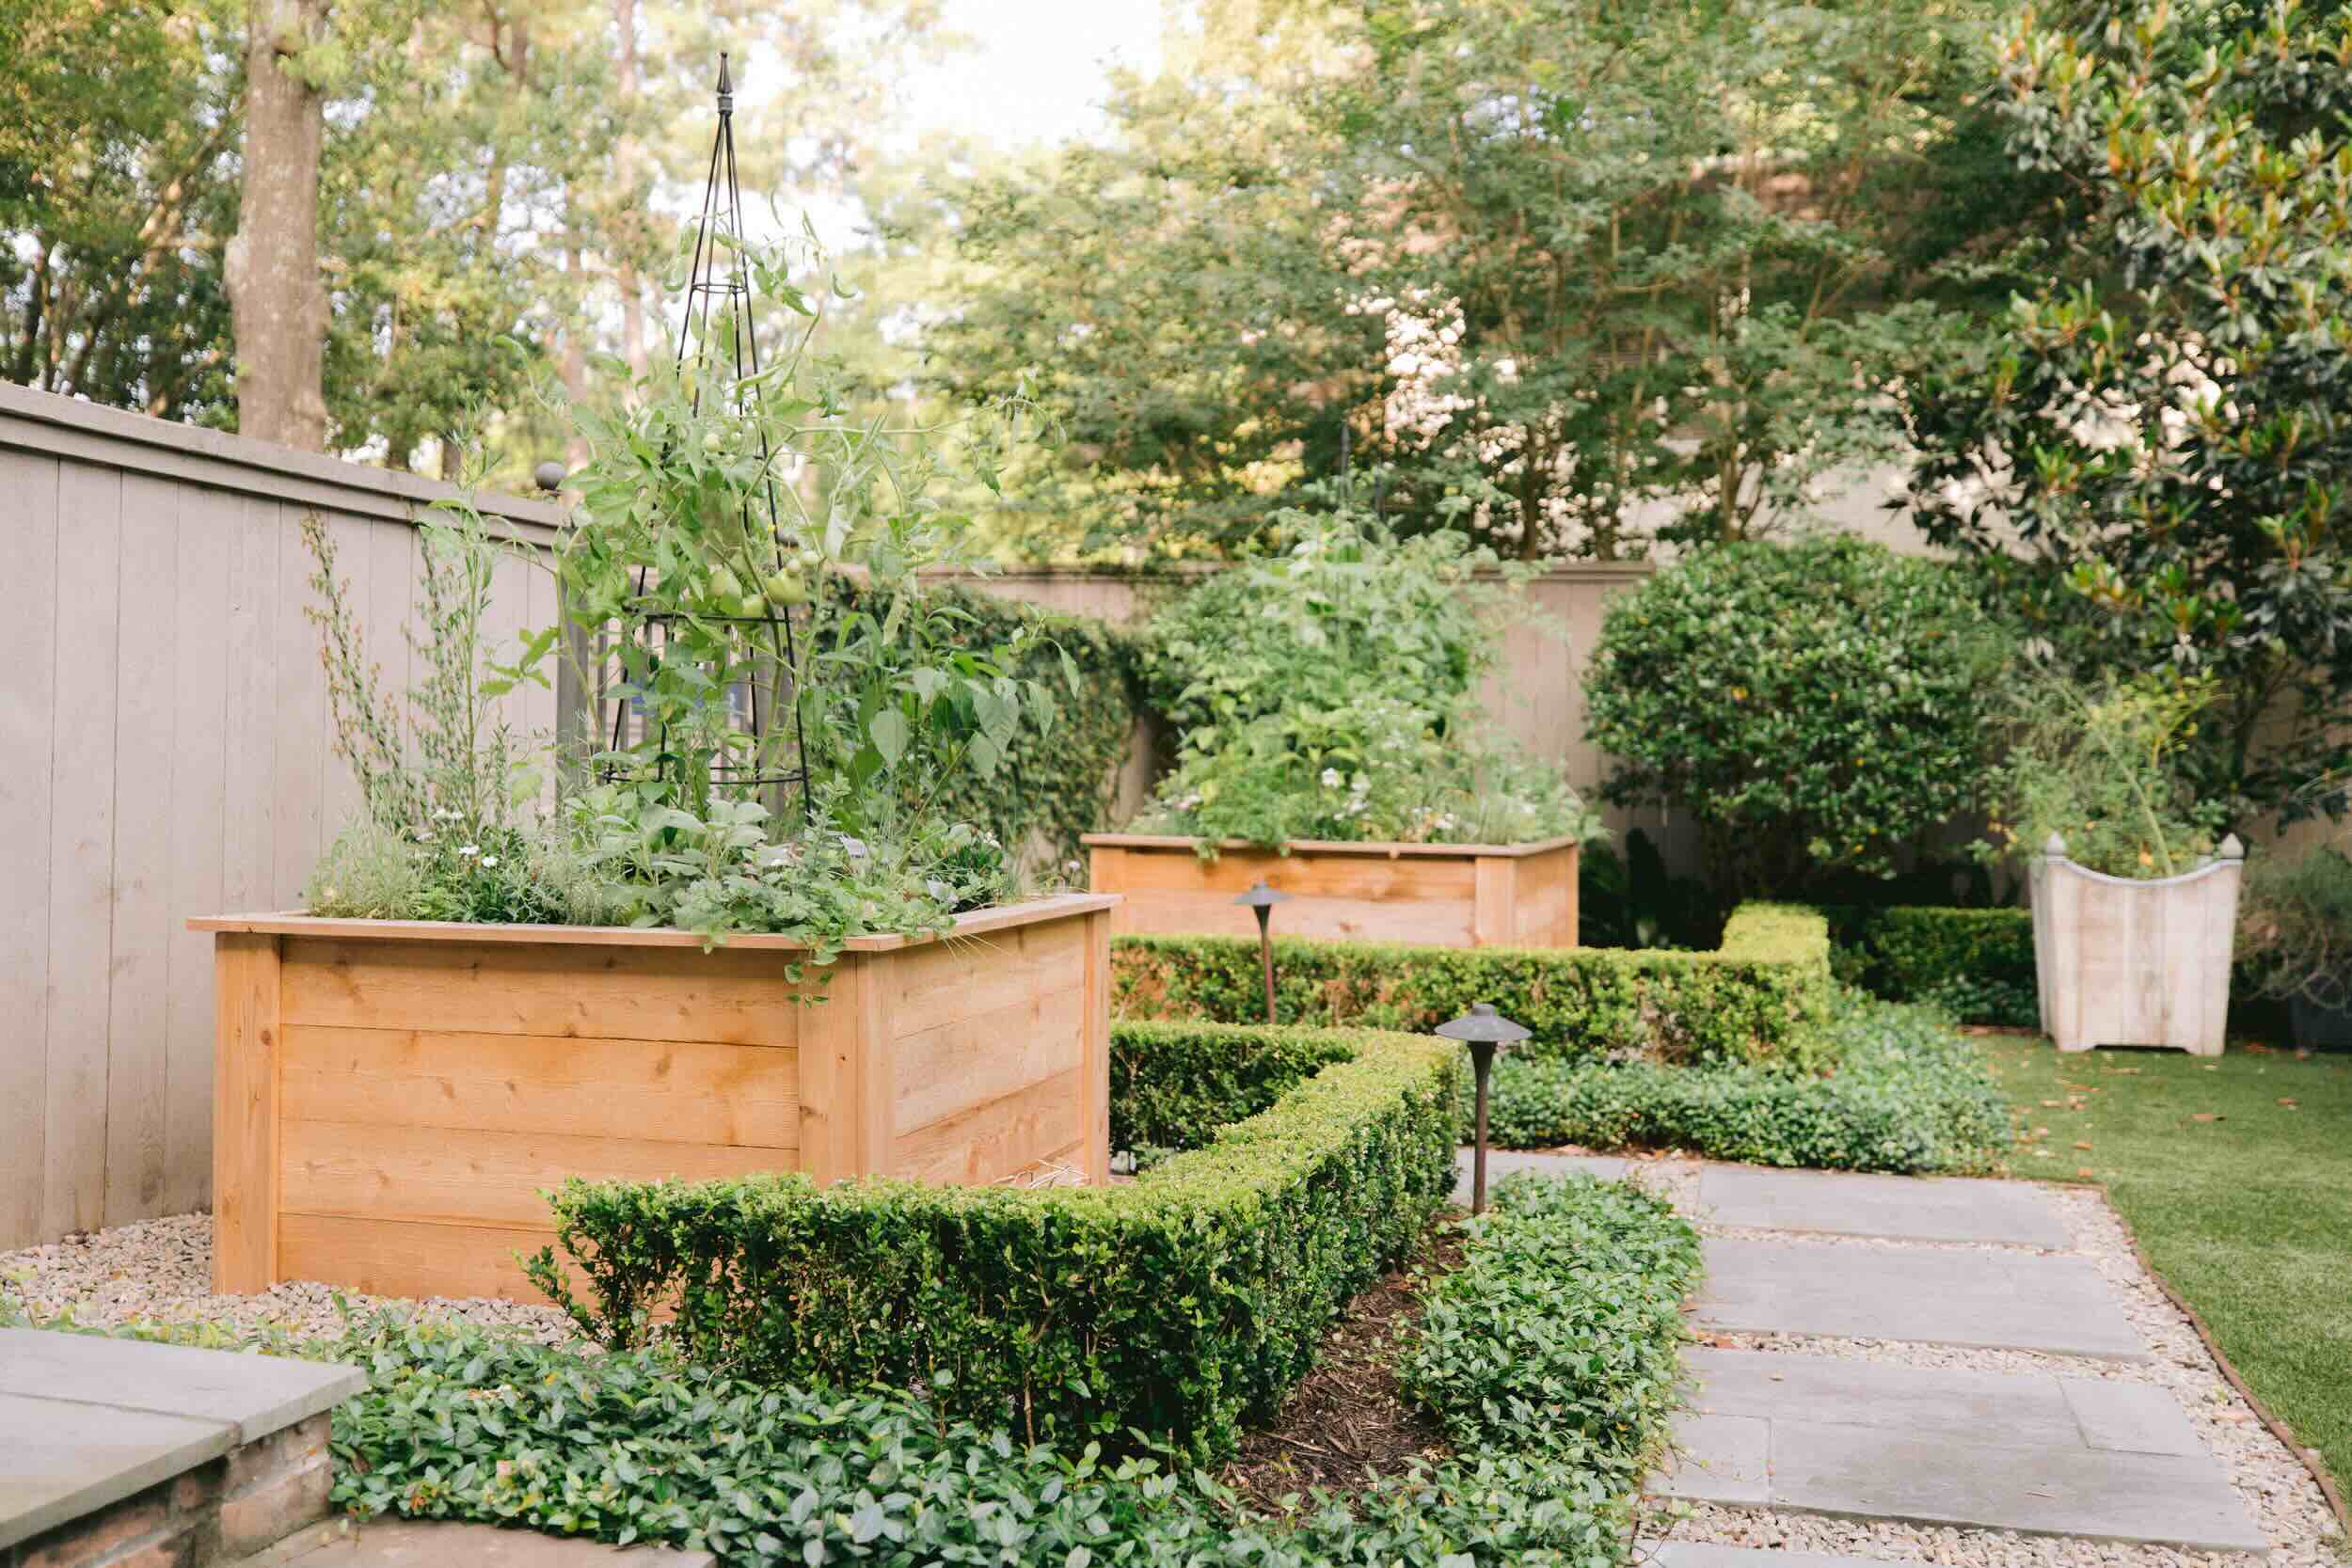
Wooden boxes are a popular choice for box gardens due to their versatility and natural aesthetic appeal. They can be built using various types of wood such as cedar, redwood, or pine. Cedar and redwood are particularly popular because they are naturally resistant to rot and decay, making them durable options for outdoor use. When selecting wooden boxes, make sure to choose untreated wood to avoid any potential exposure to harmful chemicals.
Another option is using recycled materials, such as old wine barrels, wooden crates, or even repurposed plastic containers. This not only gives new life to discarded items but also reduces waste and promotes sustainability. Just make sure the containers you choose have adequate drainage holes to prevent waterlogging.
If you prefer a more modern and sleek look, you may consider using metal or concrete containers. These provide a contemporary style and can add an interesting contrast to your garden. However, it’s important to note that metal containers can heat up quickly in direct sunlight, potentially affecting the temperature of the soil and the plants.
The size of the box is another crucial factor to consider. If you have limited space, smaller boxes can be a great option. They are easier to manage and can be placed in various areas such as a balcony or a small backyard. On the other hand, if you have ample space, larger boxes allow for more significant plant diversity and can create a focal point in your garden.
In addition to the material and size, consider the depth of the box as well. The deeper the box, the more room your plant’s roots will have to grow and establish themselves. This can be especially important if you plan on growing vegetables or plants that require deeper root systems.
Lastly, prioritize functionality and ease of use when selecting your box. Can it be easily moved or accessed for maintenance? Are there any additional features, such as built-in trellises or watering systems, that can enhance your gardening experience?
By considering these factors, you can choose a box that not only fits your needs but also complements the overall design and style of your garden. Remember, the type of box you choose will be the foundation of your box garden, so take your time and make a choice that you will be satisfied with for years to come.
Gathering Materials
Now that you have chosen the type of box for your garden, it’s time to gather the necessary materials to bring your box garden to life. Here’s a list of essential items you’ll need:
- Box or container: Depending on your choice, gather the wooden, metal, concrete, or recycled container that you’ve selected for your box garden.
- Tools: You’ll need a few basic tools to assemble the box and prepare the area. These may include a hammer, screwdriver, drill, nails, screws, and a hand saw or electric saw if necessary.
- Landscape fabric or newspaper: This will help prevent weeds from growing in your box garden. Cut the fabric or newspaper to fit the bottom of the box, ensuring that it covers the entire surface.
- Soil: Choosing the right soil is crucial for the success of your box garden. Opt for a high-quality, well-draining garden soil mix that is suitable for the types of plants you intend to grow. You may also consider adding compost or organic matter to enrich the soil and improve its fertility.
- Watering can or hose: Depending on the size of your garden and the availability of a water source, gather a watering can or a hose with a suitable nozzle for easy watering.
- Seeds or seedlings: Decide on the plants you want to grow in your box garden and gather the appropriate seeds or seedlings. Make sure to choose varieties that are well-suited to your climate and growing conditions.
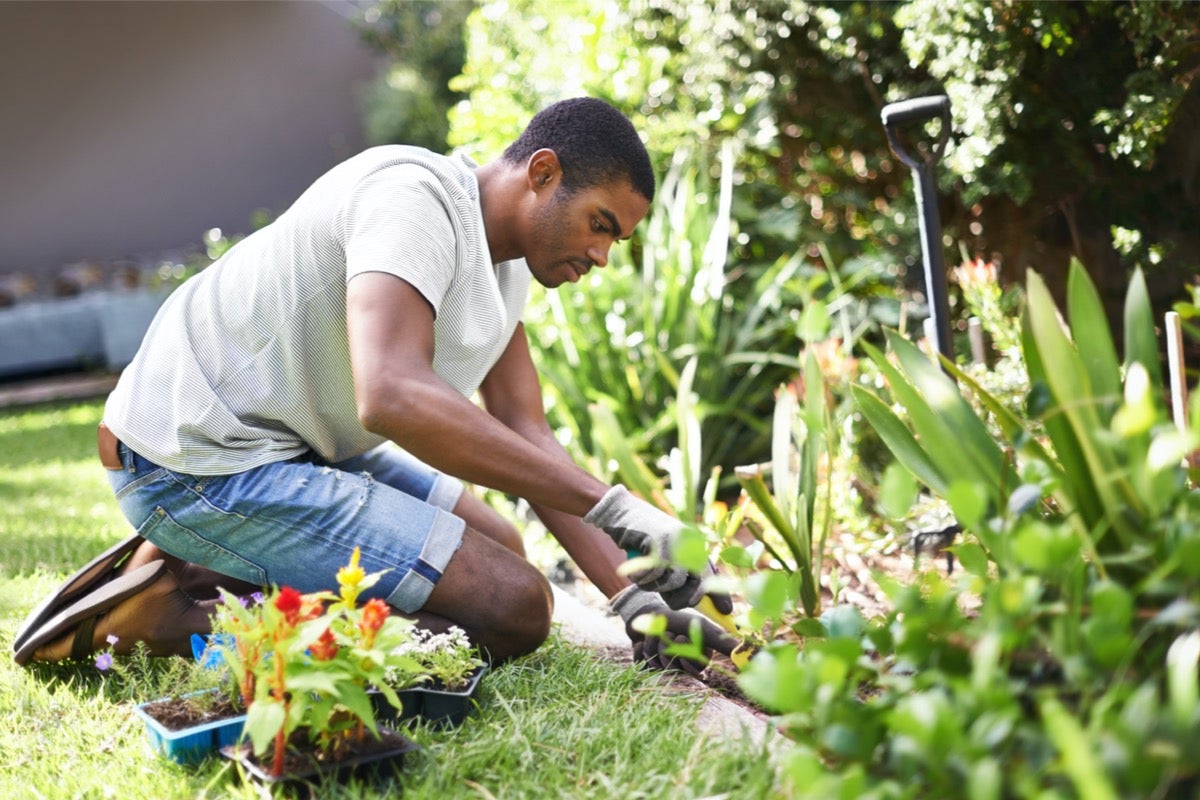
- Gardening gloves and tools: Protect your hands and make gardening tasks easier by having a good pair of gardening gloves. Additionally, gather essential gardening tools such as a trowel, hand rake, and pruning shears.
- Optional extras: Depending on your preferences and needs, you may consider adding extra features to enhance your box garden. These can include trellises for climbing plants, stakes or cages for support, and organic fertilizers or pest control products.
Before you start assembling your box garden, it’s a good idea to gather all the materials and tools in one place. This will ensure that you have everything you need at hand and save you from interruptions or delays during the process.
Once you have gathered all the necessary materials, you’re ready to move on to the next steps of preparing the area and assembling your box garden. Exciting times are ahead as you transform these materials into a thriving garden filled with fresh, homegrown goodness!
Preparing the Area
Before you assemble your box garden and start planting, it’s important to properly prepare the area where the garden will be placed. Here are the key steps to follow for preparing the area:
- Clear the space: Remove any existing plants, debris, or weeds from the area where your box garden will be positioned. This will create a clean and blank canvas for your garden.
- Level the ground: Ensure that the ground is level and even. Use a rake or a small garden tool to remove any bumps or uneven areas. A level surface will help provide stability to your box garden.
- Mark the boundaries: Use stakes and string to mark the boundaries of your box garden. This will give you a visual guide and help maintain straight lines when assembling the box.
- Consider weed control: To prevent weeds from invading your box garden, you have a few options. One effective method is to lay down a layer of landscape fabric or several layers of newspaper at the bottom of the garden bed. This will act as a barrier, preventing weed growth while still allowing water and nutrients to pass through.
- Improve the soil: Depending on the quality of your existing soil, you may need to amend it before filling the box with soil. Add organic matter such as compost, well-rotted manure, or coconut coir to improve the soil structure, fertility, and drainage. Mix the organic matter into the existing soil using a garden fork or a tiller.
- Consider weed control: To prevent weeds from invading your box garden, you have a few options. One effective method is to lay down a layer of landscape fabric or several layers of newspaper at the bottom of the garden bed. This will act as a barrier, preventing weed growth while still allowing water and nutrients to pass through.
- Provide proper drainage: If you are creating a raised box garden, ensure that there are drainage holes in the bottom of the container. This will prevent water from pooling and causing root rot. If the ground where your box garden will be placed tends to be waterlogged, consider placing the garden bed on top of bricks or stones to further improve drainage.
By properly preparing the area, you are setting the foundation for a successful box garden. Taking the time to clear the space, level the ground, mark the boundaries, and improve the soil will ensure optimal growing conditions for your plants.
Now that the area is ready, it’s time to move on to the exciting part of assembling your box garden and filling it with nutrient-rich soil. The anticipation builds as you get closer to creating your very own garden oasis!
Read more: How To Plant In Window Boxes
Assembling the Box
Now that you have prepared the area for your box garden, it’s time to assemble the box itself. Follow these steps to ensure a sturdy and well-constructed box:
- Place the box in the desired location: Carefully position the box in the marked area, ensuring it aligns with the boundaries you set earlier. Take a step back and double-check that the box is level and centered.
- Check for stability: If you are using a pre-made box or container, make sure it is stable and secure. If needed, adjust the position or add support, such as wooden stakes or brackets, to prevent the box from shifting or tilting over time.
- Secure the corners: If you are building a wooden box from scratch, it’s essential to secure the corners properly. Use wood screws or nails to attach the sides of the box firmly together at each corner. Check for any gaps or wobbling and make adjustments until the box is sturdy and stable.
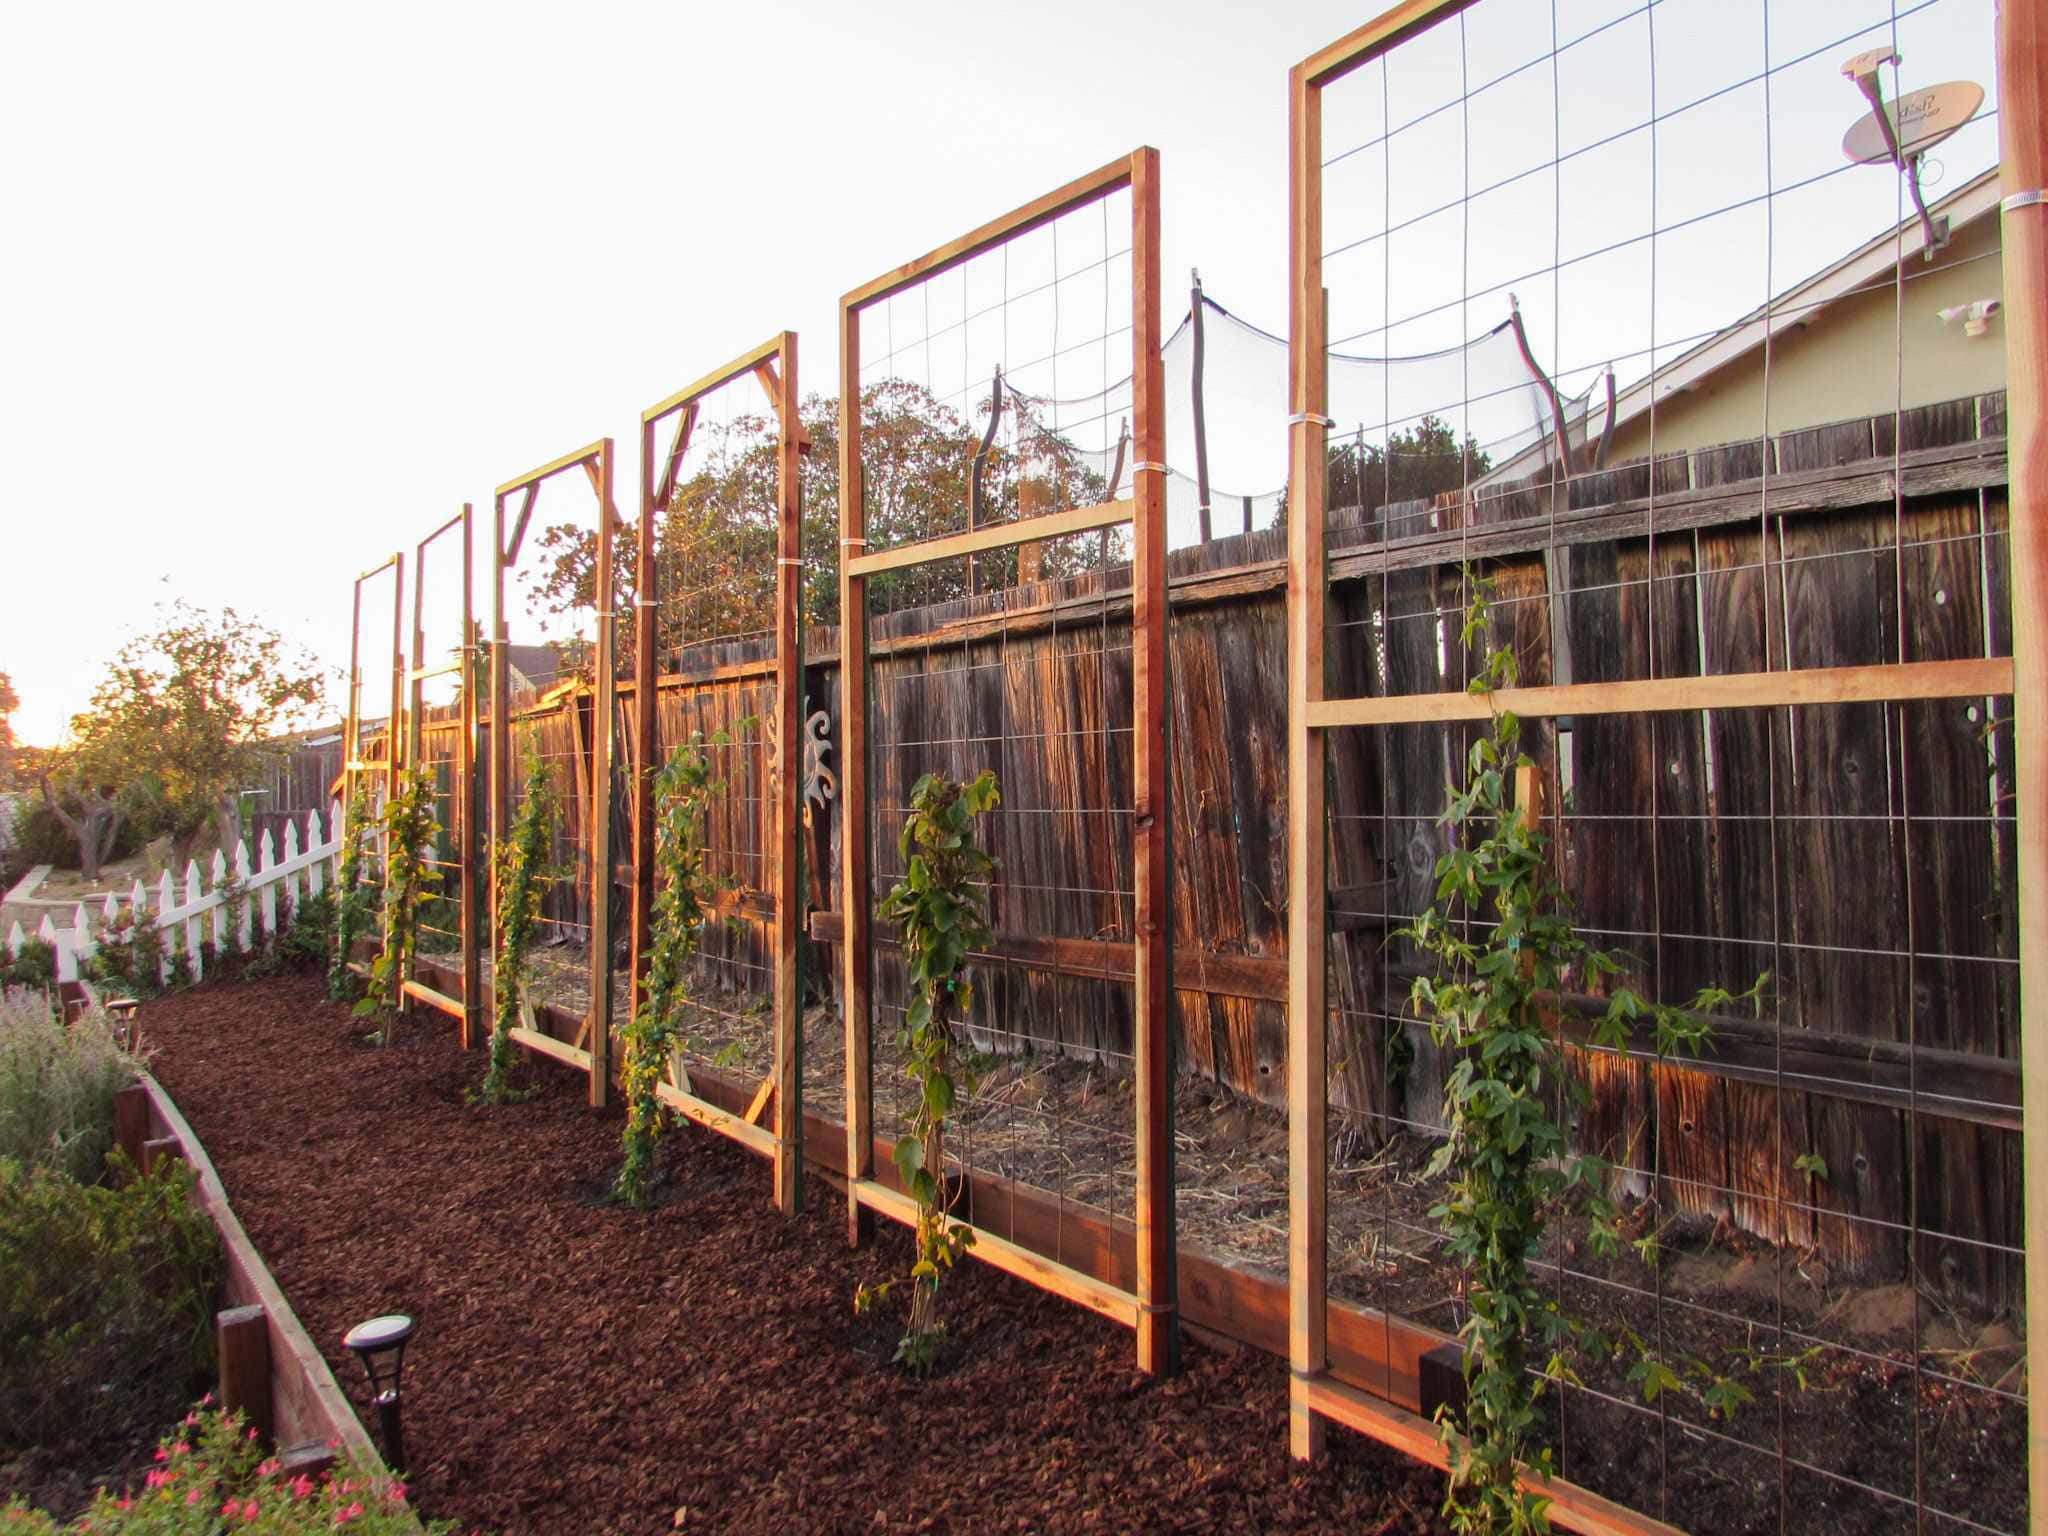
- Consider additional features: Depending on your needs and preferences, this is the time to add any additional features to your box garden. If you plan on growing climbing plants, install a trellis or build a support structure at the back of the box. Alternatively, you can attach mesh or netting to the sides for vine plants to cling onto.
- Double-check drainage: Ensure that your box has proper drainage to prevent waterlogging. If necessary, drill additional holes in the bottom of the box or create a gravel layer for further drainage improvement.
- Sand and finish the box (if applicable): If you have built a wooden box from scratch, consider sanding and applying a protective finish to prolong its lifespan. Use a 120-grit sandpaper to smooth any rough edges or surfaces. Then, apply a waterproof sealant, stain, or paint to protect the wood from moisture and weathering.
Assembling the box is a crucial step in creating your box garden. Ensuring stability, proper drainage, and any additional features will set the stage for a successful gardening experience. With the box in place, you’re just a few steps away from filling it with nutrient-rich soil and bringing your garden to life.
Now, let’s move on to the exciting part of filling your box garden with soil and preparing it for planting. Get ready to get your hands dirty and see your garden take shape!
When building a box garden, make sure to use untreated wood to avoid chemicals leaching into the soil. Cedar and redwood are great options for longevity and resistance to rot.
Filling the Box with Soil
With the box assembled, it’s time to fill it with nutrient-rich soil that will provide a healthy growing environment for your plants. Follow these steps to ensure proper soil filling:
- Prepare the soil mix: Start by selecting a high-quality garden soil mix suitable for your plants. If you’re unsure, consult with a local gardening center or nursery for recommendations. Depending on the depth of your box, plan to fill it with a mixture of soil and organic matter such as compost or well-rotted manure. This will help improve fertility, drainage, and overall plant health.
- Start filling: Begin filling the box with soil mix, layer by layer. Use a garden shovel or trowel to distribute the soil evenly, ensuring that it reaches all corners and covers the entire bottom of the box.
- Level the soil: After each layer, gently tamp down the soil using the back of a garden rake or your hands to ensure a level surface. This will help prevent uneven settling of the soil over time.
- Continue layering: Add more layers of soil until the box is filled to the desired depth. Leave about 1-2 inches of space at the top to allow for watering without overflowing.
- Smooth the top: Use the back of a garden rake or a wooden board to create a smooth and even top surface. This will create a clean and professional look for your box garden.
- Moisten the soil: Before planting, lightly water the soil to ensure it is evenly moist. This will help settle the soil and provide a good start for your plants.
By properly filling the box with nutrient-rich soil, you are providing your plants with the foundation they need to thrive. The soil will provide essential nutrients, good drainage, and a supportive environment for healthy root growth.
With the box filled with soil, you’re now ready to move on to the exciting stage of choosing the right plants for your box garden and bringing it to life with a burst of vibrant colors, fresh scents, or delicious flavors. Get ready to unleash your inner gardener and enjoy the rewards of your hard work and dedication!
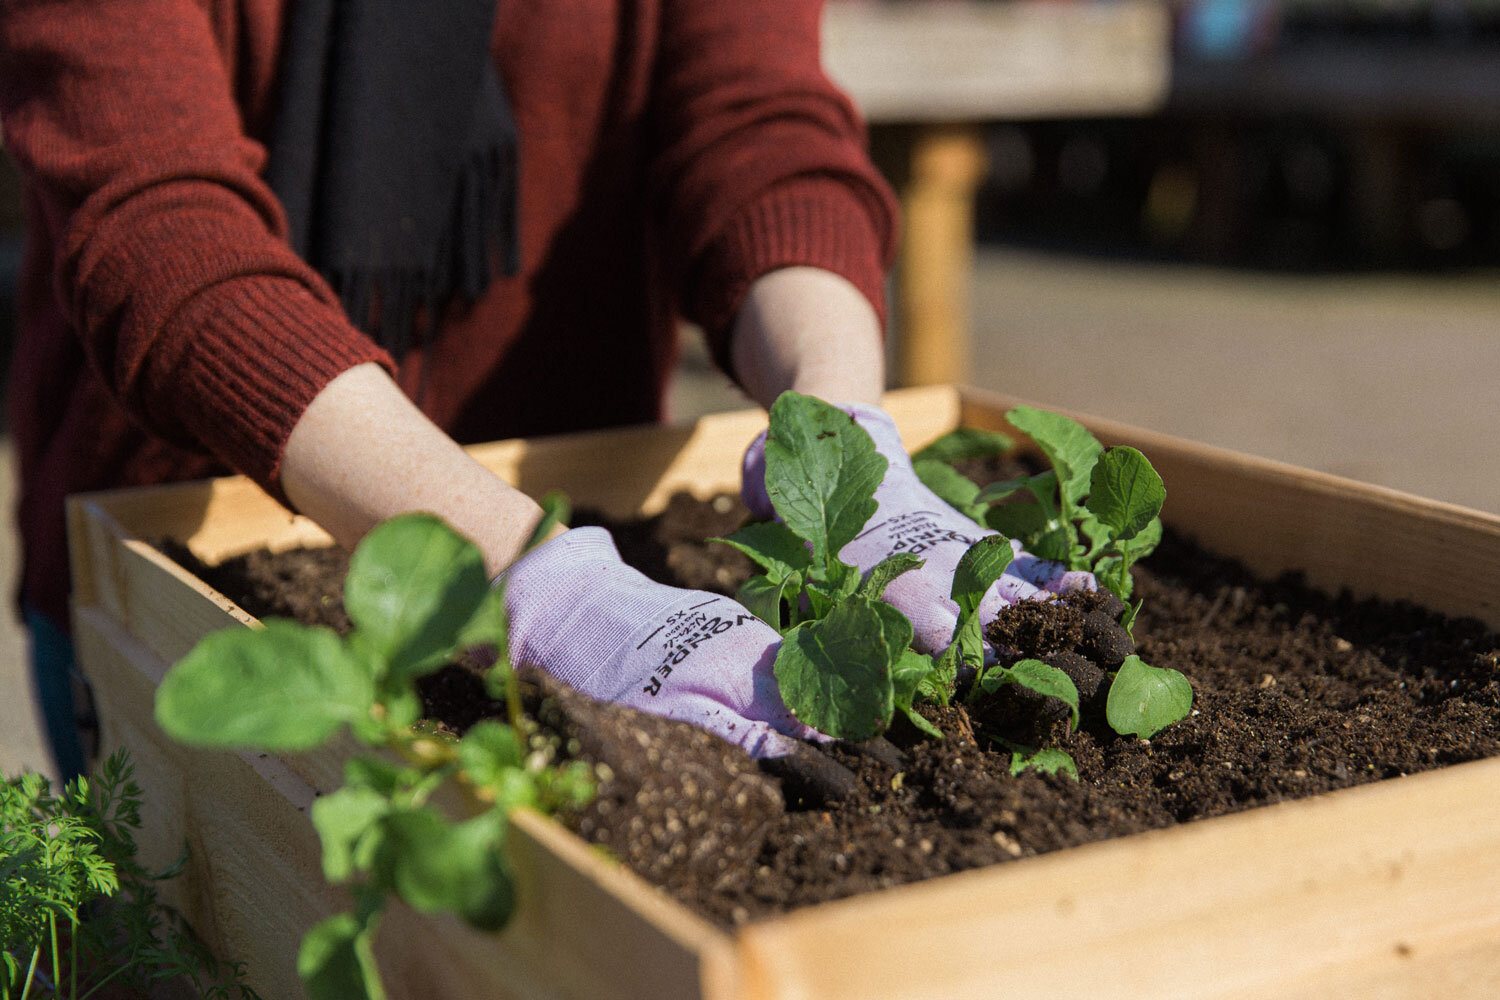
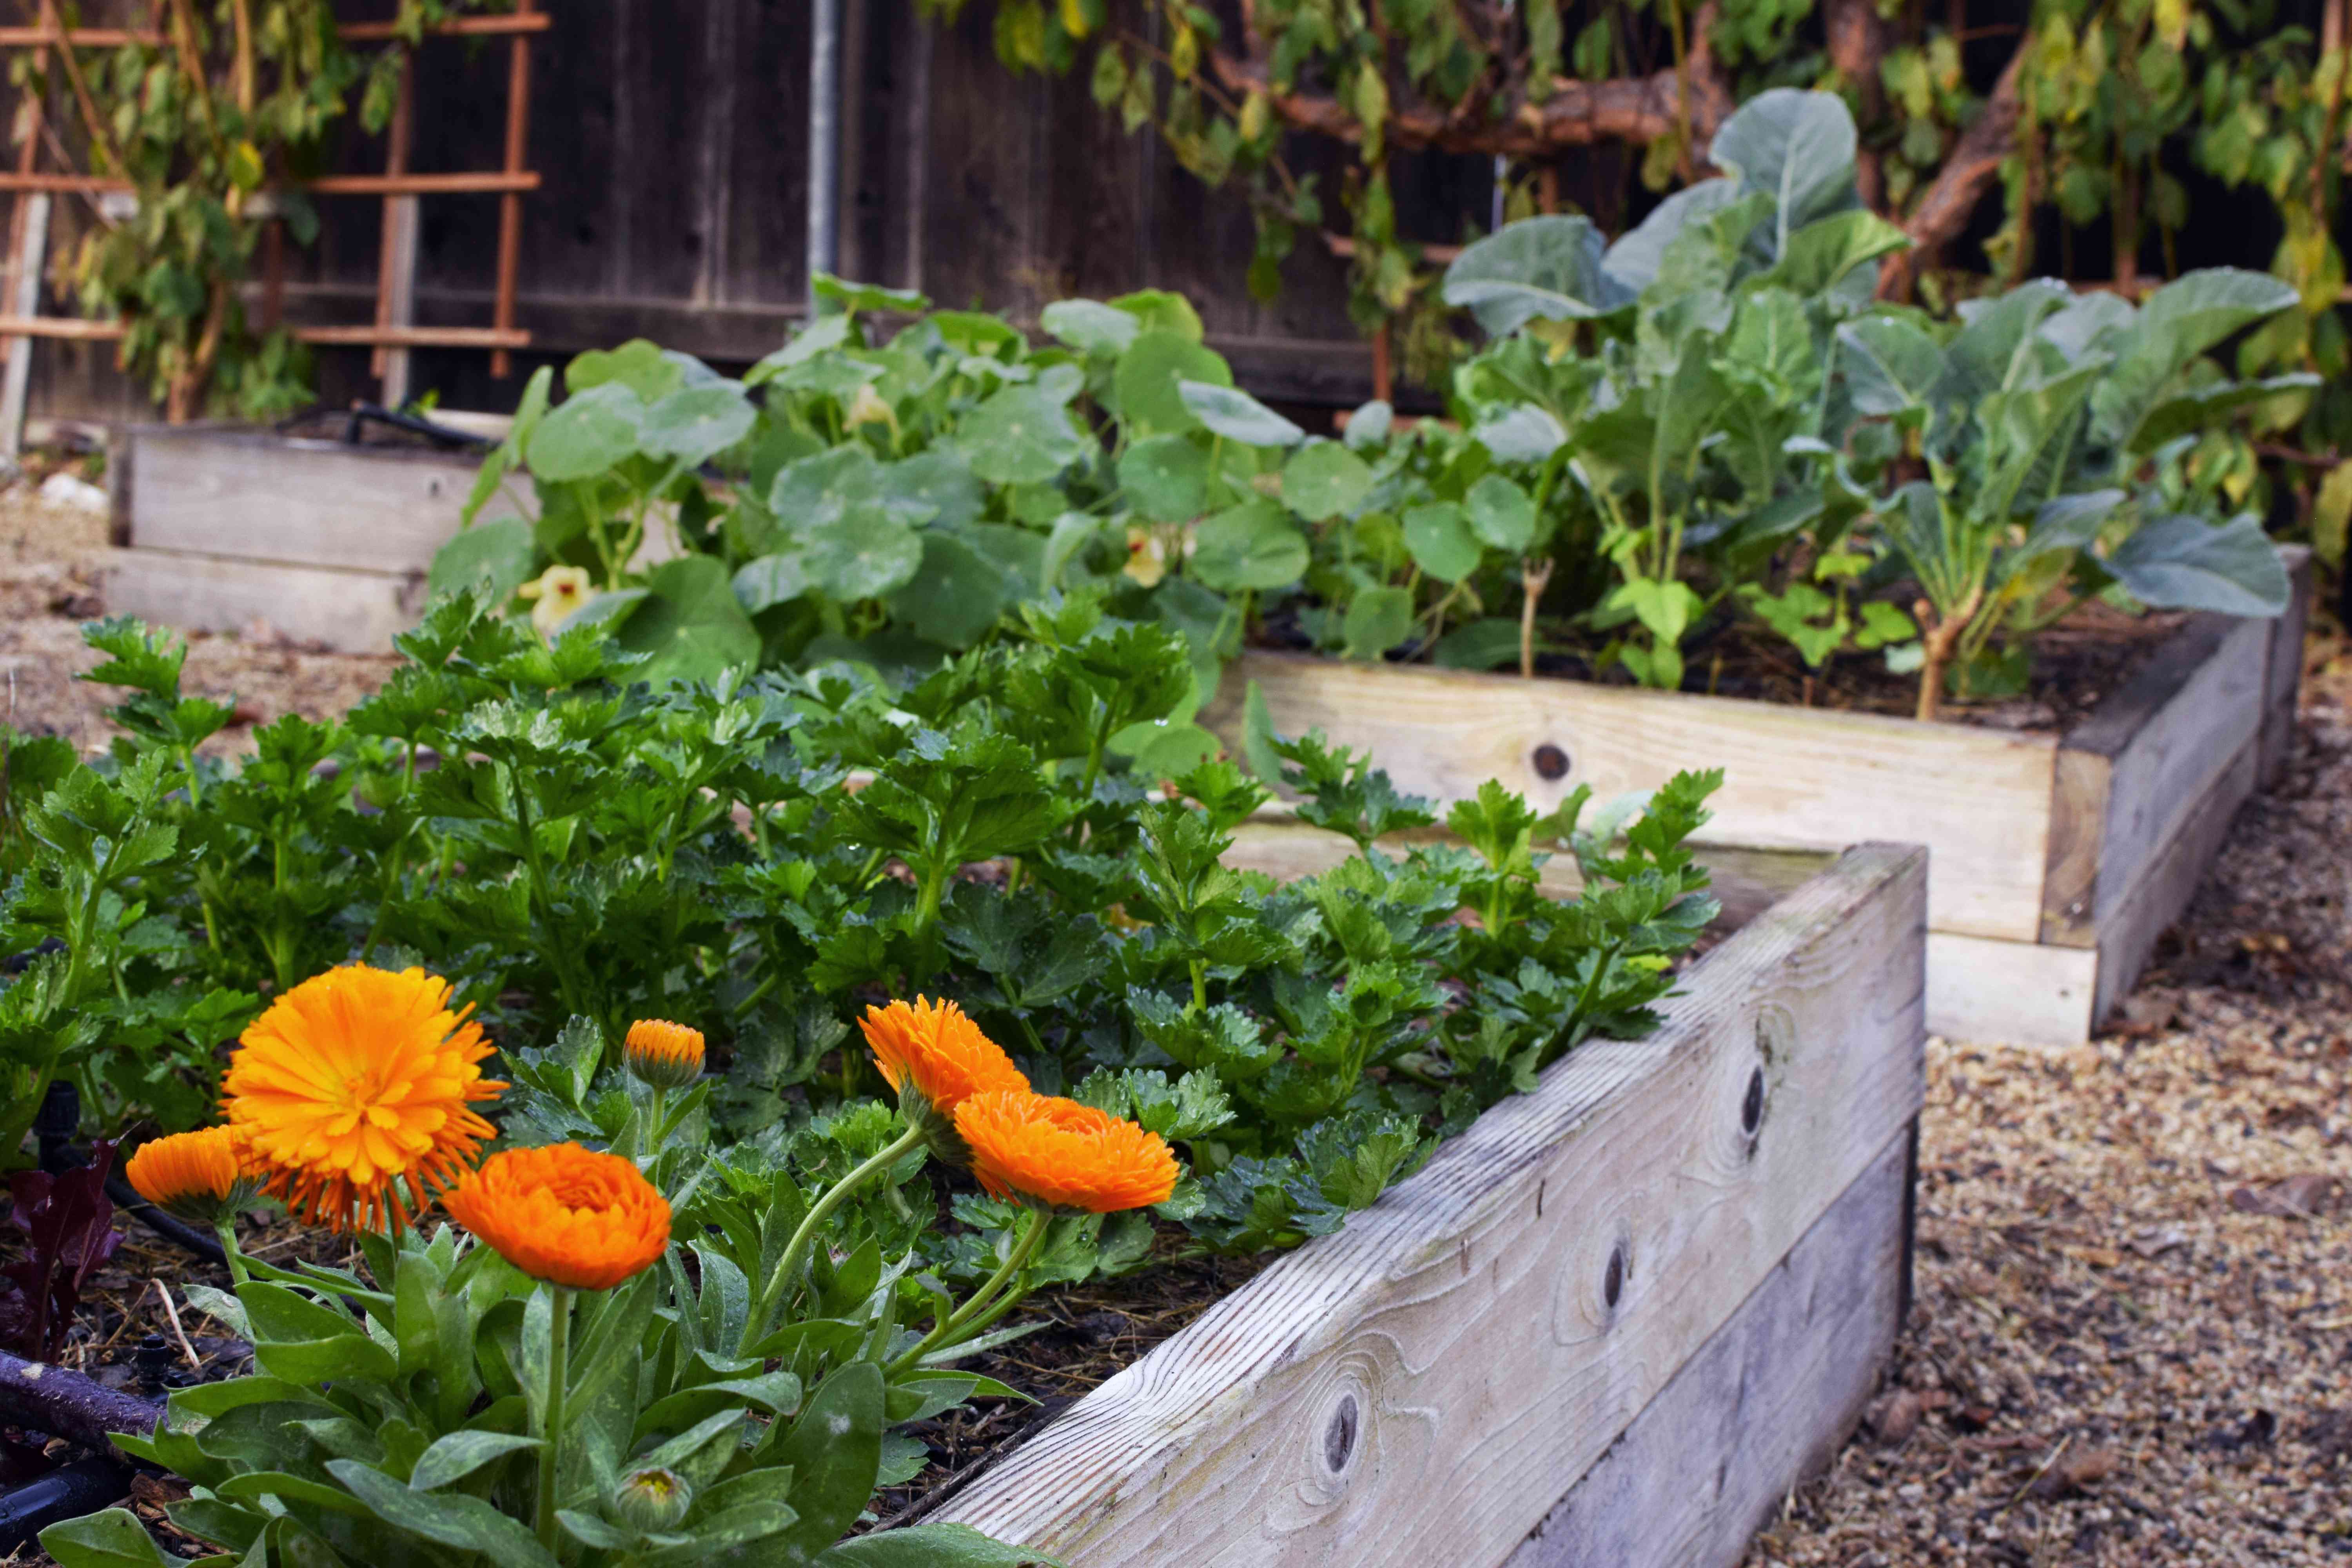
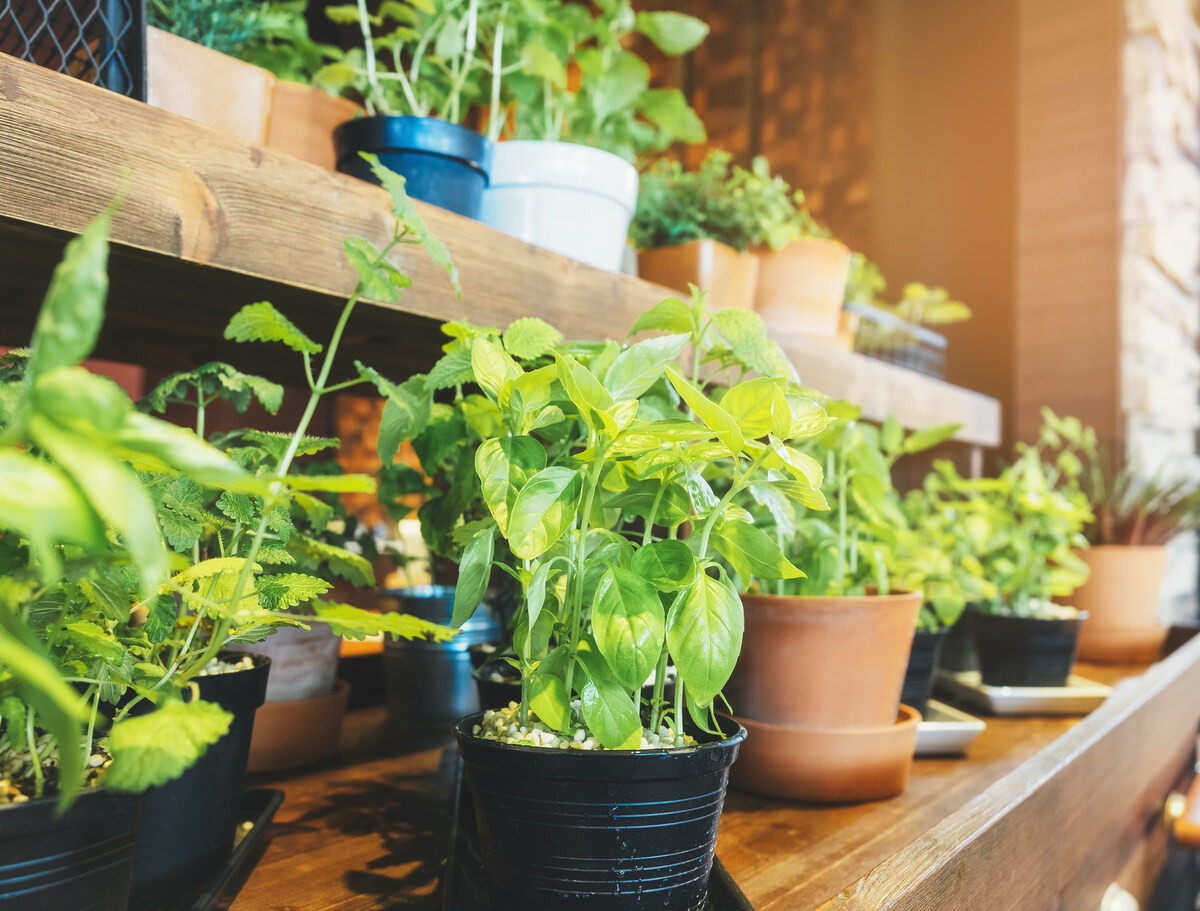
Choosing the Right Plants
Now that your box garden is filled with nutrient-rich soil, it’s time to choose the right plants to bring your garden to life. Here are some considerations to help you select the perfect plants for your box garden:
- Climate and growing conditions: Take into account the climate and growing conditions of your area. Consider factors such as temperature, sunlight, and rainfall. Choose plants that are well-suited to your specific climate to ensure their success.
- Space availability: Assess the size and spacing requirements of the plants you are considering. Ensure that your box garden has enough space to accommodate the mature size of the plants without overcrowding. Avoid planting tall or spreading plants that may shade or crowd out other plants.
- Garden goals: Determine what you hope to achieve with your garden. Are you looking for a colorful flower garden, a bountiful vegetable patch, or a mix of both? Consider your goals and choose plants accordingly.
- Seasonality: Decide whether you want to plant annuals, perennials, or a combination of both. Annuals provide vibrant color and are replanted each year, while perennials come back year after year. Combining these plant types can create a dynamic and long-lasting garden.
- Taste and preferences: Consider your personal preferences and tastes. Do you enjoy fresh herbs, juicy tomatoes, fragrant flowers, or a mix of different plant types? Choosing plants that align with your preferences will make gardening even more enjoyable.
- Companion planting: Research companion planting techniques, where certain plants are grown together to benefit one another. For example, planting marigolds near vegetables can deter pests, while planting herbs like basil near tomatoes can enhance their flavor.
- Availability and accessibility: Take note of the availability and accessibility of plant varieties in your local area. Check with local nurseries or garden centers for a variety of plants that are suitable for container gardening.
- Plant compatibility: Consider the compatibility of different plant species. Some plants may have specific soil or watering requirements, while others may not thrive when planted together. Be sure to choose plants that can coexist harmoniously in the same box garden.
Remember to read the information and care instructions provided for each plant variety. This will help determine the right planting depth, spacing, and care requirements for optimal growth.
Choosing the right plants for your box garden is an exciting process that allows you to express your creativity and preferences. By considering these factors and doing a bit of research, you’ll create a harmonious and thriving garden space.
Now that you have your plant selections in mind, it’s time to get your hands dirty and start filling your box garden with those beautiful plants.
Planting and Maintaining the Garden
With your chosen plants in hand, it’s time to bring your box garden to life by planting them in the nutrient-rich soil. Follow these steps to ensure successful planting and ongoing maintenance:
- Prepare the planting holes: Dig holes in the soil, making them deep enough to accommodate the root ball of each plant. Space the holes according to the recommended spacing for the specific plant varieties you are planting.
- Plant the seedlings or seeds: Carefully remove seedlings from their containers and gently loosen their root systems. Place them in the prepared holes and cover the roots with soil, gently firming it around the base of each plant. If you’re planting seeds, follow the instructions on the seed packet for optimal planting depth and spacing.
- Water thoroughly: After planting, water the garden thoroughly to settle the soil around the roots. Ensure that the soil is evenly moist, but not waterlogged. Water as needed to keep the soil consistently moist during the early stages of growth.
- Maintain proper watering: As your plants grow, monitor the soil moisture regularly. Water deeply and evenly to reach the root zone of the plants. Avoid shallow watering, as it can promote shallow root growth. Watering in the morning or evening when temperatures are cooler can help minimize water loss due to evaporation.
- Provide support (if needed): For plants that require support, such as tomatoes, cucumbers, or vining plants, install trellises, stakes, or cages to provide them with the necessary support. Secure the plants gently to the supports as they grow.
- Monitor for pests and diseases: Regularly inspect your plants for any signs of pests or diseases. Look for chewed leaves, discoloration, or evidence of insect activity. If you notice any issues, take appropriate measures such as organic pest control methods or seeking advice from local gardening experts.
- Prune and tidy: Remove any dead or diseased plant parts to promote healthy growth. Prune plants as needed to maintain their shape and prevent overcrowding. Regularly remove weeds to prevent competition for nutrients and space. Apply mulch around the base of the plants to help suppress weeds and retain moisture.
- Fertilize appropriately: Depending on the needs of your plants, consider applying organic fertilizers or compost during the growing season to replenish nutrients in the soil. Follow the recommendations specific to each plant variety and avoid over-fertilization, as it can lead to nutrient imbalances or environmental pollution.
Consistent care and maintenance are key to the success of your box garden. Regularly observe and tend to your plants, keeping them healthy and vibrant. With proper watering, support, pest control, and occasional pruning, you’ll enjoy the fruits of your labor as your plants flourish and bloom.
Remember, gardening is a continual learning process. Observe how your plants respond to different conditions and adjust your care accordingly. With time and experience, you’ll develop your own gardening techniques and strategies that work best for your box garden.
Now, sit back, enjoy the beauty of your garden, and look forward to the satisfaction of harvesting and enjoying the fruits, vegetables, or flowers that you’ve grown with your own hands.
Read more: What To Plant In Planter Boxes
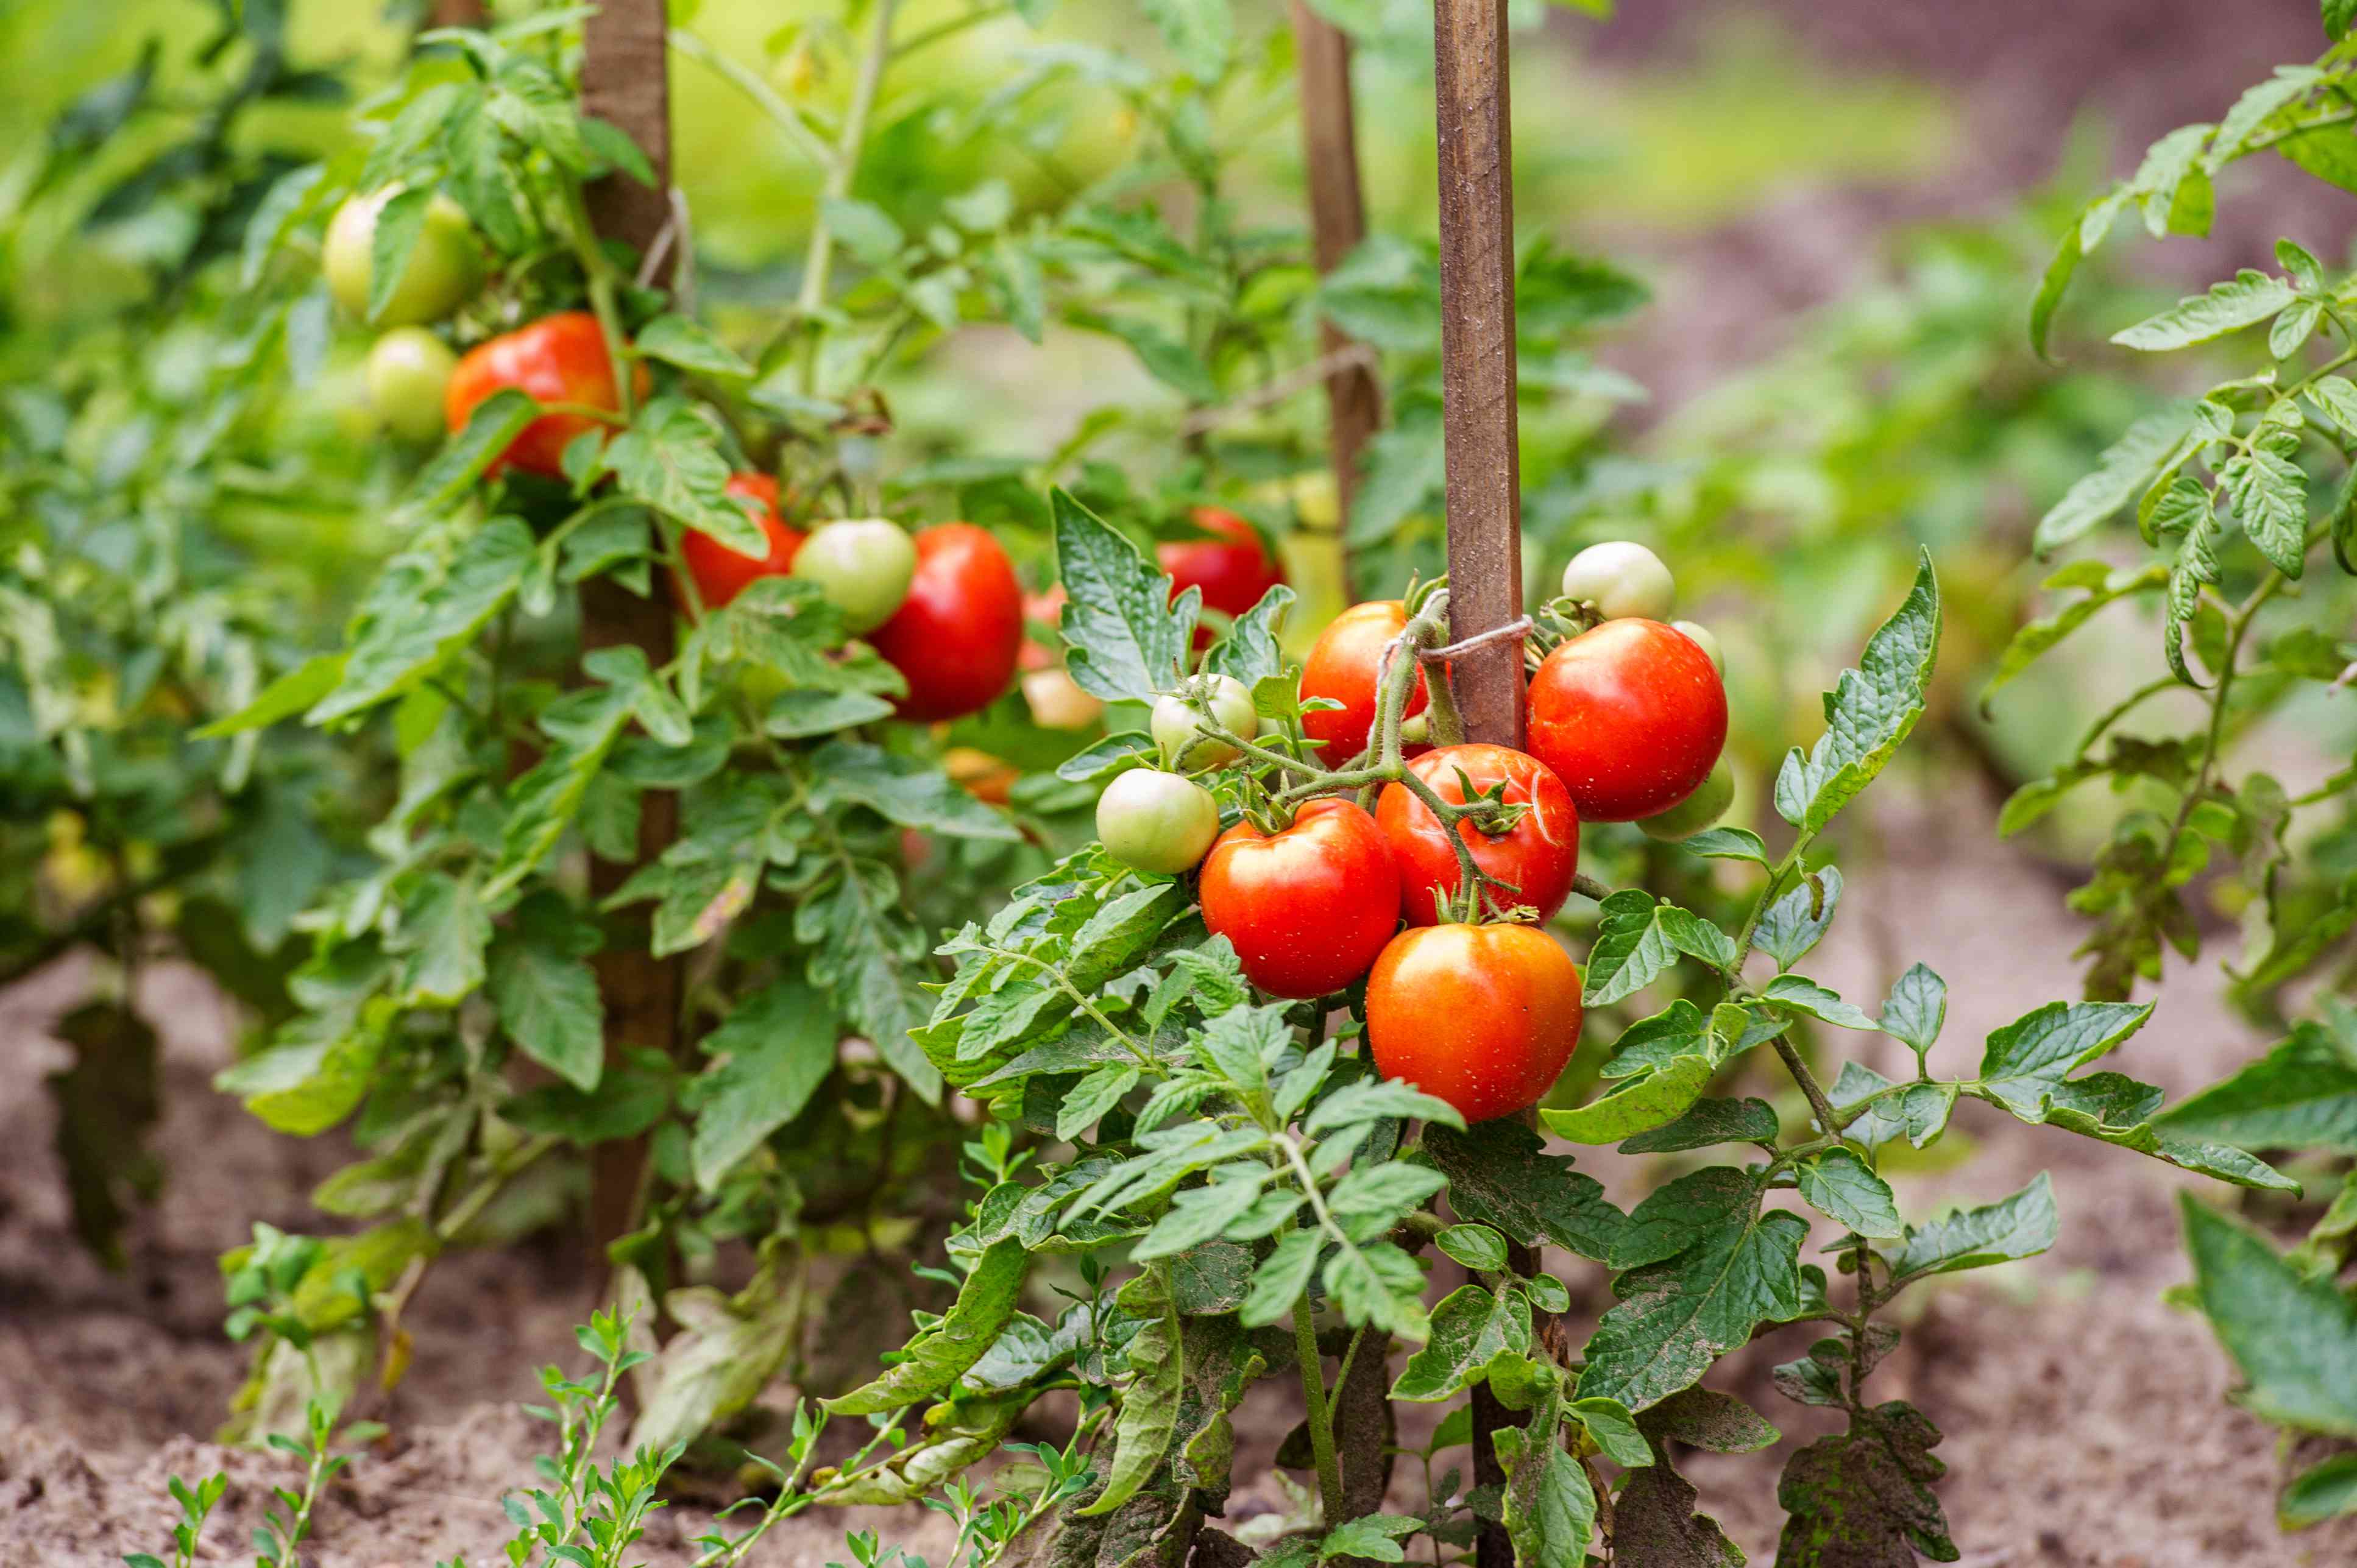
Harvesting and Enjoying the Fruits of Your Labor
After weeks of dedicated care and nurturing, it’s time to reap the rewards of your box garden by harvesting the delicious fruits, vegetables, or beautiful flowers that it has produced. Here are some tips for a successful harvest and ways to enjoy the fruits of your labor:
- Timing is key: Pay attention to the specific harvest times for each plant variety. Different plants have different maturity periods, so harvest when the fruits or vegetables have reached their peak ripeness. For flowers, wait until they have fully bloomed before cutting them for display.
- Use proper harvesting techniques: Handle your plants with care during harvesting to avoid damaging the stems or surrounding foliage. Use sharp pruners or shears to make clean cuts, ensuring minimal stress to the plant.
- Enjoy fresh produce: Harvested vegetables and fruits are at their most flavorful and nutritious when consumed fresh. Savor the flavors of your homegrown produce in salads, stir-fries, or simply enjoy them as a healthy snack.
- Preserve and store: If your garden has yielded an abundant harvest, consider different preservation methods such as canning, freezing, or drying. This allows you to enjoy your homegrown produce throughout the year.
- Share the bounty: If you find yourself with more produce than you can consume, share the bounty with family, friends, or neighbors. It’s a wonderful way to spread the joy and benefits of your garden while building connections.
- Keep learning and experimenting: Gardening is a continuous learning process, so take note of what worked well and what didn’t. Reflect on your experience and make adjustments for the next growing season. Don’t be afraid to try new plant varieties or gardening techniques to expand your knowledge and skills.
- Enjoy the beauty of your flowers: If your box garden is filled with flowering plants, take the time to appreciate their beauty. Cut flowers for bouquets to decorate your home or gift them to loved ones. Take photos to capture the colors and shapes that bring joy to your garden.
- Reflect and plan for the next season: Once the harvest is complete and the growing season comes to an end, take time to reflect on your gardening experience. Assess what worked well and what could be improved. Use this knowledge to plan for the next season, considering new plant varieties or adjustments to the garden layout.
Remember that gardening is a labor of love, and the joy and satisfaction that comes from harvesting and enjoying your homegrown produce is incomparable. It’s a rewarding experience to see the fruits of your labor on your plate or displayed in a vase, knowing that you played a vital role in their growth and development.
Celebrate your achievements, share your harvest, and continue to nurture the beauty and abundance of your box garden. Happy gardening!
Conclusion
Congratulations on embarking on your gardening journey and creating your own box garden! Throughout this article, we’ve covered the essential steps, from choosing the right location to harvesting and enjoying the fruits of your labor. Gardening is a rewarding and fulfilling hobby that allows you to connect with nature, nurture life, and derive immense joy from watching your plants grow and thrive.
Remember, creating a box garden offers numerous benefits, including better soil drainage, weed control, and easier access for planting and harvesting. By following the guidelines provided, you have laid the foundation for a successful box garden that will bring beauty, fresh produce, or colorful flowers to your home.
As you continue on your gardening journey, always stay curious and open to learning. Each season presents new opportunities and challenges, allowing you to expand your knowledge and cultivate your skills as a gardener. Experiment with different plant varieties, try out new techniques, and discover what works best for your specific garden and growing conditions.
Don’t forget to enjoy the process along the way. Gardening is not just about the end result but also about the experience itself. Take the time to appreciate the beauty of your plants, the scents of the flowers, and the satisfaction of harvesting your own fresh and nutritious produce.
Lastly, remember that gardening is a continuous journey of growth and learning. Embrace the cycles of nature, embrace the challenges that come with it, and cherish the moments of connection you experience with the earth and the natural world.
So, go ahead and unleash your creativity, nurture your garden, and let the beauty of nature flourish in your own little corner of the world. Happy gardening!
Frequently Asked Questions about How To Make A Box Garden
Was this page helpful?
At Storables.com, we guarantee accurate and reliable information. Our content, validated by Expert Board Contributors, is crafted following stringent Editorial Policies. We're committed to providing you with well-researched, expert-backed insights for all your informational needs.


0 thoughts on “How To Make A Box Garden”