Articles
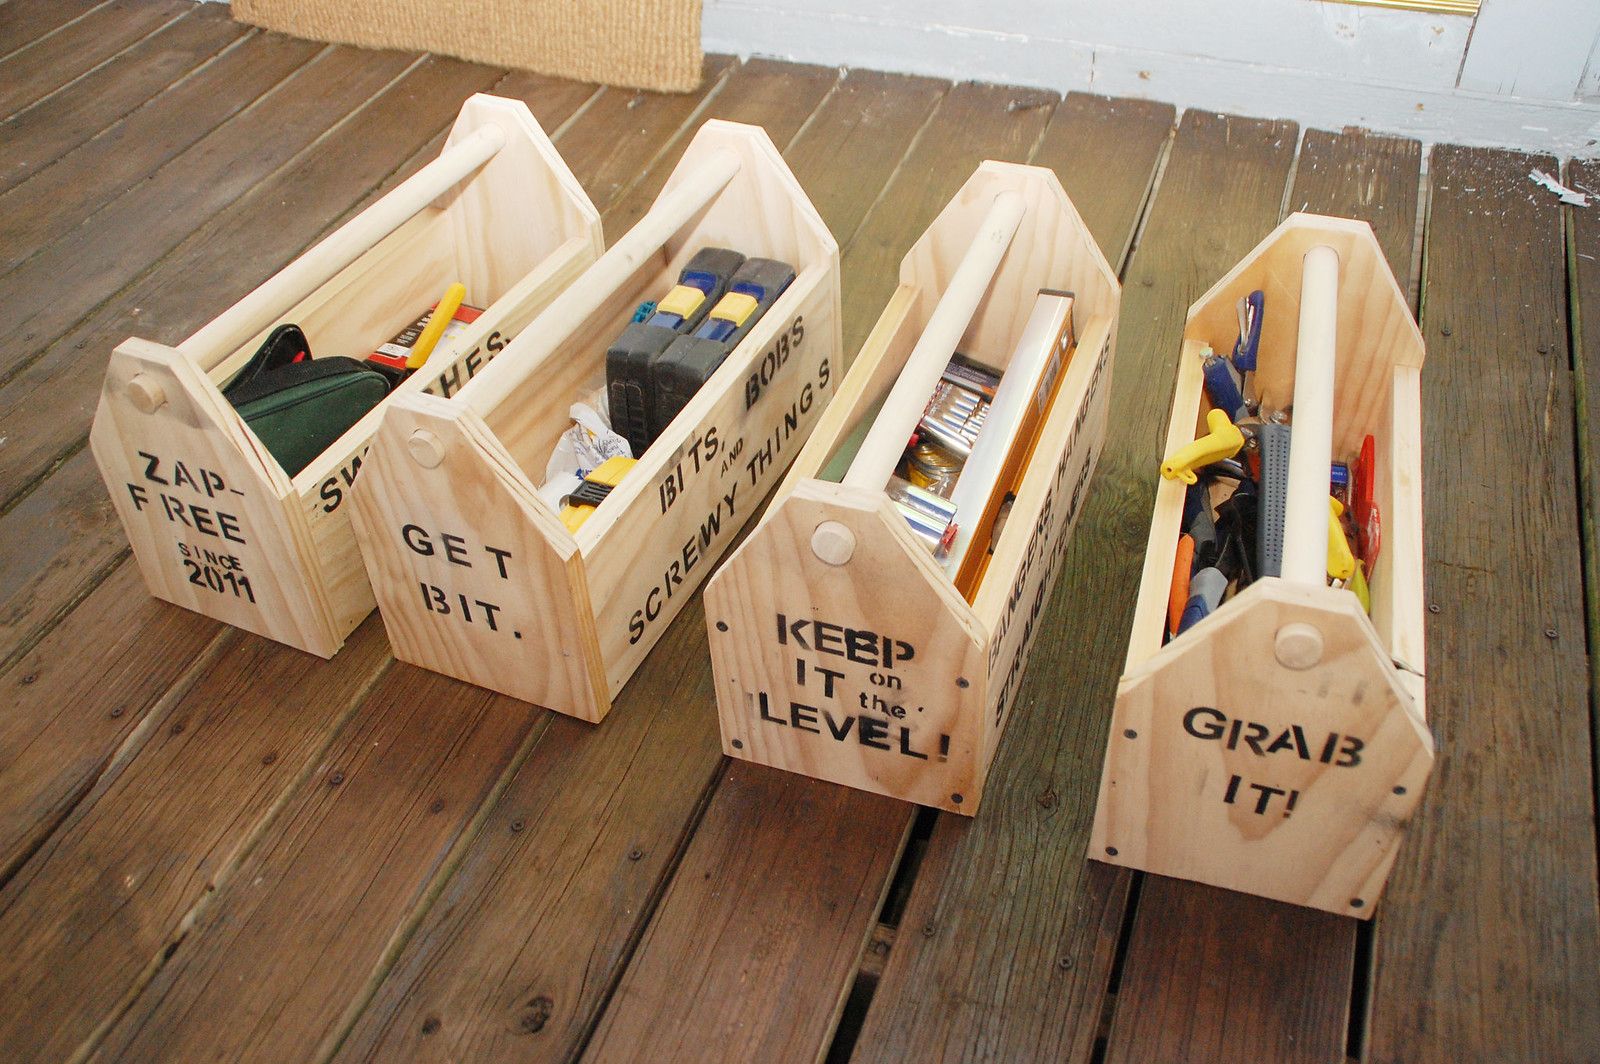
How To Make A Wood Tool Box
Modified: August 31, 2024
Learn how to make a sturdy and functional wood tool box with these step-by-step articles. Perfect for organizing and storing your tools.
(Many of the links in this article redirect to a specific reviewed product. Your purchase of these products through affiliate links helps to generate commission for Storables.com, at no extra cost. Learn more)
Introduction
Having a proper storage solution for your tools is essential for any woodworking or DIY enthusiast. It not only keeps your workspace organized and clutter-free but also protects your tools from damage. A wood tool box is a classic and practical option that not only serves its purpose but also adds a touch of craftsmanship to your workshop.
In this article, we will guide you step by step on how to make your own wood tool box. Whether you’re a seasoned woodworker or just starting out, this project is a great opportunity to practice your skills and create something functional and beautiful.
To get started, you’ll need a few materials and tools:
Key Takeaways:
- Building a wood tool box is a rewarding project that showcases woodworking skills. Attention to detail, proper alignment, and the right tools result in a durable and well-crafted tool box for organized and accessible tool storage.
- Customizing the interior with dividers and adding a handle enhances the tool box’s functionality and portability. Sanding and finishing not only provide a polished appearance but also protect the wood, reflecting personal style and offering durability.
Read more: How To Make Your Own Tool Box
Materials and Tools
- Wood: Choose a sturdy and durable wood, such as pine or plywood, for the main structure of the tool box.
- Measuring Tape: Essential for accurate measurements.
- Saw: A hand saw or power saw for cutting the wood pieces.
- Screwdriver: For assembling the tool box.
- Screws: Choose screws that are appropriate in length for the thickness of your wood.
- Sandpaper: To smooth out the surfaces and edges of the tool box.
- Wood Glue: Optional, but recommended for added strength.
- Finish: Stain, paint, or varnish to protect and enhance the appearance of the wood.
- Brushes: For applying the finish.
Now that you have your materials and tools ready, let’s move on to the step-by-step process of making a wood tool box.
Key Takeaways:
- Building a wood tool box is a rewarding project that showcases woodworking skills. Attention to detail, proper alignment, and the right tools result in a durable and well-crafted tool box for organized and accessible tool storage.
- Customizing the interior with dividers and adding a handle enhances the tool box’s functionality and portability. Sanding and finishing not only provide a polished appearance but also protect the wood, reflecting personal style and offering durability.
Read more: How To Make Your Own Tool Box
Materials and Tools
Before you start building your wood tool box, it’s important to gather all the necessary materials and tools. Here’s a list of what you’ll need:
- Wood: Choose a sturdy and durable wood for the main structure of the tool box. Common options include pine, birch, or plywood. The thickness will depend on your preference, but aim for at least 1/2 inch thick boards.
- Measuring Tape: An essential tool for accurate measurements. Make sure you have a reliable measuring tape to ensure precision throughout the project.
- Saw: You’ll need a saw to cut the wood pieces to the desired lengths. A hand saw or a power saw, such as a circular saw or a miter saw, will work well for this purpose.
- Screwdriver: A screwdriver is essential for assembling the tool box. Make sure you have both a Phillips and a flathead screwdriver to accommodate different types of screws.
- Screws: Choose screws that are appropriate in length for the thickness of your wood. Opt for rust-resistant screws to ensure durability.
- Sandpaper: Sandpaper is necessary for smoothing out the surfaces and edges of the tool box. You’ll need different grits, ranging from coarse to fine, to achieve a smooth finish.
- Wood Glue: While optional, wood glue can add extra strength and stability to the joints of your tool box. It’s particularly useful when working with thinner wood or when you want to reinforce the corners.
- Finish: To protect the wood and enhance its appearance, you can apply a finish of your choice. Options include stain, paint, or varnish. Consider the look you want to achieve and choose a finish accordingly.
- Brushes: Depending on the type of finish you choose, you’ll need brushes to apply it. Foam brushes work well for water-based finishes, while bristle brushes are better suited for oil-based finishes.
Make sure you have all the necessary materials and tools before you begin your wood tool box project. This will help ensure a smooth and efficient building process.
Step 1: Measure and Cut the Wood Pieces
The first step in building a wood tool box is to measure and cut the wood pieces that will make up the different parts of the box. This includes the base, sides, front and back panels, dividers, and handle. Follow these steps to proceed:
- Measure the dimensions: Start by determining the desired size of your tool box. Consider the size of your tools and the space you have available. Measure and mark the dimensions for each piece of wood on the appropriate boards.
- Cut the base and sides: Using a saw, cut the wood pieces for the base and sides of the tool box according to your measurements. Make sure to make clean and straight cuts for precise assembly.
- Cut the front and back panels: Next, cut the wood pieces for the front and back panels. These should be the same height as the sides, but the width can be adjusted to your preference.
- Cut the dividers: If you want to create compartments within the tool box, measure and cut the wood pieces for the dividers. These should be the same height as the sides and fit snugly inside the box.
- Cut the handle: To make the tool box portable, cut a piece of wood to serve as the handle. You can shape it into a comfortable grip or choose a pre-made handle from a hardware store.
Remember to double-check your measurements and make any necessary adjustments before cutting the wood. It’s always better to be precise in the cutting stage to ensure a proper fit and alignment during assembly.
Once you have all the wood pieces cut to size, proceed to the next step to start assembling your wood tool box.
Step 2: Assemble the Base and Sides
With the wood pieces cut to size, it’s time to assemble the base and sides of your wood tool box. Follow these steps to proceed:
- Prepare the workspace: Clear a workspace large enough to lay out the wood pieces for assembly. Ensure that the surface is clean and flat to facilitate accurate alignment.
- Position the base: Lay one of the side pieces flat on your workspace. Align the base piece perpendicular to the side piece, creating an L-shaped structure.
- Attach the base: Using screws and a screwdriver, secure the base to the side piece. Make sure to countersink the screws, so they do not interfere with the tool storage inside the box. Repeat this process on the opposite side, attaching the other side of the base to the corresponding side piece.
- Attach the other sides: Once the base is securely attached, position the remaining two side pieces perpendicular to the base. Align them with the already attached side pieces.
- Secure the sides: Use screws and a screwdriver to attach the remaining side pieces to the base. Just like before, countersink the screws for a clean finish.
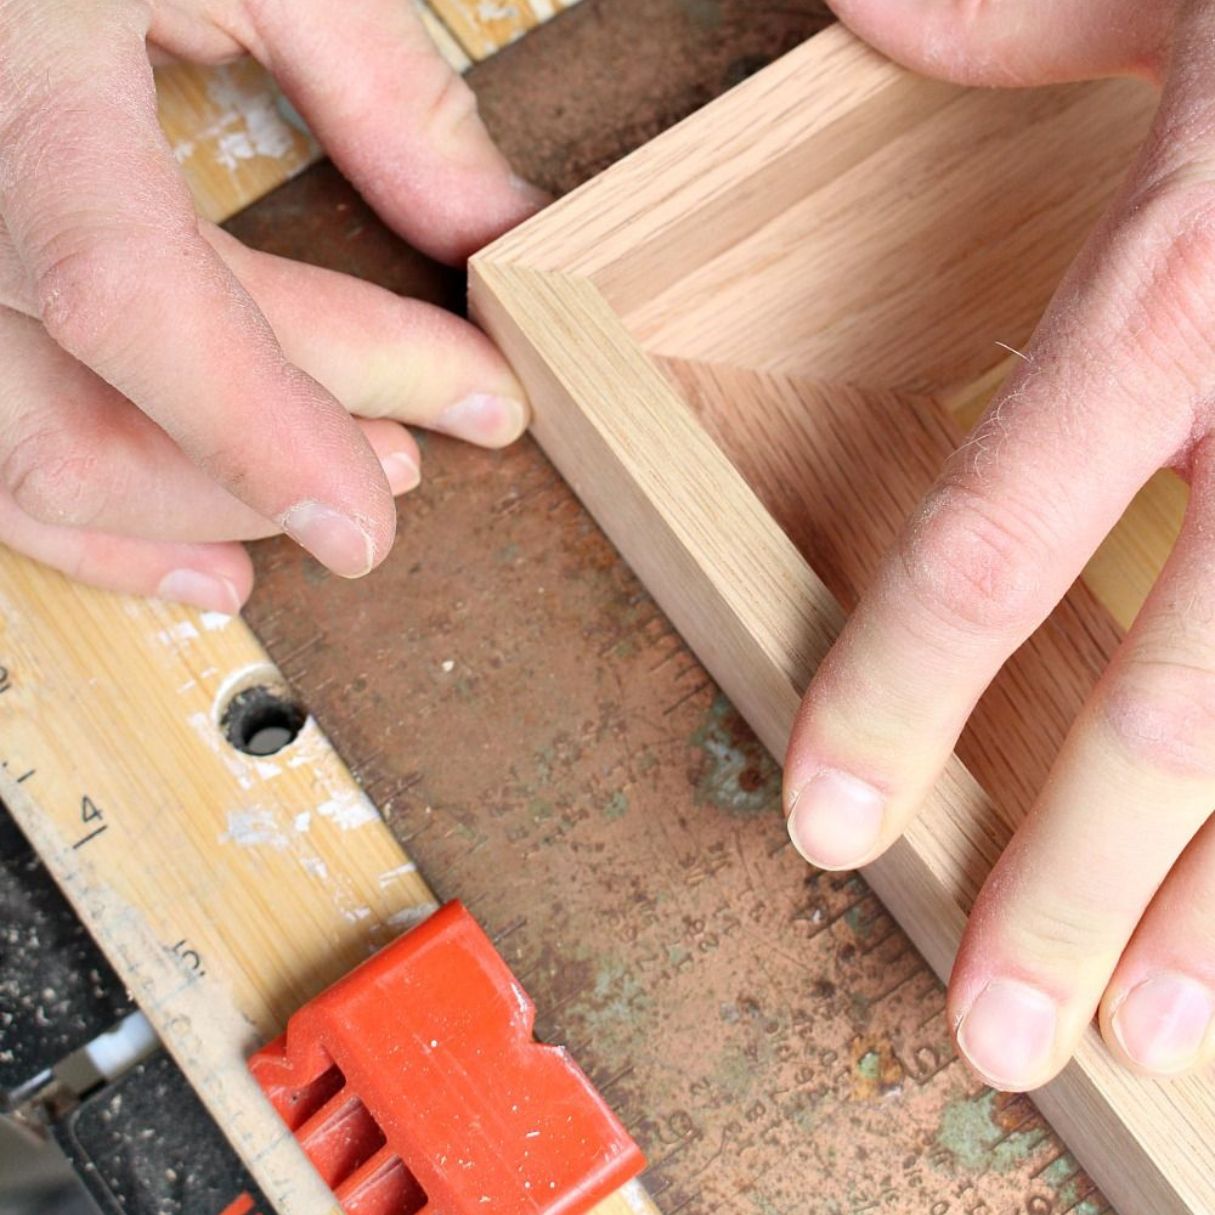
- Check for squareness: To ensure the tool box is square, use a measuring tape or a square to check that all corners are at perfect right angles.
- Reinforce with wood glue: For added strength and stability, you may choose to apply wood glue along the joints before securing them with screws. This step is optional but can provide extra durability.
Take your time during the assembly process to ensure the pieces are aligned correctly and firmly attached. Careful attention to detail in this step sets the foundation for a sturdy and functional wood tool box.
Once the base and sides are securely assembled, proceed to the next step to attach the front and back panels to complete the main structure of the tool box.
When making a wood tool box, be sure to use sturdy and durable wood such as oak or maple to ensure the box can withstand the weight of the tools. Additionally, consider adding a handle for easy transportation.
Read more: Who Makes The Best Truck Tool Box
Step 3: Attach the Front and Back Panels
Now that the base and sides of your wood tool box are assembled, it’s time to attach the front and back panels to complete the main structure. Follow these steps to proceed:
- Position the front and back panels: Lay the tool box on its side, and align one of the panels with the corresponding side. Ensure that the panel is flush with the bottom and the sides of the tool box.
- Attach the front/back panels: Using screws and a screwdriver, secure the front panel to the sides of the tool box. Drive the screws through the panels and into the edges of the sides. Repeat this process for the back panel, ensuring it is aligned and flush with the sides and bottom.
- Check for squareness: Again, use a measuring tape or a square to verify that all corners are at perfect right angles. Adjust the panels if necessary to achieve squareness.
- Reinforce with wood glue (optional): Like in the previous step, you have the option to reinforce the joints by applying a thin layer of wood glue before securing the panels with screws.
- Double-check alignment: Once the front and back panels are attached, make sure they are aligned with the sides and base of the tool box. The edges should be flush for a clean and professional look.
Take your time during this step to ensure the panels are securely attached and properly aligned. The front and back panels not only provide structural support but also give your tool box a polished appearance.
With the front and back panels in place, proceed to the next step to add dividers and a handle to further enhance the functionality of your wood tool box.
Step 4: Add Dividers and Handle
Adding dividers and a handle to your wood tool box will help organize your tools and make it easier to carry. Follow these steps to proceed:
- Measure and mark for dividers: Depending on the desired number and size of compartments, measure and mark the locations of the dividers inside the tool box.
- Cut and fit dividers: Using a saw, cut the wood pieces for the dividers according to your measurements. Ensure that they fit snugly into the tool box, creating separate compartments.
- Attach dividers: Secure the dividers in place by using screws and a screwdriver. Drive the screws through the sides and base of the tool box into the dividers to ensure stability.
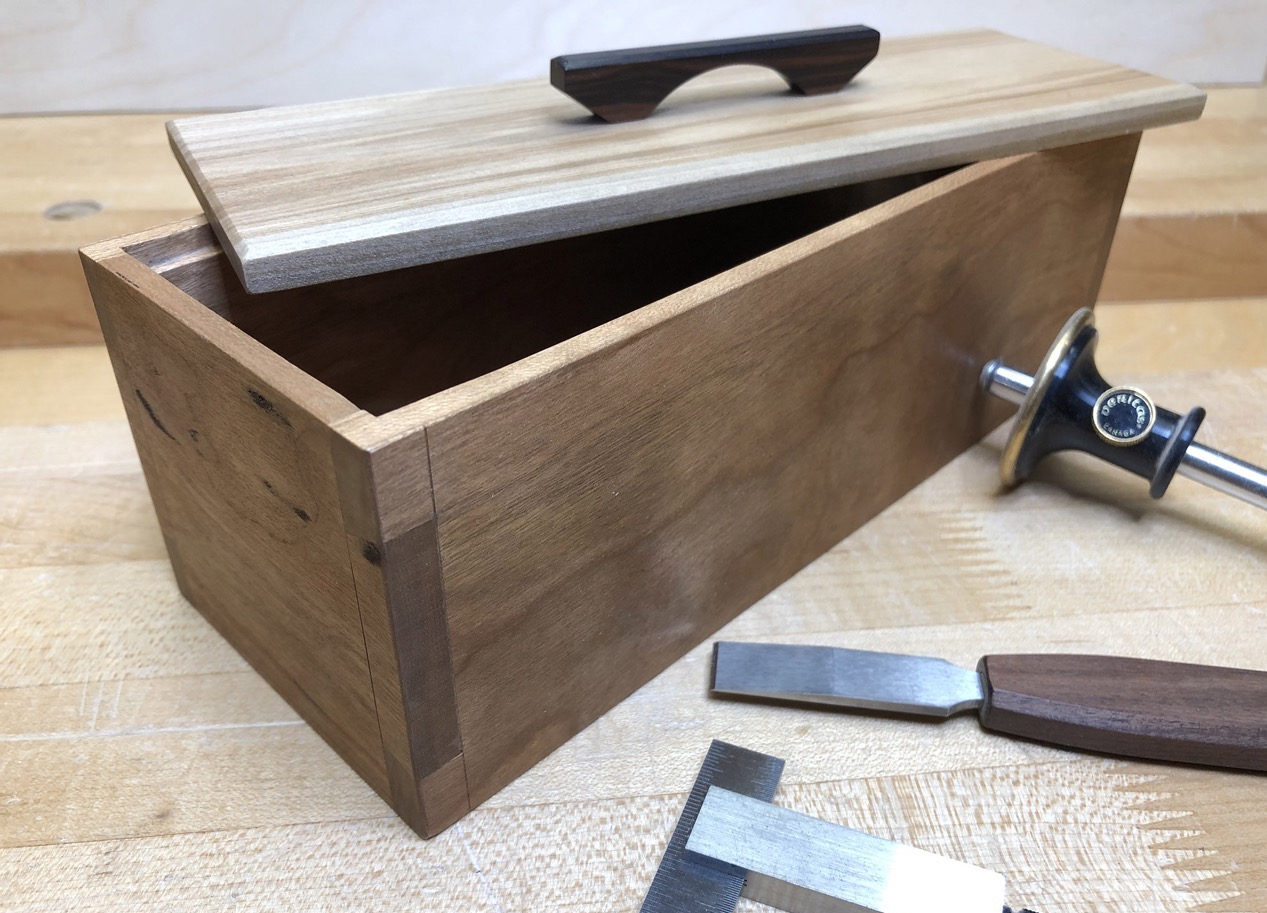
- Add a handle: Measure and mark the desired location for the handle on the top of the tool box. Ensure that it is positioned for comfortable carrying.
- Attach the handle: Depending on the type of handle you have chosen, follow the manufacturer’s instructions for installation. This may involve drilling pilot holes and using screws or other hardware to securely attach the handle to the tool box.
Adding dividers allows you to customize the interior of the tool box to suit your specific needs. It helps keep your tools organized and prevents them from moving around during transport or storage. The handle adds convenience and portability, making it easier to carry your tool box from one location to another.
Once the dividers and handle are securely in place, proceed to the final step – sanding and finishing – to give your wood tool box a smooth and polished look.
Step 5: Sand and Finish the Tool Box
After assembling the main structure of your wood tool box and adding dividers and a handle, it’s time to sand and apply a finish to the box. This final step will give your tool box a smooth and polished look. Follow these steps to proceed:
- Sand the surfaces: Begin by sanding the entire tool box, including the sides, top, bottom, dividers, and handle. Start with coarse-grit sandpaper to remove any rough edges or imperfections. Then, gradually move to finer-grit sandpaper to achieve a smooth and even surface.
- Round the corners and edges (optional): If desired, use sandpaper or a router to round the corners and edges of the tool box. This not only adds a decorative touch but also makes the box more comfortable to handle.
- Remove dust: After sanding, use a soft cloth or a brush to remove any dust or debris from the surfaces of the tool box. Make sure to clean the interior compartments as well.
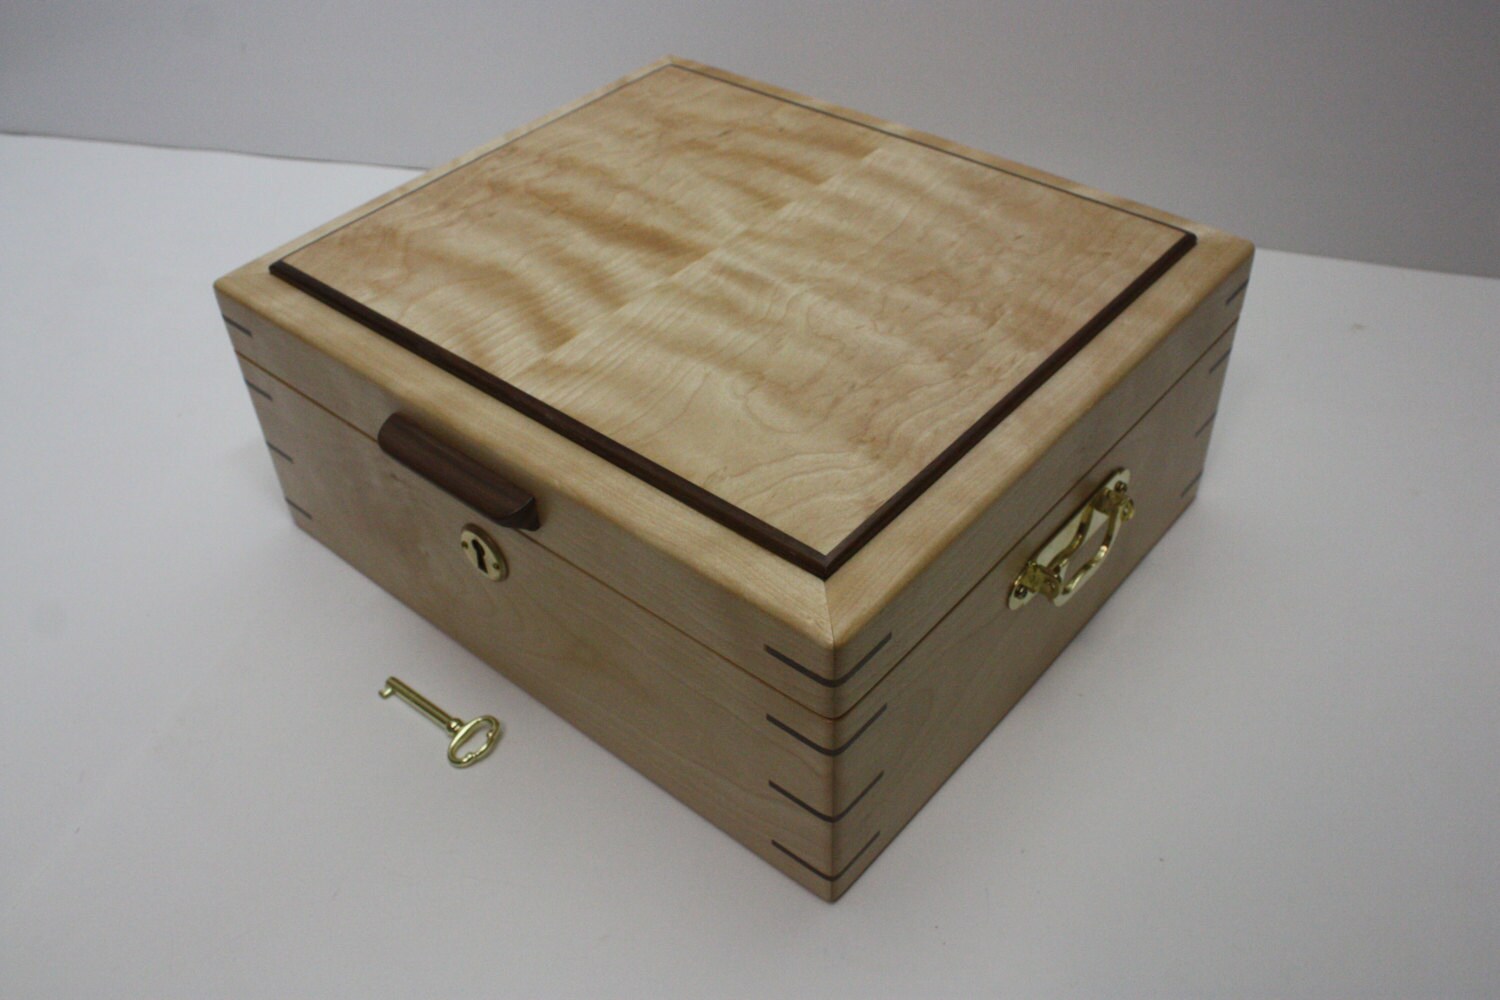
- Apply the finish: Choose a finish that suits your preferences, such as stain, paint, or varnish. Use a brush or a clean cloth to apply an even coat of finish to the entire tool box, following the manufacturer’s instructions. Allow the finish to dry completely.
- Inspect and touch up: Once the first coat of finish is dry, inspect the tool box for any areas that may need touch-ups. Sand any rough spots, and apply additional coats of finish as needed to achieve the desired look.
Finishing the tool box not only enhances its appearance but also offers protection against moisture, scratches, and other damage. Choose a finish that matches your personal style and provides the level of protection required for your woodworking projects.
After the finish has completely dried, give the tool box a final inspection to ensure that it meets your expectations. Congratulations! You have successfully built and finished your own wood tool box, ready to store and transport your tools in style.
Now it’s time to put your newly made tool box to use and enjoy the convenience and organization it provides in your woodworking projects. Happy woodworking!
Conclusion
Building a wood tool box is not only a practical and functional project but also a rewarding one that allows you to showcase your woodworking skills. By following the step-by-step process outlined in this article, you have learned how to measure and cut the wood pieces, assemble the base and sides, attach the front and back panels, add dividers and a handle, and finally, sand and finish the tool box.
Throughout the construction process, it’s important to pay attention to detail, ensure proper alignment, and use the right tools and materials. Taking the time to accurately measure, cut, and assemble the individual components will result in a durable and well-crafted tool box that will serve you for years to come.
Furthermore, adding dividers allows you to customize the interior to accommodate your specific tools and keep them organized and easily accessible. The inclusion of a handle enhances the tool box’s portability, making it convenient to carry your tools to different work areas or project sites.
Lastly, sanding and finishing the tool box not only provides a smooth and polished appearance but also protects the wood from moisture and other potential damage. Choose a finish that reflects your personal style and offers the desired level of protection.
Now that you have completed the construction and finishing of your wood tool box, it’s time to put it to use. Enjoy the convenience, organization, and craftsmanship that it brings to your woodworking projects. Keep your tools organized and protected, and enjoy the satisfaction of having a tool box that is both functional and aesthetically pleasing.
Remember, building a wood tool box is just the beginning of your woodworking journey. Continue to hone your skills, take on new projects, and explore the world of woodworking. Happy woodworking!
Now that you've mastered building your own wood tool box, why not dive deeper into crafting and organizing skills? Whether you're eager to enhance your woodworking prowess or simply looking for clever DIY projects, our upcoming articles are sure to inspire. Discover essential tips and tricks in woodworking essentials or find out why DIY projects are gaining popularity. For those who have accumulated an impressive collection of tools, learning about innovative tool storage solutions will help keep everything neat and accessible.
Frequently Asked Questions about How To Make A Wood Tool Box
Was this page helpful?
At Storables.com, we guarantee accurate and reliable information. Our content, validated by Expert Board Contributors, is crafted following stringent Editorial Policies. We're committed to providing you with well-researched, expert-backed insights for all your informational needs.


0 thoughts on “How To Make A Wood Tool Box”