Articles
How To Make Furniture With Pallets
Modified: October 20, 2024
Learn how to create beautiful and functional furniture using pallets. Discover step-by-step instructions and unleash your creativity with these DIY pallet projects.
(Many of the links in this article redirect to a specific reviewed product. Your purchase of these products through affiliate links helps to generate commission for Storables.com, at no extra cost. Learn more)
Introduction
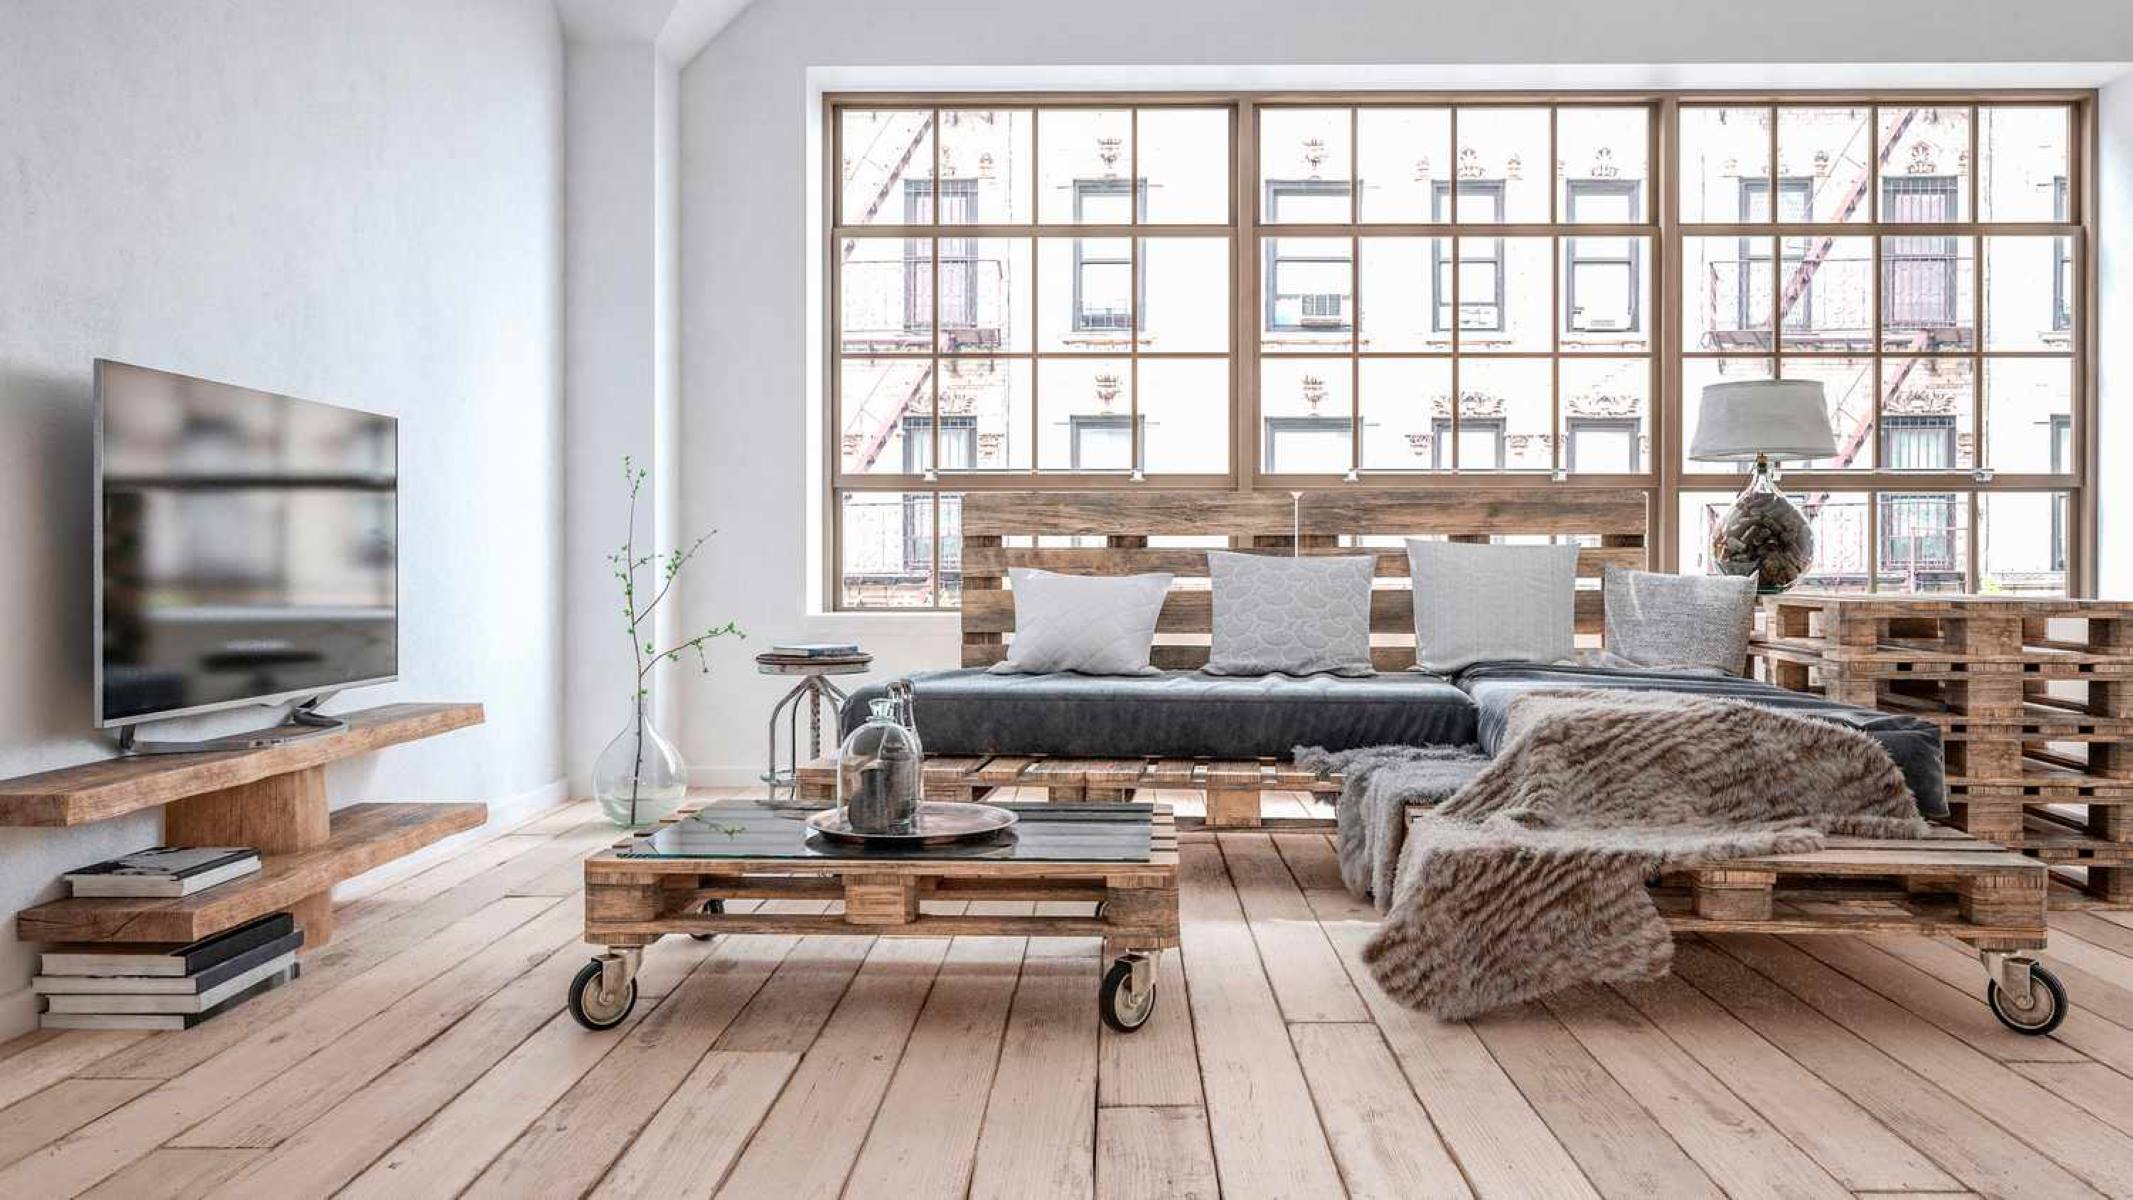
When it comes to furniture, there are countless options available in the market. However, if you’re looking for a unique and creative way to furnish your home, why not consider making furniture with pallets? Pallets are versatile, affordable, and offer a rustic charm that can add character to any space. In this article, we will guide you through the process of creating various pieces of furniture using pallets, giving you the opportunity to unleash your creativity and craft items that are both functional and stylish.
Choosing to make furniture with pallets is not only a budget-friendly option but also an environmentally conscious one. Upcycling pallets helps reduce waste and gives a second life to materials that would otherwise end up in landfills. By embarking on this DIY furniture project, you’ll not only save money but also contribute to sustainability efforts.
Before you start your pallet furniture project, it’s essential to choose the right pallets. Look for pallets that are in good condition, without any signs of rot or damage. Opt for pallets made from hardwood, such as oak or maple, as they will provide more durability and strength to your furniture pieces. Additionally, ensure that the pallets are clean and free from any chemicals or contaminants.
Once you’ve selected the perfect pallets, it’s time to prepare them for your furniture project. Sand the surfaces of the pallets to remove any rough edges or splinters, ensuring a smooth and safe finish. You may also choose to paint or stain the pallets to match your desired aesthetic. This step allows you to customize your furniture and add a personalized touch.
In the following sections, we will provide step-by-step instructions on how to create four popular pallet furniture pieces: a coffee table, a bookshelf, a bed frame, and an outdoor bench. These projects are beginner-friendly and require basic woodworking skills. We will guide you through the construction process, providing measurements, tools, and tips along the way. So, let’s dive in and discover the endless possibilities of making furniture with pallets!
Key Takeaways:
- Unleash Your Creativity: Transforming pallets into furniture offers endless possibilities to craft unique and stylish pieces, allowing you to personalize your living spaces while contributing to sustainability efforts.
- Budget-Friendly DIY Fun: Building furniture with pallets is a beginner-friendly, environmentally conscious, and cost-effective way to add rustic charm and character to your home decor.
Read more: How To Make Pallet Bookshelves
Choosing the Right Pallets
When embarking on a pallet furniture project, choosing the right pallets is crucial. Not all pallets are created equal, and selecting the appropriate ones will ensure a sturdy and safe furniture piece. Here are some factors to consider when choosing pallets for your project:
- Condition: Look for pallets that are in good condition. Avoid pallets with cracks, splits, or rot, as these can compromise the integrity of your furniture. Inspect the pallets thoroughly for any signs of damage or weakness.
- Size: Consider the size of the pallets and how it will fit in your space. Measure the dimensions you require for your furniture and choose pallets accordingly. Keep in mind that standard pallet sizes are typically 48 inches by 40 inches.
- Material: Opt for pallets made from hardwood, such as oak or maple. These pallets are more durable and can withstand the weight and stress of furniture. Avoid pallets made from softwood, as they may not provide the required strength.
- Cleanliness: Ensure that the pallets are clean and free from any chemicals or contaminants. Some pallets may have been treated with pesticides or exposed to harmful substances during transportation. It’s important to use pallets that are safe for indoor use.
It’s worth noting that there are two main types of pallets: stringer pallets and block pallets. Stringer pallets have two or more parallel pieces of lumber, known as “stringers,” running along the length of the pallet. On the other hand, block pallets feature additional wooden blocks between the stringers, offering extra support and stability.
Block pallets are generally preferred for furniture projects as they provide better weight distribution and structural strength. However, if you’re unable to find block pallets, stringer pallets can still be used effectively by reinforcing them with additional supports.
Additionally, consider the source of your pallets. It’s best to obtain pallets from reputable sources, such as local businesses or pallet recycling centers. These sources are likely to provide pallets that are in good condition and free from harmful substances.
By carefully selecting the right pallets for your project, you can ensure the longevity and safety of your furniture. Once you have chosen the perfect pallets, it’s time to prepare them for construction. In the next section, we will provide detailed instructions on how to prepare the pallets and get them ready for building your furniture pieces.
Preparing the Pallets
Before you begin building your pallet furniture, it’s important to properly prepare the pallets. This step is crucial to ensure the safety, functionality, and longevity of your furniture pieces. Here are some essential steps to follow when preparing the pallets:
- Clean the pallets: Start by cleaning the pallets to remove any dirt, debris, or residues. You can use a stiff brush or a pressure washer to thoroughly clean the surface of the pallets. This step is especially important if the pallets have been previously used or stored in dusty areas.
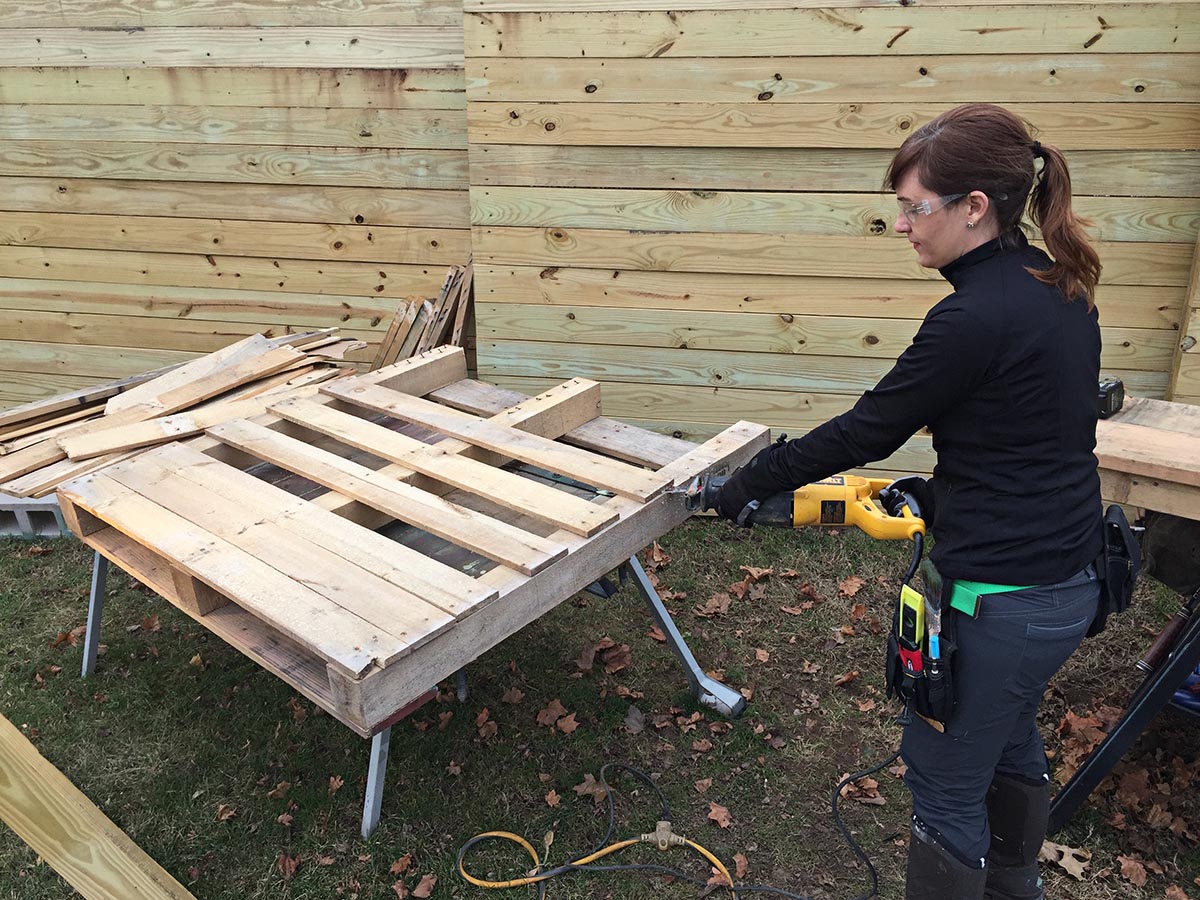
- Inspect for damaged parts: Carefully inspect each pallet for any damaged or broken parts. Look for loose or protruding nails, splintered wood, or unstable sections. If you notice any issues, repair or replace the damaged parts before proceeding with your furniture project.
- Sand the surfaces: To create a smoother and safer finish, sand the surfaces of the pallets. Use sandpaper or an electric sander to remove rough edges, splinters, and any imperfections. Pay extra attention to the corners and edges where people will come into contact with the furniture.
- Stain or paint (optional): If you prefer a different look or want to protect the wood, consider staining or painting the pallets. Choose a stain or paint that is suitable for the type of wood used in the pallets. Apply multiple coats and allow sufficient drying time between each layer.
- Seal the wood: To enhance the durability of your pallet furniture, consider sealing the wood. Apply a clear wood sealant or varnish to protect the pallets from water damage, scratches, and UV rays. Follow the instructions on the sealant product for proper application and drying times.
By following these steps, you can ensure that your pallets are clean, safe, and ready to be transformed into furniture. Properly preparing the pallets will not only contribute to the aesthetic appeal but also ensure that your furniture is free from any potential hazards. Once the pallets are prepared, it’s time to start building your desired furniture piece.
In the next sections, we will provide step-by-step instructions on how to build a pallet coffee table, a pallet bookshelf, a pallet bed frame, and a pallet outdoor bench. These projects are designed to be beginner-friendly, allowing you to unleash your creativity and construct unique furniture pieces for your home. So, let’s dive into each project and discover the joy of making furniture with pallets!
Building a Pallet Coffee Table
A coffee table is a must-have furniture piece for any living room or entertainment area. By building a coffee table with pallets, you can create a unique and stylish centerpiece while adding a touch of rustic charm to your space. Here’s a step-by-step guide on how to construct a pallet coffee table:
- Gather your materials and tools: You will need the following materials: two pallets of equal size, sandpaper, a saw, screws or nails, a drill, and a screwdriver or hammer.
- Prepare the pallets: Begin by sanding down the surfaces of the pallets to ensure a smooth finish. Pay attention to remove any rough edges or splinters that could cause injury.
- Measure and cut: Determine the desired height for your coffee table and cut the pallet legs accordingly. You can use a saw to trim the excess length of the pallet legs. Make sure all the legs are of equal height.
- Attach the legs: Position the shorter sides of the pallets vertically to form the legs. Secure the legs by using screws or nails to attach them to the underside of the longer sides of the pallets. Ensure that the legs are securely fastened to provide stability.
- Add a bottom shelf (optional): To add extra storage space, consider adding a bottom shelf. Measure and cut a pallet to the desired size, and attach it between the legs of the coffee table using screws or nails. This shelf can be used to store books, magazines, or decorative items.
- Sand and finish: After the construction is complete, sand the entire coffee table to ensure a smooth and professional-looking finish. You may also choose to apply a coat of paint or stain to enhance the appearance and protect the wood.
- Seal the wood: To prolong the lifespan of your coffee table and protect it from spills and stains, consider applying a wood sealant or varnish. Follow the instructions provided with the sealant for proper application and drying times.
Once your pallet coffee table is complete, place it in your living room or entertainment area to enjoy a functional and eye-catching piece of furniture. You can also personalize it further by adding glass or a custom tabletop. Get creative with the styling by adding decorative items, plants, or a tray with your favorite coffee table books.
Building a coffee table with pallets is not only a cost-effective solution but also a fun DIY project that allows you to showcase your creativity. The rustic aesthetics and sturdy construction of a pallet coffee table make it a versatile choice for any home decor style. So roll up your sleeves, gather your tools, and let the transformation of pallets into furniture begin!
Constructing a Pallet Bookshelf
A bookshelf is a practical and stylish addition to any home, allowing you to display and organize your favorite books, decorative items, and personal treasures. By constructing a bookshelf with pallets, you can create a unique and rustic piece that adds character to your space. Here’s a step-by-step guide on how to build a pallet bookshelf:
- Gather your materials and tools: You will need the following materials: one or two pallets (depending on the desired height and width of the bookshelf), sandpaper, a saw, screws or nails, a drill, a screwdriver or hammer, and a level.
- Prepare the pallets: Begin by sanding down the surfaces of the pallets to remove any rough edges or splinters. This step ensures a smooth finish while preventing any potential damage to your books or decorative items.
- Measure and cut: Measure the desired height of your bookshelf and cut the pallets accordingly. Use a saw to trim off any excess length. Make sure both pallets are cut to the same height to ensure stability.
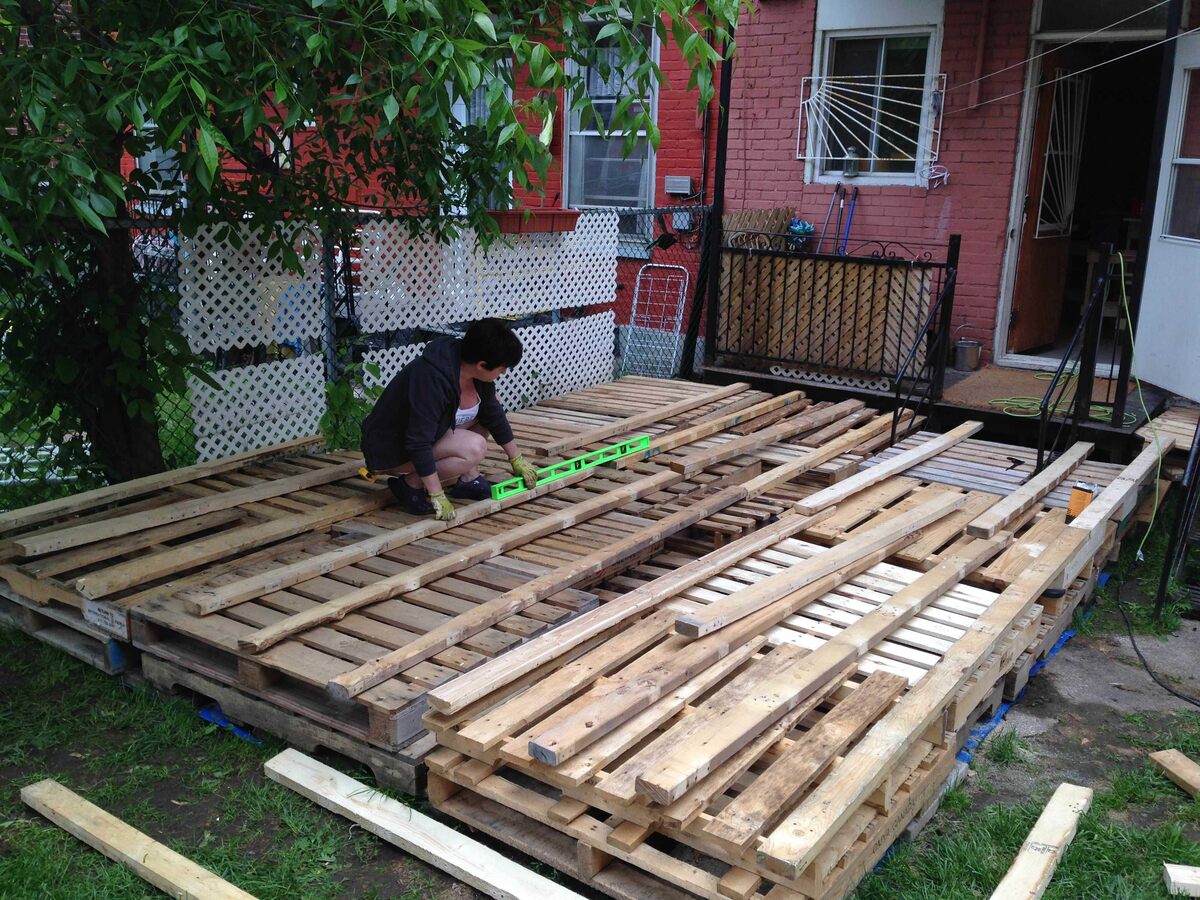
- Arrange the pallets: Position the pallets vertically side by side, ensuring they are level with each other. Use a level to make sure they are straight and even. This will form the basic structure of your bookshelf.
- Secure the pallets: Once the pallets are in the desired position, secure them together using screws or nails. Attach the pallets at several points along their length to ensure stability and prevent any wobbling.
- Add shelves (optional): If you want to create multiple storage levels, cut additional pieces of pallet wood to serve as shelves. Attach these shelves horizontally between the vertical pallets at desired intervals. Secure them with screws or nails.
- Sand and finish: After the construction is complete, sand the entire bookshelf to achieve a smooth finish. Consider applying a coat of paint or stain to match your desired aesthetic and protect the wood.
- Mount the bookshelf (optional): If you prefer a freestanding bookshelf, you can leave it as is. However, if you want to secure it to the wall for added stability, use wall anchors and screws to mount the bookshelf securely.
Once your pallet bookshelf is complete, arrange your books, magazines, and decorative items on the shelves to create an organized and visually appealing display. You can also get creative by painting the bookshelf in different colors, adding back panels, or incorporating additional design elements to match your home decor.
Constructing a bookshelf with pallets is not only a budget-friendly project but also a way to showcase your DIY skills and creativity. The rustic charm and versatility of a pallet bookshelf make it a perfect addition to any room, whether it’s a cozy reading nook or a home office. So grab your tools, roll up your sleeves, and bring your pallet bookshelf vision to life!
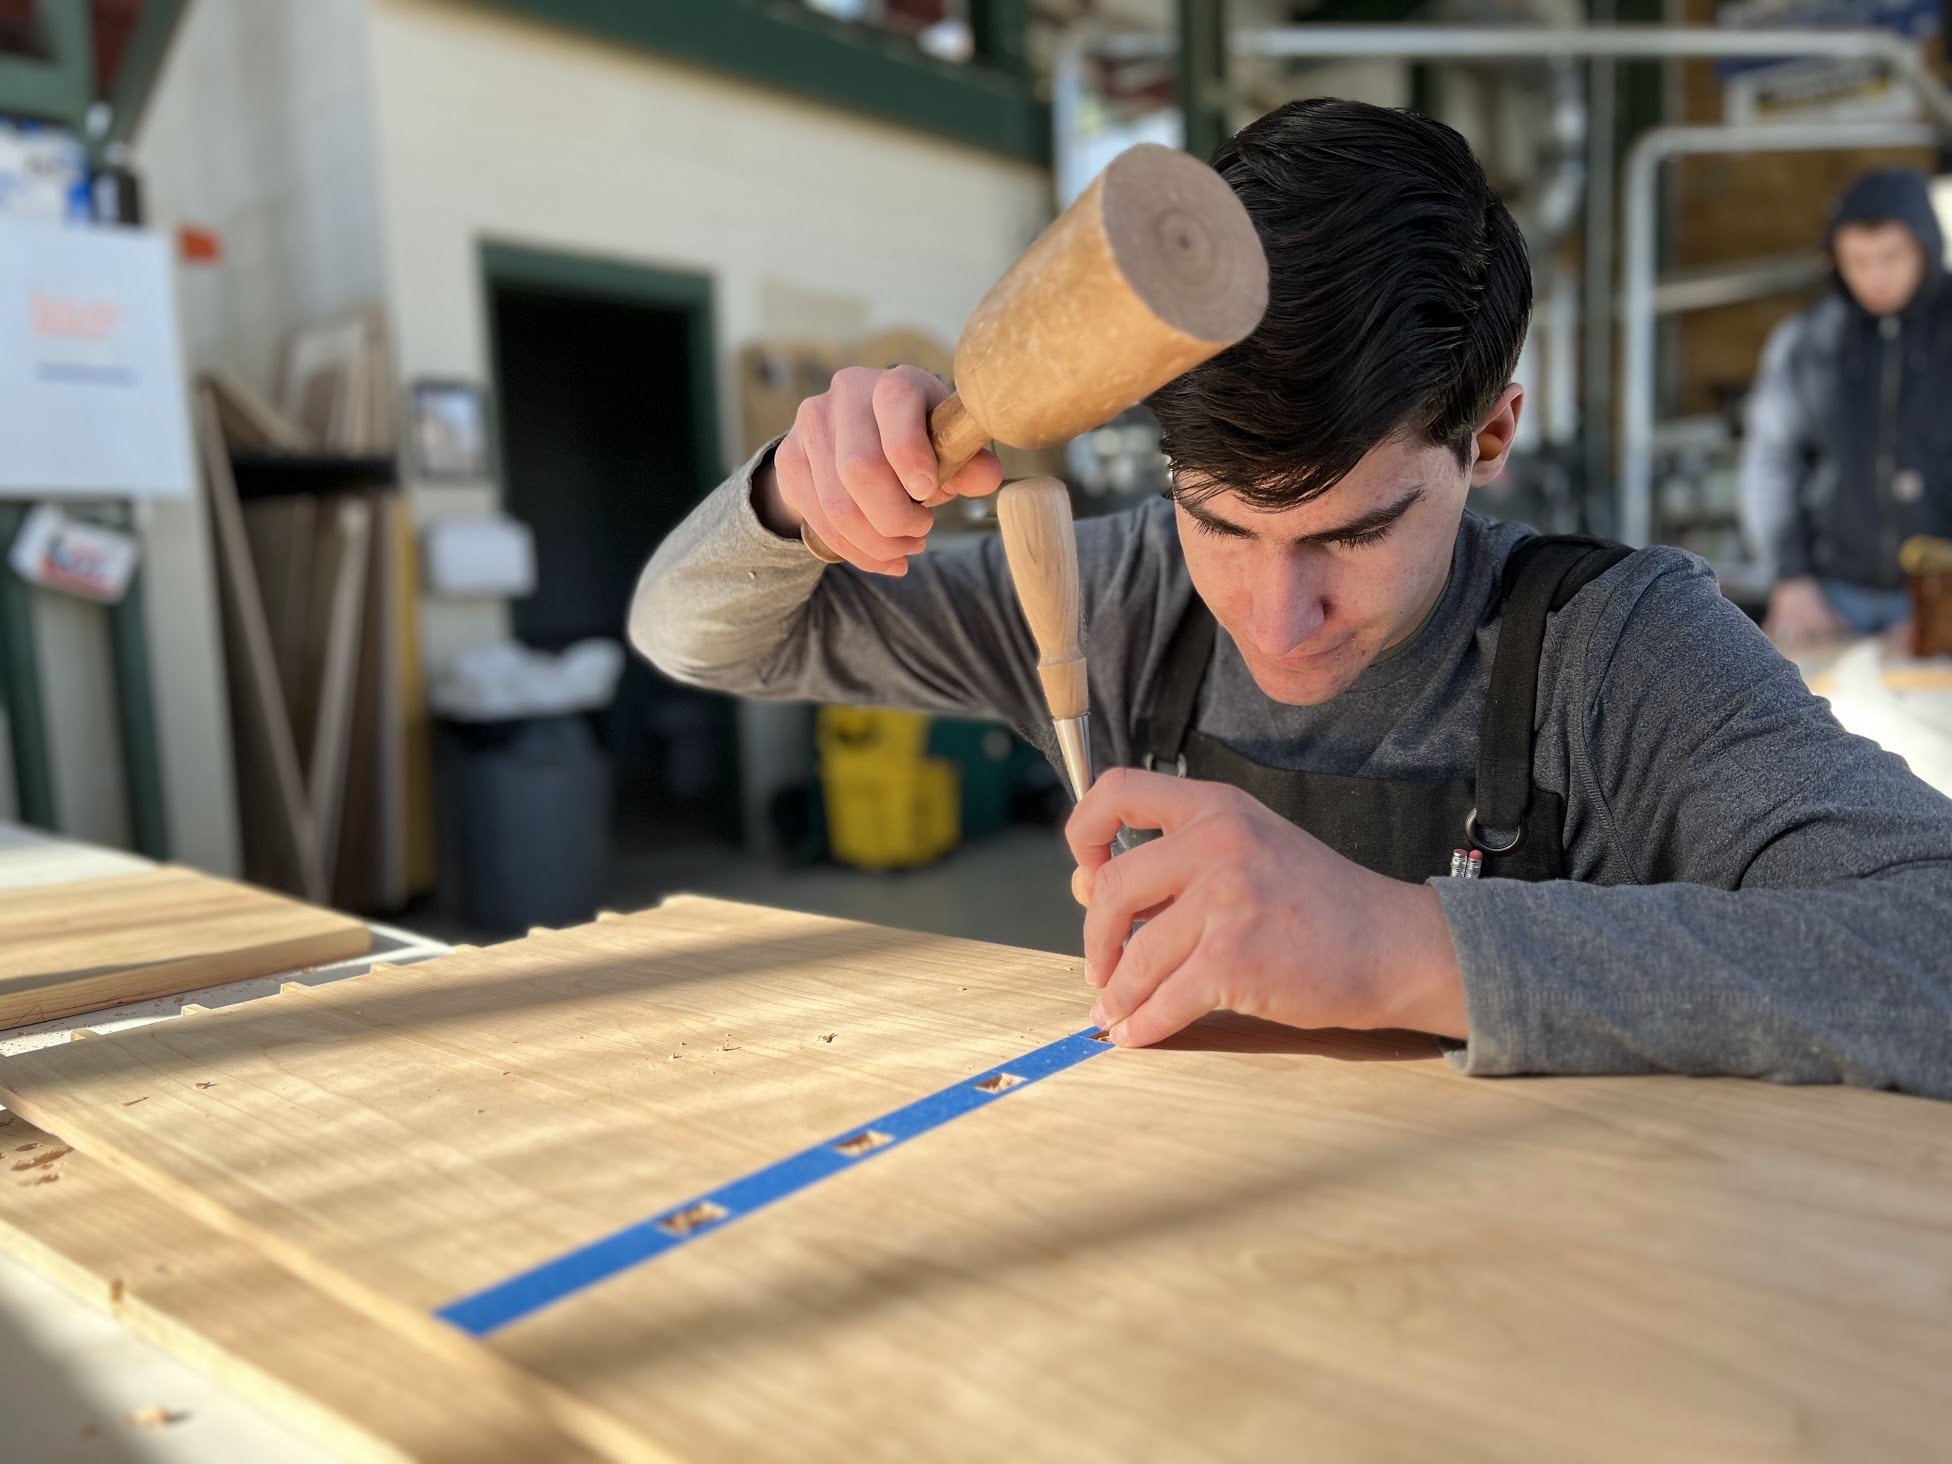
When making furniture with pallets, make sure to sand down the wood to remove any rough edges or splinters. This will give your finished piece a smoother and more polished look.
Read more: How To Make A Shed With Pallets
Creating a Pallet Bed Frame
A bed frame is the centerpiece of any bedroom, and creating a bed frame with pallets offers a unique and rustic touch to your sleeping space. Building a pallet bed frame is not only cost-effective but also allows you to customize your sleeping arrangement to fit your personal style. Here’s a step-by-step guide on how to create a pallet bed frame:
- Gather your materials and tools: You will need the following materials: six to eight pallets (depending on the desired size of your bed), sandpaper, a saw, screws or nails, a drill, a screwdriver or hammer, and a level.
- Prepare the pallets: Start by sanding down the surfaces of the pallets to remove any rough edges or splinters. This step ensures that your bed frame is comfortable and safe to use.
- Measure and cut: Determine the size of your bed frame and cut the pallets accordingly. Use a saw to trim off any excess length or width to achieve the desired dimensions. Ensure that all the pallets are cut to the same size for uniformity.
- Arrange the pallets: Position the pallets horizontally side by side, aligning them to create the base of the bed frame. Use a level to ensure that the pallets are straight and even.
- Secure the pallets: Once the pallets are in the desired position, secure them together using screws or nails. Attach the pallets at several points along their length to ensure stability, focusing on the corners and edges.
- Add support: To provide additional support and prevent sagging, place extra pallets vertically in the center of the bed frame. Secure them to the base pallets with screws or nails.
- Sand and finish: After the construction is complete, sand the entire bed frame to achieve a smooth finish. Consider applying a coat of paint or stain to match your desired aesthetic and protect the wood.
- Set up the bed frame: Place the bed frame in your desired location and ensure that it is level. You can add a mattress directly on top of the pallets, or place a plywood sheet or a bunkie board on the pallets for added support.
Once your pallet bed frame is complete and set up, you can decorate it with bedding, pillows, and throws to create a cozy and inviting sleeping environment. Consider adding fairy lights or drapes around the bed frame for a touch of ambiance.
Creating a bed frame with pallets not only adds character to your bedroom but also allows you to upcycle materials and reduce waste. By utilizing pallets, you can build a one-of-a-kind bed frame that reflects your personal style and showcases your DIY skills. So get creative, grab your tools, and enjoy a restful night’s sleep on your beautifully crafted pallet bed frame!
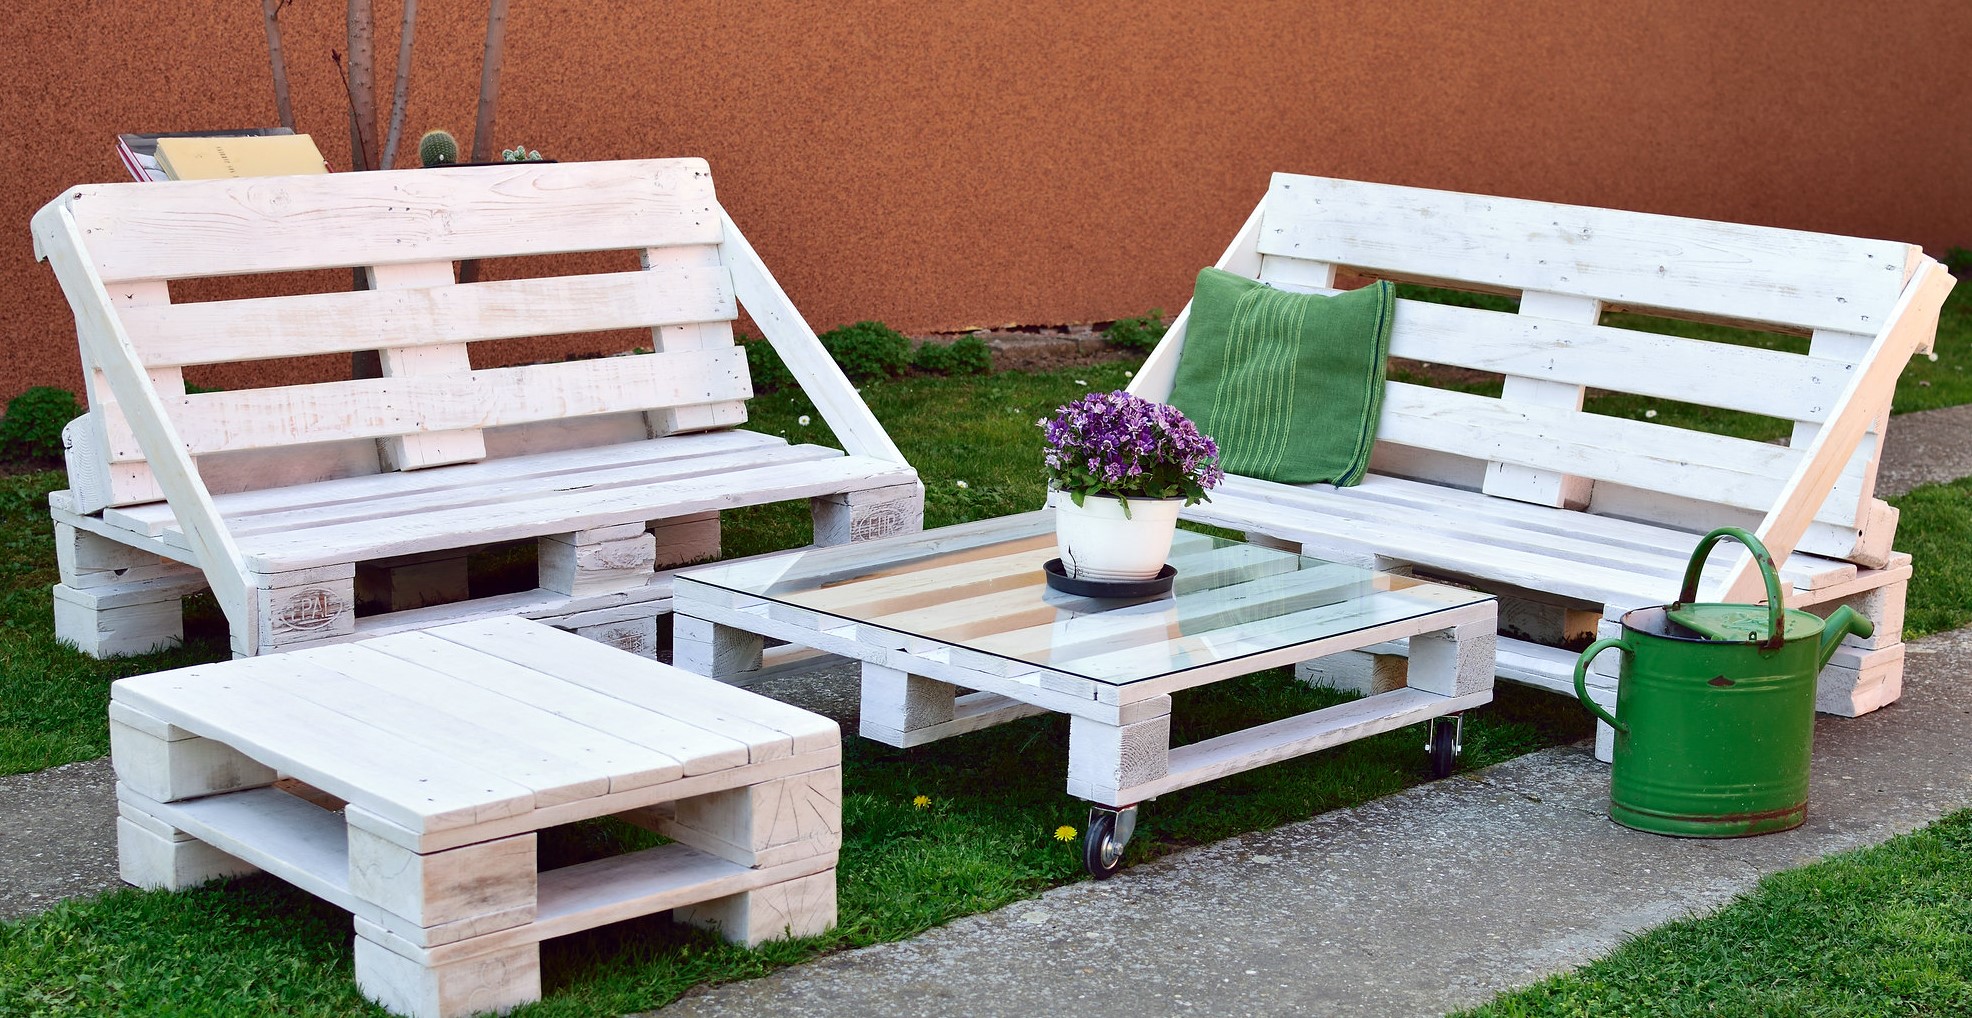
Designing a Pallet Outdoor Bench
An outdoor bench can provide a cozy spot to relax and enjoy the beauty of nature in your backyard or garden. By designing a bench with pallets, you can create a unique outdoor seating area that combines functionality and style. Here’s a step-by-step guide on how to design a pallet outdoor bench:
- Gather your materials and tools: You will need the following materials: two pallets of equal size, sandpaper, a saw, screws or nails, a drill, a screwdriver or hammer, and cushions for seating comfort (optional).
- Prepare the pallets: Start by sanding down the surfaces of the pallets to remove any rough edges or splinters. This step ensures a smooth finish and reduces the risk of splinters while using the bench.
- Measure and cut: Determine the desired length and height of your bench and cut the pallets accordingly. Use a saw to trim off any excess length and adjust the height to your preference. Make sure both pallets are cut to the same size for symmetry.
- Attach the pallets: Place the pallets horizontally, side by side, to form the seat of the bench. Ensure that they are aligned properly and level with each other. Secure the two pallets together by using screws or nails along the edges where they connect.
- Add back support (optional): To make the bench more comfortable and ergonomic, you can add a backrest. Measure the desired height for the backrest and cut a pallet to that length. Attach the backrest vertically to the rear of the bench using screws or nails.
- Finish and paint (optional): After the construction is complete, sand the entire bench to achieve a smooth finish. Consider applying a weather-resistant paint or stain to protect the wood from outdoor elements and enhance the bench’s durability and appearance.
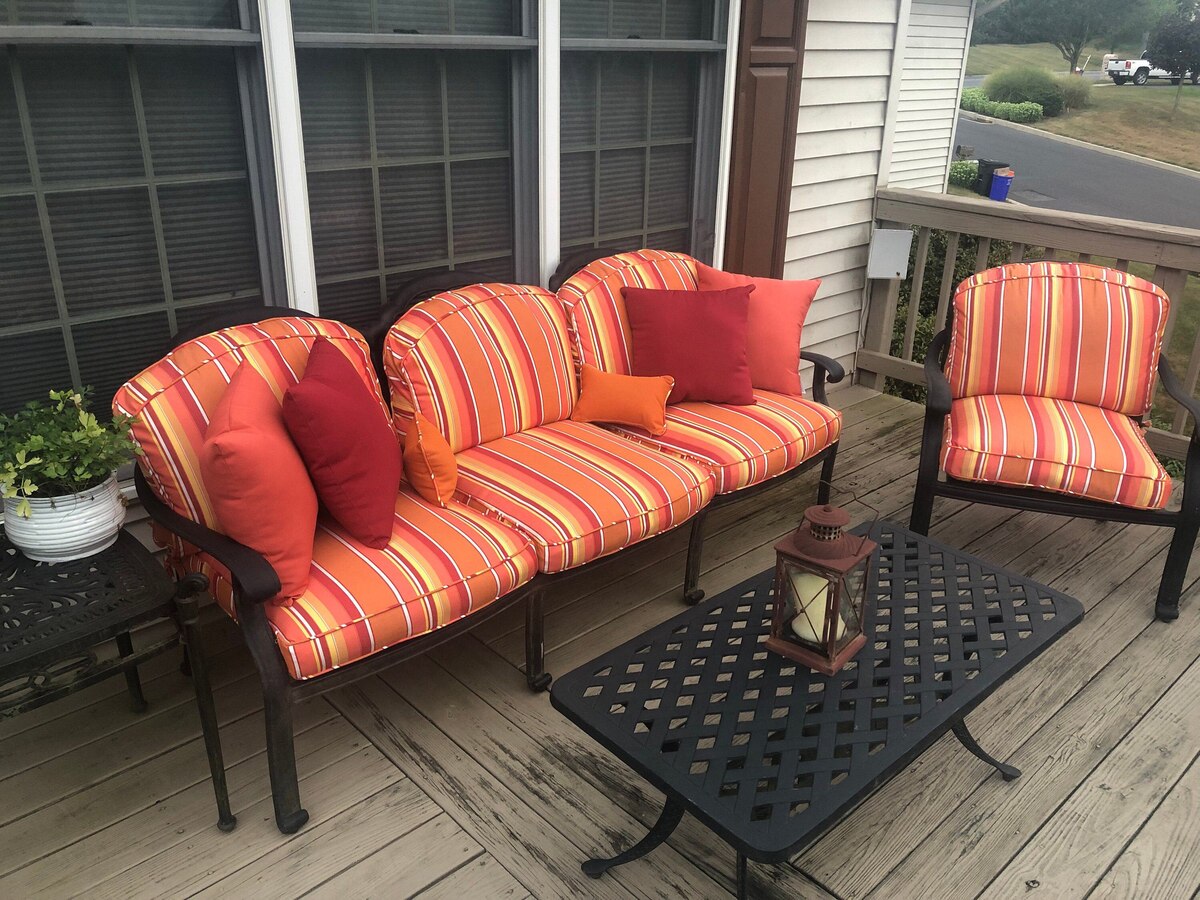
- Add cushions (optional): For added comfort and aesthetics, you can place cushions on the seat of the bench. Choose cushions that are suitable for outdoor use and weather-resistant.
Once your pallet outdoor bench is complete, place it in your desired outdoor area, whether it’s a patio, garden, or backyard. You can add decorative elements such as potted plants, outdoor rugs, or throw pillows to create a cozy and inviting seating space.
Designing a pallet outdoor bench provides a sustainable and cost-effective way to enjoy the outdoors. The rustic charm and versatility of a pallet bench make it a perfect addition to any outdoor setting. So gather your tools, embrace your creativity, and create a cozy seating spot to relax and unwind in the beauty of your outdoor space!
Finishing and Sealing the Pallet Furniture
Once you have completed constructing your pallet furniture pieces, it’s important to finish and seal them properly. Finishing and sealing not only enhance the appearance of the furniture but also protect the wood from wear and tear, moisture, and UV damage. Here are some steps to follow when finishing and sealing your pallet furniture:
- Sand the surfaces: Before applying any finish or sealer, sand the surfaces of the furniture to ensure a smooth and even finish. Start with coarse-grit sandpaper to remove any rough spots or imperfections, then switch to finer grits for a polished look.
- Choose your finish: Select a finish that suits your desired aesthetic and provides the appropriate level of protection. Common finishes for pallet furniture include varnish, polyurethane, oil-based finishes, and water-based finishes. Consider the indoor or outdoor use of the furniture when choosing the finish.
- Apply the finish: Follow the manufacturer’s instructions and apply the finish using a brush, roller, or spray. Ensure even coverage and pay extra attention to corners, edges, and intricate details. Allow the finish to dry completely before proceeding to the next step.
- Seal the wood: Sealing the wood is important to protect it from moisture and other environmental factors. Consider using a clear wood sealant or a waterproof sealer, especially for outdoor furniture exposed to the elements. Apply according to the manufacturer’s instructions.
- Reapply as necessary: Depending on the type of finish and the level of wear, you may need to reapply the finish and sealer periodically. This will help maintain the appearance and durability of your pallet furniture over time.
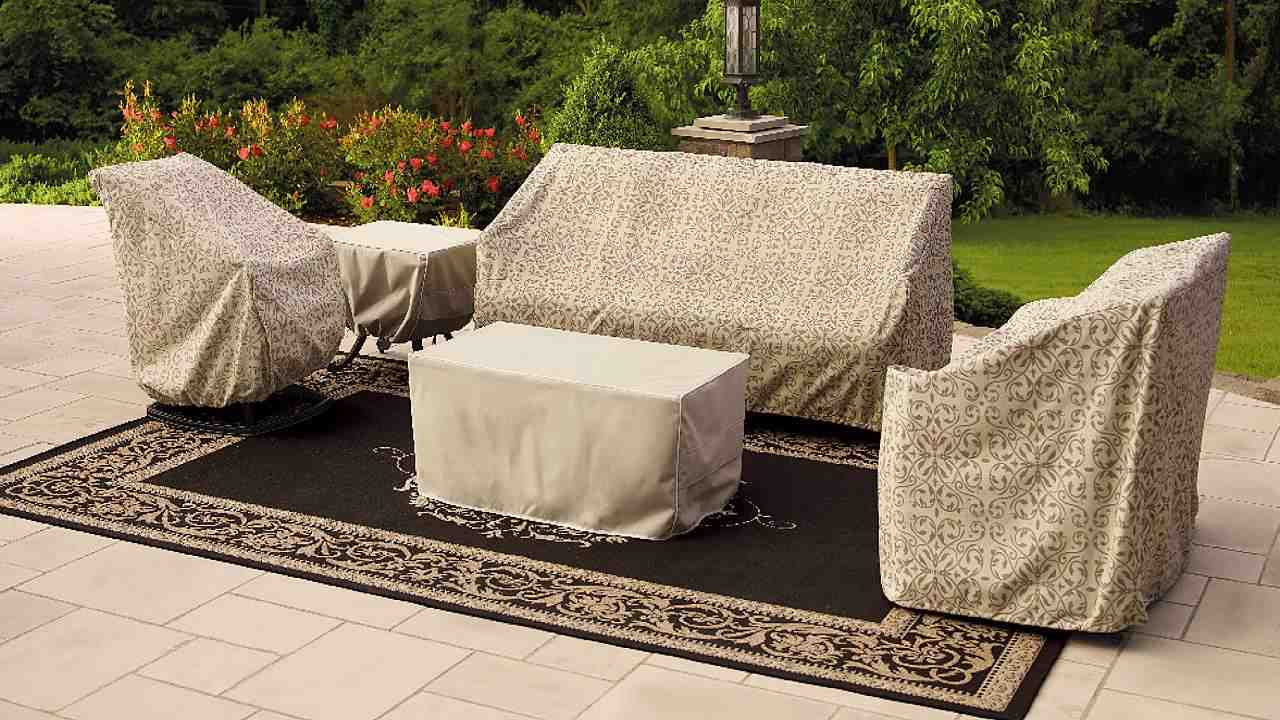
- Consider additional protection: To further protect your pallet furniture, especially if it will be exposed to direct sunlight, consider using furniture covers when not in use. This will help prevent fading, warping, and other damage caused by prolonged sun exposure.
Properly finishing and sealing your pallet furniture not only enhances its longevity but also allows you to showcase the natural beauty of the wood or achieve a desired color or finish. Remember to follow safety precautions, such as working in a well-ventilated area and wearing appropriate safety gear when applying finishes and sealers.
By taking the time to finish and seal your pallet furniture, you can ensure that it will withstand the test of time and continue to bring beauty and functionality to your space. So add the final touch to your creations, sit back, and admire the transformation you have achieved with your DIY pallet furniture!
Conclusion
Creating furniture with pallets not only offers a budget-friendly and environmentally conscious alternative but also allows you to unleash your creativity and personalize your living spaces. Whether you’re building a coffee table, bookshelf, bed frame, or outdoor bench, working with pallets offers endless possibilities to craft unique and stylish furniture pieces.
By carefully choosing the right pallets and preparing them properly, you lay the foundation for sturdy and safe furniture. Sanding, painting, and sealing the pallets not only enhance their appearance but also protect them from damage and extend their lifespan.
Throughout the construction process, it’s important to use proper tools, follow safety guidelines, and take measurements accurately. Building furniture with pallets requires basic woodworking skills, making it a beginner-friendly project that can be tackled with enthusiasm and excitement.
Once your pallet furniture is complete, don’t hesitate to add personal touches, such as cushions, decorative items, or paint, to truly make it your own. The beauty of pallet furniture lies in its rustic charm and the satisfaction of creating something unique and custom-made.
Remember to regularly maintain and care for your pallet furniture by reapplying finishes or sealers as needed and protecting it from extreme weather conditions. By doing so, you can enjoy the fruits of your labor for many years to come.
So, whether you’re embarking on a simple coffee table build or diving into the construction of an entire pallet bedroom set, embrace the creative possibilities and have fun bringing your vision to life. With some time, effort, and a little bit of DIY spirit, you can transform pallets into stylish, functional, and eco-friendly furniture for your home.
Frequently Asked Questions about How To Make Furniture With Pallets
Was this page helpful?
At Storables.com, we guarantee accurate and reliable information. Our content, validated by Expert Board Contributors, is crafted following stringent Editorial Policies. We're committed to providing you with well-researched, expert-backed insights for all your informational needs.


0 thoughts on “How To Make Furniture With Pallets”