Home>Furniture>Outdoor Furniture>How To Make Concrete Patio Furniture

Outdoor Furniture
How To Make Concrete Patio Furniture
Modified: August 28, 2024
Learn how to make durable outdoor furniture for your patio using concrete. Create stylish and long-lasting pieces with our step-by-step guide.
(Many of the links in this article redirect to a specific reviewed product. Your purchase of these products through affiliate links helps to generate commission for Storables.com, at no extra cost. Learn more)
Introduction
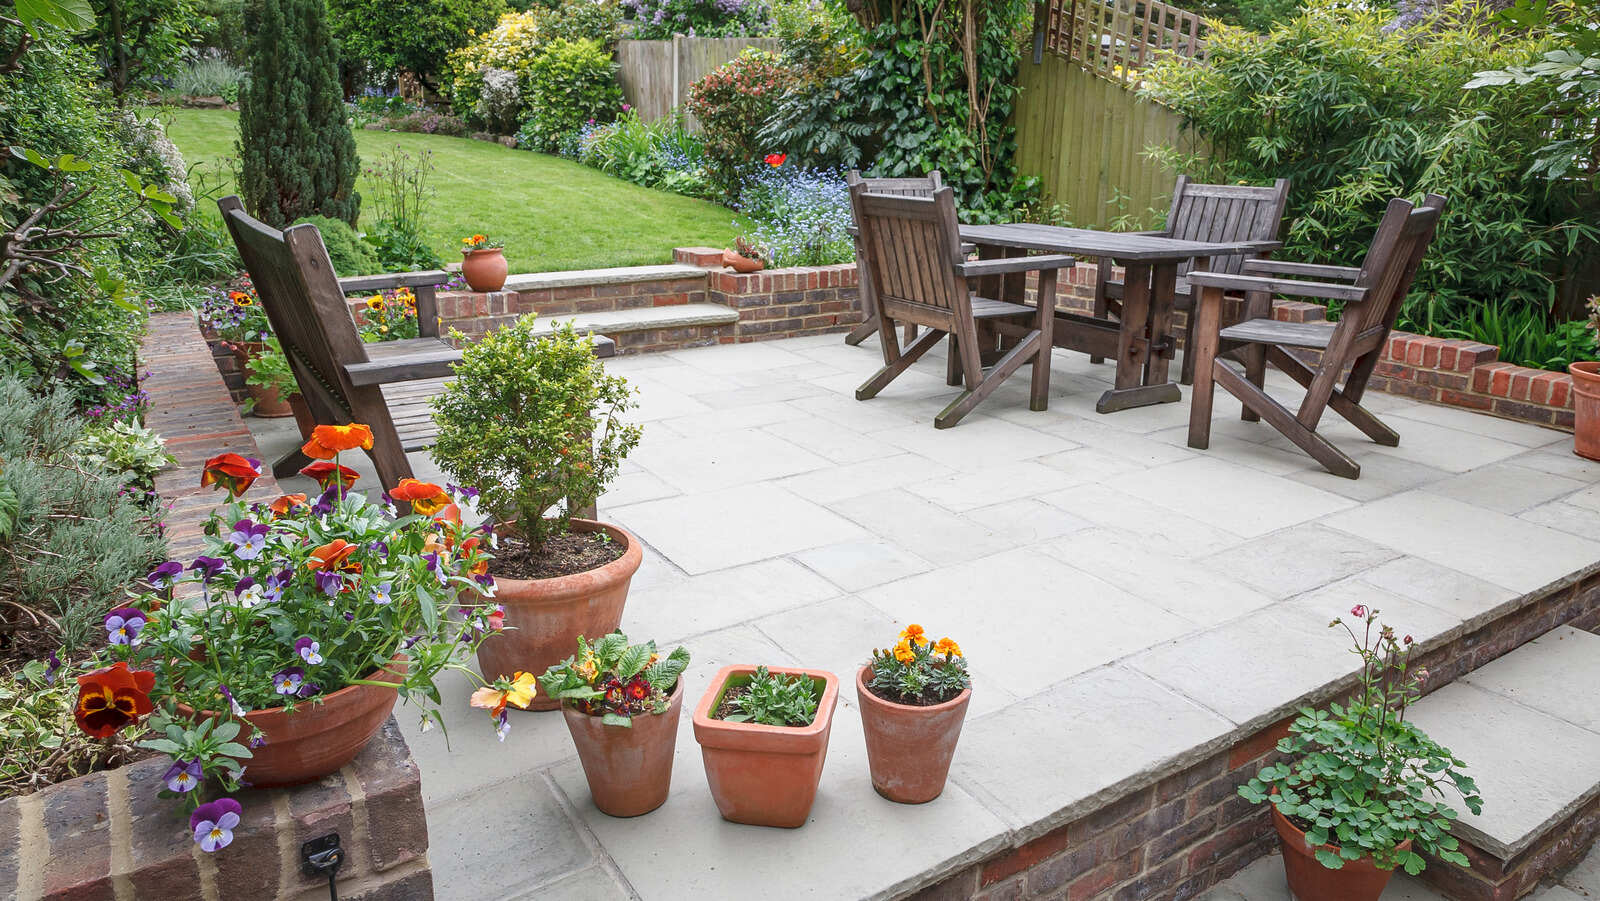
Welcome to the world of outdoor furniture! A well-designed and durable patio furniture set can transform your outdoor space into a stylish and comfortable oasis. However, finding the perfect furniture can be a challenging task. If you’re looking for a unique and customizable option, why not consider making your own concrete patio furniture?
Concrete furniture is not only aesthetically pleasing but also incredibly durable. It can withstand harsh weather conditions, making it suitable for outdoor use. Additionally, concrete furniture offers endless design possibilities, allowing you to create pieces that perfectly match your personal style and preferences.
In this article, we will guide you through the process of making your own concrete patio furniture. We’ll cover everything from the materials you’ll need to the step-by-step process of creating and finishing your furniture. So, let’s jump right in and discover how to turn your outdoor space into a concrete paradise!
Key Takeaways:
- Create your own unique and durable concrete patio furniture by following simple steps. Enjoy the satisfaction of crafting personalized outdoor pieces that withstand the test of time.
- Transform raw materials into a stylish and comfortable oasis with concrete patio furniture. Unleash your creativity and enjoy the endless design possibilities for your outdoor space.
Read more: How To Secure Patio Furniture To Concrete
Materials Needed
Before diving into the process of making concrete patio furniture, it’s important to gather all the necessary materials. Here’s a list of the items you’ll need:
- Concrete mix: Choose a high-quality concrete mix specifically designed for outdoor use. Look for a mix that is durable and weather-resistant.
- Water: You’ll need water to mix with the concrete to create the right consistency. Follow the directions on the concrete mix bag for the appropriate water-to-concrete ratio.
- Molds: Select molds that match the shape and size of the furniture pieces you want to create. You can choose from various materials such as plastic, silicone, or wood. Keep in mind that molds should be sturdy and able to withstand the weight of the concrete.
- Reinforcement: Optional but recommended, reinforcement can be in the form of steel mesh or rebar. This will provide added strength to your furniture.
- Release agent: To prevent the concrete from sticking to the molds, use a release agent such as silicone spray or cooking oil.
- Mixing container: A large bucket or a wheelbarrow can be used as a mixing container.
- Mixing tools: You’ll need tools like a trowel or a shovel for mixing the concrete.
- Level: A level will help you ensure that your furniture pieces are even and balanced.
- Sanding tools: Sandpaper or a sander will be required for smoothing and finishing the furniture.
- Protective gear: Don’t forget to prioritize safety! Wear gloves, goggles, and a dust mask to protect yourself from any potential hazards.
Once you have gathered all of these materials, you’re ready to embark on your concrete patio furniture making journey. Let’s move on to the next step: preparing the molds!
Step 1: Prepare the Molds
Now that you have all your materials ready, it’s time to prepare the molds for your concrete patio furniture. Follow these steps to ensure a smooth and successful molding process:
- Clean the molds: Make sure your molds are clean and free from any debris or dust. This will help ensure that the concrete sets properly and results in a smooth finish.
- Apply a release agent: To prevent the concrete from sticking to the molds, apply a release agent. This can be a silicone spray, cooking oil, or any other suitable release agent. Coat the inside of the molds evenly to ensure easy removal of the furniture later on.
- Set up the molds: Place the molds on a level surface, making sure they are stable and secure. If needed, use support blocks or braces to keep the molds in place during pouring and curing.
- Plan for drainage: If you’re making furniture that will be exposed to rain or water, it’s essential to create drainage holes in the molds. This will prevent water from pooling on the surface of the furniture and potentially causing damage over time.
- Consider adding decorative elements: This is an optional step, but if you want to add decorative elements to your furniture, now is the time to do it. You can embed tiles, stones, or other decorative pieces into the molds before pouring the concrete.
Take your time to ensure that the molds are prepared properly. This will contribute to the overall quality and appearance of your concrete patio furniture. Once the molds are ready, it’s time to move on to the next step: mixing the concrete!
Step 2: Mix the Concrete
With your molds prepared and ready to go, it’s time to mix the concrete for your patio furniture. Follow these steps to ensure a well-mixed and consistent concrete mixture:
- Read the instructions: Start by carefully reading the instructions on the concrete mix packaging. Follow the recommended water-to-concrete ratio and mixing guidelines to achieve the desired consistency.
- Prepare the mixing container: Use a large bucket or a wheelbarrow as your mixing container. Ensure that it is clean and free from any debris.
- Add water: Slowly add water to the mixing container, following the instructions on the concrete mix packaging. Use a trowel or shovel to mix the water and concrete together.
- Mix thoroughly: Continuously mix the water and concrete mixture until it is well-combined and has a uniform consistency. Avoid overmixing, as this can introduce air bubbles into the mixture.
- Adjust the consistency (if needed): Depending on the project and the molds you’re using, you may need to adjust the consistency of the concrete. If it’s too dry, add a small amount of water. If it’s too wet, add a bit more concrete mix.
Be sure to follow the manufacturer’s instructions for mixing the concrete mix you’re using, as different brands may have specific guidelines. It’s important to achieve a well-mixed and workable concrete mixture to ensure the best results for your patio furniture.
With the concrete mix prepared, you’re now ready to move on to the next step: pouring the concrete into the molds. Stay tuned!
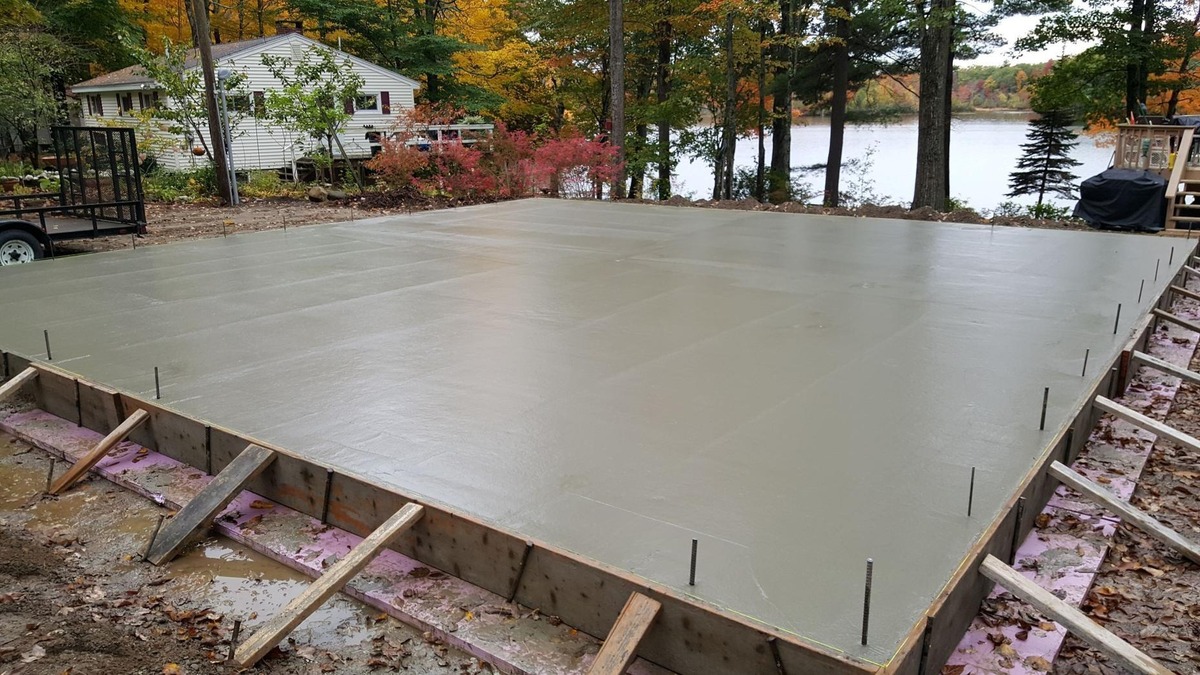
Step 3: Pour the Concrete
Now that you have your concrete mixture ready, it’s time to pour it into the molds to shape your patio furniture. Follow these steps to ensure a successful pouring process:
- Prepare your work area: Find a flat and level surface where you can work comfortably. It’s best to have a space that allows you to move around the molds easily.
- Start with a base layer: Begin by pouring a base layer of concrete into the molds. Use a trowel or shovel to distribute the concrete evenly, ensuring that it fills the bottom of the mold completely.
- Eliminate air bubbles: To prevent air bubbles from forming in your furniture, gently tap the molds on a hard surface. You can also use a vibrating tool to vibrate the molds to help settle the concrete and remove any trapped air bubbles.
- Continue pouring: Once the base layer is in place, continue pouring the concrete into the molds, filling them up to the desired thickness. Use the trowel or shovel to spread and level the concrete as you go.
- Smooth the surface: After pouring the concrete, use a straightedge or a trowel to smooth the surface of your furniture. This will give it a clean and polished look. Pay attention to any curves or edges, ensuring they are well-defined and smooth.
- Check for levelness: Use a level to ensure that your furniture is level and even. Adjust the position of the molds as necessary to achieve a balanced surface. This will help ensure the stability of your furniture once it’s set.
Take your time to pour the concrete carefully and accurately into the molds. Ensure that each mold is filled completely, avoiding any gaps or unevenness. With the concrete poured, it’s time to move on to the next step: smoothing and leveling the surface of the furniture. Let’s continue!
Read more: How Much To Make A Concrete Patio
Step 4: Smooth and Level the Surface
After pouring the concrete into the molds, it’s important to smooth and level the surface to achieve a polished and professional look for your patio furniture. Follow these steps to create a smooth and even surface:
- Use a float or trowel: Start by using a float or trowel to smooth out any imperfections or uneven areas on the surface of the concrete. Move the tool in circular motions or gentle back-and-forth strokes to help create a smooth finish.
- Smooth the edges: Pay attention to the edges of your furniture pieces. Use the edge of the float or trowel to create clean and defined edges, ensuring they are even and free from any roughness.
- Check for levelness: Once you have smoothed the surface, use a level to check if your furniture is level and balanced. Make any adjustments as needed by gently tapping the molds or adding/subtracting concrete in certain areas.
- Remove excess concrete: If there are any excess drips or overflowing concrete on the molds, use a trowel or wet cloth to carefully remove them. This will help avoid any unwanted protrusions or irregularities on the surface of your furniture.
Taking the time to smooth and level the surface of your concrete patio furniture will greatly enhance its aesthetics and overall quality. Once you’re satisfied with the smoothness and levelness, it’s time to move on to the next step: adding reinforcement, if desired. Stay tuned!
When making concrete patio furniture, use a high-quality concrete mix and reinforce with steel mesh for added strength. Make sure to properly cure the concrete to prevent cracking.
Step 5: Add Reinforcement if Desired
Adding reinforcement to your concrete patio furniture is an optional step, but it can provide added strength and durability. If you want to ensure that your furniture is more resistant to cracks or other damages, consider following these steps to add reinforcement:
- Choose the right reinforcement: There are various options for reinforcement, including steel mesh or rebar. Select the option that suits your furniture design and the level of reinforcement you desire.
- Measure and cut the reinforcement: Measure the dimensions of your furniture molds and cut the reinforcement material accordingly. Make sure the reinforcement fits inside the molds and covers the intended areas.
- Place the reinforcement: Carefully place the reinforcement material inside the molds, ensuring that it is evenly distributed and does not protrude from the surface. This will help reinforce the concrete and prevent cracks or damage.
- Secure the reinforcement: If necessary, use wire or zip ties to secure the reinforcement in place, ensuring that it doesn’t move during the pouring and curing process.
- Smooth out the surface: After placing the reinforcement, use a trowel or float to smooth out the surface of the concrete, covering the reinforcement and ensuring a seamless finish.
- Allow the concrete to cure: Once the reinforcement is in place and the surface is smoothed, allow the concrete to cure for the recommended duration. This will ensure that both the concrete and reinforcement bond together effectively.
By adding reinforcement, you can enhance the strength and longevity of your concrete patio furniture, especially if you plan to place it in high-traffic areas or areas prone to frequent use. With the reinforcement set, it’s time to move on to the next step: letting the concrete furniture cure. Let’s continue!
Step 6: Let the Concrete Cure
After pouring the concrete and adding any desired reinforcement, it’s crucial to allow it to cure properly. Curing is the process of letting the concrete harden and reach its full strength. Follow these steps to ensure the proper curing of your concrete patio furniture:
- Create a curing environment: To promote optimal curing, it’s important to create a suitable environment for the concrete. This includes protecting it from extreme temperatures, direct sunlight, and drying winds. If necessary, cover the molds with plastic or a curing blanket to maintain a consistent temperature and moisture level.
- Follow the curing time: Check the instructions on the concrete mix packaging for the recommended curing time. Typically, concrete takes several days to cure fully. Be patient and allow the concrete to cure undisturbed within this time frame.
- Maintain moisture levels: During the curing process, it’s essential to keep the concrete moist. You can periodically mist the surface with water or cover it with a damp cloth to prevent rapid dehydration. This will help the concrete retain its strength and minimize the risk of cracking.
- Avoid disturbing the molds: While the concrete is curing, avoid moving or disturbing the molds. Any sudden movement or disturbance can disrupt the curing process and affect the structural integrity of the furniture.
- Perform regular inspections: Periodically check on the curing concrete to ensure that no cracks or uneven drying is occurring. If any issues are detected, take appropriate measures to address them, such as adding more moisture or making adjustments to the curing environment.
- Be patient: Proper curing takes time, so it’s important to be patient and avoid rushing the process. Allowing the concrete to cure fully will result in stronger and more durable patio furniture.
By following these steps and allowing the concrete to cure properly, you can ensure that your patio furniture achieves its maximum strength and durability. Once the concrete has fully cured, you’re ready to move on to the exciting step of unmolding the furniture. Stay tuned!
Step 7: Unmold the Furniture
After patiently waiting for the concrete to cure, it’s time to unveil your beautiful patio furniture by carefully unmolding it. Follow these steps to ensure a successful and smooth unmolding process:
- Check for readiness: Before unmolding, ensure that the concrete has fully cured. Refer to the instructions on the concrete mix packaging for the recommended curing time. The concrete should be firm and stable to the touch.
- Prepare the area: Find a clean and spacious area where you can easily maneuver the molds. Make sure the surface is well-protected to prevent any damage to the furniture.
- Apply gentle pressure: Starting with one end of the molds, apply gentle pressure to the sides, tapping or pushing on the molds to loosen the concrete. Gradually work your way around the entire mold, loosening the concrete from all sides.
- Slowly release the molds: Once the concrete is loosened, carefully lift and remove the molds, taking your time to ensure that the furniture doesn’t get damaged in the process. If needed, gently flex the molds or use a soft mallet to ease the release of the concrete.
- Inspect the furniture: Once the furniture is unmolded, inspect it carefully for any imperfections or rough edges that may need to be addressed. Use sandpaper or a grinder to smooth out any rough spots, creating a polished and refined finish.
Unmolding the furniture can be an exciting moment as you get to see the final result of your hard work. Take your time and be cautious while releasing the molds to ensure that your furniture remains intact and undamaged. With the concrete furniture now free from the molds, it’s time to move on to the next step: sanding and finishing. Let’s continue!
Read more: How To Make Cushions For Patio Furniture
Step 8: Sand and Finish the Furniture
Once your concrete patio furniture is unmolded, it’s time to refine and perfect its appearance by sanding and finishing. Follow these steps to achieve a smooth and polished finish:
- Gather your tools: Prepare the necessary tools for sanding and finishing, including sandpaper or a sander, a sponge, and a brush.
- Sand the surface: Begin by sanding the surface of the furniture using a coarse-grit sandpaper. This will help remove any rough edges or imperfections. Be sure to sand in even strokes and apply consistent pressure.
- Switch to finer grit: Gradually switch to a finer grit sandpaper as you continue sanding. This will help achieve a smoother finish while minimizing any scratches or marks on the surface.
- Smooth the edges: Pay special attention to the edges and corners of the furniture, ensuring they are smooth and well-defined. Use a sanding block or sponge to achieve a consistent finish.
- Clean the surface: After sanding, use a damp sponge or cloth to clean away any dust or debris from the surface. This will provide a clean canvas for finishing.
- Apply a concrete sealer: If desired, apply a concrete sealer to protect and enhance the appearance of your furniture. This will help prevent staining, UV damage, and moisture absorption. Follow the instructions on the sealer packaging for proper application.
- Consider additional finishes: Depending on your preferences, you may choose to add additional finishes to your furniture, such as paint or decorative coatings. Ensure that any coatings used are suitable for outdoor use and compatible with the concrete material.
- Allow the finish to dry: Give the applied finishes ample time to dry and cure. Follow the specified curing time provided by the manufacturer.
By sanding and finishing your concrete furniture, you can achieve a polished and professional appearance. Take your time during this step to ensure that every surface is smooth and refined. With the sanding and finishing complete, your concrete patio furniture is almost ready for outdoor enjoyment. In the next step, we’ll cover the final step: sealing the furniture. Let’s continue!
Step 9: Seal the Furniture
Sealing your concrete patio furniture is an important step to protect it from the elements and enhance its longevity. Follow these steps to properly seal your furniture:
- Clean the furniture: Before applying any sealant, ensure that the surface of your furniture is clean and free from any dust, debris, or residues. Use a mild detergent and water to gently clean the furniture, then allow it to dry completely.
- Choose the right sealant: Select a high-quality concrete sealer that is designed specifically for outdoor use. Consider factors such as UV protection, waterproofing, and durability.
- Apply the sealant: Follow the manufacturer’s instructions for applying the sealant. Use a brush or roller to evenly distribute the sealant over the furniture surface, ensuring full coverage. Pay special attention to any intricate details or edges.
- Allow for drying and curing: Let the sealant dry and cure according to the manufacturer’s instructions. This will typically take a few days. Avoid placing any objects or using the furniture during this time to allow for proper curing.
- Consider multiple coats: Depending on the type of sealant used, you may need to apply multiple coats for optimal protection. Allow each coat to dry before applying the next one, following the recommended waiting time between coats.
- Inspect and touch up: Once the sealant has cured, inspect the furniture for any missed areas or thin spots. Touch up these areas with additional sealant as needed to ensure full coverage and protection.
Sealing your concrete patio furniture will provide an added layer of protection against moisture, UV rays, stains, and other outdoor elements. It will also enhance the appearance and maintain the integrity of the concrete surface. With the furniture properly sealed, you are now ready to enjoy your beautiful and durable concrete patio furniture in your outdoor space!
Congratulations on completing all the steps to make and finish your own concrete patio furniture. By following these steps and giving attention to detail, you have created a unique and personalized outdoor furniture set that will withstand the test of time. Enjoy your newfound creation and the wonderful moments it will bring to your outdoor living space!
Conclusion
Congratulations on successfully creating your own concrete patio furniture! By following the step-by-step process and paying attention to detail, you have transformed raw materials into a unique and durable outdoor furniture set. Here’s a recap of the journey you’ve taken:
You started by gathering all the necessary materials, including the concrete mix, molds, reinforcement, and tools. With the molds prepared and the concrete mixed to the right consistency, you carefully poured the concrete into the molds, ensuring an even and level surface. After the concrete cured, you eagerly unmolded the furniture, revealing the final form.
To achieve a polished finish, you diligently sanded and smoothed the furniture, paying attention to every detail. Applying a sealer provided an extra layer of protection, ensuring the longevity of your furniture in outdoor conditions. Now, you can sit back, relax, and enjoy the fruits of your labor in your own personalized concrete paradise.
Making your own concrete patio furniture allows for endless customization options, ensuring that your outdoor space reflects your unique style and personality. Whether you prefer sleek and modern designs or rustic and textured finishes, the versatility of concrete offers unparalleled possibilities.
Remember, as you continue to maintain and care for your concrete furniture, periodically inspect it for any signs of wear or damage. Promptly address any issues to ensure its longevity and attractiveness over time.
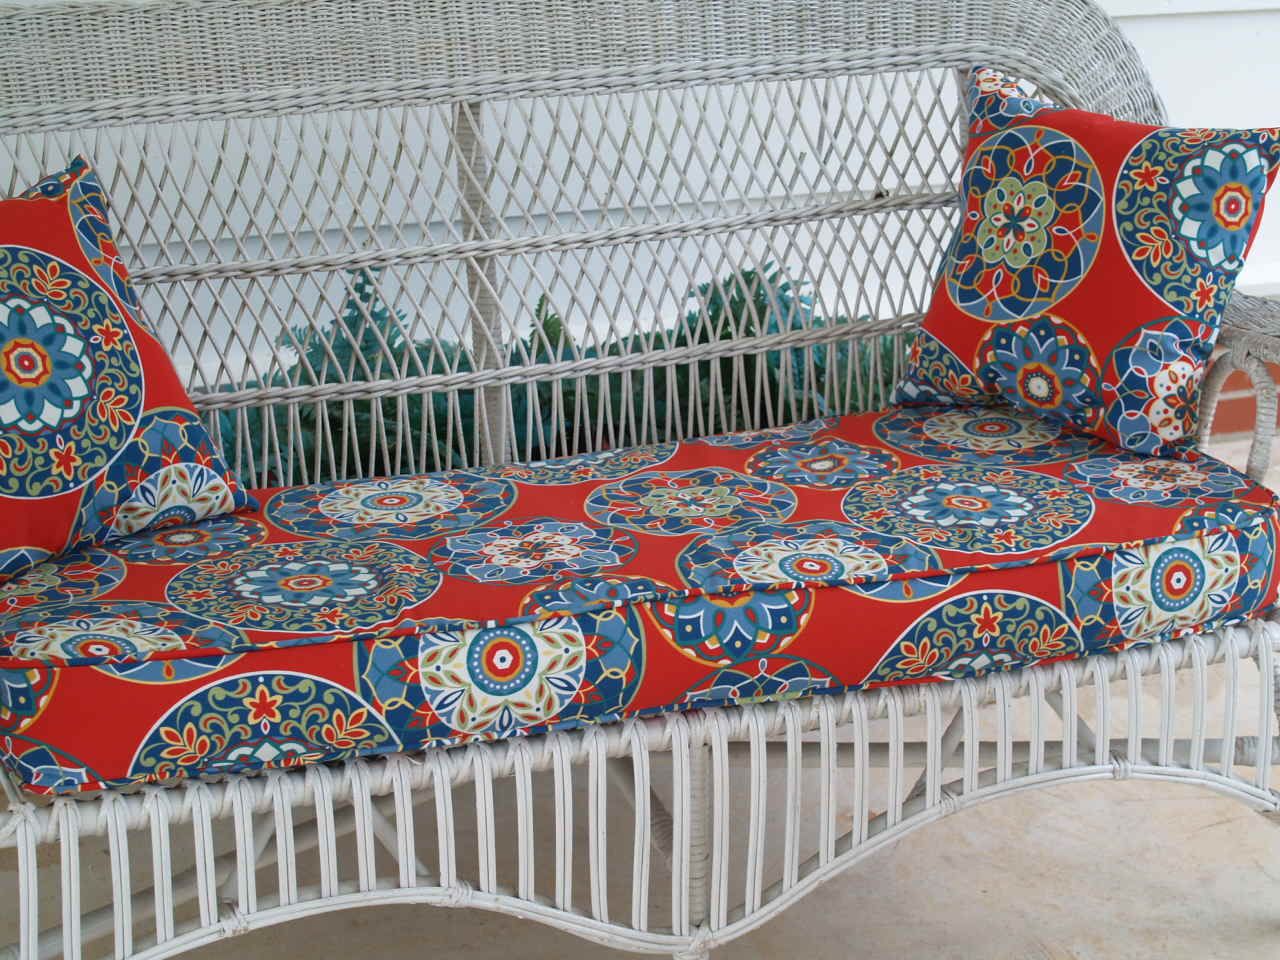
Lastly, don’t forget to use comfortable cushions and accessories to further enhance the comfort and visual appeal of your new concrete furniture. The combination of functionality and aesthetics will create an inviting outdoor space for you, your family, and your friends to enjoy for years to come.
Thank you for joining us on this concrete furniture-making journey. We hope you found this guide helpful and inspiring. Now, go out and create your very own outdoor oasis with your beautifully crafted concrete patio furniture!
Frequently Asked Questions about How To Make Concrete Patio Furniture
Was this page helpful?
At Storables.com, we guarantee accurate and reliable information. Our content, validated by Expert Board Contributors, is crafted following stringent Editorial Policies. We're committed to providing you with well-researched, expert-backed insights for all your informational needs.


0 thoughts on “How To Make Concrete Patio Furniture”