Home>Articles>How To Make A Bathroom Vanity Out Of Furniture
Articles
How To Make A Bathroom Vanity Out Of Furniture
Modified: August 26, 2024
Learn how to repurpose furniture into a beautiful bathroom vanity with our informative articles. Transform your space with creative DIY projects.
(Many of the links in this article redirect to a specific reviewed product. Your purchase of these products through affiliate links helps to generate commission for Storables.com, at no extra cost. Learn more)
Introduction
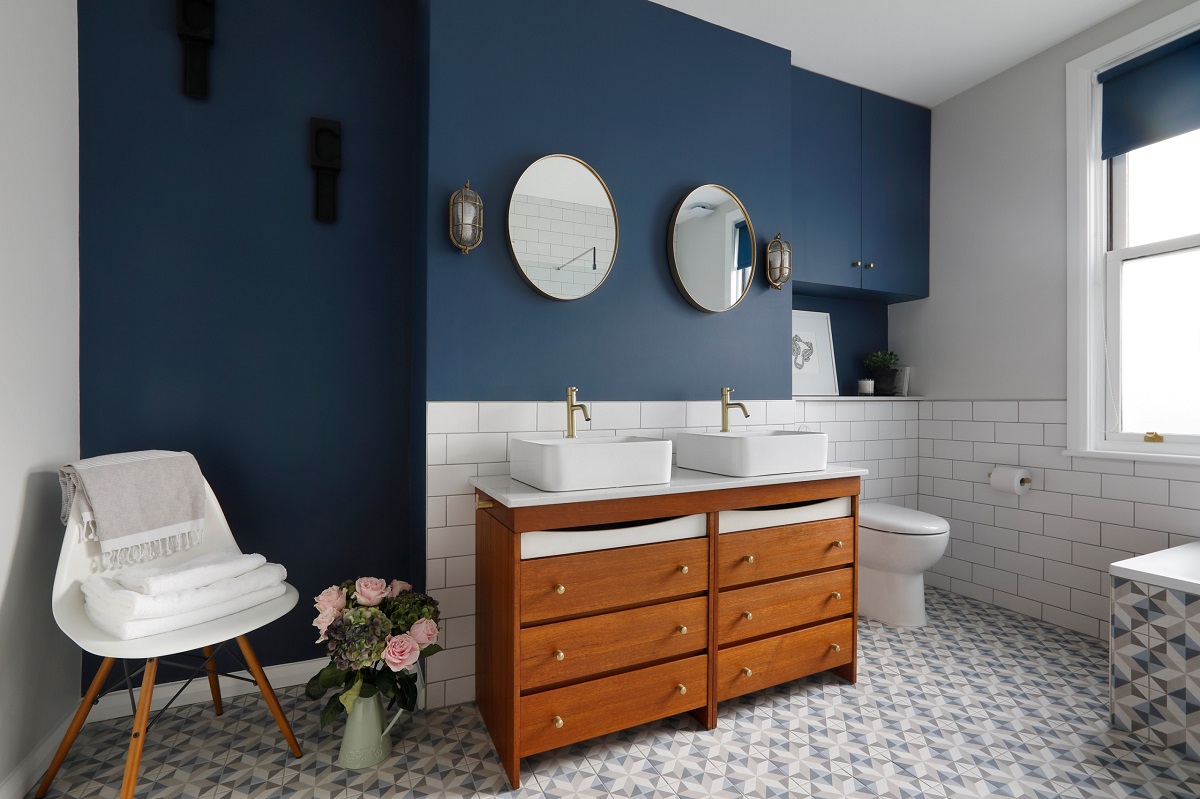
When it comes to designing and renovating your bathroom, a vanity is an essential element that combines both functionality and style. While there are countless ready-made vanities available in stores, creating a unique bathroom vanity can add a touch of personalization to your space. One way to achieve this is by repurposing furniture to make a bathroom vanity.
By transforming an old dresser, cabinet, or even a desk, you can create a one-of-a-kind vanity that perfectly fits your bathroom’s aesthetic. Not only does repurposing furniture add character, but it also reduces waste by giving a new life to old or unwanted pieces.
In this article, we will guide you through the process of making a bathroom vanity out of furniture. From selecting the right furniture piece to adding the finishing touches, we will cover all the steps to help you create a functional and stylish bathroom vanity.
Key Takeaways:
- Transform old furniture into a personalized bathroom vanity by choosing the right piece, preparing it for transformation, and adding unique finishing touches to create a functional and stylish centerpiece for your space.
- Repurposing furniture for a bathroom vanity involves careful preparation, precise installation of plumbing fixtures, and thoughtful decoration to achieve a customized and visually appealing result that reflects your personal style.
Read more: What Is Vanity Furniture
Choosing the Right Furniture Piece
The first step in creating a bathroom vanity out of furniture is to choose the right piece to repurpose. When selecting a furniture piece, consider its size, style, and functionality. It’s important to choose a piece that will fit well in your bathroom and complement the overall design.
Look for furniture that is sturdy and made of high-quality materials. Keep in mind that the furniture will need to withstand moisture and humidity in the bathroom, so it’s important to choose pieces that are durable and water-resistant. Solid wood furniture or furniture with a waterproof finish is ideal for this project.
Consider the height and width of the furniture. Measure your bathroom space to ensure the chosen piece will fit correctly. Also, take into account the plumbing fixtures, such as the sink and faucet, that you plan to install on top of the vanity. Make sure there is enough space to accommodate these fixtures without any issues.
Another factor to consider is the style of the furniture. Decide on the overall look and feel you want for your bathroom and choose a piece of furniture that matches that style. Whether you prefer a modern, minimalist design or a vintage, rustic look, select a piece that aligns with your vision.
Lastly, think about additional features or storage options that you may want in your vanity. Some furniture pieces may already have drawers or shelves that can be repurposed for bathroom storage. This can be a great way to optimize space and keep your bathroom organized.
Once you have selected the right piece of furniture for your bathroom vanity, it’s time to prepare it for transformation.
Preparing the Furniture
Before you can start the process of turning your furniture into a bathroom vanity, it’s essential to properly prepare the piece. This involves a few key steps to ensure that the furniture is clean, well-maintained, and ready for the transformation.
The first step is to thoroughly clean the furniture. Remove any dust, dirt, or grime that may have accumulated over time. Use a gentle cleanser and a soft cloth to wipe down all surfaces, paying attention to corners, crevices, and handles. If there are any stains or marks that cannot be removed with regular cleaning, consider sanding the surfaces to create a smooth, clean base.
Next, inspect the furniture for any damages, such as loose joints, chips, or dents. Repair these issues before proceeding with the transformation. If there are loose screws or other hardware, tighten or replace them as needed. Fill in any holes or cracks with wood filler and sand the area to create a smooth surface.
If the furniture has a glossy or varnished finish, you may need to remove it to ensure better adhesion of paint or other finishes. Use sandpaper or a chemical paint stripper to remove the existing finish. Be sure to follow the manufacturer’s instructions when using any chemical products.
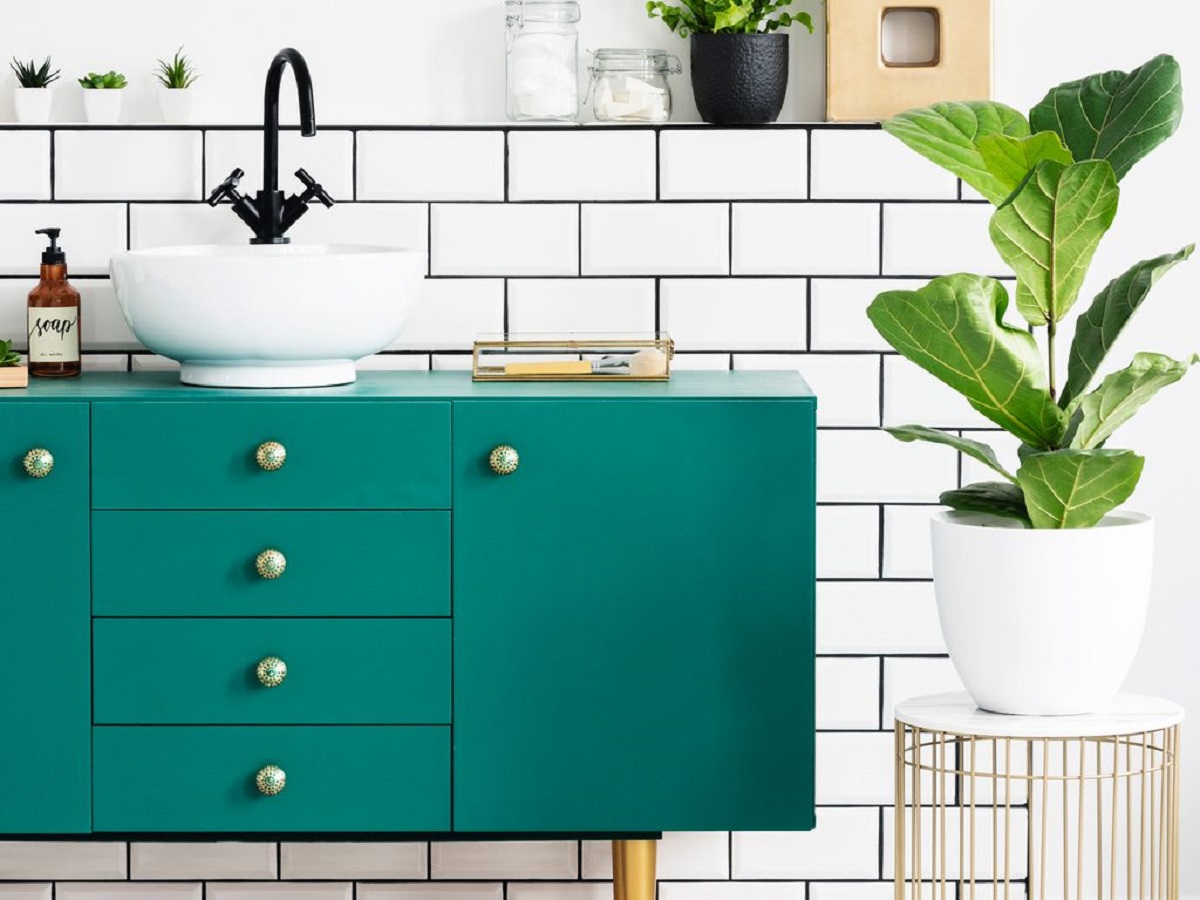
Once the furniture is clean and any necessary repairs have been made, it’s time to decide on the new finish for your vanity. You can choose to paint the piece in a color that matches your bathroom or leave it unfinished for a more natural, rustic look. Consider using a waterproof or moisture-resistant paint or finish to protect the furniture from the bathroom’s humid environment.
Before applying any paint or finish, lightly sand the surfaces to create a better bond. Use a primer if necessary, especially if you’re painting over a dark or stained wood. Apply the paint or finish using even strokes, allowing each coat to dry completely before applying the next. This will help achieve a smooth and professional-looking finish.
Once the paint or finish is dry, you have successfully prepared the furniture for its transformation into a bathroom vanity. The next steps will involve removing any unwanted elements and making necessary alterations to accommodate plumbing fixtures.
Removing Unwanted Elements
When repurposing furniture into a bathroom vanity, it’s often necessary to remove unwanted elements that don’t align with the new purpose. This step involves taking apart or modifying certain parts of the furniture to create space for plumbing fixtures and optimize functionality.
Start by removing any drawers, doors, or shelves that are obstructing the area where the sink will be installed. Carefully unscrew or detach these elements, keeping them aside for potential reuse in other projects. By eliminating these obstacles, you’ll create an open space for the sink basin and plumbing connections.
Additionally, consider removing any decorative or ornamental elements that may not suit the overall design aesthetic of your bathroom vanity. This can include intricate carvings, excessive hardware, or excessive trim. Simplifying the furniture’s appearance will give it a more streamlined and cohesive look.
If the furniture piece has a solid top surface, you may need to cut or remove a portion of it to accommodate the sink basin. Measure the dimensions of your chosen sink and mark the area that needs to be removed. Use a jigsaw, reciprocating saw, or a circular saw to carefully cut out the marked section. Take your time and follow safety precautions to ensure a clean and precise cut.
Once the unwanted elements are removed and any necessary modifications have been made, be sure to sand down any rough or uneven edges. This will give the furniture piece a polished appearance and prevent any accidental cuts or scratches during everyday use.
By removing unwanted elements and making necessary alterations, you are now ready to move on to the next step: cutting holes for plumbing fixtures.
Cutting Holes for Plumbing Fixtures
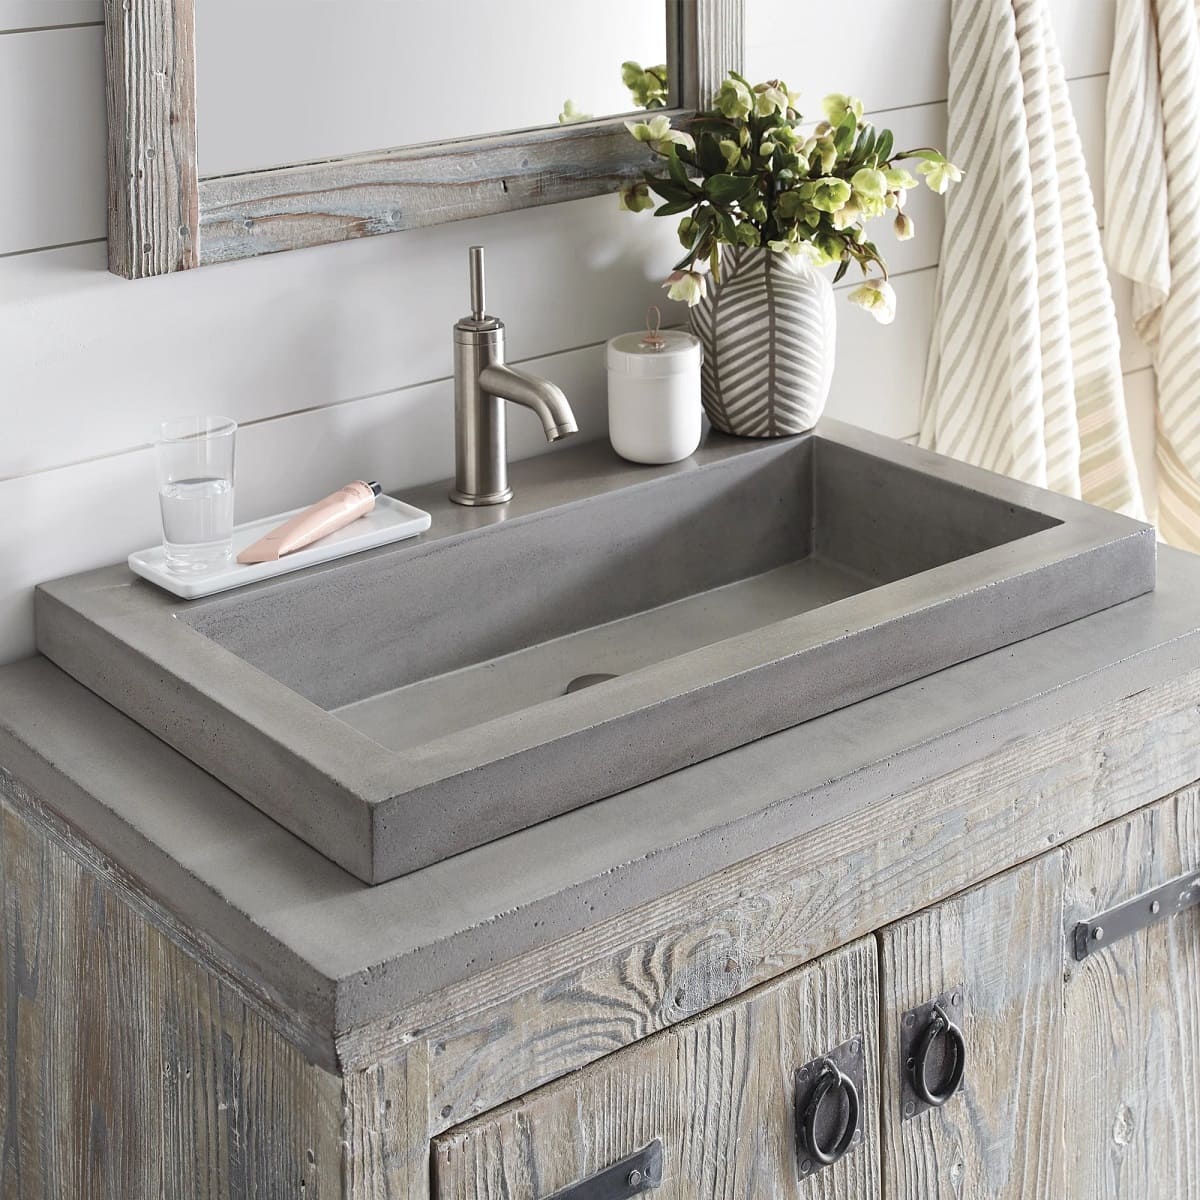
One crucial step in repurposing furniture into a bathroom vanity is cutting holes for plumbing fixtures such as the sink and faucet. Properly cutting these holes will ensure a seamless installation and efficient functionality of the vanity.
Start by measuring the dimensions of your sink and faucet to determine the appropriate size and placement of the holes. Mark the locations on the top surface of the furniture where you want the fixtures to be installed.
If the furniture piece already has a solid top surface, use a hole saw or a jigsaw to carefully cut out the marked areas. Take your time and follow the manufacturer’s instructions for using the tools. Constantly check the fit of the fixtures as you go, making adjustments if necessary. Ensure that the holes are slightly larger than the dimensions of the fixtures to allow for proper positioning.
If the furniture piece does not have a solid top surface or you prefer a different style, you can create a separate countertop or cut a hole in a pre-made countertop. Measure and mark the appropriate dimensions on the countertop and use the same cutting tools mentioned above to create the necessary holes.
When cutting the holes, it’s essential to maintain the structural integrity of the furniture. Be cautious of any supporting beams or structures that may be present underneath the surface. If needed, reinforce the area surrounding the holes to ensure the stability of the vanity.
After cutting the holes, sand down any rough edges to create a smooth surface. This will prevent any splintering or damage to the plumbing fixtures during installation.
Once the holes are cut and smoothed, you can move on to the next step: reinforcing the furniture structure.
Read more: How To Make Bathroom Vanity
Reinforcing the Furniture Structure
After cutting holes for the plumbing fixtures, it’s essential to reinforce the furniture structure to ensure its stability and longevity as a bathroom vanity. Reinforcement will help support the weight of the sink, prevent sagging or warping, and mitigate any potential damage from moisture or humidity.
Begin by assessing the existing structure of the furniture piece. Look for any weak or wobbly areas that may need reinforcement. This could include loose joints, cracked wood, or flimsy panels.
One way to reinforce the structure is by adding additional support beams under the countertop or inside the furniture. Measure the length and width of the vanity’s interior and cut wooden beams or braces to fit securely. Attach them to the bottom or sides of the furniture using wood glue and screws. This will provide extra stability and distribute the weight of the sink more evenly.
If the furniture piece has drawers or shelves, reinforce them as well. Add additional brackets or supports to strengthen these elements and prevent sagging or misalignment over time.
In areas where water may come into contact with the furniture, such as near the sink and plumbing connections, consider applying a waterproof sealant or coating. This will protect the furniture from moisture damage and extend its lifespan.
Additionally, if the furniture piece will be mounted to the wall, ensure that it is securely fastened. Use appropriate brackets or anchors to prevent any accidents or tilting. Reinforcing the wall-mounting points will provide added stability and security.
By reinforcing the furniture structure, you are taking proactive steps to ensure its durability and functionality as a bathroom vanity. Once this step is complete, you can move on to the next phase: adding a backsplash.
When repurposing furniture into a bathroom vanity, make sure to properly seal the wood to protect it from moisture. Use a waterproof sealant or paint to ensure the longevity of your vanity.
Adding a Backsplash
Adding a backsplash to your bathroom vanity not only enhances its visual appeal but also protects the wall behind it from water damage. A backsplash is a decorative panel that is installed above the vanity countertop, extending vertically to cover a portion of the wall.
There are many different materials and styles to choose from when it comes to backsplashes. Common options include ceramic or porcelain tiles, glass mosaic tiles, natural stone, or even a waterproof wallpaper. Consider the overall design aesthetic of your bathroom and select a backsplash that complements the vanity and the rest of the space.
Before installing the backsplash, carefully measure the area where it will be placed. Take into account any edges or corners where the backsplash will meet the surrounding walls, as well as the width and height of the vanity.
If you are using tiles for your backsplash, you will need to prepare the surface before applying them. Clean the wall thoroughly and ensure that it is smooth and dry. Apply a thin layer of tile adhesive or mortar to the wall using a trowel, and then press the tiles into place one by one. Use spacers to maintain even spacing between the tiles.
If you opt for a sheet-style backsplash like a mosaic or wallpaper, ensure that you follow the manufacturer’s instructions for installation. This may include applying adhesive to the back of the sheet or activating a self-adhesive backing.
Once the backsplash is securely in place, use a grout float to apply grout between the tiles. Make sure to wipe away any excess grout with a damp sponge before it dries. If using wallpaper, smooth it out and ensure it adheres well to the wall.
Allow the grout or adhesive to dry completely before moving on to the next step. This will ensure that the backsplash is firmly attached and ready for use.
Adding a backsplash to your bathroom vanity not only adds a touch of style but also protects your walls from water damage. With the backsplash in place, you can move on to preparing and finishing the surface of your vanity.
Preparing and Finishing the Surface
Once you have transformed your furniture into a bathroom vanity and added a backsplash, it’s time to prepare and finish the surface for a polished and long-lasting result. This step involves ensuring the surface is smooth, applying any desired finishes, and protecting the vanity from moisture and everyday wear and tear.
Start by inspecting the surface of the vanity for any rough spots, imperfections, or paint drips. Use sandpaper or a sanding block to gently smooth out these areas, taking care not to damage the surrounding finishes or materials. Sanding will create a consistent and even surface for the final finish.
If you have opted for a painted vanity, consider applying a protective topcoat such as polyurethane or varnish. This will help seal the paint and provide a durable and water-resistant barrier. Follow the instructions on the product to apply an even coat, ensuring complete coverage. Allow the topcoat to dry completely before moving on to the next step.
For unfinished wood vanities, you may prefer to apply a stain or clear coat to enhance the natural beauty of the wood grain. Choose a stain color that complements the overall style of your bathroom. Apply the stain evenly with a brush or cloth, following the manufacturer’s instructions. Allow the stain to penetrate the wood and dry properly before moving on.
Once the surface is prepared and finished, it’s important to protect it from moisture and everyday use. Apply a waterproof sealant or polyurethane coating to the countertop and any other exposed surfaces. This will help prevent water damage and make it easier to clean and maintain your vanity over time.
Consider adding drawer liners or organizers to keep your vanity neat and organized. These can be easily cut and placed inside the drawers to protect the surfaces and provide a designated space for your bathroom essentials.
Finally, clean the entire vanity thoroughly, removing any dust or debris that may have accumulated during the preparation and finishing process. Use a gentle cleanser and a soft cloth to wipe down all surfaces, paying extra attention to areas around the sink and faucet.
With a well-prepared and finished surface, your bathroom vanity is now ready for the installation of the sink and faucet.
Installing the Sink and Faucet
Installing the sink and faucet is a crucial step in creating a functional and complete bathroom vanity. This process requires careful measurements, precise plumbing connections, and attention to detail. Follow these steps to ensure a successful installation:
1. Begin by placing the sink on top of the vanity, aligning it with the pre-cut hole. Make sure the sink sits evenly and securely. If needed, use a silicone caulk or adhesive to secure the sink in place, following the manufacturer’s instructions.
2. Connect the drain assembly to the sink drain using the provided hardware. Apply plumber’s putty or silicone caulk to create a watertight seal. Tighten the connections and ensure that they are secure.
3. Install the faucet onto the sink following the manufacturer’s instructions. Insert the faucet through the designated hole and secure it from underneath using the mounting hardware. Once in place, connect the water supply lines to the faucet. Use a wrench to tighten the connections and ensure that they are leak-free.
4. Check for any leaks by turning on the water supply. Allow the water to run through the faucet and inspect all connections for any signs of leakage. If necessary, tighten the connections or apply plumber’s tape to create a better seal.
5. Connect the P-trap or drain pipe to the sink drain and the wall drain. Ensure that all connections are secure and free from leaks. If needed, use a wrench to tighten the connections. Test the drain by running water into the sink and observing the water flow and drainage.
6. Once all connections are secure and there are no leaks, clean the sink and vanity surface thoroughly. Remove any excess caulk or adhesive and wipe down the surrounding areas.
With the sink and faucet properly installed, your bathroom vanity is almost complete. The final step is to mount the vanity securely to the wall.
Read more: How To Make A Vanity Around A Pedestal Sink
Mounting the Vanity to the Wall
Mounting your bathroom vanity to the wall is essential for stability and safety. This step ensures that your vanity is securely attached and eliminates any risk of tipping or shifting. Follow these steps to properly mount your vanity:
1. Start by locating the wall studs using a stud finder. Mark the stud locations on the wall with a pencil. Ideally, you want to secure the vanity to at least two studs for maximum support.
2. Position the vanity against the wall in its desired location. Use a level to ensure that the vanity is straight and aligned correctly. Adjust the placement if necessary.
3. Use a drill or screwdriver to attach the vanity to the wall. Start by screwing through the back of the vanity and into the marked stud locations. Use long screws to provide a secure hold. If the studs are not conveniently located, use wall anchors or toggle bolts to ensure a strong attachment.
4. Check the levelness of the vanity once it is attached to the wall. Make any necessary adjustments by loosening or tightening the screws. Ensure that the vanity is completely level in all directions.
5. Double-check the stability of the vanity by applying pressure and gently pushing or shaking it. If it feels secure and doesn’t move, you have successfully mounted the vanity. If there is any wobbling or instability, reinforce the attachment points with additional screws or anchors.
6. Once the vanity is securely mounted, check the drawers and doors to ensure they open and close smoothly. Make any necessary adjustments or repairs as needed.
By properly mounting your bathroom vanity to the wall, you can enjoy a sturdy and functional fixture that enhances the functionality of your bathroom. The final step is to add the finishing touches and decorations to complete the look of your newly created vanity.
Final Touches and Decoration
Now that your bathroom vanity is complete, it’s time to add the final touches and decorations that will truly elevate its aesthetic appeal and tie it into the overall design of your bathroom. Consider the following ideas to personalize your vanity:
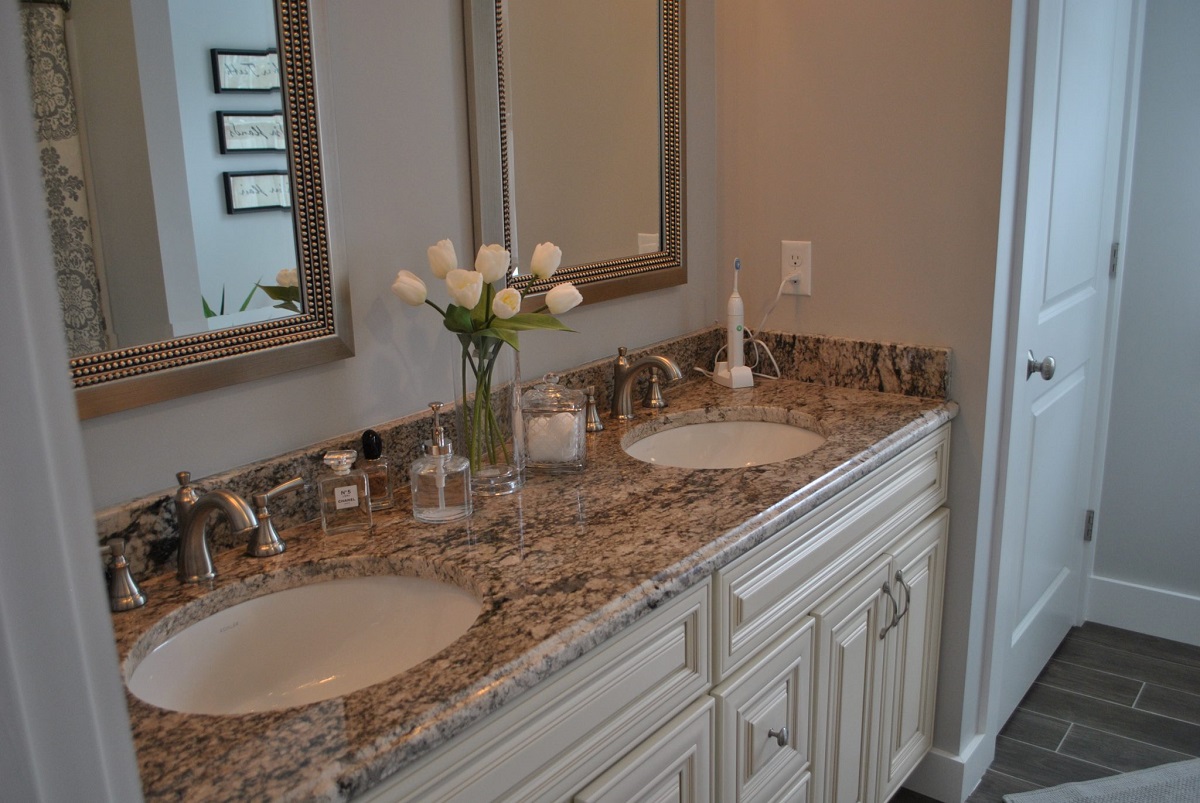
1. Decorate the countertop: Add decorative objects such as a small plant, a scented candle, or a tray with your favorite toiletries. Choose items that complement the style and color scheme of your bathroom while adding a touch of personality.
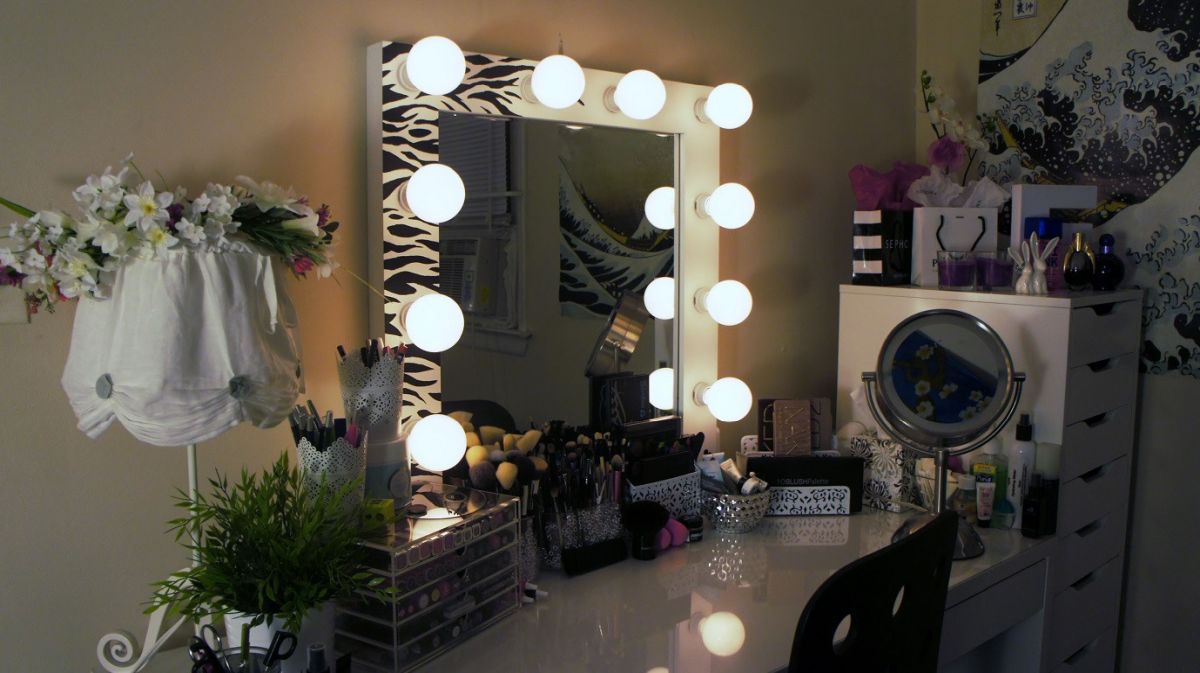
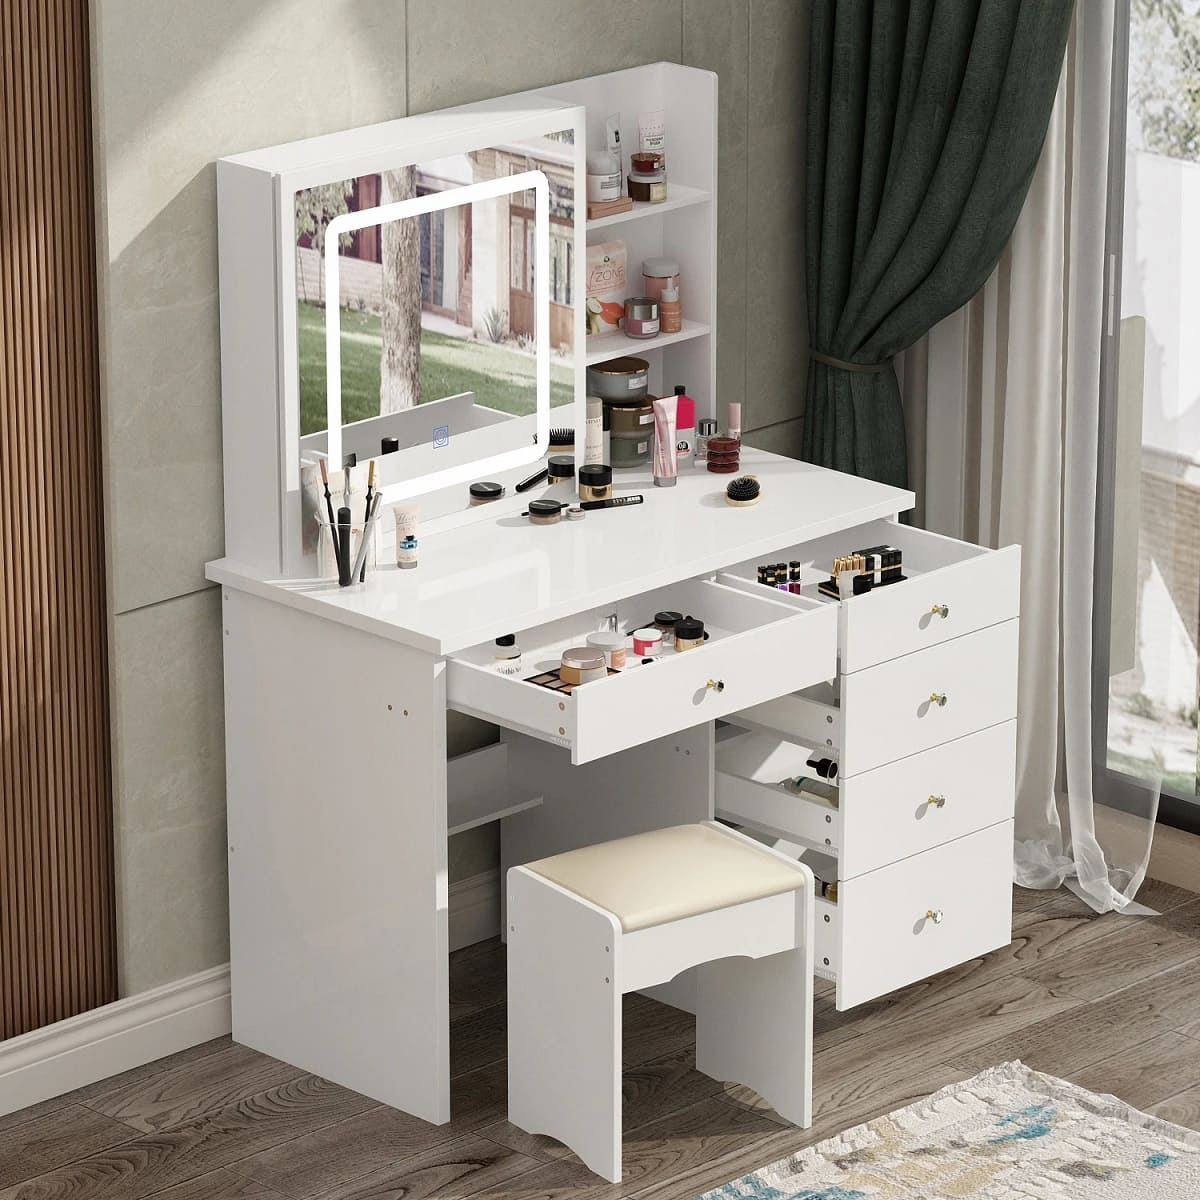
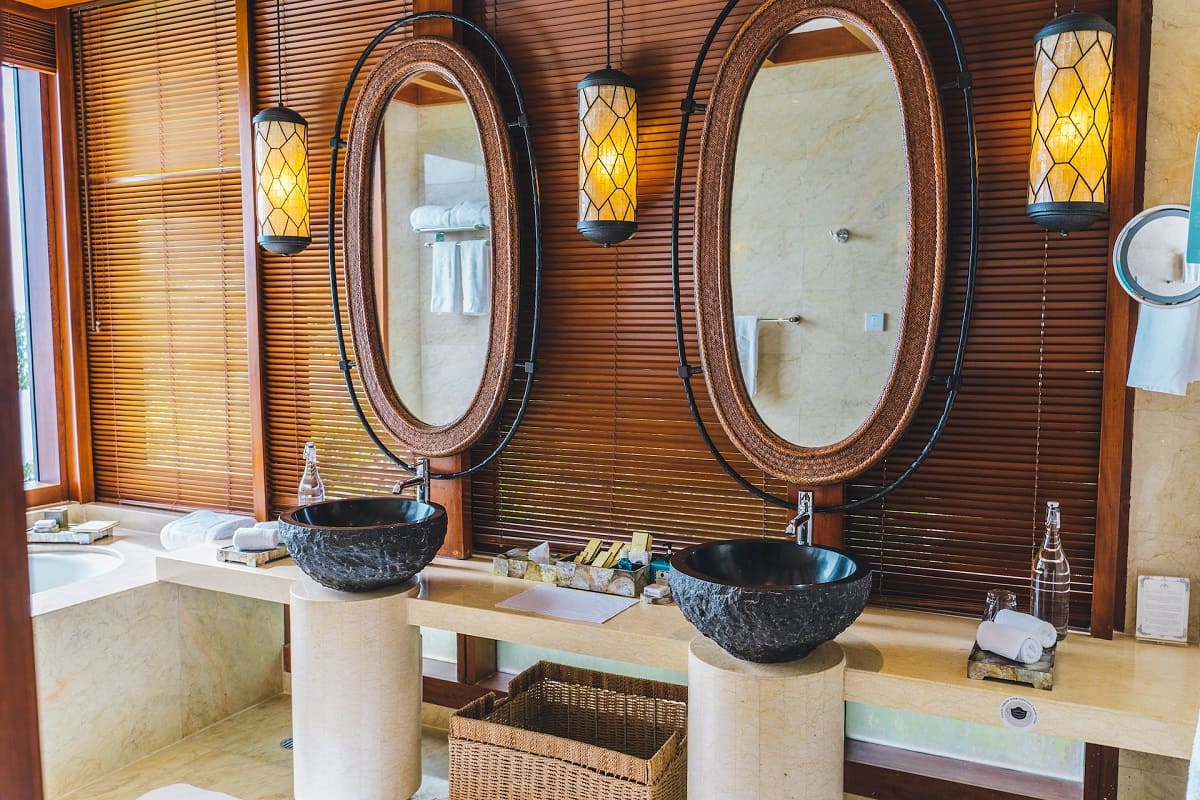
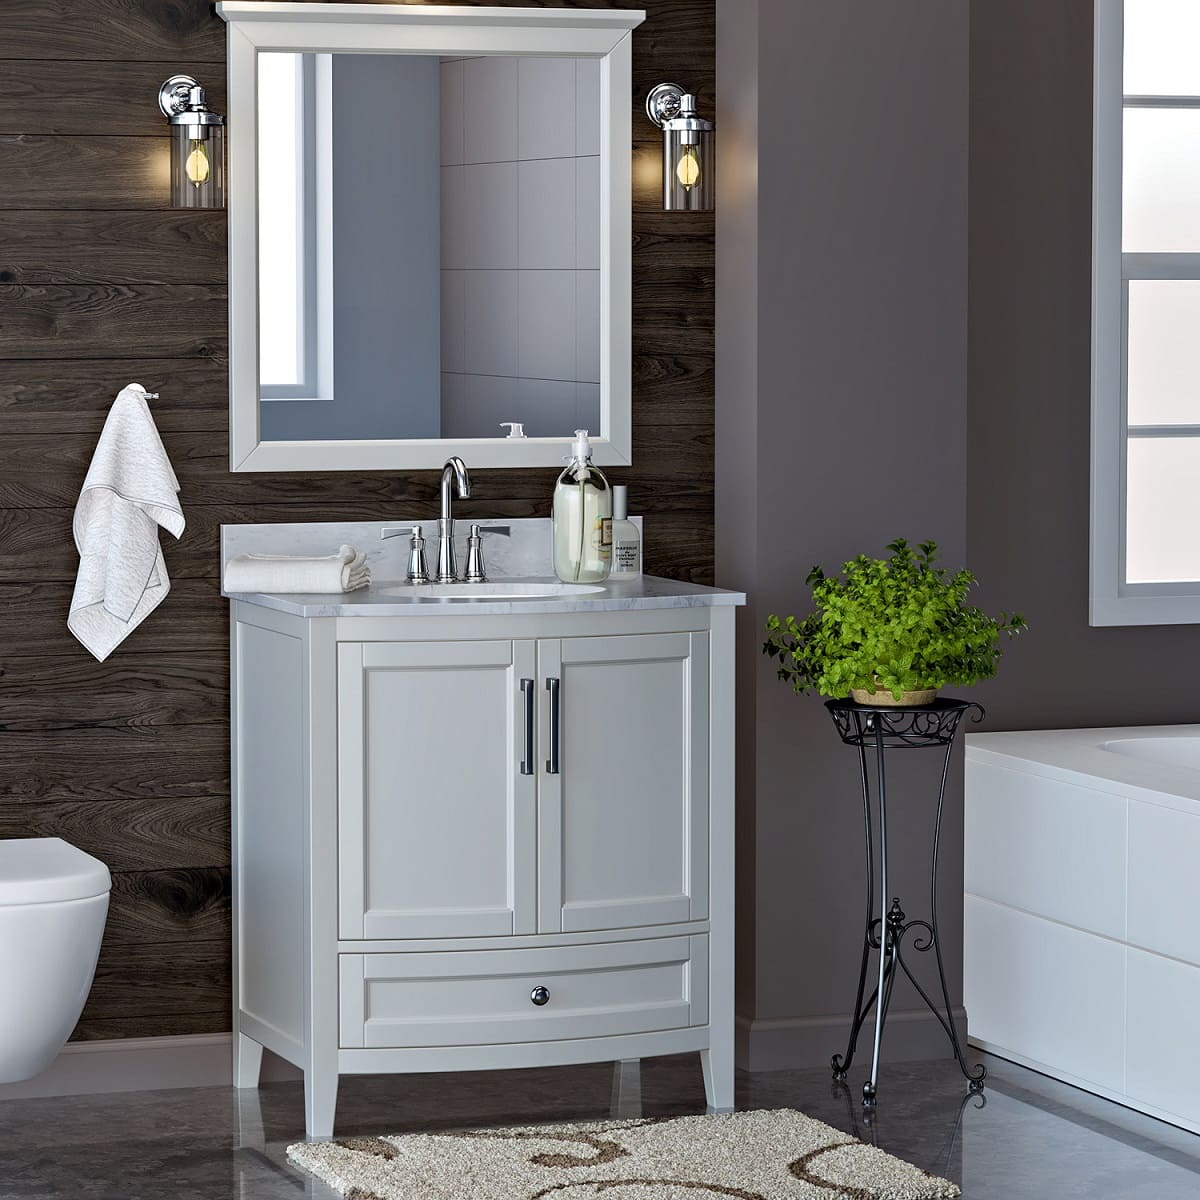
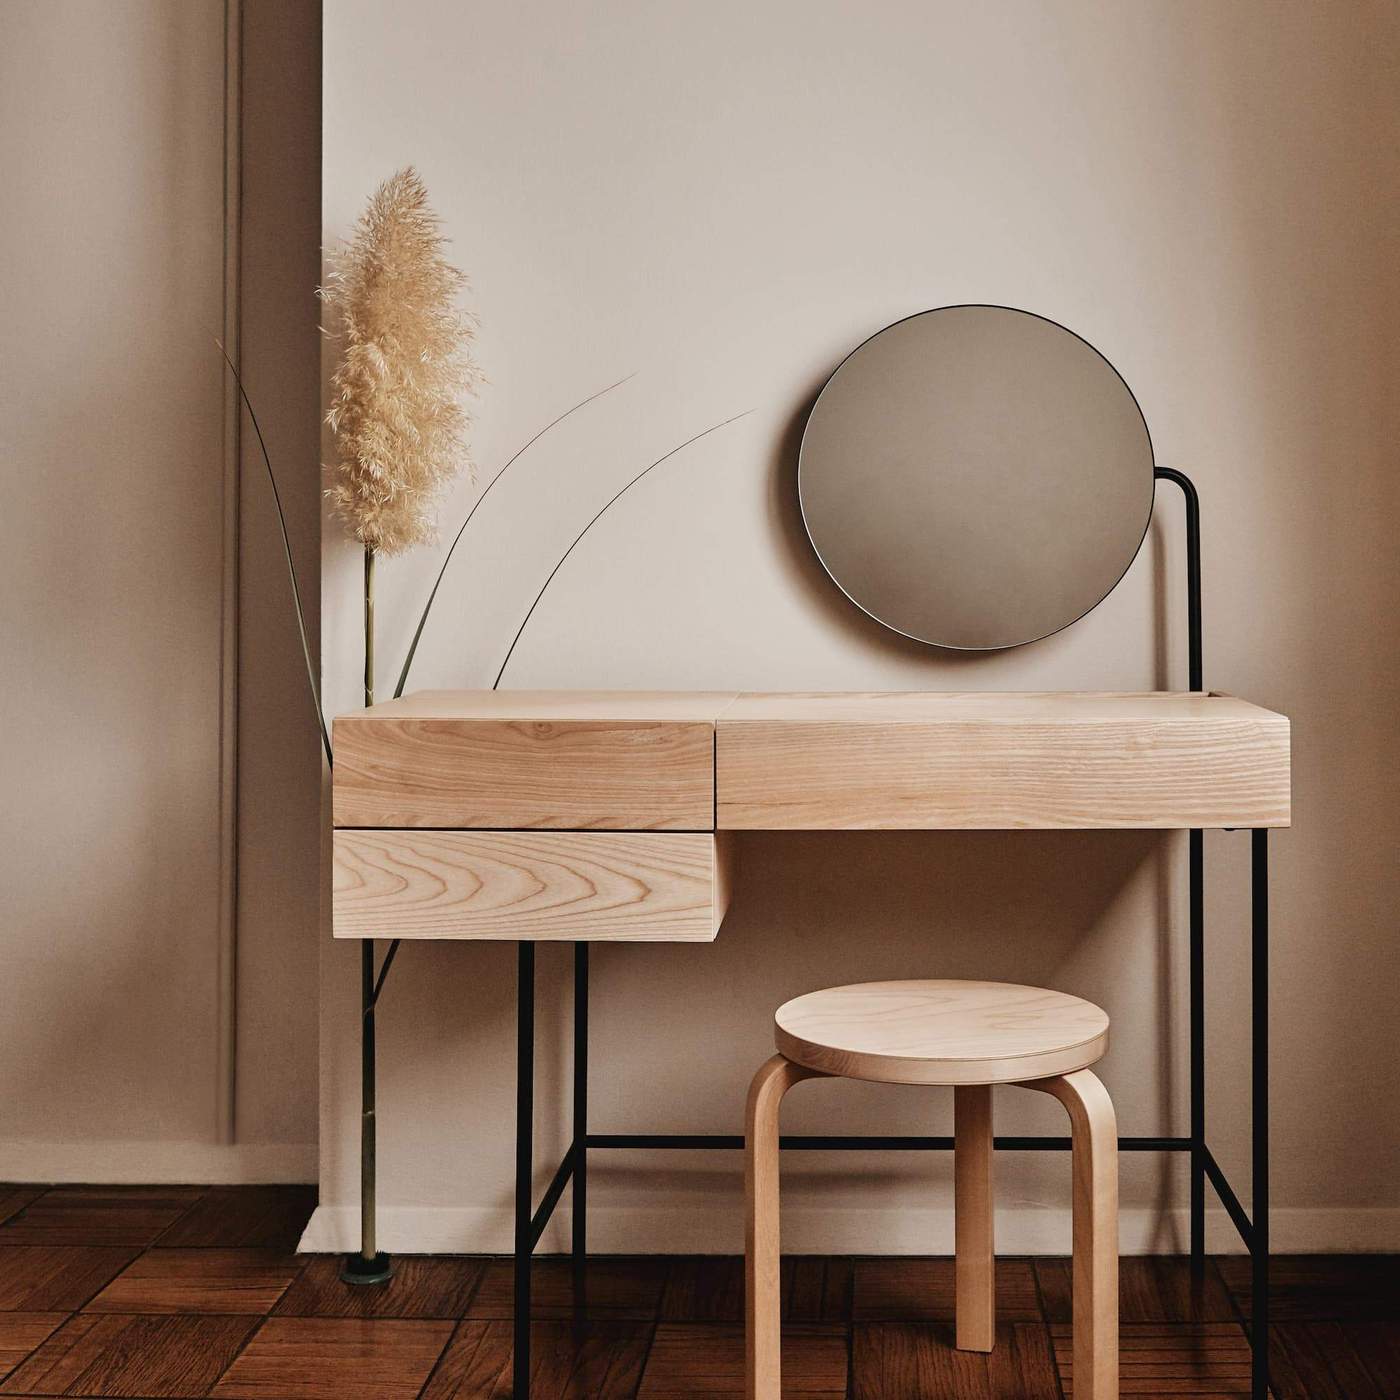
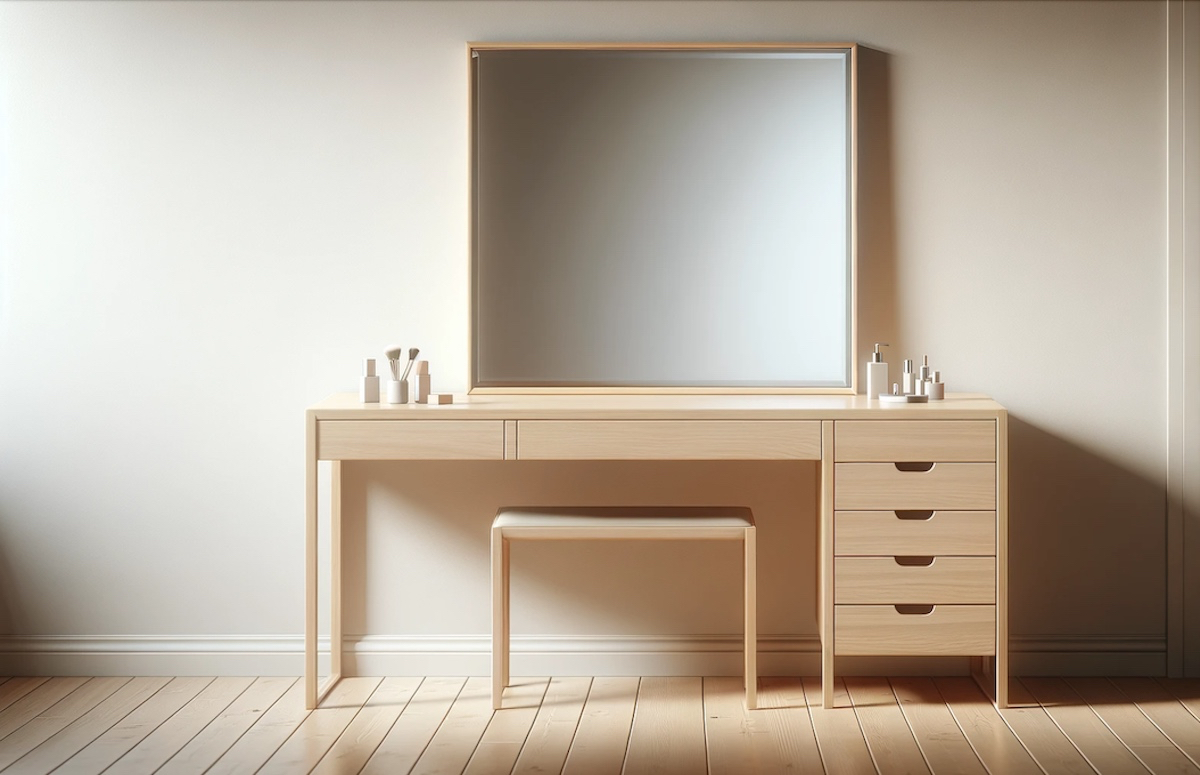
2. Hang a mirror: Install a mirror above the vanity to enhance its functionality and create a focal point. Choose a mirror that fits the size and style of your vanity, whether it’s a sleek and modern design or a vintage-inspired piece.
3. Update the hardware: Consider replacing the existing drawer pulls, handles, or knobs with new ones that match your desired style. This simple swap can make a significant difference in the overall appearance of your vanity.
4. Add lighting: Install wall sconces or pendant lights on either side of the mirror to provide ample lighting for daily grooming tasks. Make sure the lighting fixtures are properly positioned to minimize shadows and ensure optimal visibility.
5. Install open shelves or baskets: If you have space on the walls, consider adding open shelves or decorative baskets to hold towels, extra toiletries, or other bathroom essentials. This not only adds storage options but also adds visual interest to the space.
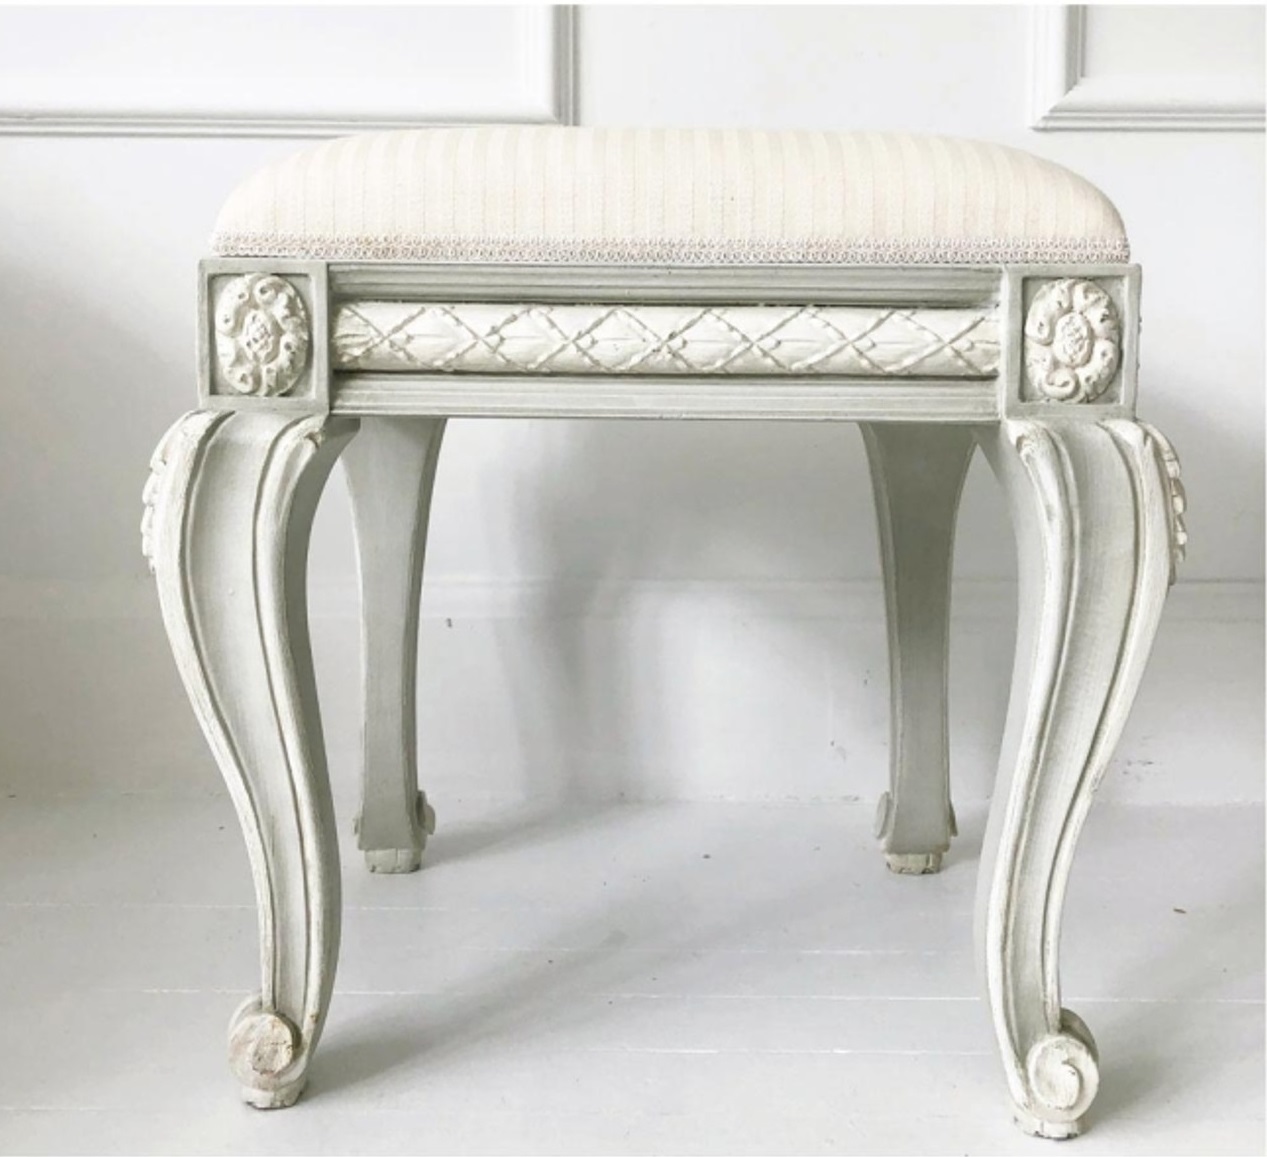
6. Incorporate a vanity stool or bench: If space allows, place a comfortable stool or bench next to the vanity. This provides a convenient seating area where you can sit while getting ready or applying makeup.
7. Hang artwork or wall decor: Add a personal touch by hanging artwork or wall decor that complements the overall style of your bathroom. Choose pieces that reflect your taste and create a cohesive look.
Remember, the final touches and decorations should enhance the functionality and style of your bathroom vanity while reflecting your personal preferences and design aesthetic. Don’t be afraid to get creative and experiment with different elements until you achieve the desired look.
By paying attention to these final details, you will transform your repurposed furniture into a stunning and customized bathroom vanity that becomes the centerpiece of your bathroom’s design.
Conclusion
Repurposing furniture to create a unique bathroom vanity is a rewarding DIY project that allows you to showcase your creativity and style. By following the steps outlined in this article, you can transform an old piece of furniture into a functional and visually appealing vanity that perfectly fits your bathroom’s aesthetic.
Choosing the right furniture piece sets the foundation for your project. Consider the size, style, and functionality to ensure a cohesive and customized result. Preparing the furniture involves cleaning, repairing, and removing unwanted elements to create a clean and smooth surface. Cutting holes for plumbing fixtures and reinforcing the furniture structure are crucial steps to optimize functionality and ensure stability.
Adding a backsplash and finishing the surface provide the opportunity to inject your personal style into the vanity. Select a backsplash material that complements the overall design and finish the surface with paint, stain, or protective coats. Mounting the vanity securely to the wall is essential for stability and safety.
Lastly, don’t forget the final touches and decorations that truly bring your bathroom vanity to life. Select flattering lighting, decorative objects, and coordinating hardware to create a cohesive and personalized space. Pay attention to small details like artwork and seating options to elevate the overall ambiance of the bathroom.
Throughout the process, balance functionality and aesthetics while incorporating your personal style. Remember to use quality materials and follow proper installation techniques to ensure longevity and durability. With the right tools and creativity, you can successfully transform furniture into a unique and stunning bathroom vanity that enhances the beauty and functionality of your space.
Enjoy the process of creating your one-of-a-kind bathroom vanity and revel in the satisfaction of a job well done!
Frequently Asked Questions about How To Make A Bathroom Vanity Out Of Furniture
Was this page helpful?
At Storables.com, we guarantee accurate and reliable information. Our content, validated by Expert Board Contributors, is crafted following stringent Editorial Policies. We're committed to providing you with well-researched, expert-backed insights for all your informational needs.

0 thoughts on “How To Make A Bathroom Vanity Out Of Furniture”