Articles
How To Make Rolled Beeswax Candles
Modified: August 16, 2024
Learn how to make rolled beeswax candles with step-by-step instructions and helpful articles. Enhance your homemade candle-making skills today!
(Many of the links in this article redirect to a specific reviewed product. Your purchase of these products through affiliate links helps to generate commission for Storables.com, at no extra cost. Learn more)
Introduction
Beeswax candles are not only beautiful to look at, but they also have a natural, sweet honey scent that creates a cozy and inviting ambiance. Making rolled beeswax candles is a fun and creative DIY project that allows you to customize the size, color, and even the fragrance of your candles.
In this article, we will guide you through the step-by-step process of making rolled beeswax candles. You don’t need any special equipment or prior experience, making this a perfect project for beginners. With just a few materials and some creativity, you’ll soon have a collection of stunning handmade candles to enjoy or share as thoughtful gifts.
Before we dive into the instructions, let’s talk about the materials you will need for this project.
Key Takeaways:
- Create personalized, eco-friendly rolled beeswax candles with ease. Customize size, color, and fragrance for a cozy ambiance or thoughtful gifts. Enjoy the rewarding and fulfilling DIY process.
- Embrace creativity and craft visually appealing rolled beeswax candles. Experiment with scents, decorative elements, and unique designs to add a personal touch. Enjoy the delightful glow of your handmade creations.
Read more: How To Make Beeswax Scented Candles
Materials Needed
Before you begin making rolled beeswax candles, gather the following materials:
- Beeswax sheets: You can easily purchase beeswax sheets online or from a local craft store. Choose sheets that are at least 8 inches in width.
- Wicking: Select a wicking material that is suitable for beeswax candles. Pre-cut wicking with a metal base is convenient to use, as it helps secure the candle.
- Scissors: A pair of sharp scissors will be needed to trim the wick and cut the beeswax sheets.
- Ruler: A ruler will come in handy for measuring and cutting the sheets to the desired length for your candles.
- Optional: Fragrance oils, essential oils, or dried flowers can be used to add a personal touch and customize the scent of your candles.
- Optional: Decorative elements such as ribbons, twine, or small charms can be used to adorn the candles.
Once you have gathered all the materials, you are ready to start making rolled beeswax candles. Let’s move on to the step-by-step instructions.
Step 1: Preparing the Beeswax Sheets
Before you can start rolling your beeswax candles, you need to prepare the beeswax sheets. Follow these steps:
- Measure and cut: Using a ruler, measure and mark the desired length of your candles on the beeswax sheets. You can make candles of any length depending on your preference.
- Cut the sheets: Using sharp scissors, carefully cut along the marked lines to separate the beeswax sheets into individual pieces.
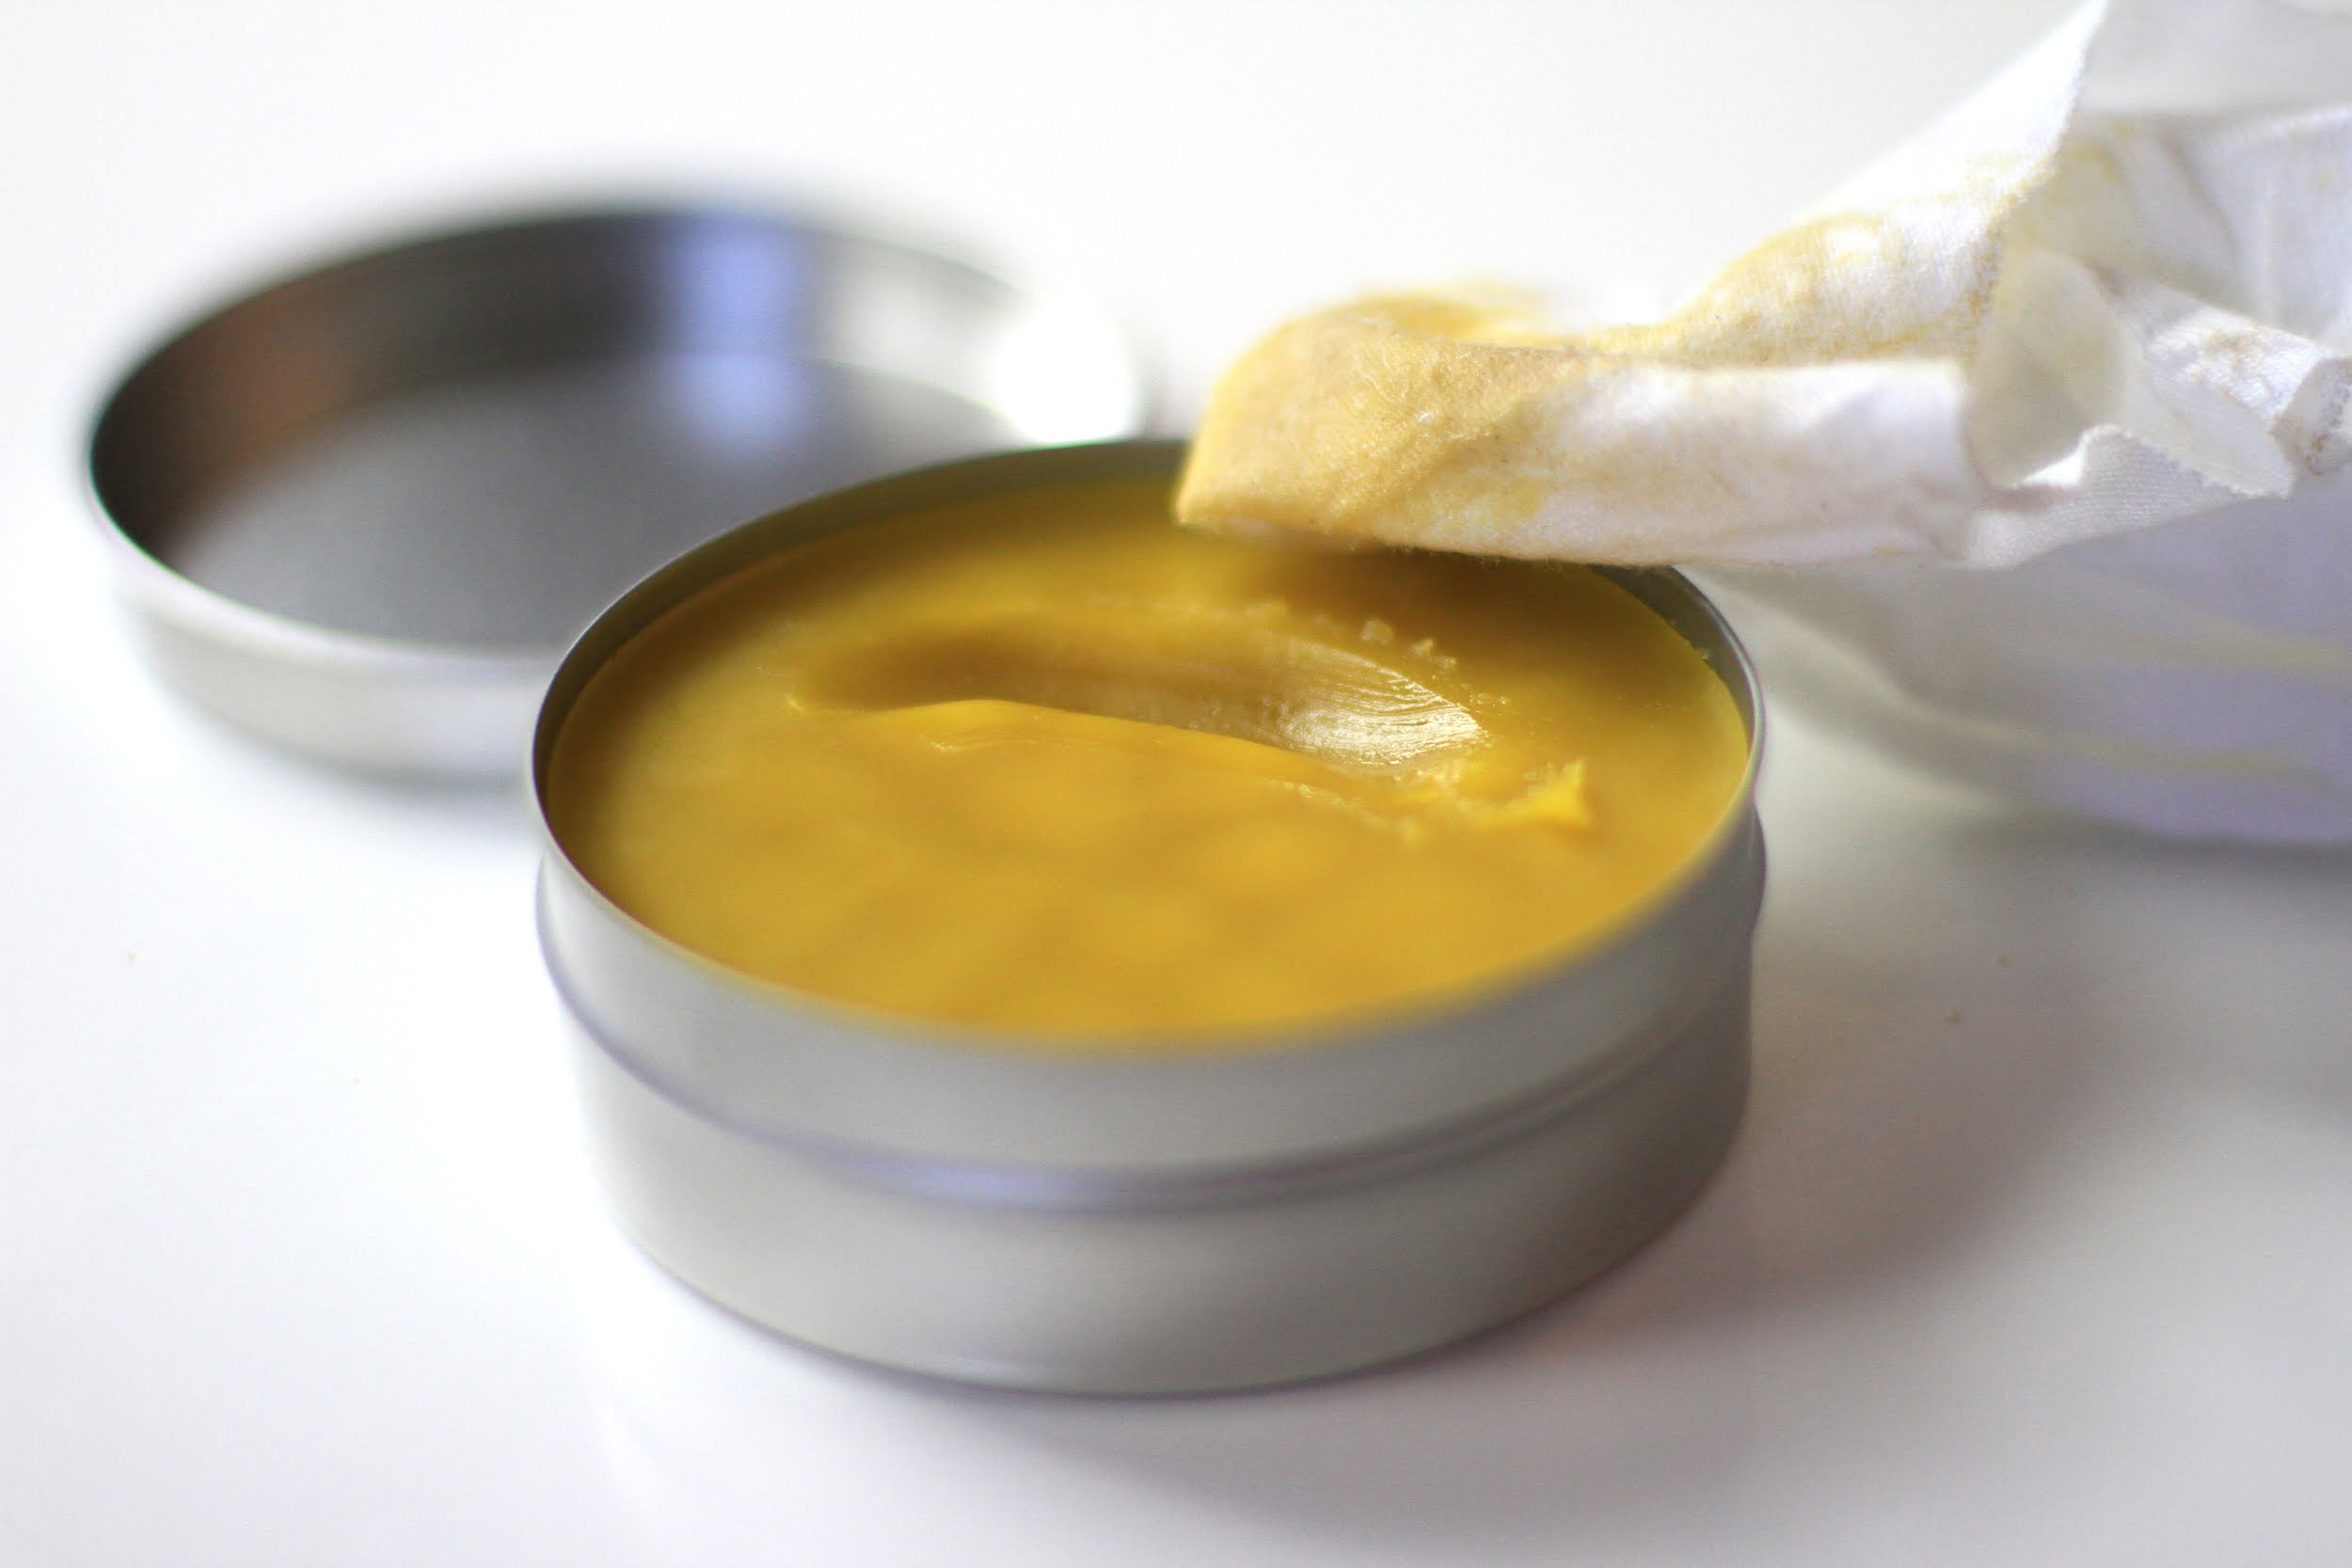
- Warm the wax: To make the rolling process easier, you can warm the beeswax sheets slightly. Place them in a sunny spot or use a hairdryer on low heat to gently warm the sheets. Be careful not to overheat or melt the wax.
By preparing the beeswax sheets, you ensure that they are the right size and ready for rolling. Now, let’s move on to the next step of rolling the beeswax sheets into candles.
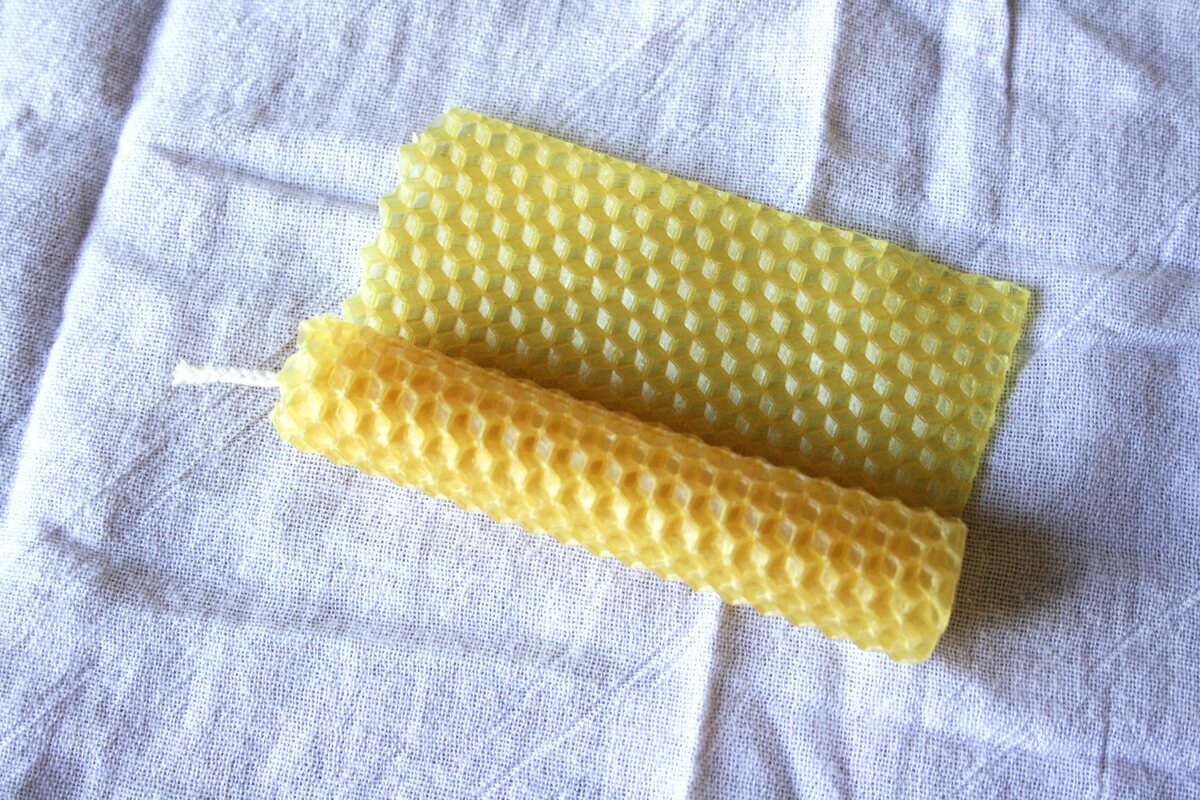
Step 2: Rolling the Beeswax Sheets
Now that you have prepared the beeswax sheets, it’s time to roll them into candles. Follow these steps:
- Place the wick: Take one of the beeswax sheets and lay it flat on a clean surface. Position the wicking material along one edge of the sheet, leaving a small portion of the wick extended beyond the edge. The metal base of the wick should be aligned with the edge of the sheet.
- Start rolling: Gently and tightly roll the beeswax sheet around the wick, making sure it is securely wrapped. Use your fingers to smooth out any wrinkles or creases as you roll.
- Continue rolling: Once you reach the end of the first sheet, you can add additional beeswax sheets to create a longer candle. Simply overlap the edge of the previous sheet with a new sheet and continue rolling, ensuring a tight and even roll.
- Seal the edge: When you have reached the desired length of your candle, press the edge of the last sheet firmly against the rolled candle to seal it in place. Smooth out any bumps or unevenness.
By following these steps, you will create a beautifully rolled beeswax candle. The tight rolling ensures that the candle holds its shape and provides a sturdy base for burning. Now it’s time to move on to the next step of securing the candle.
When rolling beeswax candles, warm the beeswax sheets slightly with a hair dryer or in a warm oven to make them more pliable and easier to work with.
Step 3: Securing the Candle
After rolling the beeswax sheets into a candle, it’s important to secure it properly to ensure it stays in place while burning. Follow these steps to secure your rolled beeswax candle:
- Trim the excess wick: Use a pair of scissors to trim the wick, leaving a small portion (about ¼ inch) exposed above the top of the candle. This will make it easier to light the candle later on.
- Adhere the wick: Apply a small amount of melted beeswax or a dab of hot glue to the exposed end of the wick. Press it firmly against the top of the candle to secure it in place.
- Smooth the edges: Use your fingers to smooth out any rough or uneven edges of the rolled beeswax candle. This will give the candle a polished and finished appearance.
Securing the candle not only keeps it intact while burning but also adds a professional touch to your handmade creation. Now that the candle is secured, let’s move on to the next step of trimming the wick.
Read more: How Do You Make Beeswax Candles
Step 4: Trim the Wick
Trimming the wick is an essential step in preparing your rolled beeswax candle for a clean and efficient burn. Follow these steps to trim the wick:
- Allow the candle to cool: Let the rolled beeswax candle cool and harden completely before trimming the wick. This will ensure that the wax is firm and won’t get damaged during the process.
- Inspect the wick length: Take a look at the exposed wick above the top of the candle. It should be approximately ¼ inch long. If the wick is longer, you will need to trim it.
- Trim the wick: Using a pair of scissors or wick trimmers, carefully trim the wick to the desired length. Be sure to cut it straight across to promote an even and clean burn.
- Dispose of the trimmed wick: Dispose of the trimmed wick remnants properly. You can simply discard them in a waste bin.
By trimming the wick, you ensure that it is at the ideal length for a controlled burn. This will help prevent excessive flame height and soot accumulation. Now that the wick is trimmed, let’s move on to the final step of adding decorative touches to your rolled beeswax candle.
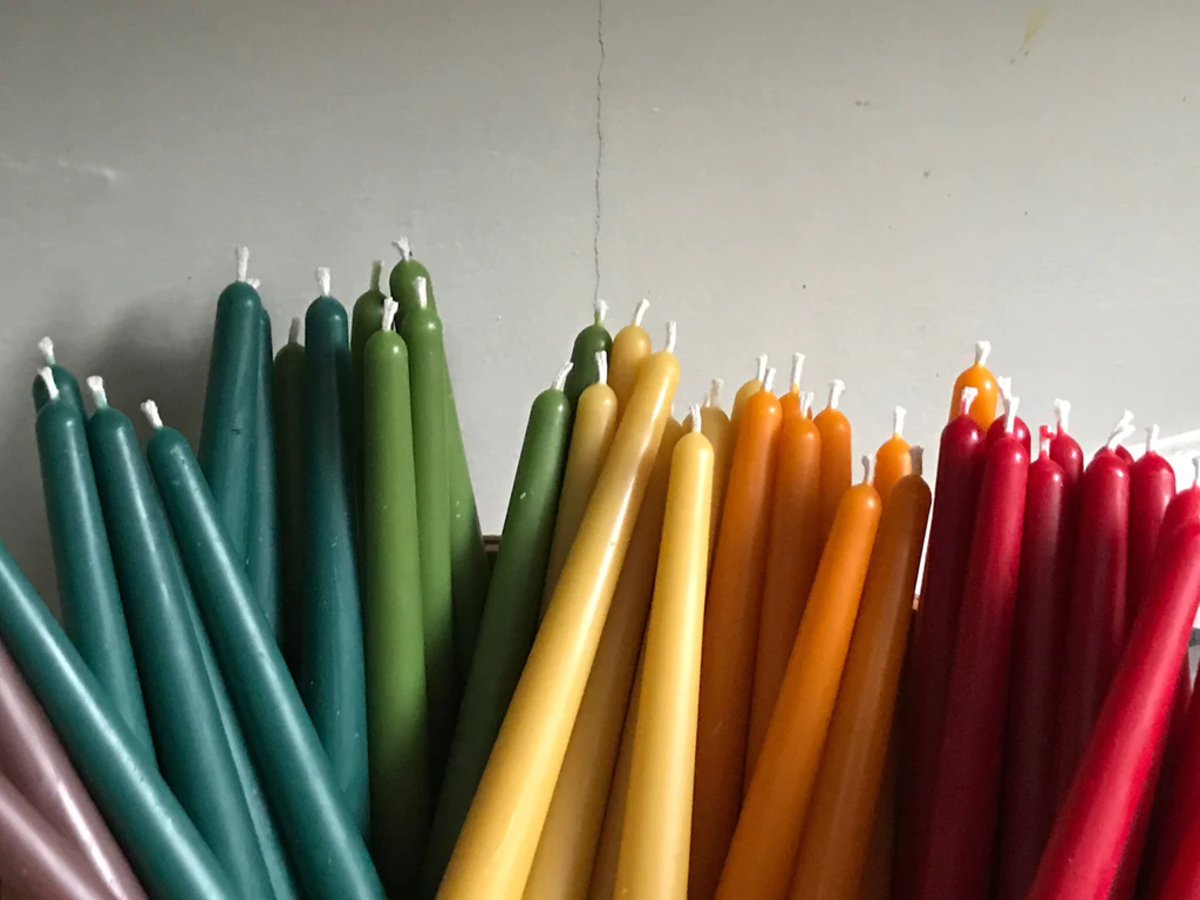
Step 5: Decorating the Rolled Beeswax Candle
Decorating your rolled beeswax candle adds a personal touch and enhances its visual appeal. Get creative and follow these steps to decorate your candle:
- Choose decorative elements: Decide on the decorative elements you want to incorporate into your candle. This could include ribbons, twine, dried flowers, or small charms. Select items that complement the color and theme of your candle.
- Secure the decorative elements: Use a small amount of melted beeswax or a dab of hot glue to affix the decorative elements to the surface of the rolled beeswax candle. Be careful not to apply too much pressure or move them while the wax is still soft.
- Experiment with patterns: If you want to create a pattern with different colored beeswax sheets, you can overlap them and roll them together. This will create a beautiful marbled or striped effect.
- Be cautious with flammable elements: If you decide to include flammable elements, such as dried flowers, ensure that they are secured safely and positioned away from the flame when the candle is lit.
By adding decorative touches to your rolled beeswax candle, you can turn a simple creation into a personalized work of art. Get creative and have fun with the process. Now that you have completed decorating your candle, it’s time to enjoy the fruits of your labor.
Conclusion
Congratulations! You have successfully learned how to make rolled beeswax candles. With just a few materials and a little creativity, you can create beautiful, handmade candles that add warmth and style to any space.
By following the step-by-step instructions in this article, you have learned how to prepare the beeswax sheets, roll them into candles, secure the wick, trim it to the proper length, and even add decorative elements to personalize your creations.
Remember, making rolled beeswax candles is not only a fun and enjoyable DIY project, but it also allows you to customize the size, color, and fragrance of your candles. You can experiment with different scents using fragrance oils or essential oils, or even add dried flowers to create unique and visually appealing candles.
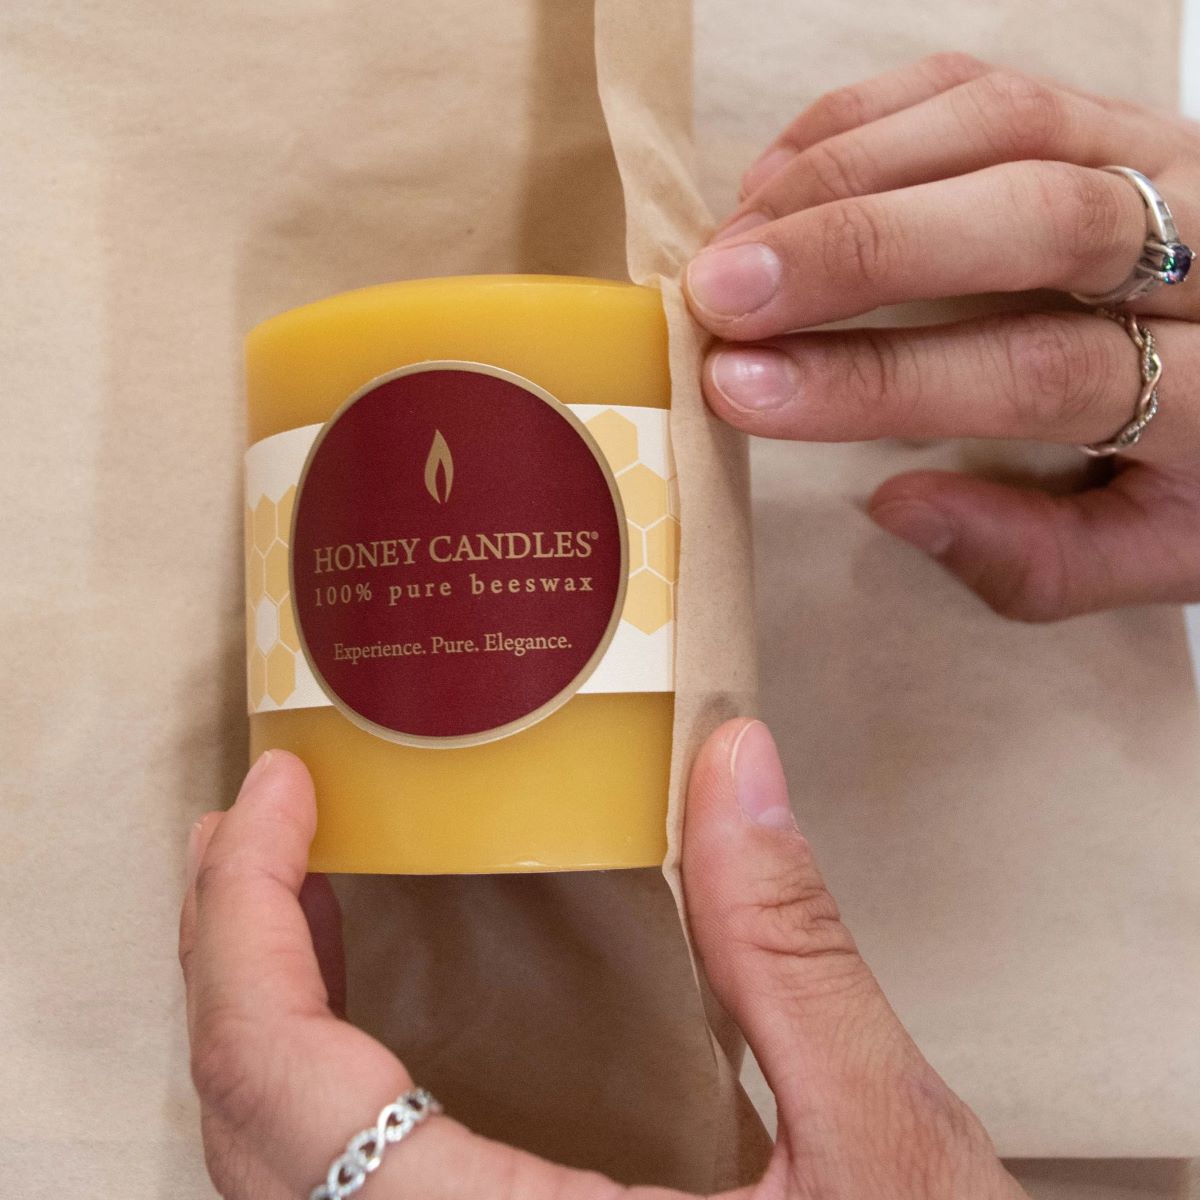
Whether you make rolled beeswax candles for your own cozy evenings at home or to give as thoughtful gifts, the process is both rewarding and fulfilling. The natural properties of beeswax candles make them a wise choice for eco-conscious individuals, as they are non-toxic, have a longer burn time, and emit a warm, honey-like scent.
Now that you have the knowledge and skills to make rolled beeswax candles, embrace your creativity and start crafting your own unique pieces. Enjoy the process and the delightful glow of your handmade candles. Happy crafting!
Frequently Asked Questions about How To Make Rolled Beeswax Candles
Was this page helpful?
At Storables.com, we guarantee accurate and reliable information. Our content, validated by Expert Board Contributors, is crafted following stringent Editorial Policies. We're committed to providing you with well-researched, expert-backed insights for all your informational needs.


0 thoughts on “How To Make Rolled Beeswax Candles”