
Articles
How To Make Grungy Candles
Modified: March 24, 2024
Learn the step-by-step process of creating grungy candles with our informative articles. Get tips and ideas to make unique and eye-catching candle designs.
(Many of the links in this article redirect to a specific reviewed product. Your purchase of these products through affiliate links helps to generate commission for Storables.com, at no extra cost. Learn more)
Introduction
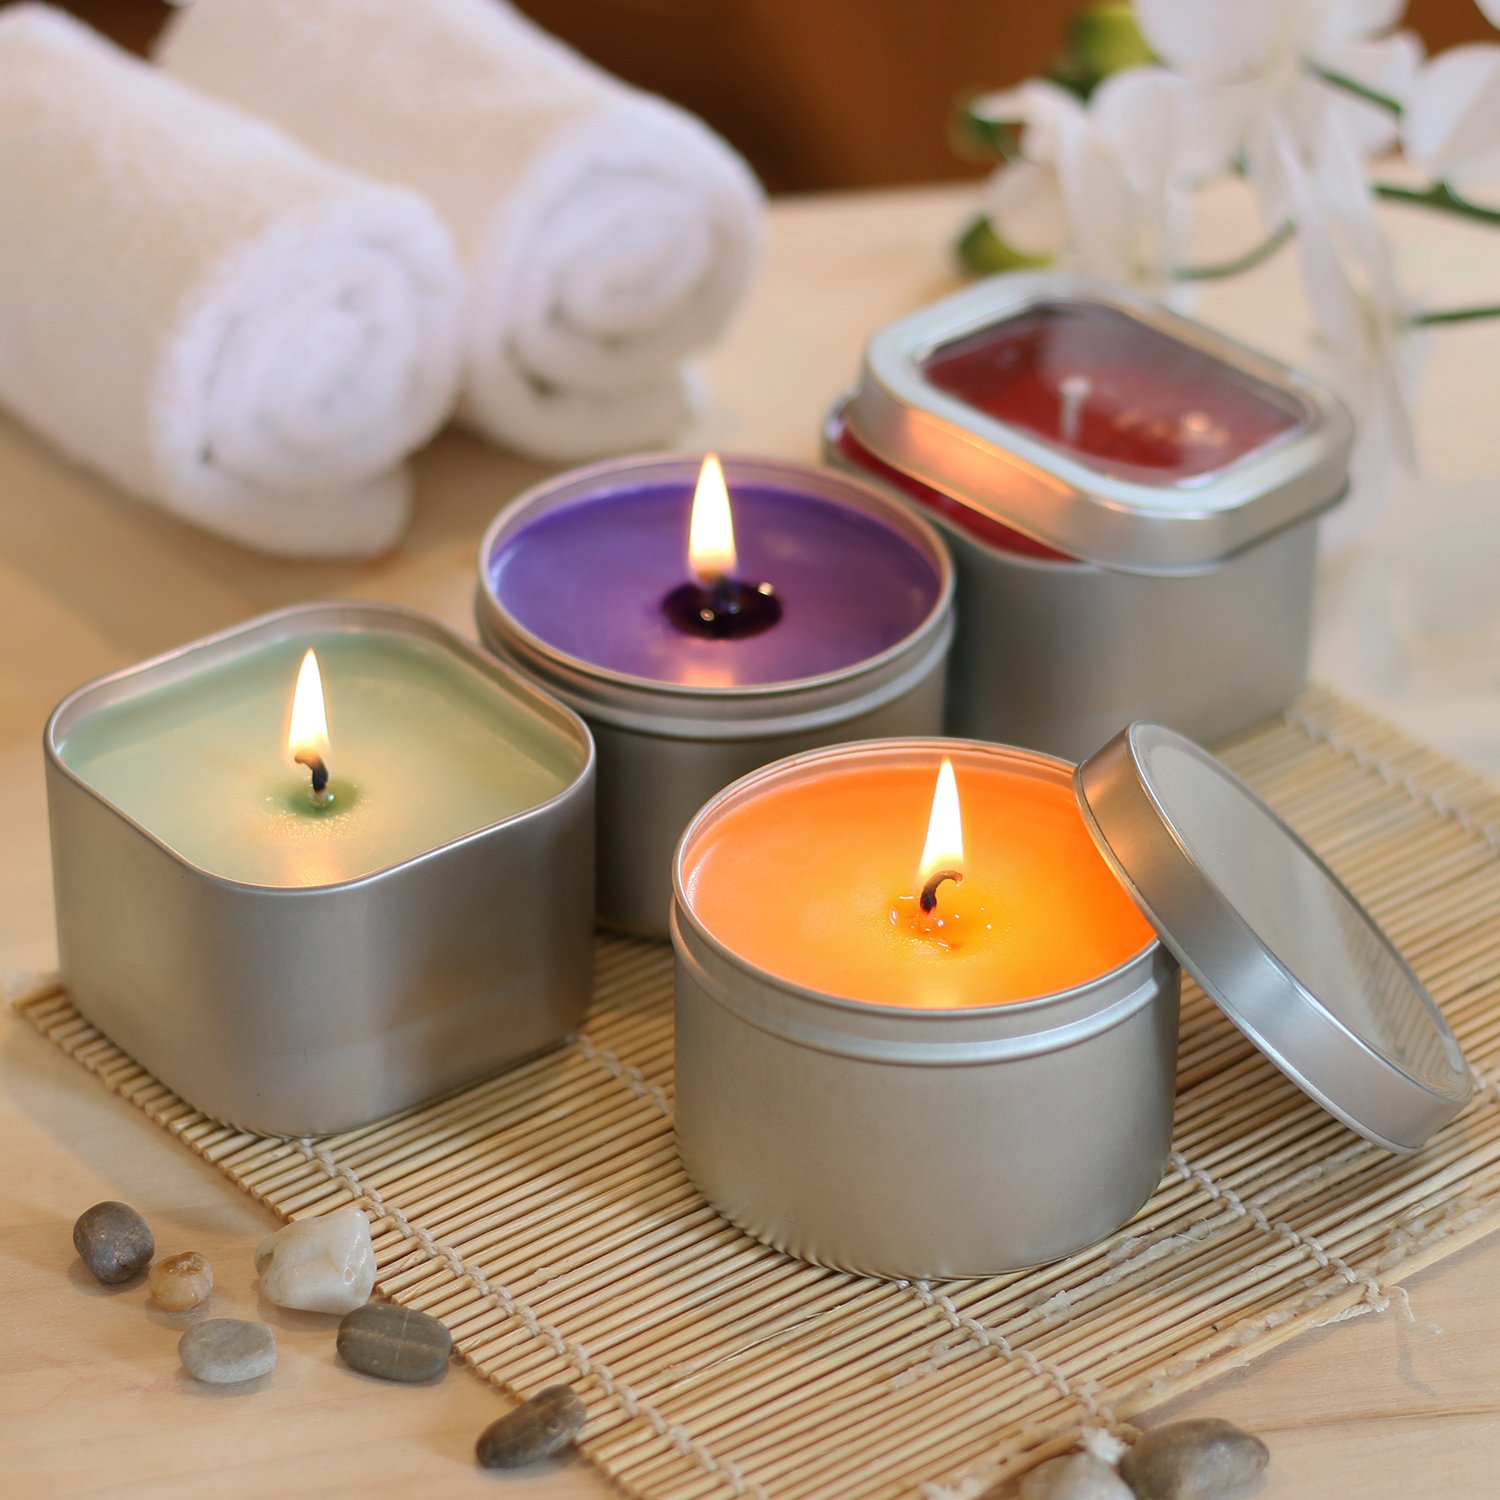
Welcome to the world of grungy candles! If you’re looking for a fun and creative way to add a unique touch to your home decor, grungy candles are the perfect project for you. With their rustic and aged appearance, these candles exude a charming and vintage vibe that can transform any space.
Creating grungy candles is a fantastic way to unleash your creativity and indulge in a bit of DIY crafting. Whether you’re a seasoned candle-making enthusiast or a complete beginner, this article will guide you through the step-by-step process of making your very own grungy candles.
By following these easy instructions and putting your personal touch on the design, you’ll be able to create one-of-a-kind candles that reflect your style and personality. So, let’s gather our materials and get ready to embark on this exciting candle-making adventure!
Key Takeaways:
- Unleash Your Creativity: Transform ordinary candles into unique, vintage-inspired grungy candles using simple techniques and materials, adding character and charm to your home decor.
- Personalized Charm: Express your style and imagination by adding texture, decorations, and finishing touches to create one-of-a-kind grungy candles that exude warmth and nostalgia.
Read more: How To Make A Heater With Candles
Materials Needed
Before we dive into the steps of creating grungy candles, let’s gather all the materials you’ll need for this project. Don’t worry, you won’t require any fancy or hard-to-find items. In fact, you may already have most of these materials in your crafting stash. Here’s what you’ll need:
- Candle wax: You can use either paraffin wax or soy wax, depending on your preference.
- Candle wicks: Choose wicks that are suitable for the size of the candles you want to make.
- Candle dye: Opt for earthy tones such as brown, black, or dark grey to achieve the grunge effect.
- Candle fragrance oil (optional): If you prefer scented candles, select a fragrance oil that complements the grungy aesthetic.
- Container or molds: Decide on the shape and size of your candles and gather appropriate containers or molds.
- Double boiler or melting pot: This will be used to melt the candle wax evenly.
- Stirring utensil: Use a dedicated spoon or stirring rod for mixing the wax and dye.
- Old newspapers or wax paper: These will protect your work surface from any potential wax spills.
- Protective gloves: It’s always a good idea to wear gloves to prevent burns or skin irritation.
- Heat source: You’ll need a heat source such as a stove, hot plate, or candle-making machine to melt the wax.
- Various grunge materials: This can include sandpaper, burlap, twine, fabric scraps, or anything that adds texture and a distressed look to the candles.
- Decorative elements (optional): If you want to add extra embellishments, consider items like dried flowers, charms, or beads.
Now that you have gathered all the necessary materials, let’s move on to the next step: preparing the candles.
Step 1: Preparing the Candles
Now that you have all your materials ready, it’s time to start preparing the candles for the grunge treatment. Follow these steps to ensure your candles are prepped and ready for the next stages:
- Choose your containers or molds: Decide on the shape and size of your candles and select appropriate containers or molds. You can use mason jars, old candle containers, or even silicone molds to create unique shapes.
- Prepare the wicks: Attach the wicks to the bottom of the containers or molds. You can use a drop of melted wax or a dab of hot glue to secure the wick in place.
- Melt the wax: Using a double boiler or a melting pot, gently melt the candle wax over a low heat source. Stir occasionally to ensure even melting. If you’re using soy wax, follow the specific instructions for melting temperatures.
- Add color and fragrance (optional): Once the wax is completely melted, you can add candle dye and fragrance oil if desired. Stir well to distribute the color and fragrance evenly throughout the wax. Remember to use earthy tones for the grunge effect.
- Pour the wax: Carefully pour the melted wax into the prepared containers or molds. Leave a small gap at the top to allow for any decorations or additional layers later on.
- Let the candles cool: Allow the candles to cool and solidify completely. This process may take a few hours, so be patient and resist the temptation to touch or move the candles too early.
Once your candles have cooled and hardened, they are ready for the grunge treatment. In the next step, we’ll explore various techniques to create the grunge effect on your candles.
Step 2: Adding the Grunge Effect
Now that your candles are prepared, it’s time to give them that grungy, aged look. The grunge effect adds character and a vintage feel to the candles, making them visually appealing. Here are a few techniques you can use to achieve the grunge effect:
- Sanding: Use fine-grit sandpaper to gently roughen the surface of the candles. Focus on areas where natural wear and tear would occur, such as the edges and corners. This will create a distressed look and add texture to the candles.
- Dry brushing: Dip a dry brush into black or brown acrylic paint and lightly brush it onto the candles. Wipe off excess paint with a cloth or paper towel, leaving behind a subtle, aged appearance. This technique adds depth and dimension to the candles.
- Splattering: Take a toothbrush or an old paintbrush and dip it into black or brown acrylic paint. Flick the bristles of the brush over the candles, creating random splatters that resemble dirt or grime. This technique adds an authentic grungy touch.
- Dripping wax: Heat up a separate amount of candle wax in a contrasting color, such as black or brown. Allow the wax to cool slightly, then use a spoon or a pouring device to drip it onto the surface of the candles. The dripped wax gives the illusion of melted or aged wax.
- Burning the edges: Carefully hold the edges of the candles over an open flame for a few seconds, rotating them to create a slightly burnt look. Be cautious and keep a fire extinguisher nearby, as this technique involves an open flame.
Feel free to mix and match these techniques to achieve your desired grunge effect. Remember, the goal is to create an imperfect and weathered appearance. Once you’re satisfied with the grungy makeover, it’s time to move on to the next step: adding texture to the candles.
To make grungy candles, try adding coffee grounds or cinnamon to the melted wax for a textured, rustic look. This will give your candles a unique and vintage appearance.
Step 3: Creating Texture on the Candles
Now that your grungy effect is in place, it’s time to take it a step further and add some texture to your candles. Adding texture not only enhances the vintage look but also adds visual interest and depth. Here are a few techniques to create texture on your grungy candles:
- Burlap wrap: Cut a strip of burlap fabric and wrap it around the base or middle of the candle. Secure it with twine or a small piece of wire. The rough texture of the burlap will complement the grungy aesthetic.
- Twine or rope: Wrap thin twine or rope around the candles, creating a crisscross pattern or spiraling effect. You can secure the twine with small dabs of hot glue or by tucking the ends under the existing wraps.
- Fabric scraps: Cut small strips or shapes from fabric scraps and adhere them to the candles using a craft adhesive. You can layer different fabrics or create a patchwork effect for added texture.
- Embossing tools: Use embossing tools or the edge of a spoon to create imprints on the surface of the candles. Experiment with different patterns and depths to achieve a weathered and textured look.
- Natural elements: Glue dried leaves, moss, or small pieces of bark onto the candles. These natural elements will not only add texture but also enhance the rustic charm of the grunge candles.
Get creative and explore different materials and techniques to create texture that suits your style. Remember to apply the texture to the areas you want to highlight and where it naturally complements the grungy effect. Once you’re satisfied with the texture, you can choose to add additional decorations or move on to the next step: finishing touches.
Read more: How To Make Candles With Herbs
Step 4: Adding Additional Decorations (Optional)
If you want to take your grungy candles to the next level, you can choose to add some extra decorations. These additional embellishments can further enhance the visual appeal and personalize your candles. Here are a few ideas to consider:
- Dried flowers: Glue dried flowers, such as lavender or baby’s breath, onto the surface of the candles. Arrange them in clusters or create a wreath-like design. The combination of the grunge effect and delicate flowers creates a beautiful contrast.
- Charms or trinkets: Attach small charms, vintage keys, or other trinkets to the candles using a hot glue gun. These little adornments add a touch of whimsy and can reflect your personal style or interests.
- Beads or sequins: Create patterns or designs on the candles using small beads or sequins. Secure them with craft glue or hot glue, making sure they adhere properly. This adds a touch of sparkle against the grungy background.
- Ribbons or lace: Tie a ribbon or a piece of lace around the base of each candle. You can opt for a simple bow or create intricate patterns with different types of ribbons or lace. This adds a delicate and feminine touch to the grungy candles.
- Words or quotes: Use alphabet stickers or a paint pen to write words, quotes, or meaningful phrases on the candles. This personalizes the candles and adds a unique touch. You can choose inspirational quotes, your favorite lyrics, or even names and dates for special occasions.
Remember, the additional decorations are optional, and you can choose to skip this step if you prefer a more minimalist look. If you decide to add decorations, ensure that they adhere securely to the candles and do not pose a fire hazard. Now that you’ve added the finishing touches, it’s time to move on to the final step: completing your grungy candles.
Step 5: Finishing Touches
Congratulations! You’re almost done with your grungy candles. It’s time to add the final touches to complete the project. These finishing touches will ensure that your candles look polished and ready to be displayed. Follow these steps to perfect your grungy candle creation:
- Trim the wicks: Using scissors, trim the wicks of your candles to a suitable length, typically around ¼ inch. This will prevent excessive flickering and uneven burning when you light the candles.
- Clean the candles: Wipe off any excess debris or dust from the surface of the candles using a soft cloth. This will give them a clean and well-maintained appearance.
- Add a sealant (optional): If you want to prolong the longevity of your grungy candles, you can consider applying a clear sealant or a protective coat. This will help preserve the grunge effect and protect the candles from fading or chipping over time.
- Arrange and display: Now that your grungy candles are complete, it’s time to find the perfect spot to showcase them. Arrange them on a mantelpiece, coffee table, or as part of a centerpiece to create a cozy and rustic atmosphere.
- Light and enjoy: When you’re ready to enjoy the ambiance of your grungy candles, carefully light them using a long-nosed lighter or a match. Sit back, relax, and bask in the warm glow and nostalgic charm they emit.
Remember to exercise caution and never leave burning candles unattended. Follow the standard safety guidelines for candle usage to ensure a safe and enjoyable experience.
With these finishing touches, your grungy candles are now ready to be admired and enjoyed. The combination of the grunge effect, texture, decorations, and final touches creates a unique piece of decor that adds character and charm to any space.
Have fun experimenting with different techniques and styles to create your own signature grungy candle designs. Let your imagination run wild and embrace the imperfect beauty of these DIY creations. Happy candle-making!
Conclusion
Congratulations on completing your grungy candle-making adventure! By following the step-by-step process outlined in this article, you have successfully transformed regular candles into unique and captivating decorative pieces. The grunge effect, texture, and optional decorations have combined to give your candles a rustic and aged appearance, adding a touch of vintage charm to any space.
Creating grungy candles is not only a fun and creative DIY project but also a great way to express your personal style and add a unique touch to your home decor. These candles make wonderful gifts for loved ones on special occasions or can simply be enjoyed as a cozy addition to your own space.
Remember to experiment with different techniques, textures, and decorations to create your own personalized grungy candles. Each candle you create will be a one-of-a-kind masterpiece that reflects your creativity and imagination.
As you display and light your grungy candles, take a moment to appreciate the warm glow and nostalgic ambiance they provide. These candles have the power to transform any room into a serene and enchanting atmosphere.
However, always remember to practice important safety precautions when handling and burning candles. Never leave lit candles unattended and keep them away from flammable objects or materials.
Now that you have successfully mastered the art of making grungy candles, you can embark on new candle-making adventures, exploring different styles, colors, and techniques. Let your creativity soar as you continue to craft beautiful and unique candles to enhance your living spaces.
So go ahead, gather your materials, embrace the imperfections, and enjoy the process of creating your own grungy candles. Happy candle-making!
Frequently Asked Questions about How To Make Grungy Candles
Was this page helpful?
At Storables.com, we guarantee accurate and reliable information. Our content, validated by Expert Board Contributors, is crafted following stringent Editorial Policies. We're committed to providing you with well-researched, expert-backed insights for all your informational needs.


0 thoughts on “How To Make Grungy Candles”