Articles
How Do You Make Beeswax Candles
Modified: April 22, 2024
Learn how to make beautiful beeswax candles with our informative articles. Discover step-by-step guides and expert tips to create your own natural and sustainable candles.
(Many of the links in this article redirect to a specific reviewed product. Your purchase of these products through affiliate links helps to generate commission for Storables.com, at no extra cost. Learn more)
Introduction
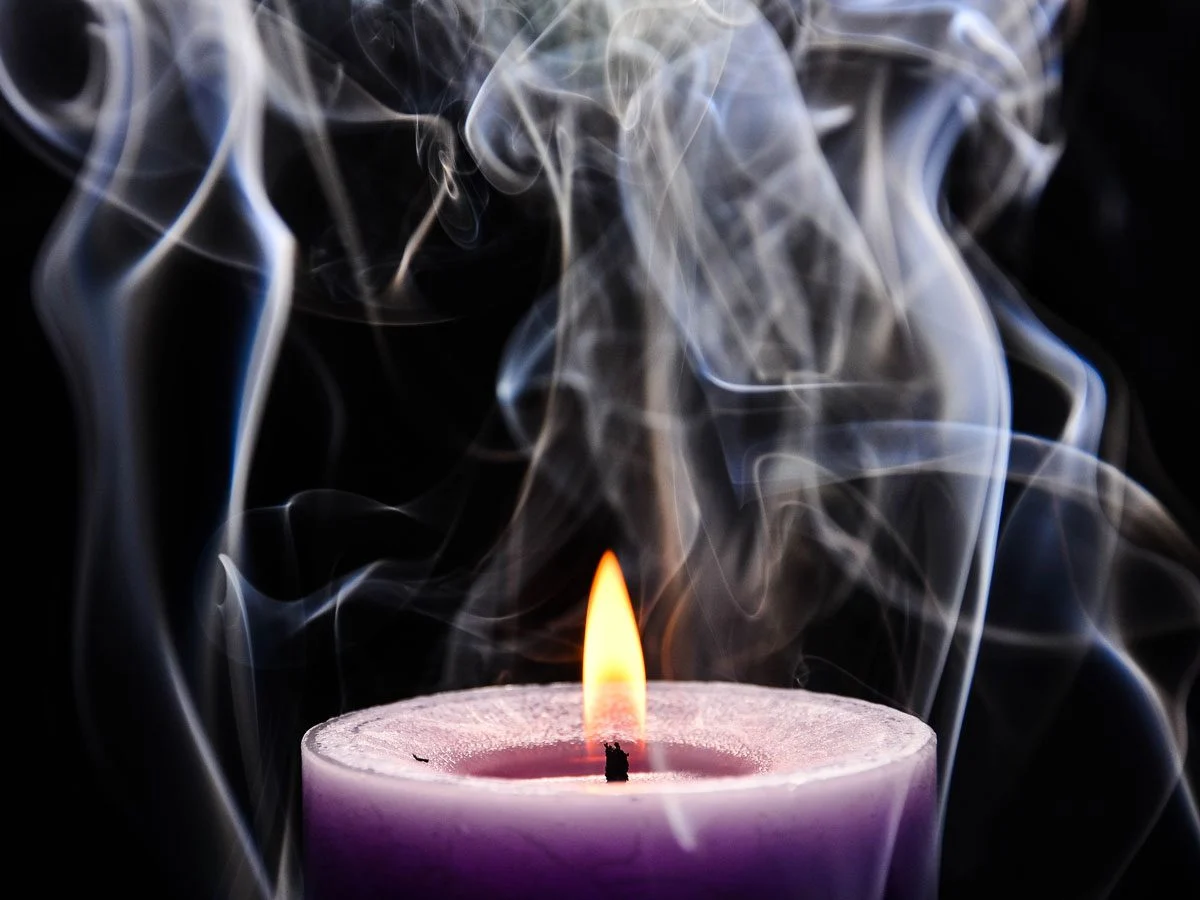
Welcome to the world of beeswax candles! In this article, we’ll explore the art and science behind making these delightful and natural creations. Beeswax has been used for centuries to create candles that not only provide warm light but also offer a range of benefits that make them stand out from other types of candles.
Before we delve into the process of making beeswax candles, let’s first understand what exactly beeswax is. Beeswax is a natural substance secreted by honeybees. It is produced by young worker bees, who consume honey and then convert it into wax through special glands on their abdomen. They then use this beeswax to construct the comb in which they raise their young and store honey. The beeswax is harvested by beekeepers, who carefully collect it to be used for various purposes, including candle making.
So, why choose beeswax candles over other types of candles? There are several compelling reasons. First and foremost, beeswax is a natural and sustainable resource. It is a renewable material that does not require any synthetic processing or additives, making it an eco-friendly choice. This is particularly important in today’s world, where more and more people are seeking environmentally conscious alternatives for their everyday choices.
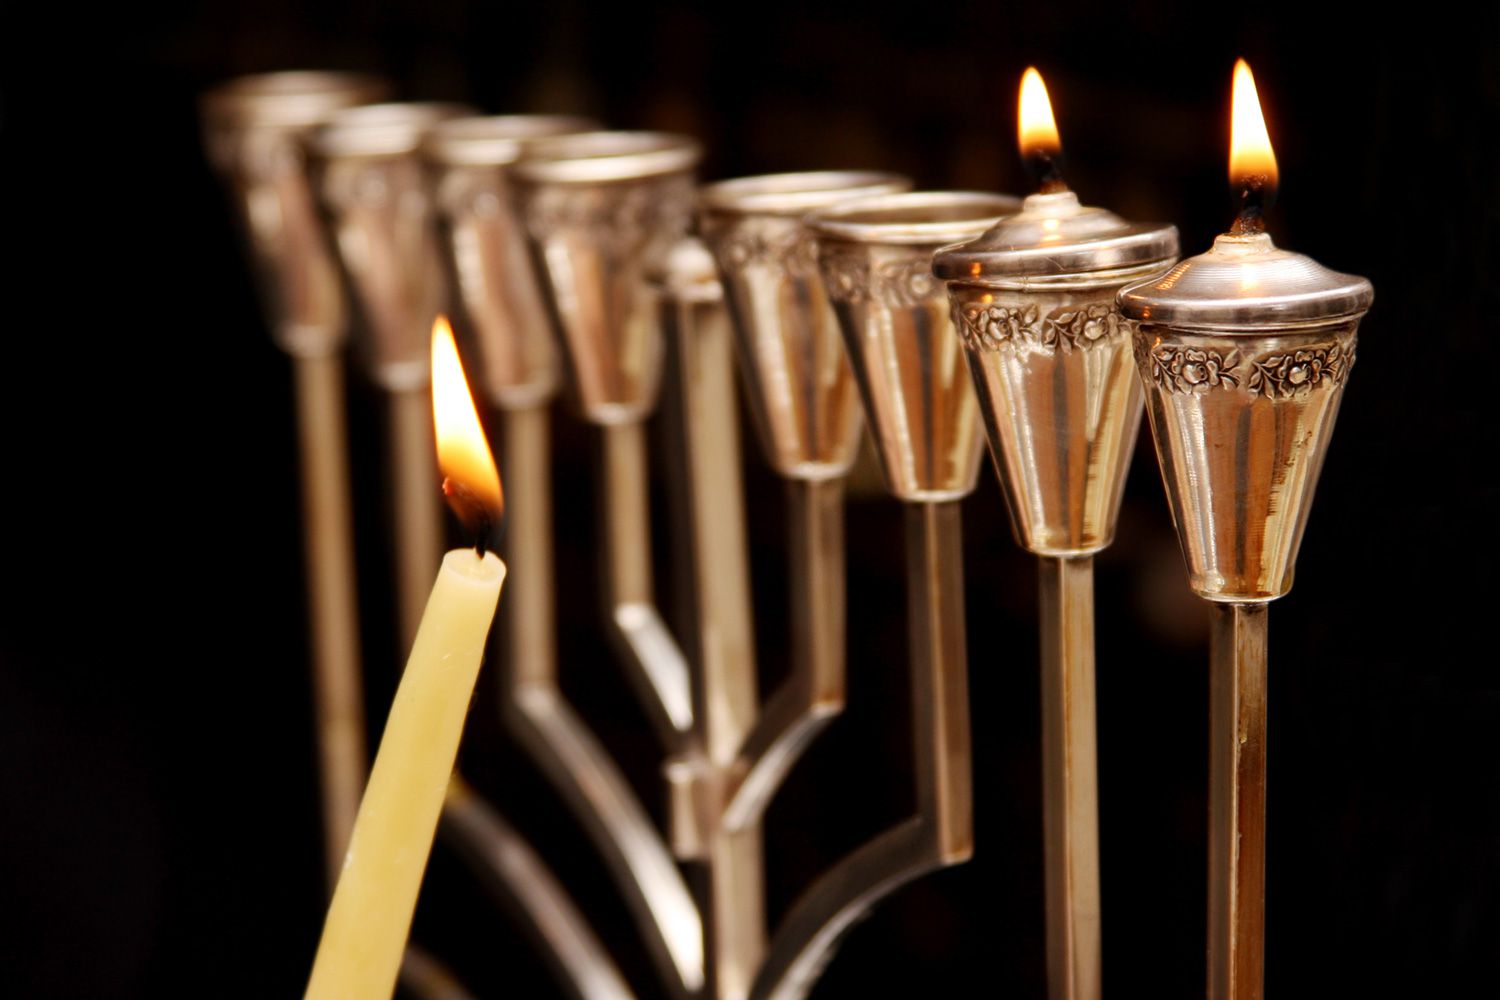
Another significant benefit of beeswax candles is that they emit a warm and soothing light. The natural color of beeswax varies from pale yellow to dark amber, giving the candles a soft and inviting glow when lit. Beeswax also has a unique honey-like scent that adds to the sensory experience, creating a warm and comforting ambiance in any space.
Furthermore, beeswax candles have a longer burn time compared to other types of candles. This is due to the higher melting point of beeswax, which allows the candles to burn at a slower rate. As a result, beeswax candles tend to last longer, providing hours of enjoyment and reducing the need for frequent replacements.
In addition to these benefits, beeswax candles have a clean and non-toxic burn. Unlike paraffin candles, which are made from petroleum byproducts and release harmful toxins when burned, beeswax candles produce negative ions when lit. These ions help neutralize pollutants and allergens in the air, promoting cleaner and healthier indoor environments.
Now that we understand the advantages of beeswax candles, let’s dive into the materials and techniques required to create these beautiful and environmentally friendly creations. With a few simple steps, you can embark on a creative journey that will not only enhance your surroundings but also allow you to enjoy the many benefits of beeswax candles.
Key Takeaways:
- Embrace the natural allure of beeswax candles, creating a warm and inviting ambiance with their eco-friendly, long-lasting, and clean-burning properties. Prioritize safety and enjoy the creative journey of candle making.
- Dive into the enchanting world of beeswax candle making, infusing your space with beauty and tranquility. Experiment with colors, scents, and molds to create unique, natural, and sustainable candles that reflect your creativity.
Read more: How To Make Rolled Beeswax Candles
What is Beeswax?
Beeswax, as the name suggests, is a natural substance produced by honeybees. It is a complex mixture of various compounds, including fatty acids, alcohols, and esters. Beeswax is secreted by worker bees from specialized glands on their abdomen and is then used to build honeycombs in the hive.
When honeybees consume nectar or honey, their bodies convert the sugars into wax. The beeswax is produced in the form of small, scale-like flakes, which the bees then extrude from their wax glands to construct the hexagonal cells of the honeycomb. These cells serve multiple purposes within the hive, providing storage space for honey, pollen, and larvae.
When beekeepers harvest honey, they also collect beeswax, which is carefully cleaned and processed for various applications, including candle making. The harvested beeswax undergoes a purification process to remove impurities and debris, resulting in a clean and high-quality wax that is suitable for use in candles.
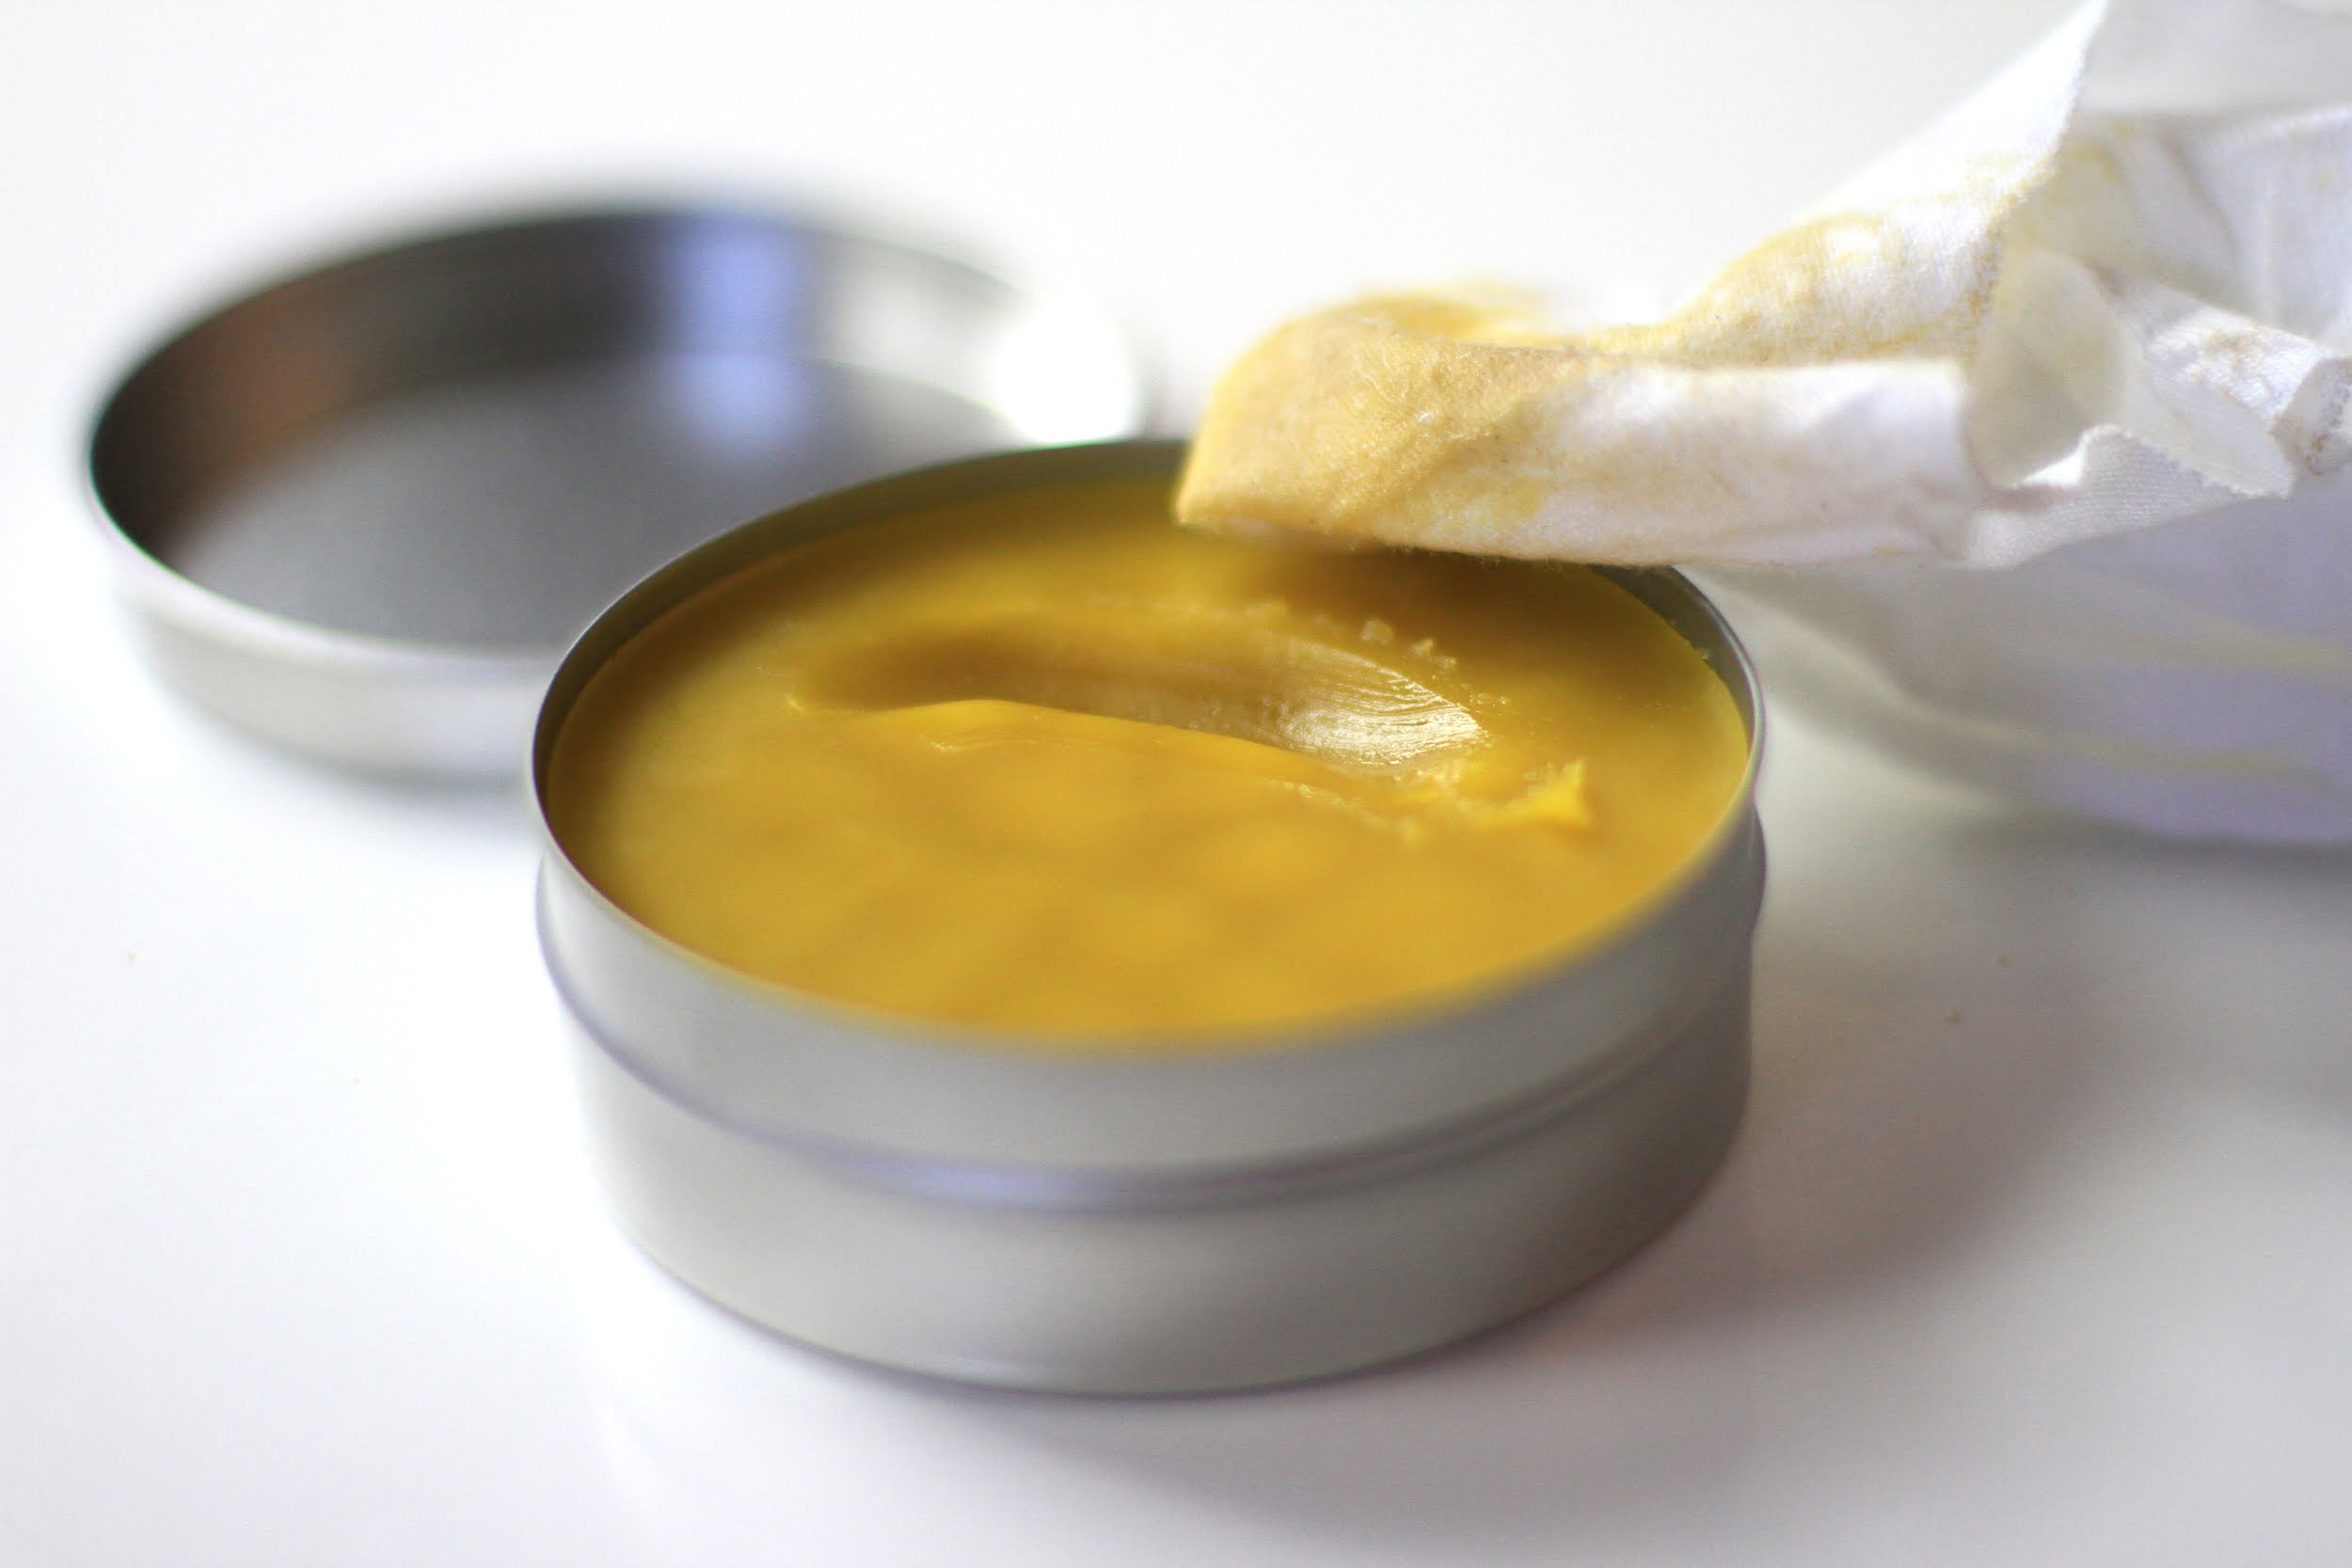
Beeswax has a distinct yellowish-brown color, although it can vary depending on factors such as the bees’ diet and the age of the wax. It has a unique fragrance, often described as a delicate blend of honey and floral notes. This natural scent adds to the charm and allure of beeswax candles when they are burned.
One of the remarkable properties of beeswax is its high melting point. Beeswax typically melts at temperatures ranging from 144 to 149 degrees Fahrenheit (62 to 65 degrees Celsius). This high melting point allows beeswax candles to burn at a slower rate compared to other types of candles, resulting in longer burn times.
In addition to its uses in candle making, beeswax is also found in various other products. It is commonly used in cosmetics, skincare products, and even furniture polishing. Its emollient properties make it an ideal ingredient for moisturizing and protecting the skin, and its natural composition ensures that it is safe and non-toxic.
Beeswax is a valuable natural resource that is cherished not only for its aesthetic appeal but also for its numerous benefits. From its eco-friendly and sustainable production to its clean burn and delightful scent, beeswax is a versatile material that adds a touch of elegance and luxury to any candle-making endeavor.
Benefits of Beeswax Candles
Beeswax candles offer a wide range of benefits that set them apart from other types of candles. They are not only visually appealing but also provide a natural and environmentally friendly way to enjoy the warm glow and soothing ambiance of candlelight. Here are some of the top benefits of using beeswax candles:
- Natural and Sustainable: Beeswax is a natural and renewable resource that does not require any synthetic processing or additives. It is produced by honeybees and harvested by beekeepers, making it an eco-friendly choice for candle enthusiasts who are conscious of their environmental impact.
- Non-Toxic and Clean Burn: Unlike paraffin candles, which are made from petroleum byproducts and release toxins when burned, beeswax candles burn clean and do not produce harmful pollutants. Beeswax candles emit negative ions when lit, which can help neutralize allergens and reduce indoor air pollution.
- Longer Burn Time: Beeswax candles have a higher melting point compared to other types of candles, resulting in a slower and more even burn. This means that beeswax candles tend to last longer, providing hours of enjoyment and reducing the frequency of replacement.
- Soft and Warm Light: Beeswax has a natural golden color that gives beeswax candles a warm and inviting glow when lit. The soft light emitted by beeswax candles creates a cozy and soothing ambiance, making them perfect for relaxation or romantic settings.
- Pleasant Fragrance: Beeswax candles have a subtle and delightful honey-like scent, which adds an aromatic dimension to your space. The natural fragrance of beeswax enhances the sensory experience, creating a calming and pleasant atmosphere.
- Positive Effect on Mood: The soft flickering light of beeswax candles and their pleasant fragrance can have a positive effect on our mood and well-being. The warm glow and gentle scent can help create a sense of relaxation and tranquility, promoting a more peaceful and harmonious environment.
- Decorative and Versatile: Beeswax candles come in a variety of shapes, sizes, and designs, making them a versatile option for decorating your home. Whether you prefer traditional taper candles, elegant pillar candles, or intricately molded votives, there is a beeswax candle to suit every style and occasion.
From their natural and sustainable composition to their clean burn and gentle fragrance, beeswax candles offer numerous benefits that make them a popular choice for candle lovers worldwide. Whether you’re looking to create a cozy atmosphere in your home, enhance your meditation practice, or simply enjoy the beauty of a flickering flame, beeswax candles are a perfect choice.
Materials Needed for Making Beeswax Candles
Before you embark on the journey of making your own beeswax candles, it’s essential to gather all the necessary materials. Here are the key items you’ll need to get started:
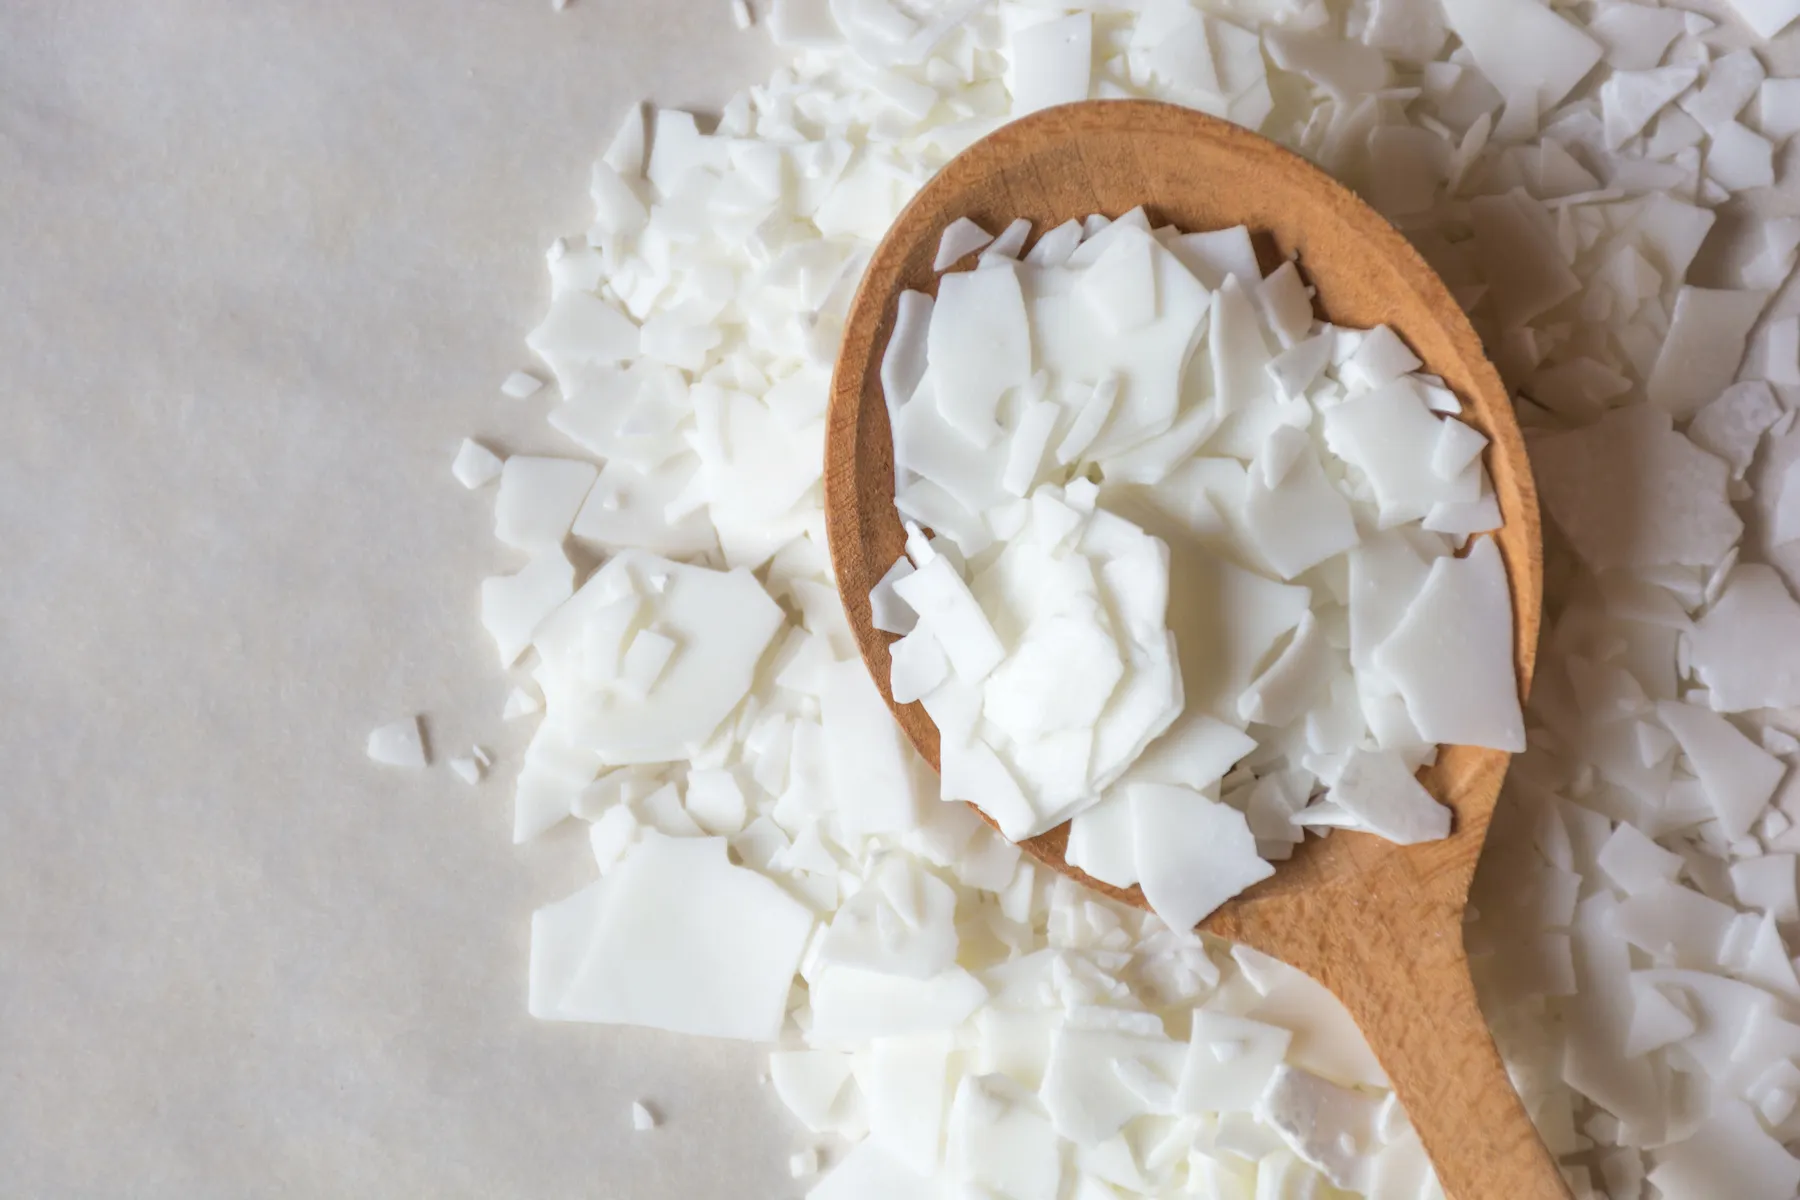
- Beeswax: The star of the show is, of course, beeswax. You’ll need high-quality beeswax, which can be purchased in various forms, such as sheets, blocks, or pellets. Opt for pure, filtered beeswax to ensure the best results in your candle-making endeavors.
- Candle Wick: To create a functional candle, you’ll need a candle wick. It is recommended to choose a cotton or hemp wick that is suitable for beeswax candles. The wick size will depend on the diameter and height of the candle you intend to make.
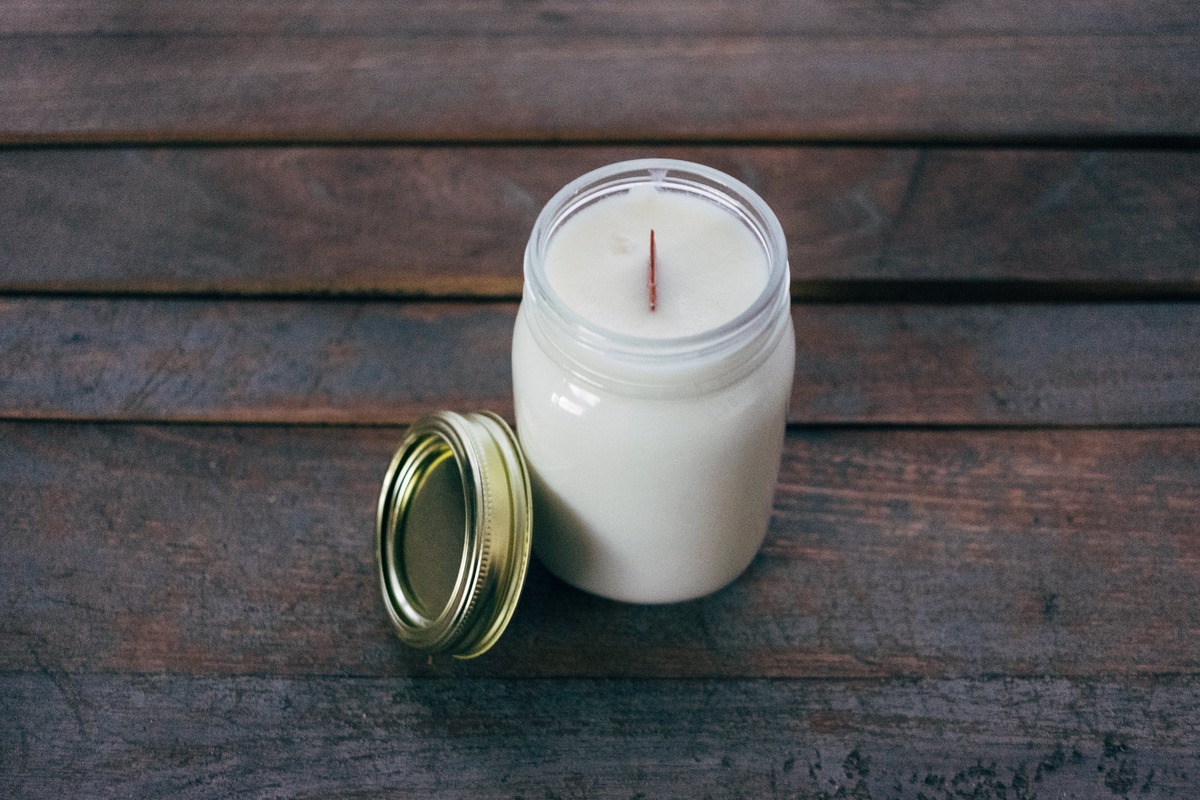
- Candle Container or Mold: Beeswax candles can be made in various shapes and sizes. You’ll need a container or mold to pour the melted beeswax into. This can range from glass jars or tin containers to specialized candle molds made of silicone or metal.
- Double Boiler or Wax Melter: To melt the beeswax, you’ll need a suitable heating apparatus. A double boiler, which consists of a smaller pot nestled in a larger pot filled with water, is a popular choice. Alternatively, you can use a dedicated wax melter designed specifically for candle making.
- Thermometer: A thermometer is crucial for monitoring the temperature of the melting wax. Beeswax has a specific melting point, and it’s important to heat it to the proper temperature range to achieve the best results in your candles.
- Heat-resistant Utensils: You’ll need heat-resistant utensils, such as a stirrer or spoon, for mixing and pouring the melted beeswax. Opt for materials like stainless steel or silicone that can withstand high temperatures.
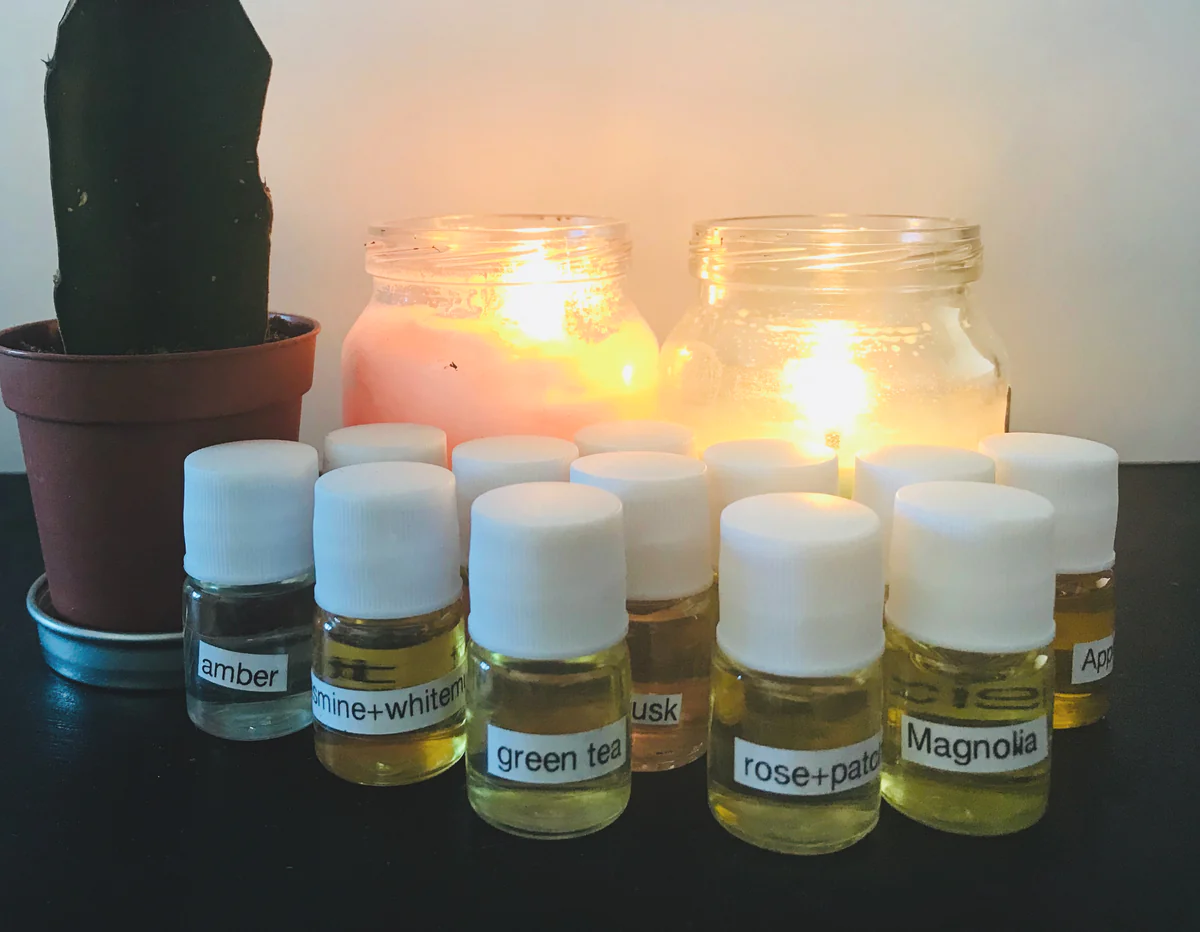
- Optional Additives: While not necessary, you might consider adding optional additives to your beeswax candles. This can include essential oils for fragrance, natural dyes for color, or botanicals like dried flowers or herbs for decorative purposes.
- Protective Equipment: It’s important to prioritize safety when working with hot wax. Therefore, it’s recommended to have protective equipment such as heat-resistant gloves, safety goggles, and an apron to shield yourself from any potential spills or splatters.
By gathering these essential materials, you’ll be well-prepared to dive into the enchanting world of beeswax candle making. Whether you’re a beginner or an experienced candle maker, having all the necessary supplies will ensure a smooth and enjoyable candle crafting experience.
Step-by-Step Guide to Making Beeswax Candles
Making beeswax candles is a rewarding and enjoyable craft that allows you to create beautiful, natural candles to illuminate your space. Here is a step-by-step guide to help you on your candle making journey:
- Prepare your work area: Start by setting up a clean and spacious work area. Cover the surface with newspaper or a protective layer to catch any drips or spills.
- Melt the beeswax: Use a double boiler or wax melter to melt the beeswax. Fill the larger pot or melter with water and place the smaller pot inside. Add the desired amount of beeswax to the smaller pot and heat it over medium-low heat until the wax melts completely. Use a thermometer to monitor the temperature and ensure it stays within the recommended range (typically between 145°F and 175°F or 63°C and 80°C).
- Prepare the wick and container: While the wax is melting, prepare the wick and container. Cut the wick to the desired length, leaving a few extra inches for securing it later. If using a container, adhere the end of the wick to the bottom using a small dab of melted beeswax or a wick sticker. If using a mold, thread the wick through the hole in the mold and secure it with a wick sustainer or by tying it around a pencil placed across the top of the mold.
- Add optional additives: If desired, you can add optional additives to enhance the fragrance, color, or appearance of your candles. Add a few drops of essential oils for a pleasant scent or stir in natural dyes for color. If you prefer to include botanicals, place them in the container or mold before pouring the wax.
- Pour the melted wax: Once the beeswax has melted and reached the desired temperature, carefully pour it into the prepared container or mold. Slowly and steadily pour the wax to minimize air bubbles and ensure even distribution. Leave some space at the top of the container or mold to allow for any shrinkage as the candle cools.
- Secure the wick: For container candles, gently straighten the wick and center it in the wax. Use a wick holder or a pencil laid across the container to keep the wick upright and centered as the wax solidifies. For molded candles, ensure the wick is straight and centered in the mold, with the sustainer or tied end at the top.
- Allow the candles to cool and solidify: Let the candles cool and solidify undisturbed at room temperature. This process usually takes several hours, but it’s best to leave them overnight to ensure complete hardening.
- Trim the wick: Once the candles have fully hardened, trim the wick to an appropriate length, usually around ¼ inch (6 millimeters). This will help the candle burn evenly and prevent excessive flickering or smoking.
- Enjoy your handmade beeswax candles: Light up your beeswax candles with pride and enjoy the warm, natural glow they emit. Whether for relaxation, decoration, or special occasions, your handmade beeswax candles will create a cozy and inviting atmosphere in your space.
With these step-by-step instructions, you’re well-equipped to start making your own beeswax candles. Get creative, experiment with different container shapes and sizes, and even try your hand at molding intricate designs. The possibilities are endless, and the joy of crafting your own candles is truly rewarding.
When making beeswax candles, ensure you use a double boiler to melt the wax slowly and avoid overheating. This will help preserve the natural fragrance and color of the beeswax.
Read more: How To Make Beeswax Scented Candles
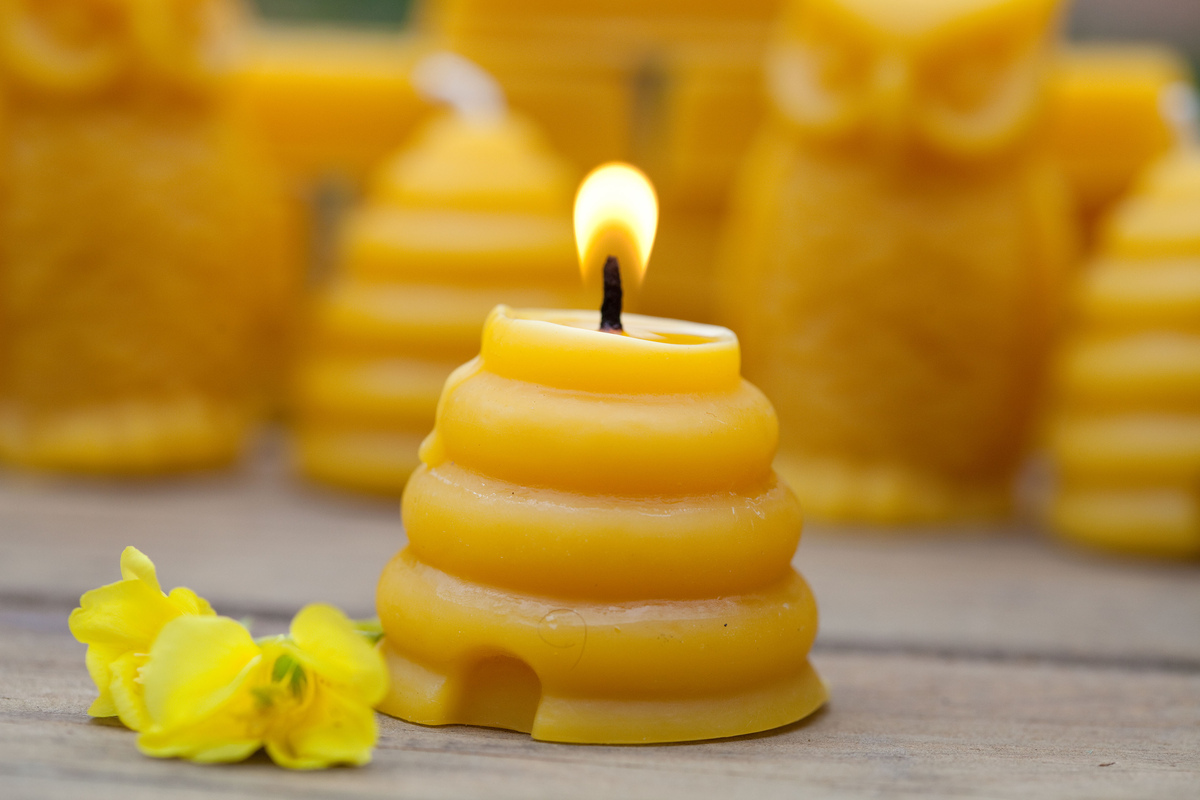
Different Types of Beeswax Candle Molds
When it comes to making beeswax candles, the choice of mold plays a significant role in determining the final shape and design of your candles. There are various types of molds available, each offering unique possibilities for creating beautiful and captivating beeswax candles. Here are some of the most common types of beeswax candle molds:
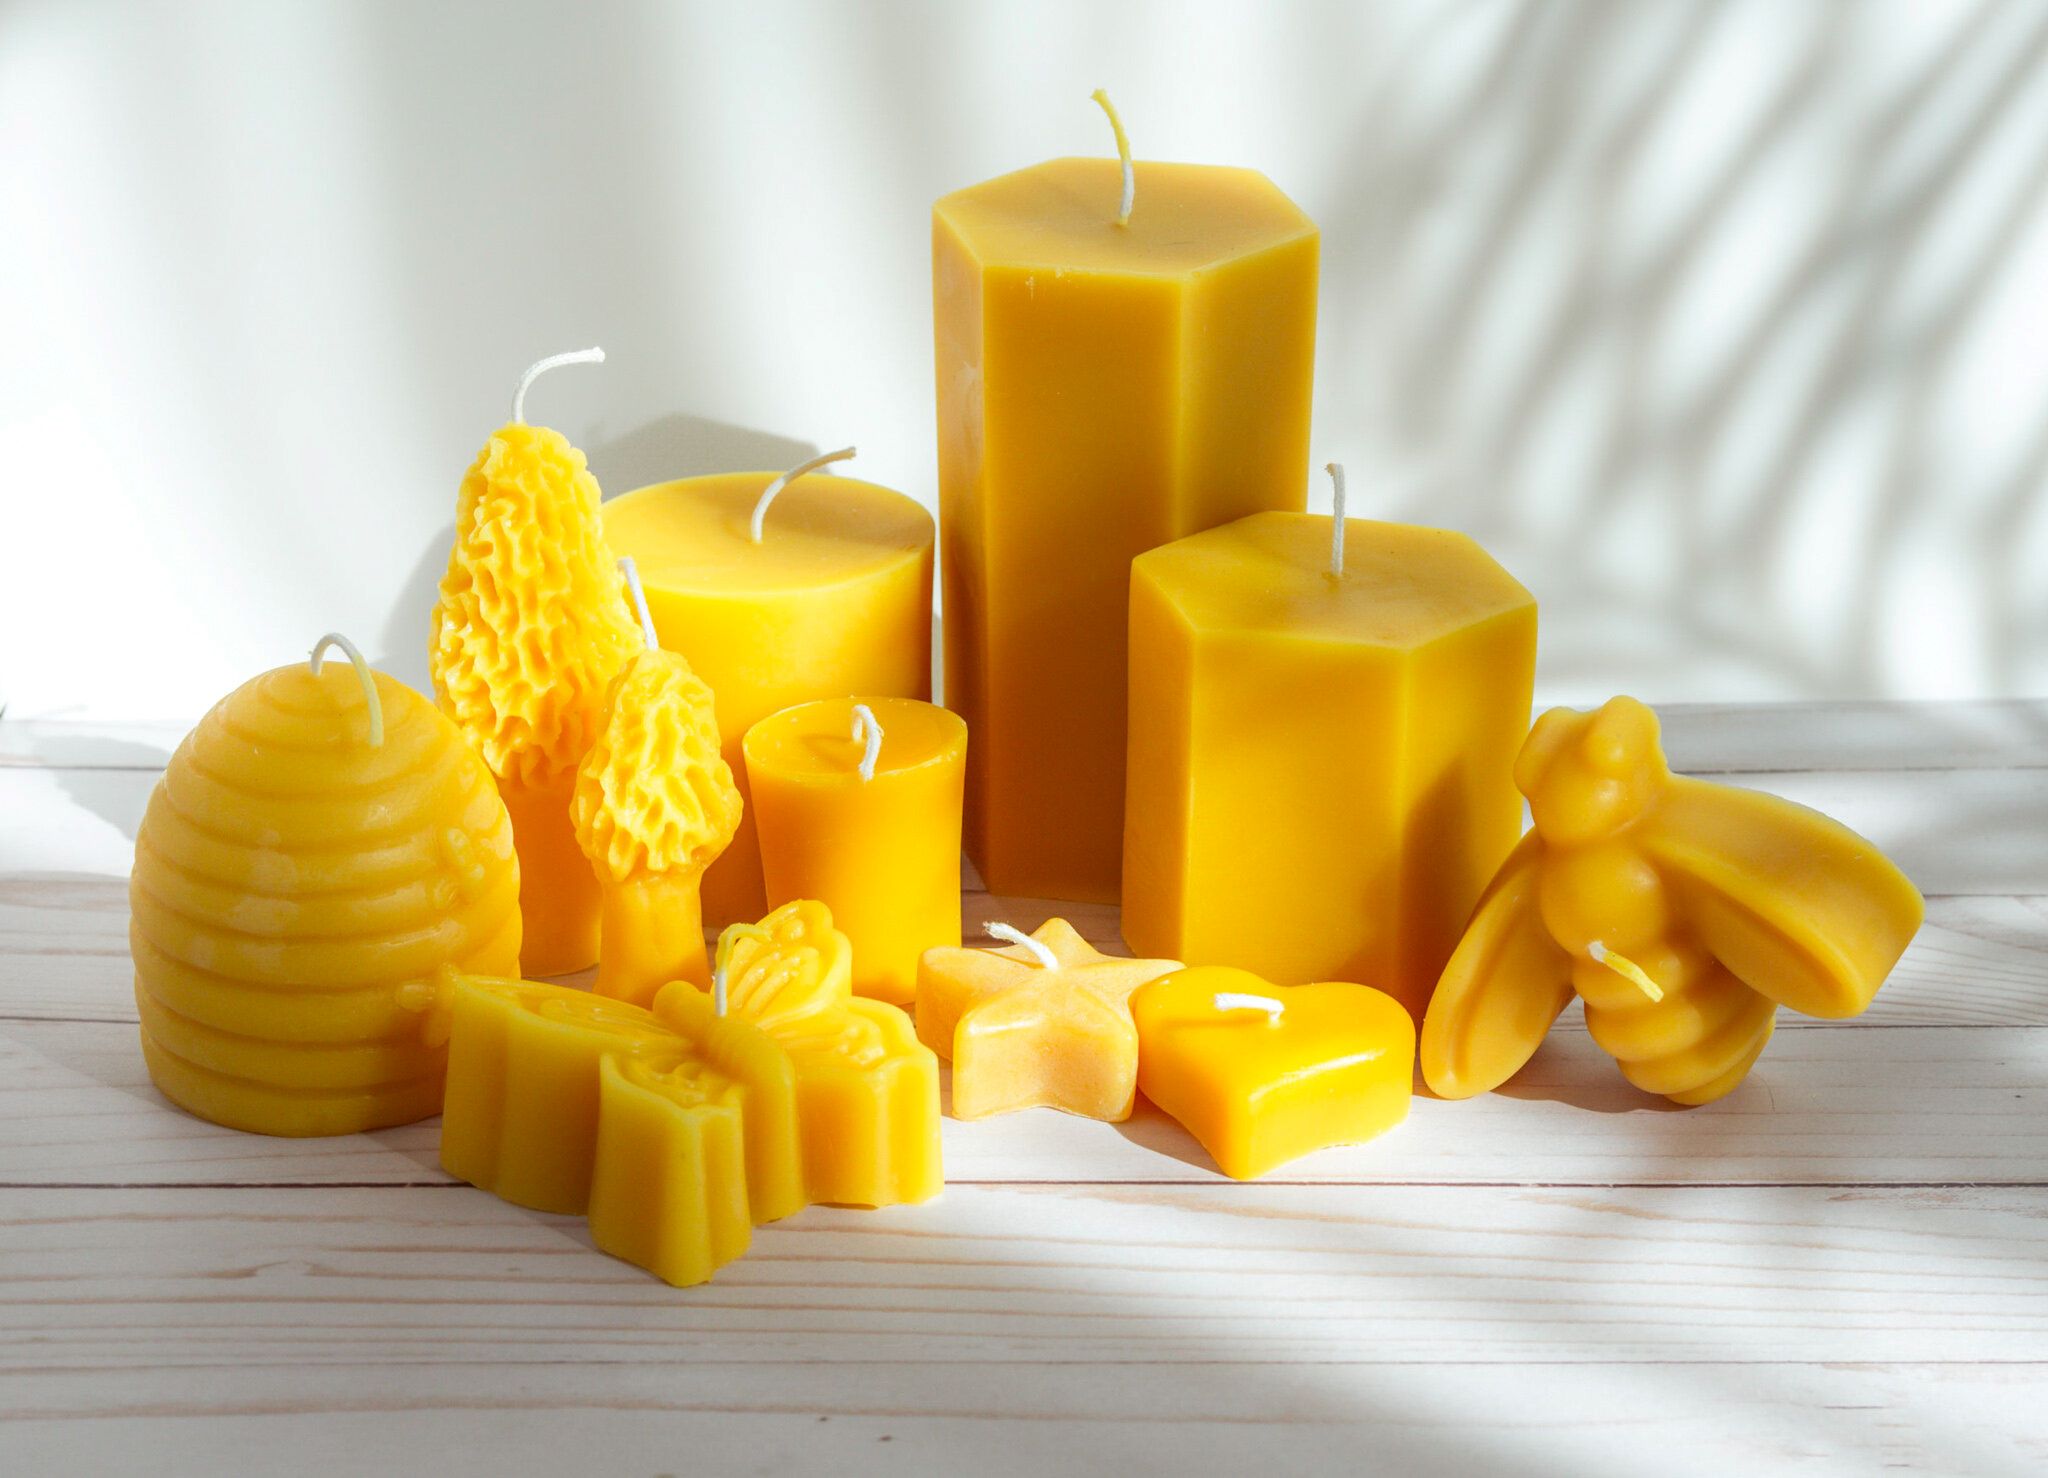
- Pillar Molds: Pillar molds are cylindrical-shaped molds that create solid, freestanding beeswax candles. They are available in different sizes and heights, allowing you to make a range of pillar candles to suit your preferences. Pillar molds often come with a removable top or bottom to facilitate easy removal of the candle once it has solidified.
- Votive Molds: Votive molds are shorter and thicker molds than pillar molds, typically used for creating votive candles. Votives are small, compact candles that are designed to be burned in a votive holder. These molds produce candles that burn for a longer period of time and add a touch of elegance to any centerpiece or decorative arrangement.
- Tealight Molds: Tealight molds are small, shallow molds that are specifically designed for creating tealight candles. Tealights are small, compact candles that fit neatly into tealight holders. They are popular for creating a warm and cozy atmosphere and are often used in relaxation and meditation practices.
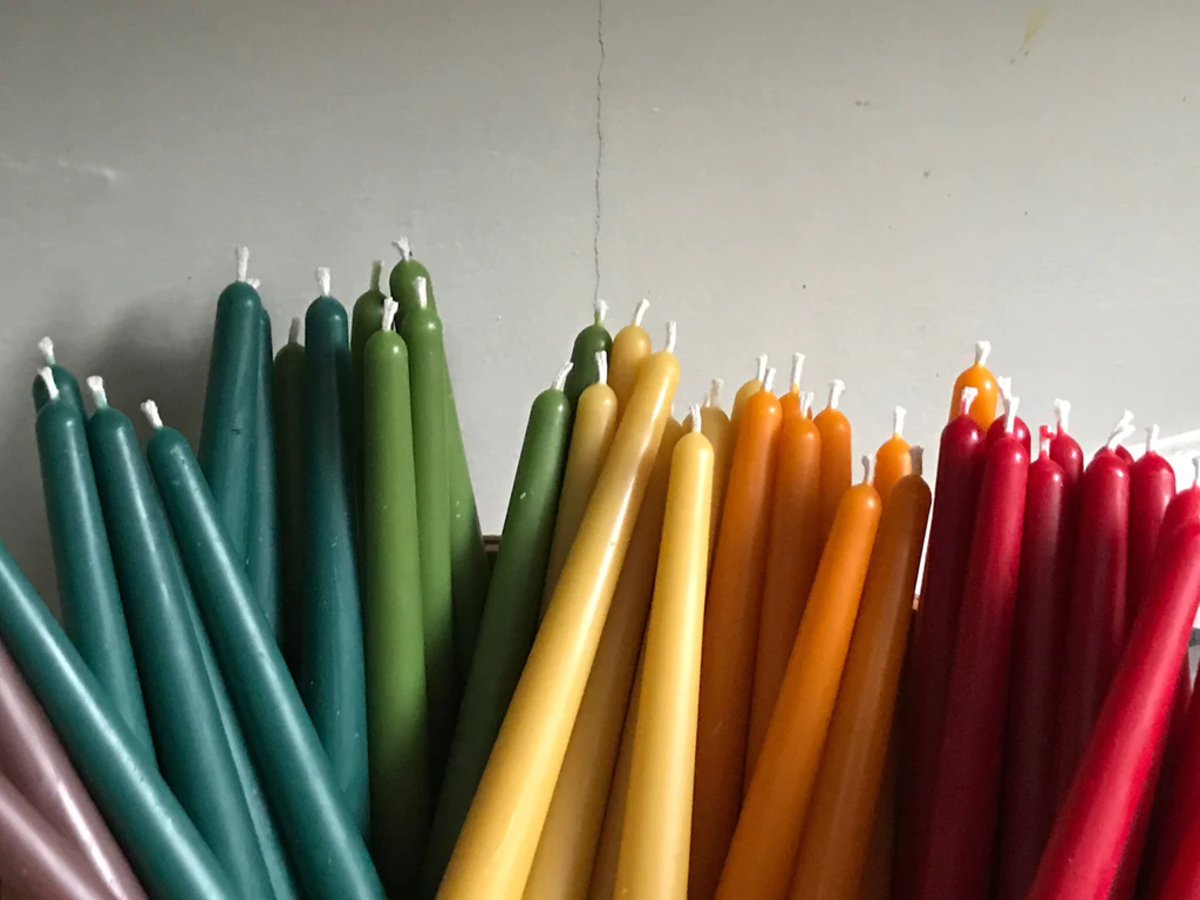
- Taper Molds: Taper molds are long and slender molds used for making taper candles. Taper candles are known for their elegant and timeless appearance, tapering from a thicker base to a narrower tip. Taper molds come in various lengths and are ideal for creating candles for special occasions, dining table arrangements, or decorative displays.
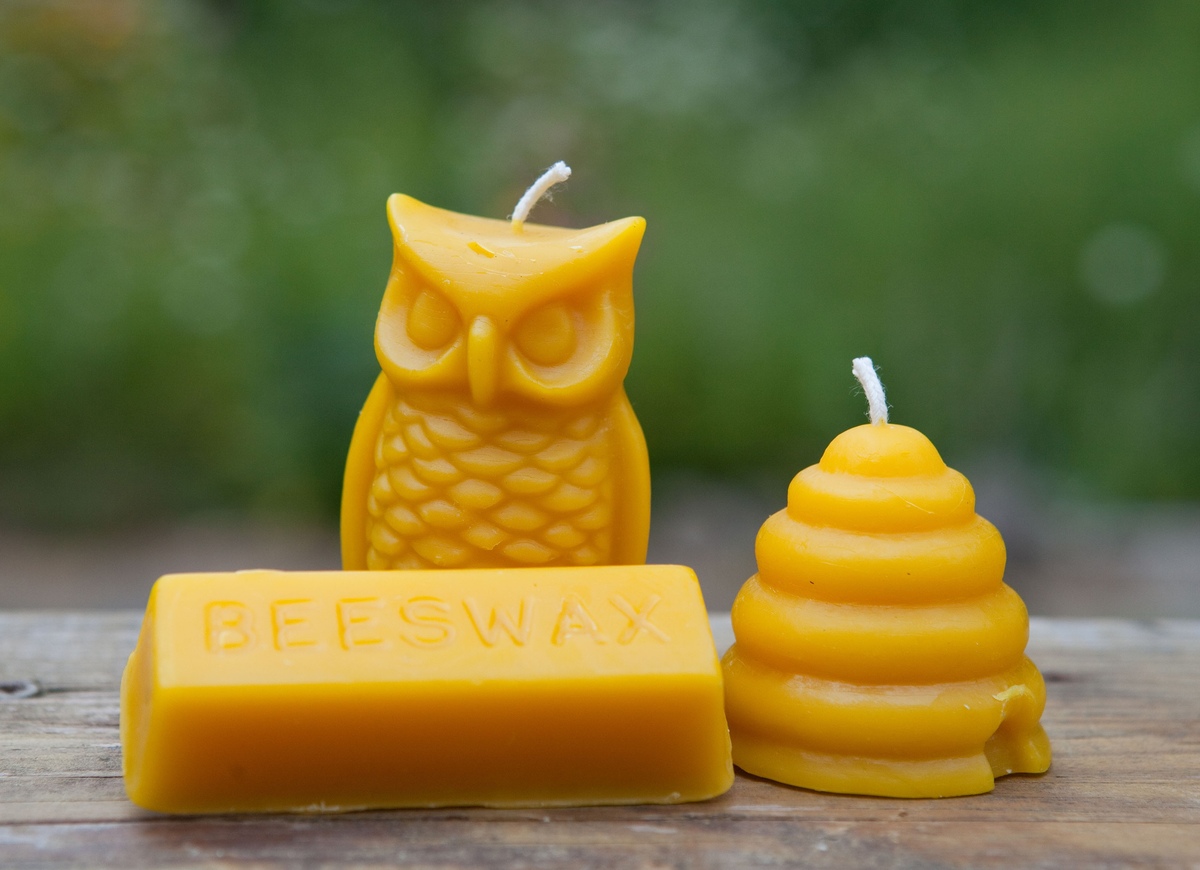
- Novelty Molds: If you’re looking to get creative and add a fun twist to your beeswax candles, novelty molds are the way to go. These molds come in various shapes and designs, such as animals, flowers, fruits, and more. Novelty molds allow you to create unique and eye-catching candles that make delightful gifts or decorative accents.
- Egg Molds: Egg molds are specially designed for making egg-shaped candles. These molds replicate the shape and size of eggs and are often used during Easter or as decorative pieces. Egg-shaped candles can add a touch of whimsy and charm to any celebration or home decor.
- Container Molds: Container molds are versatile molds that can be used with various types of containers, such as glass jars, tins, or ceramic vessels. These molds allow you to pour the melted beeswax directly into the chosen container, creating container candles. Container candles are not only functional but also provide an opportunity to experiment with different sizes, shapes, and styles.
These are just a few examples of the many different types of molds available for beeswax candle making. Whether you prefer classic pillar candles, elegant taper candles, or whimsical novelty designs, there’s a mold to suit your creative vision. Remember to choose molds made from high-quality materials that are heat-resistant and easy to use and clean.
With the right mold in hand, you can create stunning beeswax candles that will captivate and delight, adding a touch of beauty and warmth to any space.
Tips and Tricks for Making Beeswax Candles
Making beeswax candles is a gratifying and creative experience. To ensure optimal results and make the process more enjoyable, here are some helpful tips and tricks to keep in mind:
- Choose high-quality beeswax: Opt for pure, filtered beeswax from reliable sources. High-quality beeswax will provide better results in terms of appearance, scent, and burn time.
- Prevent air bubbles: To minimize air bubbles in your candles, pour the melted beeswax slowly and steadily into the molds or containers. Gently tap the molds or containers on a flat surface to release any trapped air bubbles.
- Experiment with colors: Beeswax naturally ranges in color from pale yellow to dark amber. If you prefer colored candles, consider using natural dyes specifically made for candle making. Start with a small amount and gradually add more for intense colors.
- Scent your candles: Enhance the sensory experience of your beeswax candles by adding a few drops of essential oils. Choose scents that complement the natural aroma of beeswax, such as lavender, vanilla, or citrus. Be mindful of the recommended fragrance load to maintain a good balance of scent.
- Secure your wicks: To keep the wicks centered and straight during the pouring and cooling process, use wick stickers or a small dab of melted beeswax to secure them to the bottom of containers. For molded candles, tie the wick around a pencil placed across the top of the mold.
- Trim the wicks: Before lighting your beeswax candles, trim the wicks to about ¼ inch (6 millimeters) in length. This will help promote an even and clean burn, preventing excessive dripping and mushrooming.
- Experiment with textures: For a unique and visually appealing effect, consider creating textured candles. You can achieve this by gently pressing textured materials, such as lace or leaves, onto the outer surface of the candle before it completely solidifies.
- Store properly: After your beeswax candles have solidified and cooled, store them in a cool and dry place away from direct sunlight. This will help maintain their shape, color, and scent over time.
- Enjoy the process: Beeswax candle making is an art form, so embrace the creative process and enjoy the journey. Don’t be afraid to experiment, try new techniques, and let your imagination guide you in creating unique and beautiful candles.
By keeping these tips and tricks in mind, you can elevate your beeswax candle making skills and create candles that are not only visually stunning but also burn beautifully and provide a delightful sensory experience. So, gather your materials, let your creativity flow, and immerse yourself in the wonderful world of beeswax candle making!
Safety Precautions
While making beeswax candles is a fun and rewarding activity, it is important to prioritize safety to prevent accidents and ensure a smooth candle-making experience. Here are some essential safety precautions to keep in mind:
- Work in a well-ventilated area: Ensure that your work area is well-ventilated to prevent the buildup of fumes or smoke. Open windows or use a fan to improve air circulation and minimize exposure to any potential airborne particles.
- Use protective equipment: Wear appropriate protective equipment, such as heat-resistant gloves, safety goggles, and an apron, to protect yourself from accidental burns or spills. This is especially important when working with hot wax and heat sources.
- Keep flammable materials away: Keep flammable materials, such as paper, fabric, or chemicals, away from your candle-making area. This will help prevent potential fire hazards and ensure a safer working environment.
- Use a double boiler or wax melter: When melting beeswax, always use a double boiler or wax melter to reduce the risk of direct heat and fire. Avoid melting beeswax directly in a saucepan or over an open flame, as it can lead to overheating and combustion.
- Monitor the melting temperature: Use a thermometer to monitor the temperature of the melting wax. Beeswax typically melts between 145°F and 175°F (63°C and 80°C). Avoid overheating the wax, as it can cause it to smoke, release toxic fumes, or ignite.
- Handle hot wax with caution: Be cautious when handling hot wax to avoid burns. Use heat-resistant utensils and pour the wax slowly to minimize splatters or spills. Keep a fire extinguisher or baking soda nearby in case of any small fires caused by wax spills.
- Avoid leaving candles unattended: Never leave burning candles unattended. Always extinguish candles before leaving the room or going to bed. Keep them away from flammable objects, drafts, and areas where they could be knocked over by children or pets.
- Properly extinguish candles: Use a candle snuffer or dip the wick into the melted wax to extinguish the flame. This will help prevent hot wax from splattering and minimize the risk of accidentally reigniting the wick when the candle is relit.
- Read and follow instructions: Always read and follow the instructions provided with your candle-making materials and equipment. Each product may have specific guidelines and safety precautions to ensure optimal use and minimize risks.
- Educate yourself: Stay informed about candle-making techniques, safety procedures, and best practices. Attend workshops, consult reliable resources, and seek advice from experienced candle makers to enhance your knowledge and skills.
By following these safety precautions, you can create your beeswax candles with confidence and peace of mind. Remember, safety should always be a priority, allowing you to enjoy the creative process while ensuring the well-being of yourself and those around you. Happy candle making!
Conclusion
Beeswax candles are a wonderful and natural way to bring warmth, beauty, and a soothing ambiance into your space. From their eco-friendly and sustainable composition to their long burn time and clean, non-toxic properties, beeswax candles offer a multitude of benefits that set them apart from other types of candles.
In this article, we’ve explored the fascinating world of beeswax candle making, delving into the process, materials, and various types of molds. We’ve also provided tips and tricks to help you create stunning and unique beeswax candles while prioritizing safety throughout the candle-making journey.
By choosing high-quality beeswax, experimenting with colors and scents, and utilizing different molds, you can create candles that reflect your creativity and personal style. Whether you prefer elegant pillar candles, intricate taper candles, or charming novelty designs, beeswax candles allow you to express yourself and infuse your space with beauty.
As you embark on your beeswax candle making adventures, remember to prioritize safety by working in a well-ventilated area, wearing protective equipment, and exercising caution when handling hot wax. This will ensure a safe and enjoyable experience for yourself and those around you.
So, gather your materials, embrace your creativity, and immerse yourself in the art of beeswax candle making. Light up your handmade creations and bask in the warm glow and soothing aroma that only beeswax candles can provide. Whether you’re using them for relaxation, decoration, or special occasions, these natural and sustainable candles will infuse your space with a touch of beauty, serenity, and a hint of nature’s magic.
Enjoy the process, experiment with different techniques, and let your imagination guide you as you create candles that bring joy and tranquility into your life. Let the natural allure of beeswax shine through, creating a peaceful sanctuary where you can unwind, connect with loved ones, or find solace in quiet reflection.
Happy beeswax candle making!
Frequently Asked Questions about How Do You Make Beeswax Candles
Was this page helpful?
At Storables.com, we guarantee accurate and reliable information. Our content, validated by Expert Board Contributors, is crafted following stringent Editorial Policies. We're committed to providing you with well-researched, expert-backed insights for all your informational needs.