Articles
How To Make Rolls In A Bread Machine
Modified: January 4, 2024
Learn how to make delicious rolls in a bread machine with our informative articles. Find step-by-step instructions, helpful tips, and mouth-watering recipes to enhance your baking skills.
(Many of the links in this article redirect to a specific reviewed product. Your purchase of these products through affiliate links helps to generate commission for Storables.com, at no extra cost. Learn more)
Introduction
Making homemade rolls can be a rewarding and delicious endeavor. Whether you’re a baking enthusiast or simply looking to try your hand at bread-making, using a bread machine can make the process easier and more convenient. With the right machine and a few simple steps, you can enjoy fresh, fluffy rolls right at home.
In this article, we will guide you through the process of making rolls in a bread machine. From choosing the right machine to baking and serving the rolls, we’ll cover everything you need to know to achieve perfect results every time.
Using a bread machine takes the guesswork out of the baking process and ensures consistent and reliable results. It eliminates the need for manual kneading and provides precise temperature and timing controls. Whether you’re a beginner or an experienced baker, a bread machine can be a valuable tool in your kitchen.
Before diving into the process, it’s important to note that different bread machines may have slightly different settings and functionalities. Therefore, it’s essential to consult the manufacturer’s instructions for your specific machine. However, the general steps outlined in this article should apply to most bread machines.
Now that we’ve laid the groundwork, let’s get started on creating some delicious rolls with your bread machine!
Key Takeaways:
- Enjoy fresh, fluffy rolls at home by choosing the right bread machine, gathering high-quality ingredients, and following the precise steps for measuring, shaping, proofing, and baking. Let the bread machine do the work for perfect results every time!
- Create delicious homemade rolls with ease by selecting the ideal bread machine, measuring and adding ingredients accurately, shaping the rolls with care, and mastering the art of proofing and baking. Elevate your bread-making skills and savor the delightful results!
Read more: How To Make Dough In Bread Machine
Choosing the right bread machine
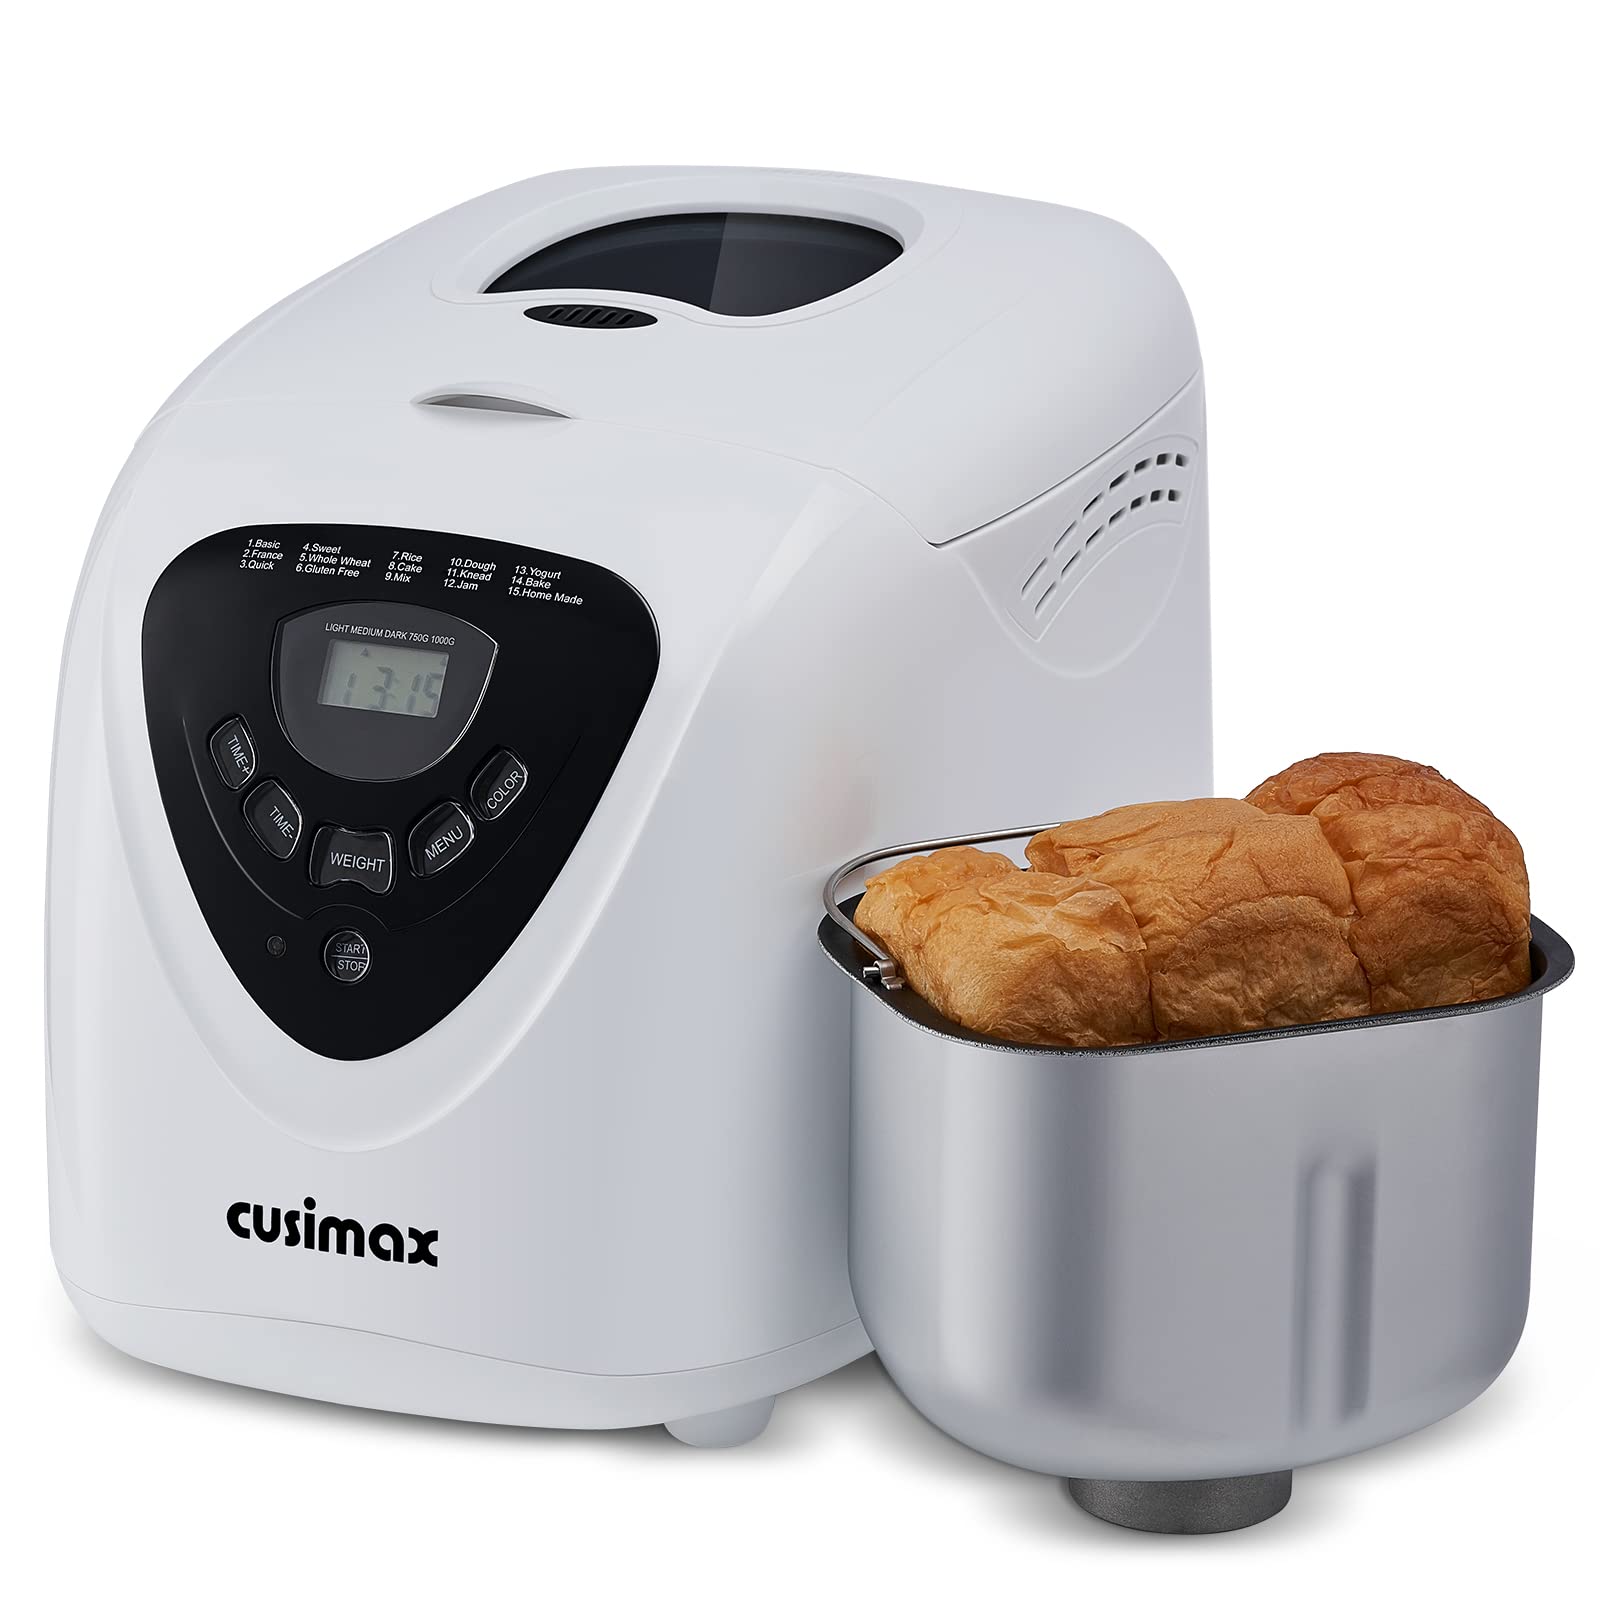
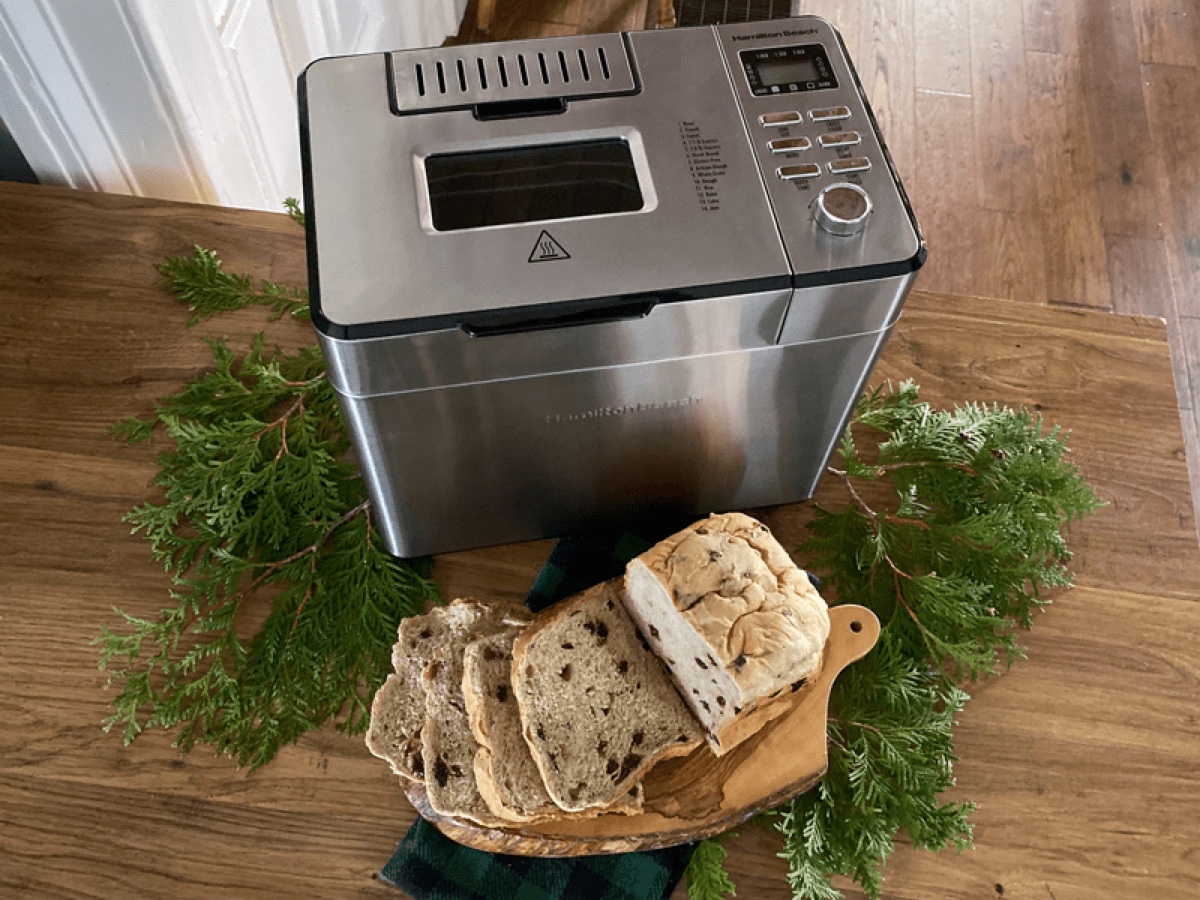
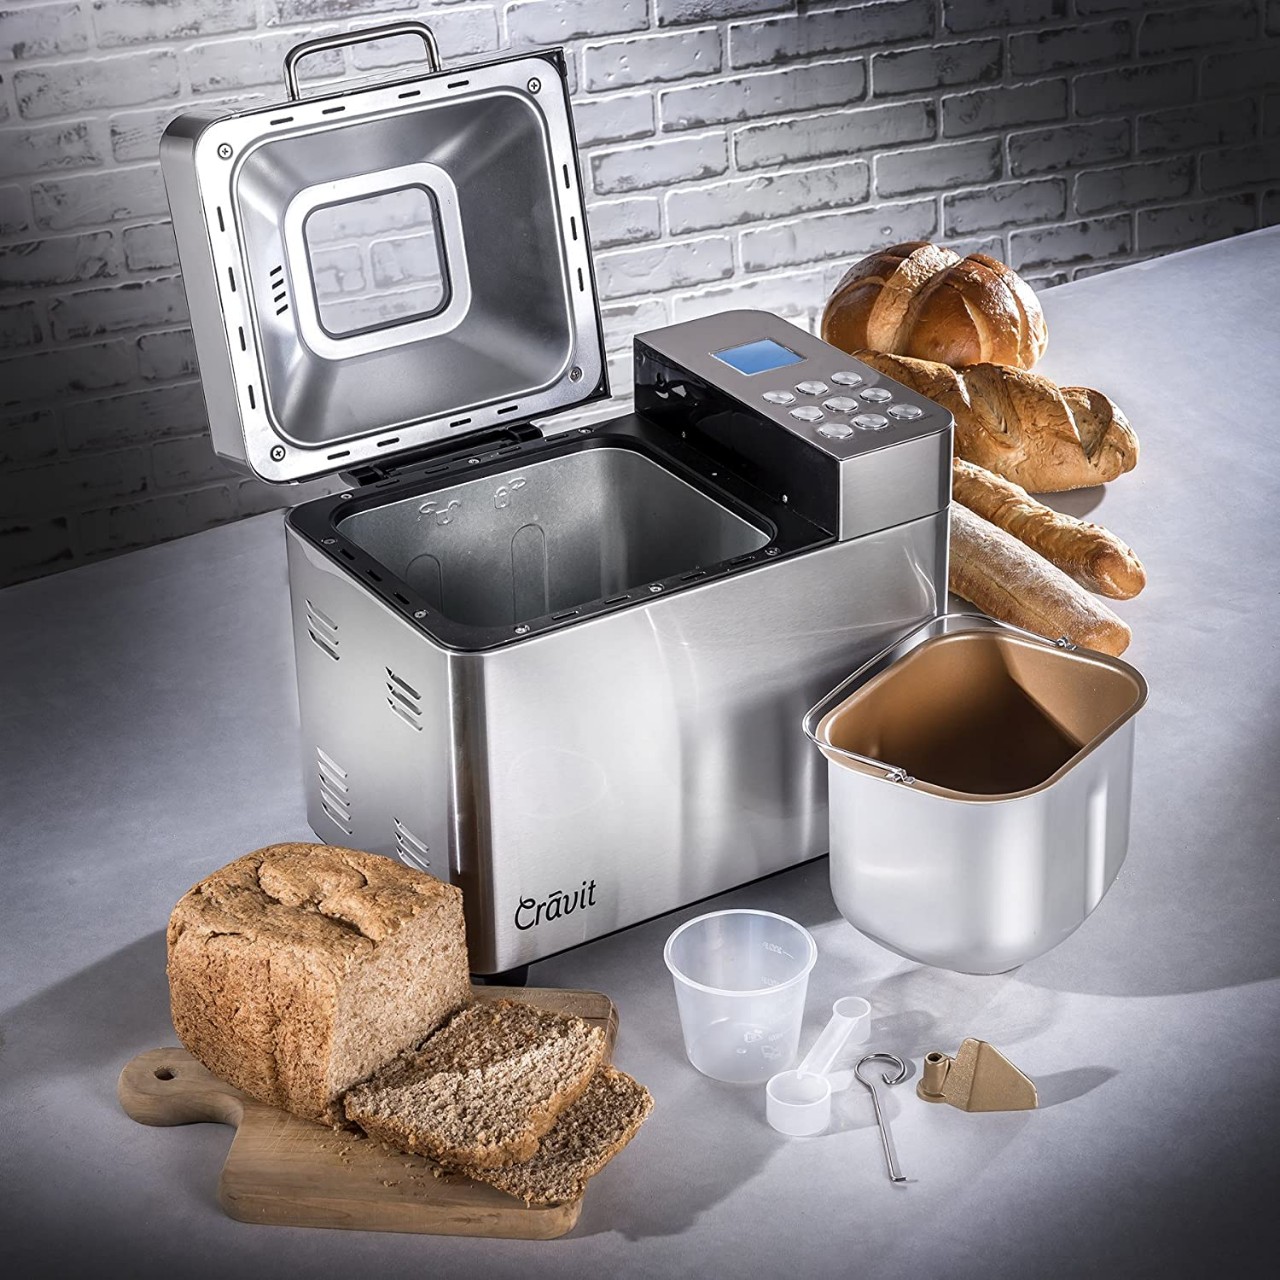
When it comes to making rolls in a bread machine, choosing the right machine is key. There are a few factors to consider to ensure that you select the perfect bread machine for your needs.
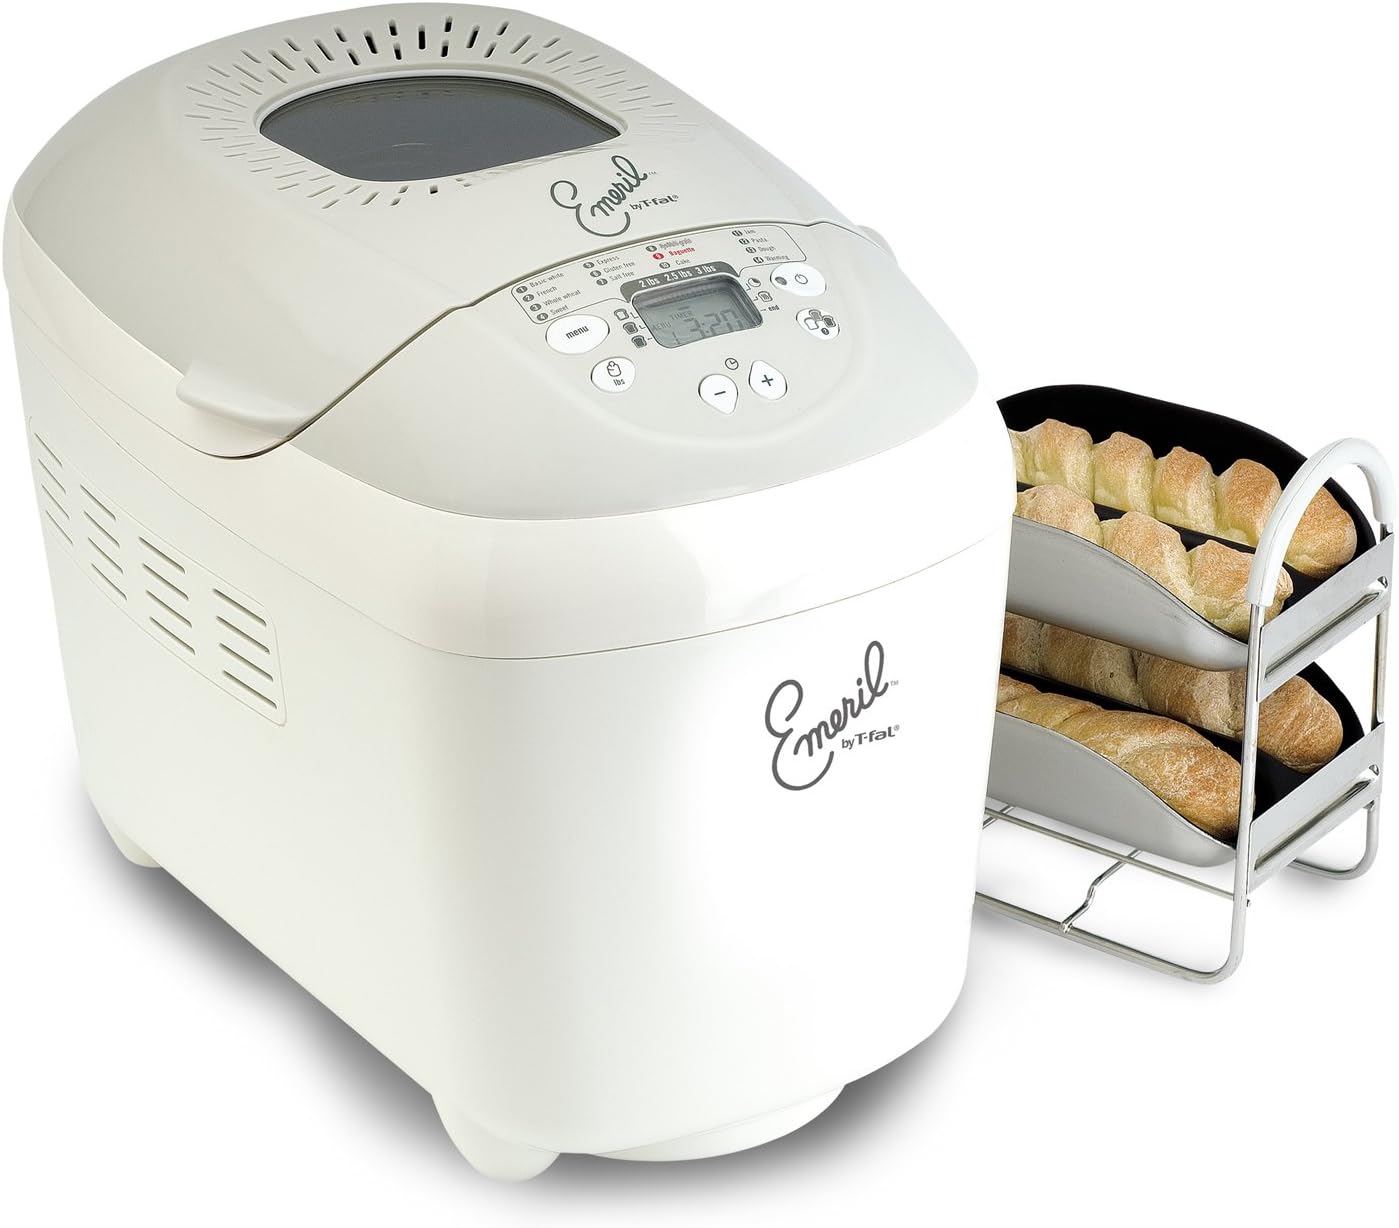
The first thing to consider is the size and capacity of the bread machine. Depending on the number of rolls you plan to make at a time, you’ll want to ensure that the machine can accommodate the desired quantity. Most bread machines have a maximum loaf size specified, so be sure to check that it can handle the amount of dough required for your desired number of rolls.
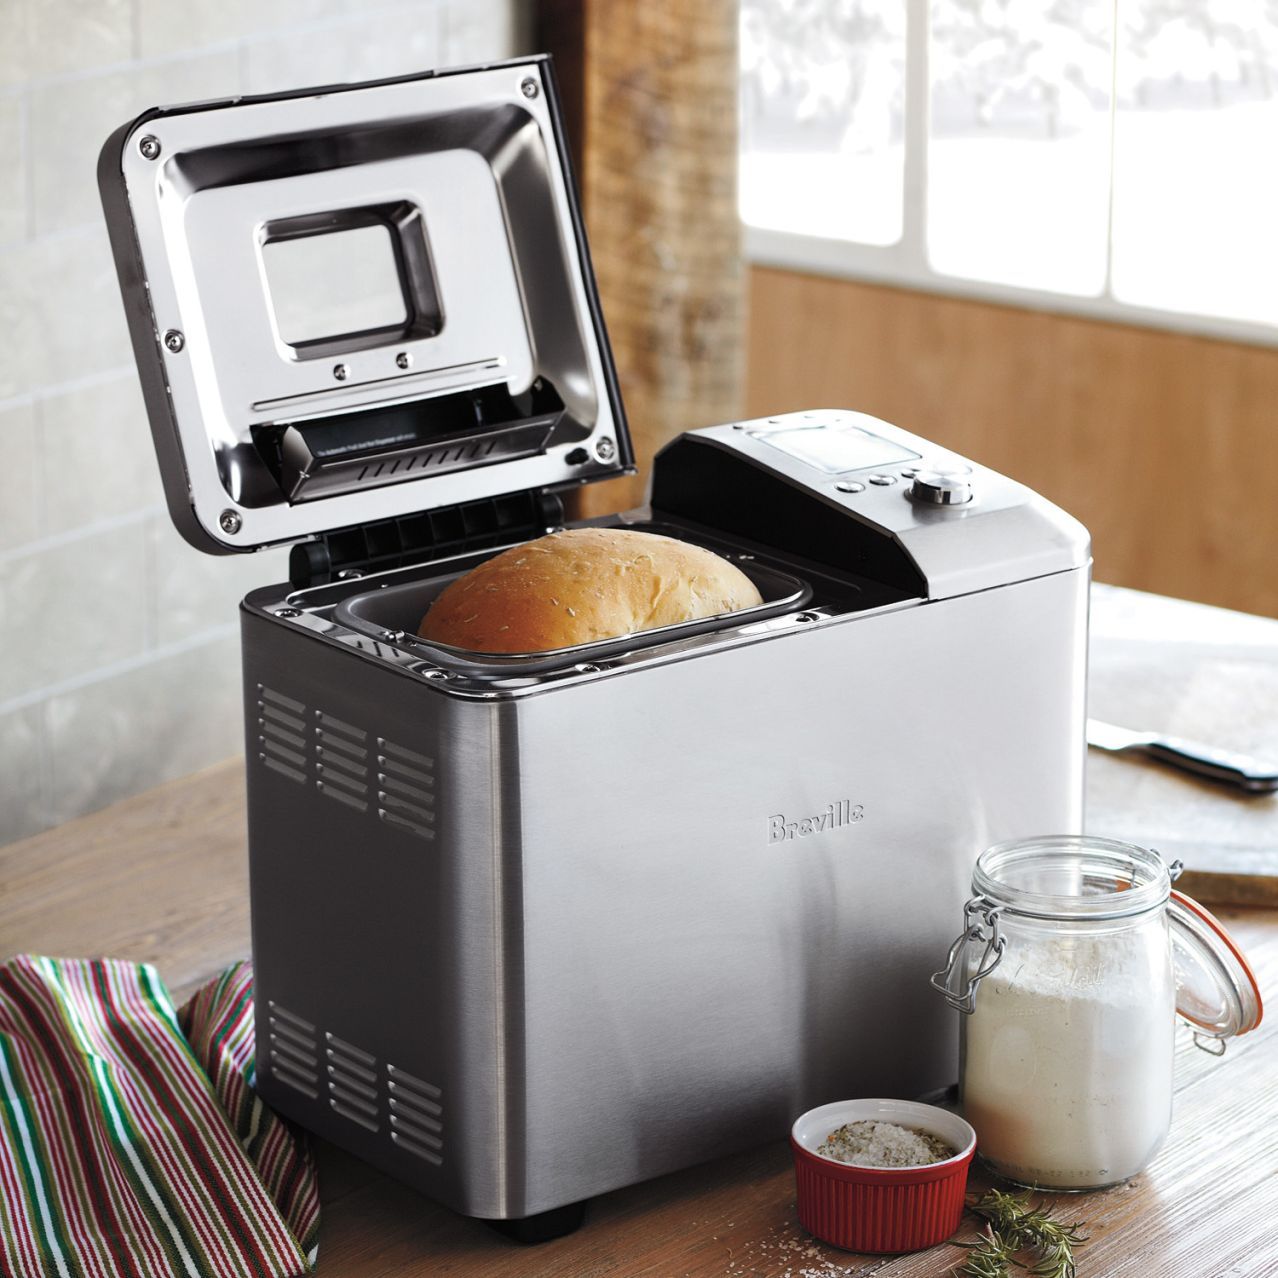
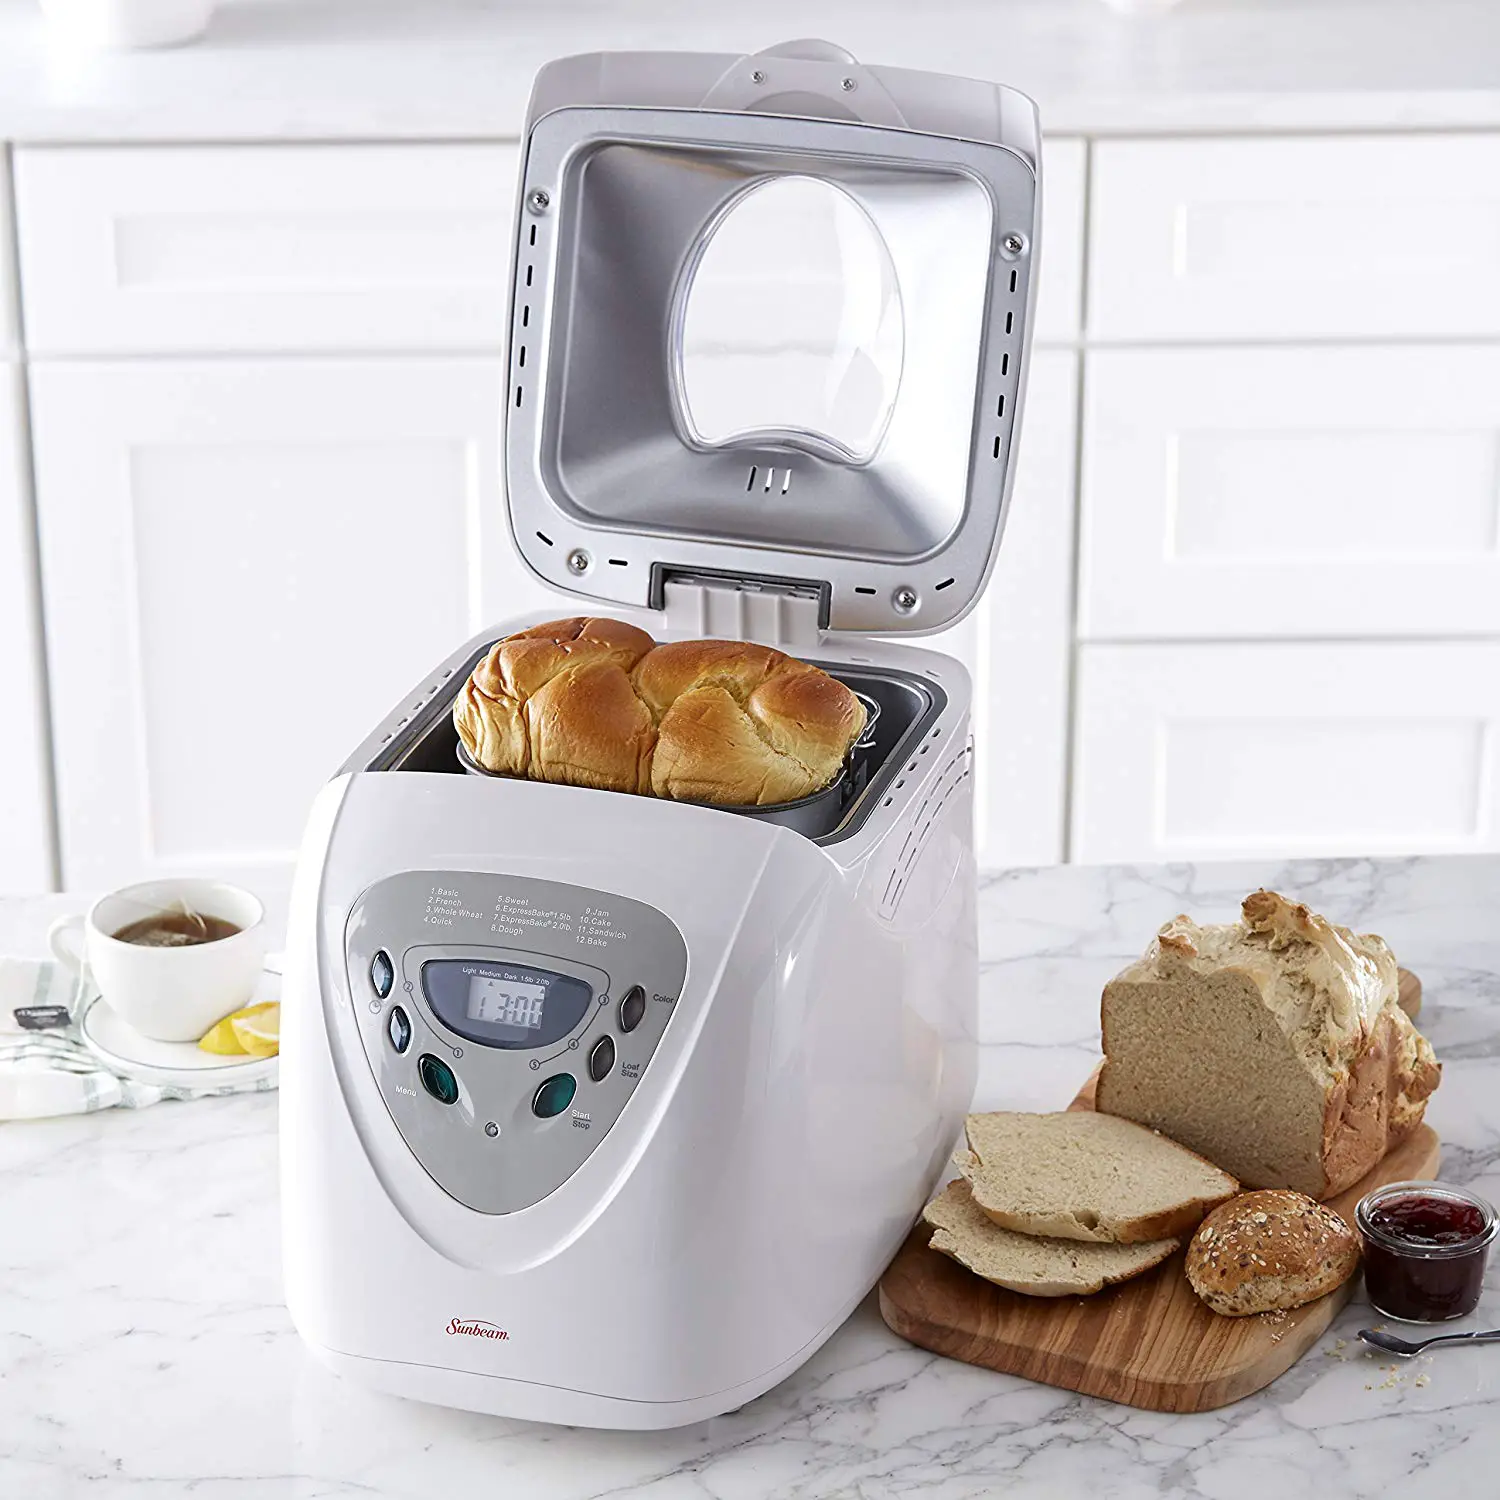
Next, consider the available settings and features of the bread machine. Look for a machine that has a dough setting specifically designed for making bread or rolls. This setting will ensure that the dough is kneaded properly and given sufficient time to rise, resulting in soft and fluffy rolls.
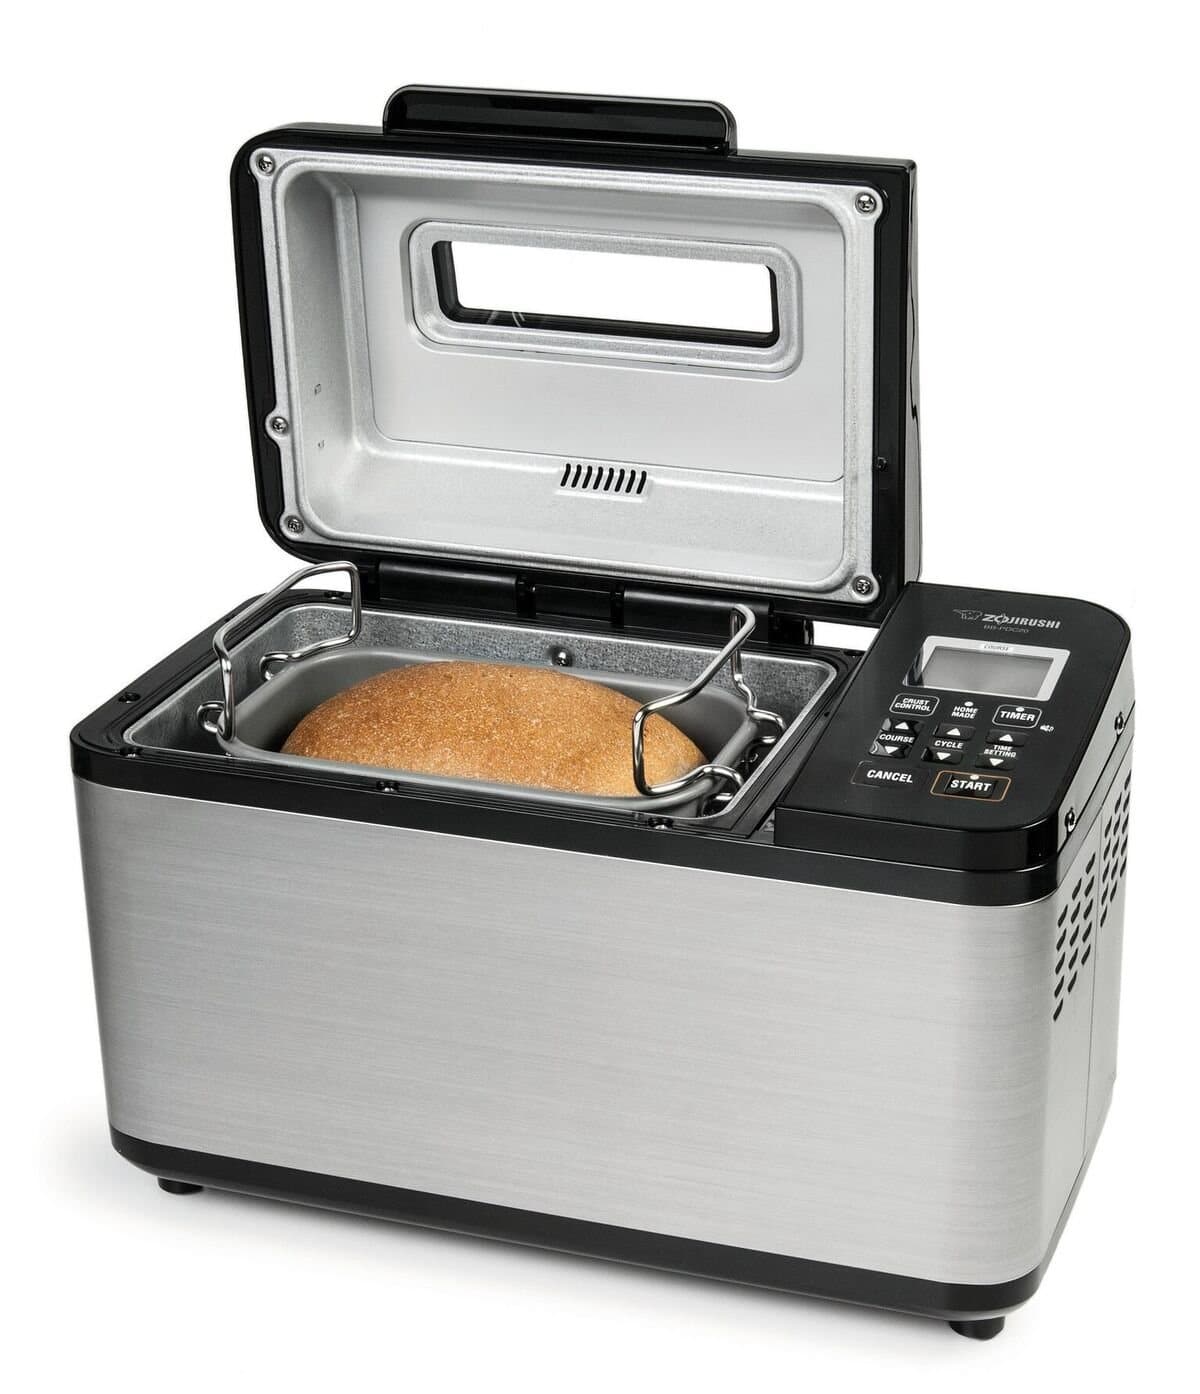
It’s also worth considering additional features such as a delay timer or a crust control option. A delay timer allows you to program the machine to start baking at a later time, which can be useful if you want to wake up to freshly baked rolls in the morning. Crust control options allow you to adjust the browning of the rolls, giving you control over the final appearance and texture.
Another factor to consider is the durability and reliability of the bread machine. Read reviews and check the reputation of the brand to ensure that you’re investing in a machine that will last. You want a machine that will consistently deliver excellent results and withstand regular use.
Lastly, consider your budget. Bread machines come in a range of prices, so determine your budget and find a machine that falls within that range while still meeting your desired specifications.
By taking these factors into consideration, you can choose a bread machine that will be perfect for making rolls. Once you have the right machine, it’s time to move on to the next step: gathering the ingredients.
Gathering the ingredients
Before you can start making rolls in your bread machine, it’s important to gather all the necessary ingredients. Fresh and high-quality ingredients will contribute to the overall taste and texture of your rolls.
Here are the main ingredients you’ll need:
- Flour: Use all-purpose flour or bread flour for best results. These types of flour have a higher protein content, which helps develop gluten and gives the rolls their structure.
- Yeast: Active dry yeast or instant yeast can be used. Check the expiration date to ensure it’s fresh and active.
- Sugar: Adding a small amount of sugar helps activate the yeast and aids in the rising process.
- Salt: Salt not only enhances the flavor of the rolls but also helps regulate the yeast’s activity.
- Liquid: Typically, you’ll need water or milk as your liquid component. Make sure it’s at a warm temperature (around 110°F/43°C) to activate the yeast effectively.
- Fat: Adding fat, such as butter or oil, helps keep the rolls soft and tender.
Depending on your preference and the recipe you’re following, you might also need additional ingredients such as eggs, herbs, or spices for flavor variations.
Make sure to measure the ingredients accurately. Use measuring cups for liquids and dry measuring cups or a kitchen scale for flour. Too much or too little of certain ingredients can affect the texture and rise of your rolls.
Once you’ve gathered all the ingredients, it’s time to move on to the next step: measuring and adding the ingredients to the bread machine.
Measuring and adding the ingredients
Now that you have all the ingredients ready, it’s time to measure and add them to your bread machine. Accurate measurements are crucial to ensure the success of your rolls.
Here’s how to go about measuring and adding the ingredients:
- Check the recipe: If you’re following a specific recipe, refer to it for the exact measurements of each ingredient. Recipes usually provide measurements in volume (cups, tablespoons) or weight (grams, ounces).
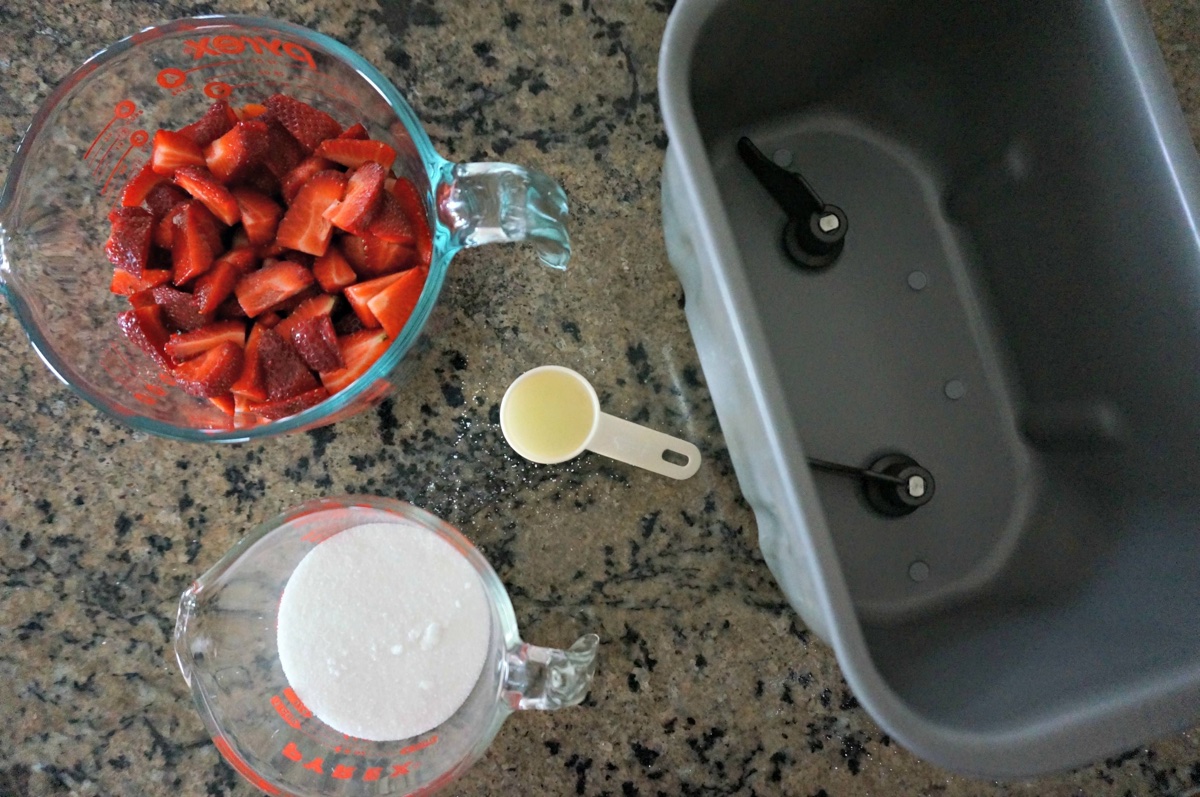
- Prepare the bread pan: Remove the bread pan from the machine and ensure it’s clean and dry.
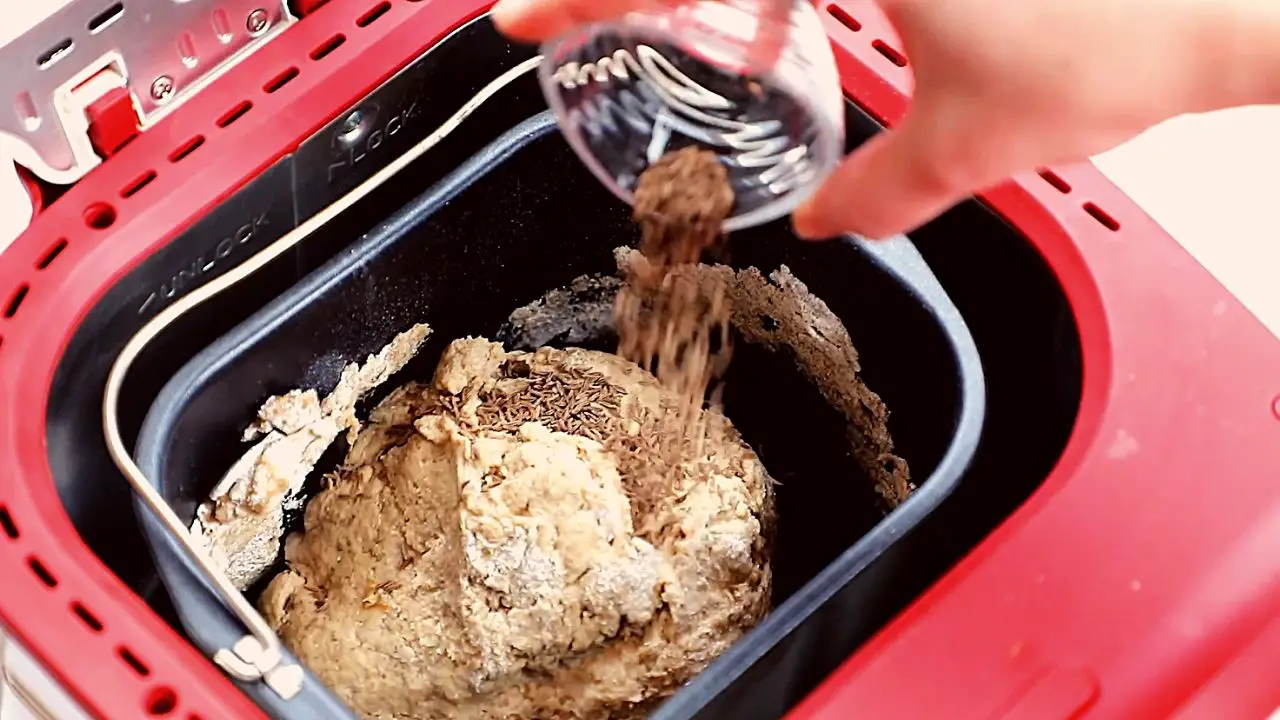
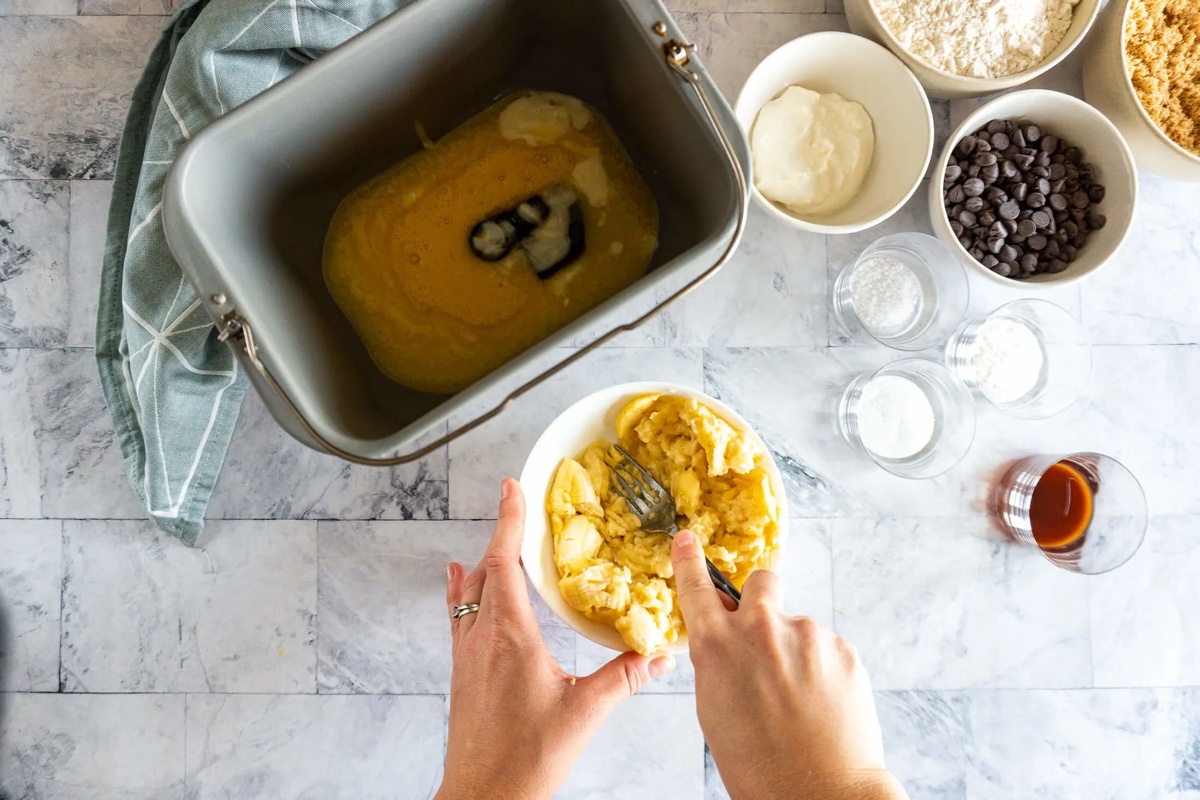
- Add the ingredients: Start by adding the liquid ingredients first, followed by the dry ingredients. This helps prevent the yeast from coming into direct contact with the liquid, which can activate it prematurely.
- Flour: Add the flour to the bread pan. Use a spoon or a scoop to fill the measuring cup, and level off the top with a straight edge, such as a knife.
- Yeast: Create a small well in the center of the flour and pour in the yeast. This helps keep the yeast separate from the liquid until the machine starts mixing.
- Sugar, salt, and fat: Add the sugar, salt, and fat to the bread pan. If the recipe calls for melted butter or oil, ensure it’s at room temperature before adding it.
It’s important to follow the order specified by your bread machine’s manufacturer. Some machines may require a different order of ingredient addition, so consult the instruction manual to ensure you’re following the correct sequence.
Once all the ingredients are in the bread pan, double-check to ensure everything is measured accurately. Mistakes in measurements can affect the texture and flavor of your rolls. Place the bread pan back into the machine, ensuring it’s securely in place.
With the ingredients in place, it’s time to move on to the next step: selecting the dough setting on your bread machine.
Selecting the dough setting
Once all the ingredients are measured and added to the bread pan, it’s time to select the dough setting on your bread machine. This setting will knead and allow the dough to rise properly, setting the stage for beautifully fluffy rolls.
Here’s how to go about selecting the dough setting:
- Refer to the manual: Different bread machines have different options and settings. Refer to your specific machine’s manual to locate the dough setting. It is typically denoted by a “dough” or “dough-only” button.
- Select the dough setting: Turn on the bread machine and choose the dough setting. The machine will begin mixing and kneading the dough. The duration of this process will depend on the specific machine and setting you’ve selected.
- Observe the dough: Keep an eye on the dough as it kneads. The consistency should be smooth and slightly tacky to the touch. If the dough appears too dry or too sticky, you may need to adjust by adding a small amount of flour or water, respectively. Consult your bread machine’s manual for specific guidelines on adjusting the dough.
Once the dough setting is selected, you can sit back and let the bread machine do its job. It will take care of the kneading and initial rising of the dough, saving you time and effort compared to kneading by hand. The dough setting typically takes around 1 to 1.5 hours, depending on your machine.
While the machine is working its magic, you can move on to preparing for the next steps, such as shaping the rolls and preparing the baking pan. Having everything ready ahead of time will make the process smoother and more efficient.
Now that the dough is being prepared, let’s move on to the next step: kneading and rising the dough.
Read more: How To Make Sourdough In Bread Machine
Kneading and rising the dough
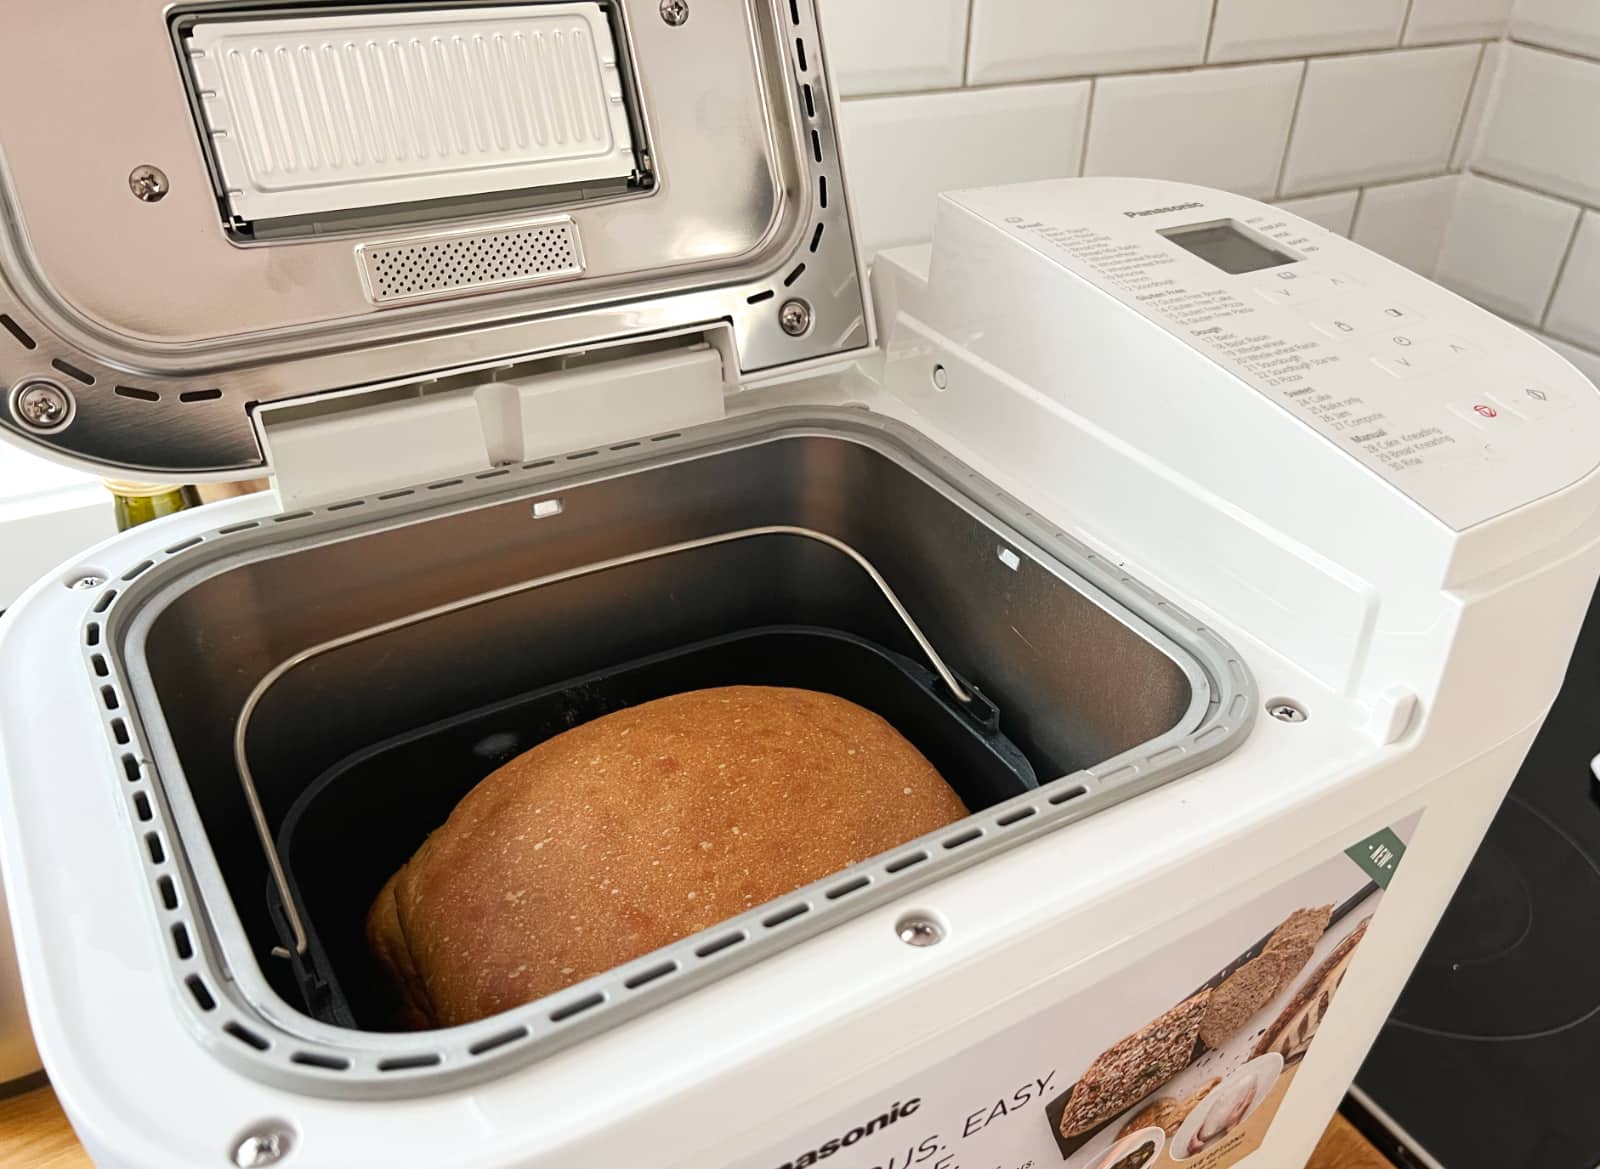
With the dough now in the bread machine and the dough setting selected, it’s time for the machine to work its magic and knead and rise the dough to perfection. This crucial step will develop the gluten and allow the yeast to ferment, resulting in soft and fluffy rolls.
Here’s what you need to know about the process of kneading and rising the dough in your bread machine:
- Kneading: The bread machine will use its paddles or agitators to knead the dough thoroughly. This process involves stretching and folding the dough to develop gluten, which gives the rolls their structure and elasticity. Depending on your bread machine, this process may last anywhere from 15 to 25 minutes.
- Rising: After the kneading is complete, the bread machine will create a warm and controlled environment for the dough to rise. The dough will double in size during this process, typically taking around 45 to 60 minutes. The exact timing may vary depending on factors such as room temperature and the specific machine you’re using.
While the dough is kneading and rising, it’s important to resist the temptation to open the lid or disturb the process. Opening the lid can release valuable heat and disrupt the rising process, resulting in dense and less-than-ideal rolls.
You can use this time to prepare for the next step: shaping the rolls. Get a baking sheet ready and lightly grease it with oil or line it with parchment paper. This will ensure that the rolls don’t stick to the pan during baking.
Once the dough has completed its kneading and rising process, it’s time to move on to shaping the rolls, which will give them their signature look.
Add the wet ingredients first, followed by the dry ingredients, and then make a small well in the center of the flour for the yeast. This will help ensure the yeast activates properly and the rolls rise evenly.
Shaping the rolls
Shaping the rolls is an important step in the bread-making process that not only gives the rolls their desired appearance but also ensures even baking. Here’s how you can shape the rolls:
- Prepare your work surface: Lightly flour a clean work surface or countertop. This will prevent the dough from sticking as you shape the rolls.
- Divide the dough: Carefully remove the risen dough from the bread machine and place it onto the floured surface. Use a sharp knife or dough scraper to divide the dough into individual portions, depending on the desired size of your rolls. You can make them small for bite-sized appetizers or larger for sandwich rolls.
- Shape the rolls: To shape each roll, take a portion of dough and gently flatten it with your hands into a rough circle or rectangle shape. Then, starting from one side, roll the dough tightly into a smooth ball or cylinder shape. Place each shaped roll onto the prepared baking sheet, leaving a small gap between them for spreading during baking.
- Optional scoring or toppings: If desired, you can score the top of each roll with a sharp knife or make a cross cut to allow the rolls to expand during baking. You can also brush the tops with melted butter or egg wash and sprinkle with seeds, herbs, or grated cheese for added flavor and visual appeal.
Remember to handle the dough gently during shaping to avoid deflating the risen dough and compromising the texture of your rolls. If the dough becomes sticky, lightly flour your hands or the dough surface as needed.
Once all the rolls are shaped and placed on the baking sheet, it’s time to move on to the next step: proofing the rolls to further enhance their texture and flavor.
Proofing the rolls
Proofing is an essential step in bread-making that allows the shaped rolls to rise further before baking. This helps to develop their flavor and texture. Here’s how you can proof the rolls:
- Cover the rolls: Once the rolls are shaped on the baking sheet, cover them loosely with a clean kitchen towel or plastic wrap. This will create a warm and humid environment, ideal for yeast activation and further rising.
- Choose a warm spot: Place the covered rolls in a warm spot in your kitchen. Ideally, the temperature should be around 80°F (27°C) for optimal proofing. You can place the baking sheet near a warm oven, on top of a preheating oven, or in a slightly warmed microwave.
- Let them rise: Allow the rolls to proof for about 30 minutes to 1 hour. The exact time will depend on factors like the room temperature and the specific recipe. Keep an eye on the rolls and remove the cover when they have risen and expanded noticeably.
During the proofing process, the yeast in the dough will continue to ferment and produce carbon dioxide, causing the rolls to rise further. This will contribute to a lighter and more airy texture in the finished rolls.
While the rolls are proofing, you can preheat your oven to the specified temperature in your recipe. This will ensure that the oven is hot and ready when it’s time to bake the rolls.
Once the rolls have completed their proofing time and have risen nicely, it’s time to move on to the exciting step of baking them to perfection.
Baking the rolls
After the rolls have gone through the proofing process, it’s time to bake them to golden perfection. Baking not only sets the rolls but also gives them a delicious aroma and a delectable crust. Here’s how to bake the rolls:
- Preheat the oven: Before placing the rolls in the oven, preheat it to the specified temperature in your recipe. This ensures that the oven is hot enough to yield perfectly baked rolls.
- Position the rack: Adjust the oven rack to the center position. This ensures even heat distribution and promotes consistent baking.
- Baking time: The baking time will vary depending on the recipe and the size of your rolls. Typically, rolls take around 12 to 20 minutes to bake. However, keep a close eye on them and start checking for doneness after the minimum recommended baking time.
- Doneness test: To check if the rolls are done, gently tap the top of a roll with your finger. If it sounds hollow, it’s a good indication that the rolls are fully baked. You can also insert a toothpick into the center of a roll – it should come out clean with no doughy residue.
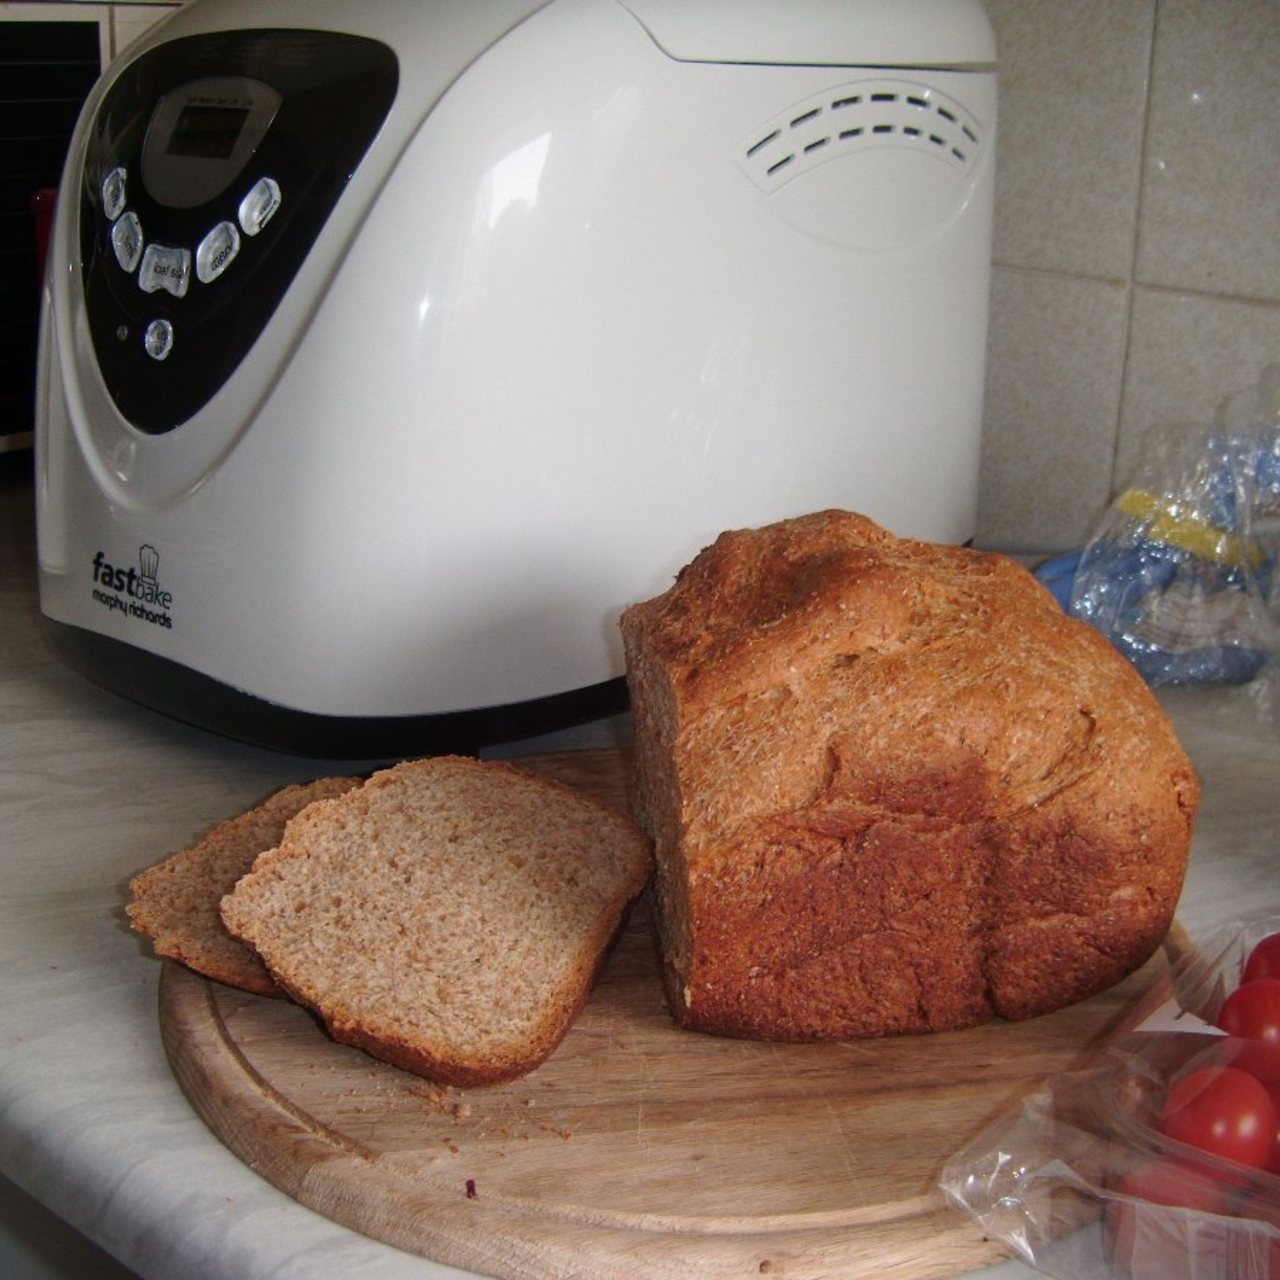
During the baking process, the rolls will expand further, develop a golden-brown crust, and fill the air with a tempting aroma. The crust will become crisp, while the interiors will remain soft and fluffy.
Once the rolls are baked to perfection, remove them from the oven and place them on a wire rack to cool slightly. It’s important to resist the temptation to devour them right away, as they are hot and need a few minutes to cool down.
Now that the rolls are baked and cooling, it’s time to move on to the final step: checking for doneness.
Read more: How To Make Yogurt In A Bread Machine
Checking for doneness
Checking for doneness is a crucial step to ensure that your rolls are perfectly baked and ready to be enjoyed. When properly baked, the rolls will have a golden brown crust, a light and fluffy interior, and a delicious aroma. Here’s how to check for doneness:
- Visual cues: Look at the rolls and observe their color. They should have a golden brown crust, indicating that they have been baked to perfection. If the rolls appear pale or doughy, they likely need additional baking time. On the other hand, if the crust appears dark brown or burnt, they may have been overbaked.
- Tap test: Gently tap the top of a roll with your finger. It should sound hollow when tapped, indicating that the rolls are baked through. If it feels dense or makes a dull thud, the rolls may need more time in the oven.
- Toothpick test: Insert a toothpick into the center of a roll. It should come out clean or with a few dry crumbs clinging to it. If there is raw dough on the toothpick, the rolls need more baking time.
Keep in mind that baking times can vary depending on various factors, such as the size of the rolls, the specific recipe, and individual oven variations. It’s always best to rely on visual cues and doneness tests rather than solely sticking to the recommended baking time.
If the rolls need additional baking time, return them to the oven and bake in one-minute increments, checking for doneness after each interval. Be careful not to overbake them, as this can result in dry and less enjoyable rolls.
When the rolls are fully baked and pass the doneness tests, carefully transfer them to a wire rack to cool. Allow them to cool for a few minutes before serving or storing.
Now that you’ve checked for doneness and confirmed that your rolls are perfectly baked, it’s time to enjoy the fruits of your labor. Serve them warm with butter or your favorite spreads, and savor the delicious homemade goodness.
Cooling and serving
After the rolls have been baked to perfection, it’s important to allow them to cool slightly before serving. This allows the flavors to set and the rolls to firm up a bit. Here’s how to properly cool and serve your freshly baked rolls:
- Cooling on a wire rack: Transfer the hot rolls from the baking sheet to a wire rack using a spatula or oven mitts. This allows air to circulate around the rolls, preventing them from becoming soggy on the bottom.
- Cooling time: Let the rolls cool for about 10 to 15 minutes. This allows them to firm up and become easier to handle. It also prevents any steam trapped inside the rolls from making them soggy.
- Serving warm: Freshly baked rolls are often enjoyed warm. If you prefer warm rolls, serve them shortly after they have cooled for a few minutes. They will still be delicious and have a soft texture.
- Serving options: There are endless ways to serve your rolls. You can spread butter or your favorite spreads on them, such as jam, honey, or flavored cream cheese. They can also be used as buns for sandwiches or sliders, or served alongside soups, stews, or salads for a complete meal.
Remember, the rolls will be soft and delicate when they’re fresh out of the oven, so handle them with care. As they cool, they will firm up slightly, making them easier to slice and enjoy.
If you have leftovers, store them in an airtight container or resealable bag at room temperature for up to 2-3 days. To enjoy them again, you can reheat them in the oven at a low temperature or briefly microwave them to warm them up.
Now that the rolls have cooled and are ready to be served, grab your favorite toppings, gather your loved ones, and savor the delicious homemade rolls you’ve created.
Frequently Asked Questions about How To Make Rolls In A Bread Machine
Was this page helpful?
At Storables.com, we guarantee accurate and reliable information. Our content, validated by Expert Board Contributors, is crafted following stringent Editorial Policies. We're committed to providing you with well-researched, expert-backed insights for all your informational needs.


0 thoughts on “How To Make Rolls In A Bread Machine”