
Articles
How To Make Natural Candles
Modified: December 7, 2023
Learn how to make beautiful and eco-friendly candles at home with our informative articles. Discover natural ingredients, step-by-step tutorials, and expert tips for creating your own unique candles.
(Many of the links in this article redirect to a specific reviewed product. Your purchase of these products through affiliate links helps to generate commission for Storables.com, at no extra cost. Learn more)
Introduction
Welcome to the world of natural candles! Candles have been used for centuries to provide light, warmth, and ambiance. They can create a cozy atmosphere, set the mood for relaxation, and fill your space with delightful fragrances. While there are many commercially available candles on the market, making your own natural candles from scratch can be a rewarding and fulfilling experience.
In this article, we will guide you through the process of creating your own natural candles. We will discuss the importance of choosing the right wax, selecting essential oils for fragrance, adding natural colorants, selecting the right wicks, preparing candle containers, melting and pouring the wax, adding fragrance and color, cooling and curing the candles, and finally, trimming and lighting the wicks.
Creating natural candles is not only a fun and creative project but also a way to keep potentially harmful chemicals out of your living space. Many commercial candles are made with paraffin wax, which is derived from petroleum and can release toxins when burned. By making your own natural candles, you have control over the ingredients and can choose natural, eco-friendly options.
So, whether you’re a passionate candle lover or looking to explore a new hobby, making natural candles is a great way to express your creativity and enjoy the benefits of soothing scents and warm candlelight. Let’s dive into the process and discover the joy of creating your own natural candles.
Key Takeaways:
- Embrace the art of natural candle-making to create eco-friendly, customizable, and delightful candles that fill your space with enchanting scents and cozy ambiance. Prioritize safety and enjoy the creative process!
- By selecting the right materials, adding fragrance and color, and practicing proper candle care, you can craft unique, sustainable, and visually stunning natural candles that bring warmth and tranquility to any environment.
Read more: How To Naturally Color Beeswax Candles
Choosing the Right Wax
When it comes to making natural candles, choosing the right wax is crucial. The wax you select will determine the quality, burn time, and overall performance of your candles. There are several types of waxes available, each with its own unique characteristics.
Soy wax is a popular choice for natural candle making. It is made from soybean oil and is biodegradable and renewable. Soy wax has a lower melting point, which means it burns slower and longer compared to other waxes. It also has excellent scent throw, meaning it can easily carry and release fragrance into the air.
Beeswax is another natural wax option that has been used for centuries. It is a byproduct of honey production and is known for its natural golden color and lovely honey-like aroma. Beeswax has a high melting point, which makes it ideal for creating long-lasting candles. It also has natural air-purifying properties and a beautiful, warm glow when lit.
Coconut wax is a relatively new player in the candle making industry. It is derived from coconut oil and offers an eco-friendly and sustainable alternative. Coconut wax has great fragrance throw and a smooth texture that can enhance the appearance of your candles. It also boasts a long burn time and excellent scent retention.
Palm wax is another option for natural candle making. It is derived from sustainable palm oil, making it a renewable and environmentally friendly choice. Palm wax has a unique crystalline appearance that can create stunning candle designs. It has a long burn time and good scent throw, making it a popular choice for scented candles.
Each type of wax has its own advantages and considerations, so it’s essential to research and experiment with different waxes to find the one that best suits your needs and preferences. Consider factors such as burn time, scent throw, appearance, and sustainability when making your decision.
It’s worth noting that some waxes may require specific additives, such as stearic acid or vybar, to improve their performance. These additives can help with issues like fragrance retention, smooth pouring, and reducing frosting (a natural occurrence that creates a whitish texture on the surface of the candle).
Ultimately, choosing the right wax is a personal decision based on your desired candle qualities and environmental values. Take the time to explore different options and find the wax that aligns with your vision for the perfect natural candles.
Selecting Essential Oils for Fragrance
Aromatherapy is an integral part of the candle-making process, and selecting the right essential oils to fragrance your candles is essential. Essential oils are concentrated plant extracts that not only add fragrance but also offer therapeutic benefits.
When choosing essential oils, consider the scent profiles and therapeutic properties of each oil. Some popular options for candle fragrances include lavender for its relaxing and calming effects, peppermint for its invigorating and refreshing aroma, and citrus oils like lemon and orange for their uplifting and energizing qualities.
It’s important to note that not all essential oils are suitable for candle-making. Some oils have a low flash point, which means they can ignite when exposed to high temperatures. To ensure safety, choose essential oils with a flash point above the melting point of the wax you’re using.
Additionally, keep in mind that essential oils have different scent intensities, so be mindful of the amounts you use. Start with a small amount and gradually increase as needed to achieve your desired fragrance strength. Remember that a little goes a long way, so even a few drops can create a noticeable scent.
Experimenting with essential oil blends can also add depth and complexity to your candle fragrances. Consider combining different oils to create your custom scent combinations. For example, you could mix lavender and chamomile for a soothing blend, or lemongrass and eucalyptus for a refreshing and uplifting aroma.
When adding essential oils to your candles, it’s best to do so during the cooling and curing stage. This allows the scent to mix thoroughly with the wax, resulting in a more consistent and long-lasting fragrance. Avoid adding essential oils directly to the hot wax, as excessive heat can cause the oils to evaporate and lose their aroma.
Keep in mind that essential oils have different evaporation rates, and some scents may fade over time. To ensure a strong and lasting fragrance, store your finished candles in a cool, dark place away from direct sunlight and extreme temperature fluctuations.
Lastly, consider the potential therapeutic benefits of essential oils when selecting fragrances. Lavender and chamomile are known for their calming properties, while eucalyptus and peppermint can provide a sense of invigoration and clarity. Choose oils that align with the mood and atmosphere you want to create in your space.
By carefully selecting essential oils for fragrance, you can create natural candles that not only smell amazing but also provide potential therapeutic benefits. Allow your creativity to shine as you experiment with different oil combinations and create unique scents that enhance your candle-making experience.
Adding Natural Colorants
Color plays a significant role in enhancing the aesthetics of your natural candles. While many commercial candles use synthetic dyes, you can achieve beautiful and vibrant colors using natural colorants. Not only do natural colorants add visual appeal, but they also align with the eco-friendly and organic nature of homemade candles.
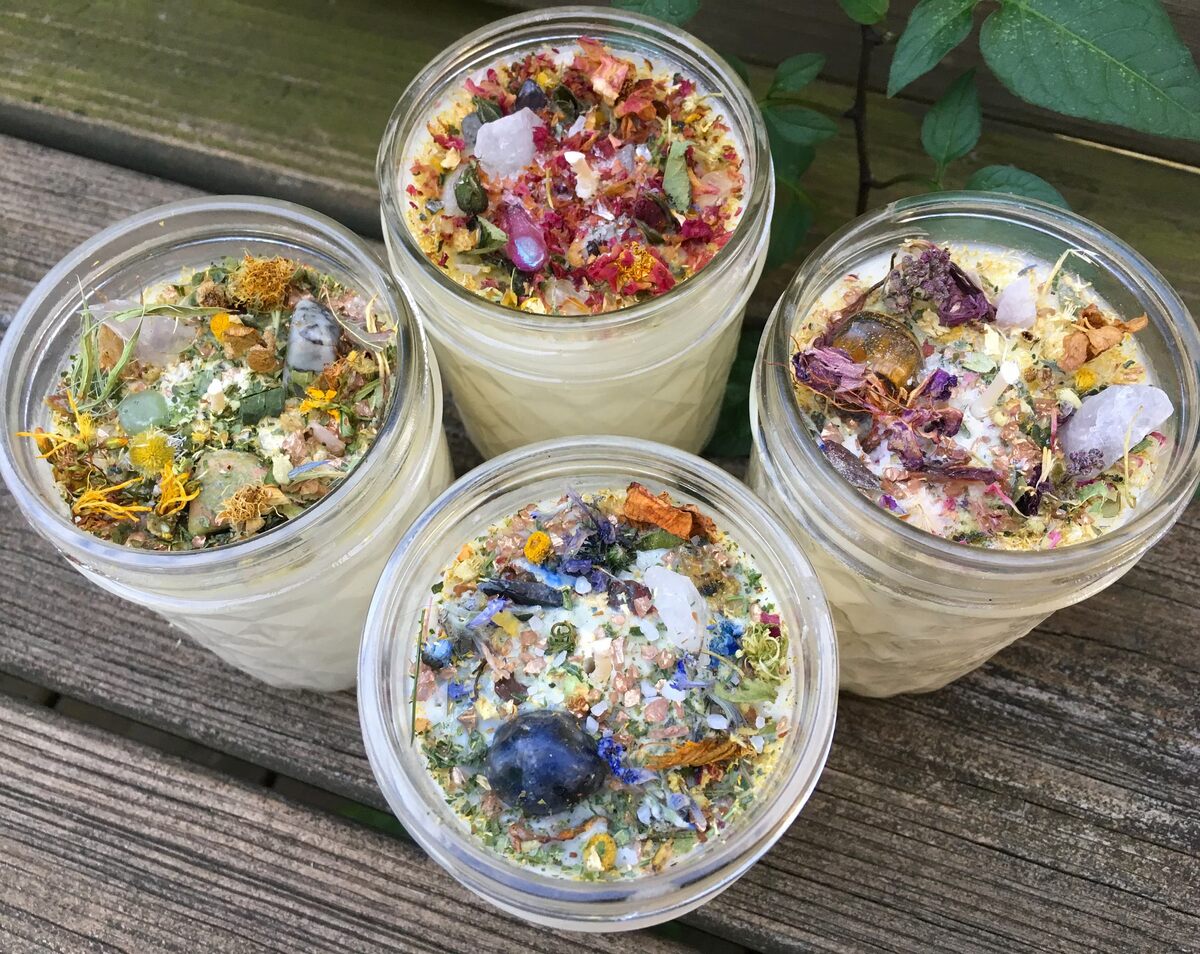
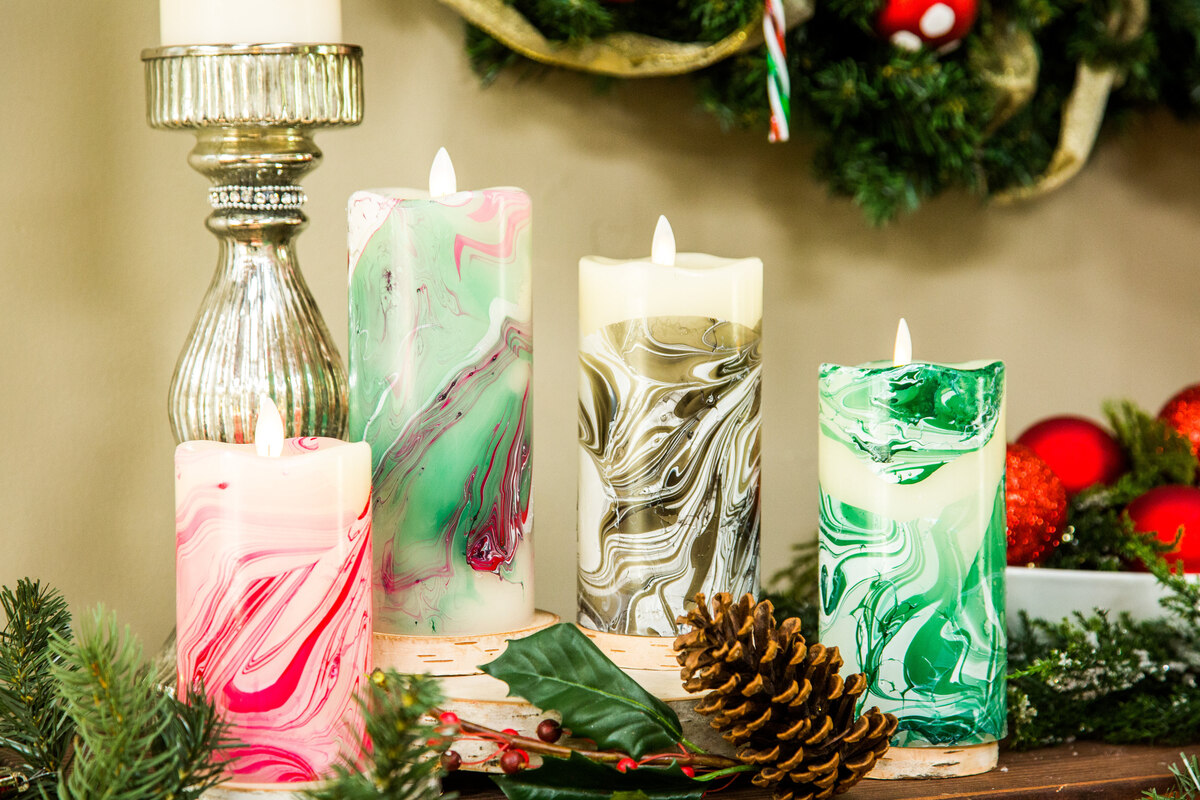
One popular natural colorant option is using botanical powders derived from various plants and herbs. For example, spirulina powder creates a lovely green hue, beetroot powder yields a soft pink shade, and turmeric powder imparts a warm yellow color. These natural powders can be added directly to the melted wax, allowing you to experiment and create custom colors.
Another option for natural colorants is using botanical or herbal infusions. This involves steeping dried plants, such as rose petals, chamomile flowers, or hibiscus petals, in a carrier oil or water to extract the natural color. Once the infusion is ready, it can be added to the melted wax to give the candles a beautiful tint.
If you prefer a more subtle and translucent effect, you can consider using translucent mica powders. Mica powders are finely ground minerals that come in a variety of colors and impart a subtle shimmer to the candles. They can be mixed with a small amount of oil or melted wax before being added to the main wax batch.
When using natural colorants, it’s important to keep in mind that different colorants may require varying amounts to achieve the desired shade. It’s recommended to start with a small amount and gradually increase until you reach the desired color. Remember that the color of the final candle may appear lighter when the wax is melted and darker when it solidifies.
Additionally, natural colorants may have a mild scent or contribute to the overall aroma of the candle. Keep this in mind when selecting your colorants and consider how the scent of the colorant will blend with the chosen fragrance oils.
Before adding any colorant, it’s crucial to thoroughly mix it into the wax to ensure an even distribution. Avoid stirring too vigorously, as this may create air bubbles in the wax. A gentle and consistent stirring motion will help achieve a smooth and uniform color throughout the candle.
Experimentation is key when it comes to adding natural colorants to candles. Don’t be afraid to try different combinations and ratios to achieve the perfect shades and effects. Remember, the beauty of homemade candles lies in the uniqueness and personal touch you bring to each creation.
By incorporating natural colorants, you can create visually appealing candles that not only create a warm ambiance but also reflect your commitment to natural and eco-friendly choices in your candle-making journey.
Selecting the Right Wicks
Choosing the right wick is crucial for the optimal burning performance of your natural candles. The wick is responsible for providing a steady and consistent flame, ensuring even wax consumption throughout the candle’s lifespan. Several factors should be considered when selecting wicks for your candles.
The first consideration is the type of wax you are using. Different waxes have different melting points and characteristics, which may require specific wick types. For example, soy wax typically requires a cotton wick with a natural fiber core, whereas beeswax may work well with a braided cotton wick. Research the recommended wick options for your specific wax to ensure optimal burn performance.
The size of the candle container also determines the appropriate wick size. A larger diameter container will require a thicker wick, while a smaller container will need a thinner wick. Using the correct wick size will prevent issues such as tunneling (when the wax burns only in the center, leaving wax residue on the sides) or excessive soot buildup.
The desired burn time of your candles should also be considered when selecting wicks. Wicks are available in different burn rates, including slow-burning, medium-burning, and fast-burning options. Consider the purpose of your candles and how long you want them to burn. For example, if you want a longer burn time, choose a wick designed for longer-lasting candles.
Another crucial factor to consider is the fragrance load in your candles. If you are adding a higher concentration of fragrance oils, you may need a larger or more robust wick to ensure the scent is adequately released into the air. Heavier fragrances require a stronger wick to prevent a weak or ineffective scent throw.
It’s always recommended to conduct a burn test before making a large batch of candles. This involves lighting a candle with the chosen wick and observing its burning characteristics. Look for signs such as a stable flame, minimal smoking, and even wax consumption. If you notice issues such as excessive smoking or an unstable flame, consider trying a different wick size or type.
Remember that different wicks may require trimming to maintain optimal burn performance. Trimming the wick to around 1/4 inch before each burn can prevent mushrooming (when the wick produces a large carbon buildup) and ensure a cleaner and more efficient burn.
Choosing the right wick is essential for creating candles that burn evenly and efficiently, providing a satisfying experience for candle enthusiasts. Take the time to research and experiment with different wick options to find the perfect match for your natural candles.
By selecting the right wicks, you’ll ensure that your candles burn beautifully, produce a lovely flame, and offer a delightful and long-lasting aroma, enhancing the overall enjoyment of your handmade creations.
Read more: How To Make Candles
Preparing Candle Containers
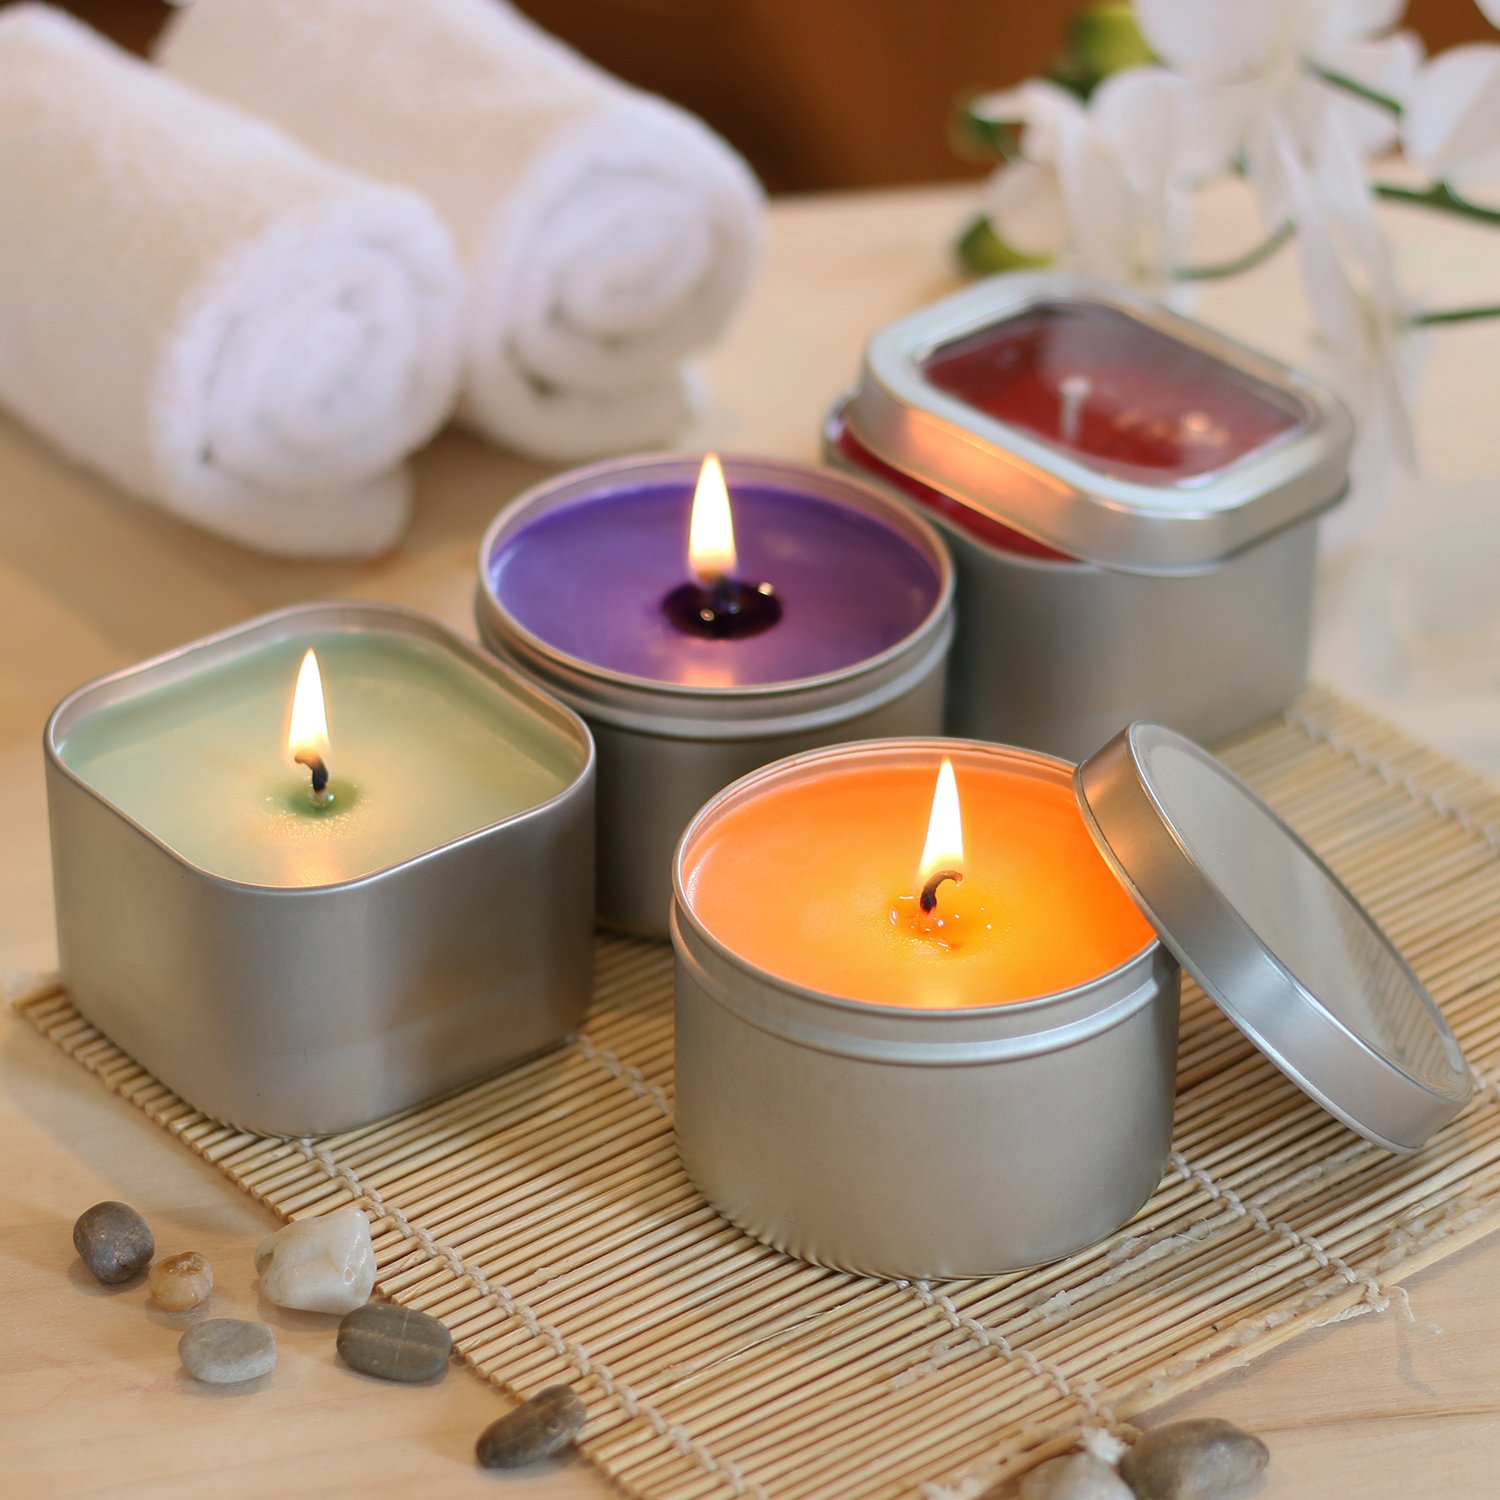
Preparing candle containers is an important step in the process of making natural candles. Proper preparation ensures that your candles are safe, secure, and aesthetically pleasing. Whether you’re using glass jars, tin containers, or any other vessel, here are some key steps to prepare your candle containers:
1. Clean the containers: Before pouring your wax, make sure that the containers are clean and free from any dirt, debris, or residue. Wash the containers with warm, soapy water and dry them thoroughly. This will help ensure that your finished candles look pristine and professional.
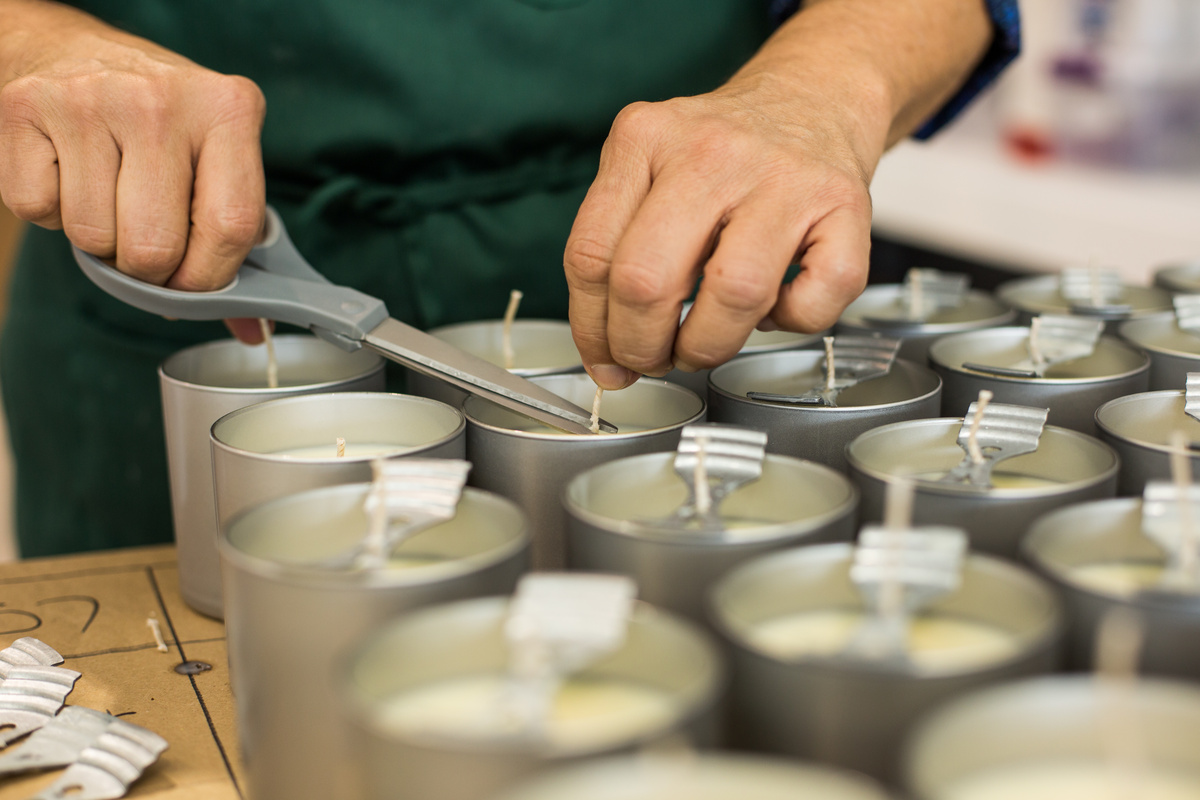
2. Secure the wicks: Place a small dot of hot glue or a wick sticker at the bottom center of each container. Press the wick firmly onto the adhesive to secure it in place. This will prevent the wick from moving or floating when you pour the melted wax.
3. Center the wicks: Gently straighten the wicks and ensure they are centered in each container. Use a wick holder or a small clip to prop the wick up and keep it centered during the pouring process. This will help ensure a straight and even burn for your candles.
4. Consider using a wick centering tool: If you’re making candles in larger or irregularly shaped containers, a wick centering tool can be handy. These tools hold the wick in place while you pour the wax, ensuring that the wick remains centered throughout the burning process.
5. Protect the surface: To prevent any potential heat damage or wax spills, place a heat-resistant mat or a layer of newspaper underneath the containers. This will catch any wax drips and protect your work surface.
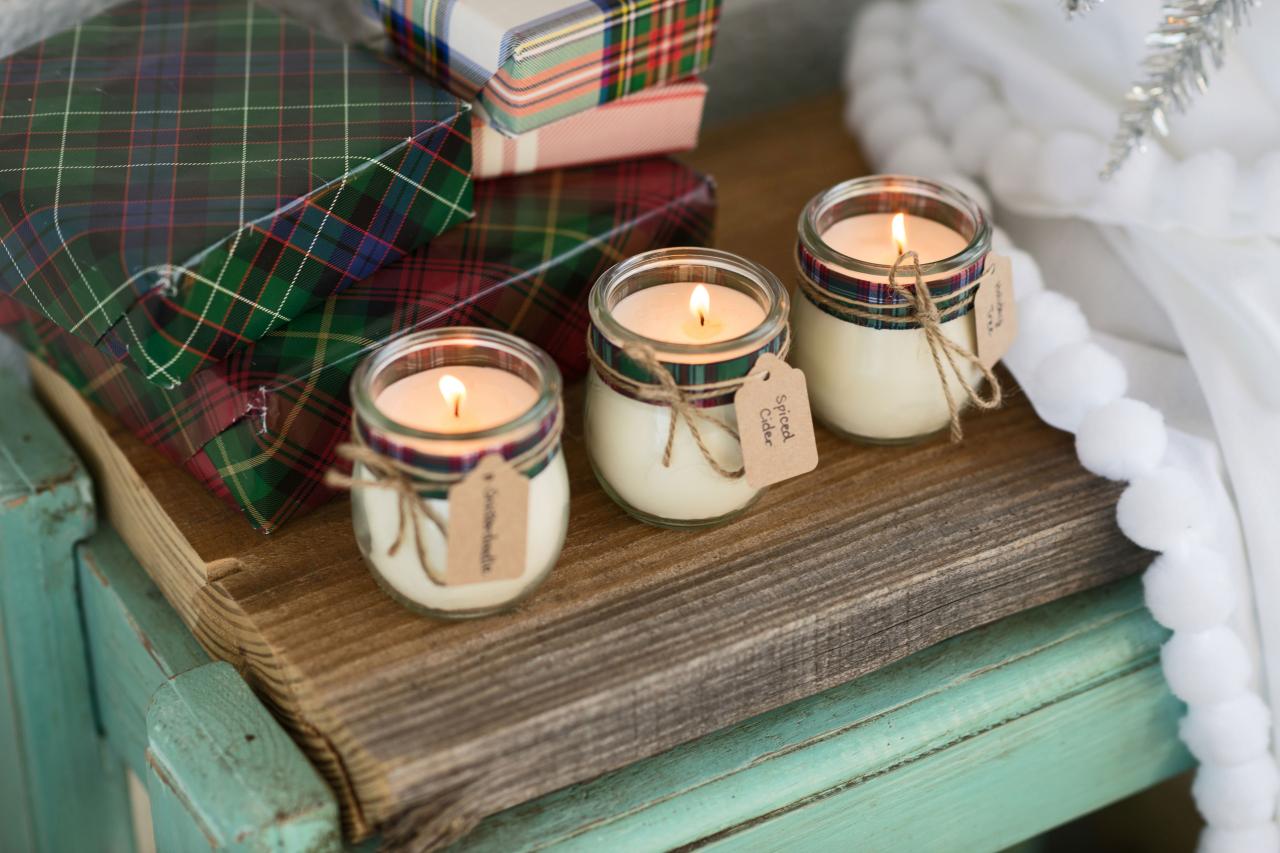
6. Decorate the containers (optional): If you desire to add a decorative touch to your candle containers, consider incorporating ribbons, labels, or other embellishments. This step is purely optional but can add a personal and artistic flair to your candles.
7. Double-check stability: Before pouring the wax, ensure that your containers are stable and won’t tip over. Place them on a flat and level surface to ensure even filling and burning. This step is especially crucial if you’re using containers with a narrow base or a top-heavy design.
Preparing your candle containers is a vital part of the candle-making process that ensures the final product is visually appealing, safe, and functional. Taking the time to clean, secure the wicks, and center them properly will result in well-presented candles that burn evenly and bring joy to your space.
Now that your containers are ready, it’s time to proceed to the next steps of melting and pouring the wax to bring your natural candles to life.
When making natural candles, use soy wax or beeswax for a cleaner burn. Avoid using paraffin wax, as it can release harmful chemicals when burned.
Melting and Pouring the Wax
Once you have prepared your candle containers, it’s time to move on to the exciting step of melting and pouring the wax. This process involves carefully heating the wax to a liquid state and then pouring it into the prepared containers to create your natural candles. Here’s how to do it:
1. Set up a double boiler: Fill a large saucepan or pot halfway with water and place it on the stove. Then, place a heat-safe container or a pouring pot into the saucepan. The indirect heat from the boiling water will melt the wax gently and evenly.
2. Measure the wax: Measure the amount of wax required based on the size of your containers. It’s essential to follow the recommended wax-to-container ratio to ensure proper burning and avoid overflow. If using multiple colors or fragrances, divide the wax accordingly.
3. Place the wax in the pouring pot: Transfer the measured wax into the pouring pot and place it in the double boiler. Allow the wax to slowly melt, stirring occasionally with a heat-safe utensil to ensure even melting and heating.
4. Monitor the temperature: Keep a close eye on the wax temperature using a thermometer. Different waxes have different melting points, and it’s important to heat the wax to the optimal temperature recommended for your specific type of wax.
5. Prepare your workspace: While the wax is melting, lay out clean, heat-resistant surfaces such as parchment paper or a silicone mat. This will protect your work area from any potential wax spills or drips.
6. Add fragrance and color (optional): If desired, this is the time to add your chosen fragrance oils and natural colorants to the melted wax. Stir gently but thoroughly to ensure that the fragrance and color are evenly distributed throughout the wax.
7. Pour the wax: Carefully and slowly pour the melted wax into your prepared candle containers. Pouring slowly will help prevent air bubbles and ensure a smooth and even distribution of wax. Leave a small amount of space at the top for the wax to expand without overflowing.
8. Let the candles cool and solidify: Allow the candles to cool naturally at room temperature. Avoid moving or jostling the containers during this time to prevent uneven cooling or wax displacement. Depending on the size of the candles, this process can take several hours or overnight.
9. Trim excess wax: Once the candles have fully solidified and cooled, you may notice a slight dip or depression around the wick. Using a clean, sharp knife or a wick trimmer, trim off any excess wax to create a smooth and even surface.
10. Label and decorate (optional): If desired, you can add labels, tie ribbons, or decorate the candle containers to give them a personalized touch. This step adds a creative element and makes your natural candles even more appealing.
Remember, safety is paramount throughout the melting and pouring process. Never leave the melting wax unattended, and always follow the manufacturer’s instructions and safety guidelines for your specific wax type.
Now that your candles are cooled and cured, it’s time to move on to the final steps of adding fragrance and color, and then enjoy the beautiful and aromatic glow of your handmade natural candles.
Adding Fragrance and Color
Adding fragrance and color to your natural candles is a wonderful way to enhance their appeal and create a personalized touch. By carefully selecting fragrance oils and natural colorants, you can create candles that not only look beautiful but also fill your space with delightful scents. Here’s how to add fragrance and color to your candles:
1. Fragrance:
– Choose high-quality fragrance oils: Select fragrance oils specifically designed for candle making. These oils are specially formulated to withstand the heat and blend well with the wax. Make sure to choose oils that are skin-safe and intended for candle use.
– Calculate the fragrance load: Refer to the manufacturer’s guidelines or recommended fragrance load charts to determine the appropriate amount of fragrance oil to add. The recommended load usually ranges from 5% to 10% of the total wax weight, depending on the desired strength of the scent.
– Add fragrance during the cooling stage: It’s best to add fragrance oils to the melted wax when it has cooled slightly, but is still liquid. This will ensure that the fragrance binds well with the wax and doesn’t evaporate due to high heat.
– Stir gently and thoroughly: Use a heat-safe utensil to stir the fragrance oil into the wax. Stir slowly and consistently to ensure even distribution of the fragrance throughout the wax.
– Perform a scent test: Before pouring the fragranced wax into the containers, perform a scent test to gauge the strength of the fragrance. If desired, you can adjust the scent by adding more fragrance oil or melted unscented wax to achieve your desired fragrance intensity.
2. Color:
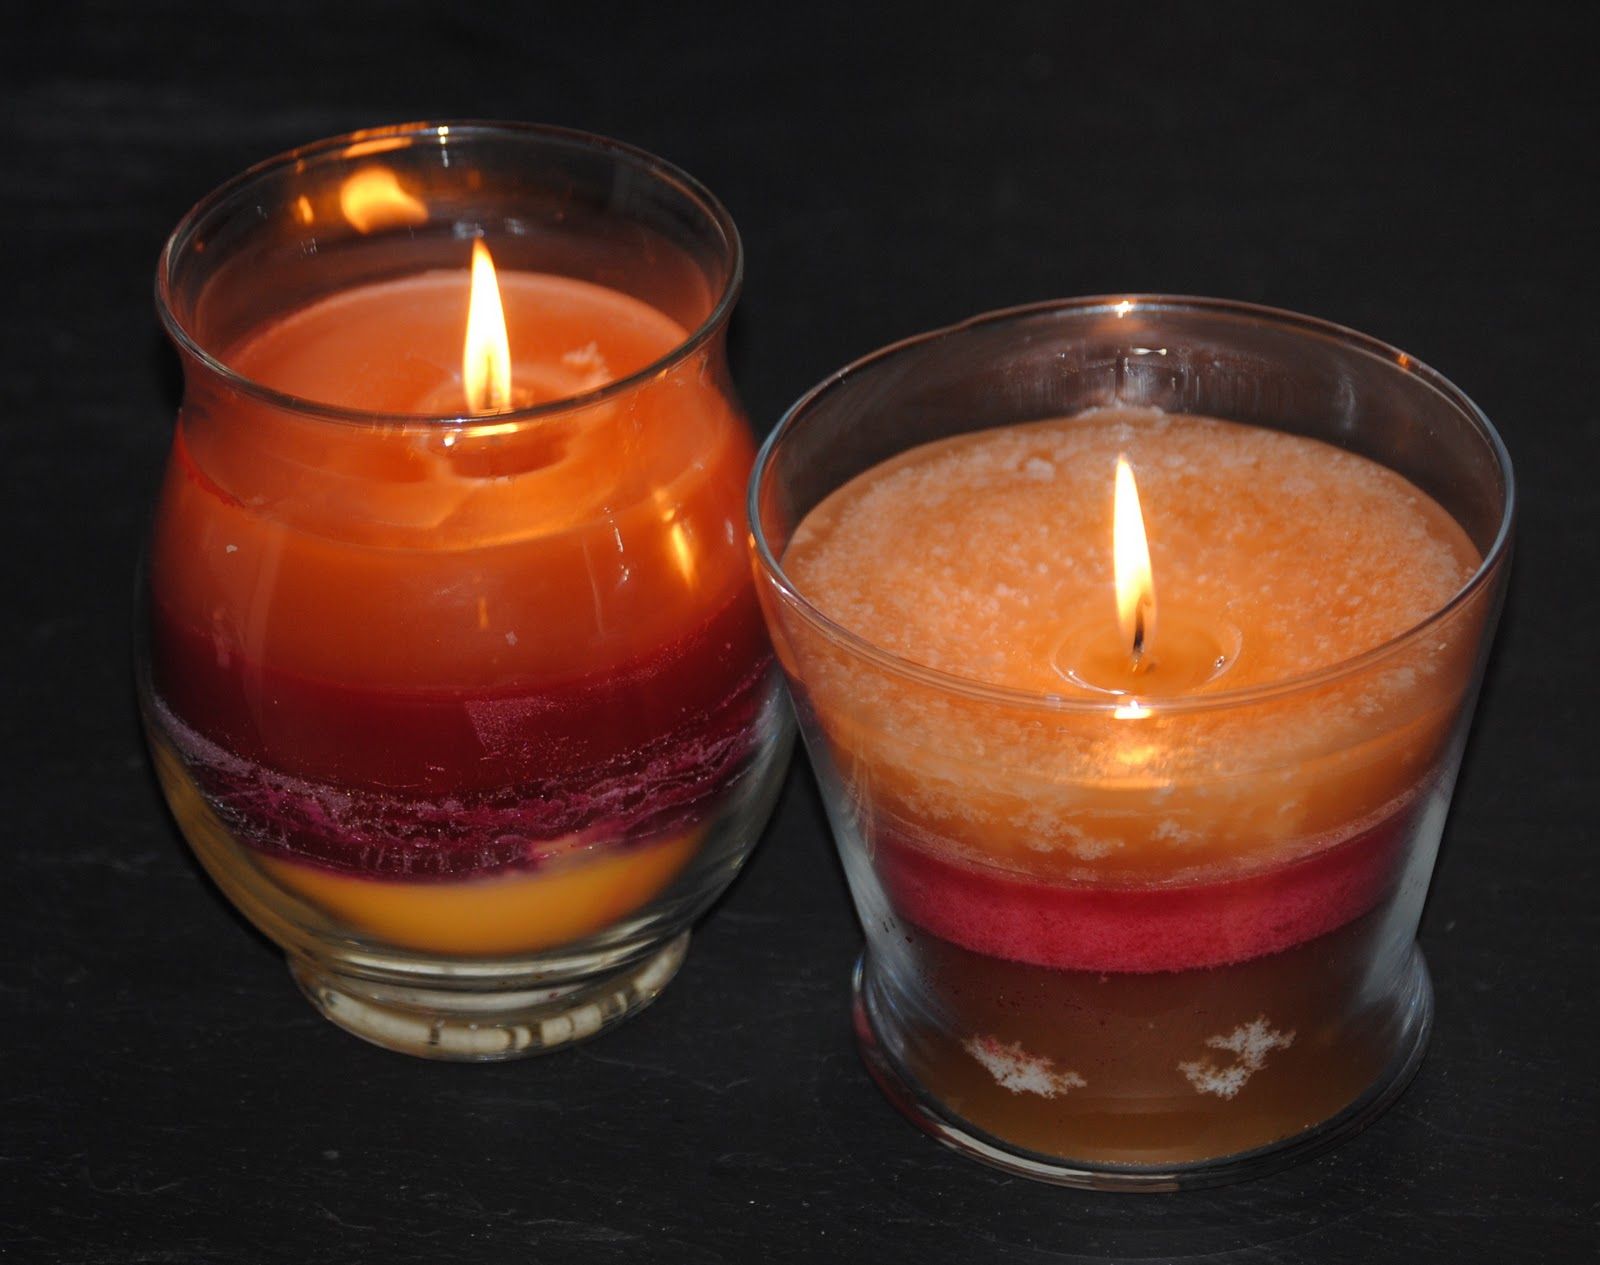
– Choose natural colorants: Consider using natural colorants such as botanical powders, herbal infusions, or translucent mica powders. These options are eco-friendly and add a unique touch to your candles.
– Determine the desired color intensity: The amount of colorant you use will depend on the desired color intensity. Start with a small amount and gradually add more until you achieve the desired hue. Remember that the color may appear lighter when the wax is melted and darker when it solidifies.
– Add color during the cooling stage: Similar to fragrance oils, it’s best to add natural colorants to the cooled, melted wax to ensure that the color is evenly distributed. Stir gently and thoroughly to achieve a consistent color throughout the wax.
– Perform a color test: Before pouring the colored wax into the containers, perform a color test by pouring a small amount onto a heat-resistant surface. This will give you a preview of the final color and allow adjustments if needed.
When adding fragrance and color to your candles, always keep safety in mind. Follow the recommended usage guidelines for fragrance oils and ensure that any colorants used are safe for candle making.
The combination of carefully chosen fragrance oils and natural colorants will bring your candles to life, filling your space with captivating scents and visually stunning hues. Enjoy the process of exploring different scents and colors to make your natural candles truly unique and delightful.
Cooling and Curing the Candles
After pouring the fragranced and colored wax into your candle containers, the next step is to allow the candles to cool and cure. Cooling and curing are essential processes that ensure the candles set properly and reach their optimal burning performance. Here’s what you need to know about cooling and curing your candles:
1. Allow the candles to cool:
– Find a safe and undisturbed area: Place your candles in a cool and undisturbed location where they won’t be exposed to direct sunlight or extreme temperature fluctuations. This will help prevent any warping or uneven cooling of the candles.
– Avoid moving or touching the containers: Once the candles are poured, it’s crucial not to move or touch them until they have completely solidified. Disturbing the candles during the cooling process can cause uneven cooling and result in surface imperfections.
– Patience is key: Depending on the size of the candles and the ambient temperature, the cooling process can take several hours or even overnight. Allow sufficient time for the candles to cool and harden completely before handling them.
2. Cure the candles:
– Let the candles rest: Curing is the process of allowing the candle wax and fragrance to meld together, resulting in a stronger and more consistent scent throw. Ideally, candles should cure for at least 48 hours, but longer curing times, such as a week or more, can yield even better results.
– Cover the candles (optional): If desired, you can cover the candles with a clean, breathable cloth or place them in individual cellophane bags. This practice helps to prevent dust or debris from settling on the surface of the candles during the curing process.
– Label and date (optional): It’s a good practice to label and date each candle to keep track of the curing time and fragrance blend used. This information can be useful for future reference or when gifting or selling your candles.
– Observe any changes: During the curing process, observe if there are any changes in the appearance or scent of the candles. Some fragrances may develop more over time, while others may reach their peak scent throw early on. Taking note of these changes can help inform your future candle-making decisions.
Cooling and curing the candles adequately ensures that they set properly, produce a clean and even burn, and achieve their optimal fragrance throw. It requires patience and attention to detail, but the end result is well worth the wait.
Now that your candles have cooled and cured, it’s time to move on to the final steps of trimming the wicks and preparing them for lighting. The joy of enjoying your handcrafted, beautifully scented natural candles is just around the corner!
Read more: What Is Nature’s Toothbrush
Trimming and Lighting the Wicks
Trimming and lighting the wicks of your natural candles is the final step before you can enjoy the beautiful glow and soothing ambiance they provide. Properly trimmed wicks ensure a clean and efficient burn, minimizing soot and prolonging the life of your candles. Here’s how to trim and light the wicks:
1. Trim the wicks before the initial burn:
– Use a wick trimmer or sharp scissors: Trim the wick to approximately 1/4 inch before lighting the candle for the first time. This length allows for a stable flame and helps prevent excessive smoking or mushrooming of the wick.
– Remove any debris or charred pieces: Check the wick for any debris or charred bits from previous burns. Gently remove these using your fingers or a small tool, ensuring a clean and unobstructed wick for the upcoming burn.
2. Light your candles:
– Use a long-reach lighter or matches: Light the wick of your candle, ensuring the flame reaches the base of the wick. Avoid using short lighters or matches that may cause you to lean excessively close to the flame.
– Observe the flame: A properly trimmed wick should produce a steady flame that is approximately 1-1.5 inches in height. If the flame is too small or smoking excessively, it may be an indicator of an improperly trimmed wick or air draft. In such cases, extinguish the flame, trim the wick slightly, and re-light.
– Always supervise burning candles: Never leave a burning candle unattended. Keep candles away from flammable materials, pets, and children. It’s important to maintain a safe environment while enjoying your candles.
3. Continue trimming the wicks:
– Trim the wicks before each subsequent burn: Before lighting your candles again, remember to trim the wicks to around 1/4 inch. This practice helps maintain a stable flame and prevents excessive flickering or soot buildup.
– Extinguish the candle properly: To extinguish the flame, use a candle snuffer or gently blow out the flame. Avoid blowing directly onto the candle, as it may cause wax splatter. It’s important to extinguish the flame safely and ensure that it is completely out before leaving the room.
4. Enjoy the soothing ambiance:
– Bask in the warm glow: Now that your candles are trimmed, lit, and burning beautifully, take a moment to enjoy the captivating glow and the enchanting fragrance that fills the air. Allow the soothing ambiance to create a peaceful and relaxing atmosphere in your space.
– Practice proper candle care: To maximize the longevity of your candles, always follow recommended burning guidelines, including not burning for more than a few hours at a time and keeping the candle away from breezy areas.
Trimming and lighting the wicks of your natural candles ensures a safe and enjoyable experience while maximizing their performance. With properly trimmed wicks, you can savor the flickering flame and embrace the cozy atmosphere created by your handcrafted candles.
Remember to always exercise caution and prioritize safety when handling and burning candles. Now it’s time to sit back, relax, and relish the moments of tranquility and serenity that your natural candles bring.
Safety Precautions
Making and enjoying natural candles is a wonderful experience, but it’s important to prioritize safety throughout the process. By following some basic safety precautions, you can prevent accidents and ensure a worry-free candle-making journey. Here are some essential safety tips to keep in mind:
1. Educate yourself:
– Read and understand instructions: Familiarize yourself with the instructions and guidelines provided by the wax and fragrance suppliers. Understand the proper handling, melting, and pouring techniques for the materials you are using.
– Research potential hazards: Take the time to research the potential hazards associated with the materials you are using, such as the flash point of the wax and any precautions regarding fragrance oils or colorants.
2. Work in a well-ventilated area:
– Adequate ventilation: Ensure that you are working in a well-ventilated space to prevent inhaling excessive fumes or vapors. Open windows or use a fan to circulate the air, especially when working with fragrance oils.
– Avoid drafts: While ventilation is important, it’s equally crucial to avoid strong drafts that could disturb the flame or cause accidents. Keep windows and doors closed to prevent a breeze from affecting the candles during the cooling process.
3. Practice proper handling of hot wax:
– Use heat-resistant gloves: When handling hot containers or pouring melted wax, wear heat-resistant gloves to protect your hands from burns. The wax can reach high temperatures, and safety gloves provide an added layer of protection.
– Handle containers with care: Remember that hot containers become extremely hot during the pouring process. Use pot holders or heat-resistant mats to handle and move containers to avoid burns or accidental spills.
4. Have necessary safety equipment:
– Fire extinguisher: Keep a fire extinguisher handy in case of any unforeseen accidents. Make sure it is easily accessible and that you know how to use it properly.
– First aid kit: Keep a well-stocked first aid kit nearby in case of minor burns or injuries. It should include burn dressings, band-aids, and other essential supplies.
5. Never leave unattended candles:
– Always supervise burning candles: Never leave a burning candle unattended. Extinguish the flame before leaving the room or going to bed. Accidents can happen unexpectedly, and it’s essential to prioritize safety by monitoring the candles at all times.
– Keep candles away from flammable materials: Ensure that the burning candles are placed on a stable surface away from flammable items such as curtains, papers, and other combustible materials. Also, keep them out of reach of children and pets.
6. Extinguish candles properly:
– Use a candle snuffer: Use a candle snuffer to extinguish the flame instead of blowing it out. This helps prevent hot wax from splattering or accidental spills.
– Avoid touching hot wax: Once the flame is out, allow the wax to cool before handling it. Hot wax can cause severe burns if it comes into contact with the skin.
By practicing these safety precautions, you can enjoy the process of making and burning natural candles without compromising the well-being of yourself, your loved ones, or your surroundings. Safety should always be a priority to ensure a pleasant and worry-free candle-making experience.
Remember, accidents can still happen despite taking precautions, so it’s essential to always be aware of your surroundings, act responsibly, and use your best judgment throughout the candle-making process.
Now, armed with the knowledge of safety measures, you can confidently embark on your candle-making journey and enjoy the beauty and tranquility that natural candles bring.
Conclusion
Congratulations! You have now learned the ins and outs of making natural candles. From selecting the right wax and fragrance oils to adding colorants and preparing candle containers, you have embarked on a creative and fulfilling journey. By following the steps outlined in this article and implementing the safety precautions, you can create beautiful, eco-friendly candles that fill your space with enchanting scents.
Making natural candles allows you to customize your scents, color combinations, and even container choices, giving you the freedom to create one-of-a-kind pieces for yourself or as gifts for loved ones. The use of sustainable materials, such as soy wax or beeswax, helps protect the environment while providing you with a safe and non-toxic candle-burning experience.
Remember, the art of making natural candles is not just about the finished product but also the joy and satisfaction that comes with the process. Experiment with different fragrance blends, color combinations, and container styles to unleash your creativity and create candles that reflect your personal taste and style.
As you continue on your candle-making journey, don’t forget to enjoy the cozy ambiance, soothing scents, and the warm glow that your handmade candles bring to your space. Whether you’re using them for relaxation, aromatherapy, or as decorative accents, these natural candles have the power to create a serene and inviting atmosphere in any room.
Lastly, always prioritize safety throughout the entire candle-making process. From handling hot wax to practicing proper candle-burning etiquette, following safety precautions ensures a worry-free experience for yourself and those around you.
Now, gather your materials, unleash your creativity, and let the glow of your natural candles illuminate your world with warmth and serenity. Embrace the art of candle-making and enjoy the countless hours of relaxation and delight that lie ahead.
Frequently Asked Questions about How To Make Natural Candles
Was this page helpful?
At Storables.com, we guarantee accurate and reliable information. Our content, validated by Expert Board Contributors, is crafted following stringent Editorial Policies. We're committed to providing you with well-researched, expert-backed insights for all your informational needs.


0 thoughts on “How To Make Natural Candles”