Articles
How To Make A Jelly Roll Quilt
Modified: August 22, 2024
Discover expert tips and step-by-step instructions for creating stunning jelly roll quilts with our collection of informative articles.
(Many of the links in this article redirect to a specific reviewed product. Your purchase of these products through affiliate links helps to generate commission for Storables.com, at no extra cost. Learn more)
Introduction
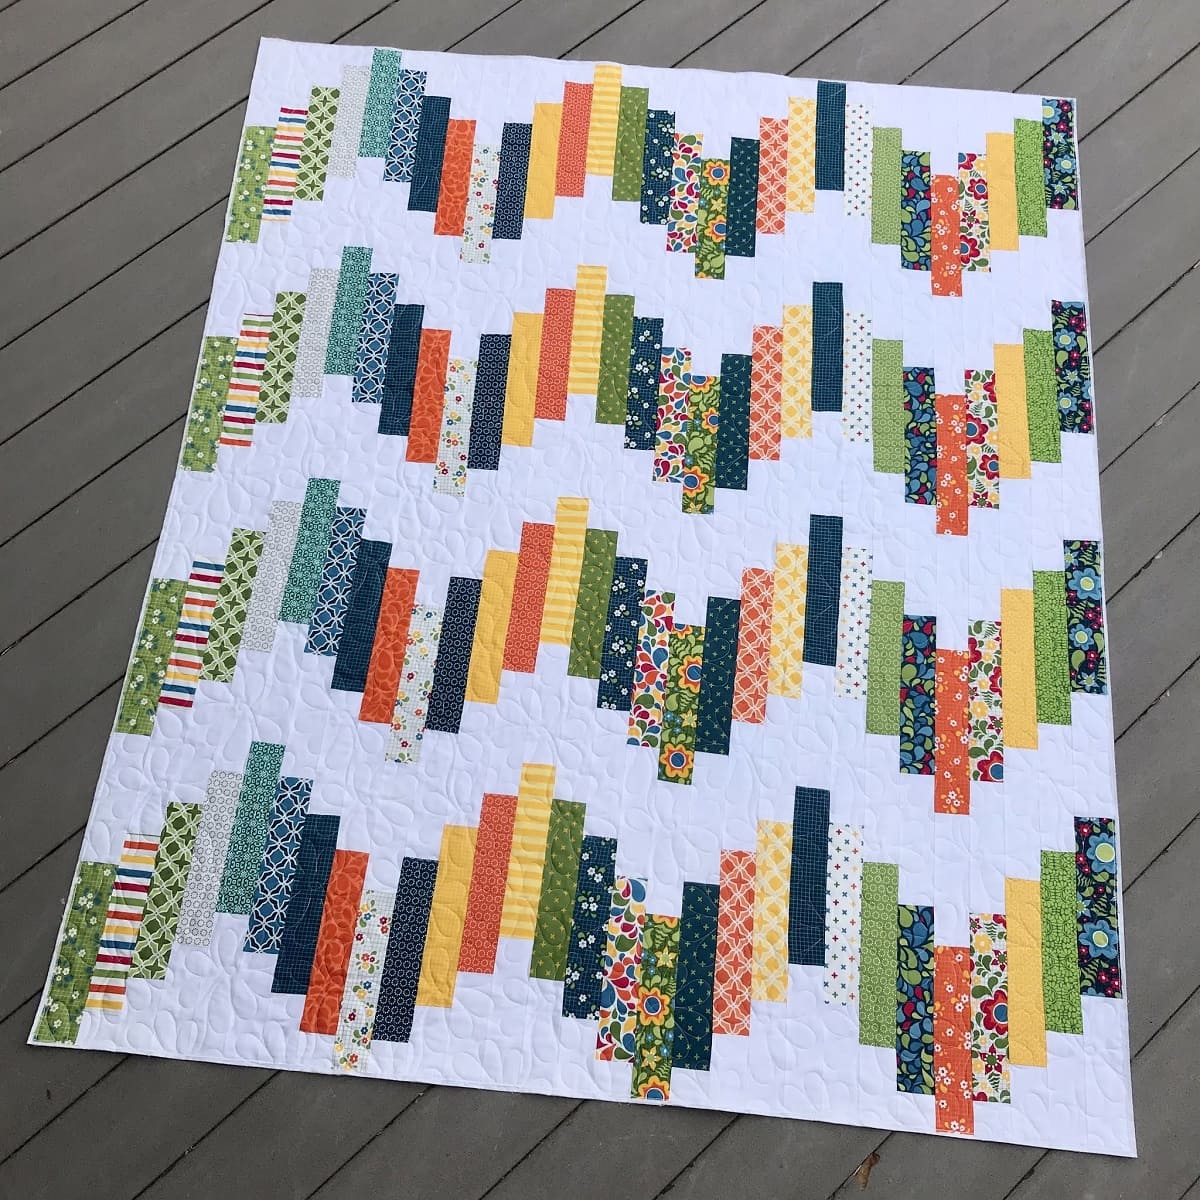
Quilting is a beloved craft that allows us to create beautiful and functional items with fabric and thread. One popular quilting technique is the jelly roll quilt. This type of quilt gets its name from the pre-cut fabric strips known as jelly rolls that are used to create the quilt top.
Creating a jelly roll quilt is a great project for both beginner and experienced quilters. It’s a versatile design that allows for endless possibilities and can be customized to fit any style or theme. Whether you want to make a quilt for yourself, as a gift, or to add a touch of warmth and creativity to your home decor, a jelly roll quilt is an excellent choice.
In this article, we will guide you through the process of making a jelly roll quilt, step by step. We will cover everything from choosing the right fabrics to adding the finishing touches. So, grab your sewing machine, gather your supplies, and let’s get started on your jelly roll quilt-making adventure!
Key Takeaways:
- Crafting a jelly roll quilt is a delightful journey that allows you to express creativity, perseverance, and dedication. The finished quilt is not just a cozy creation but a tangible representation of your passion for quilting.
- From choosing fabrics to adding finishing touches, the process of making a jelly roll quilt is a fulfilling and rewarding experience. Embrace the joy of quilting and cherish the unique beauty of your handmade creation.
Read more: How To Quilt A Jelly Roll Race Quilt
Materials Needed
Before diving into the jelly roll quilt-making process, let’s gather all the necessary materials. Here are the items you will need:
- 1 jelly roll or 2.5-inch wide fabric strips
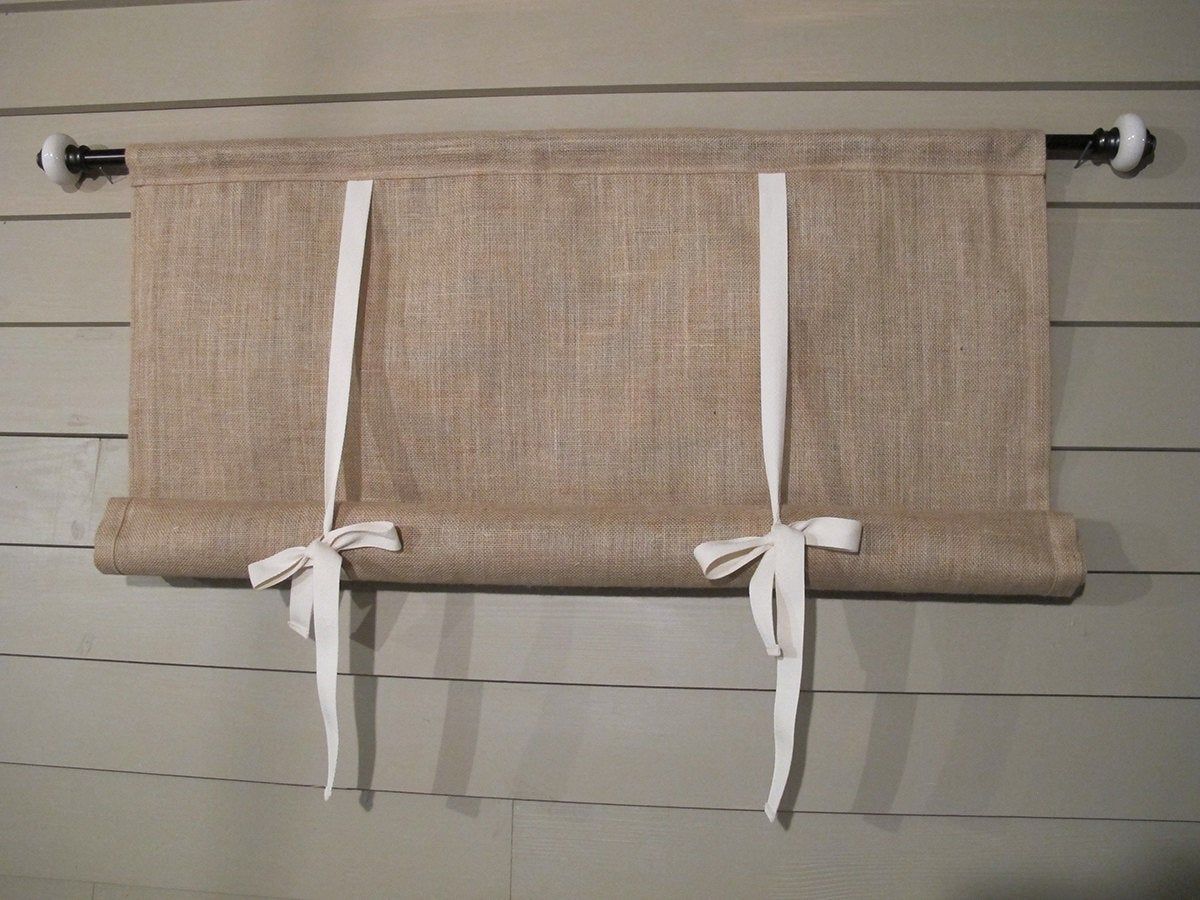
- Backing fabric
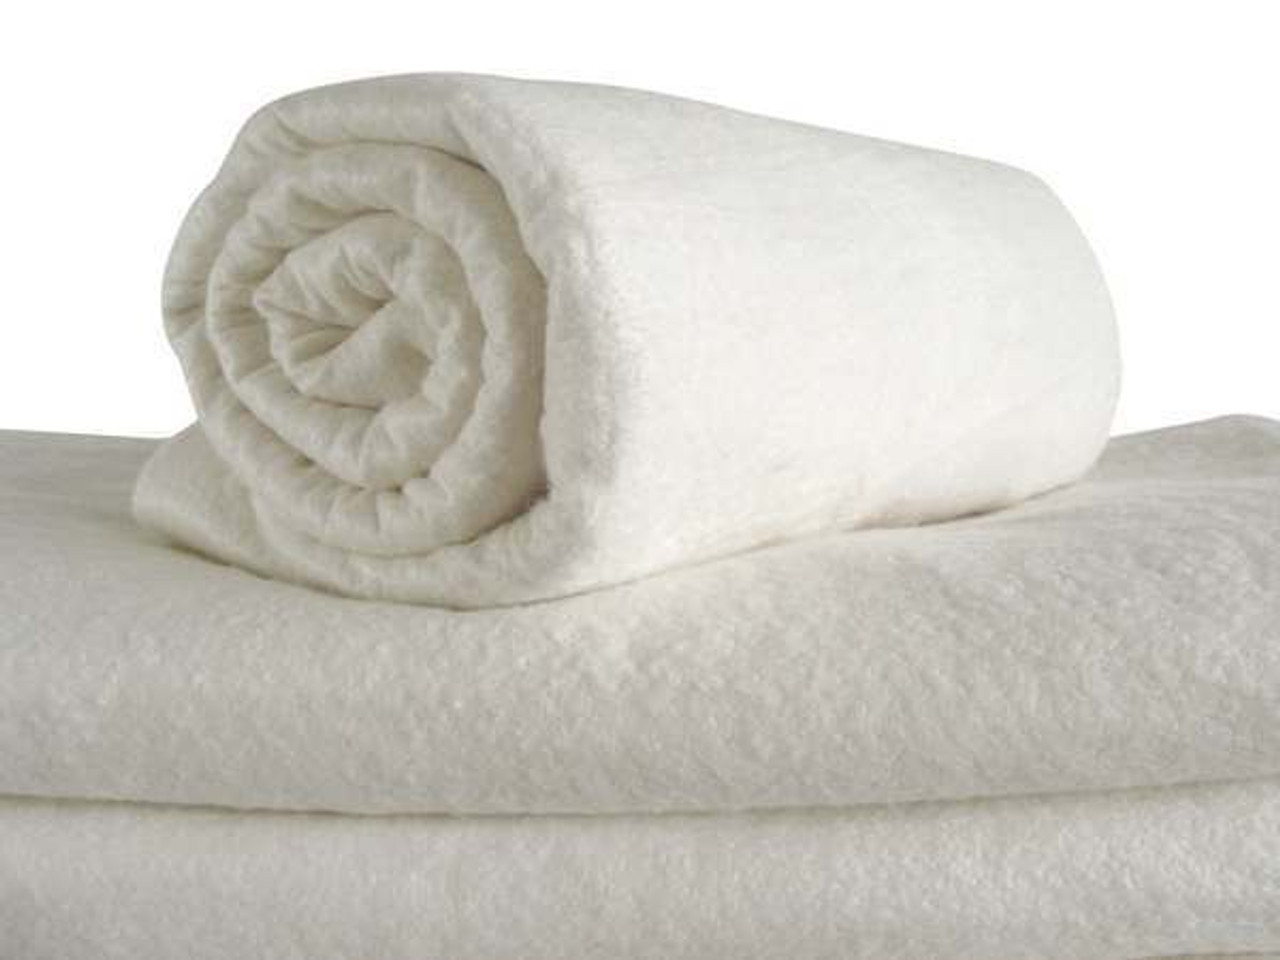
- Batting
- Thread
- Quilting ruler
- Rotary cutter
- Scissors
- Pins
- Seam ripper
- Sewing machine
- Iron
- Ironing board
Make sure you have a good selection of fabric strips in a variety of colors and patterns to add visual interest to your quilt. Jelly rolls are typically sold in coordinated collections, making it easier to create a cohesive look.
As for the backing fabric, choose a fabric that complements the colors and patterns in your jelly roll strips. You will also need batting, which is the layer of padding that gives your quilt its thickness and warmth. Opt for a batting that is appropriate for the size of your quilt and the desired level of warmth.
Additionally, a quilting ruler and rotary cutter will be essential for precise cutting, while scissors and pins will be useful for various sewing tasks. A seam ripper comes in handy if you need to undo any stitches, and of course, a sewing machine is essential for piecing everything together.
Lastly, don’t forget an iron and ironing board to press your fabric strips and seams as you work. This helps achieve crisp and professional-looking quilt blocks.
Once you have gathered all the materials, you’re ready to move on to the next step of creating your jelly roll quilt: choosing the fabrics.
Step 1: Choosing Fabrics
Choosing the right fabrics for your jelly roll quilt is an important step in the quilting process. The fabrics you select will determine the overall look and feel of your quilt. Here are some tips to help you choose the perfect fabrics:
- Consider the theme: Think about the theme or color scheme you want for your quilt. Are you looking for something vibrant and bold, or more subtle and soothing? Consider the intended use of the quilt and the aesthetic you want to achieve.
- Coordinated jelly rolls: If you’re using a jelly roll, the fabrics are already coordinated for you. However, you can still add your personal touch by selecting additional fabrics that complement the colors and patterns in the jelly roll.
- Mix and match: Don’t be afraid to mix different fabric styles and patterns. Combining solids, prints, and textures can create an interesting and dynamic quilt. Just make sure the fabrics work well together visually.
- Contrast and balance: Consider the contrast and balance between the fabrics you choose. A mix of light and dark fabrics or high-contrast colors can create visual interest in your quilt.
- Personalize with favorites: Incorporate fabrics that have a personal meaning or hold sentimental value. This could include fabric scraps from old clothes, heirloom fabrics, or fabrics with motifs that hold special significance to you.
- Size matters: Consider the size of the prints on the fabrics. Large-scale prints can make a bold statement, while small-scale prints can add texture and depth to your quilt.
Take your time when selecting fabrics and trust your instincts. Lay out the fabrics together and see how they look as a group. You can even take pictures or make color swatches to help visualize how the fabrics will work together.
Remember, quilt-making is a creative process, and there are no right or wrong choices. Choose fabrics that make you happy and reflect your personal style. Once you have chosen your fabrics, it’s time to move on to preparing the fabric strips for your jelly roll quilt.
Step 2: Preparing the Fabric Strips
Now that you have chosen your fabrics, it’s time to prepare the fabric strips for your jelly roll quilt. Follow these steps to get your fabric strips ready:
- Measure and cut: Start by measuring and cutting your fabric into strips. If you’re using a jelly roll, the strips are already pre-cut to the standard width of 2.5 inches. If you’re using your own fabric, use a quilting ruler and rotary cutter to cut the strips to the desired width. Make sure they are all the same length.
- Iron and press: Take each fabric strip and iron it to remove any wrinkles or creases. Use a medium heat setting on your iron and press along the length of the fabric strip for a smooth and even result. This step is crucial for accurate and precise quilting.
- Sorting and arranging: Once you have ironed all the fabric strips, sort them into groups according to color, pattern, or any other criteria you like. This will help you plan the layout of your quilt blocks and make the sewing process more efficient.
- Label and organize: If you’re using multiple fabrics, it’s a good idea to label them or make notes of their placement in your quilt. This will prevent confusion later on and ensure the desired design is achieved.
- Trimming and adjusting: Before you start sewing the fabric strips together, double-check their edges to ensure they are straight and even. Trim any excess fabric or make necessary adjustments to ensure all the strips align properly when sewn together.
By taking the time to properly prepare the fabric strips, you’ll set yourself up for success in the quilting process. Straight and evenly cut strips will make it easier to sew them together and create a quilt top that lies flat and aligns perfectly.
Once you have completed these steps, you’re ready to move on to the next stage of making your jelly roll quilt – sewing the fabric strips together to create the quilt top. Get your sewing machine prepared and let’s dive into the sewing process!
Step 3: Sewing the Strips Together
With your fabric strips prepared, it’s time to start sewing them together to create the quilt top for your jelly roll quilt. Follow these steps to sew the strips together:
- Arrange the strips: Lay out your fabric strips in the desired order and orientation. This will help you visualize the design and ensure that the colors and patterns are arranged in a pleasing way.
- Pin or clip: Once you have decided on the arrangement, pin or clip the first two fabric strips together along one of the long edges. Make sure the right sides of the fabric are facing each other.
- Start sewing: Using a 1/4-inch seam allowance, start sewing the fabric strips together along the pinned or clipped edge. You can use a straight stitch or a decorative stitch if desired. Continue sewing until you reach the end of the two strips.
- Press the seam: After sewing the first two strips together, press the seam open or to one side. Use an iron to flatten the seam and create a crisp, smooth finish.
- Add more strips: Repeat the process of pinning, sewing, and pressing to add more fabric strips to the growing quilt top. Take your time to ensure that each strip aligns properly and that the seam allowances are consistent.
- Trim and square: As you sew, periodically trim any excess fabric or uneven edges to keep the quilt top neat and square. This will make it easier when it comes time to add borders and quilt the finished piece.
- Consider strip sizes: Experiment with different widths of fabric strips to add visual interest and variety to your quilt top. You can alternate between narrow and wide strips or mix in some accent strips in a different color or pattern.
- Continue sewing: Keep sewing the fabric strips together until you have achieved the desired size for your quilt top. Don’t worry if the quilt top looks a bit messy or uneven at this stage – it will be further refined during the quilting process.
As you sew and combine the fabric strips, you will see your jelly roll quilt top start to come together. The continuous stitching of the strips creates a visually appealing pattern of colors and patterns.
Once you have finished sewing the strips together, it’s time to move on to the next step – rolling the quilt. This step helps create the distinct rolled effect that gives the jelly roll quilt its name and unique appearance.
Read more: What Size Quilt Does A Jelly Roll Make
Step 4: Rolling the Quilt
Rolling the quilt is a crucial step in creating the signature appearance of a jelly roll quilt. This technique involves carefully folding and rolling the quilt top onto itself to form a cylindrical shape. Follow these steps to roll your quilt:
- Lay out the quilt top: Start by laying your quilt top on a clean and flat surface, with the right side facing down.
- Fold the edges: Fold both long edges of the quilt top towards the center, making sure they meet along the length.
- Smooth out the fold: Use your hands or a quilting ruler to smooth out and flatten the folded edges, ensuring they are neat and even.
- Roll from one end: Starting from one end of the quilt top, gently roll it tightly towards the other end. Keep the roll as compact and even as possible.
- Secure with pins or clips: Once you have rolled the quilt top completely, secure it with pins or clips to hold the roll in place. Make sure the pins or clips are evenly distributed along the length of the roll.
- Check the alignment: Before proceeding to the next step, double-check that the fabric strips align correctly and that the seams are not twisted or misaligned. Adjust if necessary.
Rolling the quilt top is not only a visual technique but also serves a practical purpose. It helps keep the fabric strips organized and prevents them from shifting as you continue to work on your jelly roll quilt.
With the quilt top securely rolled, you are now ready to sew it together and create the final jelly roll. In the next step, we will guide you through the process of sewing the jelly roll, bringing your quilt one step closer to completion.
When sewing the strips together for a jelly roll quilt, be sure to press the seams open to reduce bulk and create a flatter finished quilt top.
Step 5: Sewing the Jelly Roll
Now that you have successfully rolled your quilt top, it’s time to sew the jelly roll. This step involves stitching the rolled quilt top together to create a seamless and secure jelly roll. Follow these steps to sew your jelly roll:
- Unroll the quilt top: Start by gently unrolling the quilt top, ensuring that all the fabric strips lie flat and straight.
- Align the edges: Align the raw edges of the quilt top together, making sure they are flush and evenly matched. Pin or clip the edges to secure them in place.
- Start sewing: Using a 1/4-inch seam allowance, begin sewing along the pinned or clipped edges. You can use a straight stitch or a decorative stitch, depending on your preference.
- Continue sewing: Sew all the way down the length of the quilt top, ensuring that the edges are securely stitched together. Backstitch at the beginning and end to reinforce the seam.
- Press the seam: After sewing the jelly roll, press the seam open or to one side to create a smooth and tidy finish. Use an iron to gently press along the seam, being cautious not to stretch or distort the fabric.
- Trim any excess fabric: Carefully trim any excess fabric from the seam allowance, if needed, to reduce bulk and improve the overall appearance of the jelly roll.
- Inspect the seam: Take a moment to inspect the sewn jelly roll seam, ensuring it is straight, secure, and free of puckering or uneven tension. Make any necessary adjustments or repairs.
Once you have sewn the jelly roll together, you will have a cohesive and continuous cylinder of fabric strips, ready to be transformed into a beautiful quilt. This step brings your jelly roll quilt one step closer to completion.
Next, we will explore how to add borders to your jelly roll quilt, further enhancing its aesthetics and providing a finished look.
Step 6: Adding Borders
Adding borders to your jelly roll quilt not only enhances its overall appearance but also provides a finished and polished look. Borders can frame the quilt top, add visual interest, and increase the size of the quilt if desired. Follow these steps to add borders to your jelly roll quilt:
- Measure the quilt top: Start by measuring the length and width of your quilt top. This will help you determine the dimensions for your borders.
- Select border fabrics: Choose fabrics for your borders that complement the colors and patterns in your jelly roll quilt. Consider using a solid color or a fabric that provides contrast to make the borders stand out.
- Cut the border strips: Using a quilting ruler and rotary cutter, cut fabric strips for the borders based on the measurements of your quilt top. Add the desired width of the borders to the quilt top dimensions to determine the length of the border strips.
- Attach the border strips: Pin or clip the border strips to the edges of the quilt top, right sides together. Begin with the longer sides (top and bottom) and then add the shorter sides (sides).
- Sew the border strips: Using a 1/4-inch seam allowance, sew the border strips to the quilt top, ensuring the corners are mitered for a clean and professional finish. Press the seams towards the borders.
- Measure and cut the side borders: Measure the length of the quilt top, including the newly attached borders. Cut two more border strips to match this length.
- Attach the side borders: Pin or clip the side border strips to the quilt top, right sides together, aligning the edges. Sew the side borders to the quilt top using a 1/4-inch seam allowance and press the seams towards the borders.
- Measure and cut the top and bottom borders: Finally, measure the width of the quilt top with the attached side borders. Cut two border strips to match this width.
- Attach the top and bottom borders: Pin or clip the top and bottom border strips to the quilt top, right sides together, aligning the edges. Sew the top and bottom borders to the quilt top with a 1/4-inch seam allowance, and press the seams towards the borders.
With the borders attached, your jelly roll quilt will have a finished look, and the design will stand out even more. Take a moment to inspect the quilt top, ensuring that the borders are straight, the corners are neat, and the seams lie flat.
Now that your quilt top is complete with borders, it’s time to move on to the next step – quilting the jelly roll quilt. This step will add the necessary layers of batting and backing to create a cozy and durable quilt.
Step 7: Quilting the Jelly Roll Quilt
Quilting adds the necessary layers of batting and backing to your jelly roll quilt, providing warmth, stability, and a decorative element. Follow these steps to quilt your jelly roll quilt:
- Prepare the quilt sandwich: Lay your jelly roll quilt top on a flat surface, right side up. Place the batting on top of the quilt top, ensuring it covers the entire surface. Smooth out any wrinkles or creases.
- Place the backing fabric: Lay the backing fabric on top of the batting, right side down. Align it with the edges of the quilt top and batting, making sure it covers the entire quilt sandwich.
- Secure the layers: Pin or baste the layers together, starting from the center and working your way towards the edges. Make sure the layers are taut and smooth, with no puckering or excess fabric.
- Choose quilting designs: Decide on the quilting designs you want to incorporate into your quilt. Popular options include straight-line quilting, free-motion quilting, or even using a long-arm quilting machine if available.
- Quilt the layers: Using your preferred quilting method, start quilting from the center and work your way outwards. Follow your chosen designs or create your own patterns to highlight the fabric strips and enhance the overall aesthetic.
- Take your time: Quilting can be a time-consuming process, so take your time and enjoy the journey. Pay attention to tension, stitch length, and the overall look of the quilt as you quilt it.
- Trim excess batting and backing: Once you have finished quilting, trim any excess batting or backing fabric, making sure the edges are straight and aligned with the quilt top.
Quilting adds a beautiful texture and dimension to your jelly roll quilt, enhancing the overall design and bringing it to life. Whether you choose simple or intricate quilting patterns, the quilting stitches will secure the layers together and provide durability.
Once you have completed quilting your jelly roll quilt, admire your handiwork and take a moment to appreciate the progress you have made. Now, it’s time for the final step – adding the finishing touches to your quilt.
Step 8: Finishing Touches
After all the hard work and dedication put into your jelly roll quilt, it’s time for the final step – adding the finishing touches. These steps will complete your quilt and ensure it looks polished and ready for use or gifting:
- Trim the edges: Use a ruler and rotary cutter to trim the quilt’s edges, ensuring they are straight and even. This step helps create clean lines and a professional finish.
- Add binding: Cut binding strips from your chosen fabric, typically 2.5 inches wide. Attach the binding to the raw edges of the quilt, folding it in half and sewing it with a 1/4-inch seam allowance. Make sure to miter the corners for a neat and seamless look.
- Hand or machine sew the binding: Decide whether you want to hand sew or machine sew the binding to the back of the quilt. Hand sewing creates an invisible finish but can be time-consuming, while machine sewing offers a faster option with visible stitches.
- Secure corners and ends: Take extra care to secure the corners and ends of the binding, ensuring they are neatly folded and stitched to prevent unraveling.
- Label your quilt: Add a label to your quilt to provide information about its creator, date, or any special sentiments. You can embroider or sew a fabric label onto the back of the quilt for a personal touch.
- Give it a final press: Before admiring your finished quilt, give it a final press with your iron on a low heat setting. This will help smooth out any remaining wrinkles and give it a crisp, fresh look.
- Display or gift your quilt: Your jelly roll quilt is now complete and ready to be enjoyed! Display it on a bed, drape it over a couch, or fold it neatly for storage. Alternatively, consider gifting your quilt to someone special to spread the warmth and joy of handmade craftsmanship.
Congratulations on completing your jelly roll quilt! Take a step back and admire your beautiful creation. The finishing touches add that extra special element and showcase the time and effort you put into making the quilt.
Now, you can cherish and enjoy your quilt for years to come or share it with others as a thoughtful and handmade gift. Happy quilting!
Conclusion
Congratulations on completing your journey in creating a stunning jelly roll quilt! Throughout the process, you have learned how to choose fabrics, prepare fabric strips, sew them together, roll the quilt, add borders, quilt the layers, and apply the finishing touches. The result is a beautiful and personalized quilt that showcases your creativity and dedication.
Quilting is a craft that allows us to express ourselves, bring warmth and beauty to our homes, and create cherished heirlooms. With a jelly roll quilt, you have not only created a functional and cozy piece but also a work of art that reflects your style and personality.
As you worked on your quilt, you discovered the joy of selecting fabrics, the satisfaction of matching seams, the excitement of watching the project unfold, and the sense of accomplishment as you put the final touches in place. The process may have had its challenges, but you persevered and created something truly special.
Now, it’s time to enjoy your jelly roll quilt. Whether you proudly display it in your home, wrap yourself in its warmth, or gift it to someone you love, your quilt is a tangible representation of your passion and talent for quilting.
Remember that quilting is an ongoing journey of learning and growth. Explore new techniques, experiment with different patterns and color combinations, and let your creativity flourish. Each quilt you create will be unique, filled with memories, and cherished by generations to come.
Thank you for joining us on this quilting adventure. We hope you found this guide helpful and that it inspired you to continue creating beautiful quilts. Happy quilting!
Frequently Asked Questions about How To Make A Jelly Roll Quilt
Was this page helpful?
At Storables.com, we guarantee accurate and reliable information. Our content, validated by Expert Board Contributors, is crafted following stringent Editorial Policies. We're committed to providing you with well-researched, expert-backed insights for all your informational needs.


0 thoughts on “How To Make A Jelly Roll Quilt”