Articles
How To Make No-Sew Roman Blinds
Modified: March 1, 2024
Learn how to make beautiful Roman blinds without any sewing required. Our step-by-step articles will guide you through the process effortlessly.
(Many of the links in this article redirect to a specific reviewed product. Your purchase of these products through affiliate links helps to generate commission for Storables.com, at no extra cost. Learn more)
Introduction
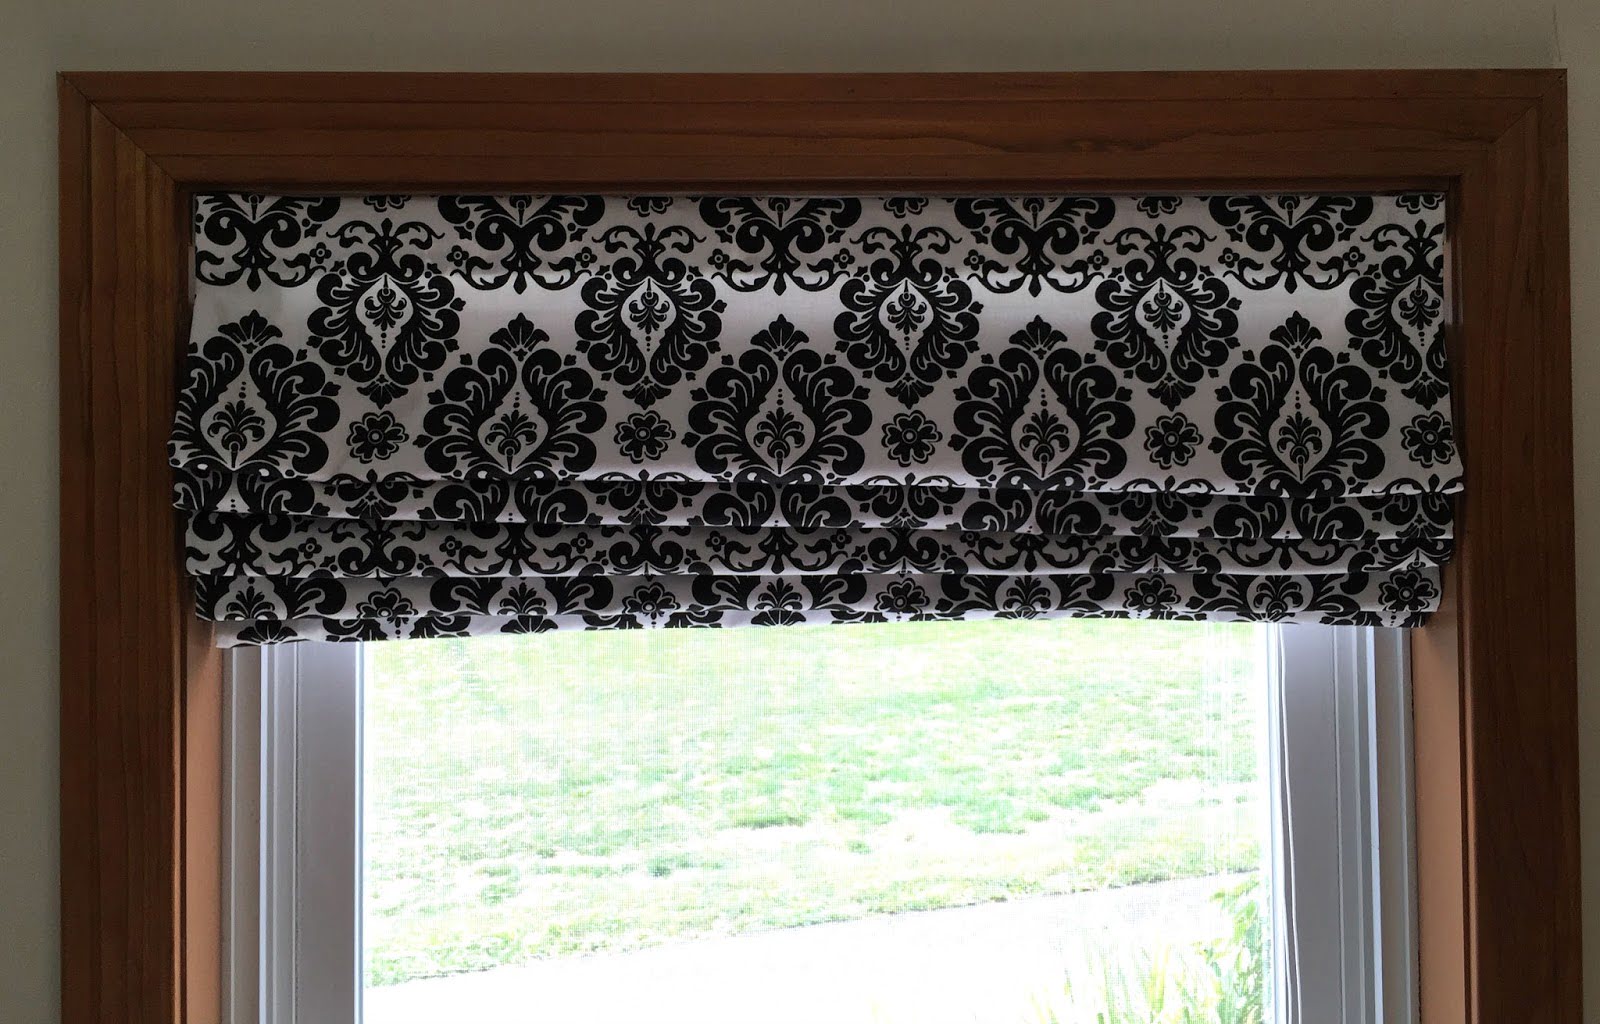
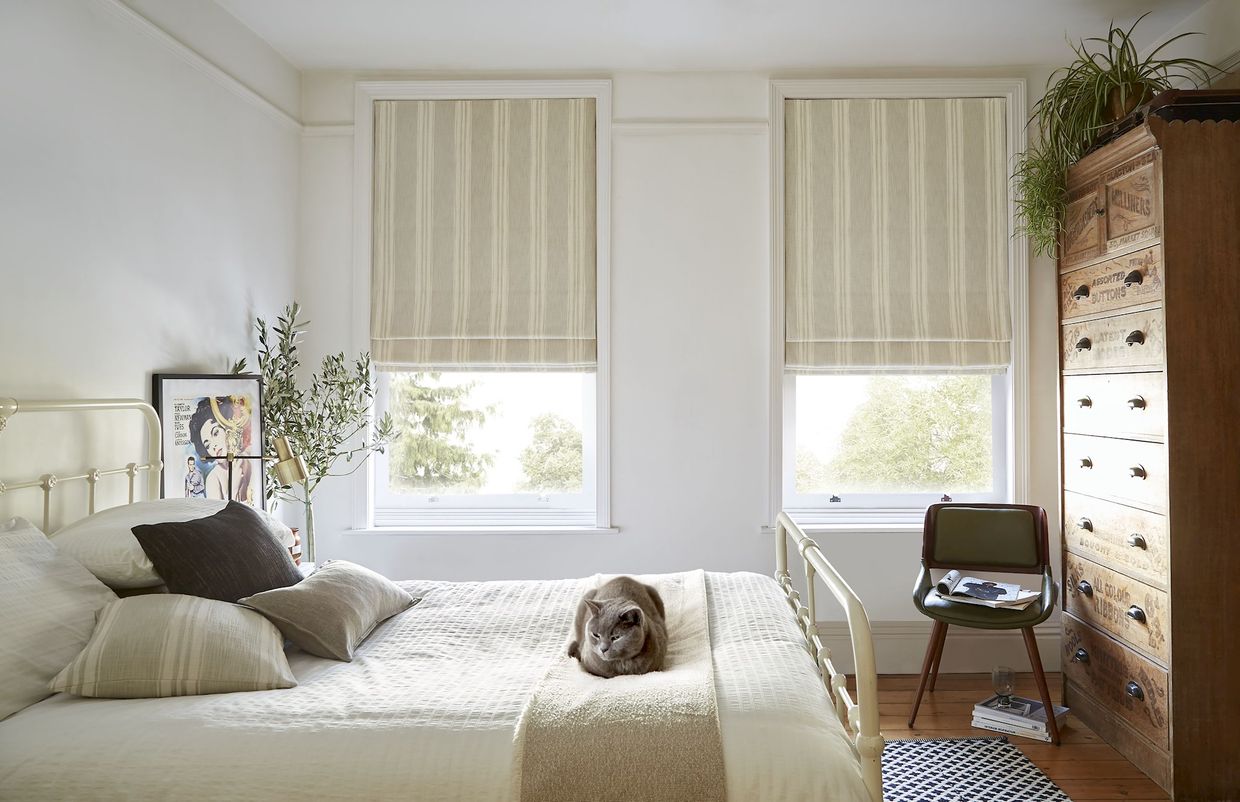
Are you tired of the same old window coverings and looking for a more modern and stylish option? Roman blinds are a popular choice for adding a touch of elegance and sophistication to any room. Not only do they provide privacy and block out unwanted light, but they also add a unique charm to your home decor.
While you can purchase pre-made Roman blinds from stores, making your own no-sew Roman blinds can be a fun and fulfilling DIY project. Plus, it allows you to customize the blinds to perfectly fit your windows and match your personal style.
In this article, we will guide you through the step-by-step process of creating your own no-sew Roman blinds. With a few basic materials and some time, you can transform your windows and elevate the aesthetic appeal of your space.
Key Takeaways:
- Elevate your space with custom, no-sew Roman blinds that add elegance, privacy, and style to any room. Enjoy the satisfaction of a DIY project that enhances your home’s aesthetics without the need for sewing.
- Transform your windows with no-sew Roman blinds, achieving a professional look through precise measurements, secure attachments, and proper cord threading. Enjoy the benefits of added privacy, light control, and a personalized touch to your home decor.
Read more: How To Make Roman Blinds
Materials Needed
Before starting your no-sew Roman blinds project, gather the following materials:
- Fabric of your choice: Select a fabric that suits your style and complements your decor. Ensure that the fabric is wide enough to cover your window adequately.
- Measuring tape: This will help you measure your window accurately and determine the fabric dimensions.
- Fabric glue: Look for a fabric adhesive that bonds well and dries clear.
- Scissors: Sharp scissors are essential for cutting the fabric and trimming any excess.
- Roman blind rings: These rings will be used to attach the cords and create the pleats in the blinds.
- Dowel rods: Dowel rods will be inserted into the fabric pockets to give the blinds structure.
- Cord or string: You will need a durable cord or string to raise and lower the blinds.
- Screw eyes: Screw eyes will be installed on the top edge of the blinds to attach the cords.
- Mounting brackets: These brackets will secure the blinds to your window frame or wall.
- Level and drill: These tools will help you ensure that the blinds are installed straight and secure.
Make sure that you have all the materials ready before you begin creating your no-sew Roman blinds. Now, let’s move on to the step-by-step process of making your blinds.
Step 1: Measure and Cut the Fabric
The first step in creating your no-sew Roman blinds is to accurately measure your window and cut the fabric to the appropriate size.
- Start by measuring the width of your window. Add a few inches on each side to allow for the blinds to overlap the window frame and provide a finished look.
- Next, measure the length of your window. Decide how long you want your blinds to hang, whether you prefer them to fall just below the window sill or to the floor.
- Using these measurements, cut the fabric to the desired size. Make sure to cut a piece for the front of the blind and an additional piece for the lining if desired.
- Once the fabric is cut, lay it out on a flat surface and ensure that it is smooth and free of any wrinkles or creases. This will ensure a neat and professional-looking finish.
By taking precise measurements and cutting the fabric accurately, you will ensure that your no-sew Roman blinds fit your window perfectly and create a polished appearance.
Step 2: Hem the Edges of the Fabric
After cutting the fabric to the desired size, the next step in creating your no-sew Roman blinds is to hem the edges. Hemming the fabric will give the blinds a clean and finished look while preventing fraying.
- Start by folding over the raw edge of the fabric by about half an inch. Use fabric glue to secure the folded edge in place.
- Continue folding and gluing along the entire edge of the fabric.
- Repeat this process for all the sides of the fabric until the edges are neatly hemmed.
- Allow the fabric glue to dry completely before moving on to the next step.
Hemming the fabric will not only prevent fraying but also create a more professional and polished finish for your no-sew Roman blinds. Take your time to ensure that the edges are securely hemmed and the fabric is smooth and wrinkle-free.
When measuring your fabric for the Roman blinds, add an extra 4 inches to the width and 8 inches to the length to allow for hemming and folding.
Step 3: Attach the Rings and Dowels
Now that the fabric edges are hemmed, it’s time to attach the rings and dowels to create the pleats and structure of your no-sew Roman blinds.
- Start by marking the placement of the rings along the top edge of the fabric. Space them evenly, around 8-10 inches apart, depending on the width of your blinds.
- Using fabric glue or a hot glue gun, attach the rings to the backside of the fabric. Make sure they are securely adhered and positioned properly.
- Next, cut dowel rods to the width of the blinds, allowing for a few inches of overlap on each end. These dowels will be inserted into the pockets created by the pleats.
- Using a small amount of fabric glue, attach the dowels to the backside of the fabric, just below each ring. This will provide the blinds with structure and ensure they hang evenly.
- Allow the fabric glue to dry completely before moving on to the next step.
Attaching the rings and dowels is a crucial step in the construction of your no-sew Roman blinds. Take your time to ensure they are securely attached and evenly spaced, as this will determine the functionality and appearance of your blinds.
Read more: How To Measure For Roman Blinds
Step 4: Attach the Cord
Once the rings and dowels are in place, it’s time to attach the cord that will allow you to raise and lower the blinds.
- Starting from the top, thread the cord through each ring, making sure it hangs freely.
- Once the cord is threaded through all the rings, tie a knot at the bottom to secure it.
- Next, attach screw eyes to the top edge of the blinds, spacing them evenly. These will serve as anchor points for the cord.
- Pass the cord through the screw eyes, starting from one side and weaving it through until it reaches the other side.
- Secure the cord by tying a knot at each end, ensuring that it is taut but still allows for easy movement of the blinds.
Attaching the cord is a crucial step to ensure the functionality of your no-sew Roman blinds. Double-check that the cord moves smoothly through the rings and screw eyes, allowing you to raise and lower the blinds effortlessly.
Step 5: Install the Roman Blinds
Now that you have completed the construction of your no-sew Roman blinds, it’s time to install them and enjoy the beautiful transformation they bring to your space.
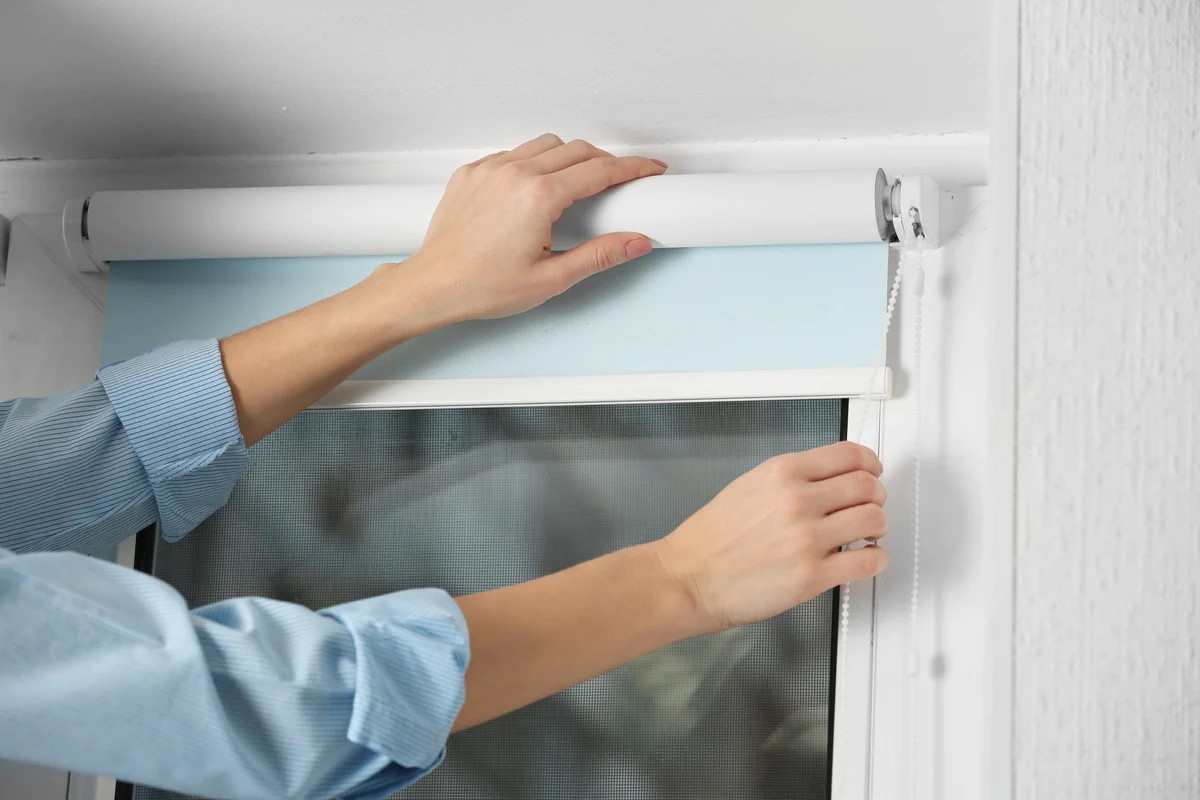
- Start by positioning the brackets on the window frame or wall, based on where you want the blinds to hang.
- Use a level to ensure that the brackets are straight and mark the screw hole locations.
- Drill pilot holes where you marked the screw hole locations.
- Secure the brackets to the window frame or wall using screws.
- Once the brackets are securely installed, carefully lift the blinds and position them on the brackets.
- Ensure that the blinds are level and centered.
- Attach the blinds to the brackets according to the manufacturer’s instructions.
Take a step back and admire your newly installed no-sew Roman blinds. Adjust the cord to raise or lower the blinds to your desired height.
Enjoy the benefits of your DIY project, including the added privacy, light control, and beautiful aesthetics that the Roman blinds bring to your room.
Note: It’s always a good idea to refer to the specific instructions provided by the manufacturer for installing your blinds.
Conclusion
Congratulations! You have successfully created your own no-sew Roman blinds, adding a touch of elegance and style to your windows. By following the step-by-step process outlined in this article, you have transformed your space and achieved a custom look without any sewing required.
Making your own Roman blinds not only allows you to personalize your window coverings but also gives you the satisfaction of completing a DIY project that enhances the aesthetics of your home.
Remember, when creating your no-sew Roman blinds, it is essential to measure accurately, hem the edges neatly, attach the rings and dowels securely, and thread the cord correctly. Taking the time to ensure each step is done correctly will result in a professional-looking finish.
Now, sit back and enjoy the benefits of your DIY creation. Your new Roman blinds provide privacy, light control, and a stylish addition to any room in your home. Adjust them to let in natural light, or lower them for a cozy, intimate atmosphere.
We hope this article has empowered and inspired you to create your own beautiful and functional no-sew Roman blinds. Get creative, experiment with different fabrics, and make these blinds a unique reflection of your personal style.
Happy crafting!
Frequently Asked Questions about How To Make No-Sew Roman Blinds
Was this page helpful?
At Storables.com, we guarantee accurate and reliable information. Our content, validated by Expert Board Contributors, is crafted following stringent Editorial Policies. We're committed to providing you with well-researched, expert-backed insights for all your informational needs.