Articles
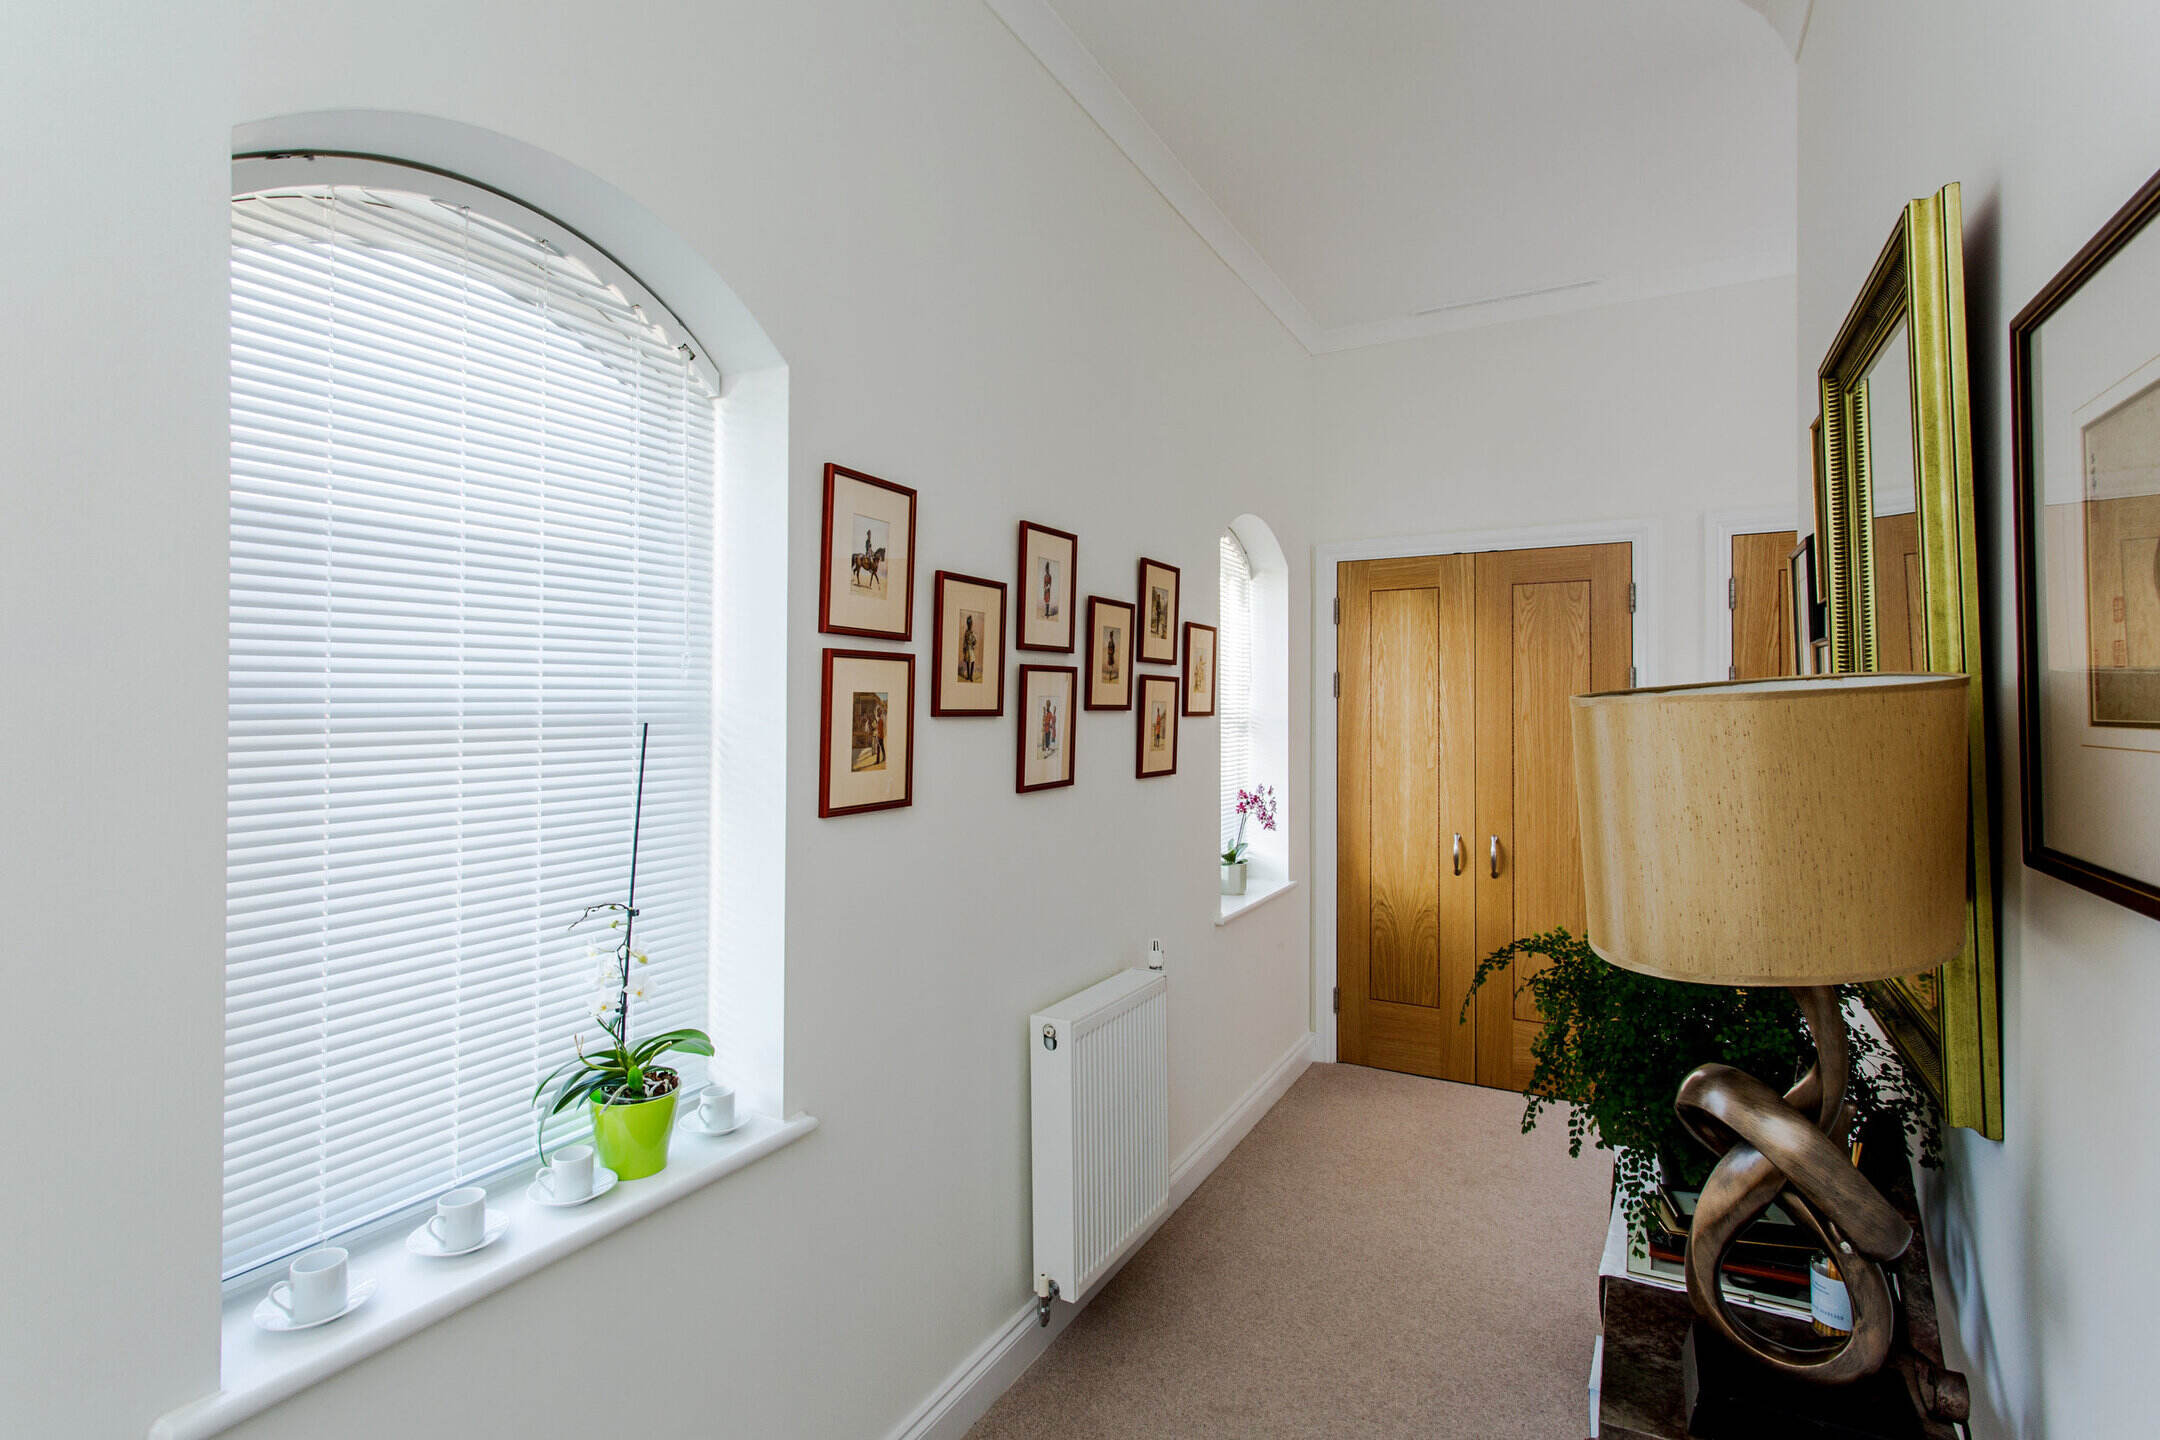
How To Make Arched Window Blinds
Modified: January 6, 2024
Discover the best articles on how to make arched window blinds. Get step-by-step instructions and expert tips to create beautiful custom blinds for your windows.
(Many of the links in this article redirect to a specific reviewed product. Your purchase of these products through affiliate links helps to generate commission for Storables.com, at no extra cost. Learn more)
Introduction
Welcome to our comprehensive guide on how to make arched window blinds! Arched windows are a beautiful architectural feature that can add charm and elegance to any room. However, finding the right blinds to fit these unique windows can be challenging. Luckily, with a little bit of creativity and some basic DIY skills, you can create customized arched window blinds that perfectly complement your home decor.
In this article, we will walk you through the step-by-step process of measuring, choosing, customizing, and installing arched window blinds. We will also provide you with valuable tips on how to maintain and care for your blinds to ensure they stay in top-notch condition.
Before we dive into the details, let’s quickly go over the materials and tools you will need for this project.
Key Takeaways:
- Create customized arched window blinds by measuring accurately, choosing the right type of blinds, and customizing them to fit the unique shape of the arch. Secure installation and regular maintenance ensure long-lasting elegance and functionality.
- Transform your arched windows with personalized blinds that add charm and practicality to your space. From measuring to maintenance, this guide equips you with the knowledge and skills to achieve stunning results.
Read more: How To Hang Curtains With Arched Window
Materials and Tools Needed
Before you start making your arched window blinds, make sure you have the following materials and tools:
- Fabric or blinds material of your choice
- Measuring tape
- Pencil or marker
- Scissors
- Ruler or straight edge
- Iron (if using fabric)
- Stapler or adhesive
- Brackets
- Screws
- Drill
- Screwdriver
These are the basic supplies you will need to get started. Depending on the specific design and style of your arched window blinds, you may require additional materials such as decorative trimmings, cord pulls, or valances. Make sure to gather all the necessary items before you begin the project.
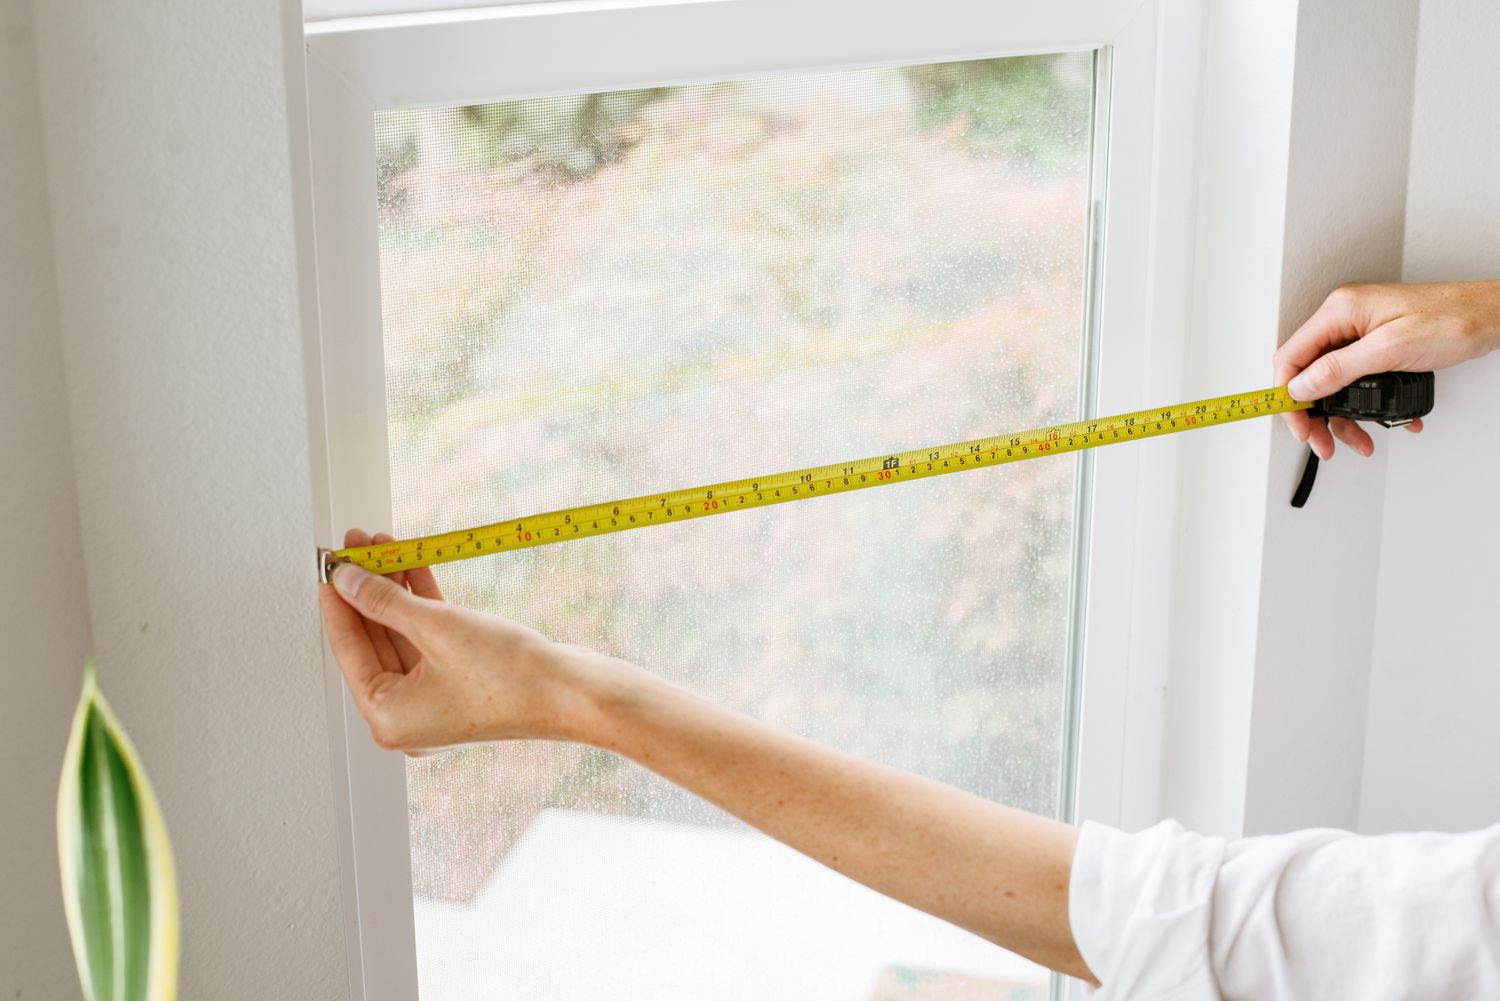
Measuring for the Blinds
Accurate measurements are crucial when making arched window blinds. Here’s a step-by-step guide on how to measure your windows:
- Start by measuring the width of the window opening at the base. Use a measuring tape to get the exact dimensions. Write down this measurement.
- Next, measure the height of the window opening at the center. Again, record the measurement.
- Now, measure the width of the window opening at the top of the arch. This will determine the width of the arched portion of the blinds.
- Finally, measure the height of the window opening at the highest point of the arch. This will determine the length of the arched portion of the blinds.
- Once you have all the measurements, add a few extra inches for overlap and clearance. This will ensure that the blinds cover the entire window opening and allow for easy installation.
It’s important to be precise when measuring for arched window blinds, as any inaccuracies can affect the fit and functionality of the blinds. If you’re not confident in your measurements, consider consulting a professional or seeking guidance from a blind supplier.
Keep in mind that arched window blinds can also be made to fit inside the window frame. In this case, measure the inside width and height of the frame instead of the window opening. Be sure to follow the manufacturer’s instructions or consult a professional for guidance when measuring for inside mount blinds.
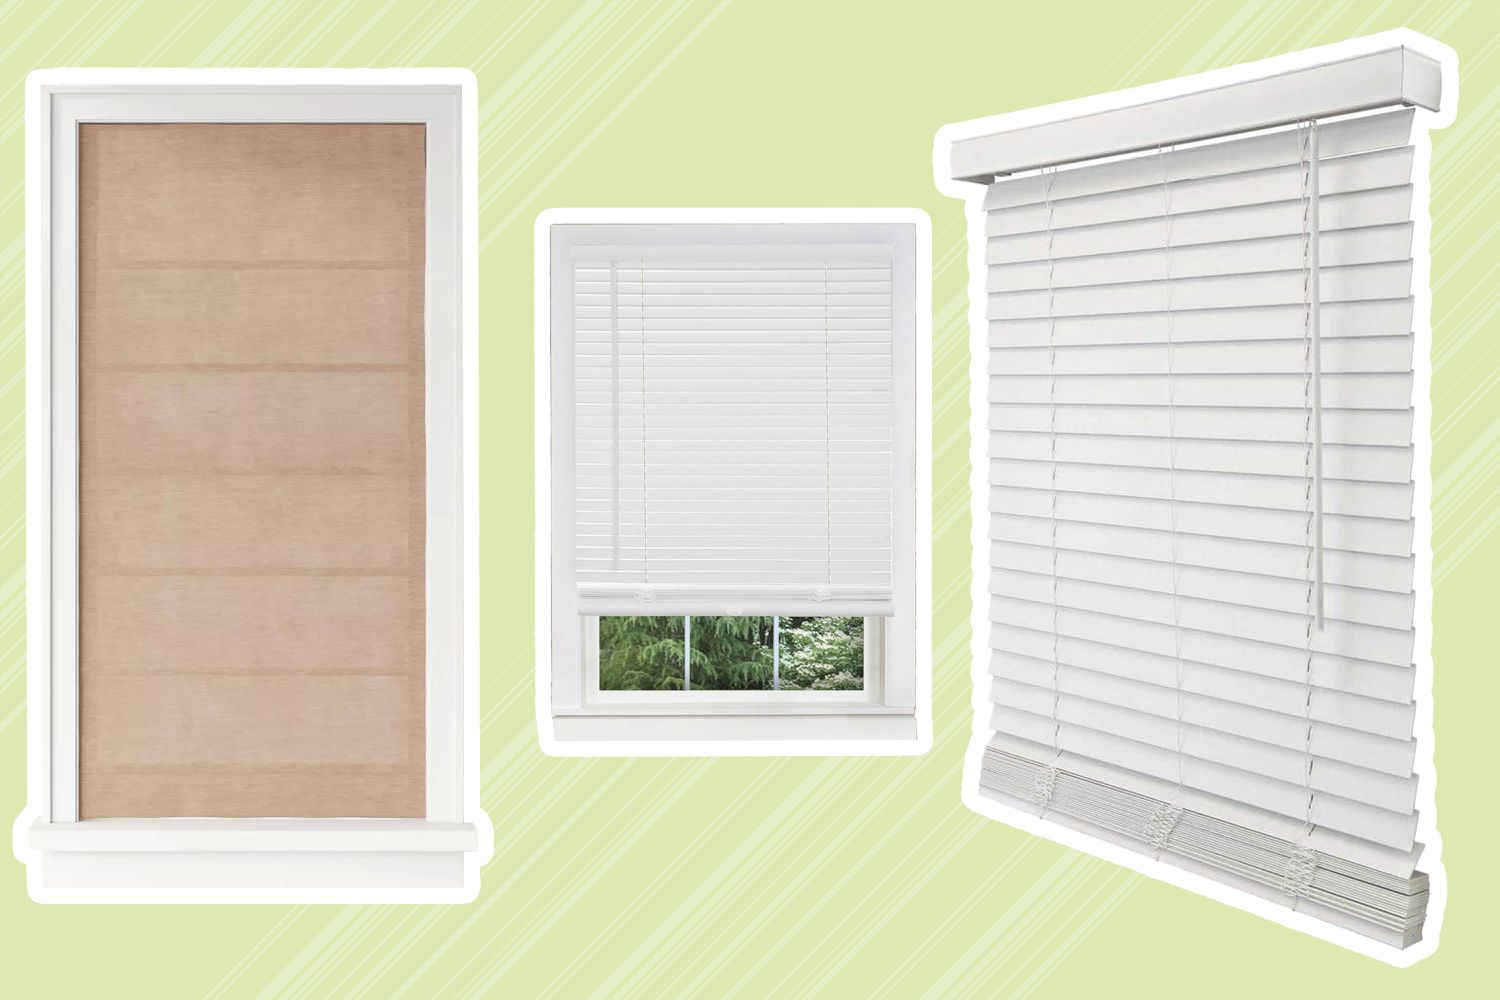
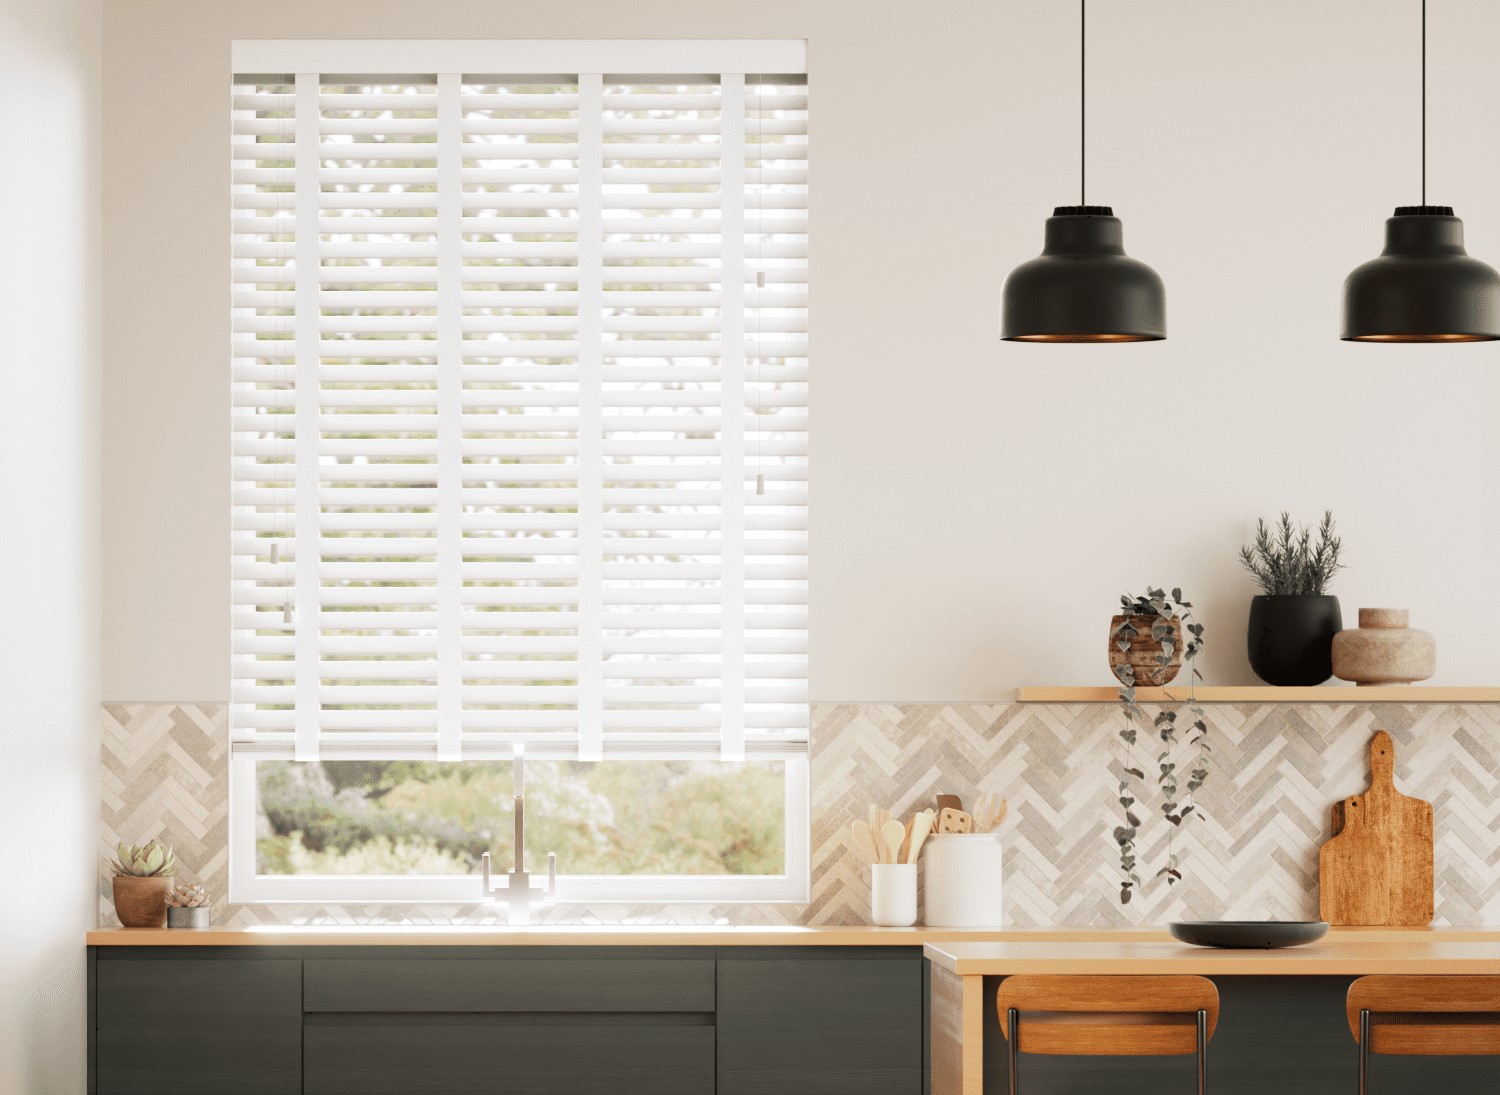
Choosing the Right Blinds
When it comes to arched window blinds, you have several options to choose from. Here are some popular types of blinds that work well for arched windows:
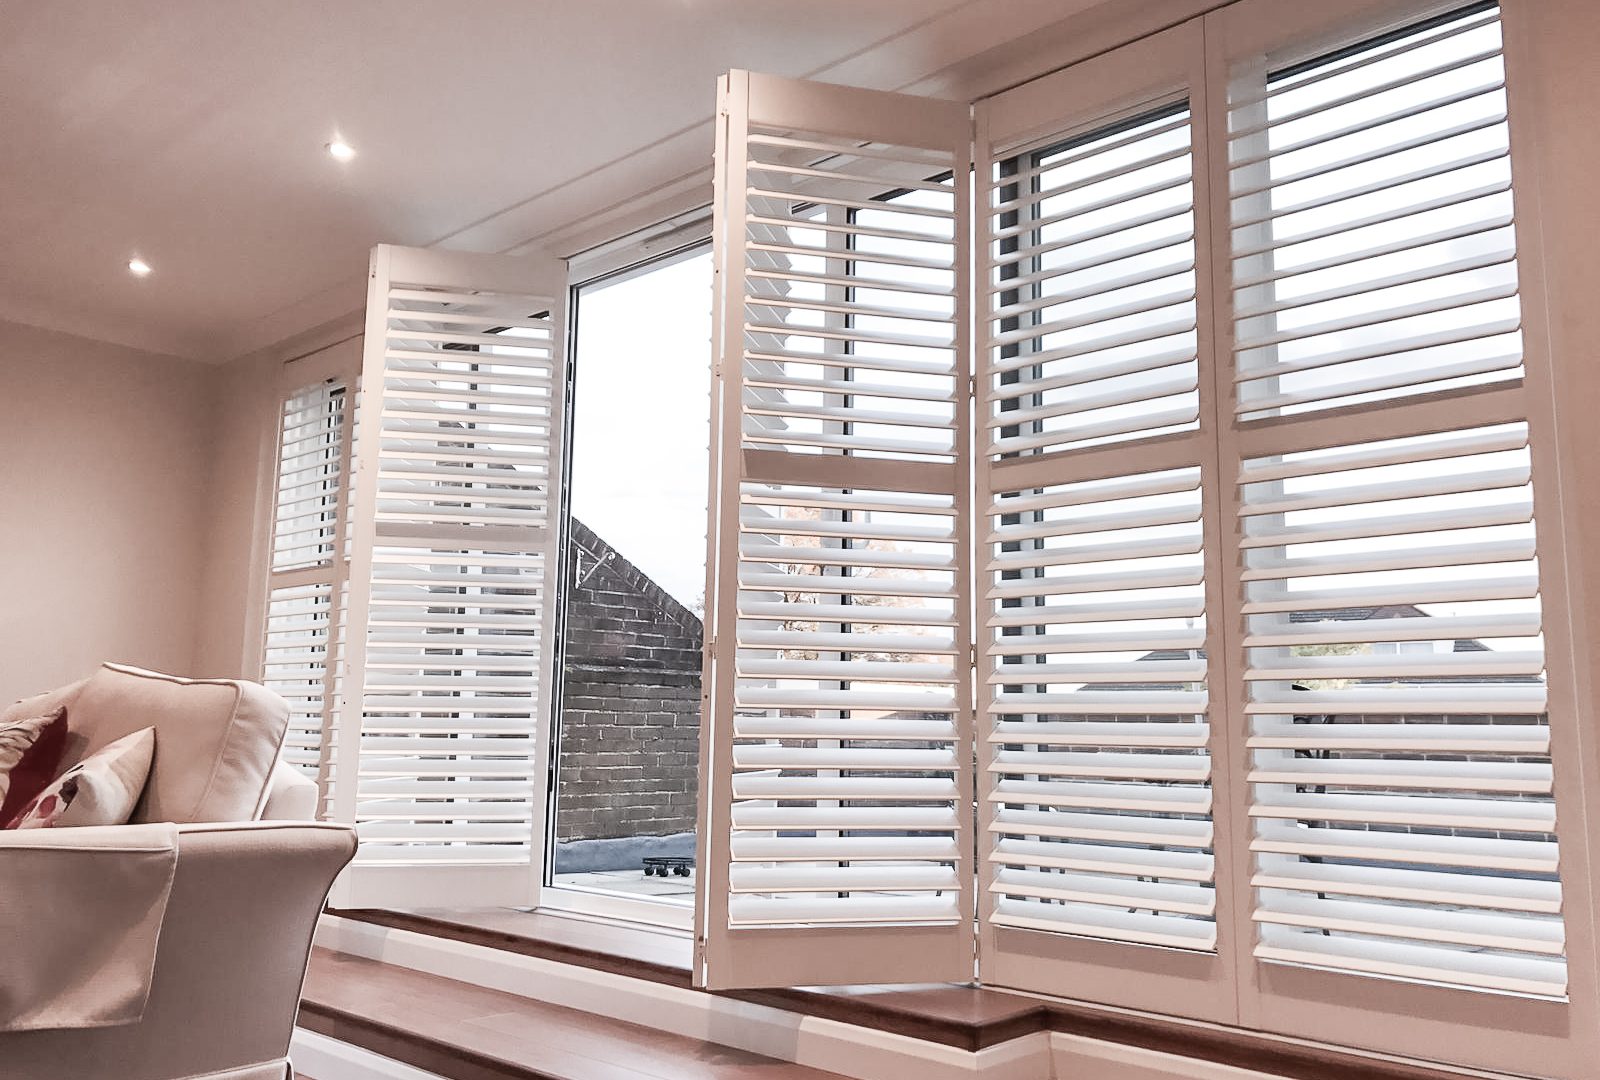
- Shutters: Plantation-style shutters are a classic choice for arched windows. They offer a timeless and elegant look while providing privacy and light control.
- Cellular Shades: These blinds feature a honeycomb-like structure that traps air and provides insulation. They are available in various colors and opacity levels, allowing you to customize the amount of light that enters your room.
- Roman Shades: Roman shades add a touch of sophistication to your arched windows. They are available in a wide range of fabrics and patterns, allowing you to create a personalized look.
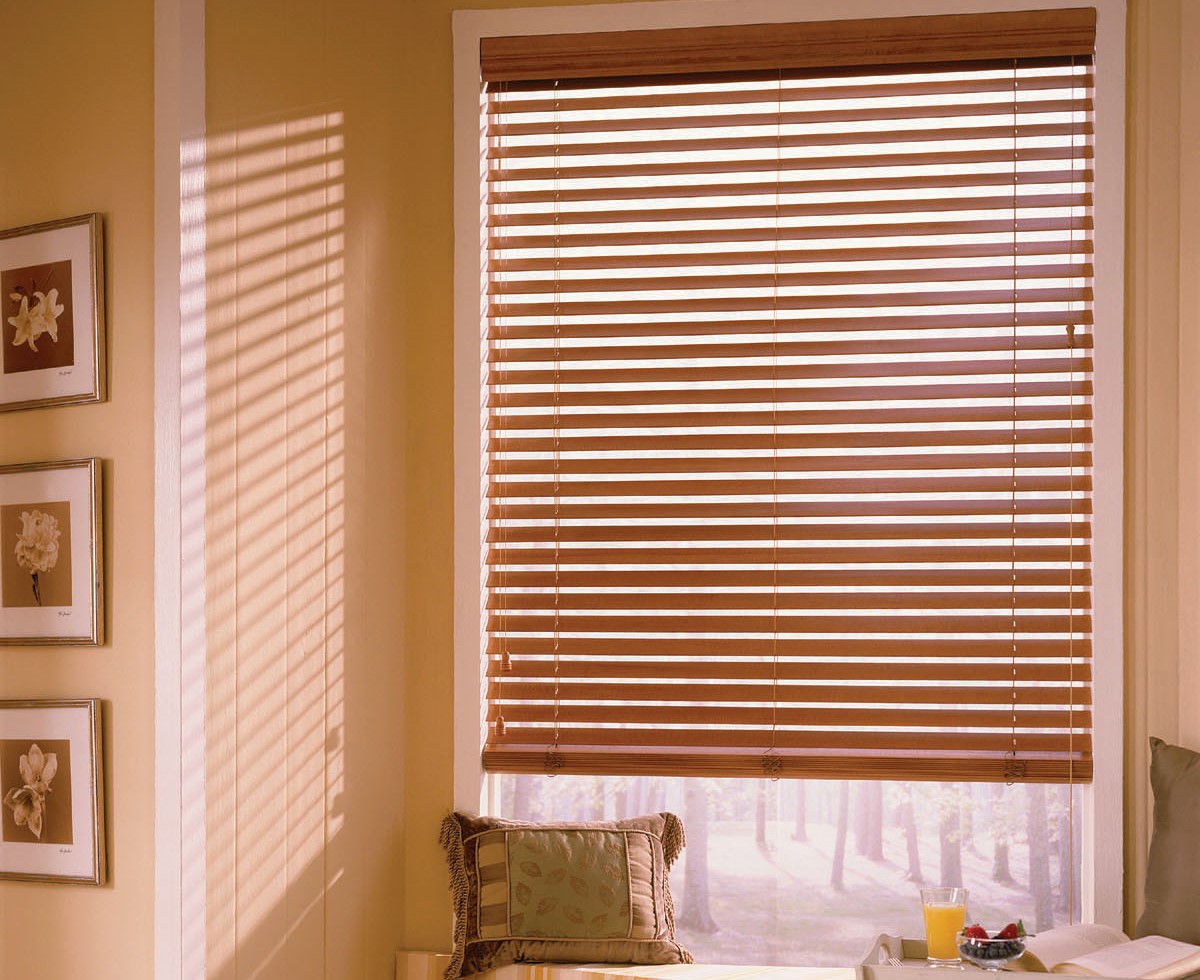
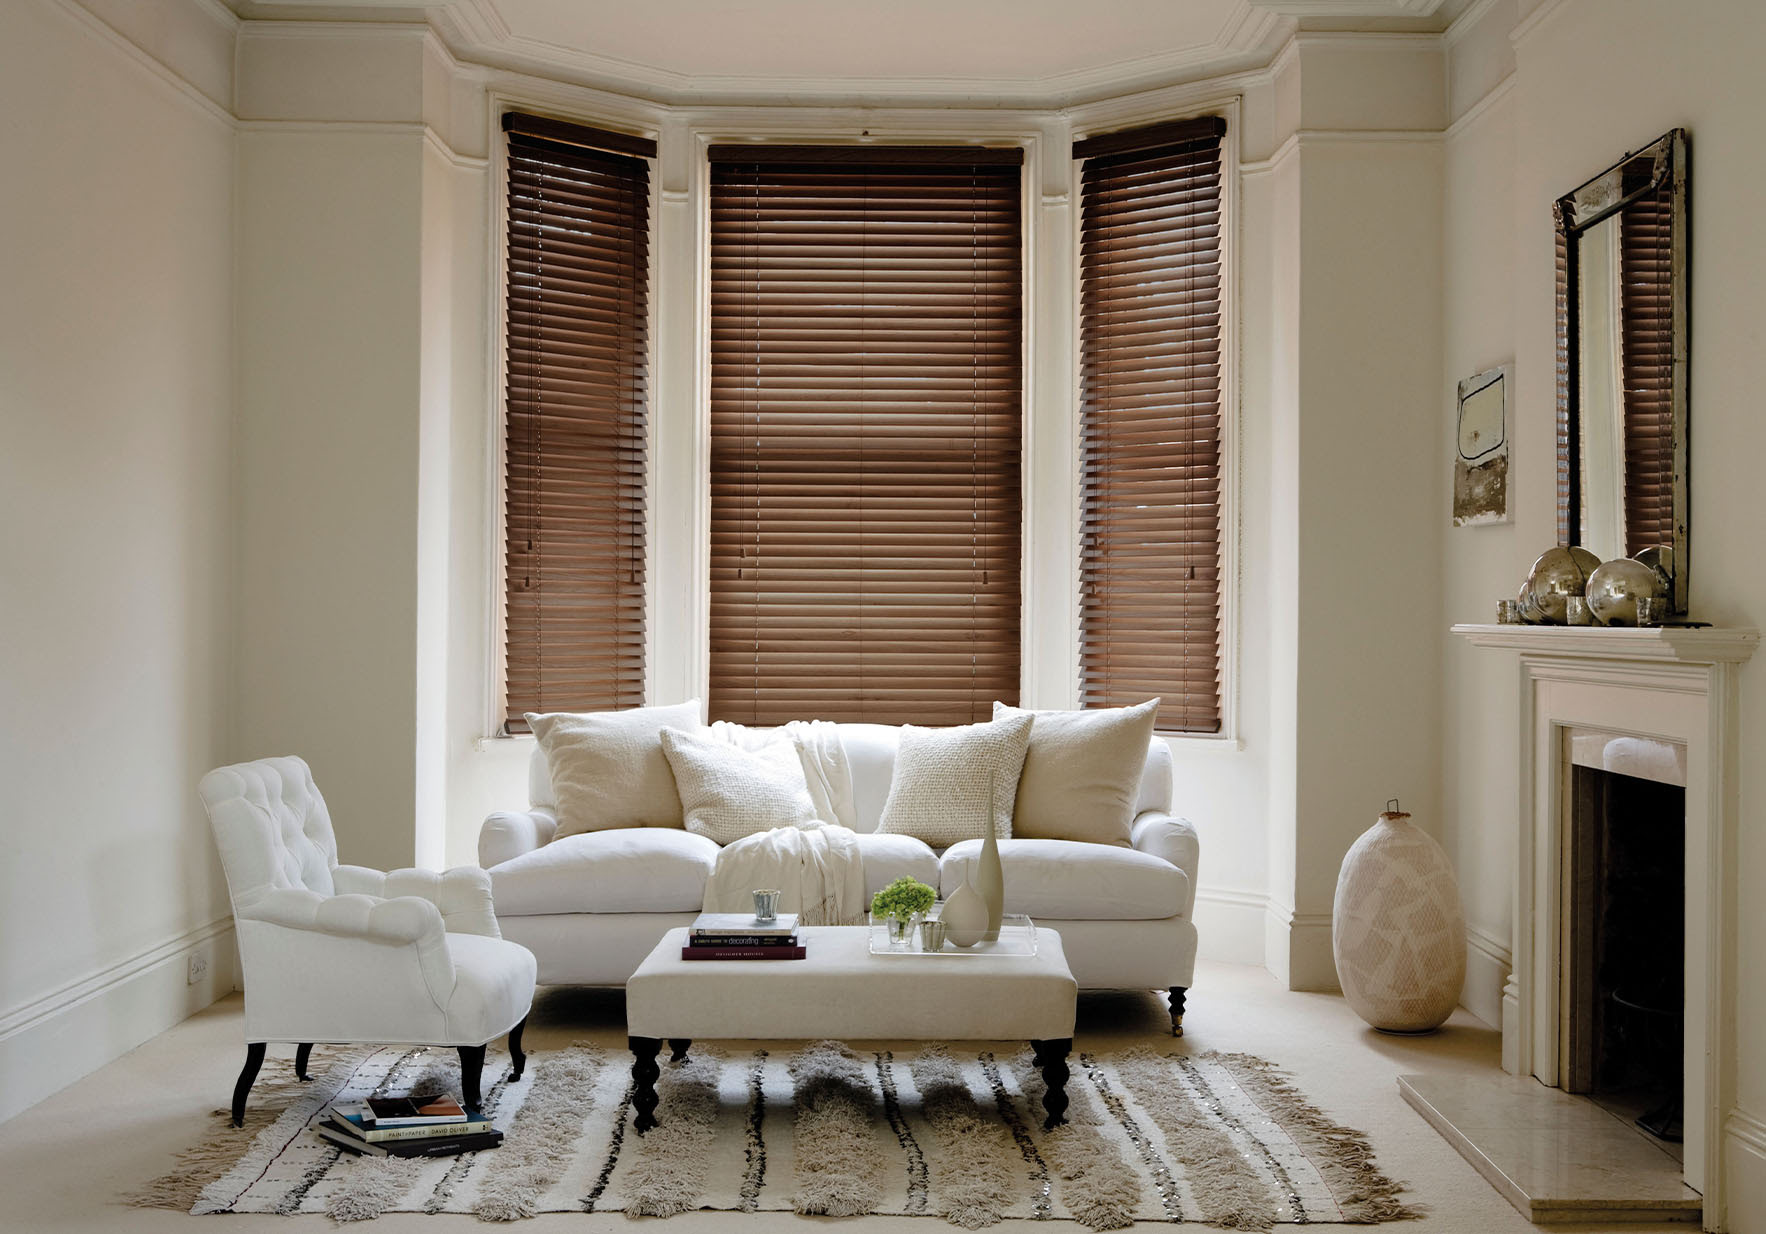
- Wood Blinds: If you prefer a natural and rustic look, wood blinds are a great option. They are durable, easy to clean, and can be stained or painted to match your decor.
- Vertical Blinds: Vertical blinds are a practical choice for large arched windows. They offer excellent light control and can be easily adjusted to allow for privacy while still maintaining a view of the outside.
Consider your preferences, the style of your room, and the level of privacy and light control you desire when choosing the right blinds for your arched windows. It’s also worth noting that some blind options may require professional installation due to their complex nature. Make sure to read the manufacturer’s recommendations and installation instructions before making a final decision.
If you’re unsure about which type of blinds to choose or need assistance with customization options, consult with a blind specialist or interior designer who can provide expert advice tailored to your specific needs and preferences.
Customizing the Blinds for Arch Shape
Now that you have chosen the right blinds for your arched windows, it’s time to customize them to fit the unique shape of the arch. Here’s how you can do it:
- Take your chosen blinds material and measure it to the width and height of the arched portion of the window. Use a ruler or straight edge to ensure accurate measurements.
- Using your measurements, cut the blinds material into the desired shape. If you’re using fabric, make sure to use sharp scissors and cut carefully to avoid fraying.
- If you’re using fabric blinds, you may need to hem the edges to prevent fraying. You can do this by folding the edges over and using an iron to press them into place. Alternatively, you can use fabric glue or adhesive to secure the edges.
- Once the fabric is cut and hemmed, attach it to the main blinds using a stapler or adhesive. Make sure to evenly distribute the fabric and smooth out any wrinkles or creases.
- If you want to add decorative trimmings or embellishments to the blinds, now is the time to do so. You can use trimmings such as tassels, beads, or ribbons to enhance the overall look of the blinds.
Customizing the blinds for the arch shape requires attention to detail and precision. Take your time to ensure that the measurements and cuts are accurate, and that the fabric or blinds material is properly attached. If you’re unsure about any step of the process, consider seeking guidance from a professional or do a trial run on a small piece of material before working on the actual blinds.
Remember, the customization process may vary depending on the type of blinds you have chosen. Consult the manufacturer’s instructions or seek professional advice if needed.
When measuring for arched window blinds, be sure to measure the width at the top, middle, and bottom of the arch to ensure a proper fit.
Installing the Brackets
Once you have customized your arched window blinds, it’s time to install the brackets. The brackets will hold the blinds in place and ensure they are securely mounted on your windows. Here’s a step-by-step guide on how to install the brackets:
- Start by determining the placement of the brackets. Ideally, they should be installed at equal distances from the top and sides of the window frame.
- Mark the positions where the brackets will be installed using a pencil or marker. Make sure to double-check the measurements to ensure accuracy.
- Using a drill, create pilot holes at the marked positions. The size of the pilot holes should match the size of the screws that came with the brackets.
- Align the brackets with the pilot holes and insert the screws. Use a screwdriver to tighten the screws, making sure the brackets are securely attached to the window frame.
- Repeat the above steps for each bracket, ensuring consistent placement and stability.
Depending on the type of blinds you are installing, there may be specific instructions provided by the manufacturer regarding bracket installation. Make sure to refer to these instructions to ensure proper installation. If you are uncertain or if you encounter any difficulties during the installation process, it is advisable to seek professional assistance.
Once the brackets are securely installed, you are ready to mount the blinds. Proceed to the next section for instructions on mounting the blinds on the brackets.
Mounting the Blinds
With the brackets securely installed, it’s time to mount the blinds onto them. Follow these steps to properly mount your arched window blinds:
- Ensure that the blinds are fully extended to their desired length.
- Carefully align the blinds with the brackets, making sure that they fit securely into place.
- For blinds with a cord or chain mechanism, pull the cord or chain to release the clutch, allowing the blinds to slide onto the brackets.
- Once the blinds are on the brackets, release the cord or chain gradually to allow the blinds to rest on the brackets. Make sure that the blinds are centered and level within the window frame.
- If your blinds have a spring-loaded mechanism, carefully compress the brackets together and position the blinds over them. Slowly release the brackets to secure the blinds in place.
- Double-check the blinds to ensure that they are properly mounted and securely fastened to the brackets.
It’s important to exercise caution while mounting the blinds to avoid any damage to the brackets or the blinds themselves. If you are unsure about any aspect of the mounting process, consult the manufacturer’s instructions or seek professional guidance.
Once the blinds are mounted, test their functionality by operating the cord, chain, or control mechanism. Ensure that the blinds open, close, and adjust as desired.
With the blinds successfully mounted, adjust them to your desired height or slat position to achieve the desired balance between light control, privacy, and aesthetics.
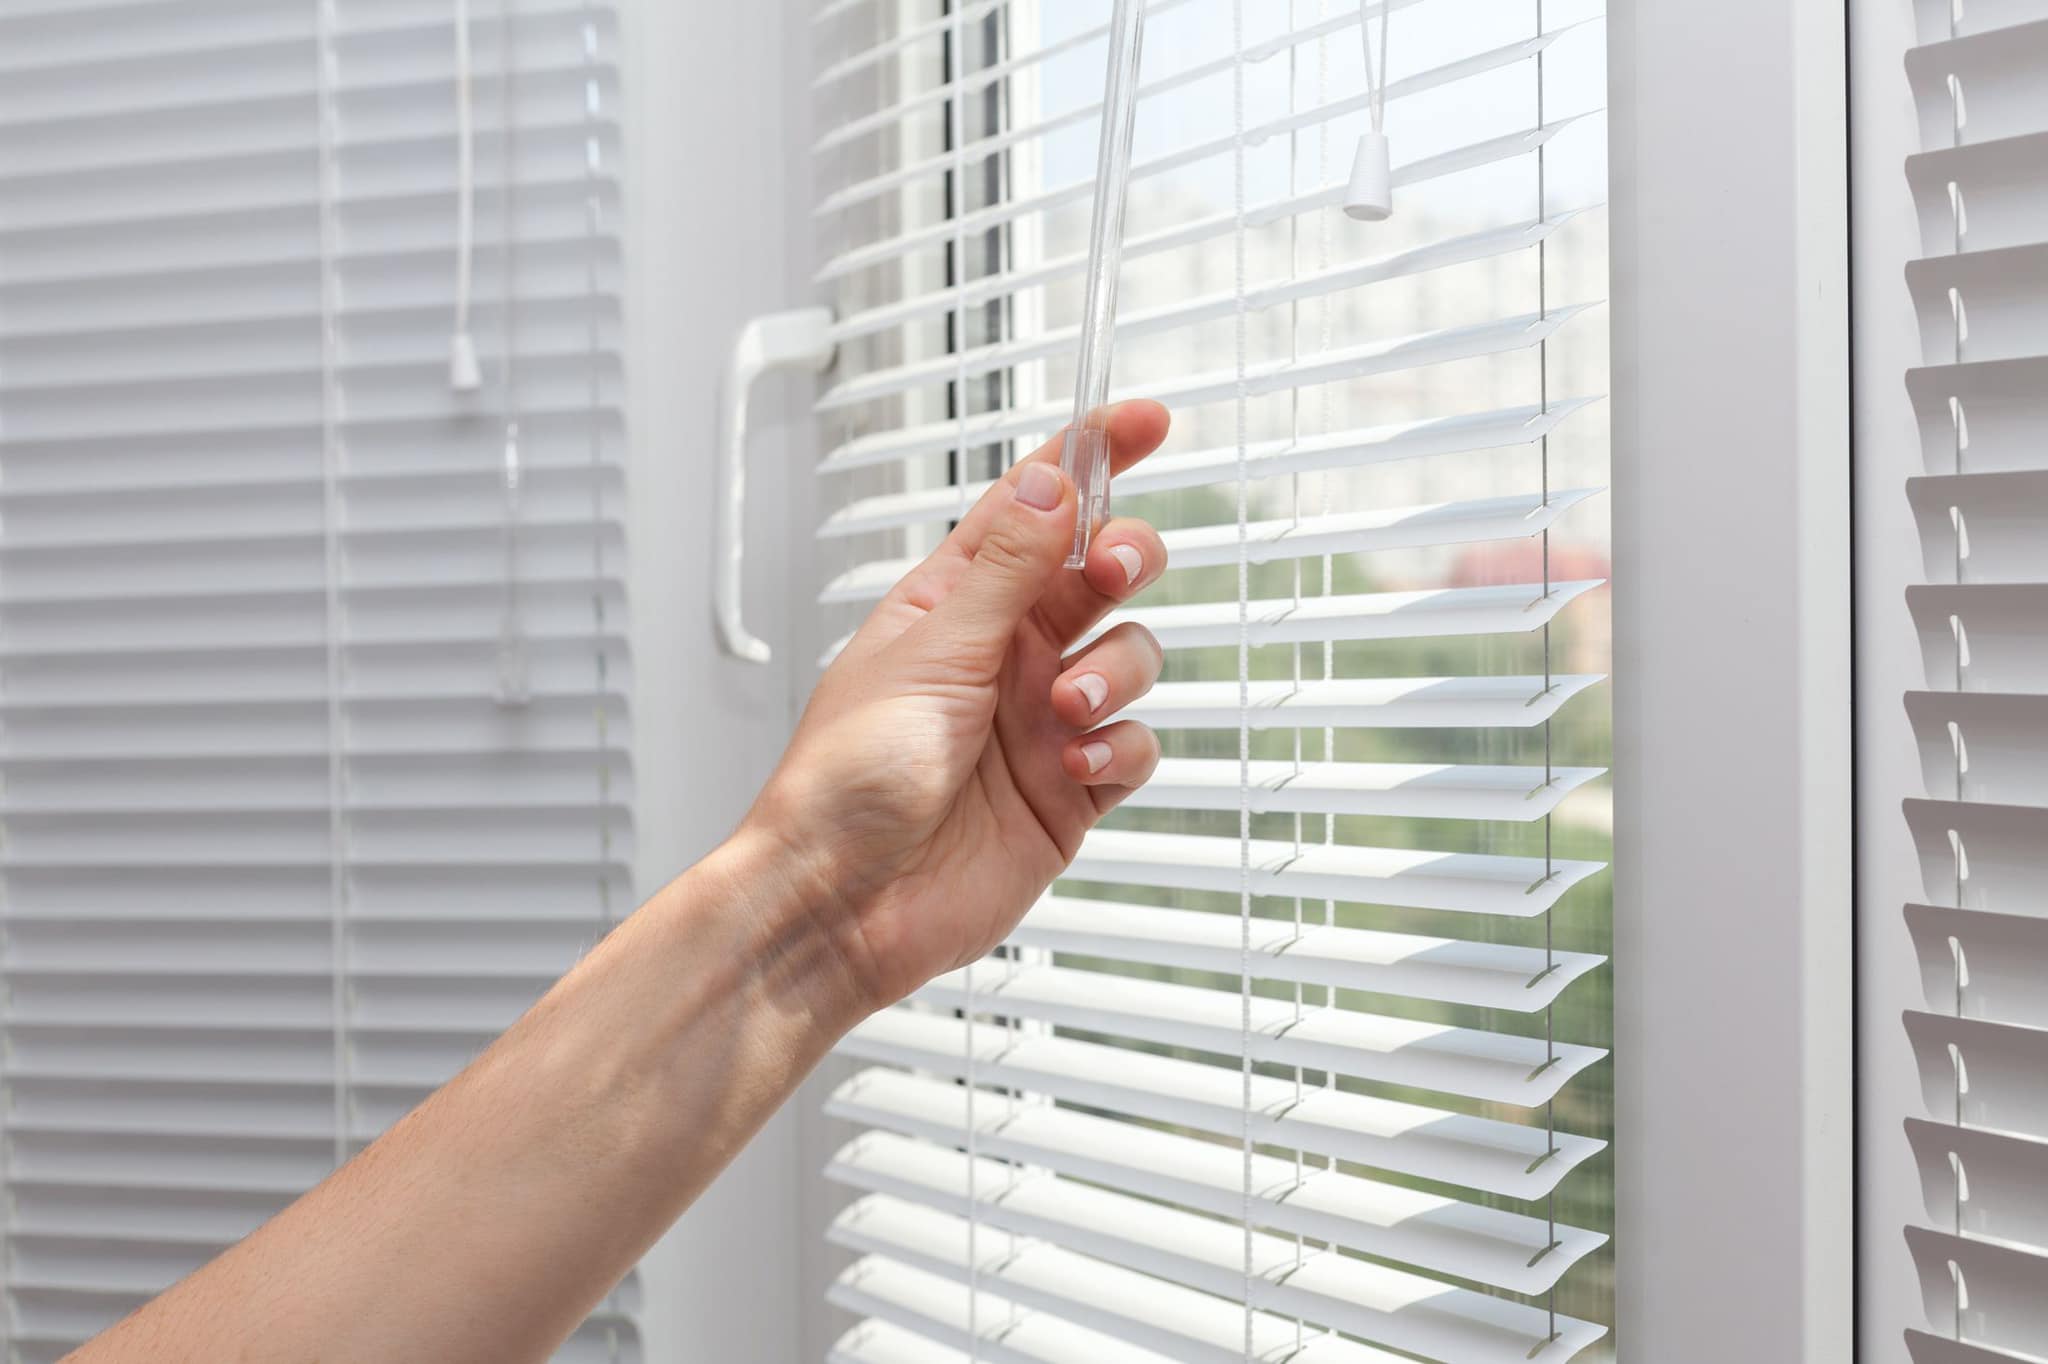
Adjusting the Blinds
After mounting your arched window blinds, you may need to make some adjustments to ensure they are properly aligned and provide the desired level of light control and privacy. Follow these steps to adjust your blinds:
- To adjust the height of the blinds, gently pull on the cord or chain mechanism to raise or lower them. Stop adjusting when you reach the desired height.
- If you have blinds with slats, you can adjust their angle to control the amount of light entering the room. Simply rotate the tilt wand or tilt cord to tilt the slats to your preferred position.
- For blinds with a cord lock mechanism, adjust the blinds by gently pulling on the cord to release the lock. Then, raise or lower the blinds to the desired position and release the cord to lock them in place.
- If the blinds are not hanging evenly or are not aligned properly, you can adjust them by gently pushing or pulling on one side or corner to straighten them. Take care when making adjustments to avoid damaging the blinds or the mounting brackets.
- Test the blinds after making adjustments to ensure they operate smoothly and provide the desired level of light control and privacy.
It’s essential to be cautious when adjusting your blinds to avoid any mishaps or damage. Follow the manufacturer’s instructions and consult professional guidance if needed.
Remember, different types of blinds may have specific adjustment mechanisms. Familiarize yourself with the specific instructions provided by the manufacturer to ensure you make the correct adjustments for your blinds.
Regularly check and adjust your arched window blinds as needed to maintain their functionality and appearance. Properly adjusted blinds will not only enhance the aesthetics of your windows but also provide the privacy and light control you desire.
Maintenance and Care Tips
To keep your arched window blinds in excellent condition and prolong their lifespan, follow these maintenance and care tips:
- Dust regularly: Use a soft cloth, duster, or vacuum with a brush attachment to gently remove dust and debris from the blinds. Regular dusting helps prevent buildup and keeps the blinds looking clean.
- Spot clean when necessary: If you notice any stains or spots on the blinds, spot clean them using a mild detergent or cleaner suitable for the blinds’ material. Follow the manufacturer’s instructions for cleaning to avoid damaging the blinds.
- Avoid excessive moisture: Depending on the material of your blinds, excessive moisture can cause warping, discoloration, or mold growth. Avoid using excessive water when cleaning and keep the blinds away from areas with high humidity.
- Repair or replace damaged parts: If you notice any damaged components such as cords, slats, or brackets, repair or replace them as soon as possible. Damaged parts can affect the functionality and safety of the blinds. Contact the manufacturer or a professional for replacements.
- Protect from direct sunlight: Prolonged exposure to direct sunlight can fade the color of the blinds over time. Consider using window film or curtains to protect the blinds from excessive sunlight, especially during the peak hours of the day.
- Operate with care: Handle the blinds gently when opening, closing, or adjusting them. Avoid pulling or tugging on the cords or slats too forcefully, as this can cause damage or misalignment.
- Inspect regularly: Take the time to inspect your blinds periodically for any signs of wear and tear, loose parts, or other issues. Promptly address any problems that arise to prevent further damage.
By following these maintenance and care tips, you can ensure that your arched window blinds remain in optimal condition, providing you with both functionality and aesthetic appeal for years to come.
Keep in mind that the specific maintenance requirements may vary depending on the type of blinds you have chosen. Refer to the manufacturer’s instructions or consult a professional for any specific care recommendations.
Read more: What Is Window Blinds
Conclusion
Congratulations! You have now learned how to make and install arched window blinds. By following the step-by-step instructions and using the tips provided in this guide, you can create customized blinds that perfectly fit and enhance the beauty of your arched windows.
Remember, accurate measurements are key to ensuring a proper fit, and choosing the right blinds is essential for achieving the desired functionality and style. Customizing the blinds to the arch shape and installing them securely with the brackets are crucial steps in the process.
Once your blinds are installed, don’t forget to adjust them to customize the level of light control and privacy that suits your preferences. Regular maintenance and care, such as dusting and spot cleaning, will help keep your blinds in top condition for years to come.
Whether you opt for shutters, cellular shades, roman shades, wood blinds, or vertical blinds, the choice is yours. Consider your personal style, the decor of your room, and the level of privacy and light control you desire when making your selection.
Now that you have the knowledge and skills to create and install arched window blinds, it’s time to put this information into practice. Enjoy the process of transforming your arched windows with customized blinds that add elegance and functionality to your space.
Remember to consult the manufacturer’s instructions and seek professional assistance as needed to ensure the best results. With proper care and maintenance, your arched window blinds will continue to enhance your living space for years to come.
Good luck with your project, and may your newly adorned arched windows bring beauty and charm to your home!
Frequently Asked Questions about How To Make Arched Window Blinds
Was this page helpful?
At Storables.com, we guarantee accurate and reliable information. Our content, validated by Expert Board Contributors, is crafted following stringent Editorial Policies. We're committed to providing you with well-researched, expert-backed insights for all your informational needs.