Articles
How To Make Waterfall Valances
Modified: October 23, 2024
Learn how to make beautiful waterfall valances with our step-by-step articles. Enhance your home decor with these stunning window treatments.
(Many of the links in this article redirect to a specific reviewed product. Your purchase of these products through affiliate links helps to generate commission for Storables.com, at no extra cost. Learn more)
Introduction
Welcome to the world of interior design, where even the smallest details can make a big impact. If you’re looking to add a touch of elegance and sophistication to your windows, consider creating waterfall valances. These cascading fabric creations not only add a stylish flair to your home but also provide a sense of privacy and softness to any room.
In this article, we will guide you through the step-by-step process of making stunning waterfall valances for your windows. Whether you’re a beginner or an experienced DIY enthusiast, this project is achievable and will leave you with a beautiful result.
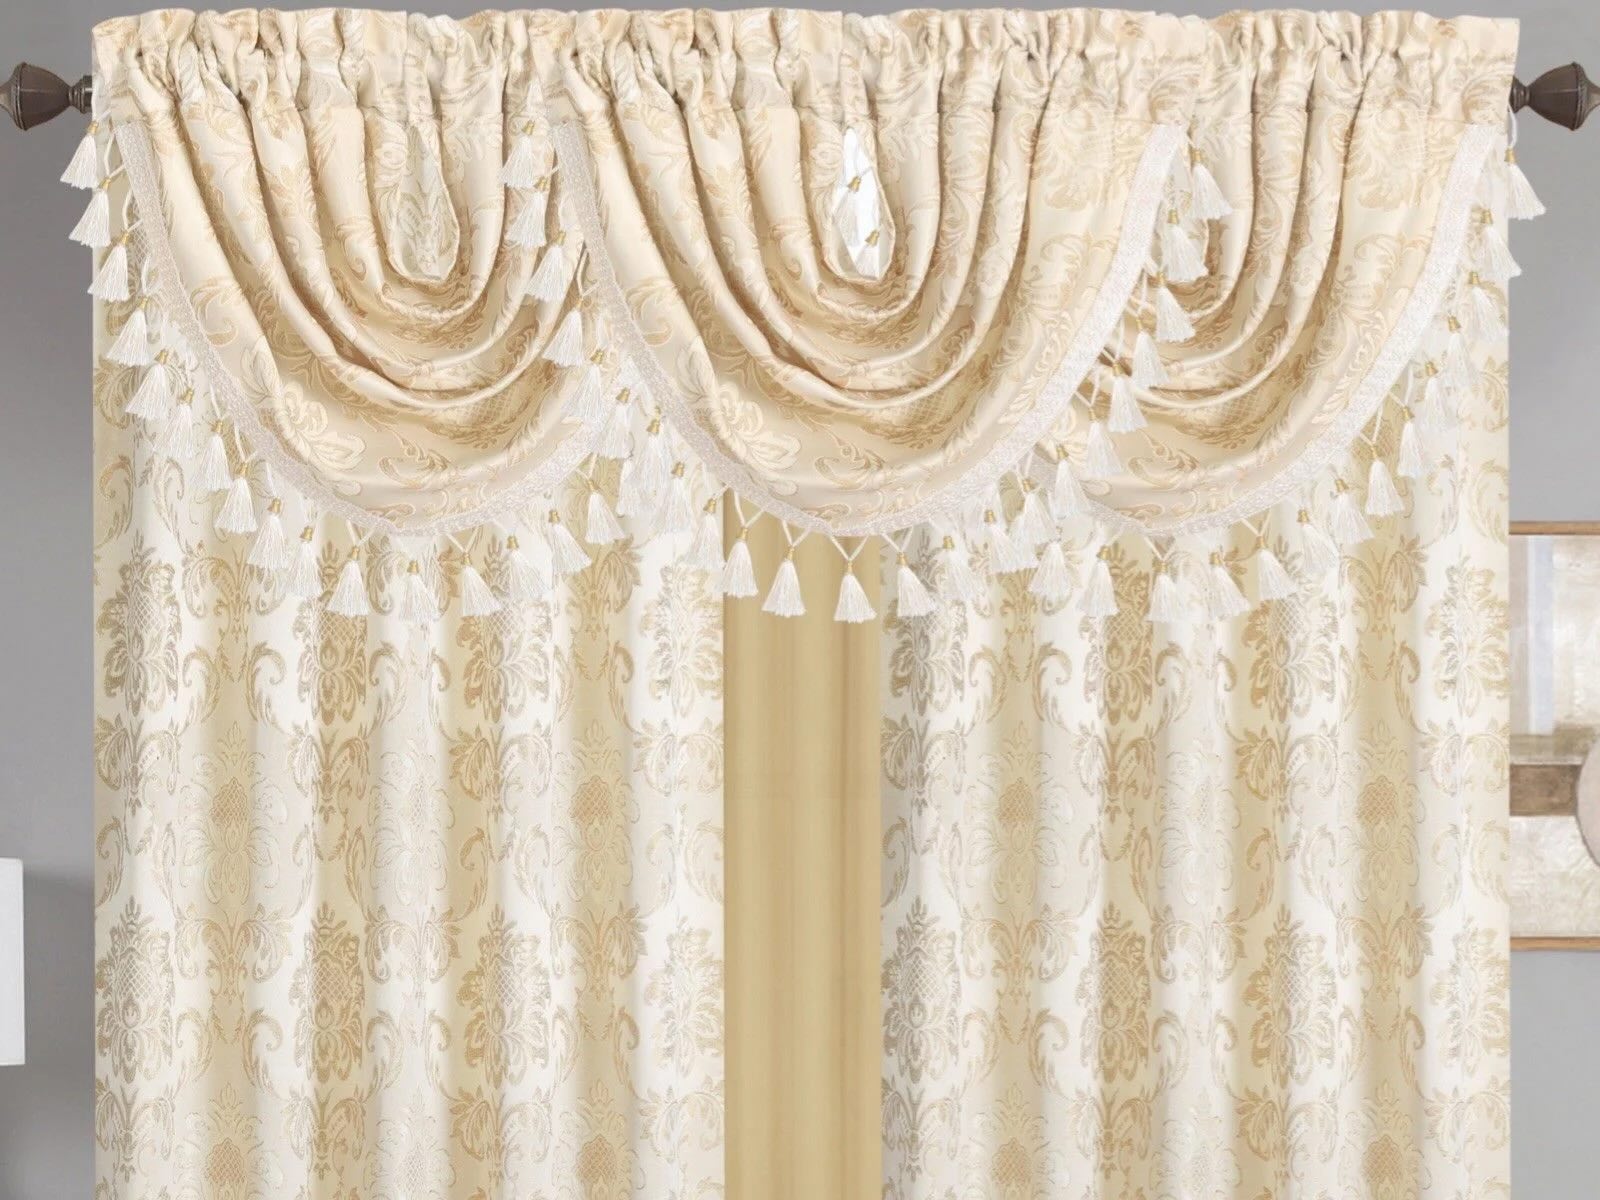
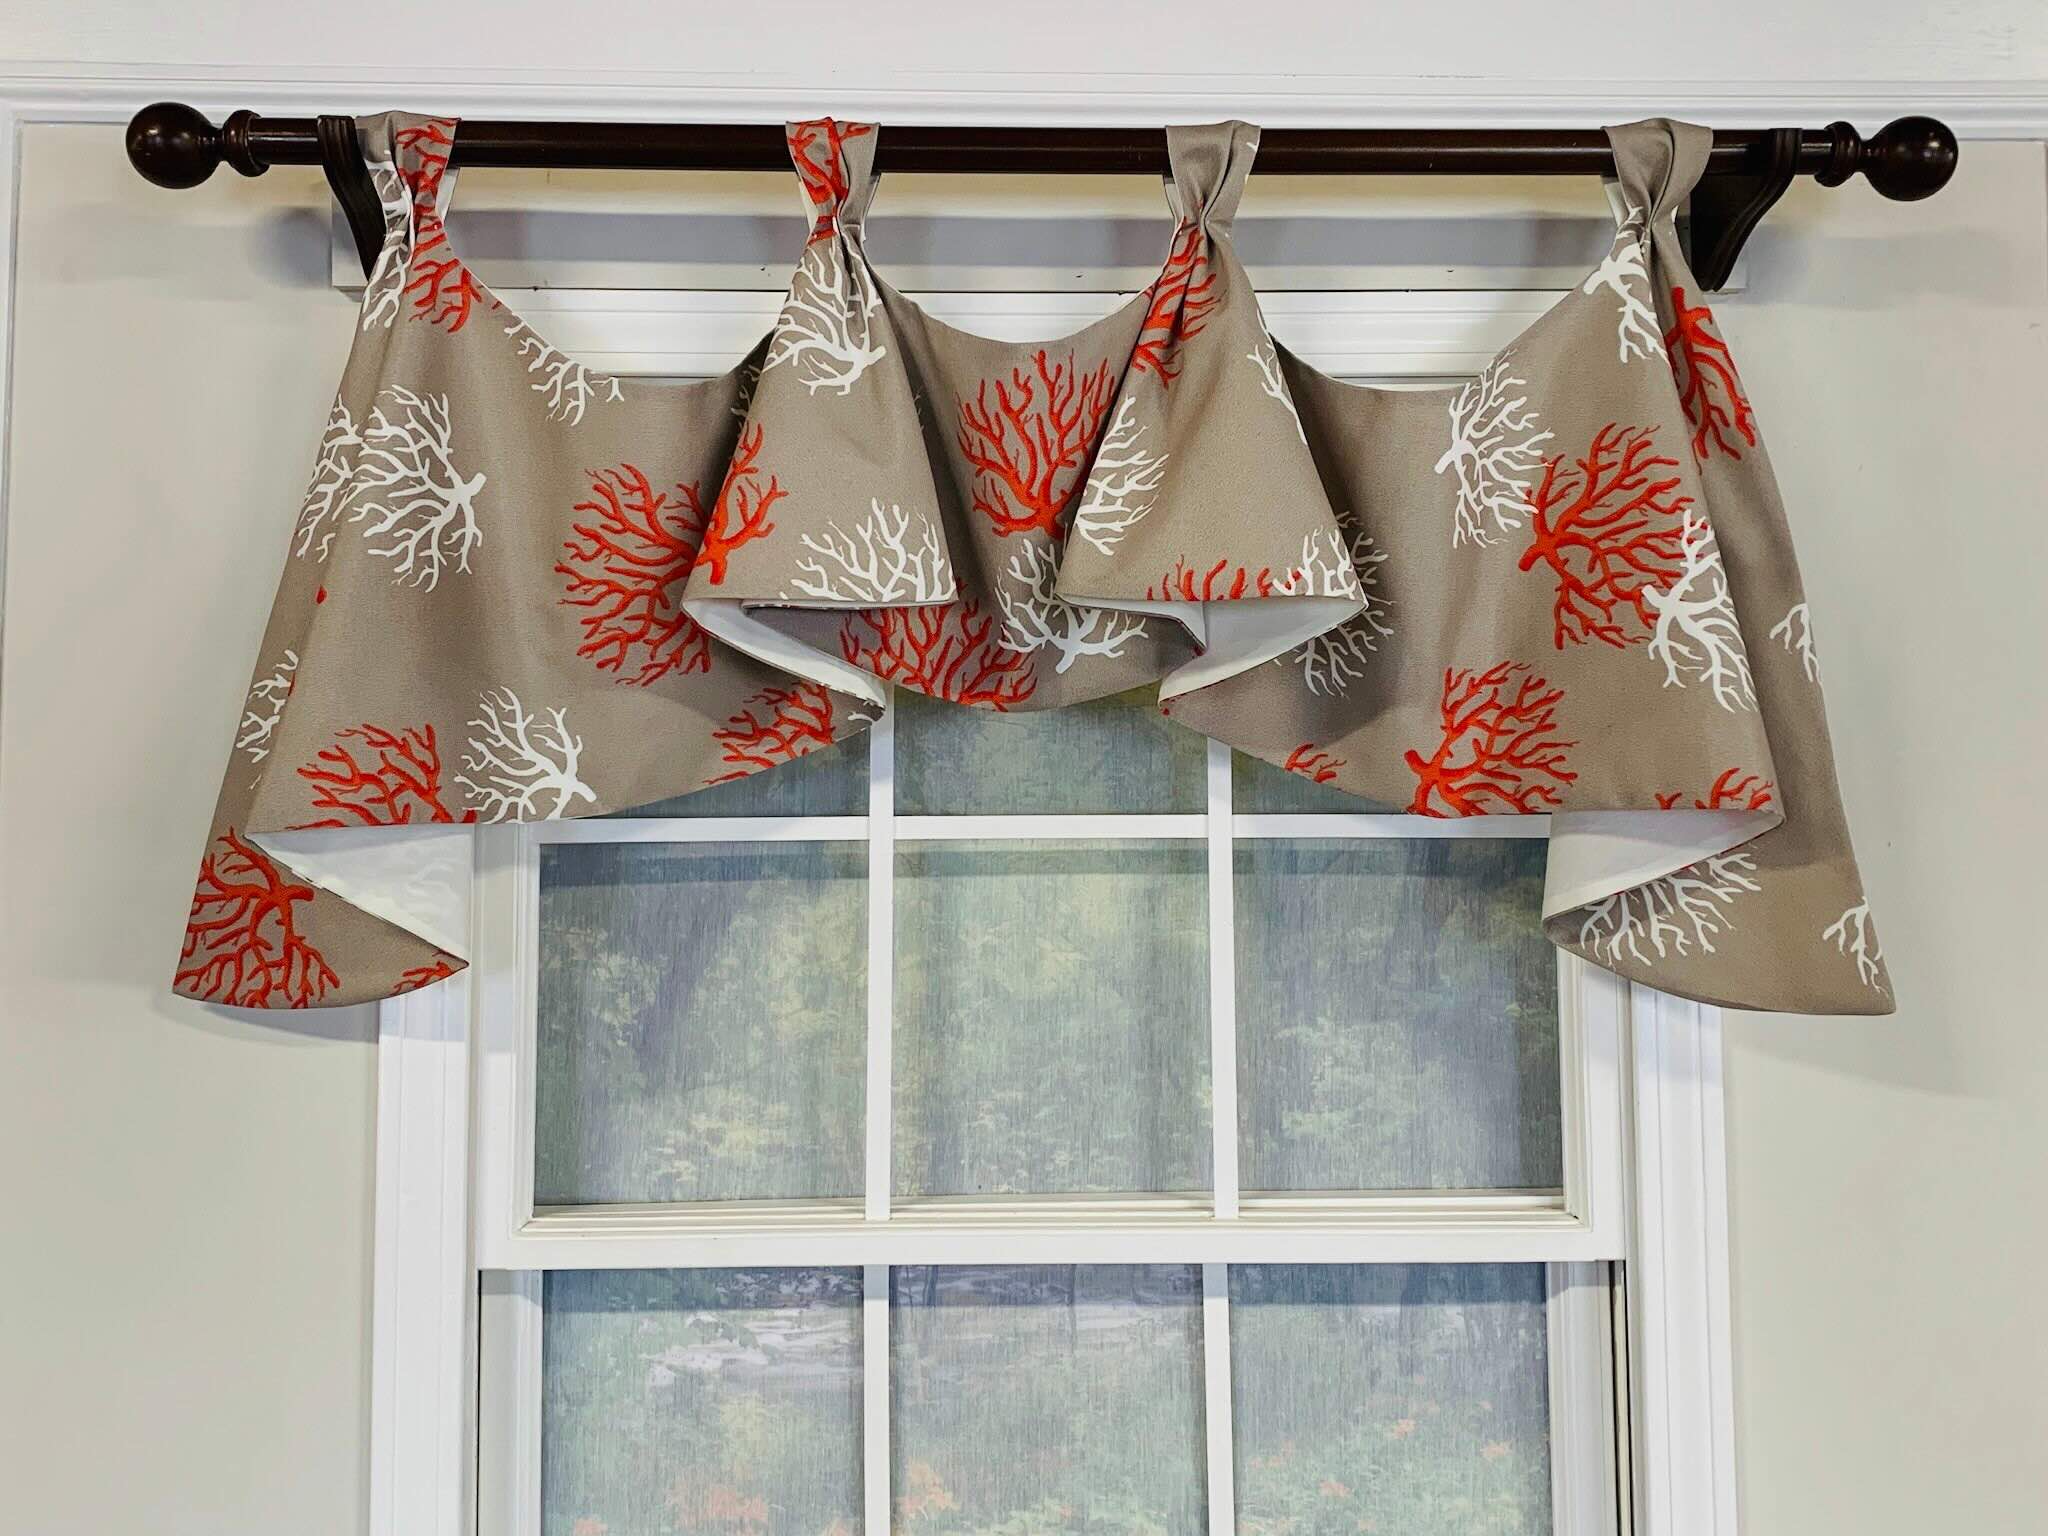
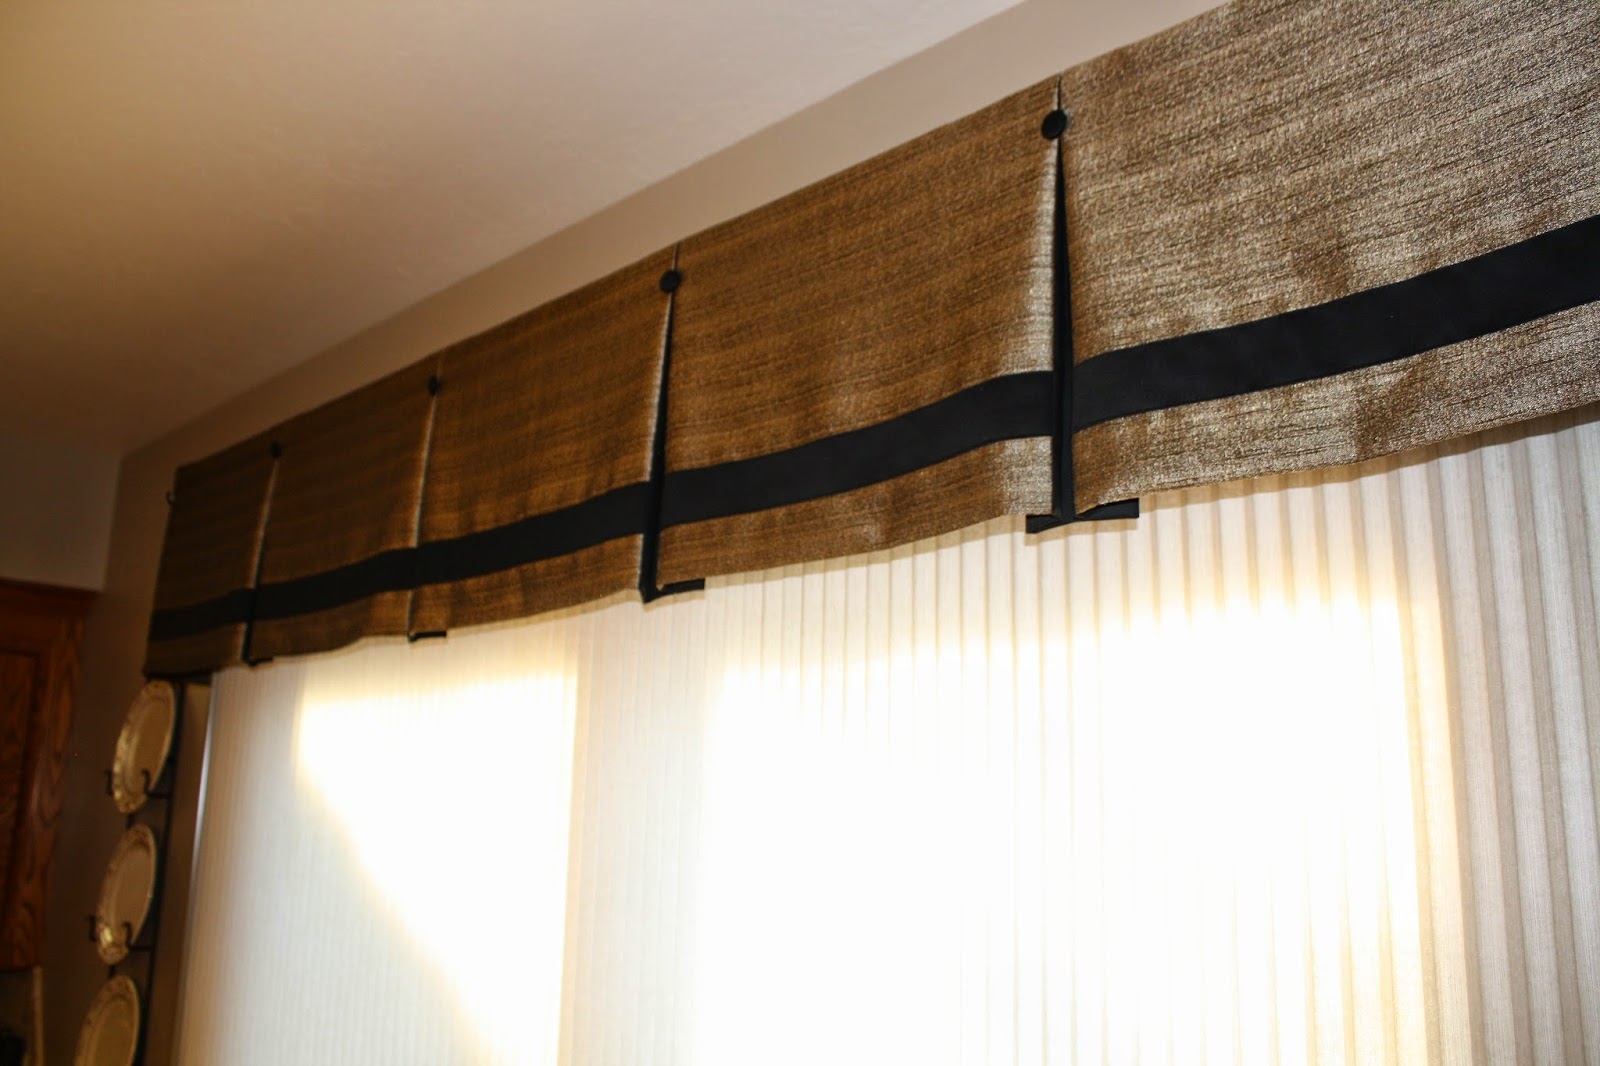
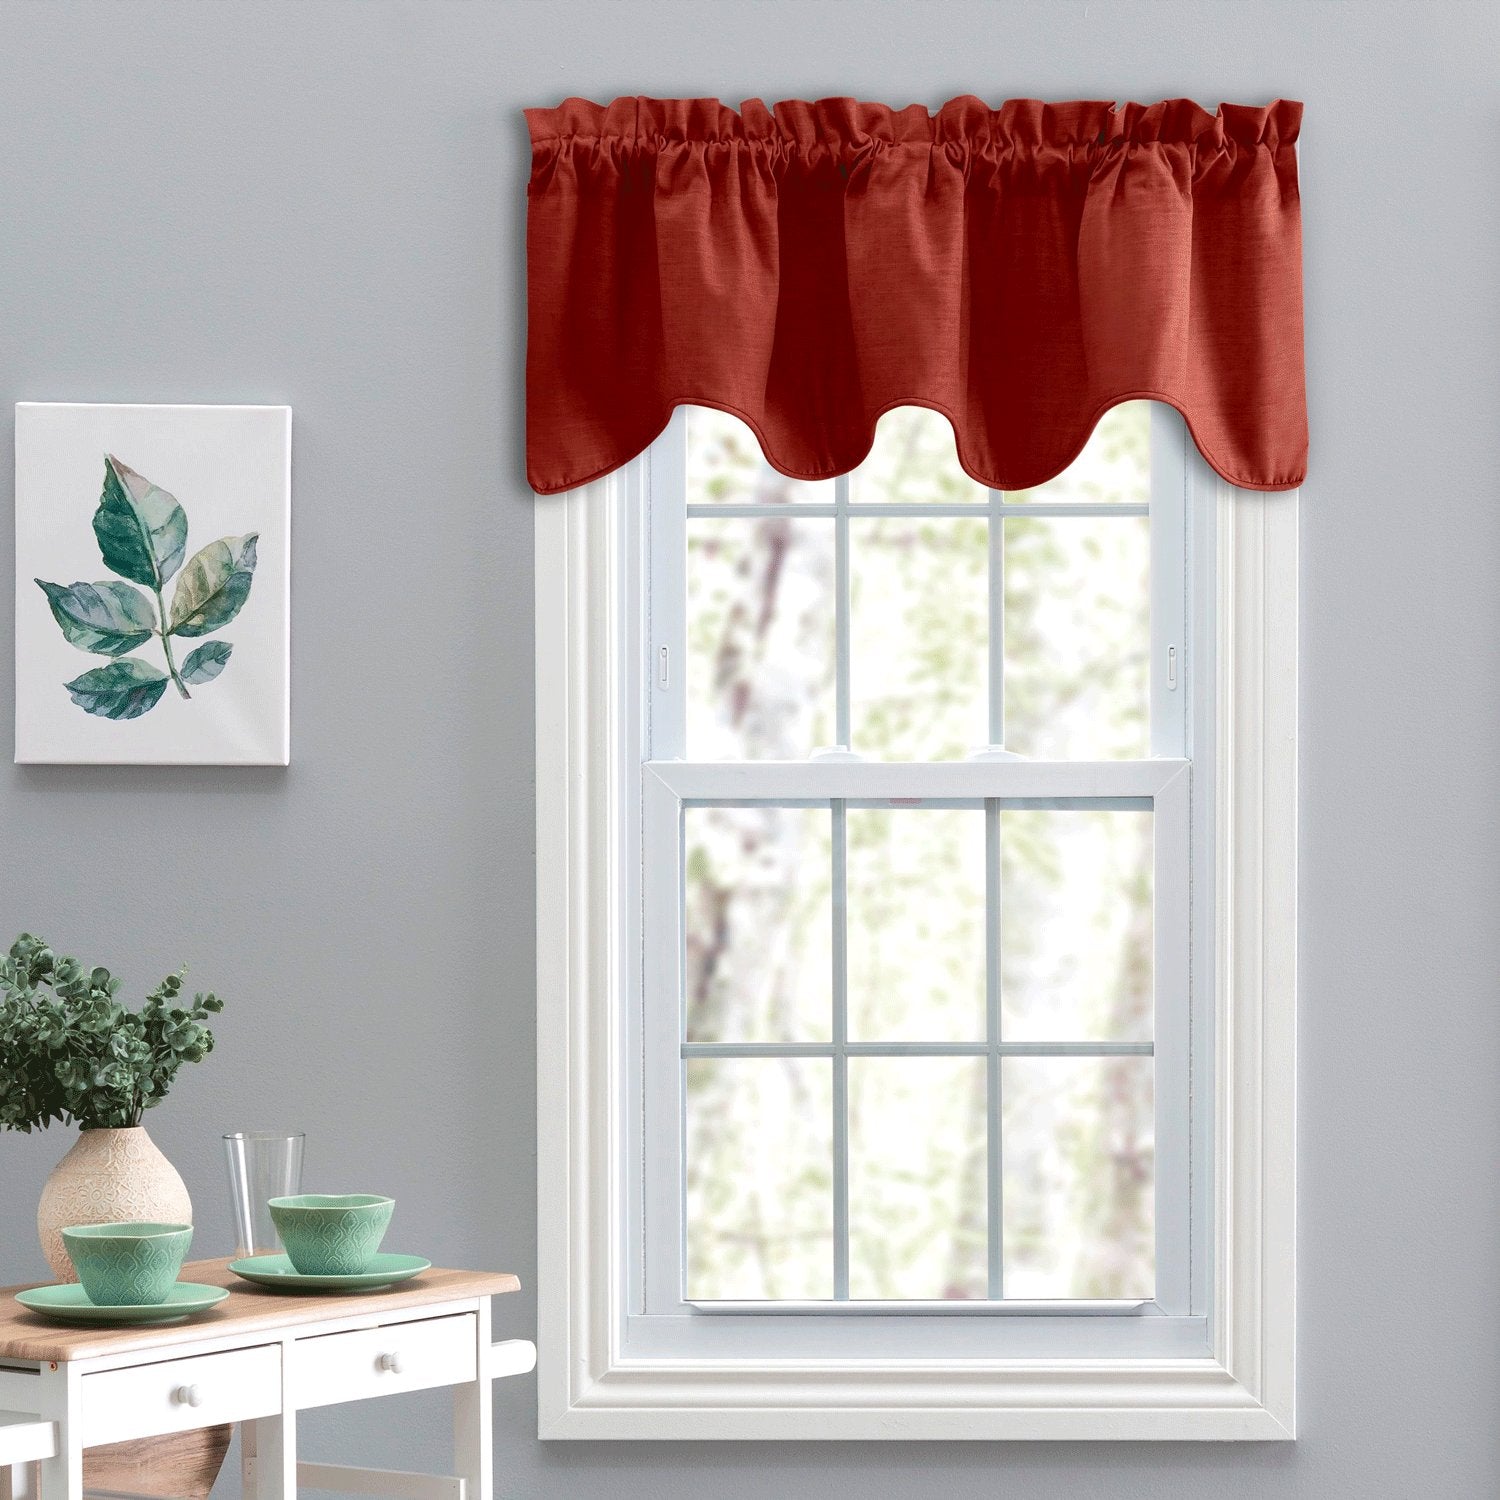
Before we dive into the material and steps needed, it’s essential to understand what exactly a waterfall valance is. This type of valance is characterized by its cascading fabric layers that resemble a beautiful waterfall. It adds volume, texture, and depth to your windows, enhancing their overall look. With the right fabric and a few simple techniques, you can create a customized and eye-catching valance that complements your existing decor.
So, let’s gather the materials needed and get started on this exciting DIY project!
Key Takeaways:
- Create stunning waterfall valances with cascading fabric layers to add elegance and privacy to your windows. Experiment with fabric choices and embellishments for a personalized touch.
- Master the art of DIY interior design by crafting custom waterfall valances. From measuring and cutting fabric to adding finishing touches, enjoy the creative process and admire the beauty of your handmade window treatments.
Materials Needed
Before you begin crafting your waterfall valances, make sure you have the following materials on hand:
- Fabric: Choose a fabric that suits your taste and complements your existing decor. You’ll need enough fabric to cover the width of your window and provide sufficient fabric for the cascading layers. Consider using lightweight and flowy fabrics like chiffon or silk for an elegant look.
- Measuring tape: Accurate measurements are crucial for creating perfectly fitting valances, so make sure you have a measuring tape handy.
- Scissors: A good pair of fabric scissors will make it easier to cut your fabric precisely.
- Pins: Use pins to secure the fabric layers as you work, ensuring they stay in place before sewing or attaching.
- Sewing machine or needle and thread: Depending on your sewing skills and preferences, you can use a sewing machine or hand-sew your valances. Choose a thread that matches or complements your fabric.
- Curtain rod: To hang your valance, you’ll need a curtain rod that fits the width of your window.
- Optional: Trim or embellishments: If you want to add extra flair to your valances, consider incorporating trim, tassels, or other embellishments that match your style.
- Iron and ironing board: A well-pressed fabric will ensure clean lines and professional-looking valances, so keep an iron and ironing board nearby.
Once you have gathered all of these materials, you are ready to start creating your stunning waterfall valances. Let’s move on to the next step: measuring and cutting the fabric!
Step 1: Measuring and Cutting the Fabric
Before you can begin assembling your waterfall valances, you need to measure and cut the fabric to the appropriate size. Follow these steps to ensure accurate measurements:
- Measure the width of your window: Use a measuring tape to determine the width of your window. Add a few extra inches on each side to account for the cascading effect of the valance. This will give your valance a fuller look and ensure adequate coverage.
- Measure the desired length: Decide how long you want your valance to be. Measure from the top of the window frame down to the desired length. Keep in mind that the cascading layers will add extra length to the valance.
- Mark the measurements on your fabric: Lay your fabric on a flat surface and use a fabric pen or chalk to mark the measurements you just took. This will serve as your cutting guide.
- Cut the fabric: Carefully cut along the marked lines to create your fabric panels. Use sharp fabric scissors to ensure clean and even cuts.
- If necessary, create additional panels: Depending on the width of your window, you may need to create multiple fabric panels to achieve the desired width. Simply repeat steps 1-4 for each additional panel, ensuring they are the same length.
Once you have cut your fabric panels, you are ready to move on to the next step: creating the cascading effect. This is where the beauty of the waterfall valance truly comes to life!
Step 2: Creating the Cascading Effect
Now that you have your fabric panels ready, it’s time to create the cascading effect to give your waterfall valance its stunning appearance. Follow these steps to achieve the desired look:
- Lay out your fabric panels: Start by laying out your fabric panels on a large flat surface, such as a table or the floor. Arrange them in the order you want them to cascade, with the longest panel at the bottom and the shortest at the top.
- Overlap the panels: Take the bottom panel and overlap it slightly with the panel above it. This creates a layered effect, similar to the flowing tiers of a waterfall. Use pins to secure the overlapping sections in place temporarily.
- Continue overlapping: Repeat the above step with the rest of the panels, overlapping each panel slightly with the one above it. Make sure to maintain the cascading order, with the longest panel at the bottom and the shortest at the top.
- Adjust the overlapping sections: Once you have all the panels overlapped, step back and assess the overall look. You can adjust the overlapping sections to create the desired cascading effect. Pin them in place once you are satisfied with the appearance.
- Secure the panels: To ensure the panels stay in place, stitch or hand-sew the overlapping sections together. Use a needle and thread that matches the color of your fabric. This will create a seamless and secure attachment between the panels.
Creating the cascading effect may take some trial and error to achieve the look you desire. Feel free to experiment with the positioning and overlapping of the fabric panels until you are happy with the result. Once you have secured the panels, it’s time to move on to the next step: attaching the valance to the curtain rod.
When making waterfall valances, be sure to measure your window accurately to determine the width and length of fabric needed for a proper fit. Always use a sturdy fabric that will hold its shape when draped.
Step 3: Attaching the Valance to the Curtain Rod
With the cascading effect created, it’s time to attach your beautiful waterfall valance to the curtain rod. Follow these steps to ensure a secure and polished attachment:
- Slide the curtain rod through the back of the top panel: Start by inserting the curtain rod through the back side of the top panel of your valance. Make sure the rod is evenly positioned along the width of the valance.
- Evenly distribute the valance on the rod: Once the rod is in place, distribute the fabric of the valance evenly along the length of the rod. This will ensure a balanced and visually appealing look.
- Secure the valance onto the rod: Once the valance is evenly distributed, use curtain clips or other attachments suitable for your curtain rod to secure the valance onto the rod. Make sure the clips are tightly secured to prevent any slipping or sagging.
- Adjust the cascading layers: After securing the valance to the rod, step back and assess the overall appearance. Adjust the cascading layers if needed, ensuring they fall gracefully and evenly.
- Test the movement and appearance: Gently run your hands along the valance and observe how it moves and drapes. Make any necessary adjustments to the layers to achieve the desired look.
Once you are satisfied with the attachment and appearance of your valance on the curtain rod, it’s time for the final step: making any adjustments and adding finishing touches.
Read more: How To Make Glass Waterfall
Step 4: Adjustments and Finishing Touches
Now that your waterfall valance is attached to the curtain rod, it’s time to make any necessary adjustments and add the finishing touches to complete the look. Follow these steps to ensure a polished and professional outcome:
- Adjust the length: Stand back and assess the length of your valance. If it’s too long, use fabric scissors to carefully trim the bottom edges until you achieve the desired length. Remember to leave a small allowance for hemming.
- Hem the edges: To give your valance a clean and polished look, hem the bottom and side edges. Fold the edges over and use a sewing machine or hand-sew with a needle and thread to secure the hems. This will prevent fraying and give your valance a professionally finished appearance.
- Add trim or embellishments: If you want to enhance the aesthetic appeal of your valance, consider adding trim or embellishments. This could be in the form of decorative ribbon, lace, or tassels. Attach these embellishments along the bottom or sides of the valance, following the manufacturer’s instructions.
- Iron the valance: Before hanging your valance, iron it carefully to remove any wrinkles or creases. Use a gentle heat setting and press the fabric gently to avoid damaging any delicate materials. This will ensure a crisp and polished appearance.
- Hang and admire your masterpiece: Finally, hang your finished waterfall valance on the curtain rod and step back to admire your creation. Take a moment to appreciate the elegance and beauty it adds to your window and overall room decor.
Remember, the adjustments and finishing touches are the final steps that give your valance a refined and professional finish. Pay attention to the details and take your time to achieve the desired outcome.
Congratulations! You have successfully created your own stunning waterfall valances. Enjoy the beauty and charm they bring to your home!
Now that you have learned how to make waterfall valances, you can get creative and experiment with various fabric choices and embellishments to suit your personal style. Whether it’s for your living room, bedroom, or any other space in your home, these valances are sure to make a statement.
Feel free to explore different cascading styles, layering techniques, and fabric patterns to create a unique and personalized look. With a little creativity and the right materials, you can transform your windows into a focal point of elegance and sophistication.
Happy crafting!
Conclusion
Creating your own waterfall valances is a rewarding and exciting DIY project that allows you to personalize the look of your windows and add a touch of elegance to your home. By following the steps outlined in this article, you can achieve beautiful cascading effects and create stunning valances that complement your existing décor.
Throughout this guide, we have discussed the materials needed, measuring and cutting the fabric, creating the cascading effect, attaching the valance to the curtain rod, making adjustments, and adding finishing touches. Each step is essential in achieving the desired outcome and creating a polished and professional-looking valance.
Remember to choose fabrics that are lightweight and flowy to achieve the desired cascading effect. Taking accurate measurements ensures a perfect fit, and securing the valance to the curtain rod ensures stability. Making adjustments, hemming the edges, and adding trim or embellishments are the final touches that give your valance a refined and customized look.
Through this project, you have not only created a beautiful window treatment but also acquired valuable skills in sewing and interior design. You can apply these skills to future projects and continue to enhance the aesthetic appeal of your home.
Now that you have learned how to make waterfall valances, feel free to explore different fabric choices, colors, and styles to create a unique and personalized look. Let your creativity shine and see how these additions transform your windows into stunning focal points.
Thank you for joining us on this DIY journey. We hope you have enjoyed the process and are proud of the beautiful valances you have created. May your windows be adorned with elegance and charm for years to come!
Frequently Asked Questions about How To Make Waterfall Valances
Was this page helpful?
At Storables.com, we guarantee accurate and reliable information. Our content, validated by Expert Board Contributors, is crafted following stringent Editorial Policies. We're committed to providing you with well-researched, expert-backed insights for all your informational needs.


0 thoughts on “How To Make Waterfall Valances”