Articles
How To Remove RV Window Valances
Modified: January 19, 2024
Learn how to remove RV window valances with our helpful articles. Expert tips and step-by-step guides make it easy to update your RV interior.
(Many of the links in this article redirect to a specific reviewed product. Your purchase of these products through affiliate links helps to generate commission for Storables.com, at no extra cost. Learn more)
Introduction
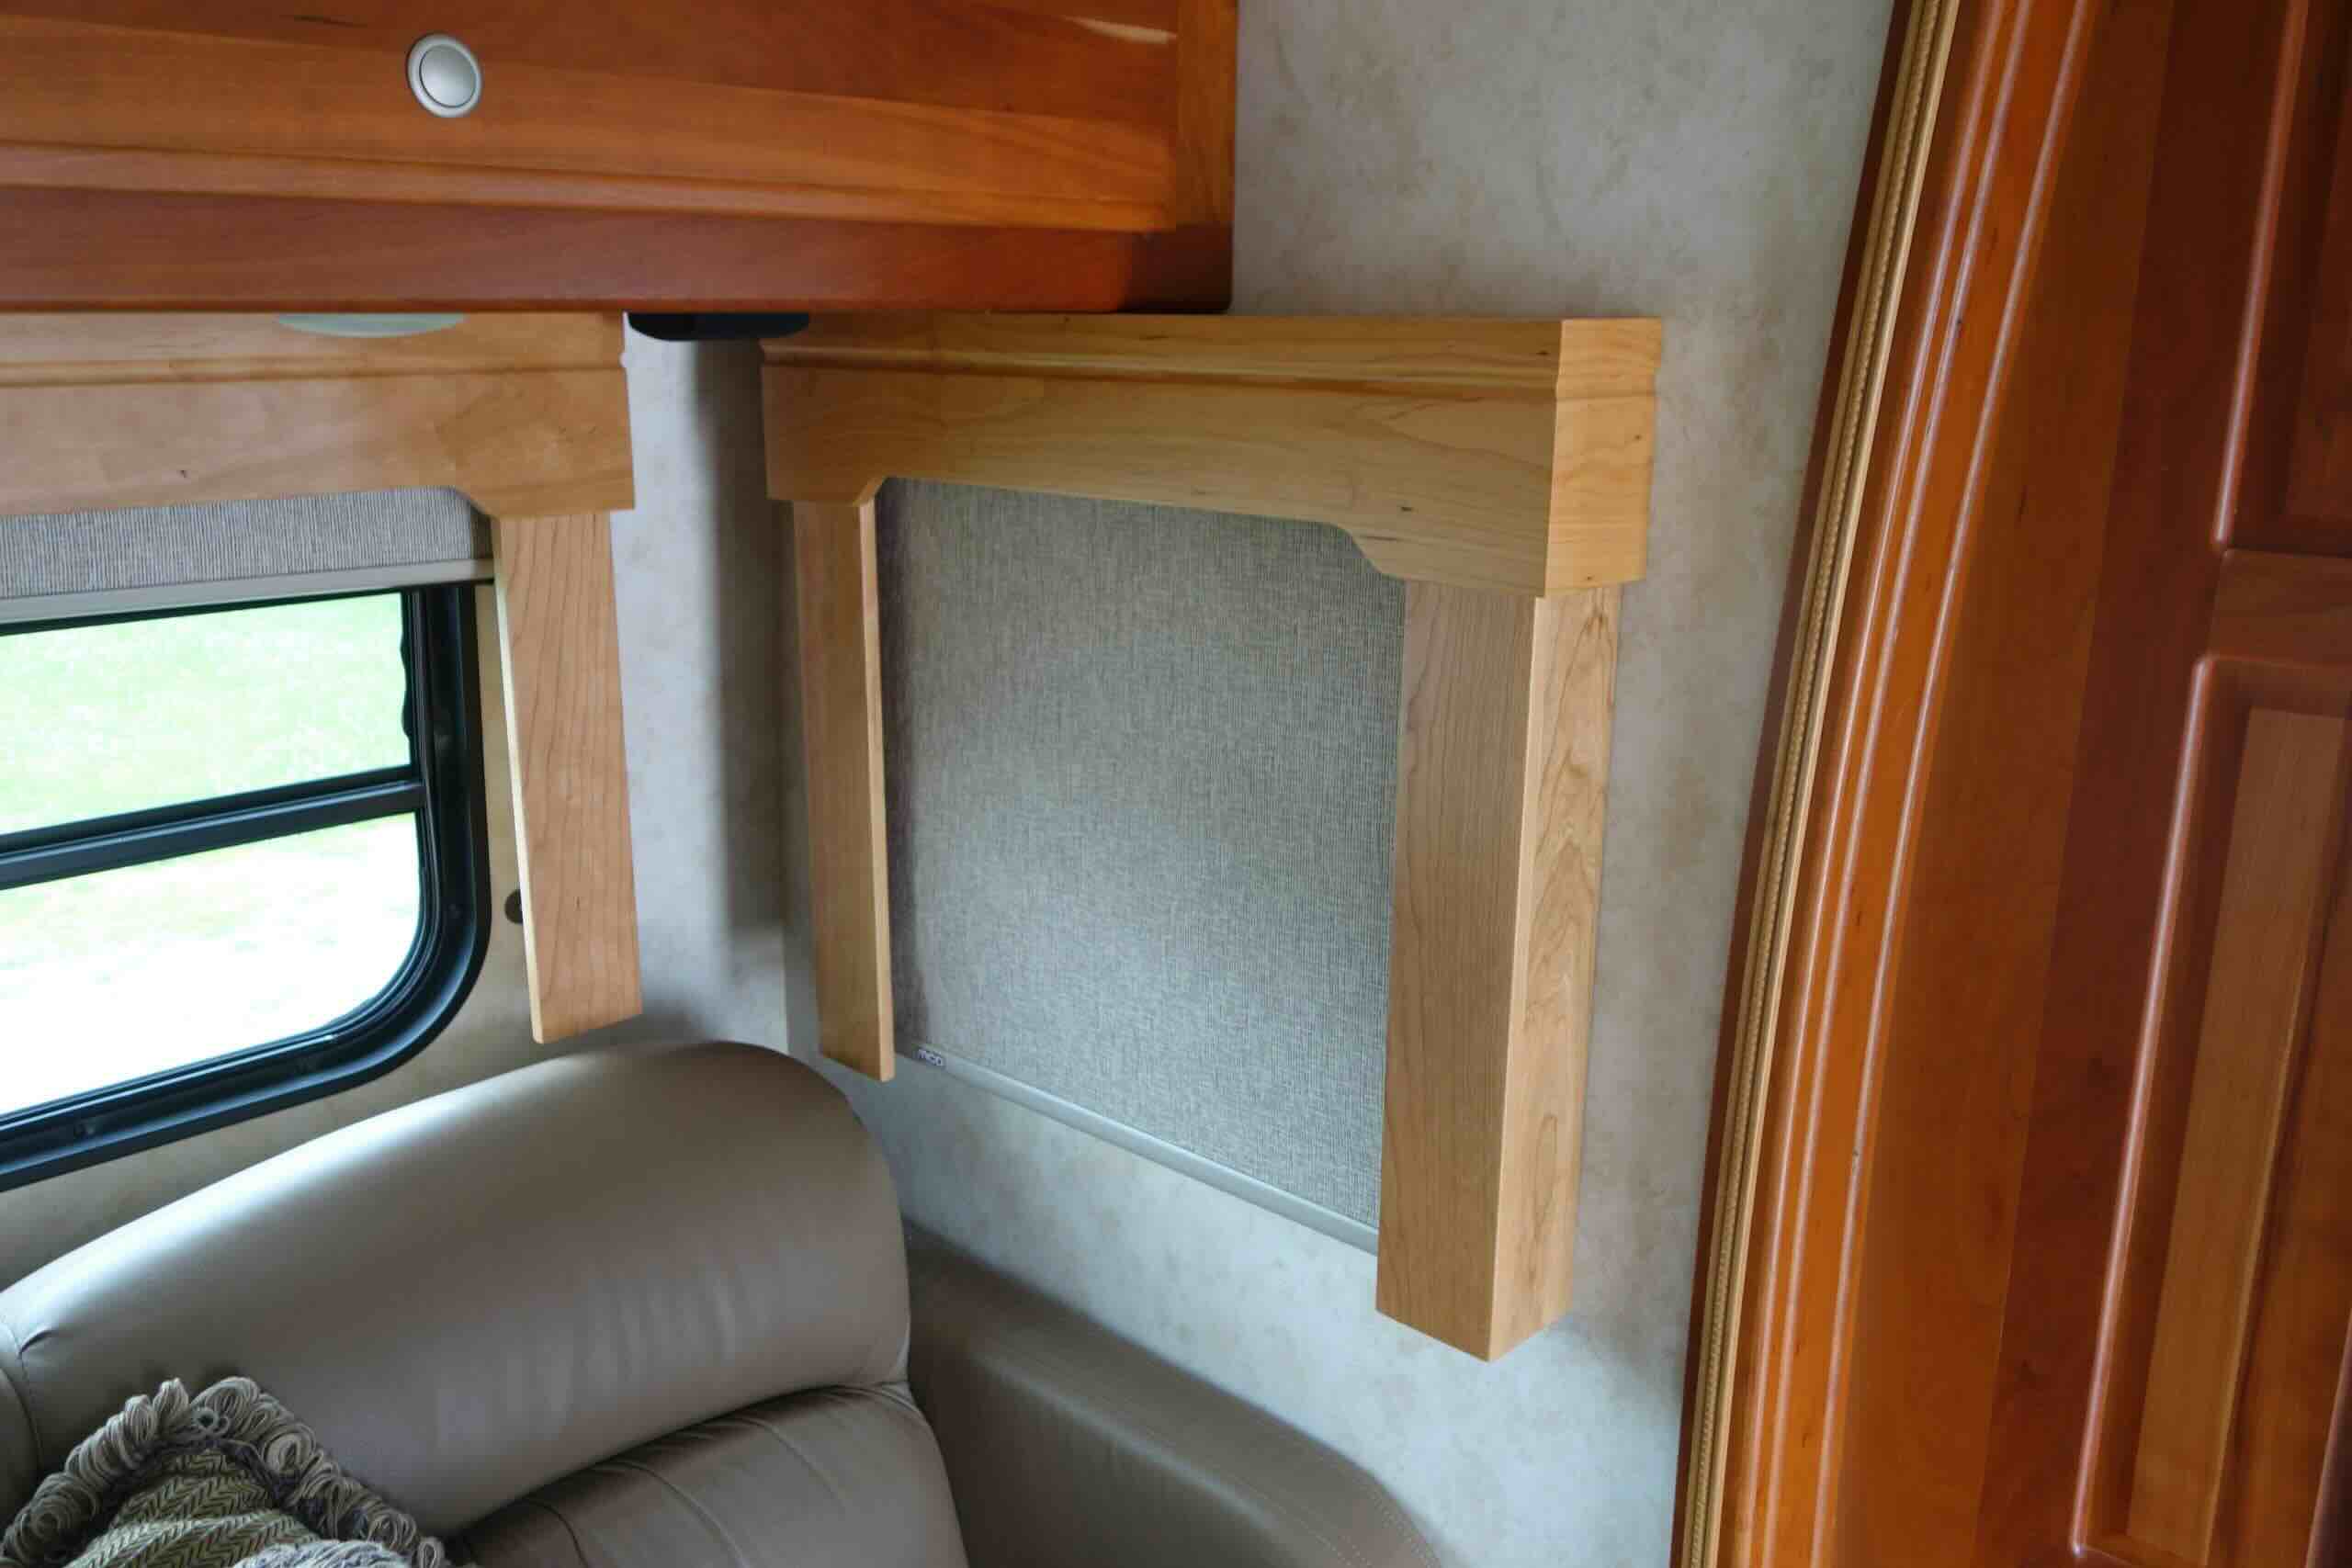
RV window valances are a common feature in recreational vehicles, adding a touch of style and privacy to the interior space. However, there may come a time when you decide to remove them for various reasons. Whether you want to replace them with new window treatments or simply prefer a more minimalist look, removing RV window valances can be a straightforward process.
In this article, we will provide a step-by-step guide on how to remove RV window valances effectively. By following these instructions, you can easily take down the valances without causing any damage to your RV walls or curtains.
Before we dive into the process, it’s important to gather the necessary tools. Having the right tools on hand will make the removal process easier and more efficient. You’ll need a few basic tools, including a screwdriver with the appropriate head, a step stool or ladder, and an adhesive remover (if needed). With these tools in hand, you’ll be well-prepared to tackle the task of removing your RV window valances.
Key Takeaways:
- Easily remove RV window valances by gathering the right tools, unscrewing them from mounting brackets, and cleaning any damage. Reinstall window curtains for a refreshed interior look.
- Follow a step-by-step guide to confidently remove RV window valances without causing damage. Take your time, handle valances with care, and enjoy customizing your space.
Read more: How To Make Window Valances
Step 1: Gather necessary tools
Before you begin removing your RV window valances, it’s essential to gather the necessary tools to ensure a smooth and successful process. Here are the tools you will need:
- Screwdriver: Depending on the type of screws or fasteners used to secure the valances, you may need a Phillips or flathead screwdriver.
- Step stool or ladder: Since the valances are usually attached near the ceiling, having a step stool or ladder will allow you to reach and work comfortably at a height.
- Adhesive remover (optional): If your valances are attached with adhesive or double-sided tape, you may need an adhesive remover to gently and safely loosen the bond.
Make sure you have these tools readily available before you begin the removal process. Having them on hand will save you time and prevent frustration as you proceed with the following steps.
Step 2: Remove the window curtains
Once you have gathered your tools, the next step is to remove the window curtains that are hanging in front of the valances. This will give you unobstructed access to the valances and make the removal process easier. Follow these steps to remove the window curtains:
- Start by locating the curtain rod or track that holds the curtains in place. This can usually be found near the top of the window frame or ceiling.
- Using a screwdriver or your hands, remove any screws or clips securing the curtain rod or track. Keep them in a safe place for later use.
- Gently slide the curtains off the rod or track and set them aside.
- If the curtains are attached with hooks, unhook them one by one from the rod or track.
- Store the curtains in a clean and dry place to prevent them from getting wrinkled or damaged.
By removing the window curtains, you create a clear workspace to focus on removing the valances. Take your time to remove the curtains carefully, ensuring that they remain in good condition for reinstallation later on.
Step 3: Locate the mounting brackets
With the window curtains removed, it’s time to locate the mounting brackets that hold the RV window valances in place. The mounting brackets are typically located at the top of the window frame or attached to the wall near the ceiling. Follow these steps to locate the mounting brackets:
- Inspect the top of the window frame or the area near the ceiling for any visible brackets. They may be hidden behind or underneath the valances.
- Look for small screw heads or tabs that indicate the presence of mounting brackets.
- Run your hand along the valance to feel for any brackets that may not be visible.
- Use a flashlight if needed to illuminate the area and aid in locating the brackets.
It’s important to locate all the mounting brackets before proceeding to the next step. Missing any brackets may result in an unstable or incomplete removal process. Take your time and ensure you have identified all the mounting brackets holding the valances in place.
Step 4: Unscrew the valance from the brackets
Now that you have located the mounting brackets, it’s time to unscrew the RV window valance from the brackets. Follow these steps to remove the valance:
- Using a screwdriver, carefully unscrew the screws that secure the valance to the mounting brackets. Depending on the design, there may be one or more screws holding each valance in place.
- Place the screws in a container or bag to keep them safe and prevent them from getting lost.
- If the valance is attached with adhesive or double-sided tape, gently peel it away from the brackets. You can use an adhesive remover to help loosen the bond if needed.
- Once all the screws have been removed and any adhesive has been detached, the valance should be free from the brackets.
- Set the valance aside in a safe location where it won’t get damaged.
Take your time during this step to ensure that you unscrew all the screws and detach any adhesive properly. This will prevent any damage to the valance or the mounting brackets. Keep the screws organized and the valance safely stored for reinstallation or future use.
Use a screwdriver to remove the screws holding the valance in place. Gently pull the valance away from the window to release it from the brackets. Be careful not to damage the surrounding area.
Step 5: Remove the valance from the window
Now that the RV window valance is detached from the mounting brackets, it’s time to remove it from the window itself. Follow these steps to remove the valance from the window:
- Carefully lift the valance away from the window, applying even pressure to avoid causing any damage.
- If the valance is attached to the window using hooks, unhook them one by one to separate the valance from the window.
- Inspect the valance and the window for any remaining attachments or obstructions. If there are any, gently remove them to fully separate the valance from the window.
Once the valance is successfully removed from the window, place it in a safe location where it won’t get damaged during the cleaning and touch-up process. You may want to lay it flat or hang it to prevent it from getting wrinkled or tangled.
By removing the valance from the window, you create an open space which allows for easier cleaning and any necessary repairs or touch-ups. Take your time and handle the valance with care to avoid any accidental damage.
Step 6: Clean and touch up any damage
With the RV window valance removed, it’s time to clean and assess any damage that may have occurred during the removal process. Follow these steps to clean and touch up any damage:
- Begin by inspecting the valance for any dirt, dust, or stains. Use a gentle cleaner or fabric-specific cleaner to spot clean the valance, following the manufacturer’s instructions.
- If the valance is made of fabric, check the care label to determine if it is machine washable or if it requires professional cleaning.
- If the valance is made of wood or another material, use a soft cloth and a mild cleaner to wipe away any surface dirt or debris.
- Inspect the window area for any damage, such as holes, scratches, or marks left from the valance. Use appropriate touch-up methods to repair or disguise any damage, depending on the window material.
- If necessary, repaint the window frame or wall where the valance was attached to ensure a uniform appearance.
- Allow the cleaned valance and touched-up window area to dry completely before proceeding with the reinstallation process.
Taking the time to clean the valance and address any damage ensures that it will look its best when it comes time to reinstall it or replace it with new window treatments. By touching up any damage to the window area, you maintain the overall aesthetic of your RV’s interior.
Remember to follow proper cleaning techniques and use appropriate touch-up methods based on the materials involved. This will help preserve the valance and restore the window area to its original state.
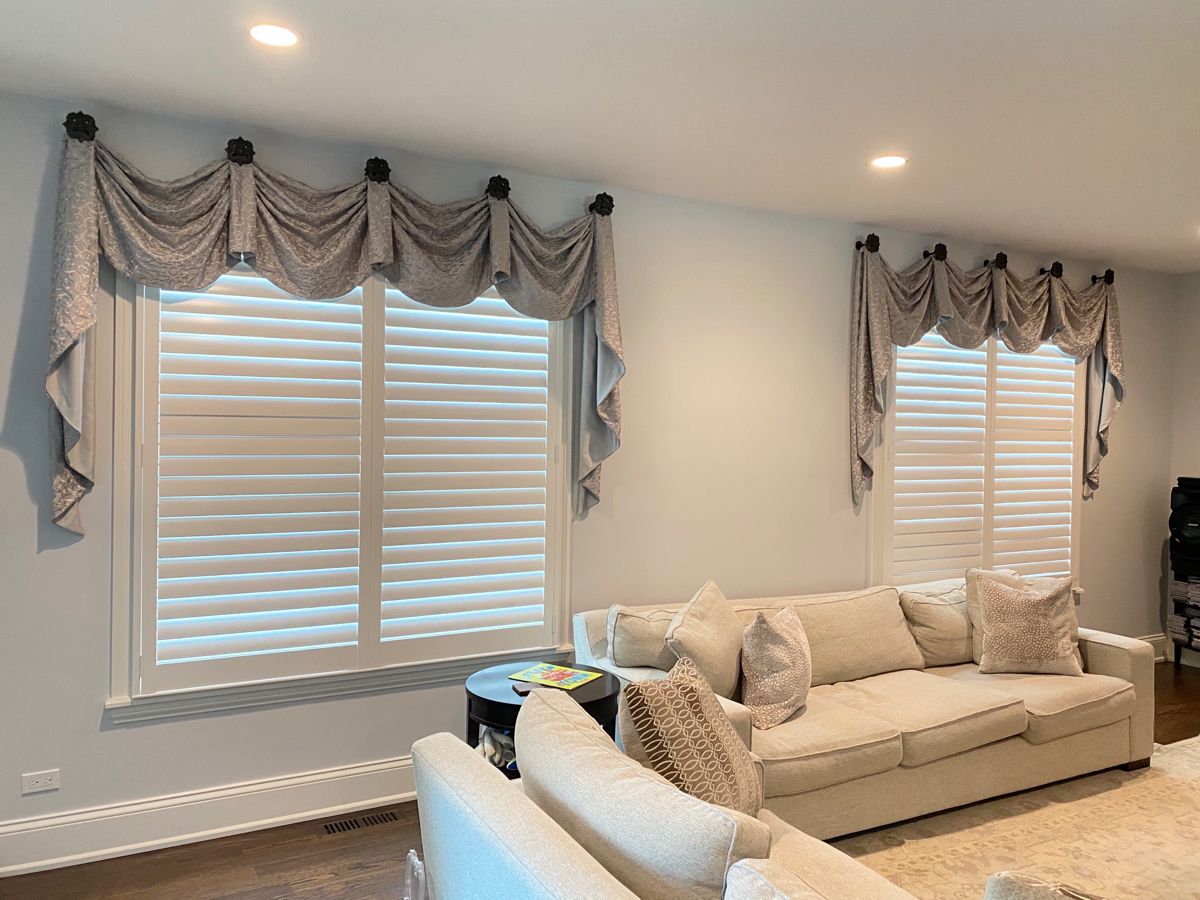
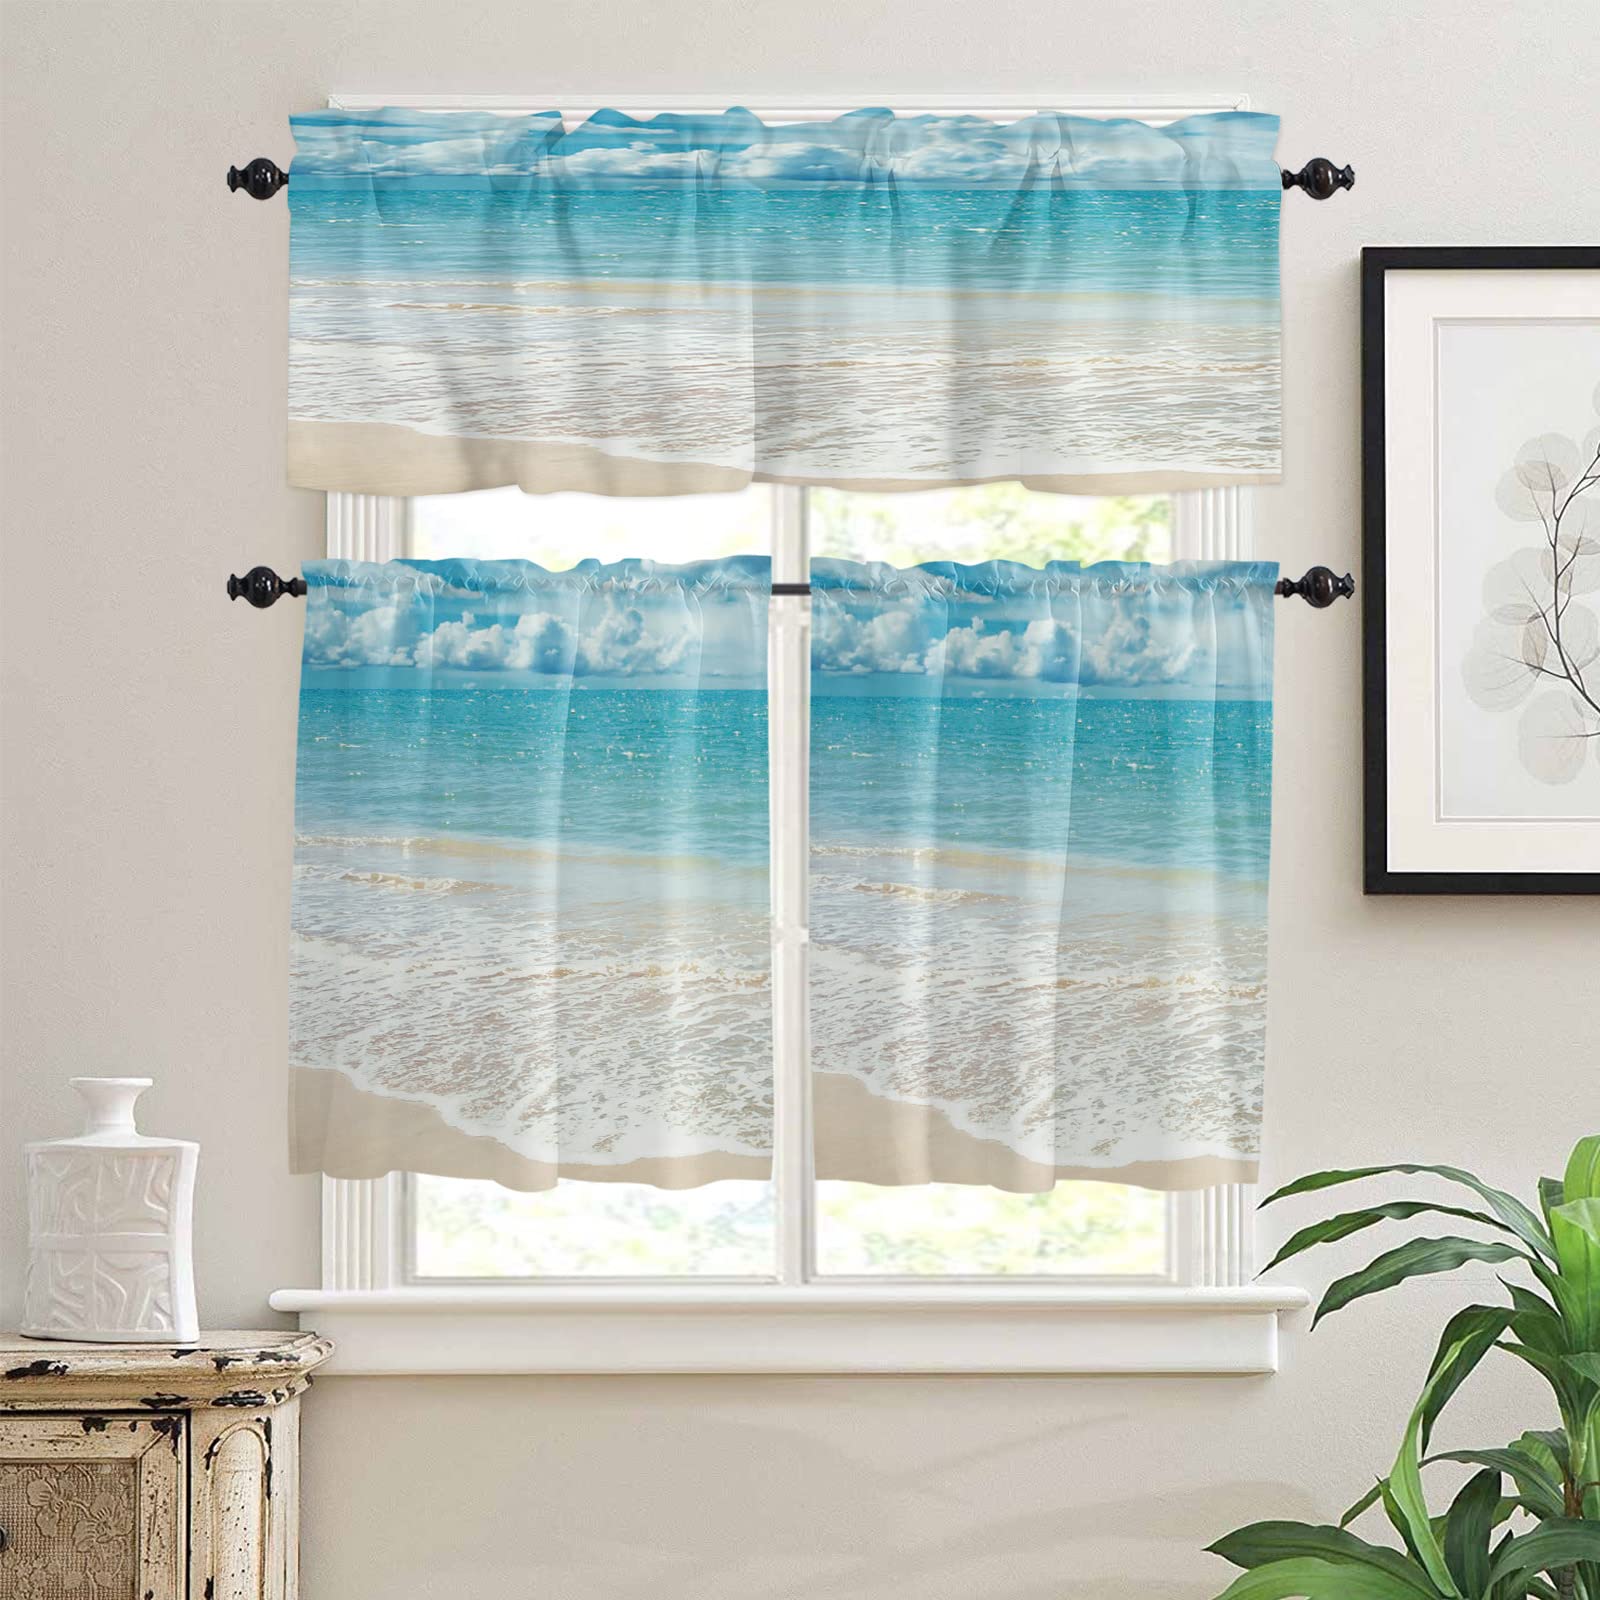
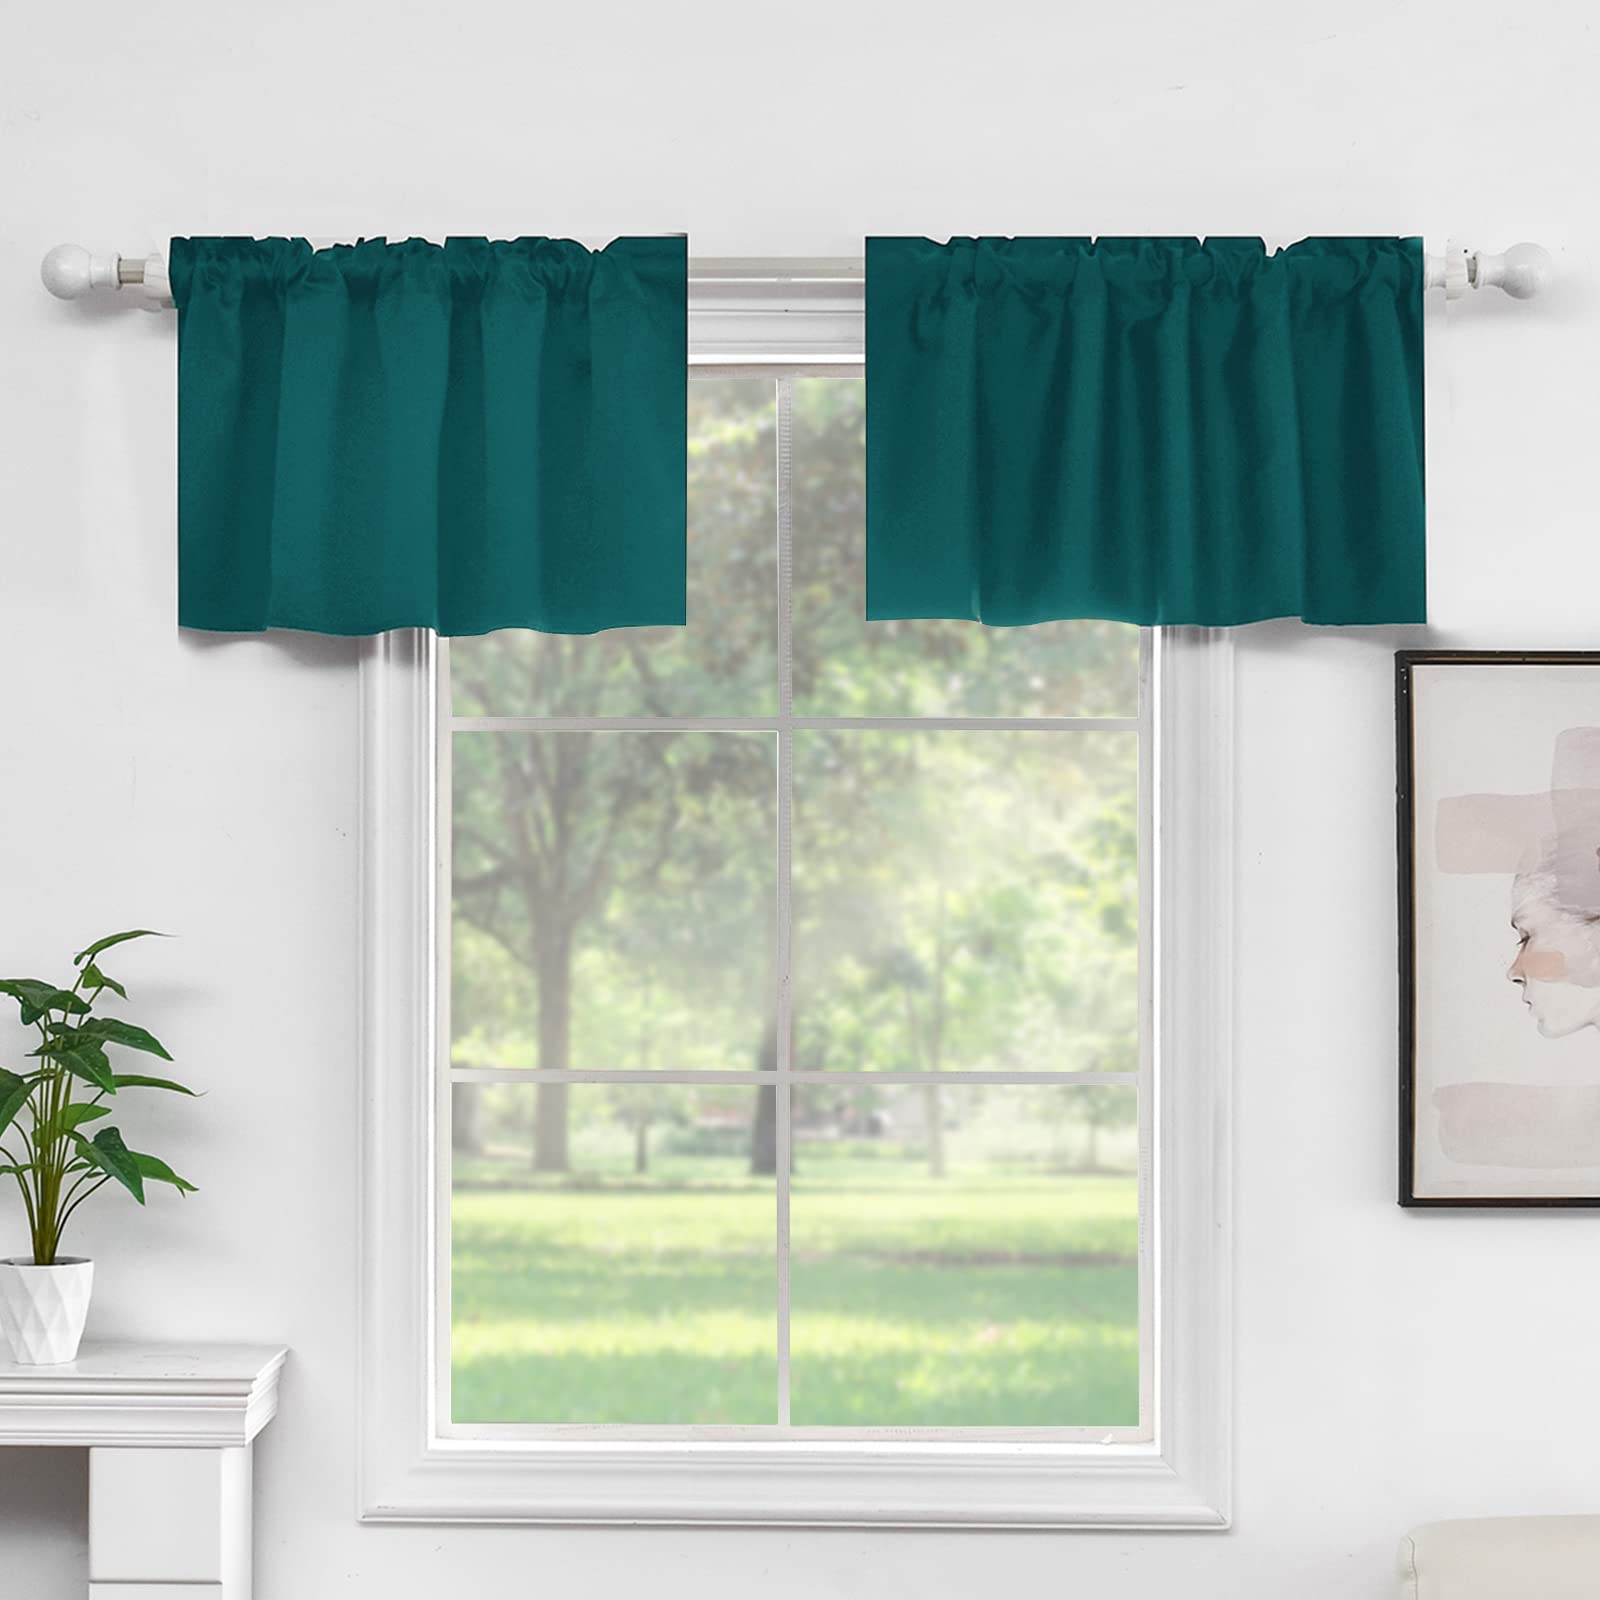
Step 7: Reinstall the window curtains
After removing the RV window valances and completing any necessary cleaning and touch-ups, it’s time to reinstall the window curtains. Follow these steps to rehang the curtains:
- Start by locating the curtain rod or track that was previously in place.
- If needed, reattach any screws or clips that secure the curtain rod or track to the walls or window frame.
- If the curtains were attached with hooks, re-hook them onto the rod or track one by one.
- Gently slide the curtains back onto the rod or track, ensuring they are evenly distributed.
- Adjust the curtains as necessary to achieve the desired length and position.
- Step back and double-check the curtain arrangement and appearance, making any adjustments as needed.
When rehanging the curtains, take your time to ensure they are properly aligned and the hooks or attachments are secure. This will ensure a neat and polished look for your RV’s window treatments.
By reinstalling the window curtains, you add privacy, light control, and a decorative element back to your RV’s interior space. Enjoy the refreshed look and feel that the curtains bring to your RV.
Conclusion
Removing RV window valances can be a simple and satisfying task with the right tools and approach. By following the step-by-step guide outlined in this article, you can confidently remove your RV window valances without causing any damage to your walls or curtains.
Starting with gathering the necessary tools, such as a screwdriver, step stool or ladder, and adhesive remover if needed, you can be well-prepared for the process. Removing the window curtains first provides better access to the valances and allows for a smoother removal process.
Locating and unscrewing the valances from the mounting brackets, carefully removing them from the window, and cleaning and touching up any damage ensures that the valances are ready to be reinstalled or replaced with new window treatments. Finally, rehanging the window curtains completes the process, adding privacy and style back to your RV’s interior.
Remember to take your time, handle the valances with care, and follow proper cleaning and touch-up techniques to maintain the overall appearance of your RV. With these simple steps, you can easily remove RV window valances and customize your space to suit your preferences and desired aesthetic.
So go ahead, confidently tackle the task of removing RV window valances, and enjoy the fresh new look it brings to your recreational vehicle.
Frequently Asked Questions about How To Remove RV Window Valances
Was this page helpful?
At Storables.com, we guarantee accurate and reliable information. Our content, validated by Expert Board Contributors, is crafted following stringent Editorial Policies. We're committed to providing you with well-researched, expert-backed insights for all your informational needs.


0 thoughts on “How To Remove RV Window Valances”