Articles
How To Make No Sew Valances
Modified: February 24, 2024
Learn how to create beautiful and stylish valances for your windows without the need for sewing with our informative articles. Discover tips, tricks, and step-by-step instructions for making stunning no sew valances.
(Many of the links in this article redirect to a specific reviewed product. Your purchase of these products through affiliate links helps to generate commission for Storables.com, at no extra cost. Learn more)
Introduction
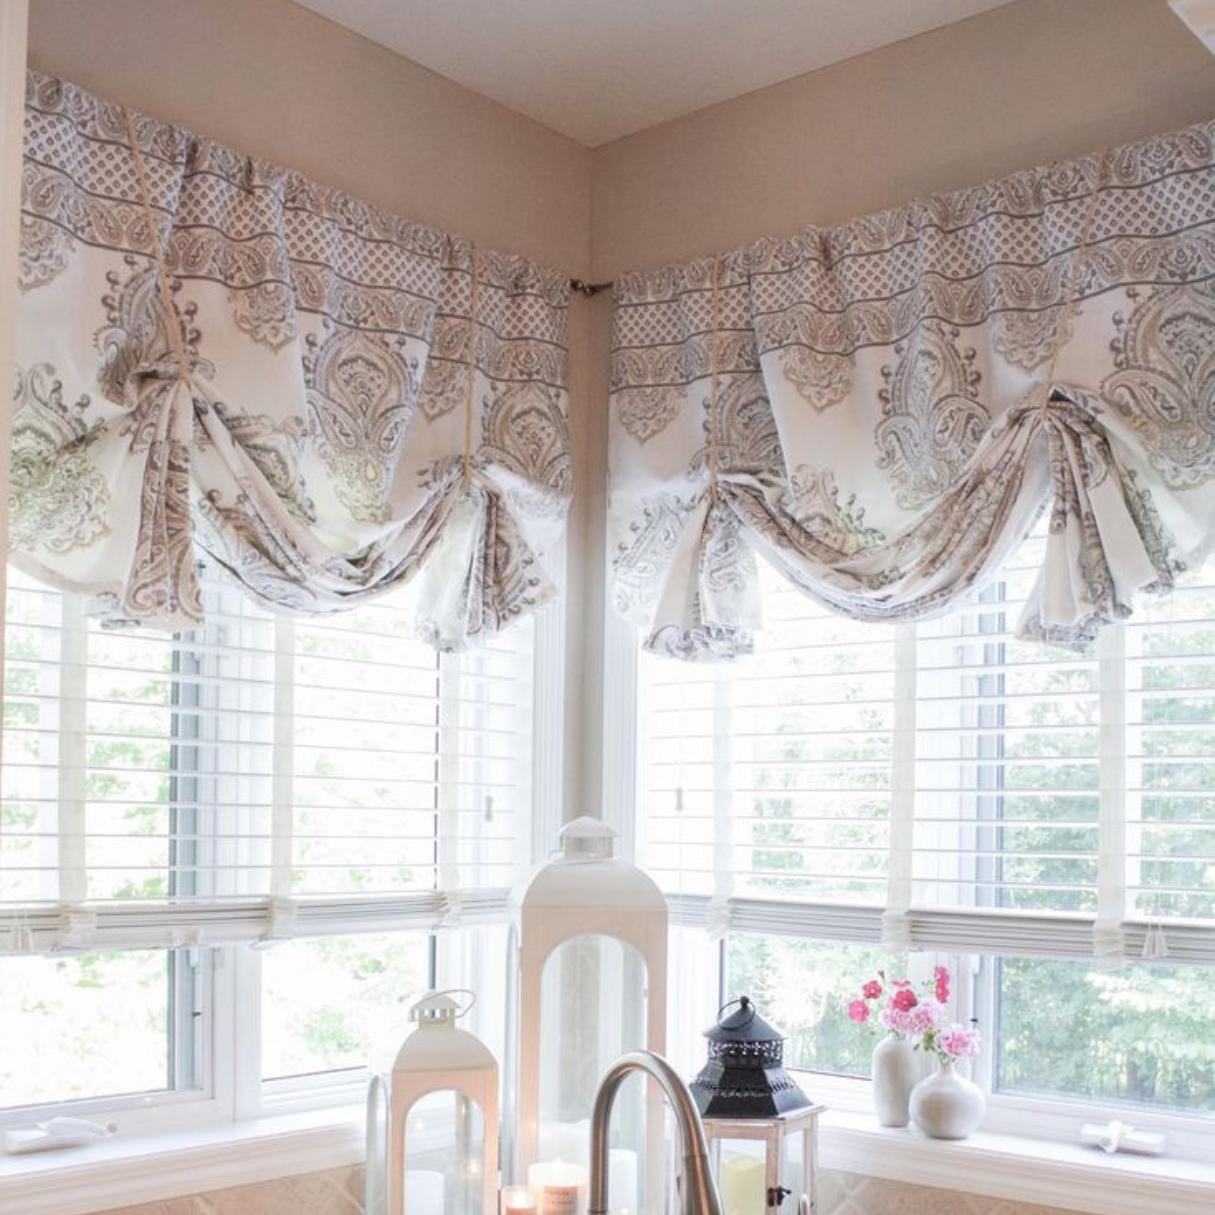
Creating beautiful valances for your windows doesn’t have to be a complicated or time-consuming task. In fact, you can make your own no-sew valances that are both stylish and easy to make. Whether you’re a beginner or an experienced DIY enthusiast, this article will guide you through the steps to create stunning valances without the need for a sewing machine.
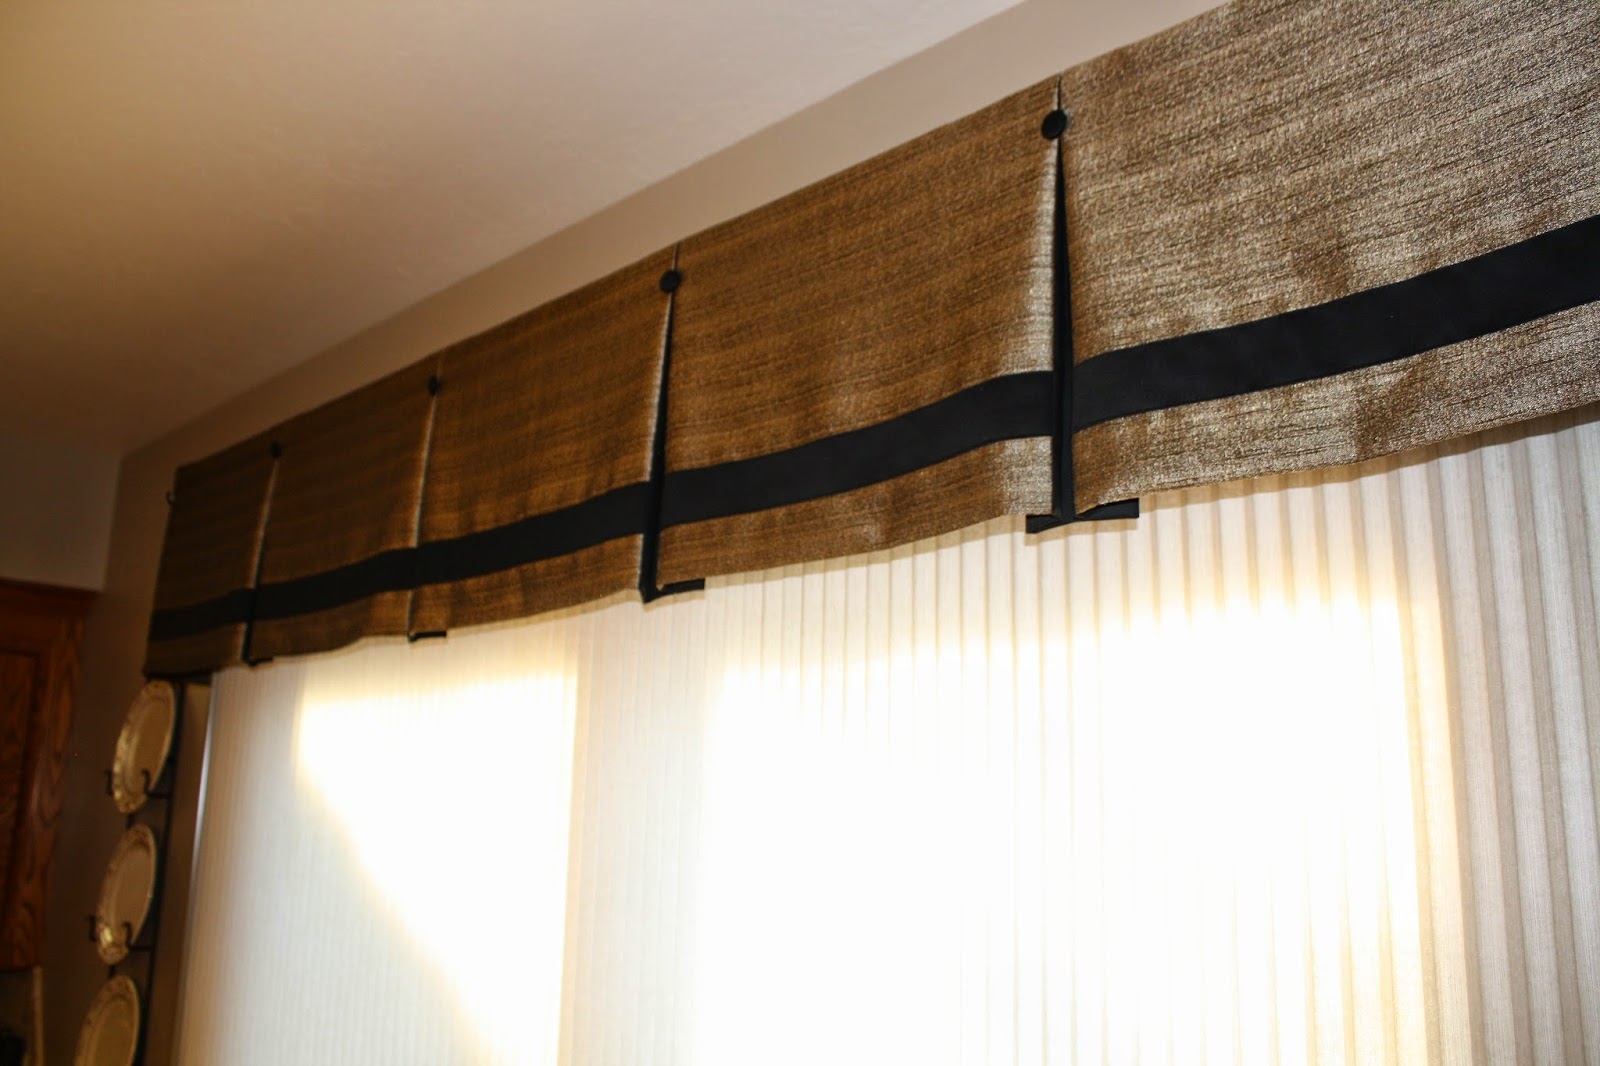
Valances are a great way to add a touch of elegance and style to any room. They can transform a plain window into a focal point and tie together the overall decor. With a few simple materials and a little bit of creativity, you can customize your valances to match your personal style and the look of your home.
In this article, we’ll go over the materials you’ll need and the step-by-step process to create beautiful no-sew valances. From measuring and cutting the fabric to hanging the valance, you’ll learn all the tips and tricks to make this project a success. So, let’s gather our supplies and get started on making stunning valances for your windows.
Key Takeaways:
- Create stunning, no-sew valances to elevate your home decor with just a few simple materials and basic techniques. Express your creativity and style while adding a touch of elegance to your windows.
- Enjoy the versatility of no-sew valances, allowing you to easily update your window treatments and showcase your DIY skills. Add a personalized touch to your home decor with beautiful, handmade valances.
Read more: How To Sew Lined Valances
Materials Needed
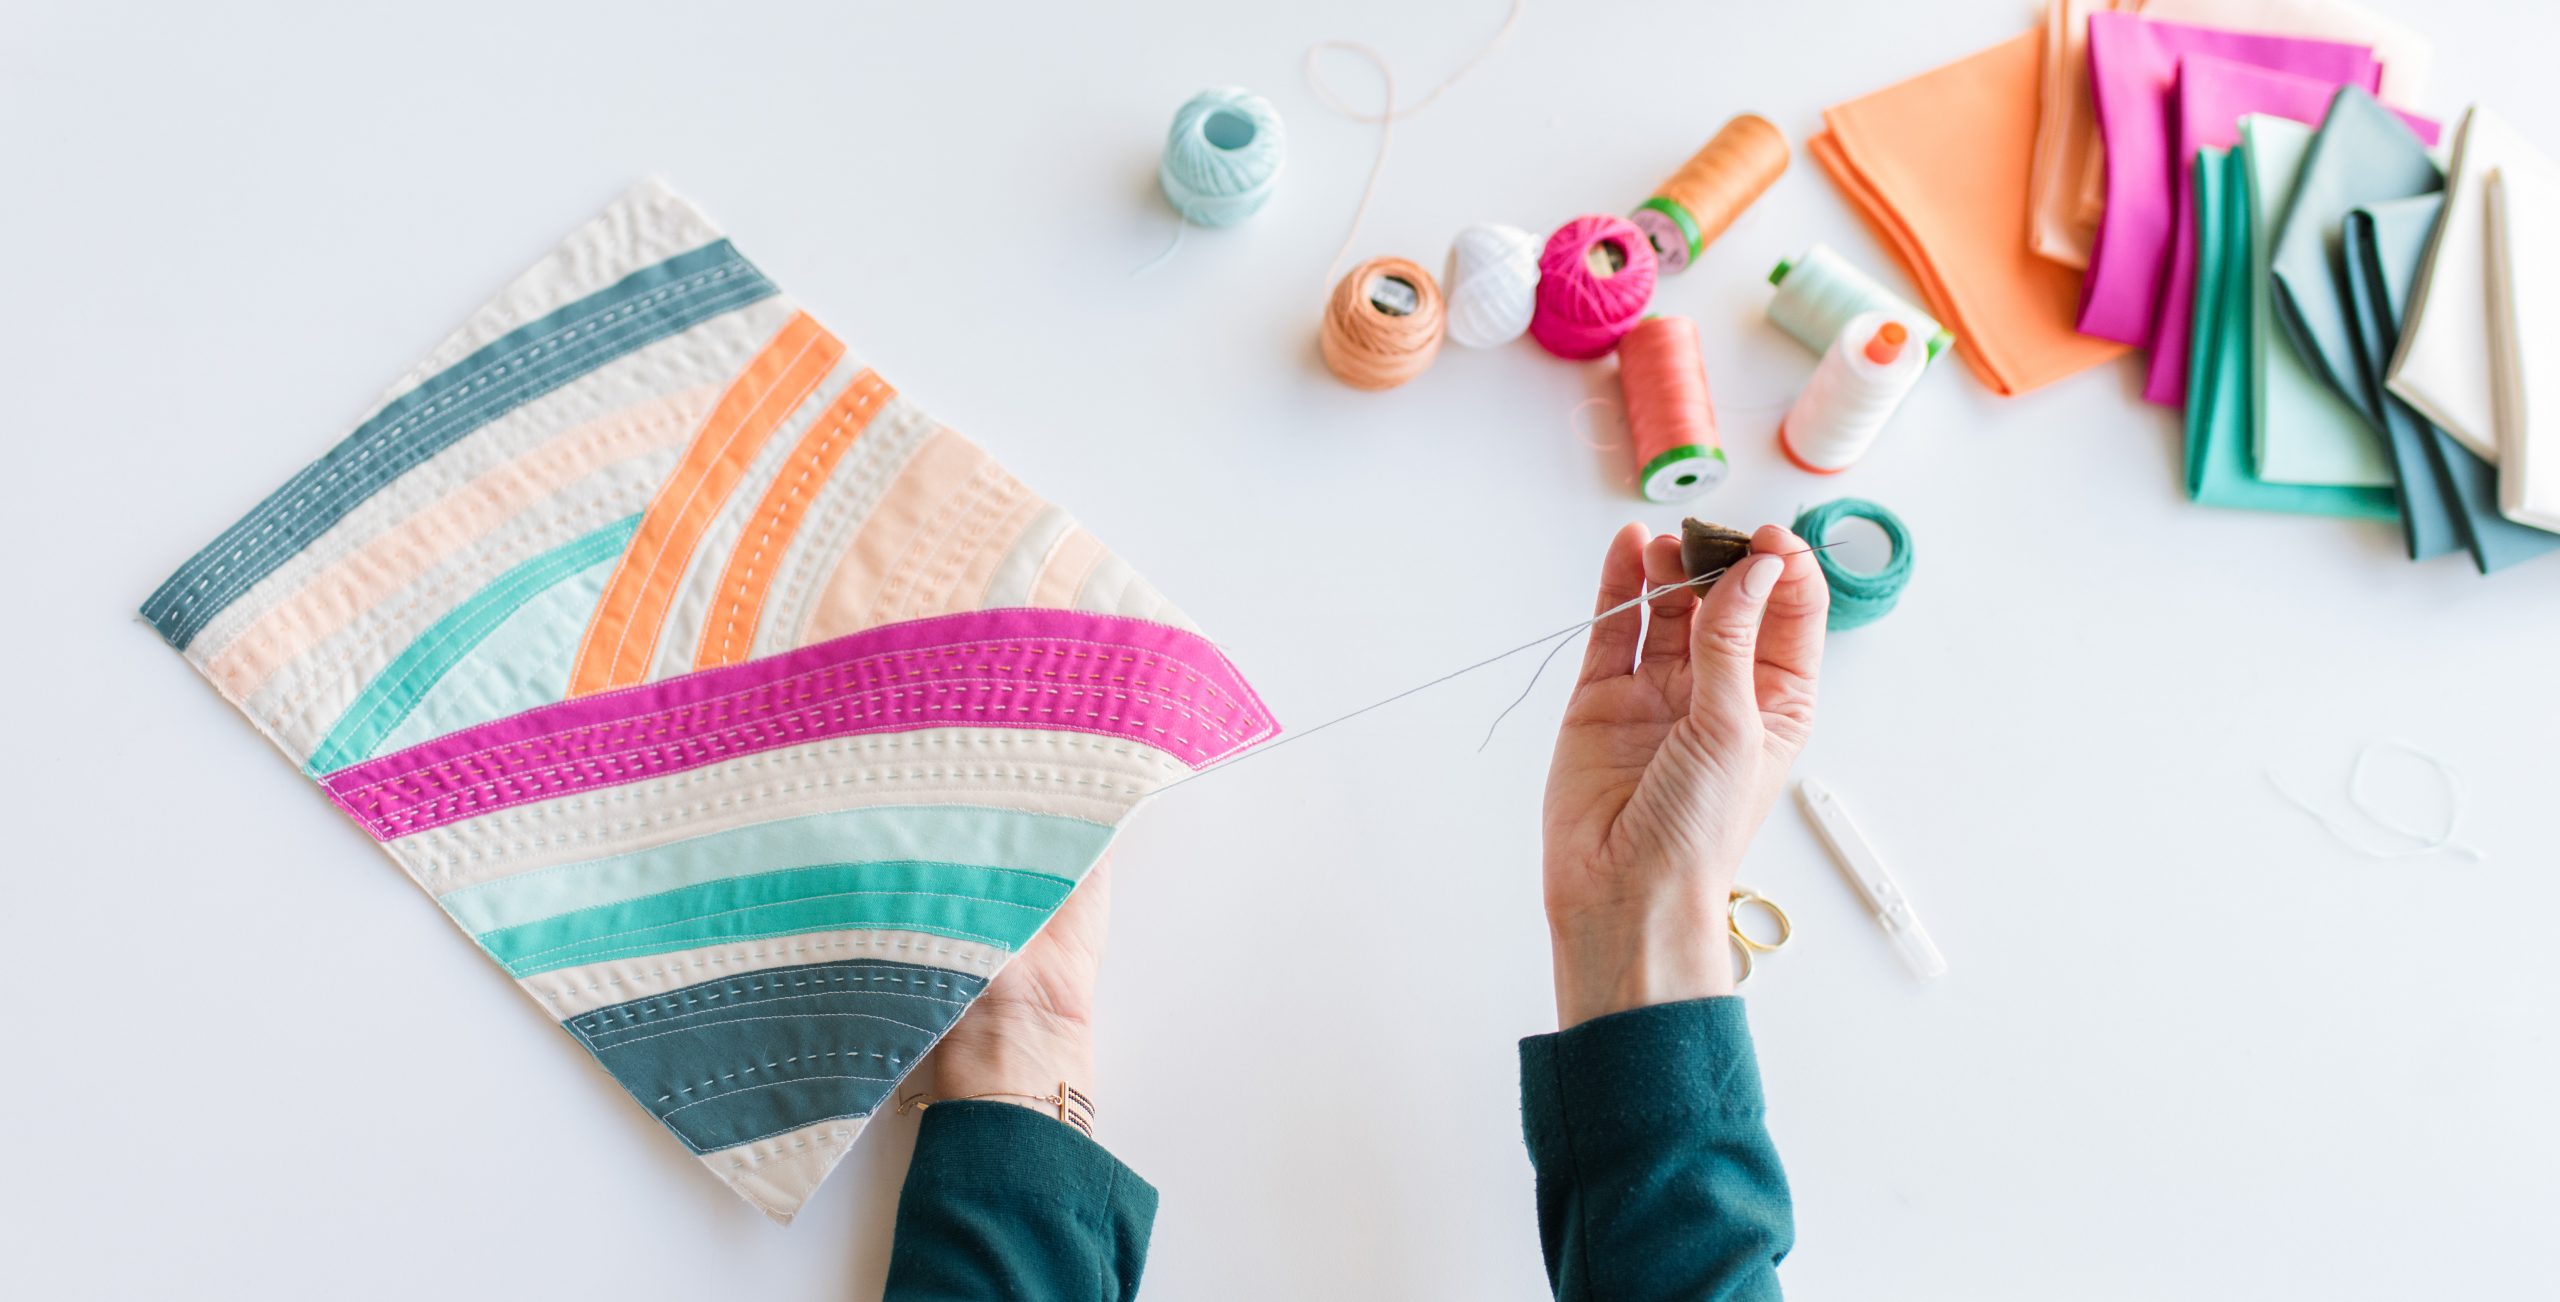
Before diving into the process of making no-sew valances, it’s important to gather all the necessary materials. Fortunately, you won’t need a lot of supplies to create these stylish window treatments. Here’s a list of the materials you’ll need:
- Fabric: Choose a fabric that suits your style and complements the overall decor of the room. Make sure to measure the width and length of your windows to determine the amount of fabric needed.
- Scissors: A good pair of sharp scissors will be essential for cutting the fabric to the desired size.
- Iron: You’ll need an iron to remove any wrinkles from the fabric and create crisp folds.
- Fabric adhesive: Look for a fabric adhesive that is suitable for the type of fabric you’re using. Make sure it is safe for no-sew projects and dries clear.
- Measuring tape or ruler: Accurate measurements are crucial for creating well-fitted valances, so make sure to have a measuring tape or ruler on hand.
- Velcro strips: Velcro strips will be used to secure the valance to the curtain rod. Make sure to choose strips that are strong and durable.
Once you have gathered all these materials, you’re ready to start creating your no-sew valances. It’s a simple and budget-friendly project that will elevate the style of your windows and give your room a fresh and polished look. So, let’s move on to the next step: measuring and cutting the fabric.
Step 1: Measure and Cut the Fabric
The first step in making your no-sew valances is to measure and cut the fabric to the desired size. Start by measuring the width of the window where you want to hang the valance. This will determine the width of your fabric.
Next, measure the desired length of the valance. Do you want it to hang just above the window sill or extend all the way to the floor? It’s up to you to decide the length that suits your style and the overall look of the room.
Once you have your measurements, lay your fabric out on a flat surface and use your ruler or measuring tape to mark the width and length. Make sure to add an extra inch on each side for seam allowance.
Using your sharp scissors, carefully cut along the marked lines to create your fabric panel. Take your time and ensure clean and straight edges. If you’re using a patterned fabric, make sure the pattern is evenly aligned.
After cutting out your fabric panel, it’s a good idea to iron it to remove any wrinkles and create smooth folds. This step will not only improve the overall appearance of your valance but also make it easier to work with when creating the rod pocket and additional folds.
Once your fabric is measured, cut, and ironed, you’re ready to move on to the next step: creating the rod pocket. This is where the valance will be hung from, so it’s an important part of the process. Let’s get started!
Step 2: Create the Rod Pocket
The next step in making your no-sew valance is to create the rod pocket. This is where you will insert the curtain rod to hang your valance. Follow these simple steps to create the rod pocket:
- Measure the desired height of your rod pocket. Typically, a standard rod pocket is about 2-3 inches in height. Use your ruler or measuring tape to mark the height on the top edge of your fabric panel.
- Add an extra inch to the marked measurement for the seam allowance. This will ensure that the rod pocket is wide enough to accommodate your curtain rod.
- Using your iron, fold the top edge of the fabric panel down along the marked line. Press firmly with the iron to create a crisp fold.
- Apply a small amount of fabric adhesive along the folded edge of the fabric. Make sure to cover the entire width of the rod pocket.
- Fold the edge of the fabric over the adhesive, creating a secure bond. Press firmly and hold it in place for a few seconds to ensure the adhesive sets properly.
- Repeat this process on the opposite side of the rod pocket to create a clean and finished look.
Once the adhesive has dried, your rod pocket is complete. It’s important to ensure that the rod pocket is wide enough to easily slide your curtain rod through. Test the rod pocket by inserting the curtain rod and sliding it back and forth. If it moves freely, you’re ready to move on to the next step.
Creating the rod pocket is an essential part of making your valance because it determines how the valance will hang from the curtain rod. Now that you have your rod pocket prepared, it’s time to move on to creating the desired style for your valance. Let’s continue with step 3: creating the valance style.
When making a no sew valance, use fabric glue or iron-on hem tape to create clean, no-sew edges for a professional finish.
Step 3: Create the Valance Style
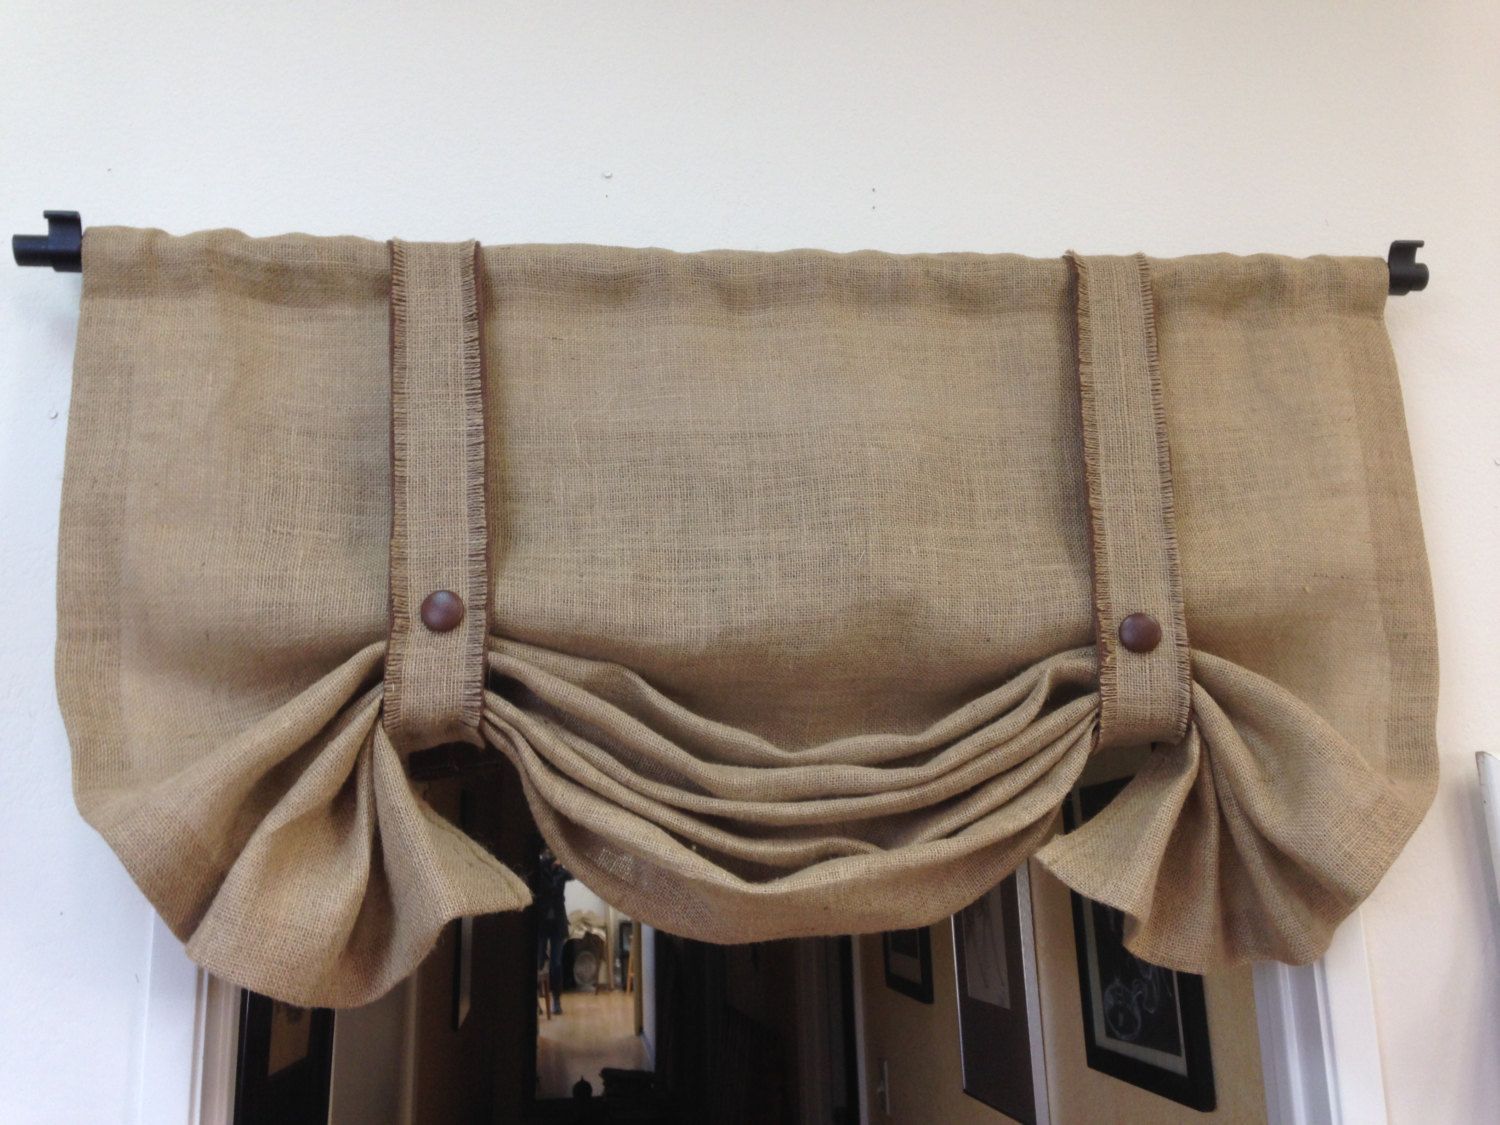
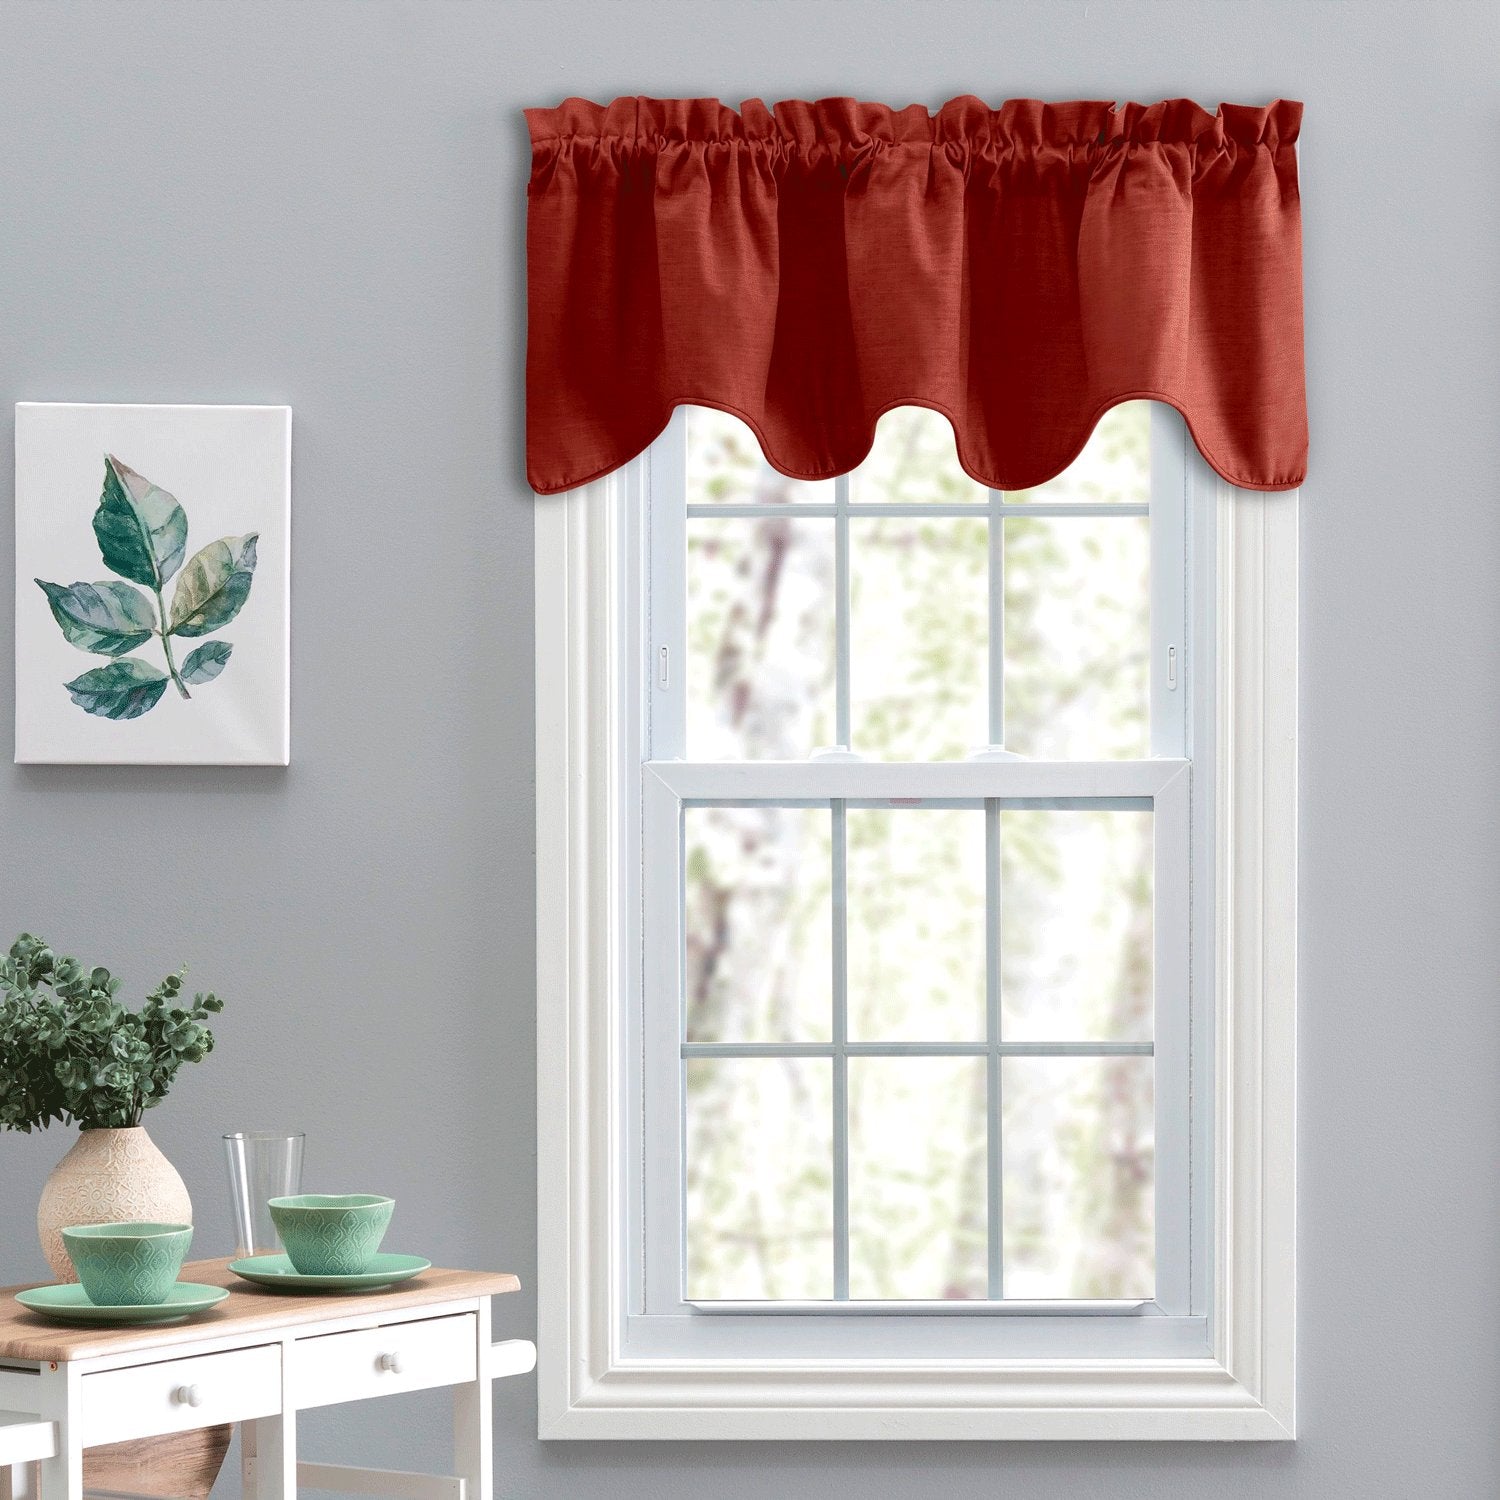
Once you have prepared the rod pocket, it’s time to get creative and create the desired style for your valance. There are various valance styles you can choose from, such as a straight valance, a scalloped valance, or a gathered valance. Here’s how to create the most common straight valance style:
- Decide on the depth of your valance. This will determine how much fabric you will use to create the gathered or pleated look. You can choose a shallow valance for a more streamlined appearance or a deeper valance for a fuller and more dramatic effect.
- Measure the desired depth of your valance and mark it on the bottom edge of your fabric panel. Use a ruler or measuring tape to ensure accuracy.
- Using your scissors, carefully cut along the marked line to achieve the desired depth of your valance. Make sure to cut straight and even to create a neat and professional finish.
- To create a straight and clean edge, fold the bottom edge of the fabric panel up about half an inch and press firmly with your iron to create a fold.
- Apply a small amount of fabric adhesive along the folded edge of the fabric to secure it in place. Press firmly and hold it in place for a few seconds to ensure a strong bond.
- Repeat this process on the opposite side of the valance to create a balanced look.
Once the adhesive has dried, you have successfully created the straight valance style. If you wish to create a scalloped or gathered valance, you can experiment with different techniques such as folding and pleating the fabric to achieve the desired effect.
Remember to let your creativity shine through and customize your valance style according to your taste and the overall decor of the room. The valance style will play a significant role in the final look of your window treatments, so take your time to ensure it reflects your personal style and adds to the overall aesthetics of the space.
Now that you have created the valance style, it’s time to move on to the next step: attaching the Velcro strips. This will ensure that your valance stays securely in place when hung on the curtain rod. Let’s proceed to step 4!
Read more: How To Make Window Valances
Step 4: Attach the Velcro Strips
Attaching Velcro strips to your valance will provide a secure way to hang it on the curtain rod. The Velcro strips will ensure that your valance stays in place and doesn’t slide or sag. Follow these steps to attach the Velcro strips:
- Measure the width of your fabric panel and cut two strips of Velcro to match this measurement. Make sure the Velcro strips are wide enough to provide a secure hold.
- Apply one side of the Velcro strip to the backside of the top edge of your valance, along the entire width. Make sure to leave a bit of space on each end for the overlap.
- Press the Velcro strip firmly onto the fabric, making sure it adheres well. You can use fabric adhesive or self-adhesive Velcro for this step.
- Attach the other side of the Velcro strip to the front side of the curtain rod, aligning it with the corresponding Velcro strip on the valance. Press firmly to ensure a strong bond.
- Repeat this process with the second Velcro strip, attaching it to the backside of the valance and the front side of the curtain rod.
It’s important to position the Velcro strips evenly along the width of the valance and the curtain rod for a balanced and secure hold. The Velcro strips will allow you to easily attach and detach the valance whenever you need to wash, clean, or change the window treatments.
Make sure to test the attachment by gently tugging on the valance to ensure that it is securely fastened to the curtain rod. If the valance stays in place, you have successfully attached the Velcro strips.
Now that your valance is equipped with Velcro strips, it’s time for the final step: hanging the valance on the curtain rod. Let’s move on to step 5 and complete our no-sew valance project!
Step 5: Hang the Valance
Congratulations! You’ve made it to the final step of creating your no-sew valance. Now it’s time to hang the valance on the curtain rod and see the beautiful results. Follow these simple steps:
- Slide the curtain rod through the rod pocket that you created at the top of the valance. Ensure that the rod fits snugly within the pocket.
- Position the valance on the curtain rod according to your desired placement. You can choose to center it or offset it to one side, depending on your preference.
- Press the Velcro strips on the backside of the valance firmly against the corresponding Velcro strips on the front side of the curtain rod. This will securely attach the valance to the curtain rod.
- Step back and admire your handiwork! Adjust the valance as needed to ensure it hangs evenly and looks symmetrical.
Now that your valance is securely in place, take a moment to enjoy the transformation of your window. The valance adds a touch of elegance and style, enhancing the overall decor of the room.
Remember, with no-sew valances, you have the flexibility to change them out whenever you want a new look. Simply detach the valance from the curtain rod by removing the Velcro strips, and you can replace it with a different style or fabric for a fresh update.
If you’re using multiple valances for a layered look, repeat the process for each valance, ensuring they are evenly spaced and aligned on the curtain rod.
And there you have it – a beautiful, no-sew valance that adds a stylish finishing touch to your windows. Take pride in your DIY skills and enjoy the compliments you receive on your decorative window treatments.
As you gain confidence in making no-sew valances, feel free to experiment with different fabrics, patterns, and styles to suit your personal taste and home decor. The possibilities are endless!
Thank you for joining us in this step-by-step guide to creating no-sew valances. We hope you found this article helpful and inspiring. Enjoy your newly adorned windows!
Conclusion
Creating no-sew valances for your windows is a rewarding and budget-friendly way to add a touch of style and elegance to any room. With just a few simple materials and some basic techniques, you can create beautiful window treatments that will enhance the overall decor of your space.
In this article, we have walked through the step-by-step process of making no-sew valances, from measuring and cutting the fabric to attaching the Velcro strips and hanging the valance. By following these instructions, you can easily create customized valances that reflect your personal style and fit perfectly with your home decor.
Remember to choose a fabric that complements the room’s aesthetics and measure accurately to ensure a precise fit. Creating the rod pocket and selecting the valance style allows you to express your creativity and make a statement with your window treatments.
Attaching Velcro strips provides a secure way to hang the valance on the curtain rod, ensuring it stays in place and maintains its shape. Once everything is completed, you can step back and admire the transformation of your windows.
No-sew valances offer versatility, allowing you to change them out whenever you desire a new look. By detaching the valance from the curtain rod, you can easily update the window treatments or switch them to match different seasons or occasions.
Now that you’ve learned the art of making no-sew valances, let your creativity soar. Experiment with various fabrics, patterns, and valance styles to create window treatments that truly reflect your unique style and personality.
Thank you for joining us on this no-sew valance journey. We hope this guide has inspired you to bring a fresh and stylish look to your windows. Enjoy the process of creating and showcasing your handmade valances, and may they bring joy and beauty to your home for years to come!
Frequently Asked Questions about How To Make No Sew Valances
Was this page helpful?
At Storables.com, we guarantee accurate and reliable information. Our content, validated by Expert Board Contributors, is crafted following stringent Editorial Policies. We're committed to providing you with well-researched, expert-backed insights for all your informational needs.


0 thoughts on “How To Make No Sew Valances”