Articles
How To Hang Valances
Modified: August 17, 2024
Discover expert tips and techniques for hanging valances with our comprehensive articles. Transform your windows into stylish focal points for any room.
(Many of the links in this article redirect to a specific reviewed product. Your purchase of these products through affiliate links helps to generate commission for Storables.com, at no extra cost. Learn more)
Introduction
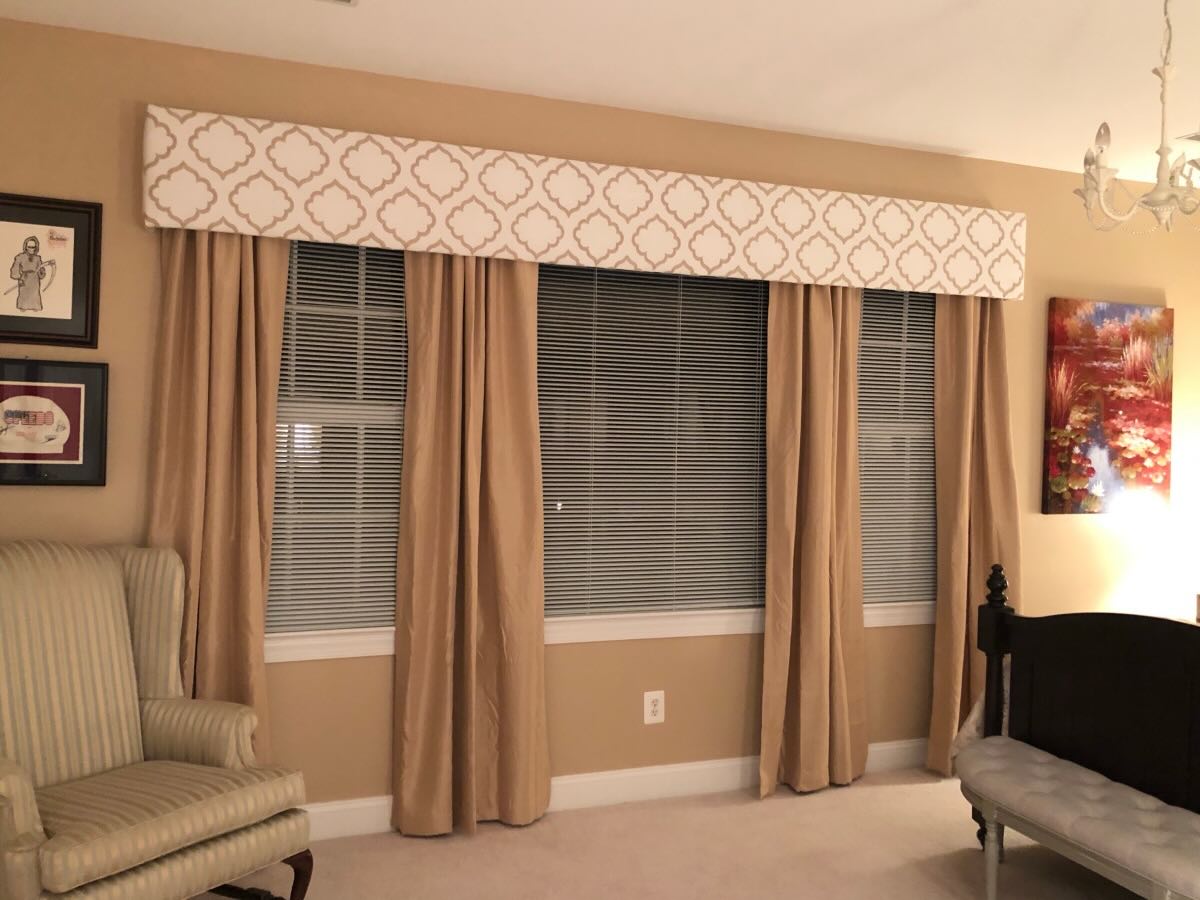
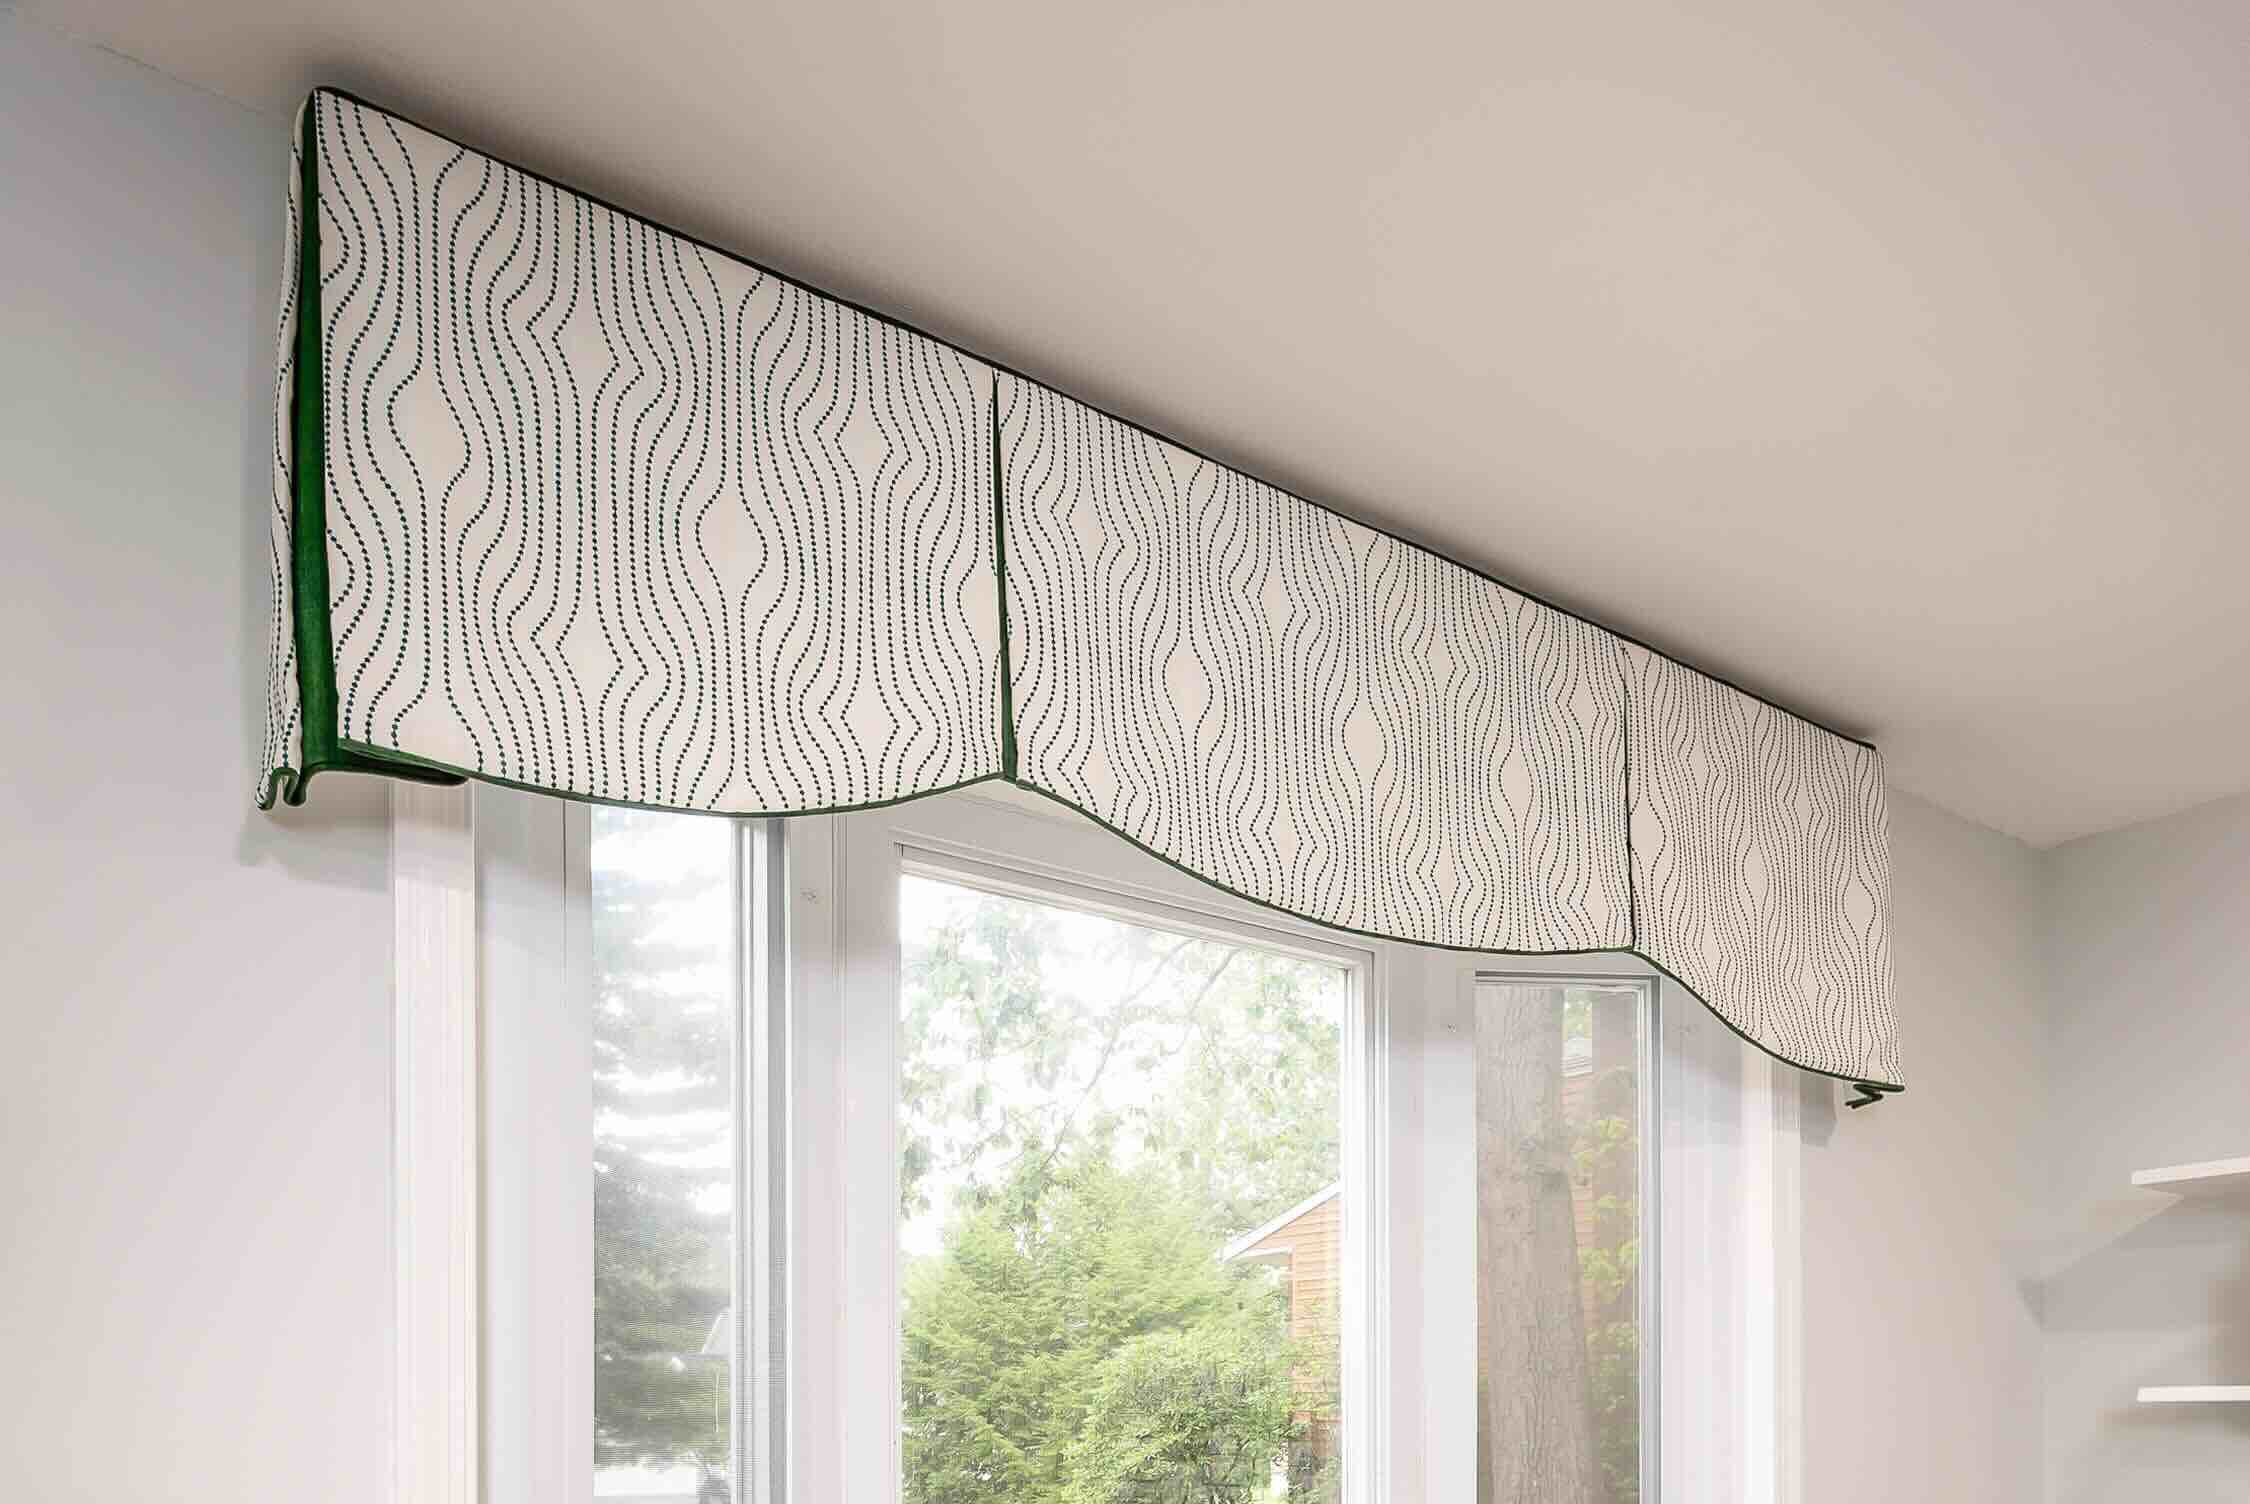
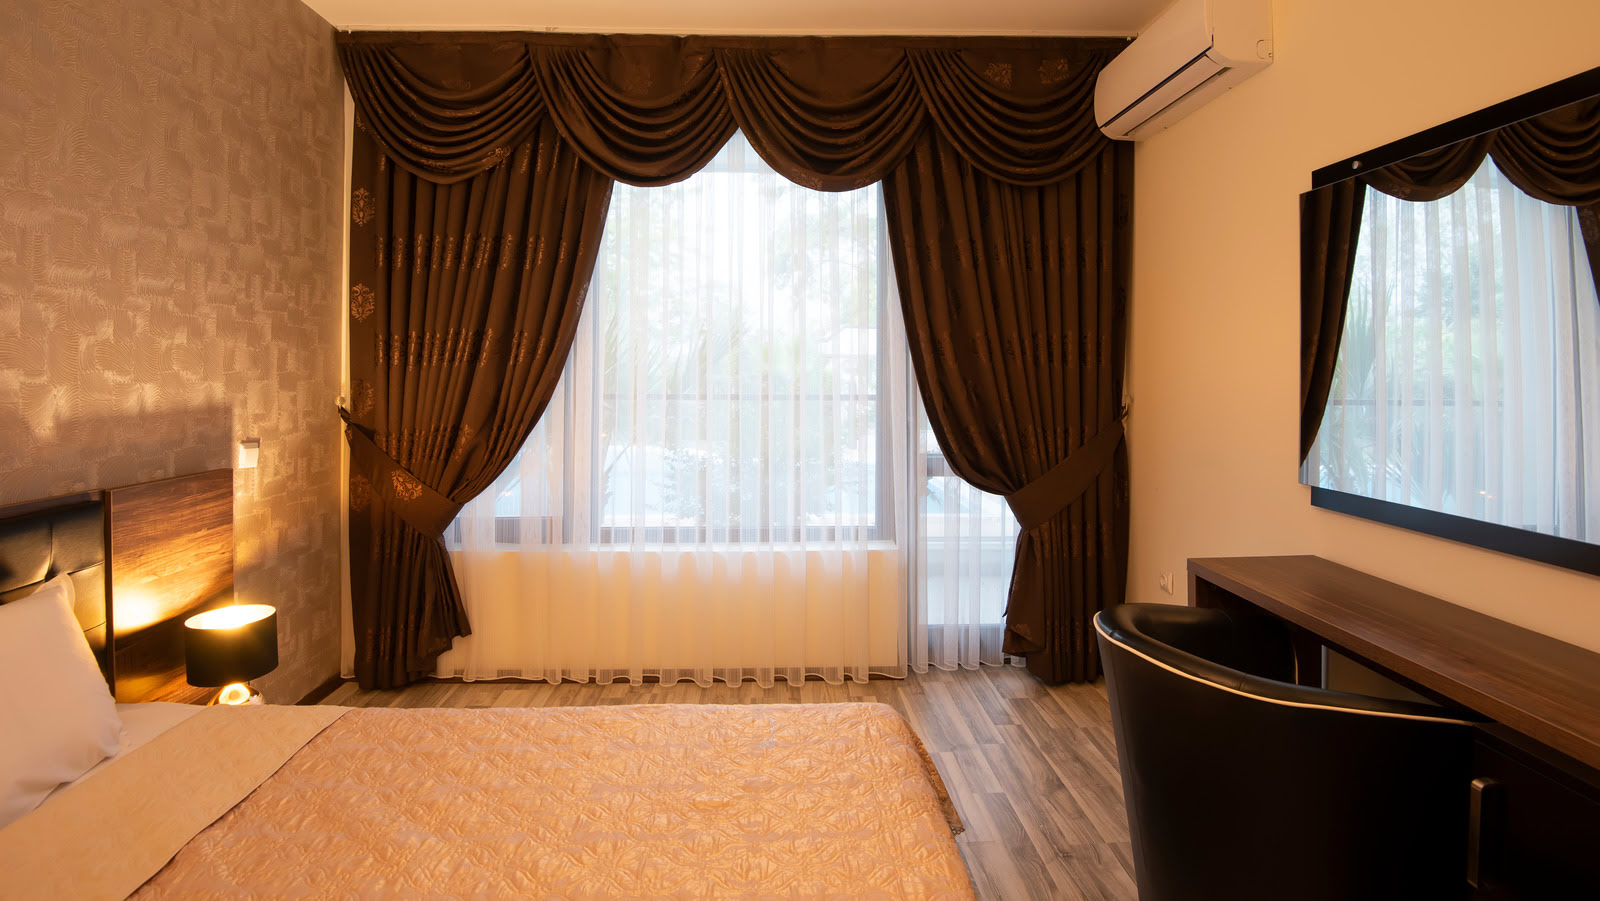
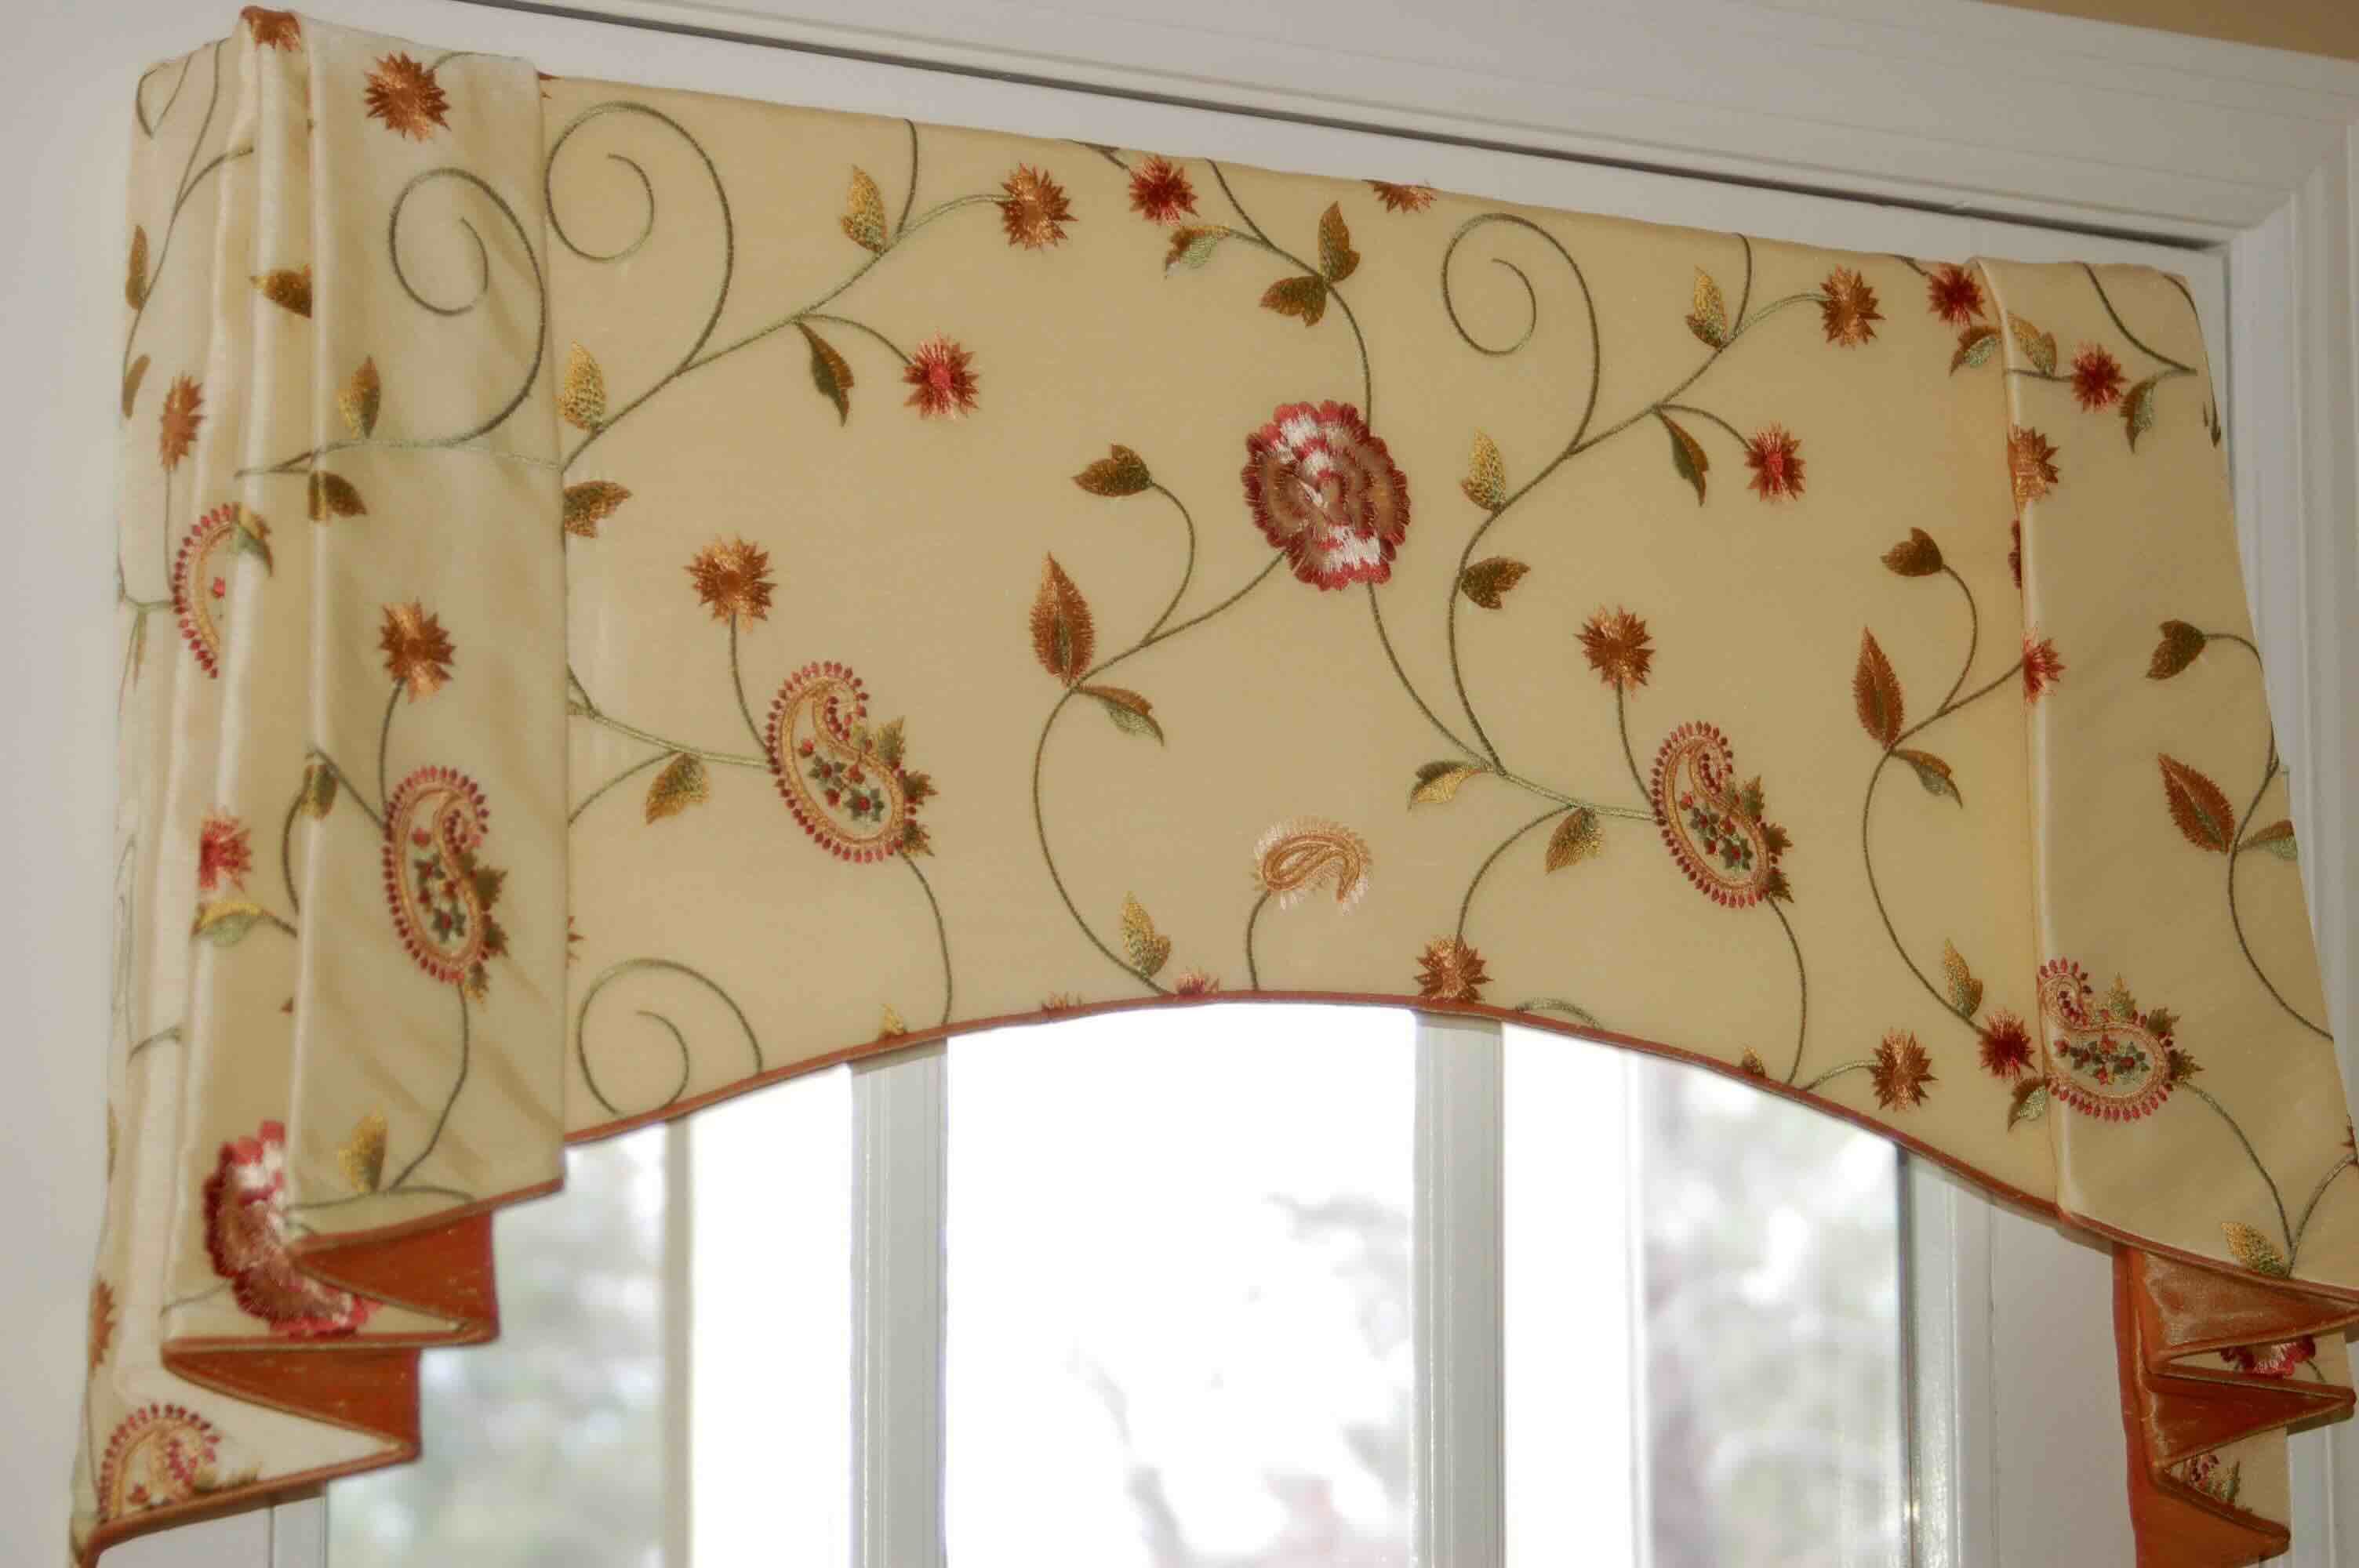
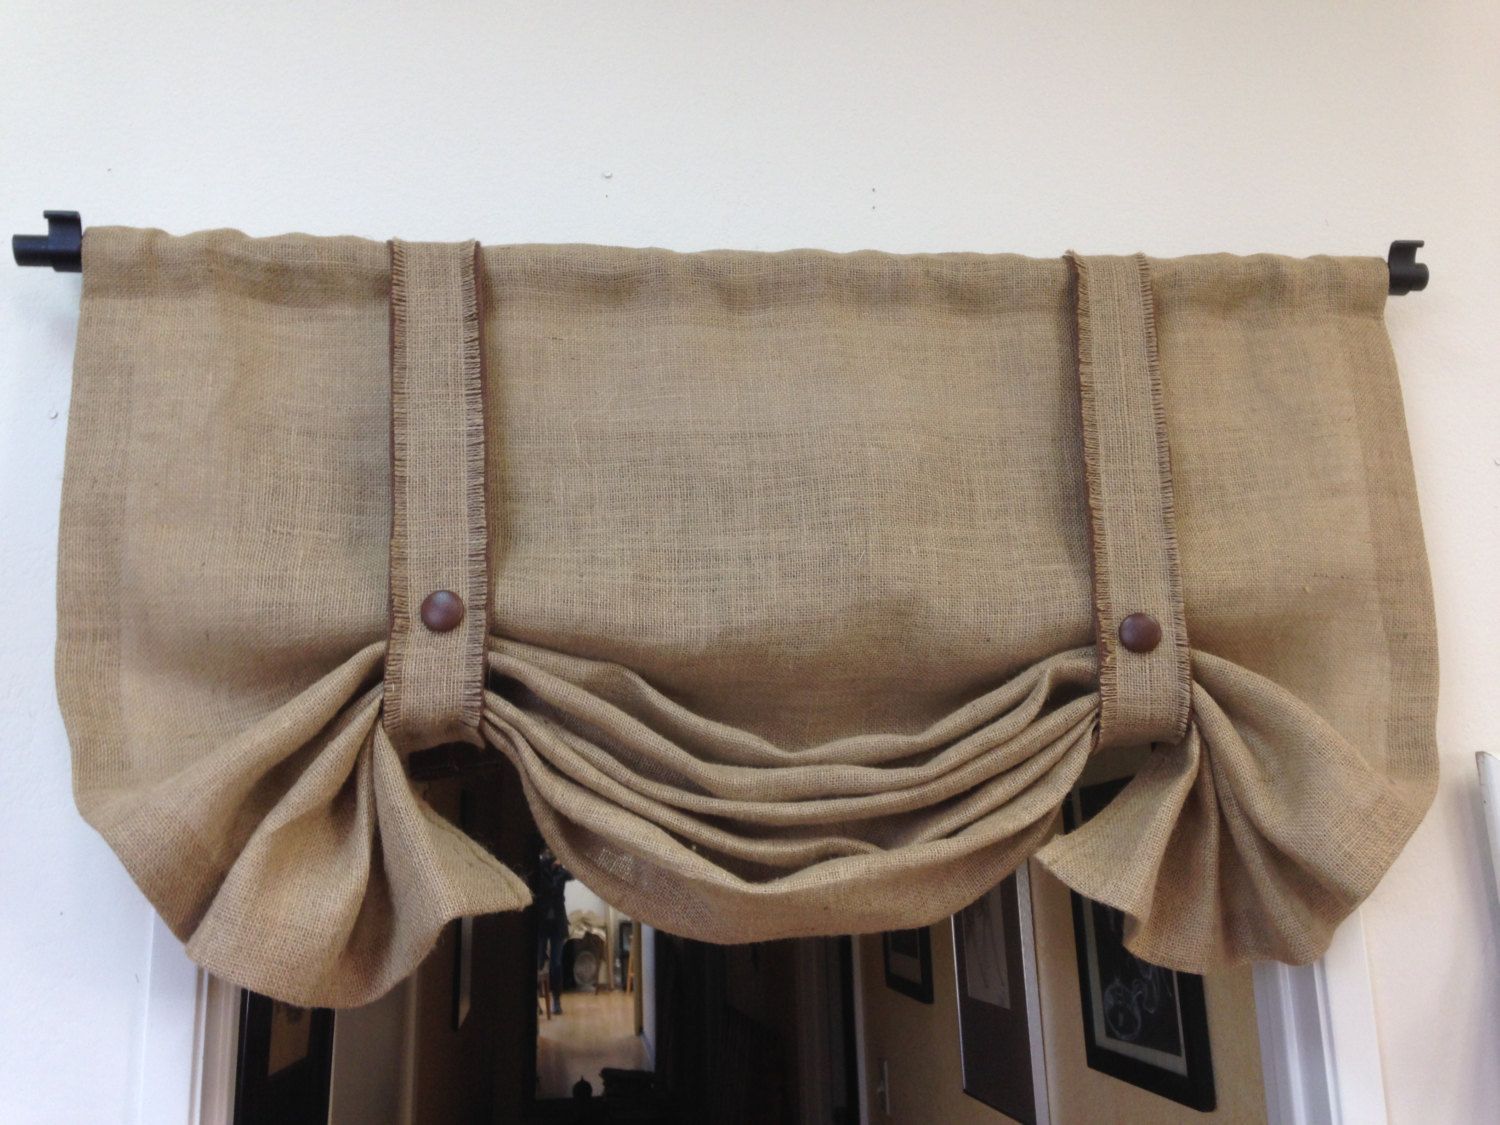
Valances are a stylish and functional addition to any window treatment. They not only add an extra layer of decoration to your space but also help to hide the hardware and add a finished look to your windows. Hanging valances may seem like a daunting task, but with a little bit of preparation and some basic tools, you can easily achieve a professional-looking installation.
In this article, we will guide you through the step-by-step process of hanging valances. From gathering the necessary materials to adjusting and securing the valance, we will cover everything you need to know to successfully install valances in your home.
So let’s dive in and learn how to hang valances like a pro!
Key Takeaways:
- Hanging valances is a manageable DIY project that adds elegance to your windows. From gathering materials to adjusting and securing the valance, attention to detail ensures a professional-looking installation.
- By following the step-by-step process, you can confidently hang valances like a pro, enhancing your space with style and functionality. Take your time, pay attention to detail, and enjoy the beautiful results of your labor.
Read more: How To Hang Valance And Curtains
Step 1: Gathering the necessary materials
Before you start hanging valances, it’s important to gather all the necessary materials. This will ensure that you have everything you need on hand, saving you time and frustration during the installation process.
Here are the materials you’ll need:
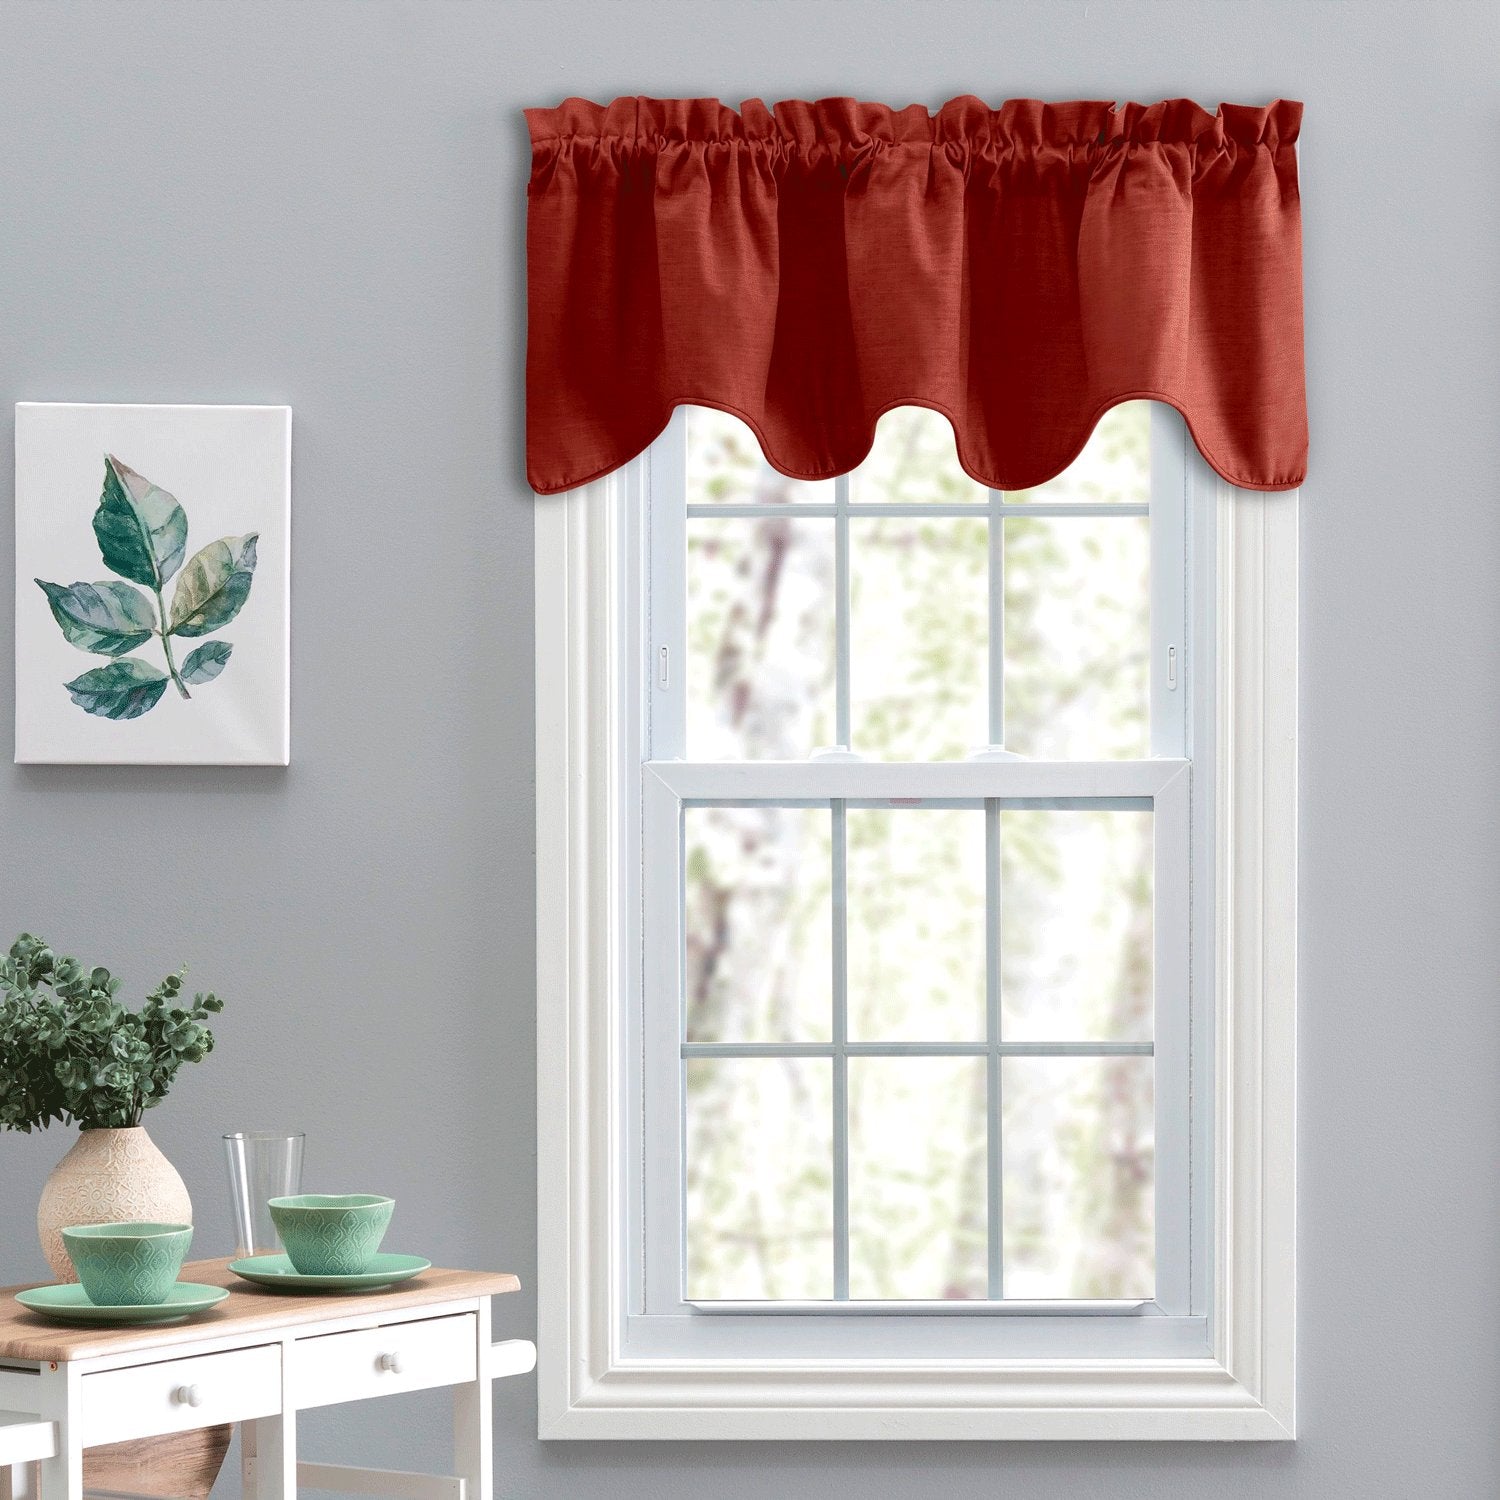
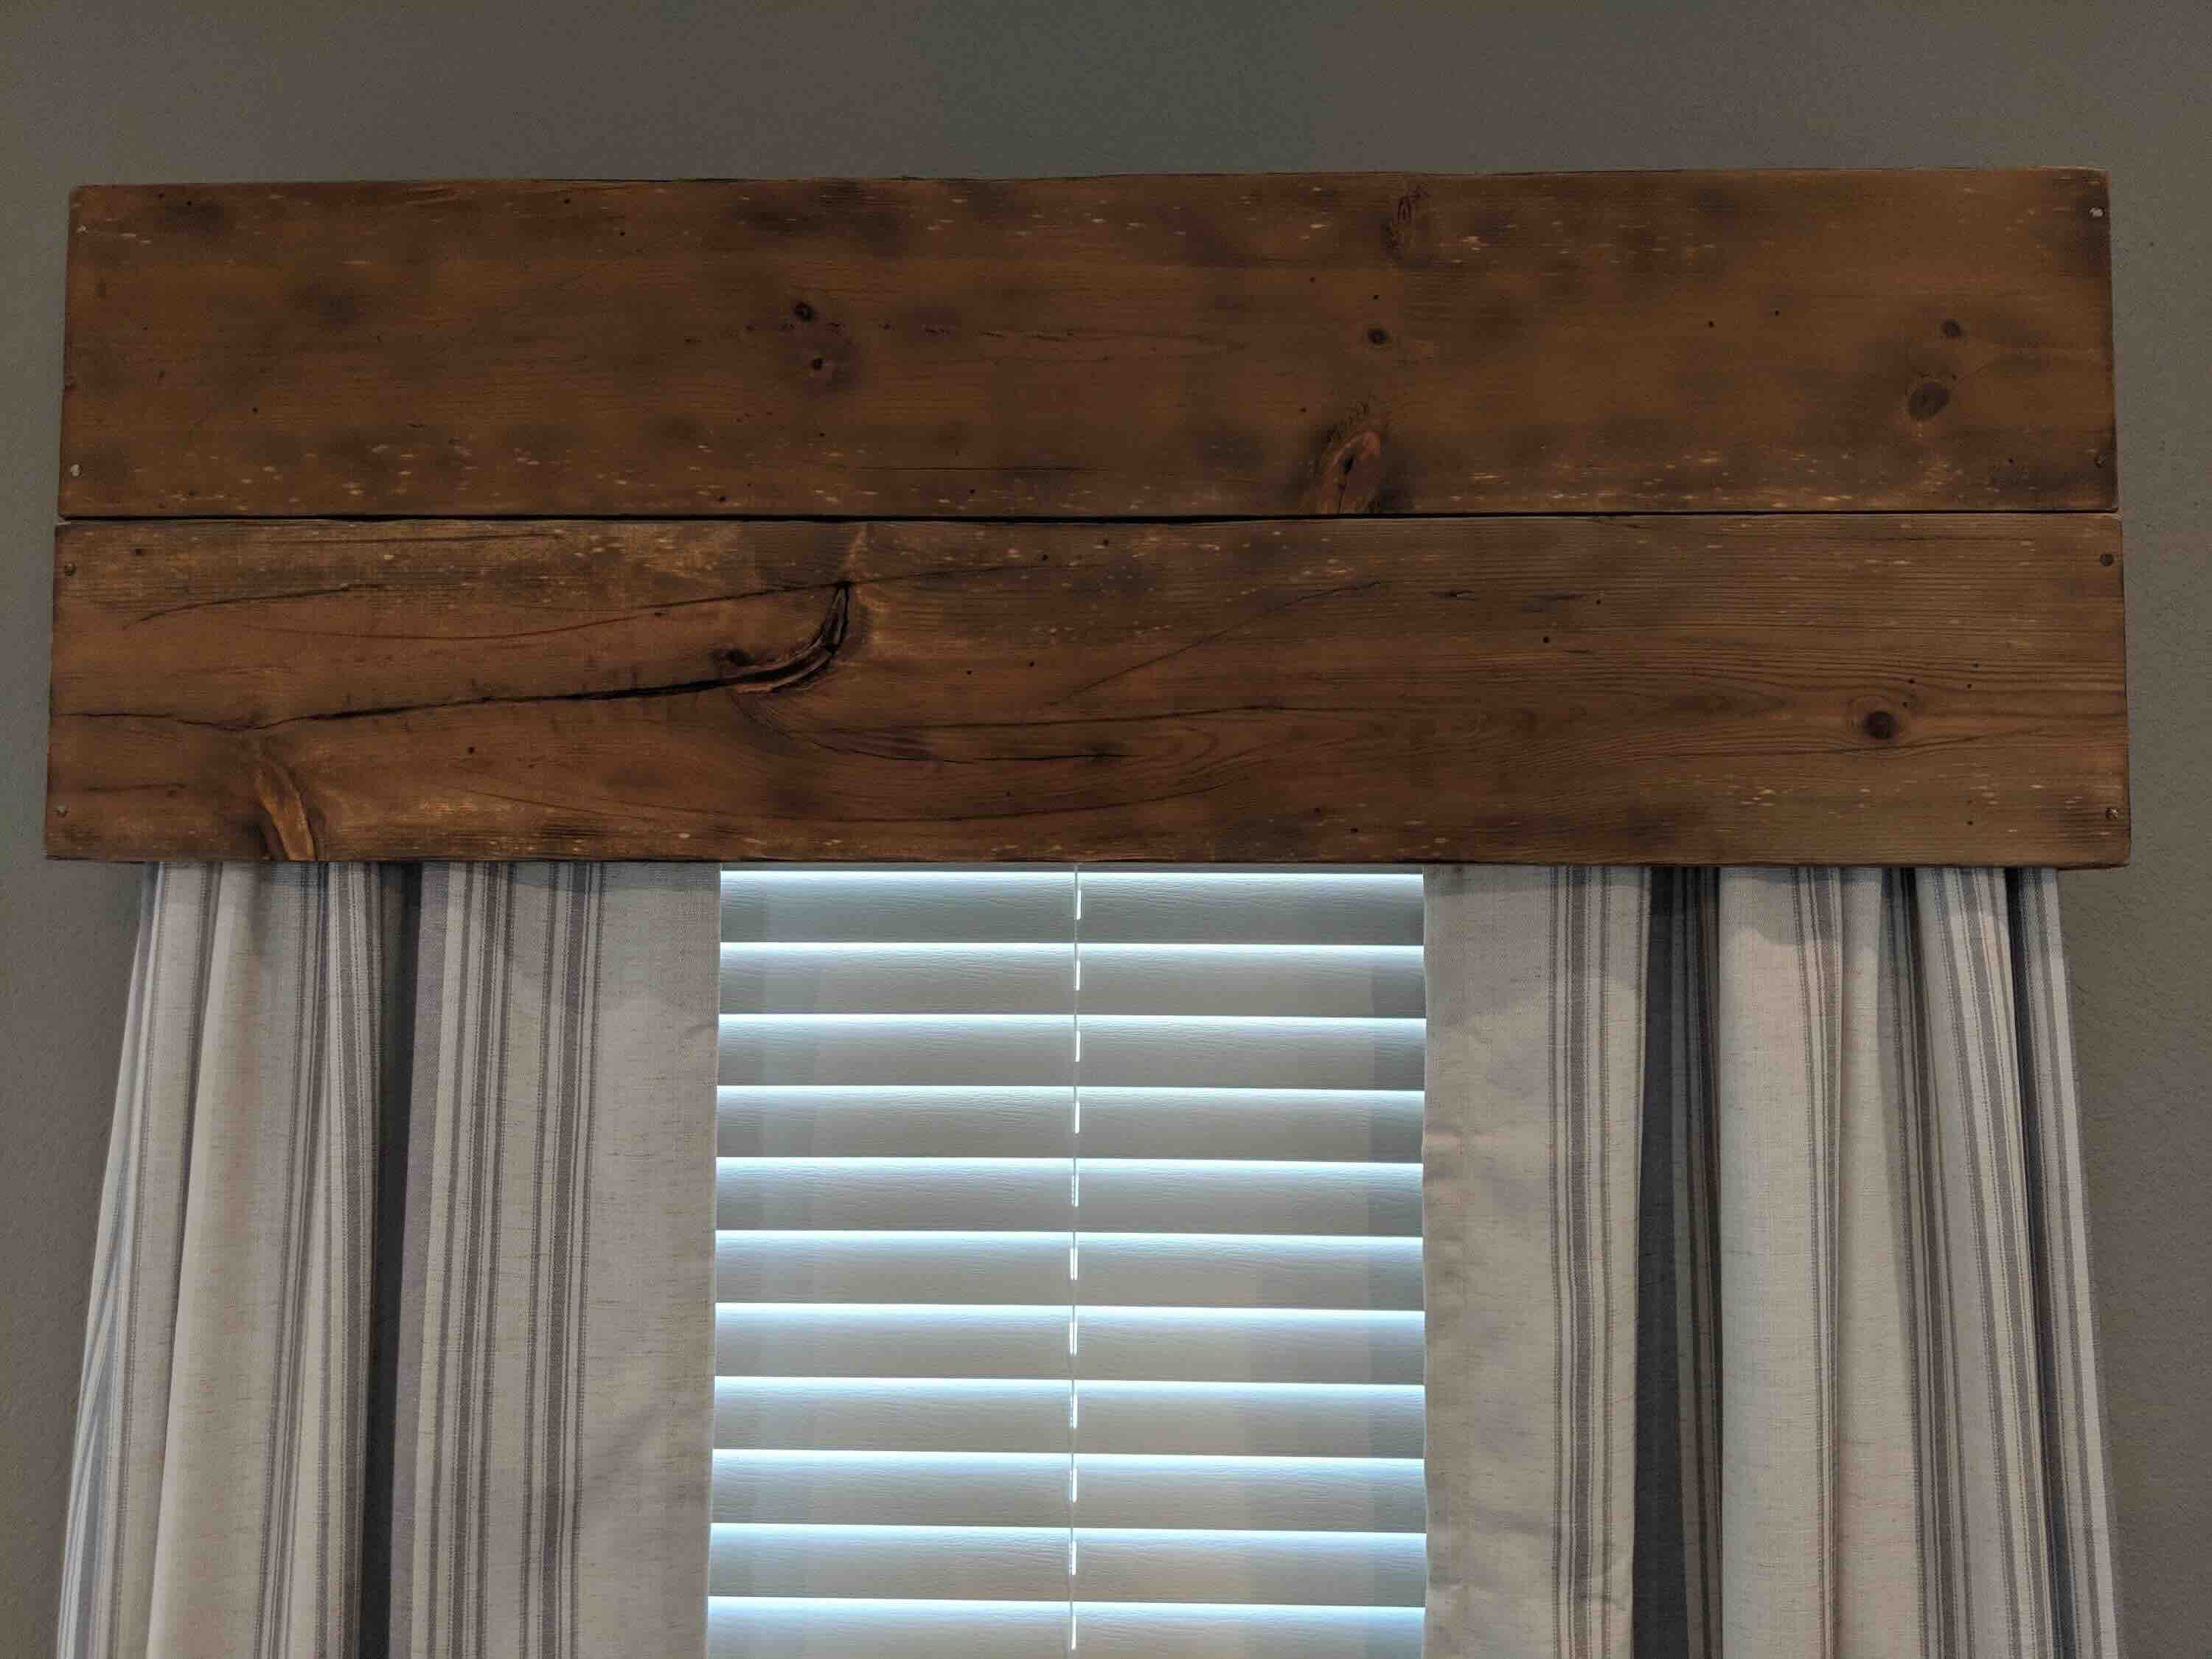
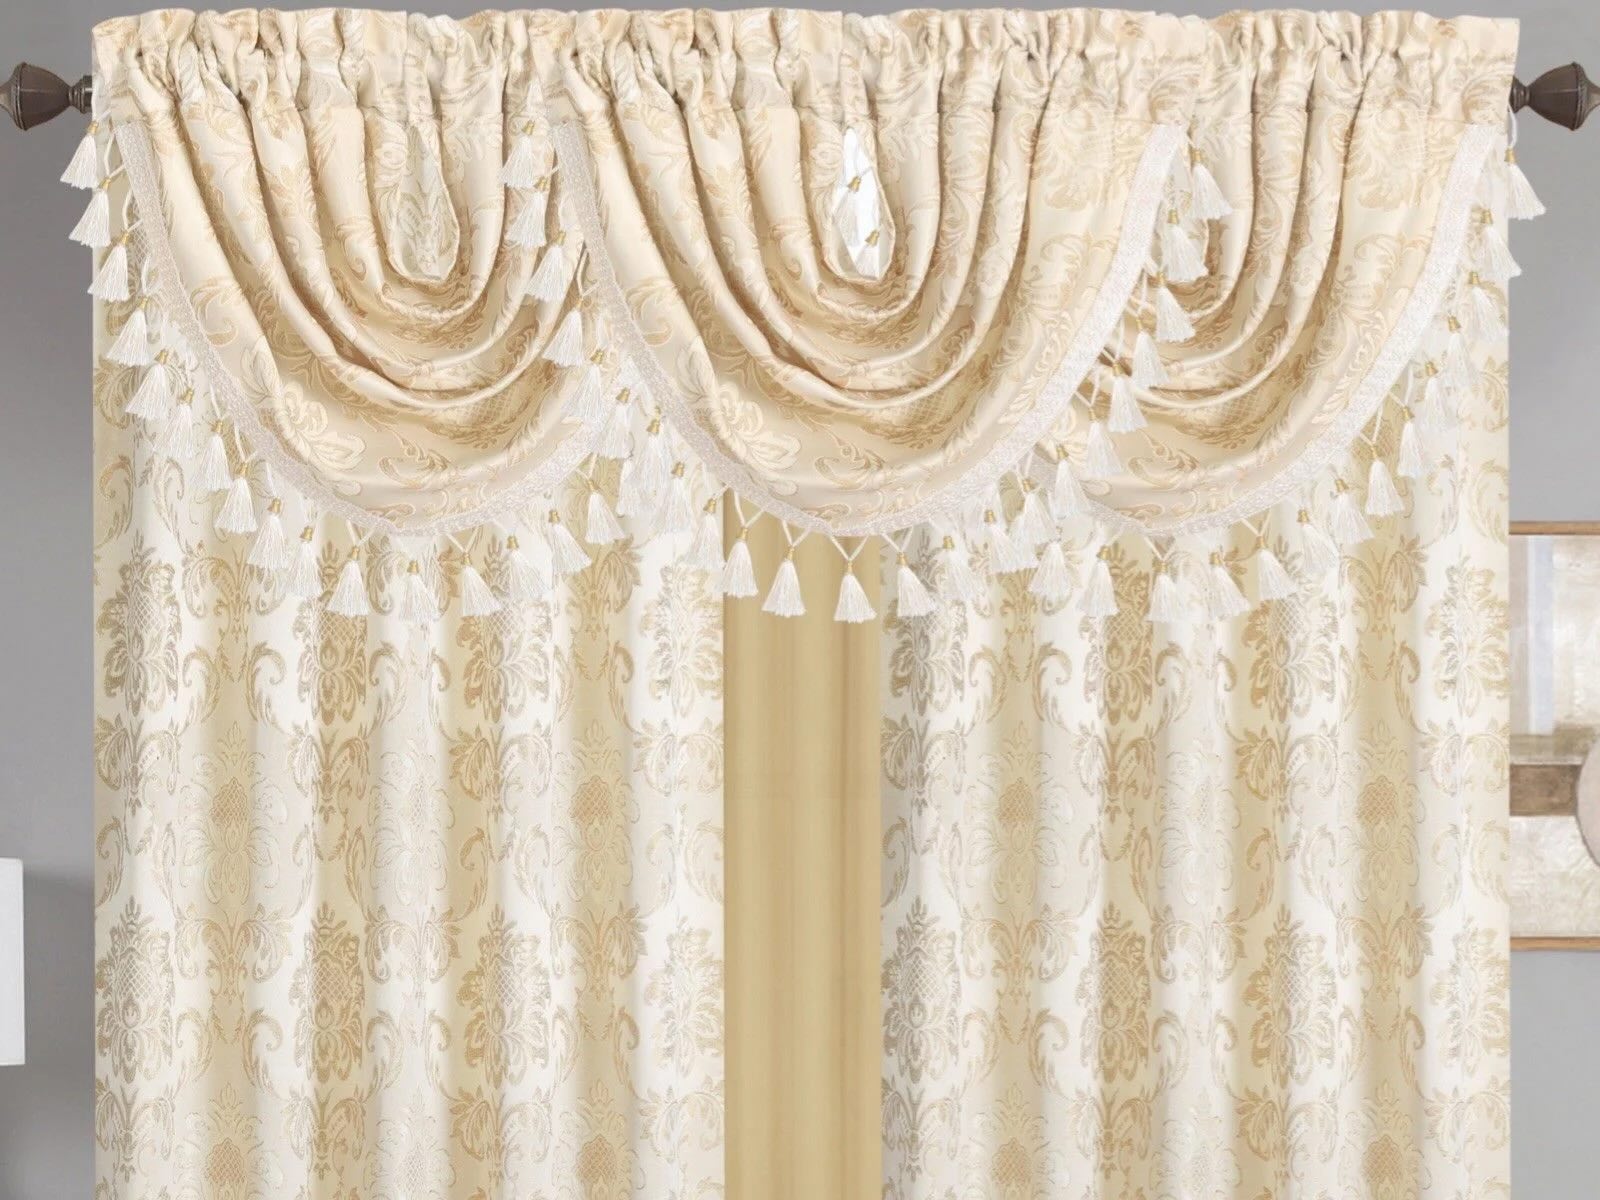
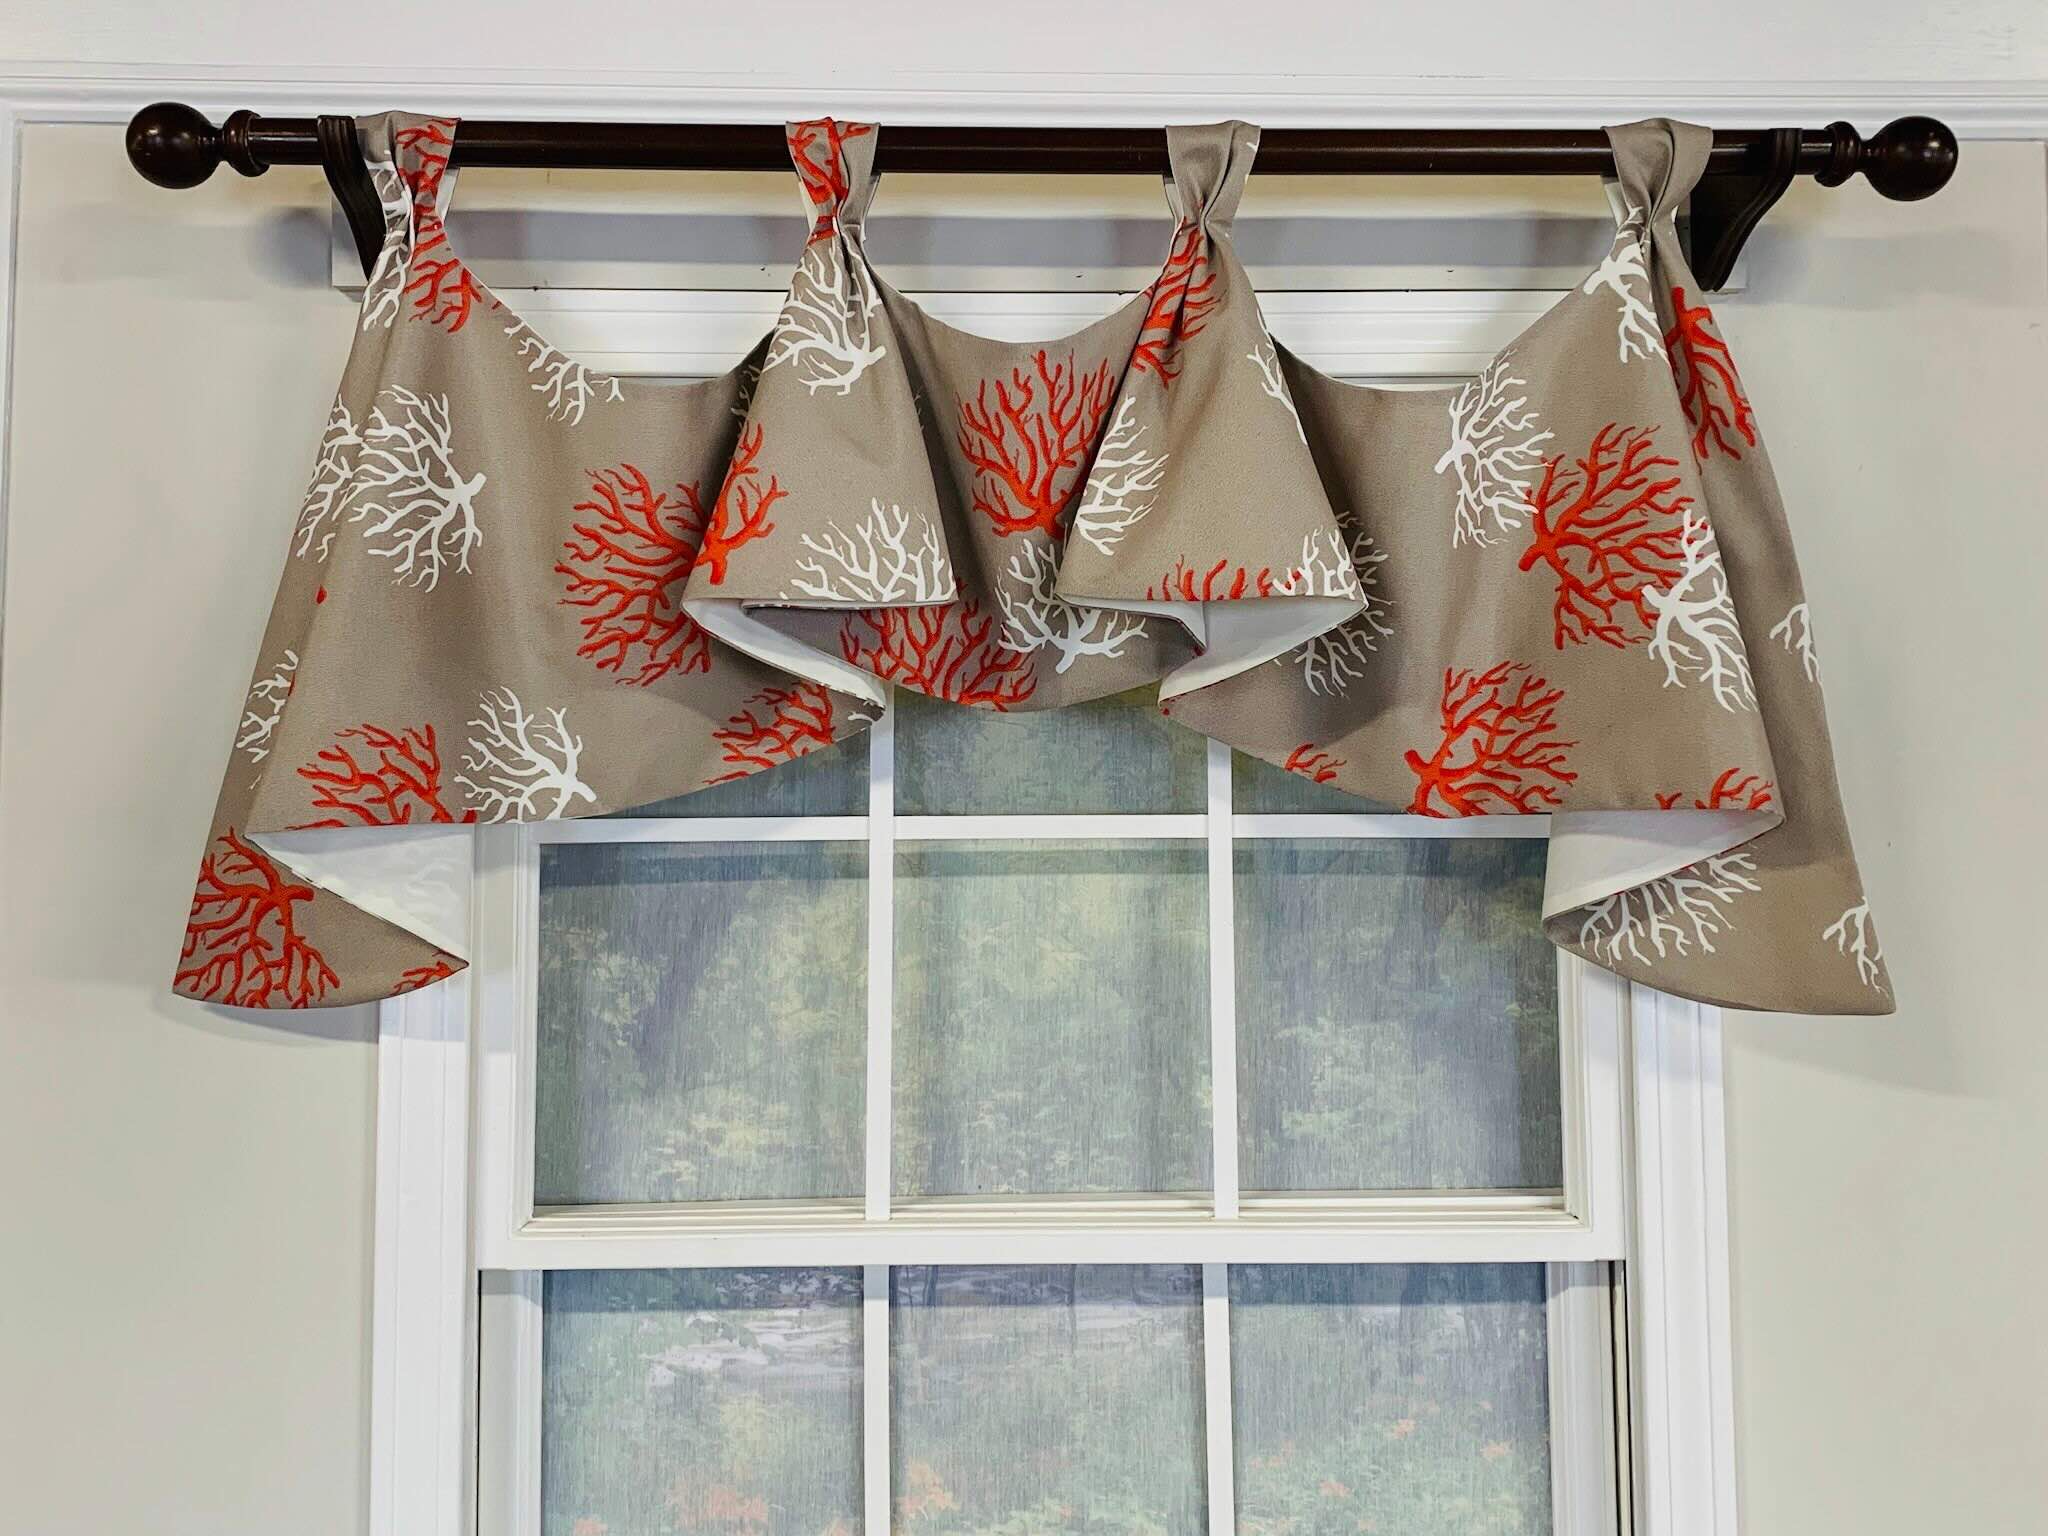
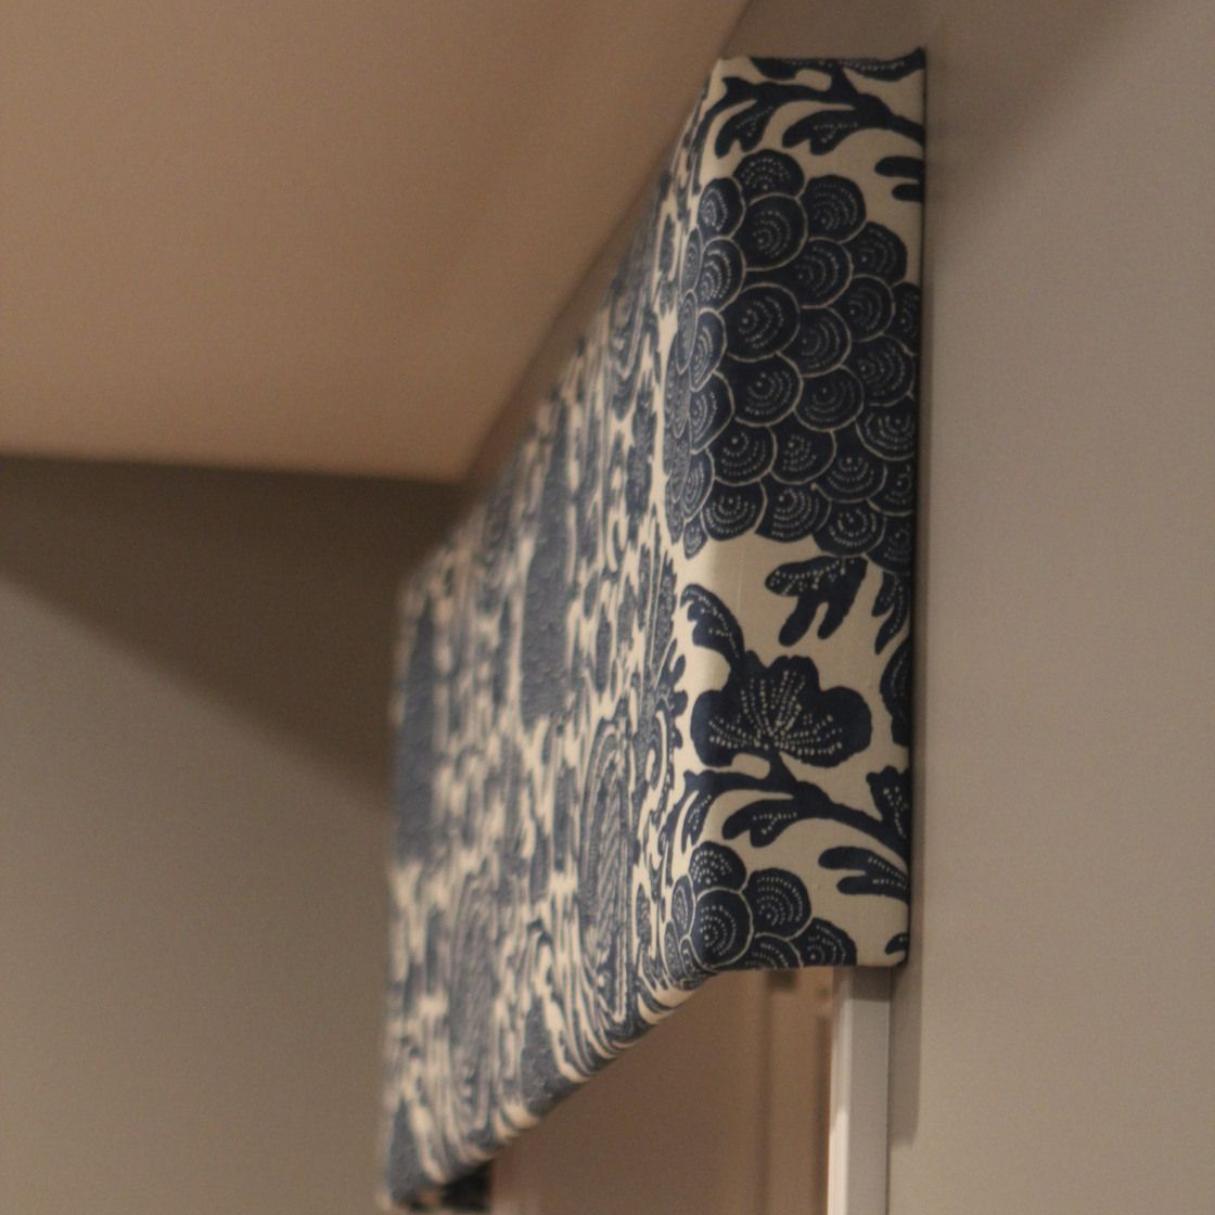
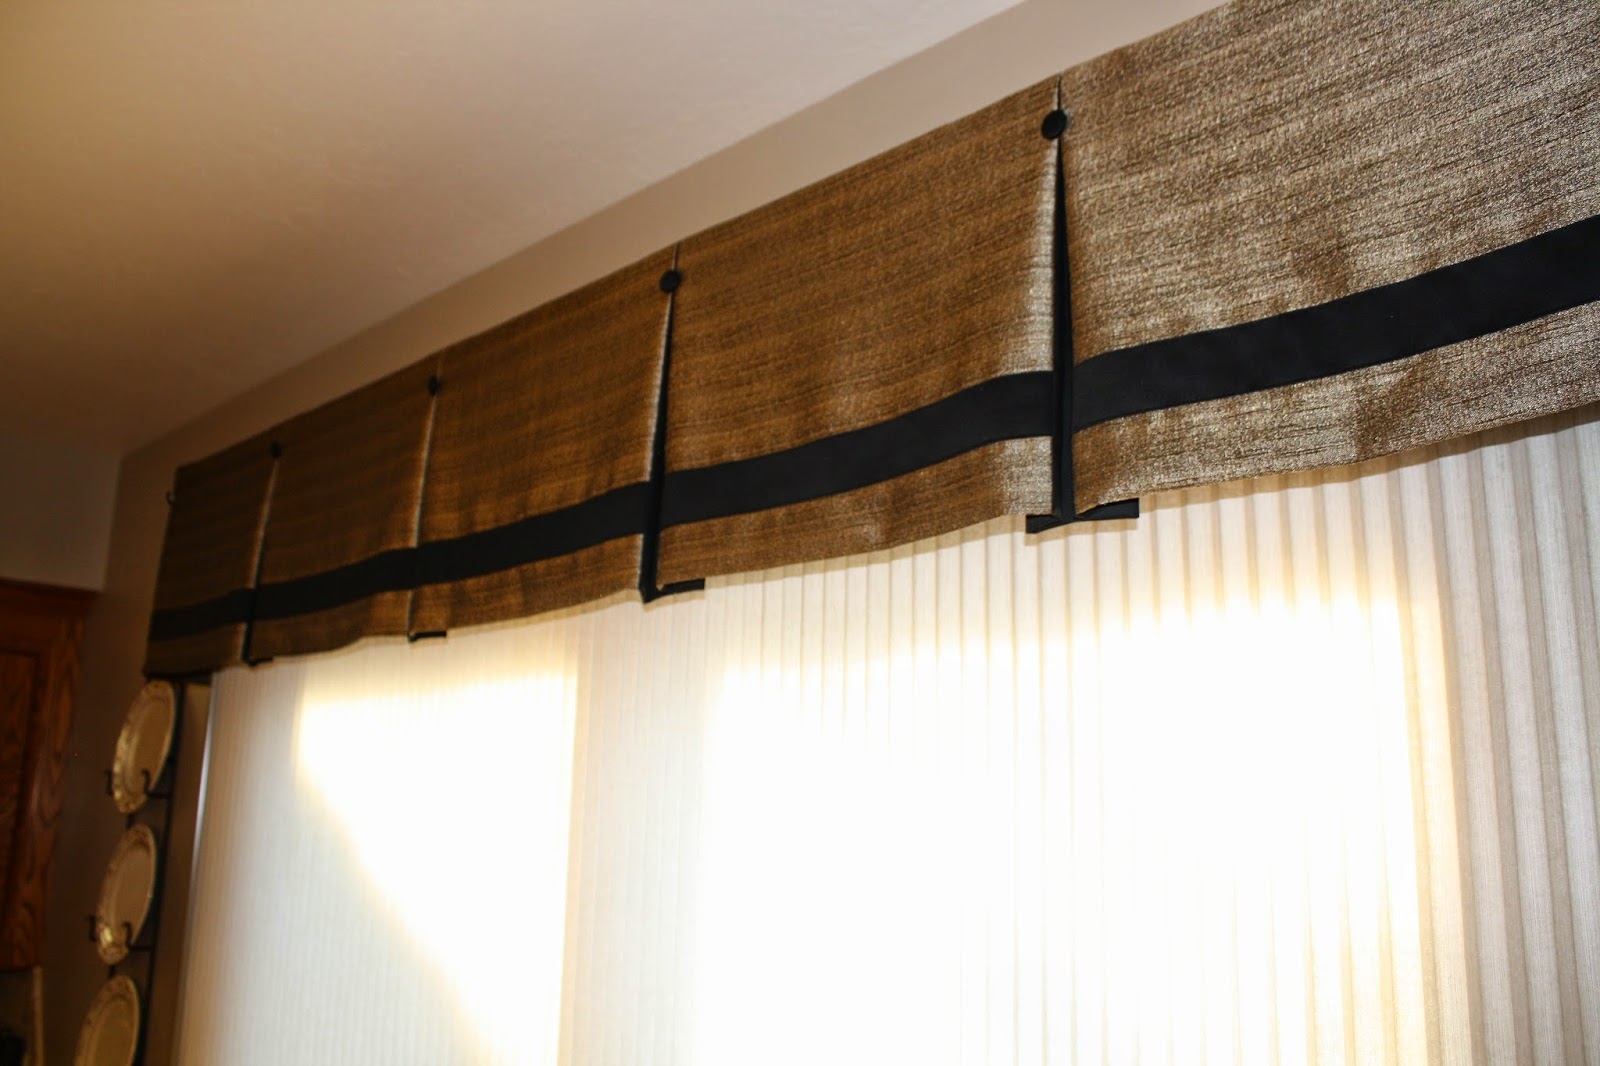
- Valance: Choose a valance that complements your window and existing decor. Valances come in various styles, such as box pleat, scalloped, or tailored, so pick one that suits your aesthetic preferences.
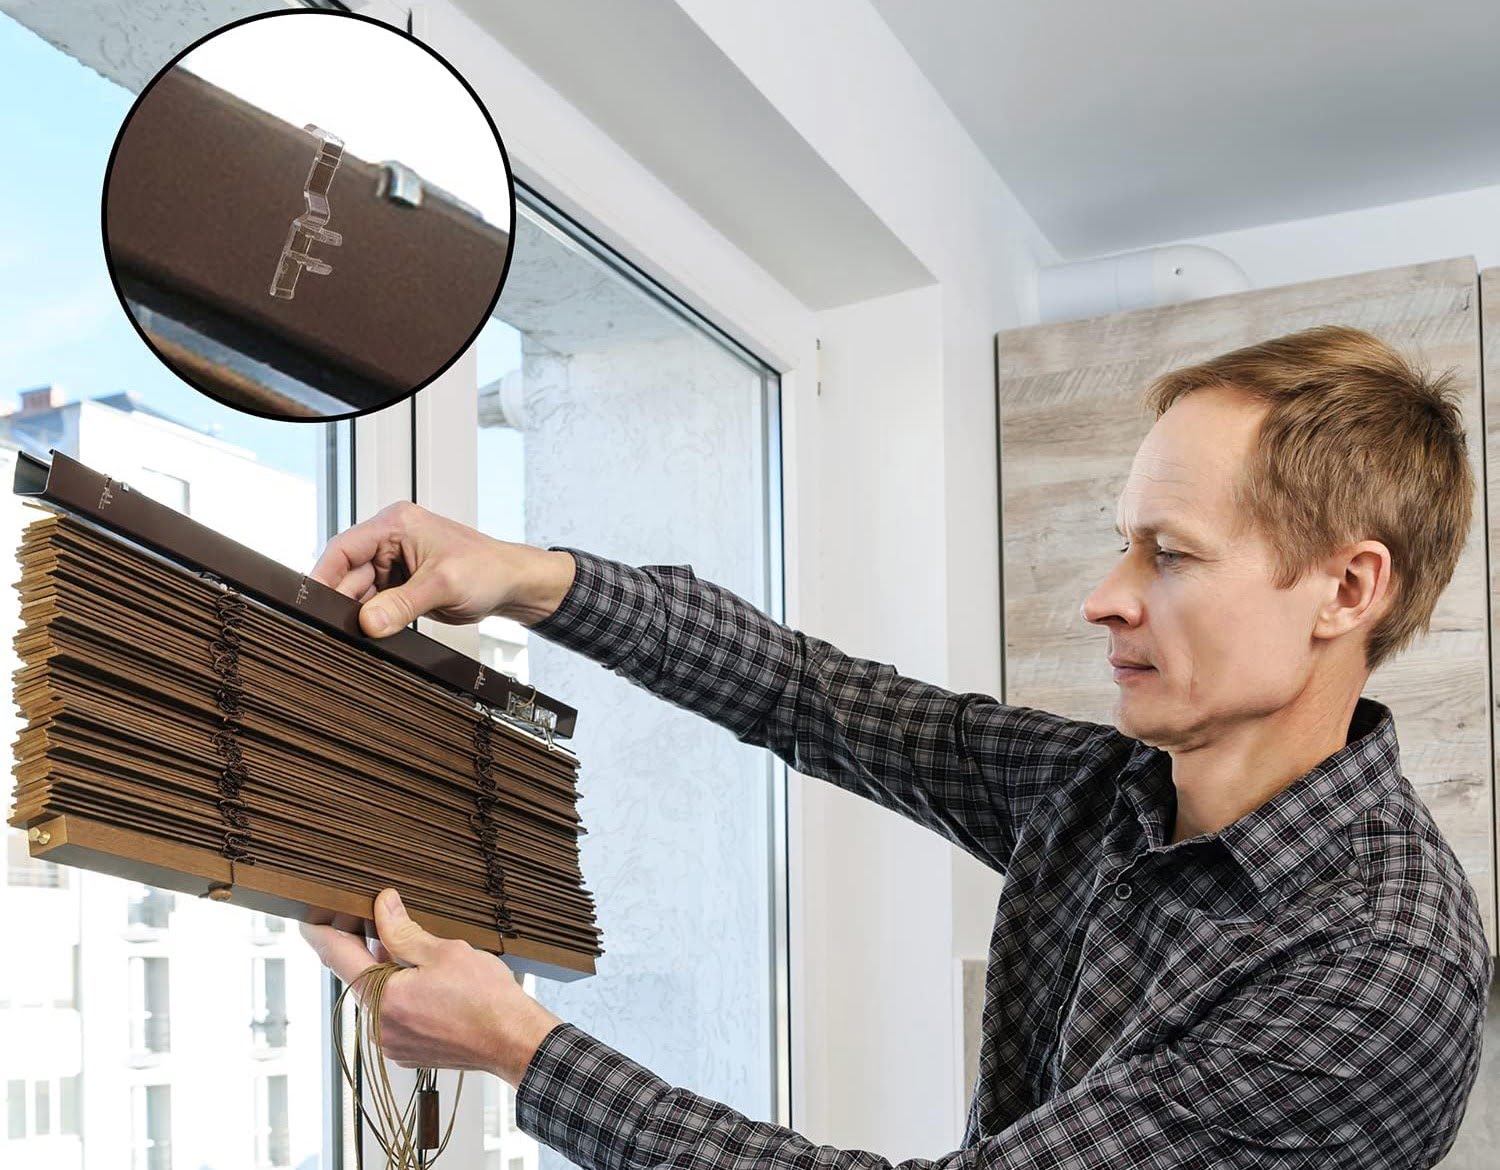
- Valance rod: This is the hardware that will hold up the valance. Make sure you choose a rod that is sturdy enough to support the weight of the valance.
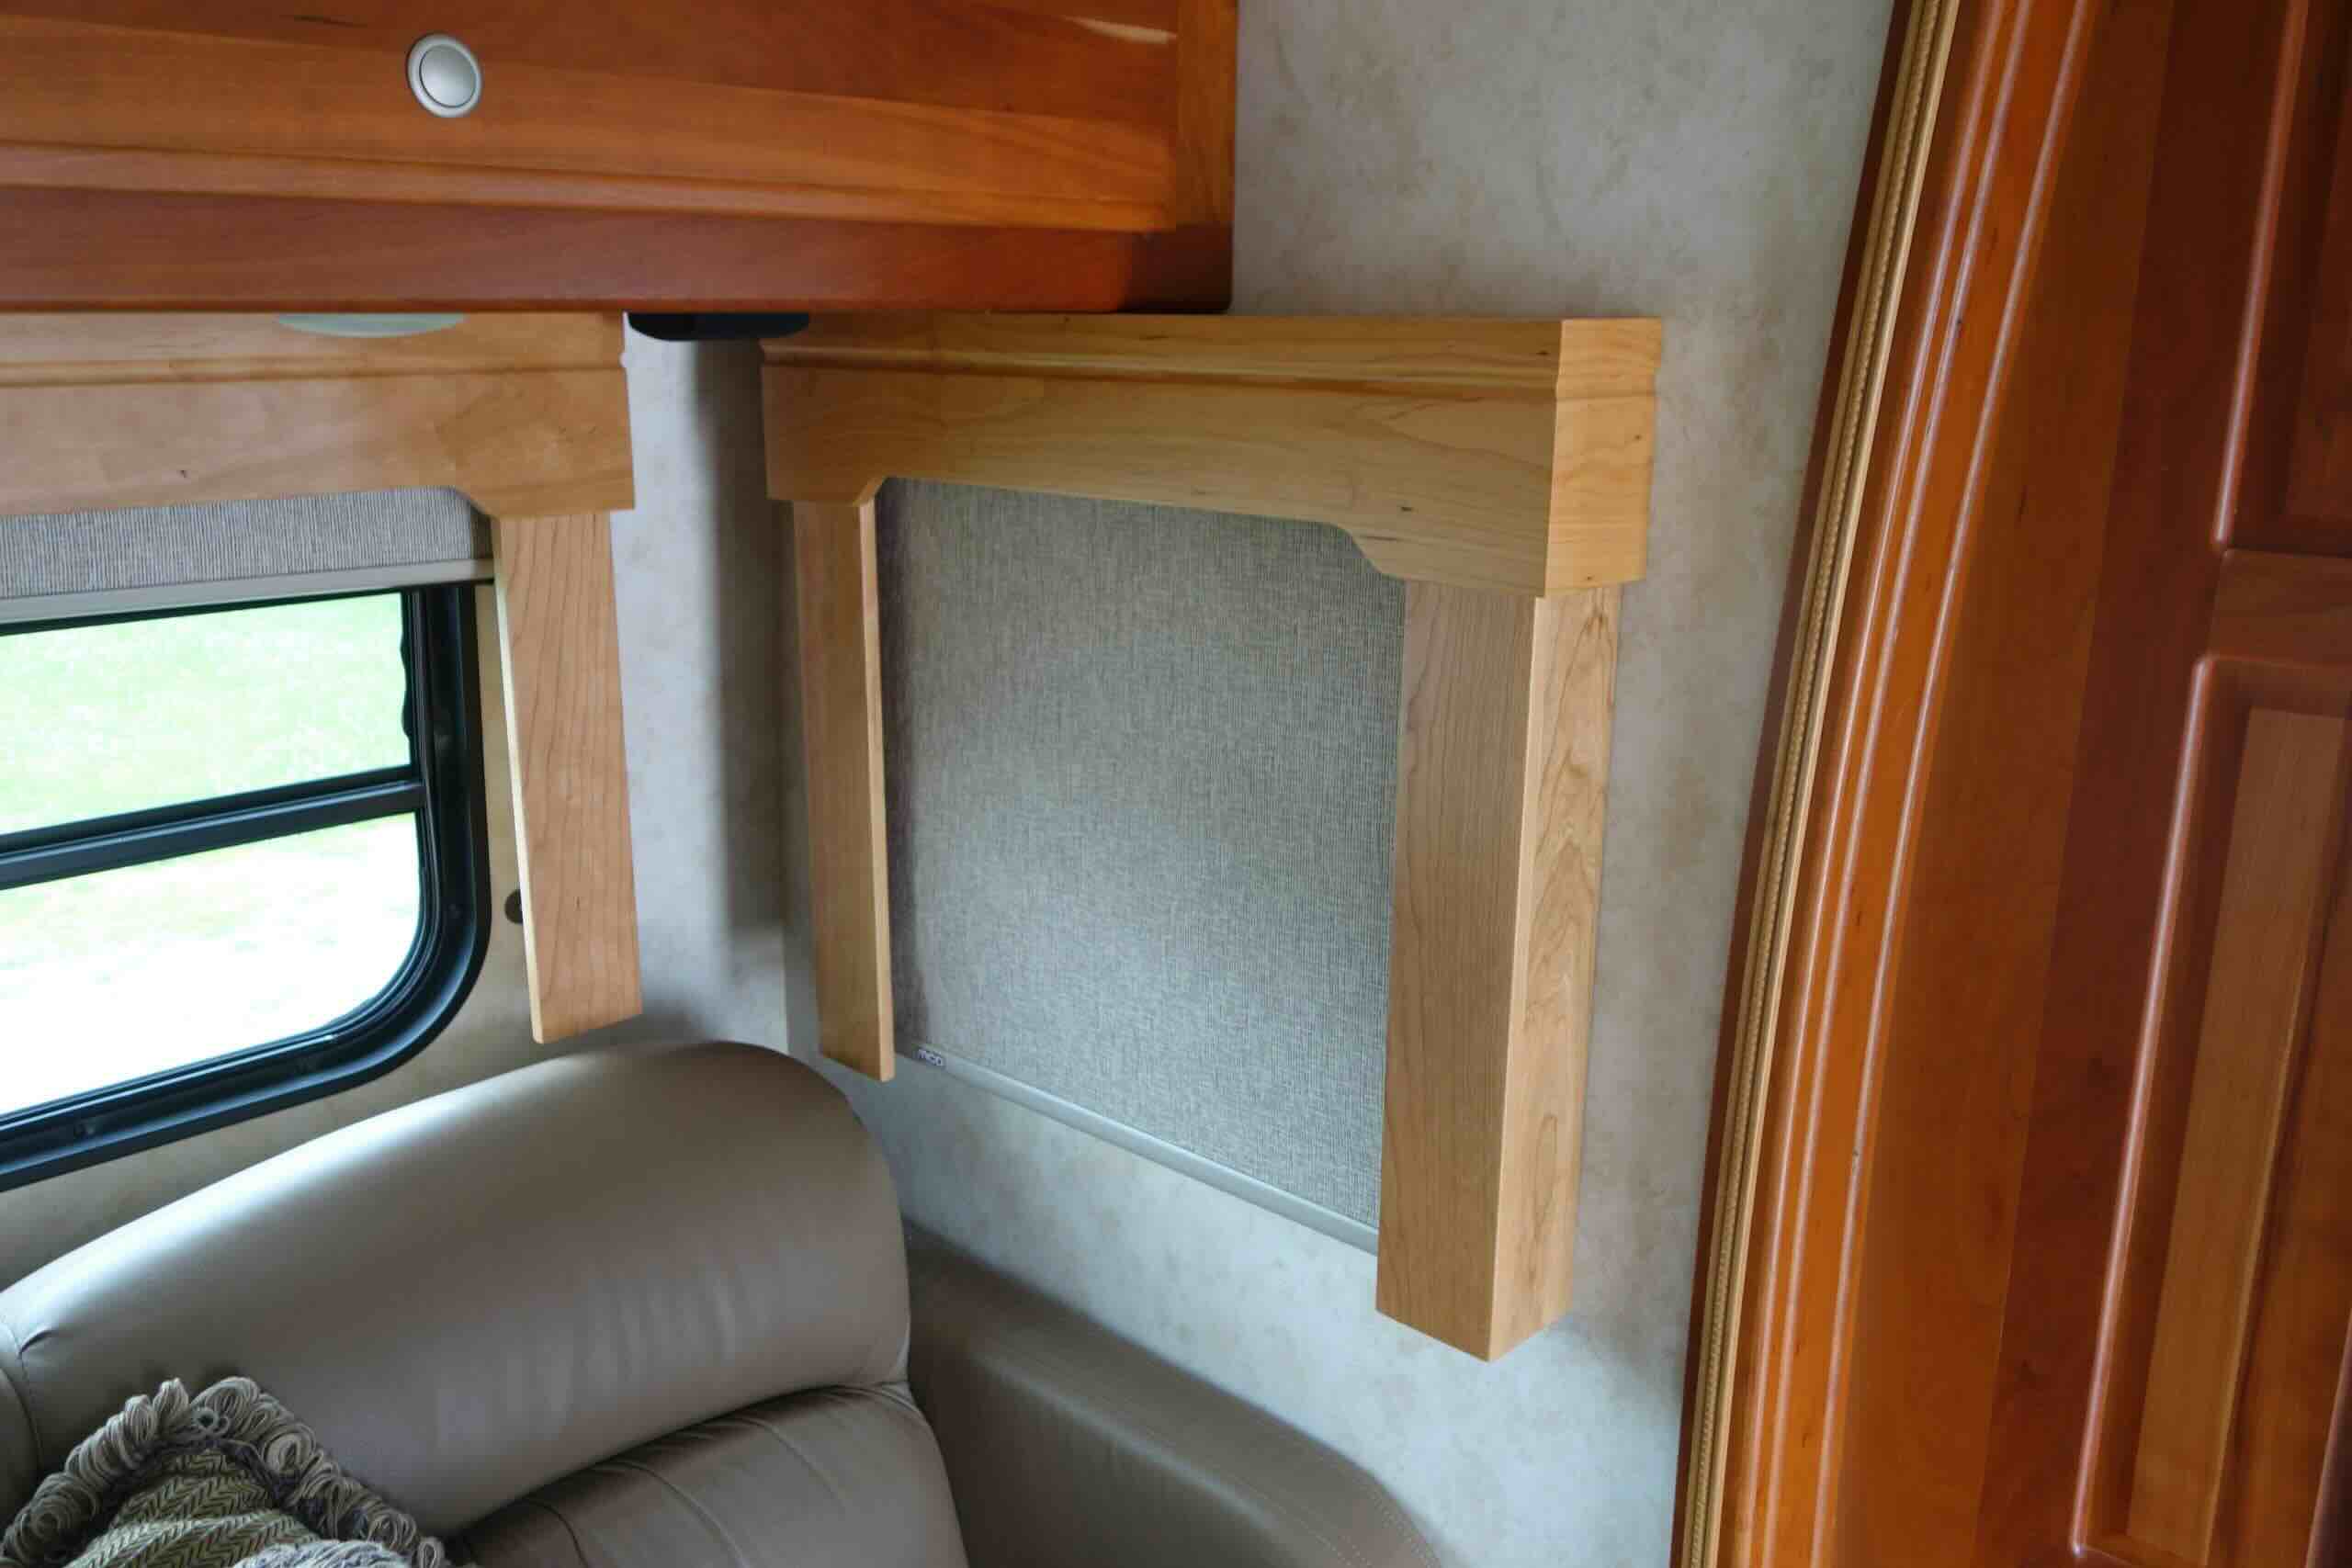
- Valance brackets: These brackets will attach the valance rod to the wall. The number of brackets you’ll need will depend on the length and weight of your valance.
- Measuring tape: A measuring tape will help you accurately measure the window and determine the placement of the valance.
- Pencil: Use a pencil to mark the placement of the valance and brackets on the wall.
- Drill or screwdriver: Depending on the type of brackets and wall material, you’ll need a drill or screwdriver to install the valance brackets securely.
- Wall anchors and screws: If your wall is made of drywall or plaster, you may need wall anchors to provide extra support for the valance brackets.
- Level: To ensure that the valance is straight and properly aligned, use a level to check the horizontal placement.
By gathering these materials ahead of time, you’ll have everything you need to start the installation process smoothly. Double-check that you have all the necessary tools and hardware to avoid any last-minute trips to the store.
Once you have all the materials ready, you can move on to the next step of measuring and marking the placement of the valance.
Step 2: Measuring and marking the placement
Accurate measurements are key to ensure that your valance hangs perfectly on the window. Before you start drilling any holes or attaching brackets, take the time to measure and mark the placement of the valance. This will save you from any unnecessary adjustments later on.
Follow these steps to measure and mark the placement:
- Start by measuring the width of your window. Use a measuring tape to measure from the outer edge of the window frame or the desired width of the valance. Note down this measurement.
- Determine the height of the valance. Measure the distance from where you want the valance to start to the desired length. Keep in mind any obstructions such as window sills or furniture that might affect the positioning of the valance.
- Using a pencil, mark the placement of the valance on the wall. Start by making horizontal marks for the width measurement. Use a level to ensure that the marks are straight and aligned.
- Next, make vertical marks for the height measurement. Again, use a level to ensure accuracy. These marks will indicate where the top of the valance will be positioned.
- If you’re using multiple valance brackets, measure and mark the placement for each bracket along the width of the valance. Make sure the spacing between the brackets is even and aligned with the valance measurements.
By taking precise measurements and marking the placement on the wall, you’ll have a clear guide to follow during the installation process. This step is crucial to ensure that the valance is positioned correctly and enhances the overall aesthetics of your window.
With the measurement and markings completed, you’re now ready to prepare the valance for installation. Let’s move on to the next step.
Step 3: Preparing the valance
Before you can hang the valance, it’s important to prepare it for installation. This step involves ensuring that the valance is in the proper condition and making any necessary adjustments.
Follow these steps to prepare the valance:
- Inspect the valance for any defects or damage. Check for loose threads, missing trim, or any other issues. If you notice any problems, it’s best to address them before hanging the valance.
- If the valance is wrinkled, use a steamer or iron to remove the wrinkles. Be sure to follow the manufacturer’s instructions for ironing or steaming the fabric to avoid damaging it.
- If the valance has a lining, ensure that it is properly attached and in good condition. The lining adds structure and helps with light filtration, so any tears or loose lining should be repaired or replaced.
- If the valance requires any adjustments for length or width, such as hemming or taking in the fabric, make those alterations before proceeding with the installation.
- Double-check that any mounting hardware required for the valance rod, such as clips or rings, is securely attached to the valance. Ensure that they are evenly spaced and positioned to support the weight of the valance.
By properly preparing the valance, you’ll ensure that it is in perfect condition and ready for installation. This step helps to enhance the appearance and functionality of the valance once it is hung on the window.
With the valance prepared, it’s time to move on to the next step of positioning the valance rod. We’ll guide you through this process in the following section.
Step 4: Positioning the valance rod
The next step in hanging valances is to position the valance rod. The rod serves as the support for the valance and needs to be properly aligned and secured to ensure a stable installation.
Follow these steps to position the valance rod:
- Hold the valance rod up against the marked placement on the wall. Ensure that the rod is centered over the window and aligns with the horizontal and vertical marks you made earlier.
- Use a level to check that the rod is straight and level. Adjust the position of the rod as needed to achieve a balanced and visually appealing look.
- Once you are satisfied with the position of the valance rod, use a pencil to mark the placement of the mounting brackets. Make small marks on the wall where the bracket screws will go.
- Measure and mark the distance between the two mounting brackets. Make sure the spacing is even and aligns with the width measurement of the valance.
It’s important to ensure that the valance rod is securely mounted to the wall. This will provide a stable foundation for the valance and prevent any potential accidents or damage.
With the valance rod properly positioned and marked, you can now move on to installing the valance brackets. We’ll guide you through this process in the next step.
When hanging valances, use a double curtain rod to create a layered look with the valance on the top rod and the curtains on the bottom rod for a more polished and stylish appearance.
Read more: How To Hang A Valance Over Blinds
Step 5: Installing the valance brackets
Now that you have positioned the valance rod, it’s time to install the valance brackets. These brackets will securely hold the rod in place and provide the necessary support for the valance.
Follow these steps to install the valance brackets:
- Using a drill or screwdriver, attach the valance brackets to the marked positions on the wall. Make sure to align the brackets with the pencil marks you made earlier.
- If your wall is made of drywall or plaster, use wall anchors for extra stability. Insert the wall anchors into the pre-drilled holes, then screw the brackets into the wall anchors.
- Ensure that the brackets are level and aligned with each other. Use a level to check that the brackets are straight and adjust if necessary.
- Once the brackets are securely installed, double-check that they are at the correct distance from each other to accommodate the valance rod. Make any adjustments as needed.
Properly installed valance brackets are crucial for a stable and secure valance installation. Taking the time to ensure that they are securely attached and properly aligned will help prevent any potential issues or damage.
Now that the valance brackets are in place, you’re ready for the next step: hanging the valance. Read on to learn how to hang the valance like a pro.
Step 6: Hanging the valance
With the valance rod and brackets securely in place, it’s time to hang the valance. This step involves attaching the valance to the rod and ensuring that it is evenly distributed and properly aligned.
Follow these steps to hang the valance:
- Start by sliding the valance onto the valance rod. Make sure that the rod passes through any clips, rings, or other hardware attached to the valance.
- Move the valance along the rod until it is evenly distributed and reaches the desired position. Use a level to ensure that the valance is straight and aligned with the window.
- Step back and evaluate the positioning of the valance. Make any necessary adjustments to achieve the desired look and balance.
It’s important to take your time during this step to ensure that the valance is hung properly. Check that the valance is evenly distributed and does not appear lopsided or slanted.
Once you are satisfied with the placement of the valance, you’re ready for the final step: adjusting and securing the valance. Continue reading to learn how to complete this step.
Step 7: Adjusting and securing the valance
The final step in hanging valances is to adjust and secure the valance to ensure that it stays in place and maintains its desired appearance. This step involves making any necessary adjustments and properly securing the valance to the valance rod and brackets.
Follow these steps to adjust and secure the valance:
- Check the alignment and overall appearance of the valance once it is hung. If you notice any areas that appear uneven or need to be adjusted, gently manipulate the fabric to achieve a balanced look.
- Ensure that the valance is evenly gathered or pleated along the rod. Adjust the fabric as necessary to create uniformity and a pleasing appearance.
- Once you are satisfied with the appearance, secure the valance to the valance rod and brackets. This may involve using clips or rings to hold the valance in place or tying the fabric directly to the rod or brackets.
- Double-check that the valance is securely fastened and won’t easily slide or come loose. Give it a gentle tug to test its stability and make any additional adjustments if needed.
By properly adjusting and securing the valance, you ensure that it maintains its desired appearance and doesn’t shift or come loose over time. This step is essential for a finished and polished look.
With the valance now adjusted and secured, step back and admire your beautifully installed valance. Enjoy the enhanced aesthetics and added character it brings to your window.
To sum it up, hanging valances may require some time and effort, but with the right materials and steps, you can achieve a professional-looking installation. From measuring and marking the placement to adjusting and securing the valance, each step plays a crucial role in the overall outcome.
So go ahead and add a touch of elegance and style to your windows with a beautifully hung valance!
Do you find this article helpful?
Conclusion
Hanging valances can be a rewarding and enjoyable project that adds a touch of elegance and personality to your windows. By following the step-by-step process outlined in this article, you can achieve a professional-looking installation that enhances the overall aesthetics of your space.
We started by gathering the necessary materials, ensuring that we have everything we need for a smooth installation. Then, we moved on to measuring and marking the placement, ensuring accurate positioning of the valance.
In the following steps, we prepared the valance, made any necessary adjustments, and positioned the valance rod and installed the valance brackets securely. By taking the time to properly prepare and position everything, we set the stage for a successful installation.
Finally, we hung the valance, making sure it was evenly distributed and aligned with the window. We then adjusted and secured the valance to ensure it stayed in place and maintained its desired appearance.
Throughout each step, it’s important to pay attention to detail and take your time. Double-check measurements, use a level for accuracy, and make any necessary adjustments along the way.
Remember, hanging valances is not only about functionality but also about enhancing the visual appeal of your space. So, choose a valance that complements your existing decor and adds that extra touch of style.
Now that you have learned how to hang valances like a pro, you can confidently embark on this project and transform your windows into stunning focal points.
So, gather your materials, measure and mark the placement, prepare the valance, position the valance rod, install the valance brackets, hang the valance, and adjust and secure it to perfection.
Enjoy the process and the beautiful results of your labor. Happy valance hanging!
Frequently Asked Questions about How To Hang Valances
Was this page helpful?
At Storables.com, we guarantee accurate and reliable information. Our content, validated by Expert Board Contributors, is crafted following stringent Editorial Policies. We're committed to providing you with well-researched, expert-backed insights for all your informational needs.


0 thoughts on “How To Hang Valances”