Articles
How To Make Pleated Valances
Modified: February 24, 2024
Learn how to make pleated valances easily with our comprehensive articles. Discover step-by-step instructions, helpful tips, and creative ideas for beautiful window treatments.
(Many of the links in this article redirect to a specific reviewed product. Your purchase of these products through affiliate links helps to generate commission for Storables.com, at no extra cost. Learn more)
Introduction
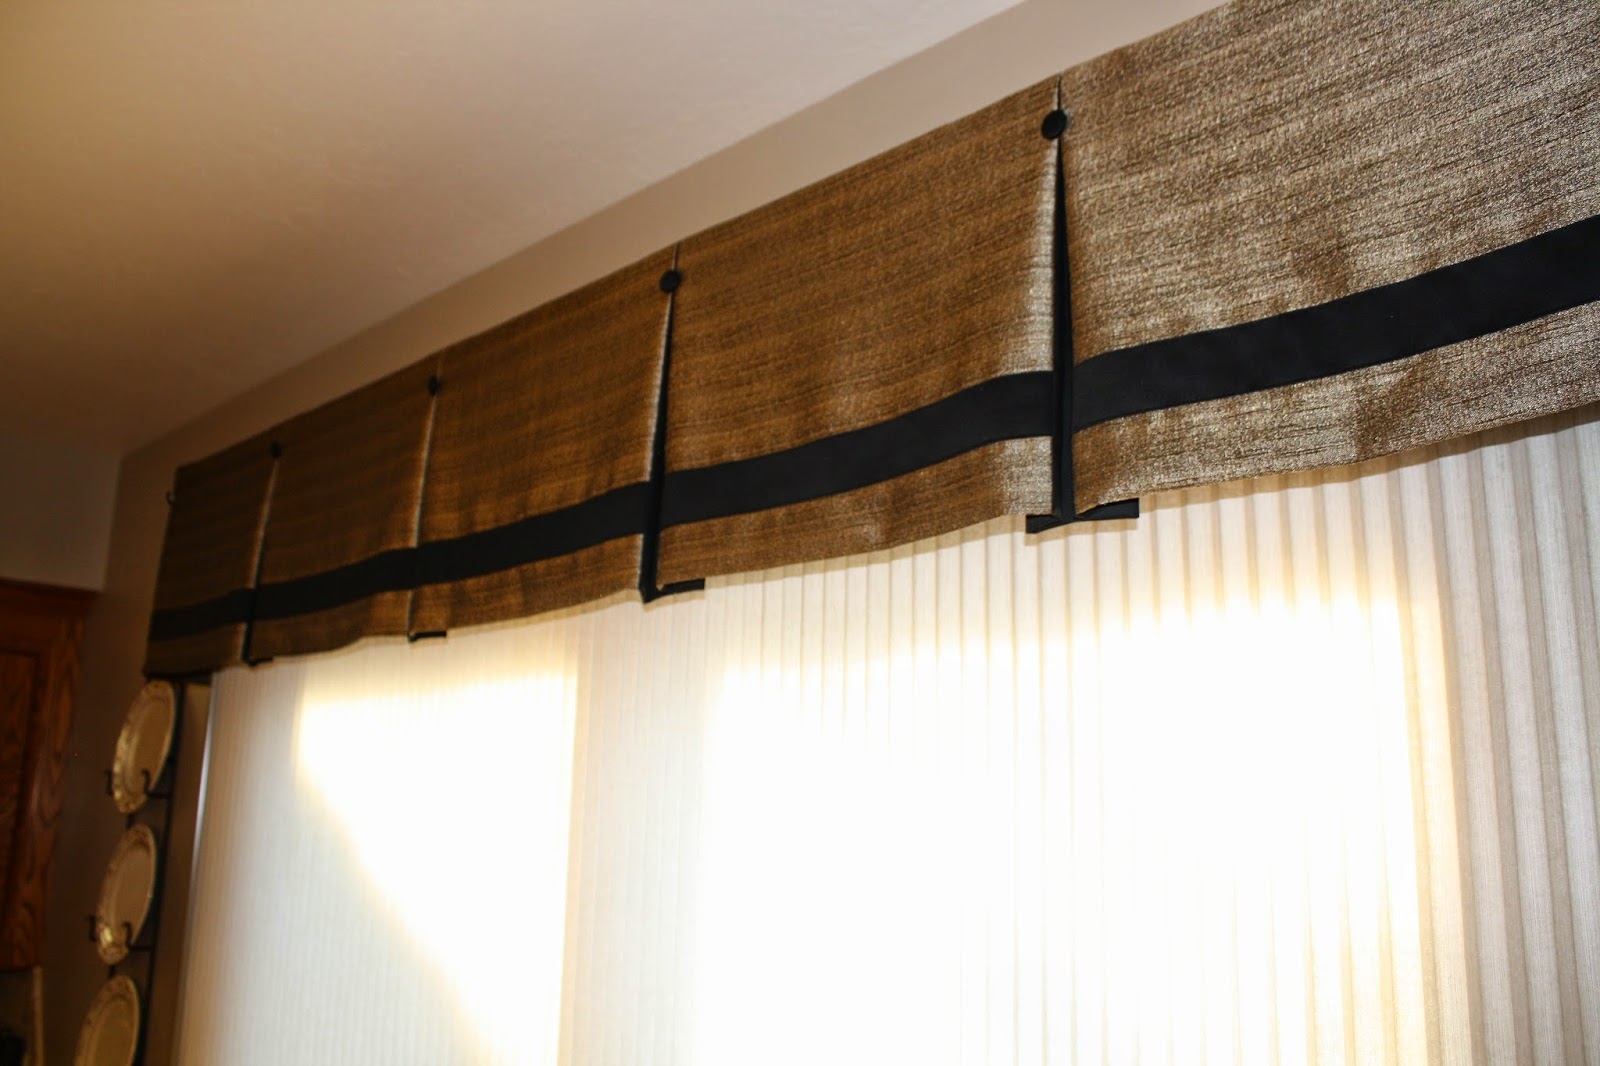
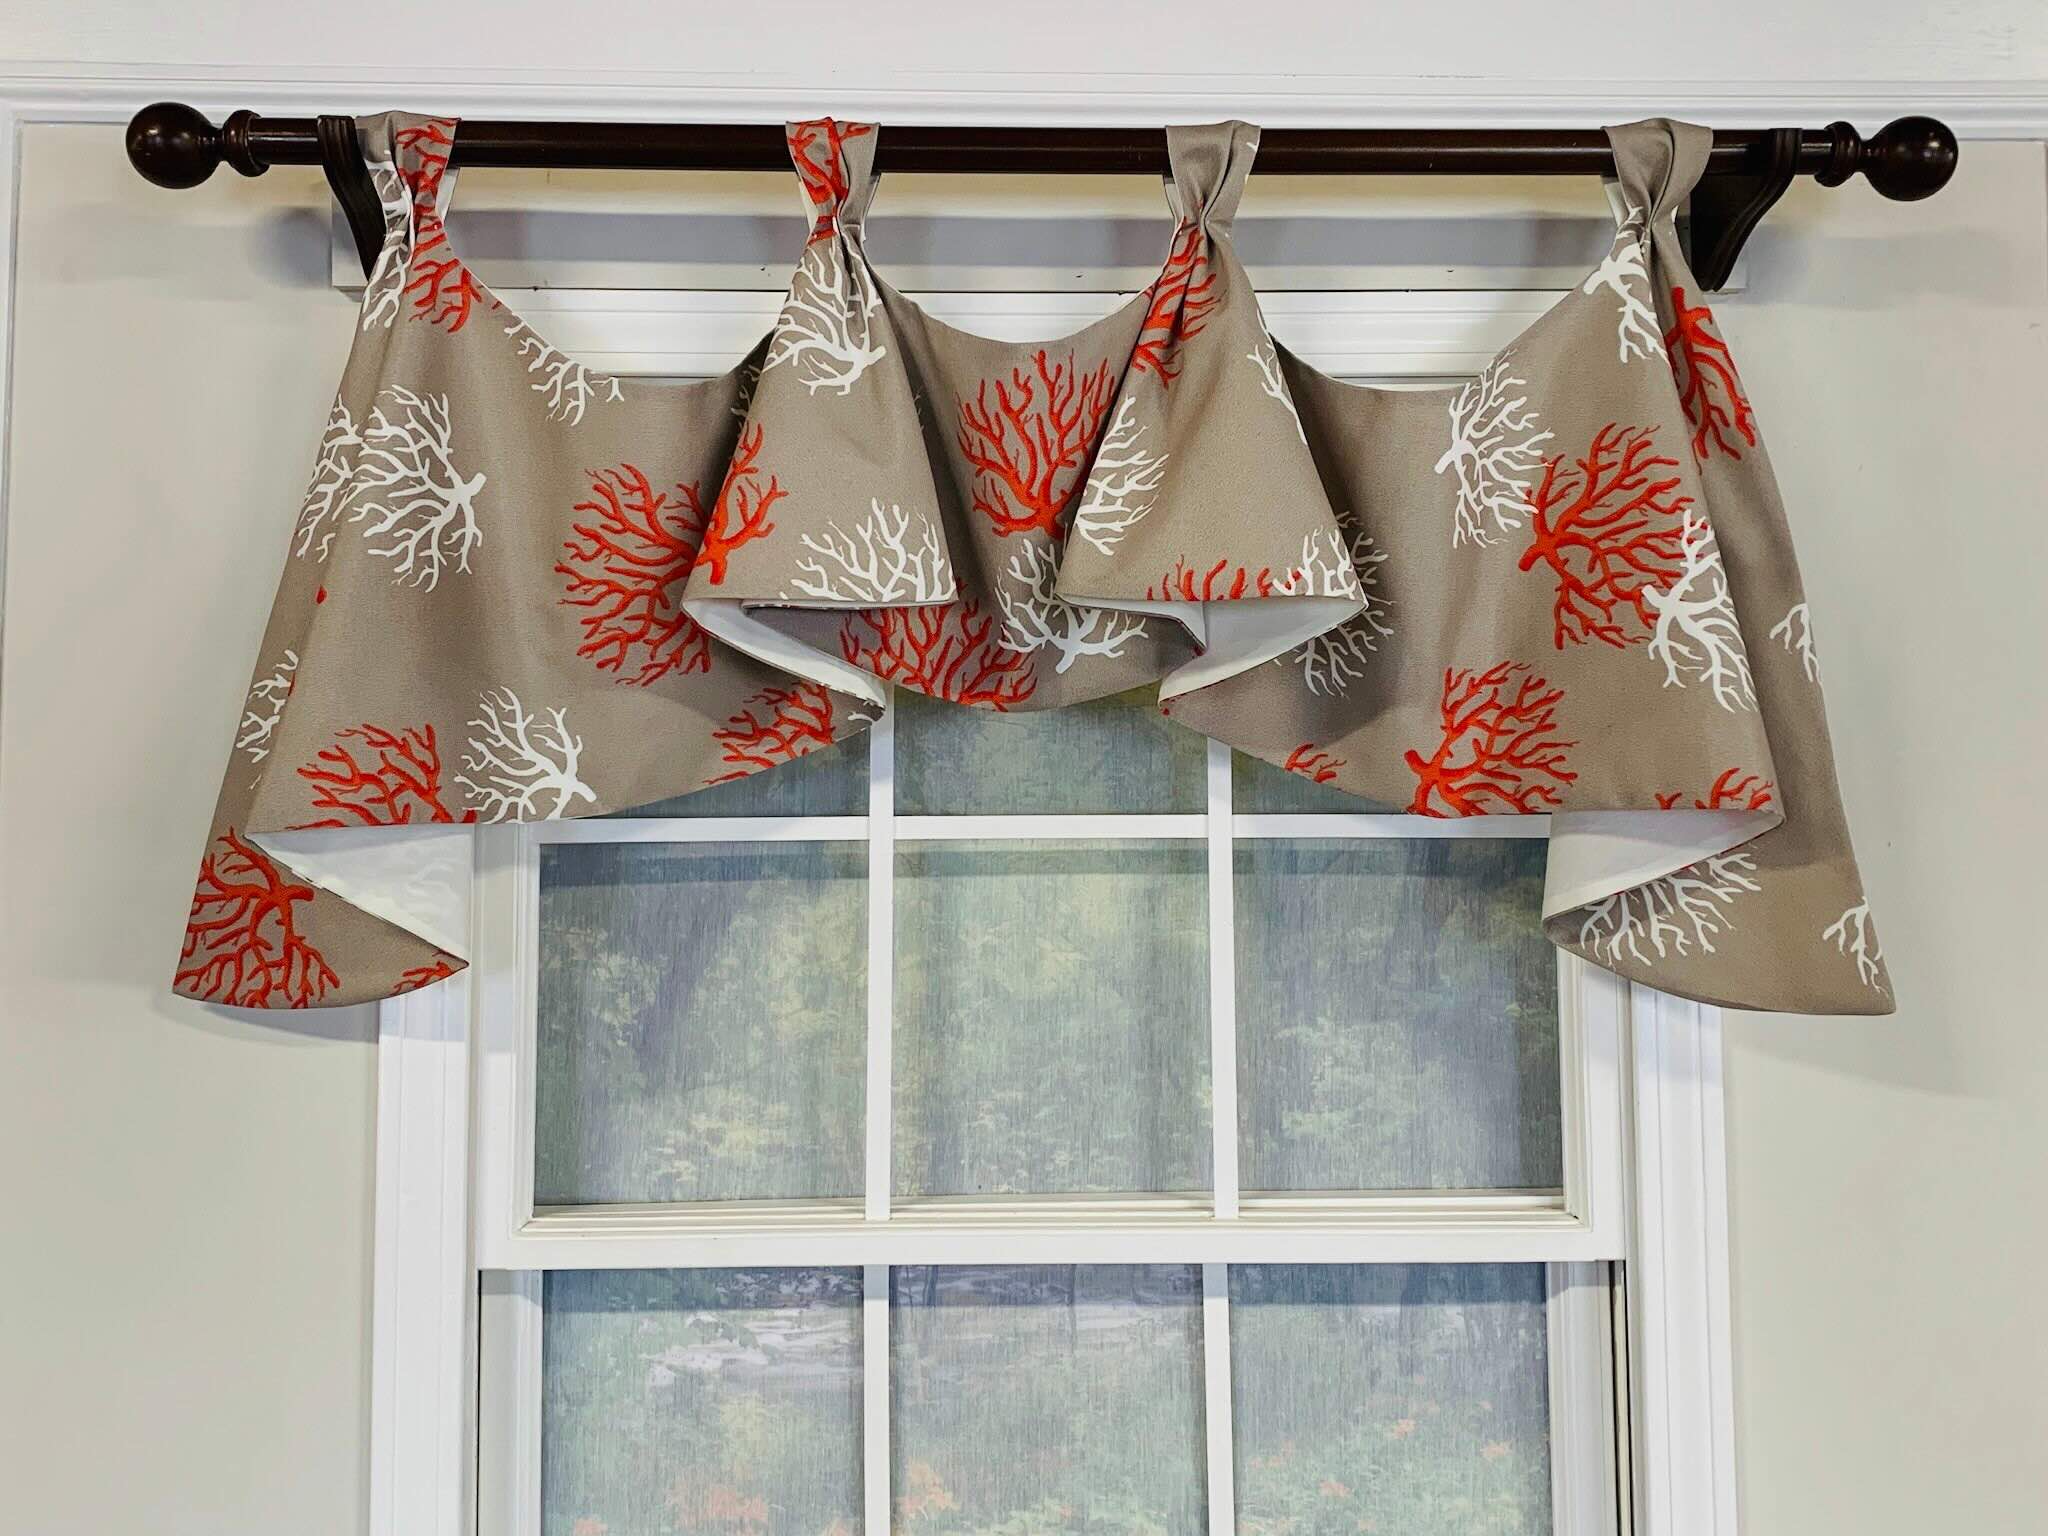
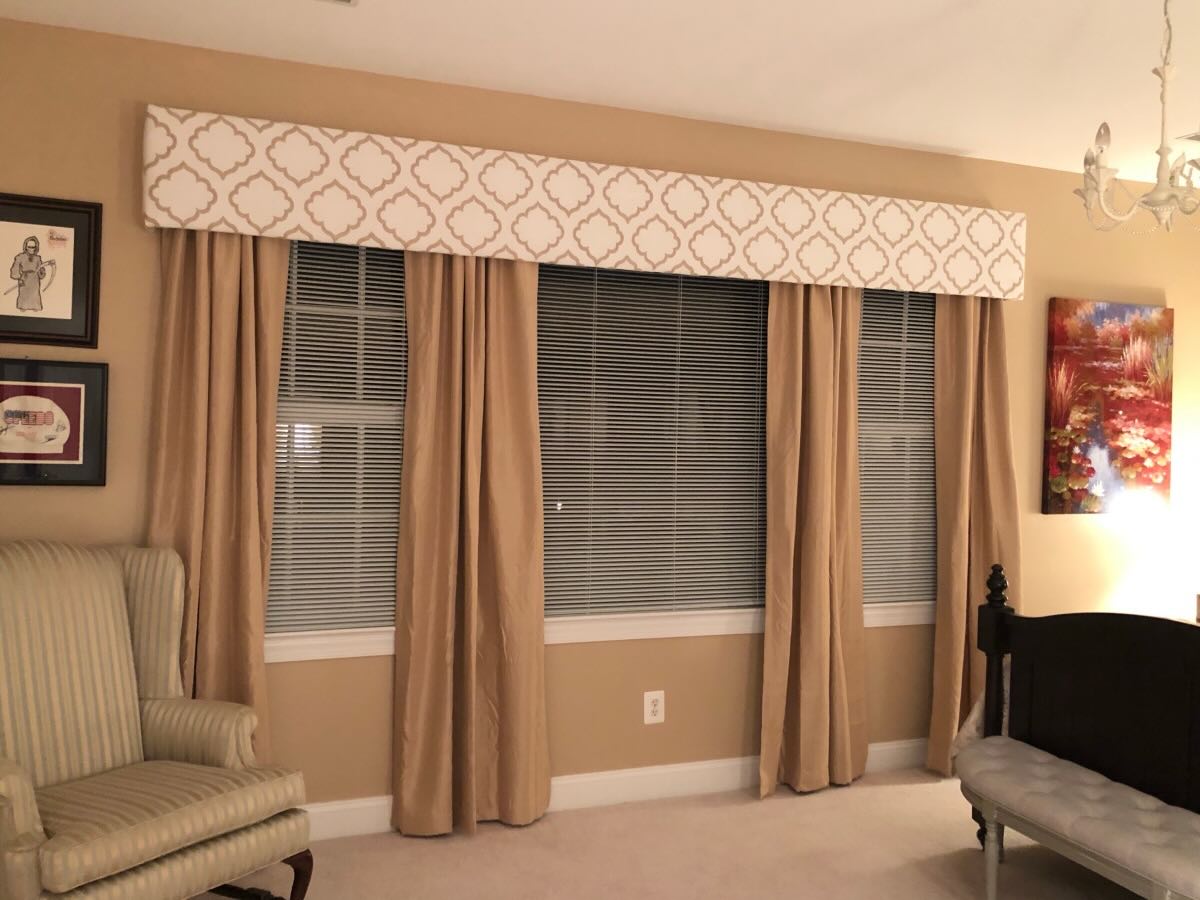
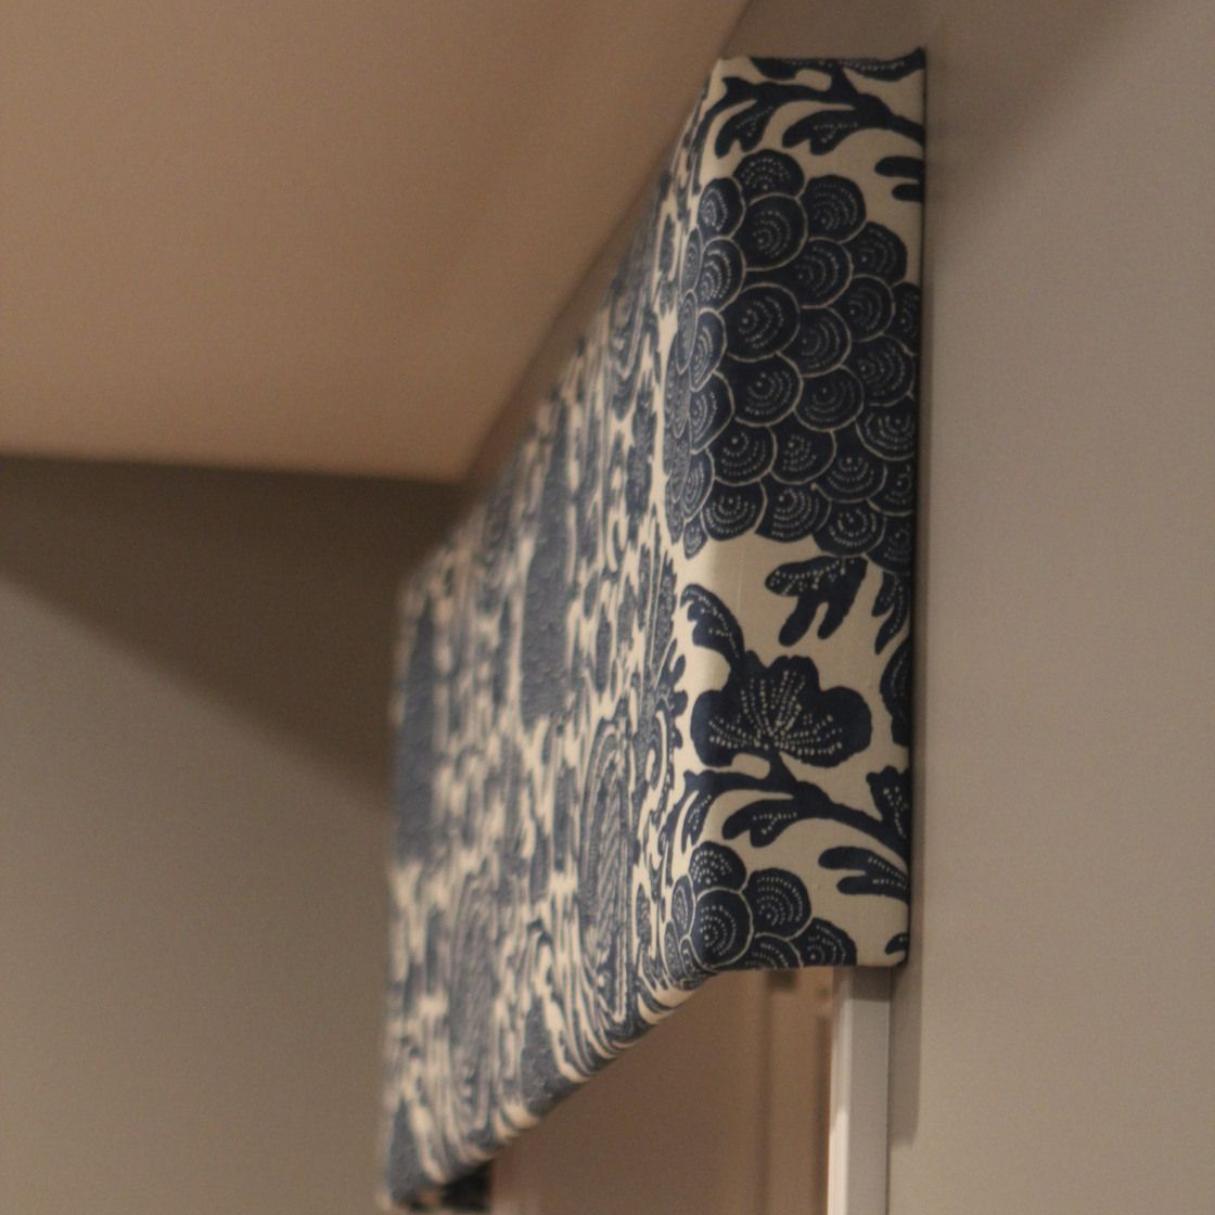
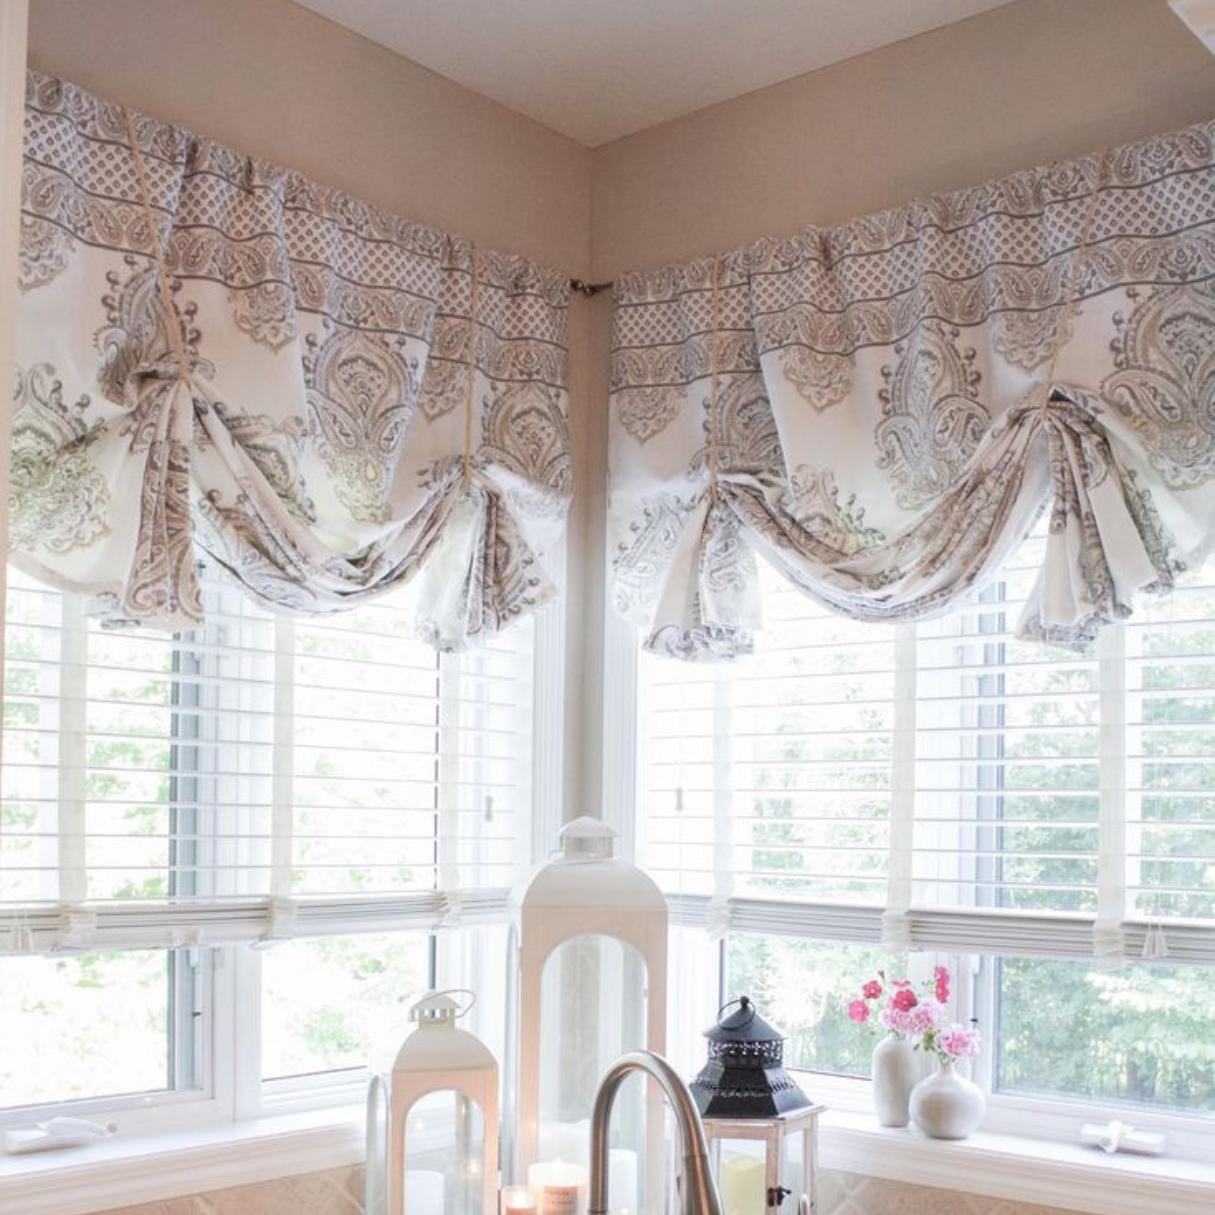
When it comes to enhancing the aesthetics of your windows, valances are a stylish and versatile choice. Among the various types of valances, pleated valances have a timeless and elegant appeal. They add depth, texture, and visual interest to any window treatment, making them a popular option for both traditional and modern decor styles.
In this article, we will guide you through the process of making pleated valances from scratch. Whether you are a seasoned DIY enthusiast or a beginner with limited sewing experience, this step-by-step tutorial will help you create beautiful pleated valances that perfectly accentuate your windows.
Before you embark on this DIY project, you will need a few materials to get started. Let’s take a look at the essential items you will need:
Key Takeaways:
- Elevate your window aesthetics with timeless and elegant pleated valances. Follow our step-by-step guide to create beautiful valances that perfectly accentuate your windows, whether you’re a seasoned DIY enthusiast or a beginner.
- Gather essential materials, measure, cut, hem, create pleats, attach, sew, add a rod pocket, and hang your handmade pleated valance for a stylish and personalized window transformation.
Read more: How To Make Window Valances
Materials Needed
Before you start making your pleated valances, gather the following materials:
- Fabric: Choose a fabric that complements your interior decor and meets your desired specifications. A medium-weight fabric such as cotton or linen is recommended for pleated valances.
- Measuring Tape: A measuring tape will help you accurately measure the dimensions of your window and the fabric.
- Fabric Scissors: You will need a good pair of fabric scissors to cut the fabric cleanly and precisely.
- Pins: Pins will be used to secure the fabric and pleats in place during the sewing process.
- Sewing Machine: A sewing machine will make the process quicker and more efficient. However, if you don’t have a sewing machine, you can also hand sew the valances using a needle and thread.
- Thread: Choose a thread color that matches or complements your fabric.
- Ruler: A ruler will help you create straight and even pleats.
- Iron: An iron is essential for pressing the fabric and creating crisp pleats.
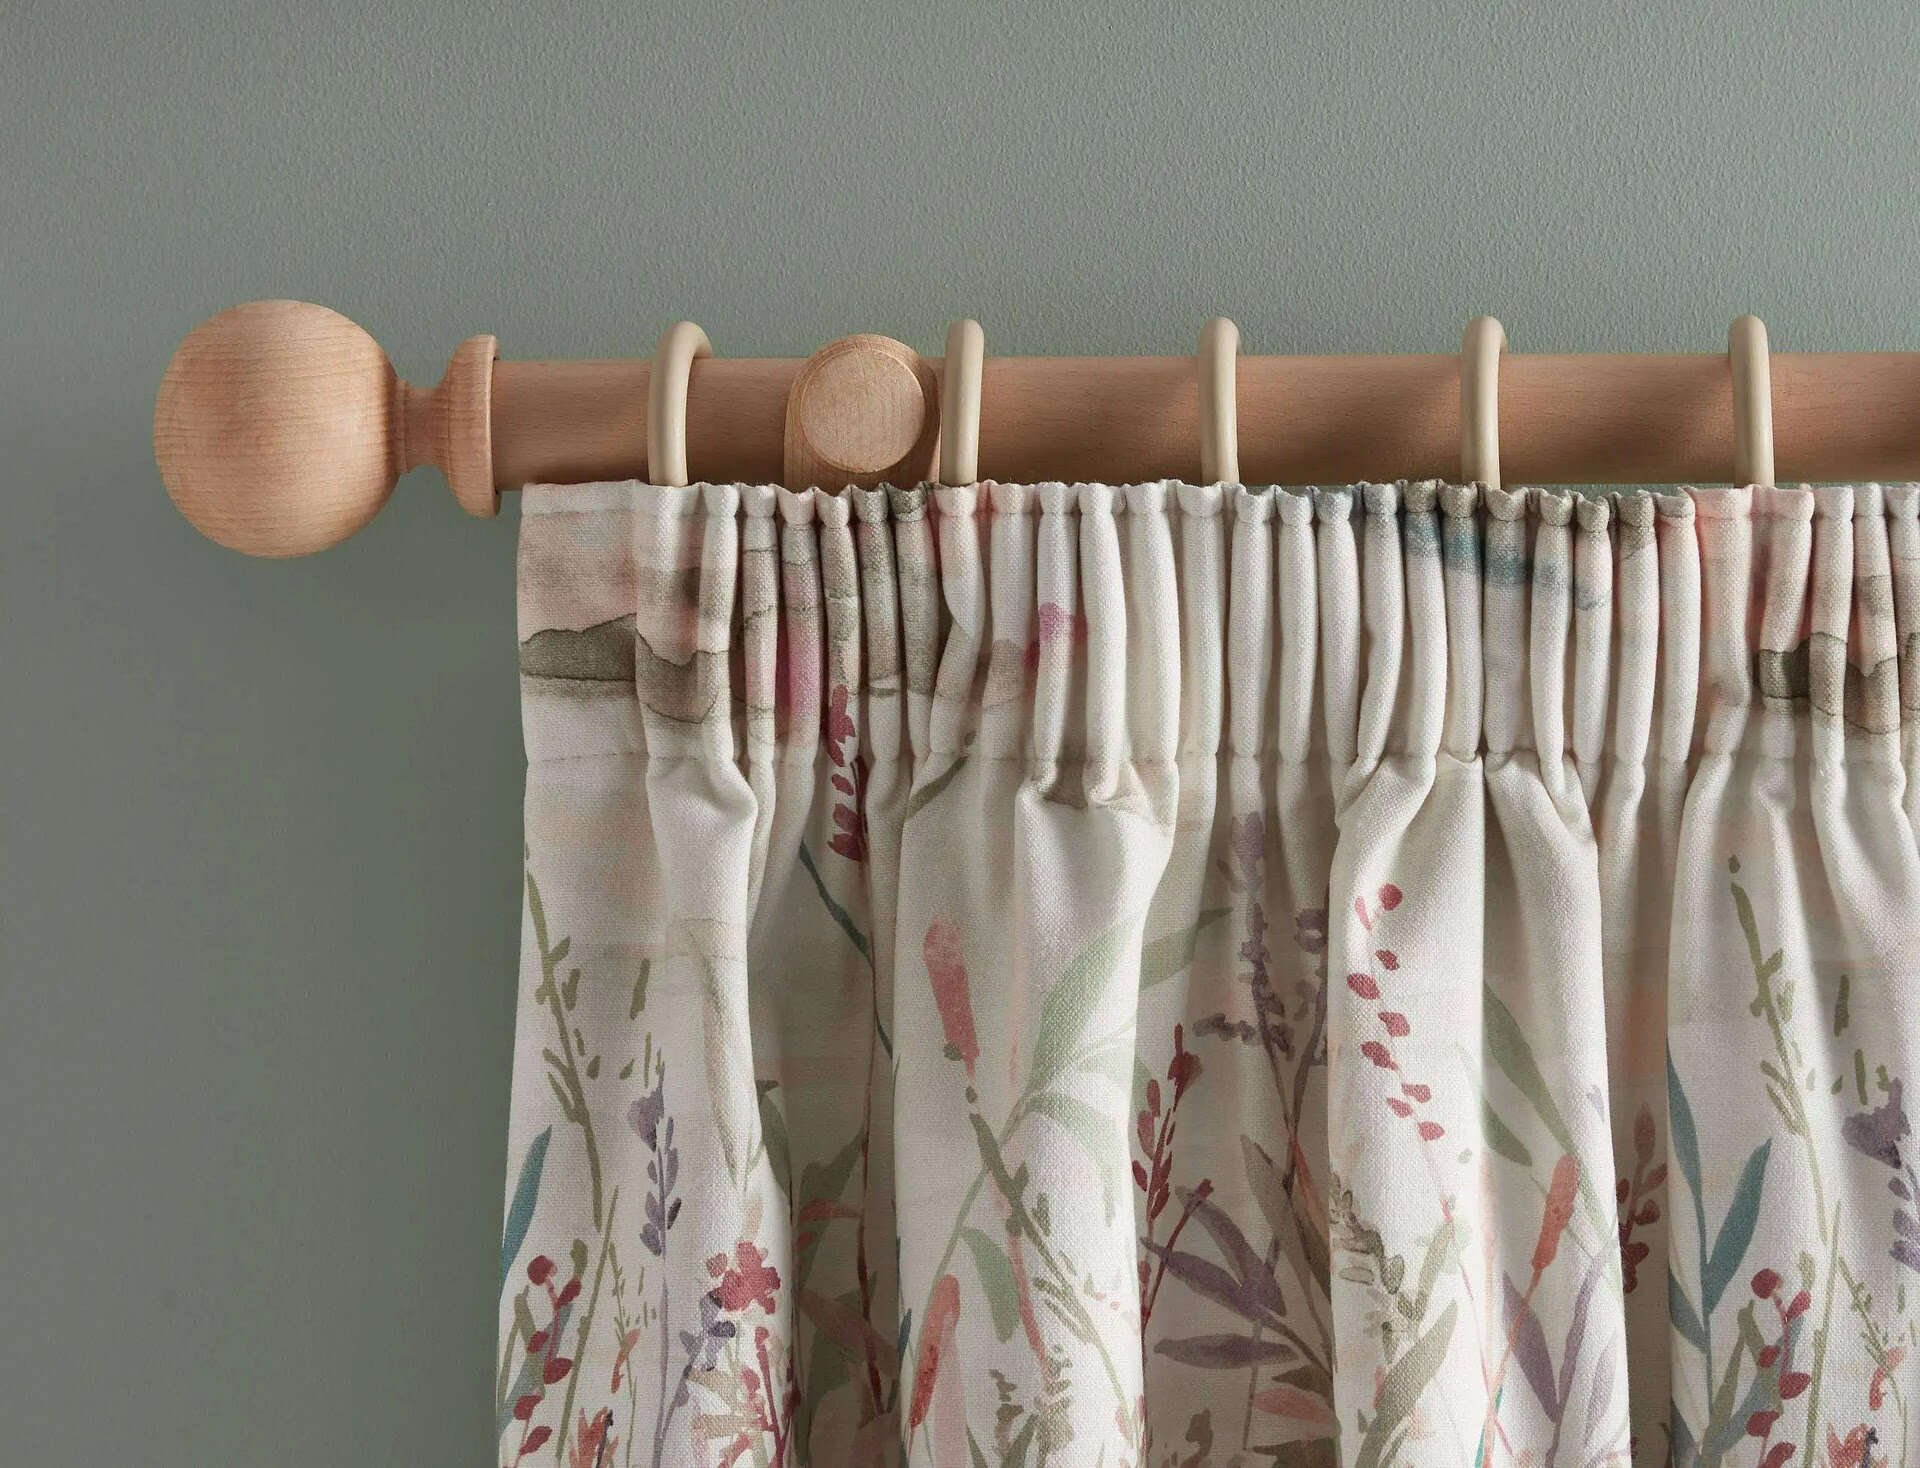
- Curtain Rod: You will need a curtain rod to hang your pleated valances.
Take your time to gather all the necessary materials before starting the project. Having everything prepared in advance will make the process smoother and more efficient.
Step 1: Measure and Plan
The first step in making pleated valances is to measure your window and plan the dimensions of your valances. Proper measurement is crucial to ensure that your valances fit perfectly and look professional. Here’s how to do it:
- Measure the Width: Use a measuring tape to measure the width of your window from one side to the other. Decide how wide you want your valance to be. Typically, valances are about one-third the width of the window. However, you can adjust the width based on your preference.
- Measure the Length: Measure the length from the top of your curtain rod to where you want the valance to end. Keep in mind that pleated valances look best when they hang just above the window sill or halfway between the window sill and the floor.
- Add Seam Allowance: Add an extra inch or two to the width and length measurements to account for seam allowance. This will ensure that you have enough fabric to sew and create hems.
Once you have determined the measurements, it’s time to create a plan for the pleats. Decide on the number and size of pleats you want on your valance. Generally, pleats are evenly spaced, ranging from 4 to 8 inches apart. Play around with different options to find the arrangement that suits your taste and complements your window.
With the measurements and pleat plan in mind, you can now move on to the next step of cutting the fabric for your pleated valances.
Step 2: Cut the Fabric
Now that you have your measurements and pleat plan ready, it’s time to cut the fabric for your pleated valances. Follow these steps:
- Prepare the Fabric: Lay your fabric flat on a clean and spacious surface. Smooth out any wrinkles or creases using your hands or an iron, if necessary.
- Measure and Mark: Use your measuring tape and a fabric marker or chalk to mark the dimensions of your valance on the fabric. Use the measurements you obtained in Step 1 to mark the width and length.
- Cut the Fabric: Using a pair of fabric scissors, carefully cut along the marked lines to create the main panel of your valance. Ensure that your cuts are straight and even to achieve a polished look.
- Repeat for Additional Panels: If you plan to create multiple valance panels for a layered or fuller look, repeat the above steps to cut additional panels from the fabric. Adjust the measurements and pleat plan accordingly.
Remember to double-check your measurements and be precise with your cuts. Taking your time to cut the fabric accurately will result in a well-fitted and professional-looking pleated valance.
Once you have cut the fabric, you can proceed to the next step of hemming the edges to give your valances a clean and finished look.
Step 3: Hem the Edges
After cutting the fabric for your pleated valances, it’s important to hem the edges to prevent fraying and give your valances a polished finish. Follow these steps to hem the edges:
- Prepare the Fabric: Lay your fabric panel flat on a clean and flat surface.
- Fold the Edges: Fold about 1/2 inch of fabric towards the wrong side of the fabric on all four sides of the panel. Press the folded edges with an iron to create crisp folds.
- Secure with Pins: Use pins to secure the folded edges in place. Place the pins about every few inches along the edges.
- Iron Again: Once all the edges are folded and pinned, iron the fabric again to ensure that the folds are secure and the fabric is smooth.
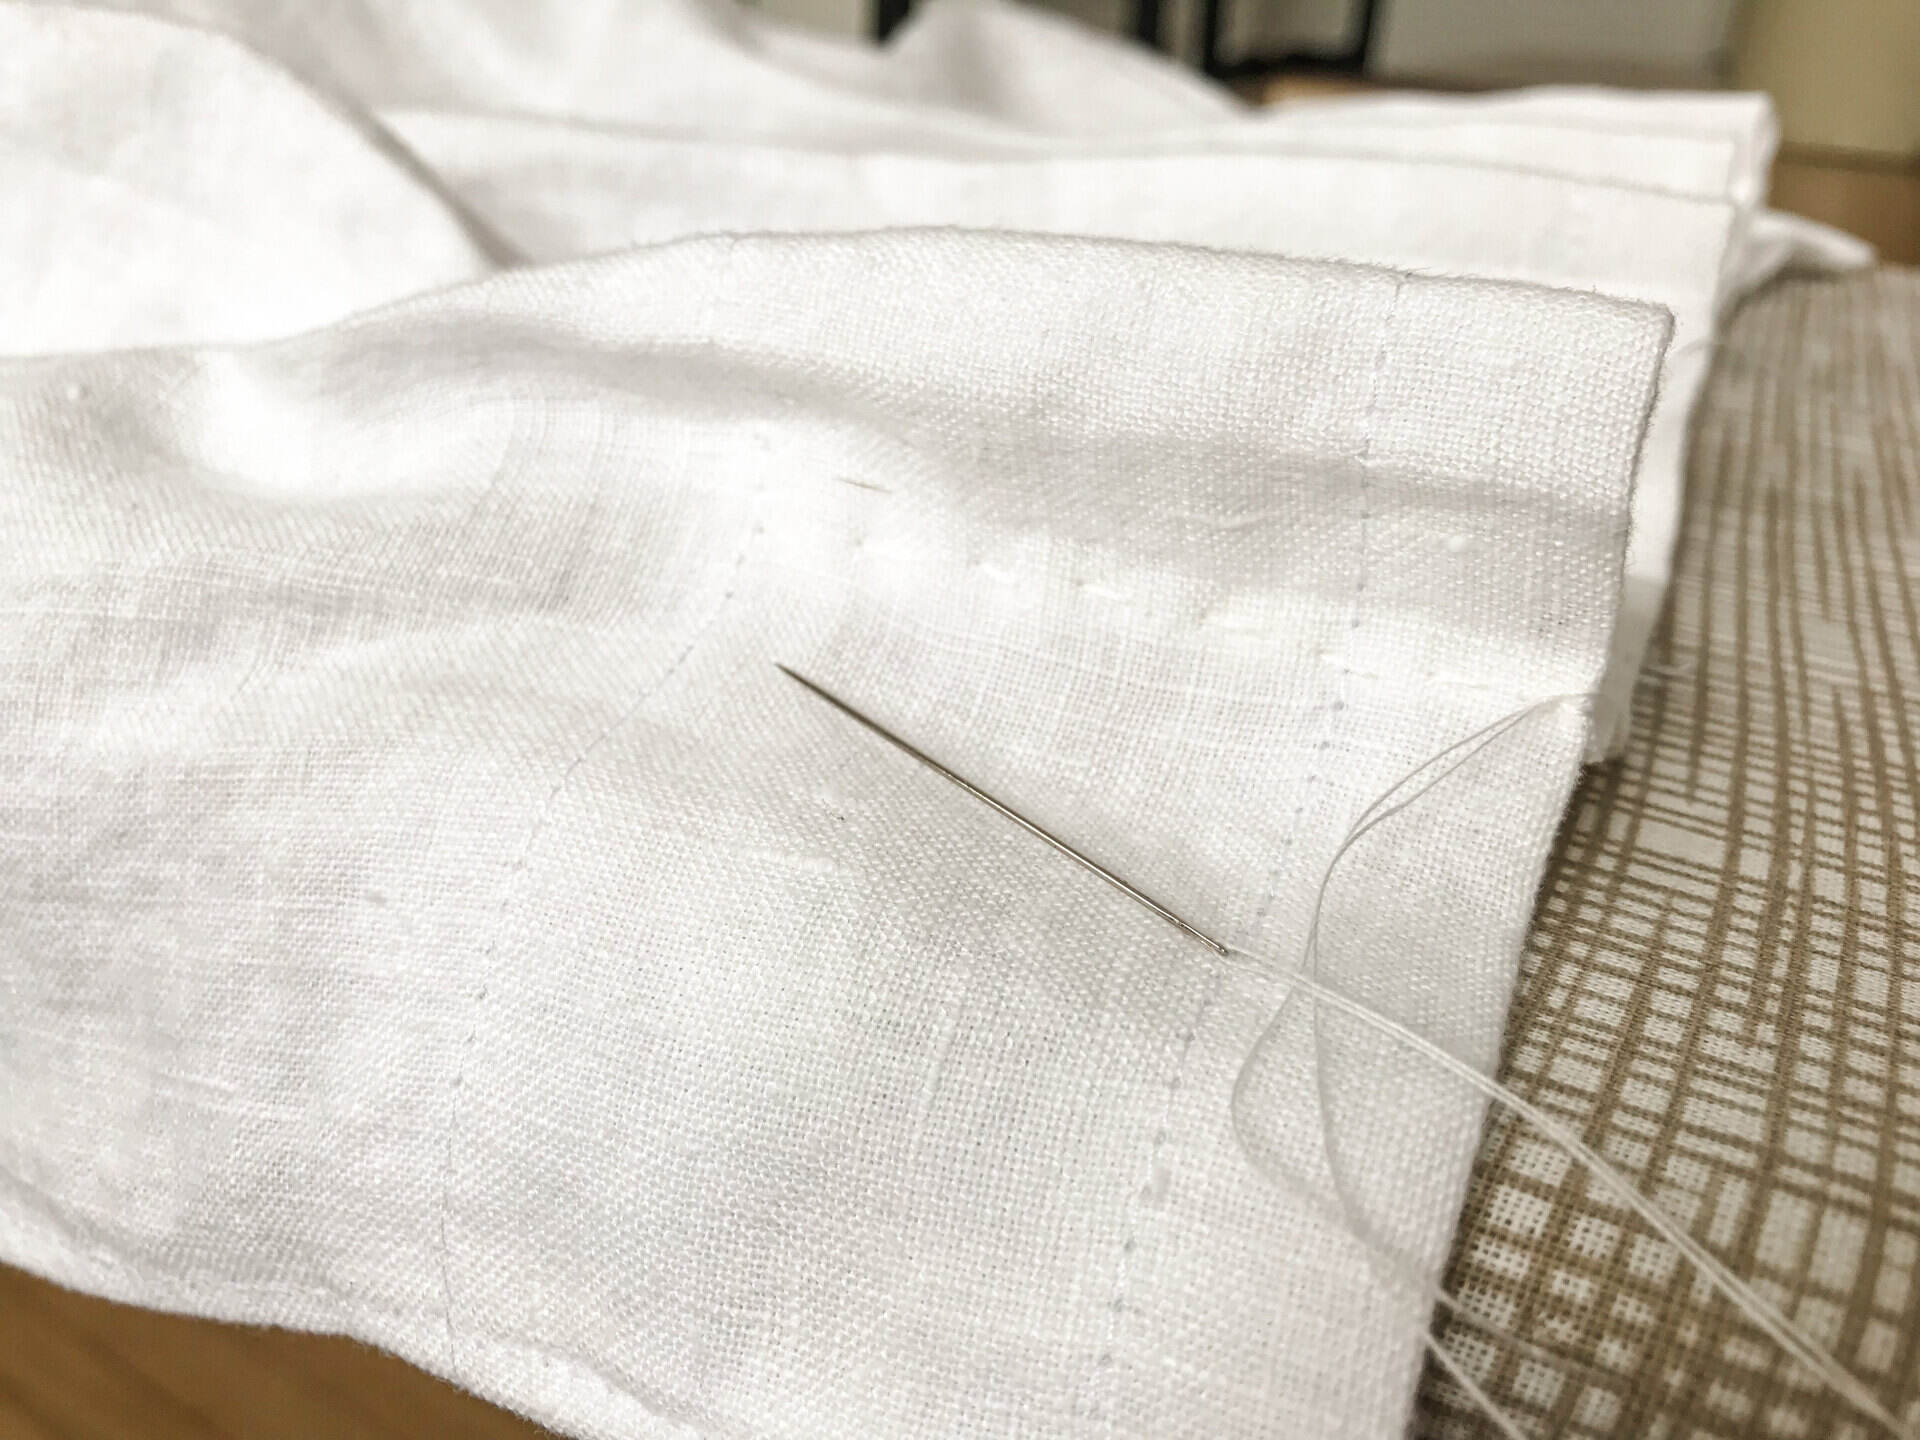
- Sew the Hems: Using a sewing machine or needle and thread, sew a straight stitch along the folded edges to secure the hem. Remove the pins as you sew.
- Trim Excess Threads: Once you’re done sewing, trim any excess threads for a clean finish.
Hemming the edges of your fabric will give your valances a neat and professional appearance. Take your time to ensure straight and even stitches, as well as secure hems.
Now that the edges are hemmed, you can move on to the next step of creating the pleats for your valances.
When making pleated valances, be sure to measure your window accurately and add extra fabric for the pleats. Use a sturdy fabric and iron the pleats carefully for a professional finish.
Read more: How To Make Inverted Pleat Drapes
Step 4: Create the Pleats
The pleats are the defining feature of pleated valances, giving them their unique and stylish look. Follow these steps to create the pleats on your valance:
- Prepare the Fabric: Lay your fabric panel flat on a clean and spacious surface, with the right side of the fabric facing down. Smooth out any wrinkles or creases.
- Measure and Mark: Use a ruler to measure and mark the locations where you want the pleats to be. Remember to follow the pleat plan you created in Step 1.
- Create the Pleats: Start with the first marked pleat and fold the fabric towards the wrong side, aligning the mark with the next mark. The pleat should be folded about 1 inch wide. Pin the pleat in place.
- Continue Creating Pleats: Move on to the next marked pleat and repeat the folding process. Ensure that the pleats are even in width and spacing. Pin each pleat in place as you go.
- Adjust as Needed: Once you have created all the pleats, step back and assess the overall appearance. Adjust the pleats if necessary to achieve an even and balanced look.
Creating the pleats may require some practice and patience, especially if you are new to sewing. Take your time and ensure that the pleats are evenly spaced and consistent in size. Don’t be afraid to make adjustments as needed to achieve the desired look.
With the pleats in place, your valance is starting to take shape. In the next step, you will learn how to attach the pleats securely.
Step 5: Attach the Pleats
Now that the pleats are created on your valance, it’s time to attach them securely. This step will ensure that the pleats stay in place and maintain their shape. Follow these steps to attach the pleats:
- Prepare the Fabric: Lay your fabric panel flat on a clean and spacious surface, with the wrong side of the fabric facing up.
- Pin the Pleats: Starting from one end of the valance, carefully fold each pleat accordion-style along its width. Pin the folded pleats in place using straight pins. Make sure the pins go through both sides of the fabric to secure the pleats.
- Check the Placement: Step back and check the placement of the pleats. Ensure that they are evenly spaced and aligned. Make any necessary adjustments before moving forward.
- Press the Pleats: Use an iron on a low setting and press the pleats gently to create sharp and defined folds. Be cautious when ironing, as excessive heat may damage the fabric.
- Secure the Pleats: You have two options to secure the pleats permanently. The first option is to topstitch along the top edge of the valance, about 1/4 inch below the pleats, using your sewing machine. The second option is to hand stitch the pleats in place using a needle and thread.
By attaching the pleats, you ensure that they stay in place and maintain their shape over time. Choose the method that works best for you – topstitching with a sewing machine or hand stitching.
With the pleats securely attached, your valance is almost complete. In the next step, you will learn how to sew the valance panels together to create a cohesive look.
Step 6: Sew the Valance Panels Together
If you are creating a layered or fuller look for your pleated valances, you may have multiple valance panels that need to be sewn together. Follow these steps to sew the valance panels together:
- Lay Out the Panels: Lay out the valance panels in the desired order and arrangement, with the right sides of the fabric facing each other. Ensure that the pleats align properly.
- Pin the Panels: Use straight pins to secure the panels together along the edges. Make sure to align the top edge of the pleats and pin them in place.
- Double-check the Alignment: Step back and check the alignment and arrangement of the panels. Adjust as needed to ensure a cohesive and visually pleasing look.
- Sew the Panels: Using a sewing machine or needle and thread, sew the panels together along the pinned edges. Use a straight stitch and sew about 1/4 inch from the edge for a secure seam. Remove the pins as you sew.
- Trim Excess Fabric and Threads: Once you’re done sewing, trim any excess fabric and threads for a clean finish.
By sewing the valance panels together, you create a unified and seamless look for your layered valance. Ensure that the pleats align properly and take your time to sew straight and secure seams.
With the valance panels sewn together, your pleated valance is almost complete. In the next step, you will learn how to add the rod pocket for easy and efficient hanging.
Step 7: Add the Rod Pocket
Adding a rod pocket to your pleated valance allows for easy and efficient hanging on a curtain rod. Follow these steps to add the rod pocket:
- Measure and Mark: Decide on the placement of the rod pocket. Typically, the rod pocket is located at the top of the valance, just above the pleats. Measure the width of your curtain rod and add an additional inch or two for a comfortable fit. Mark this measurement on the fabric.
- Fold and Press: Fold the top edge of the valance towards the wrong side of the fabric to create the rod pocket. The fold should be approximately 2-3 inches wide, depending on the size of your curtain rod. Press the fold with an iron to create a crisp edge.
- Pin and Sew: Use pins to secure the fold in place. Make sure the pins go through both layers of the fabric. To prevent the rod pocket from shifting during sewing, you can stitch along the top edge of the rod pocket using a sewing machine or hand sewing.
- Double-check and Trim: Step back and double-check that the rod pocket is evenly placed and properly aligned. Trim any excess fabric or threads for a neat finish.
Adding a rod pocket ensures that your pleated valance hangs securely and smoothly on the curtain rod. Take your time to measure and position the rod pocket accurately. Sew the pocket securely to prevent any shifting or sagging when the valance is hung.
Now that your pleated valance has a rod pocket, it’s time for the final step – hanging it up and enjoying the beautiful transformation of your window!
Read more: How To Make Waterfall Valances
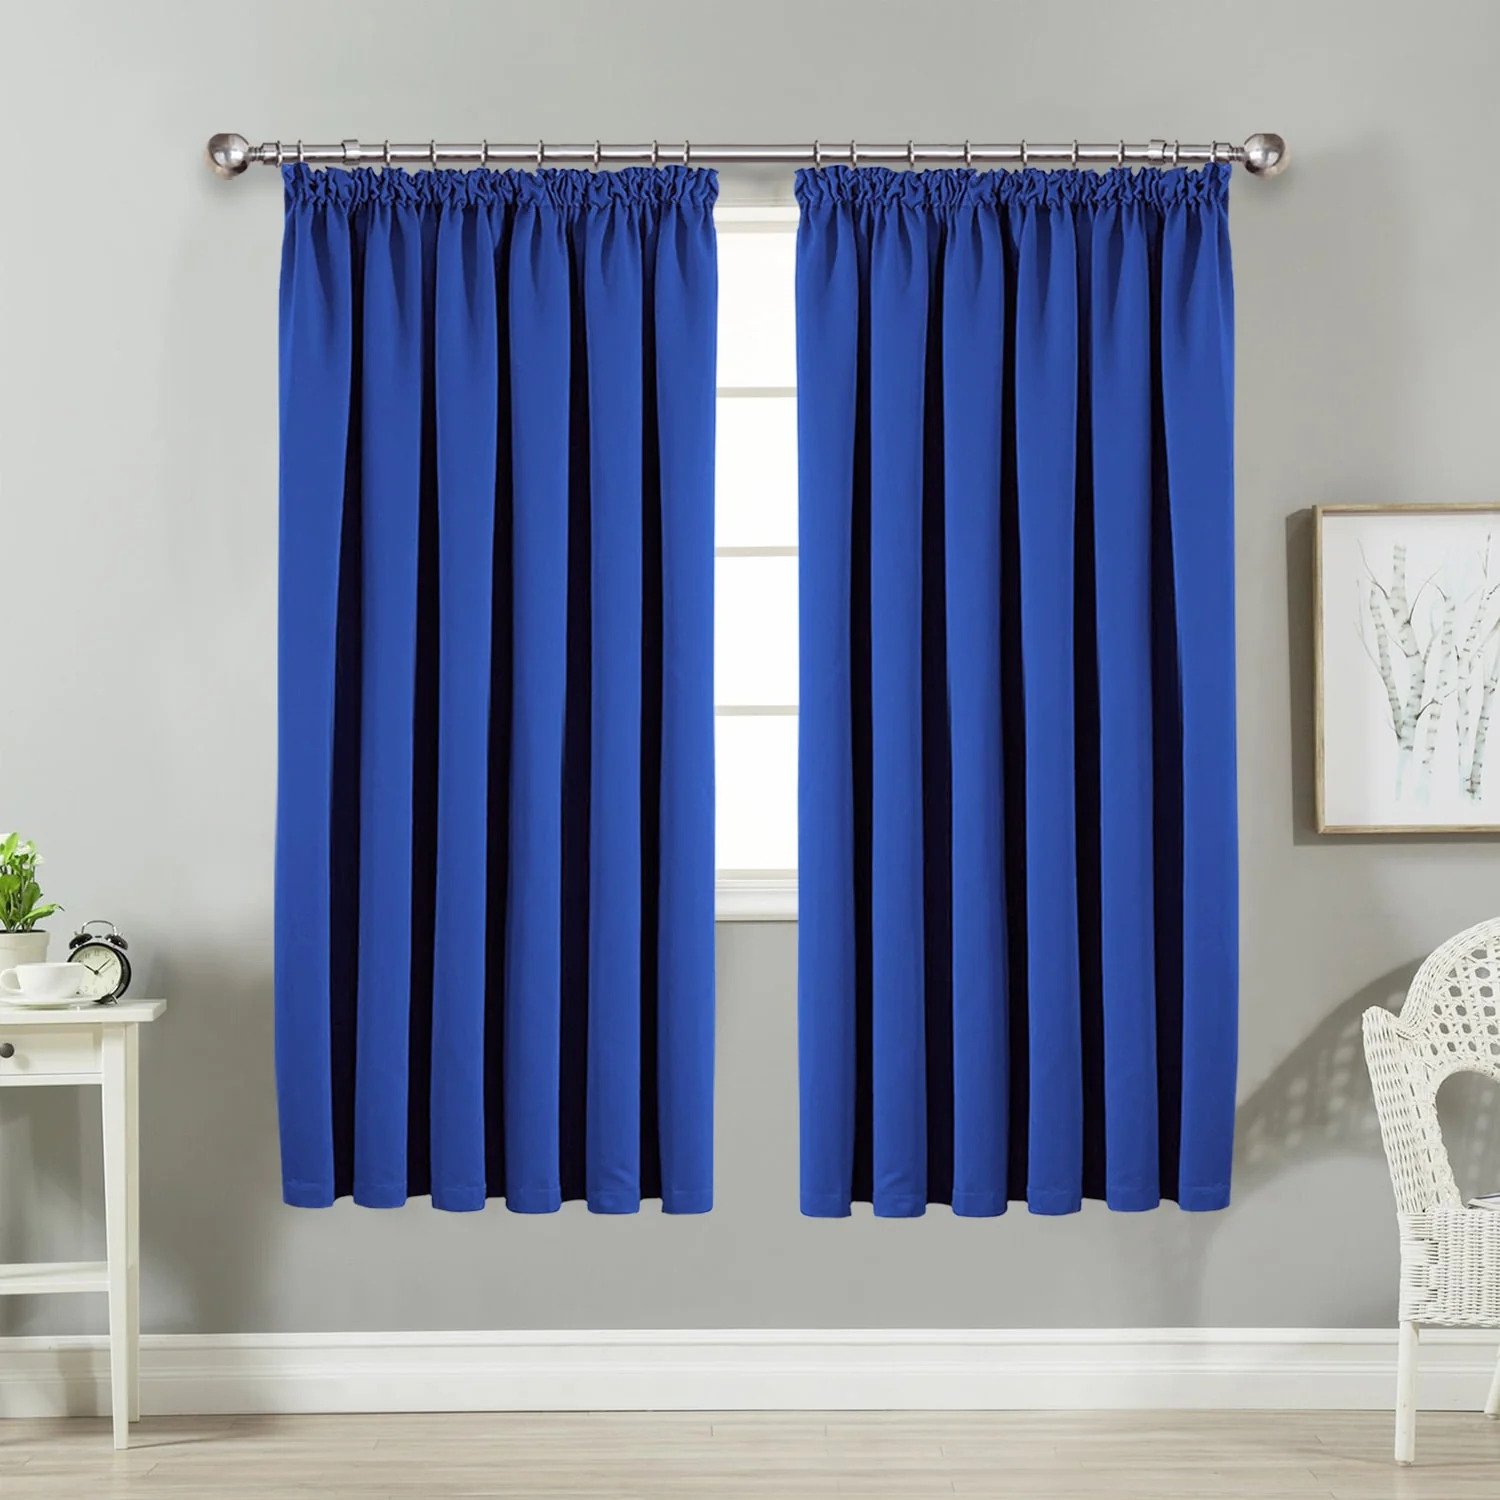
Step 8: Hang and Enjoy!
Congratulations! You have successfully completed the steps to create your own pleated valance. Now it’s time to hang it up and admire the beautiful transformation it brings to your window.
- Select the Curtain Rod: Choose a curtain rod that complements the style of your valance and the overall decor of the room. Make sure it is the appropriate length and can support the weight of the valance.
- Slide the Valance onto the Rod: Gently slide the rod through the rod pocket you created in the valance. Adjust the pleats as needed to ensure a balanced and even appearance.
- Hang the Curtain Rod: Install the curtain rod according to the manufacturer’s instructions. Ensure that it is securely mounted and level.
- Arrange and Adjust: Step back and take a moment to arrange and adjust the pleats and overall appearance of the valance. Ensure that it hangs evenly and complements the window and surrounding decor.
Once your pleated valance is hung, take a step back and admire the transformation it has brought to your window. The pleats add depth, texture, and visual interest, enhancing the overall aesthetics of the room. Enjoy the beautiful and stylish addition to your window treatment!
Remember, this DIY project allows for customization, so feel free to experiment with different fabric choices, pleat styles, and sizes to create a valance that perfectly fits your unique style and decor.
Now, sit back, relax, and enjoy the beauty and elegance of your handmade pleated valance!
Frequently Asked Questions about How To Make Pleated Valances
Was this page helpful?
At Storables.com, we guarantee accurate and reliable information. Our content, validated by Expert Board Contributors, is crafted following stringent Editorial Policies. We're committed to providing you with well-researched, expert-backed insights for all your informational needs.


0 thoughts on “How To Make Pleated Valances”