Articles
How To Make Cornice Valances
Modified: October 28, 2024
Learn how to make stunning cornice valances with our detailed articles. Get step-by-step instructions and design ideas for creating beautiful window treatments.
(Many of the links in this article redirect to a specific reviewed product. Your purchase of these products through affiliate links helps to generate commission for Storables.com, at no extra cost. Learn more)
Introduction
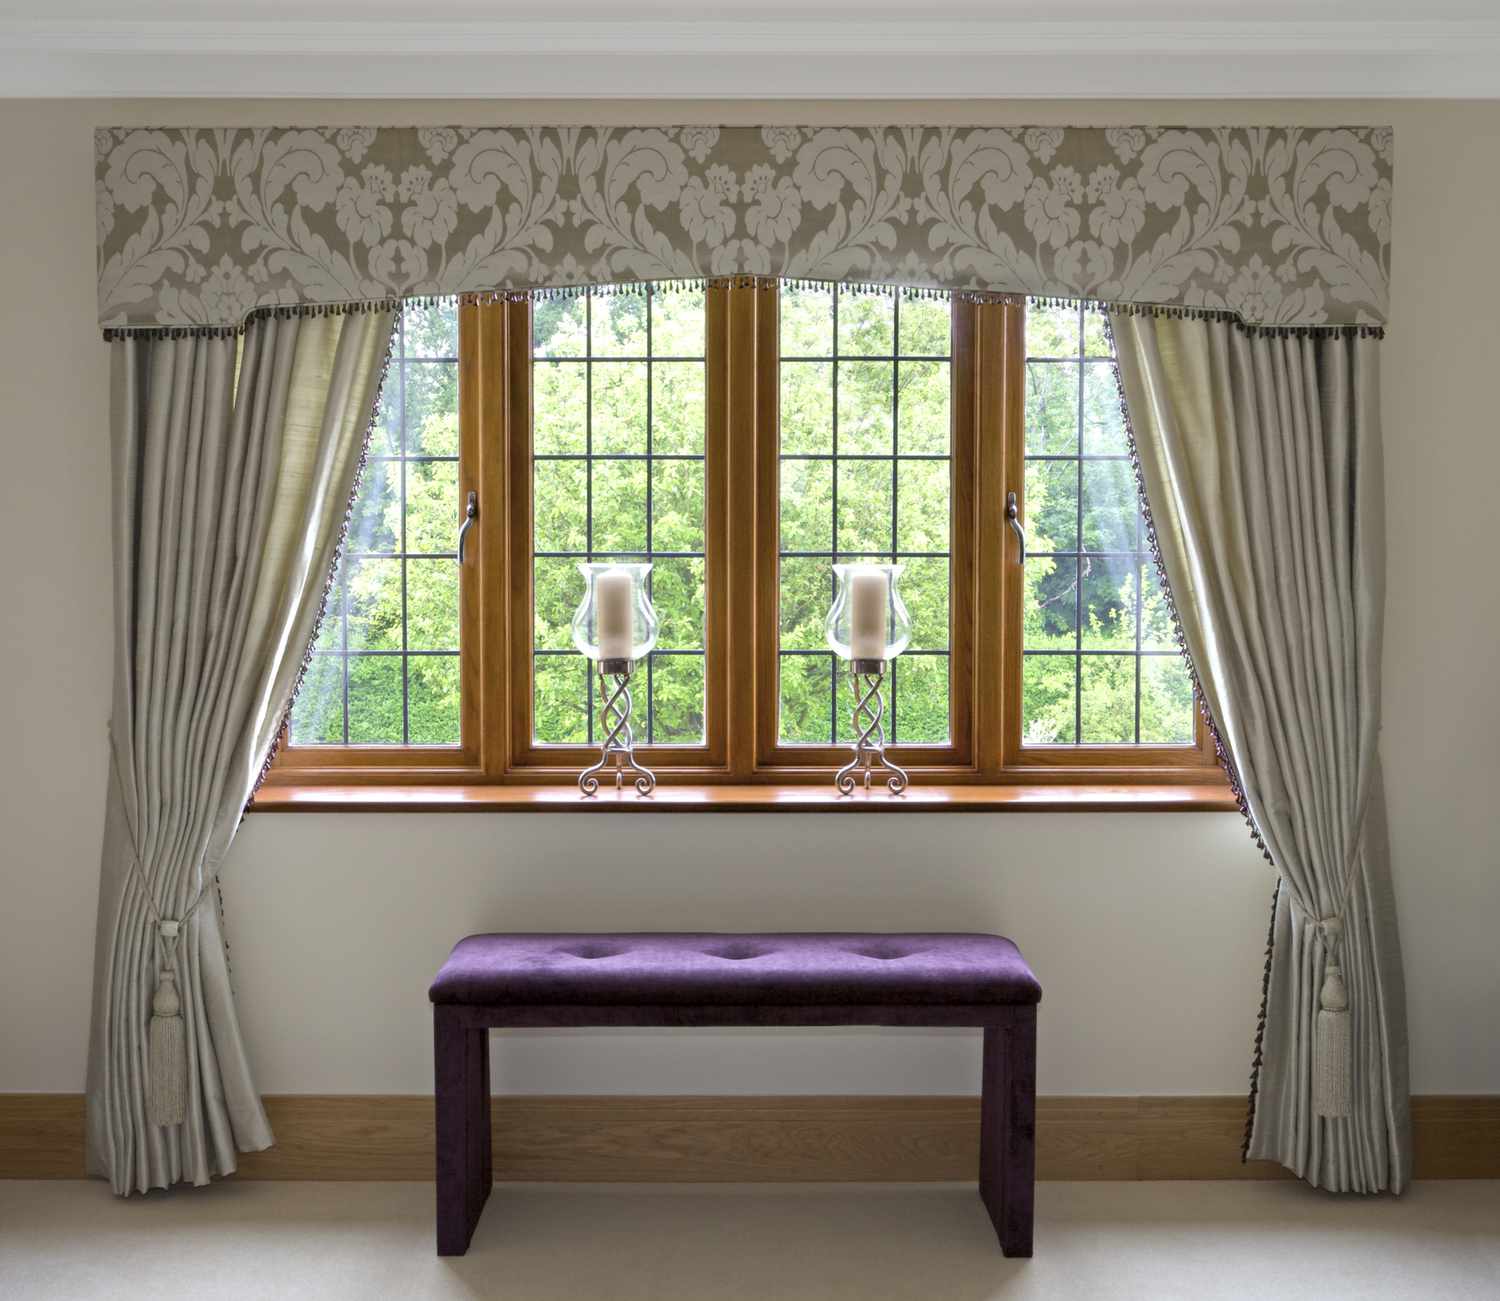
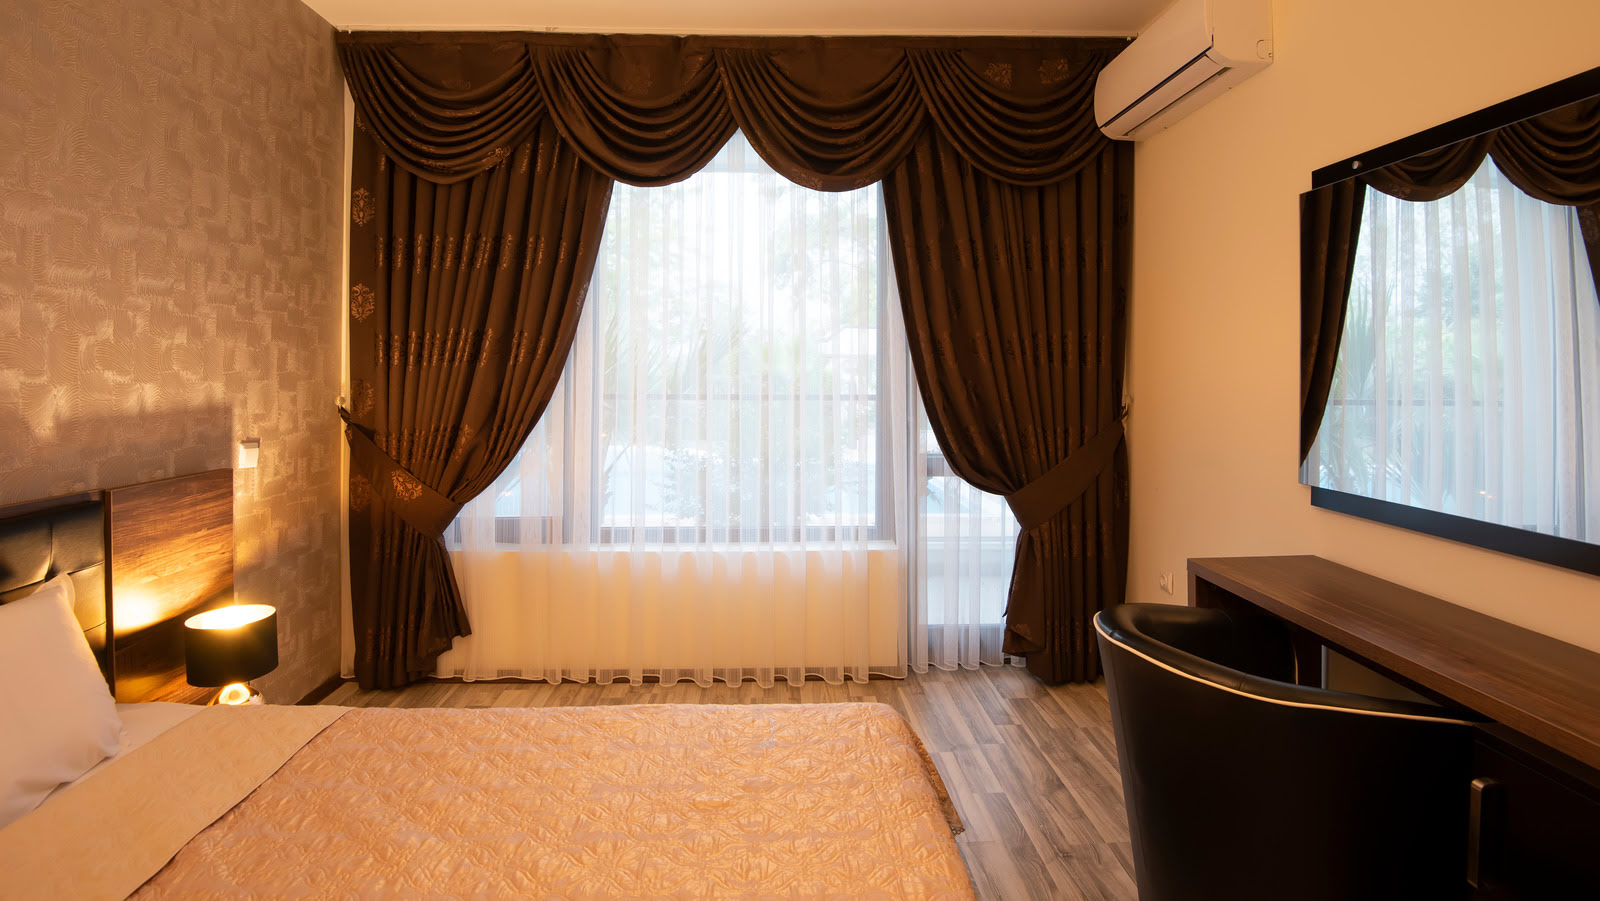
Welcome to the world of cornice valances! If you’re looking to add a touch of elegance and style to your windows, cornice valances are a perfect choice. These decorative window treatments not only add beauty to any room but also provide a functional way to conceal hardware and add a polished finish to your windows.
Whether you’re a DIY enthusiast or just someone who enjoys getting creative, making your own cornice valances can be a rewarding and enjoyable project. With the right materials, tools, and a bit of patience, you can create custom cornice valances that perfectly complement your decor.
In this article, we’ll guide you through the step-by-step process of making cornice valances. From measuring your windows to hanging the final product, we’ll cover everything you need to know to create stunning cornice valances that will transform the look of your windows and add a touch of sophistication to your space.
But before we jump into the details, let’s take a quick look at the materials you’ll need to get started.
Key Takeaways:
- Elevate your windows with custom cornice valances, adding elegance and functionality to any room. From measuring to hanging, create a stunning focal point with personalized style and craftsmanship.
- Unleash your creativity and transform your windows into exquisite focal points with DIY cornice valances. Enjoy the process and let your personal style shine through in every stitch and fabric choice.
Materials Needed
Before you start making cornice valances, it’s essential to gather all the necessary materials. Here’s a list of what you’ll need:
- Mounting board – This is the base of the cornice valance and provides stability. You can choose a wood or foam board, depending on your preference and the weight of the fabric.
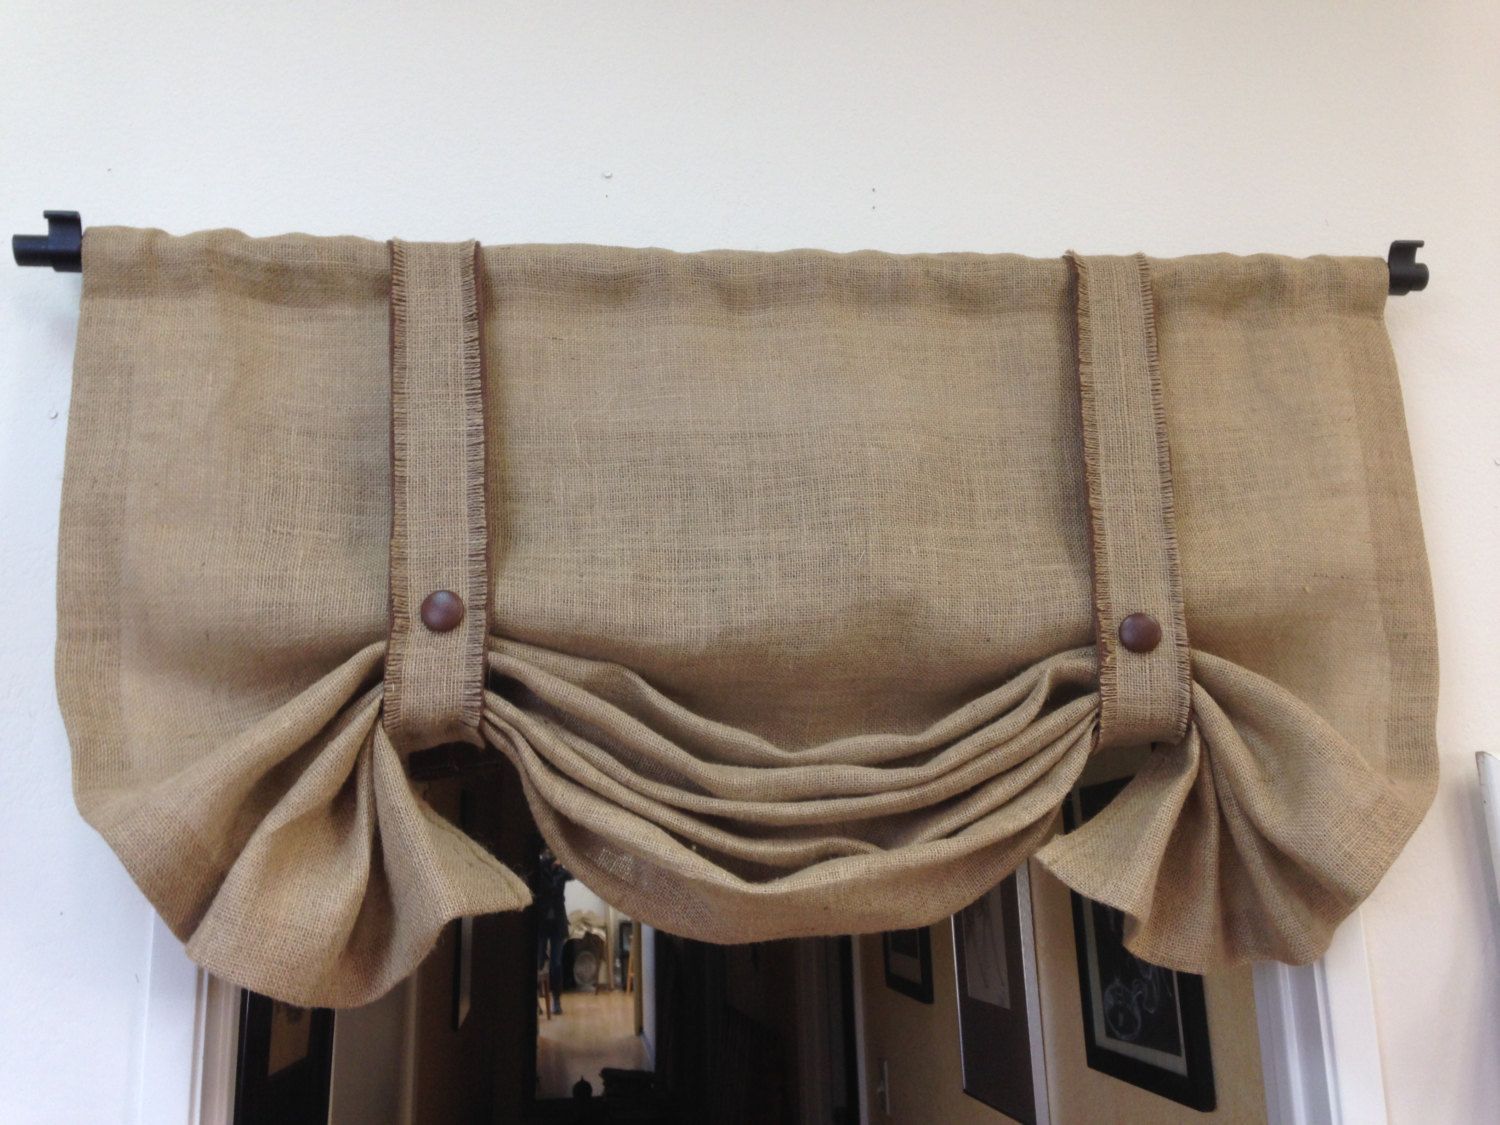
- Fabric – Select a fabric that complements your room’s décor. Consider the texture, color, and pattern to achieve the desired look.
- Measuring tape – This will help you accurately measure the window dimensions.
- Scissors – Sharp fabric scissors are necessary for cutting the fabric accurately.
- Sewing machine – If you’re comfortable with sewing, a machine will speed up the process. However, hand sewing is also an option.
- Thread – Choose a thread color that matches or complements the fabric.
- Staple gun – This will be used to attach the fabric to the mounting board.
- Staples – Make sure to have enough staples to secure the fabric securely to the mounting board.
- Decorative trim (optional) – If you want to add an extra decorative touch, consider using trim or fringe.
- Level – This will help ensure your cornice valance is straight and properly aligned when hanging it.
- Mounting hardware – Depending on your window type and preference, you may need brackets or other hardware to secure the cornice valance to the wall or window frame.
With these materials on hand, you’re ready to proceed to the next step, which involves measuring the window.
Step 1: Measure the Window
Before you can start creating your cornice valance, it’s crucial to accurately measure your window. This will ensure that your valance fits perfectly and hangs correctly. Follow these steps to measure your window:
- Start by measuring the width of your window. Use a measuring tape to measure from one side of the window frame to the other. Take note of the measurement.
- Next, measure the desired height of your cornice valance. This will depend on your personal preference and the overall look you want to achieve. Measure from the top of the window frame or down to where you want the valance to end.
- Remember to account for any additional drop you want for the valance to extend below the top of the window frame. This is typically around 3 to 6 inches, but it can vary based on your preference.
- Once you have these measurements, add a few inches on each side to allow for fabric folds and mounting purposes. These extra inches will provide enough fabric to cover the sides of the mounting board and create a clean finish.
It’s always a good idea to double-check your measurements to ensure accuracy. Remember the saying, “measure twice, cut once.” Taking accurate measurements at the beginning will save you time and frustration later on.
Once you have measured your window, you’re ready to move on to the next step, which involves choosing the style and design of your cornice valance.
Step 2: Choose the Style and Design
Now that you have your window measurements, it’s time to decide on the style and design of your cornice valance. The style you choose should complement your room’s decor and personal taste. Here are a few popular cornice valance styles to consider:
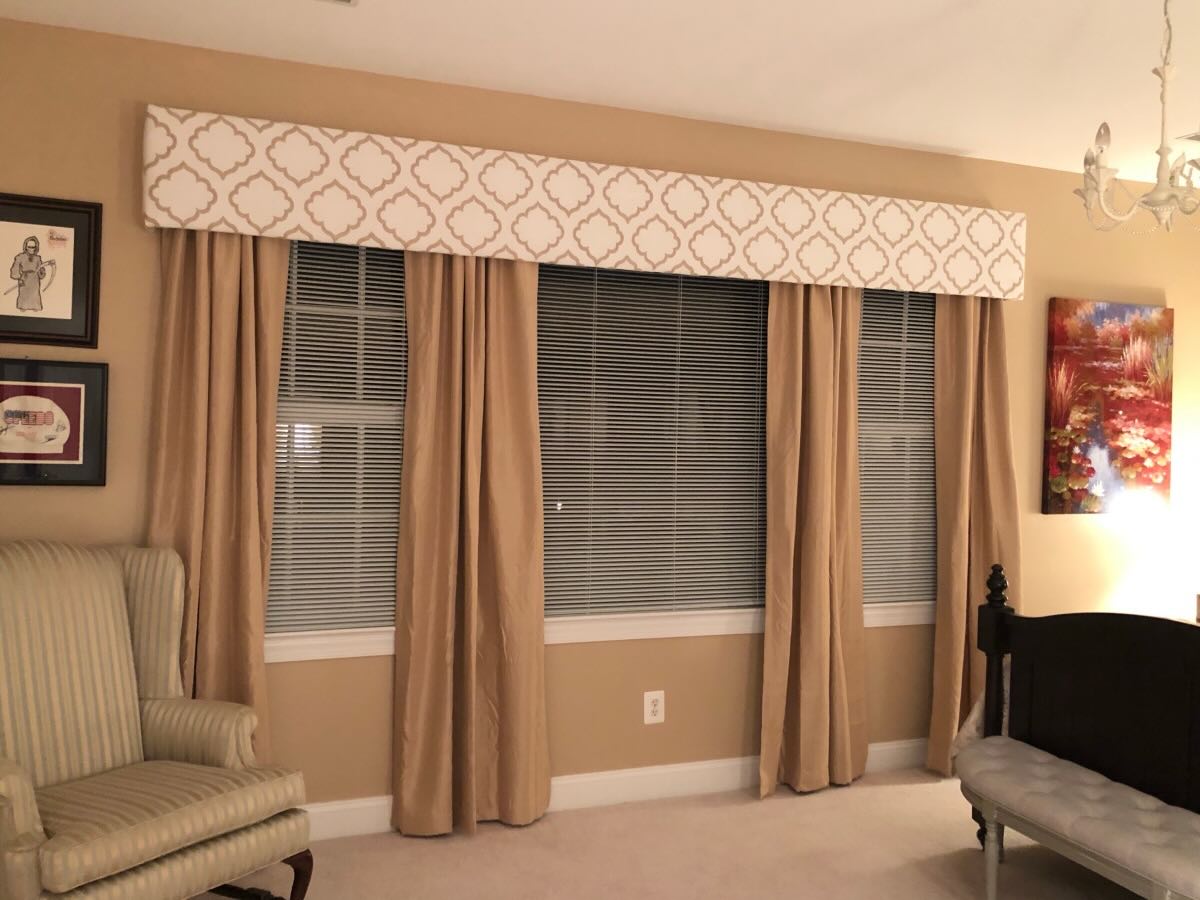
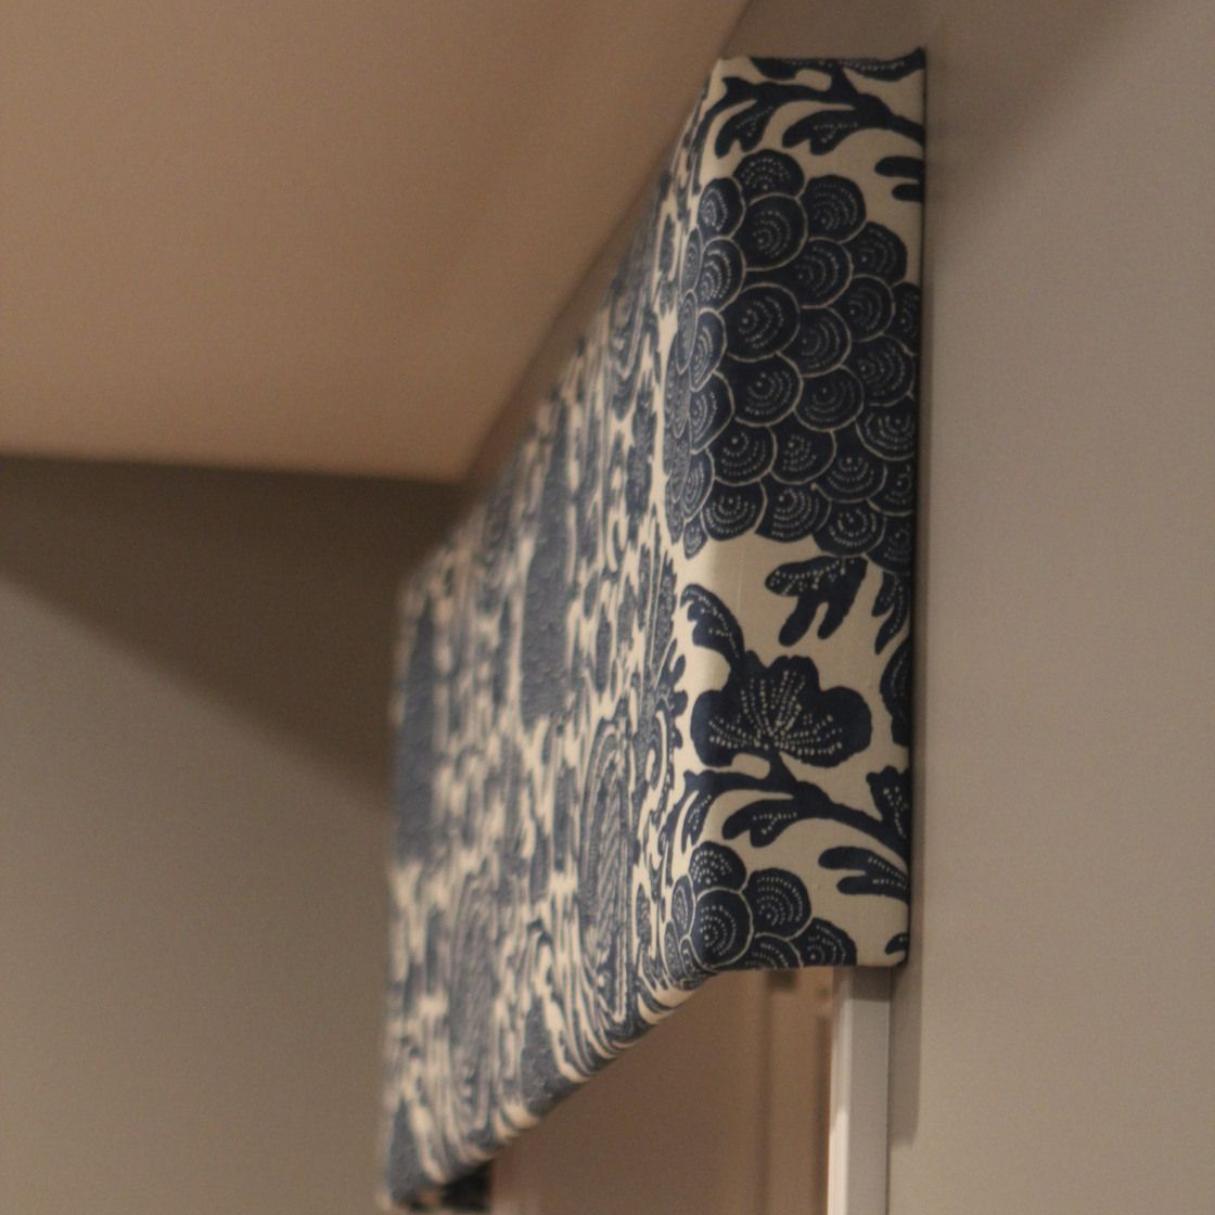
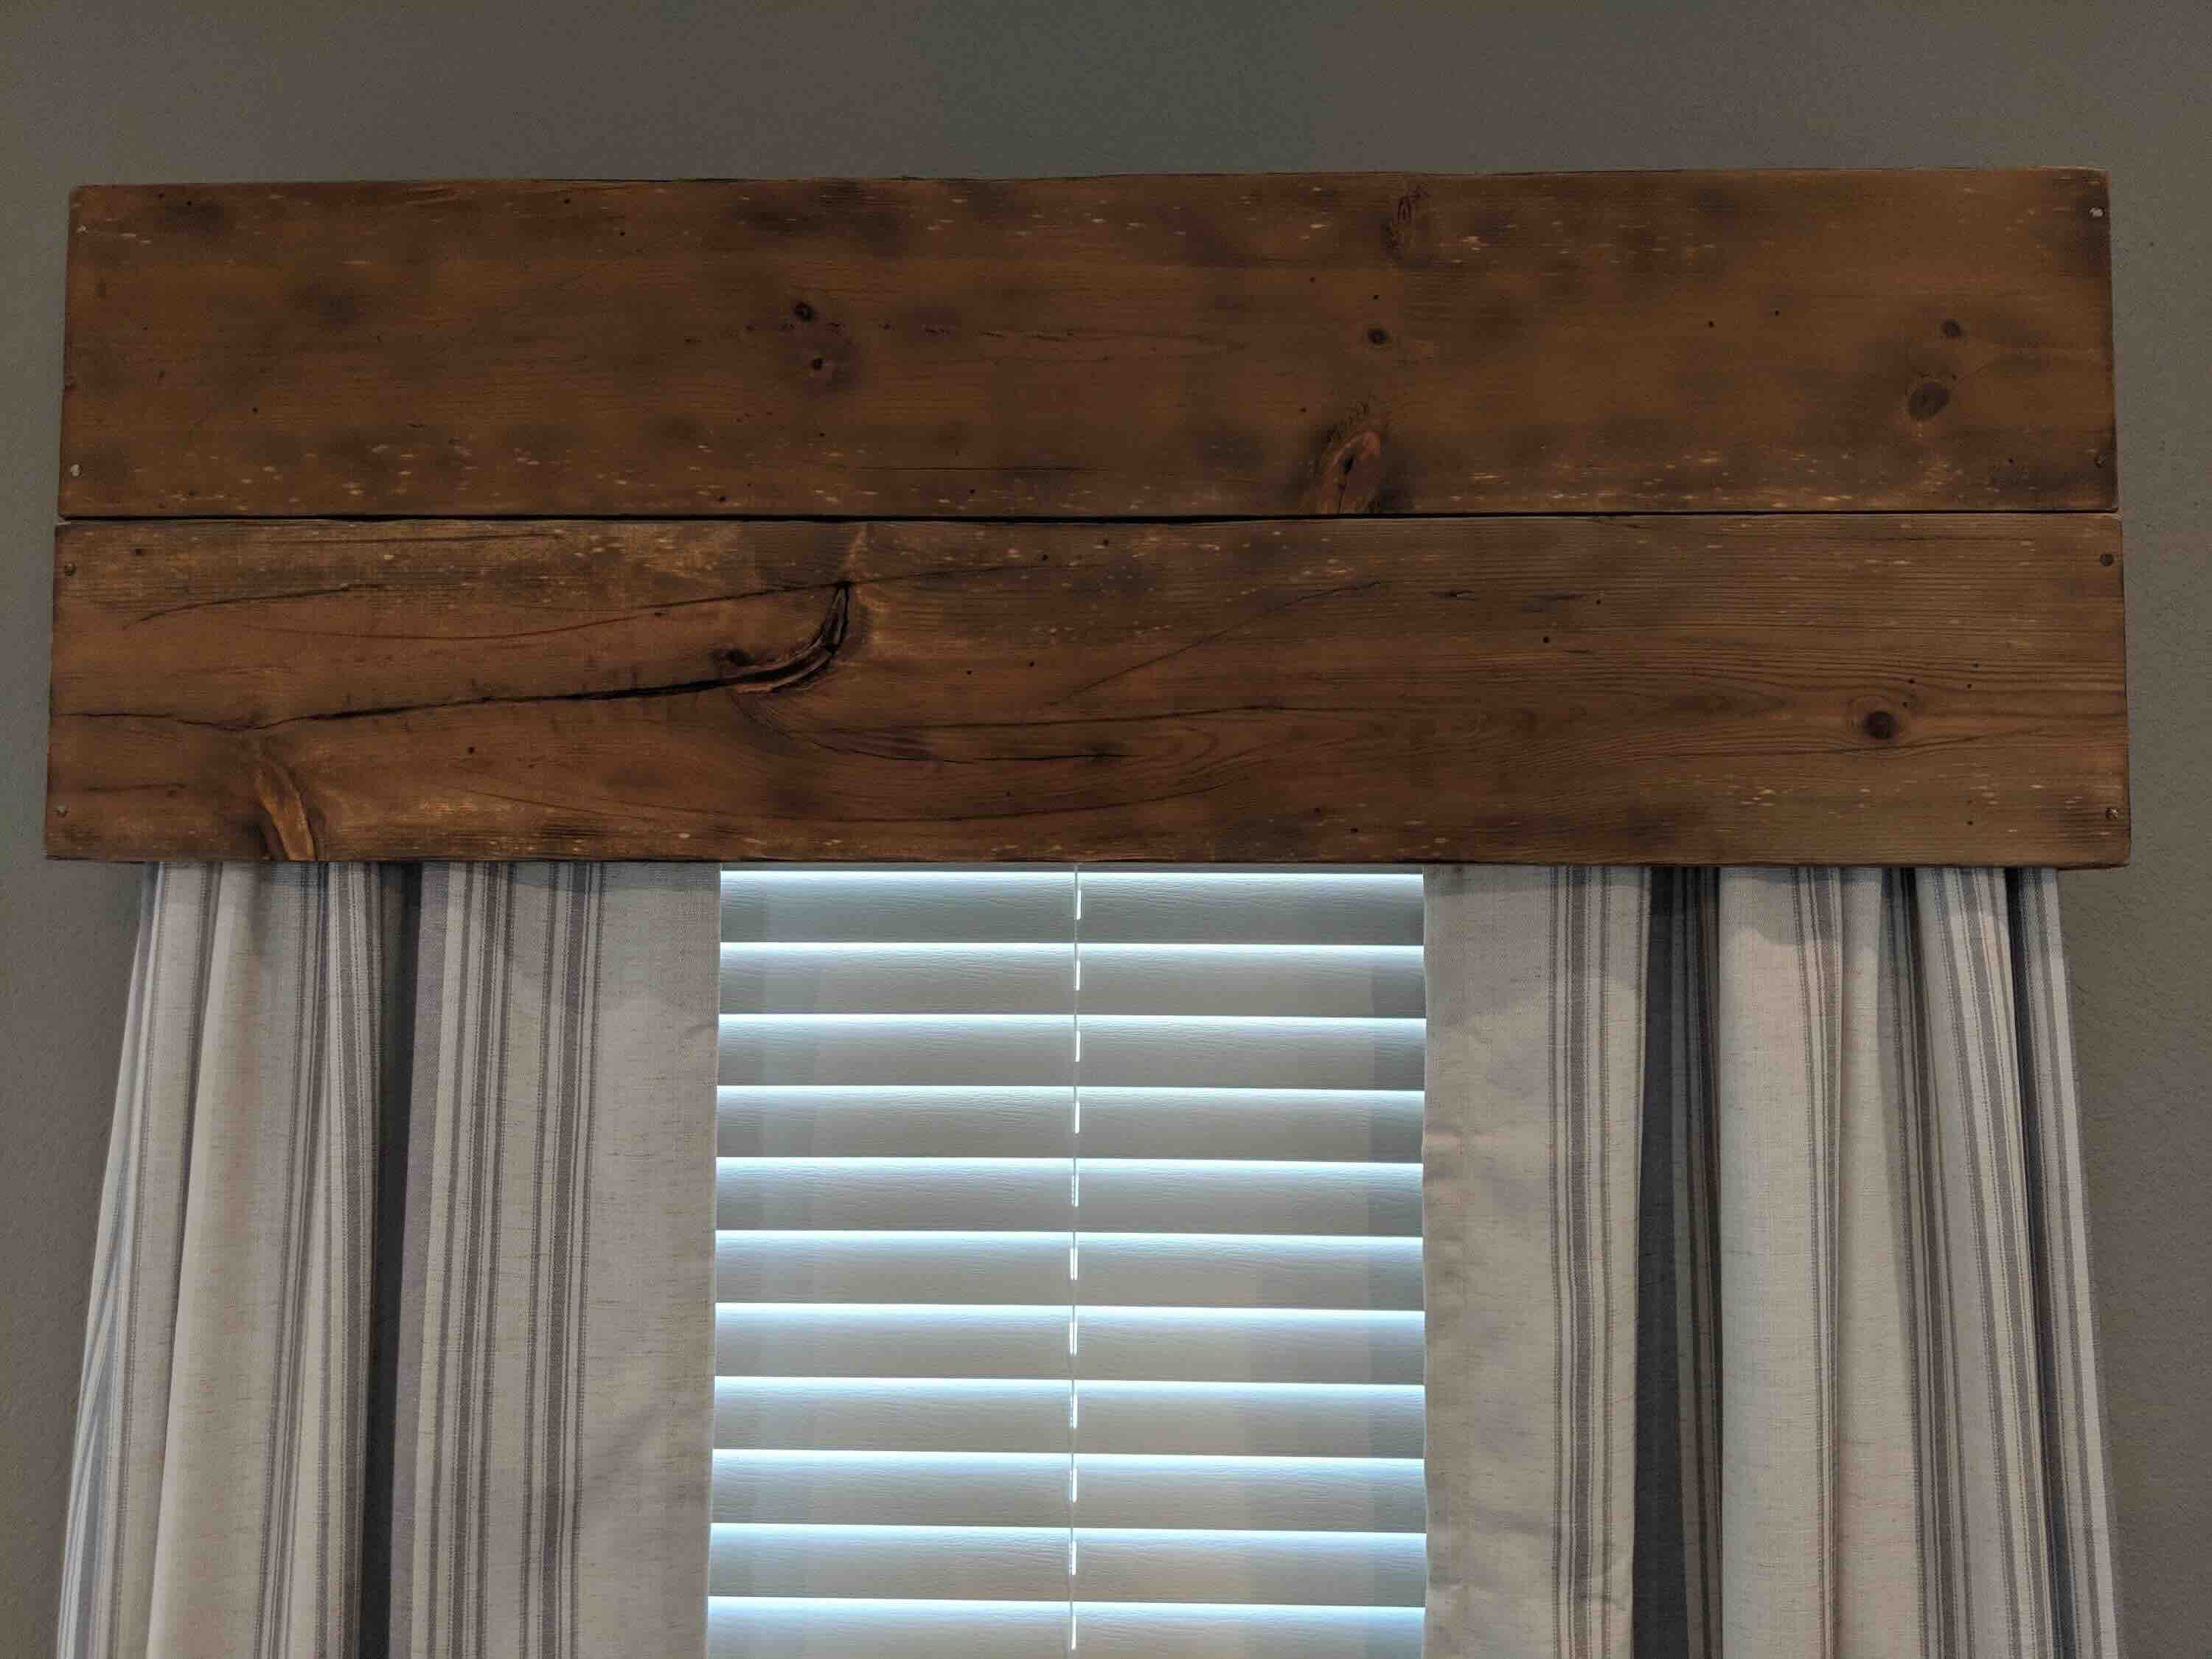
- Straight Cornice: This style features a simple, straight design that offers a clean and modern look. It works well in contemporary and minimalist spaces.
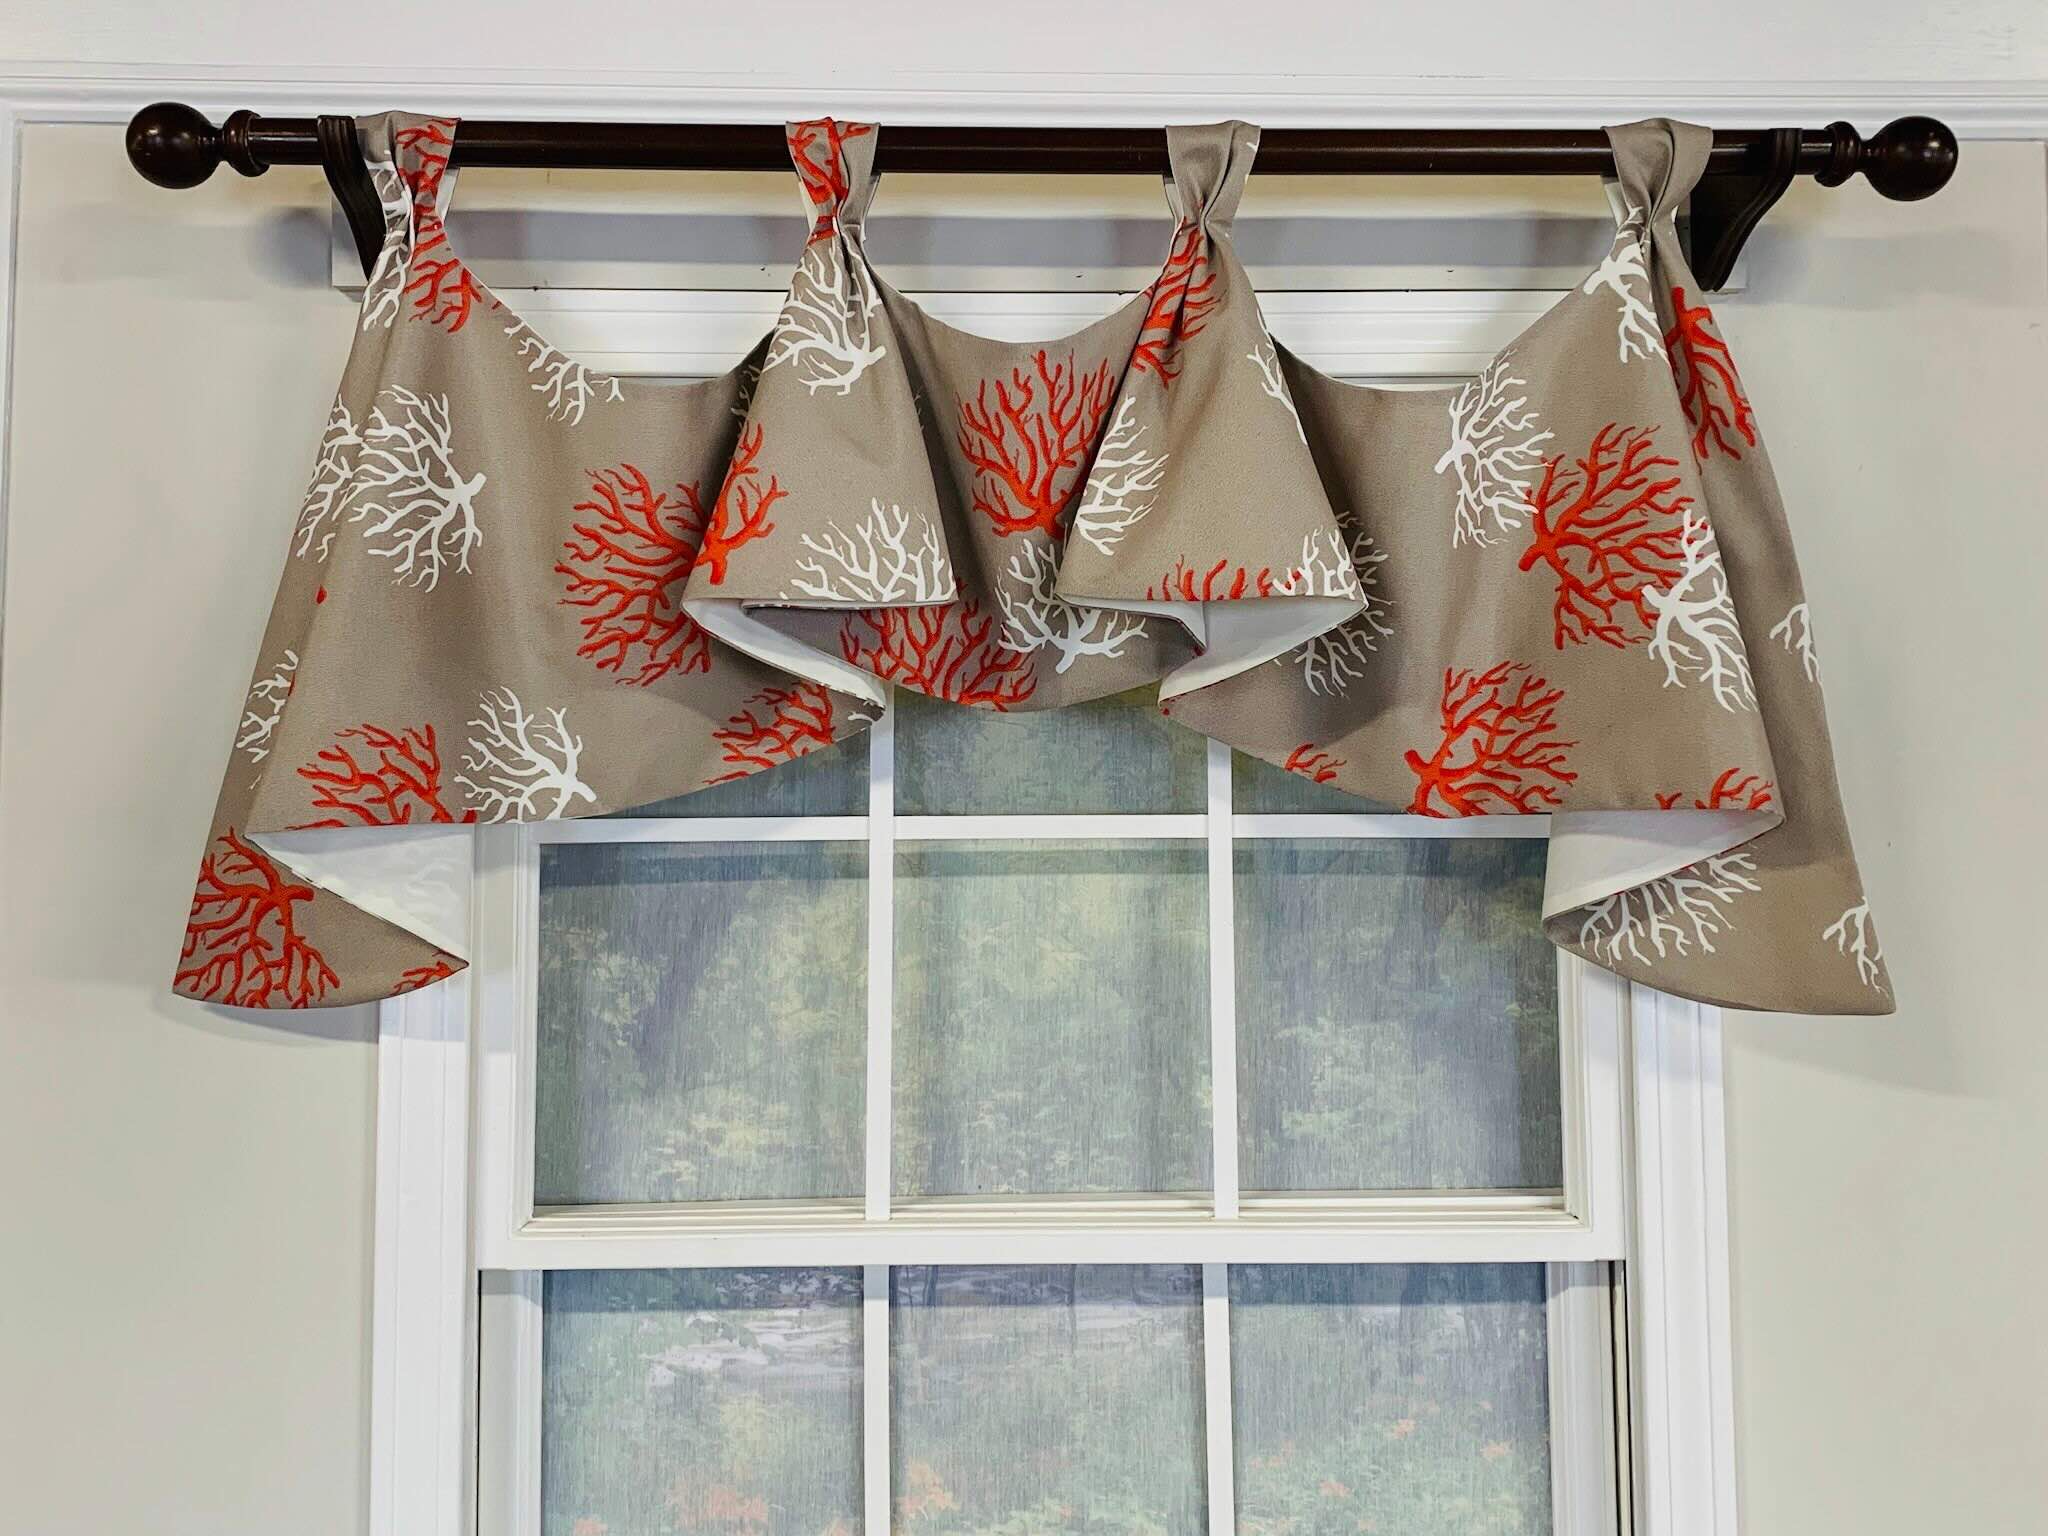
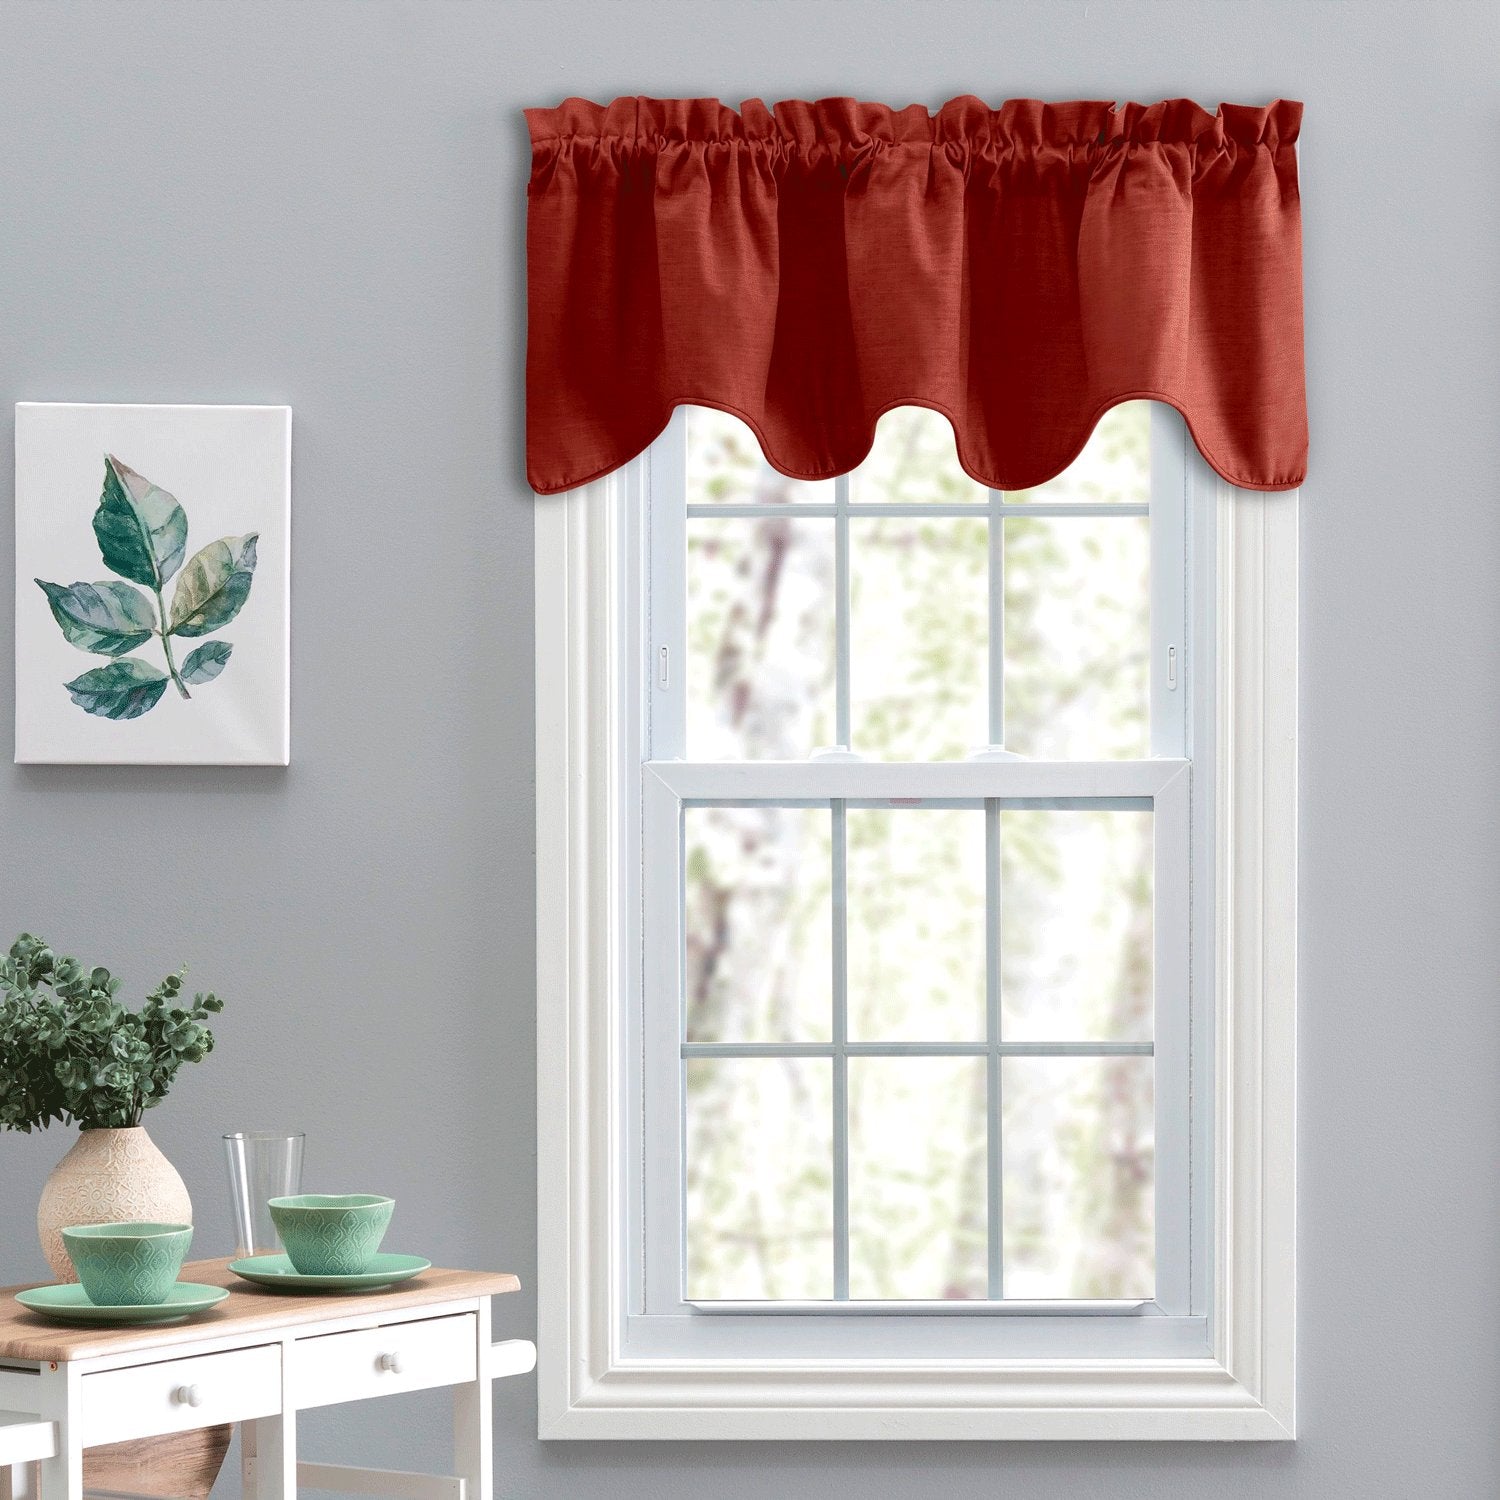
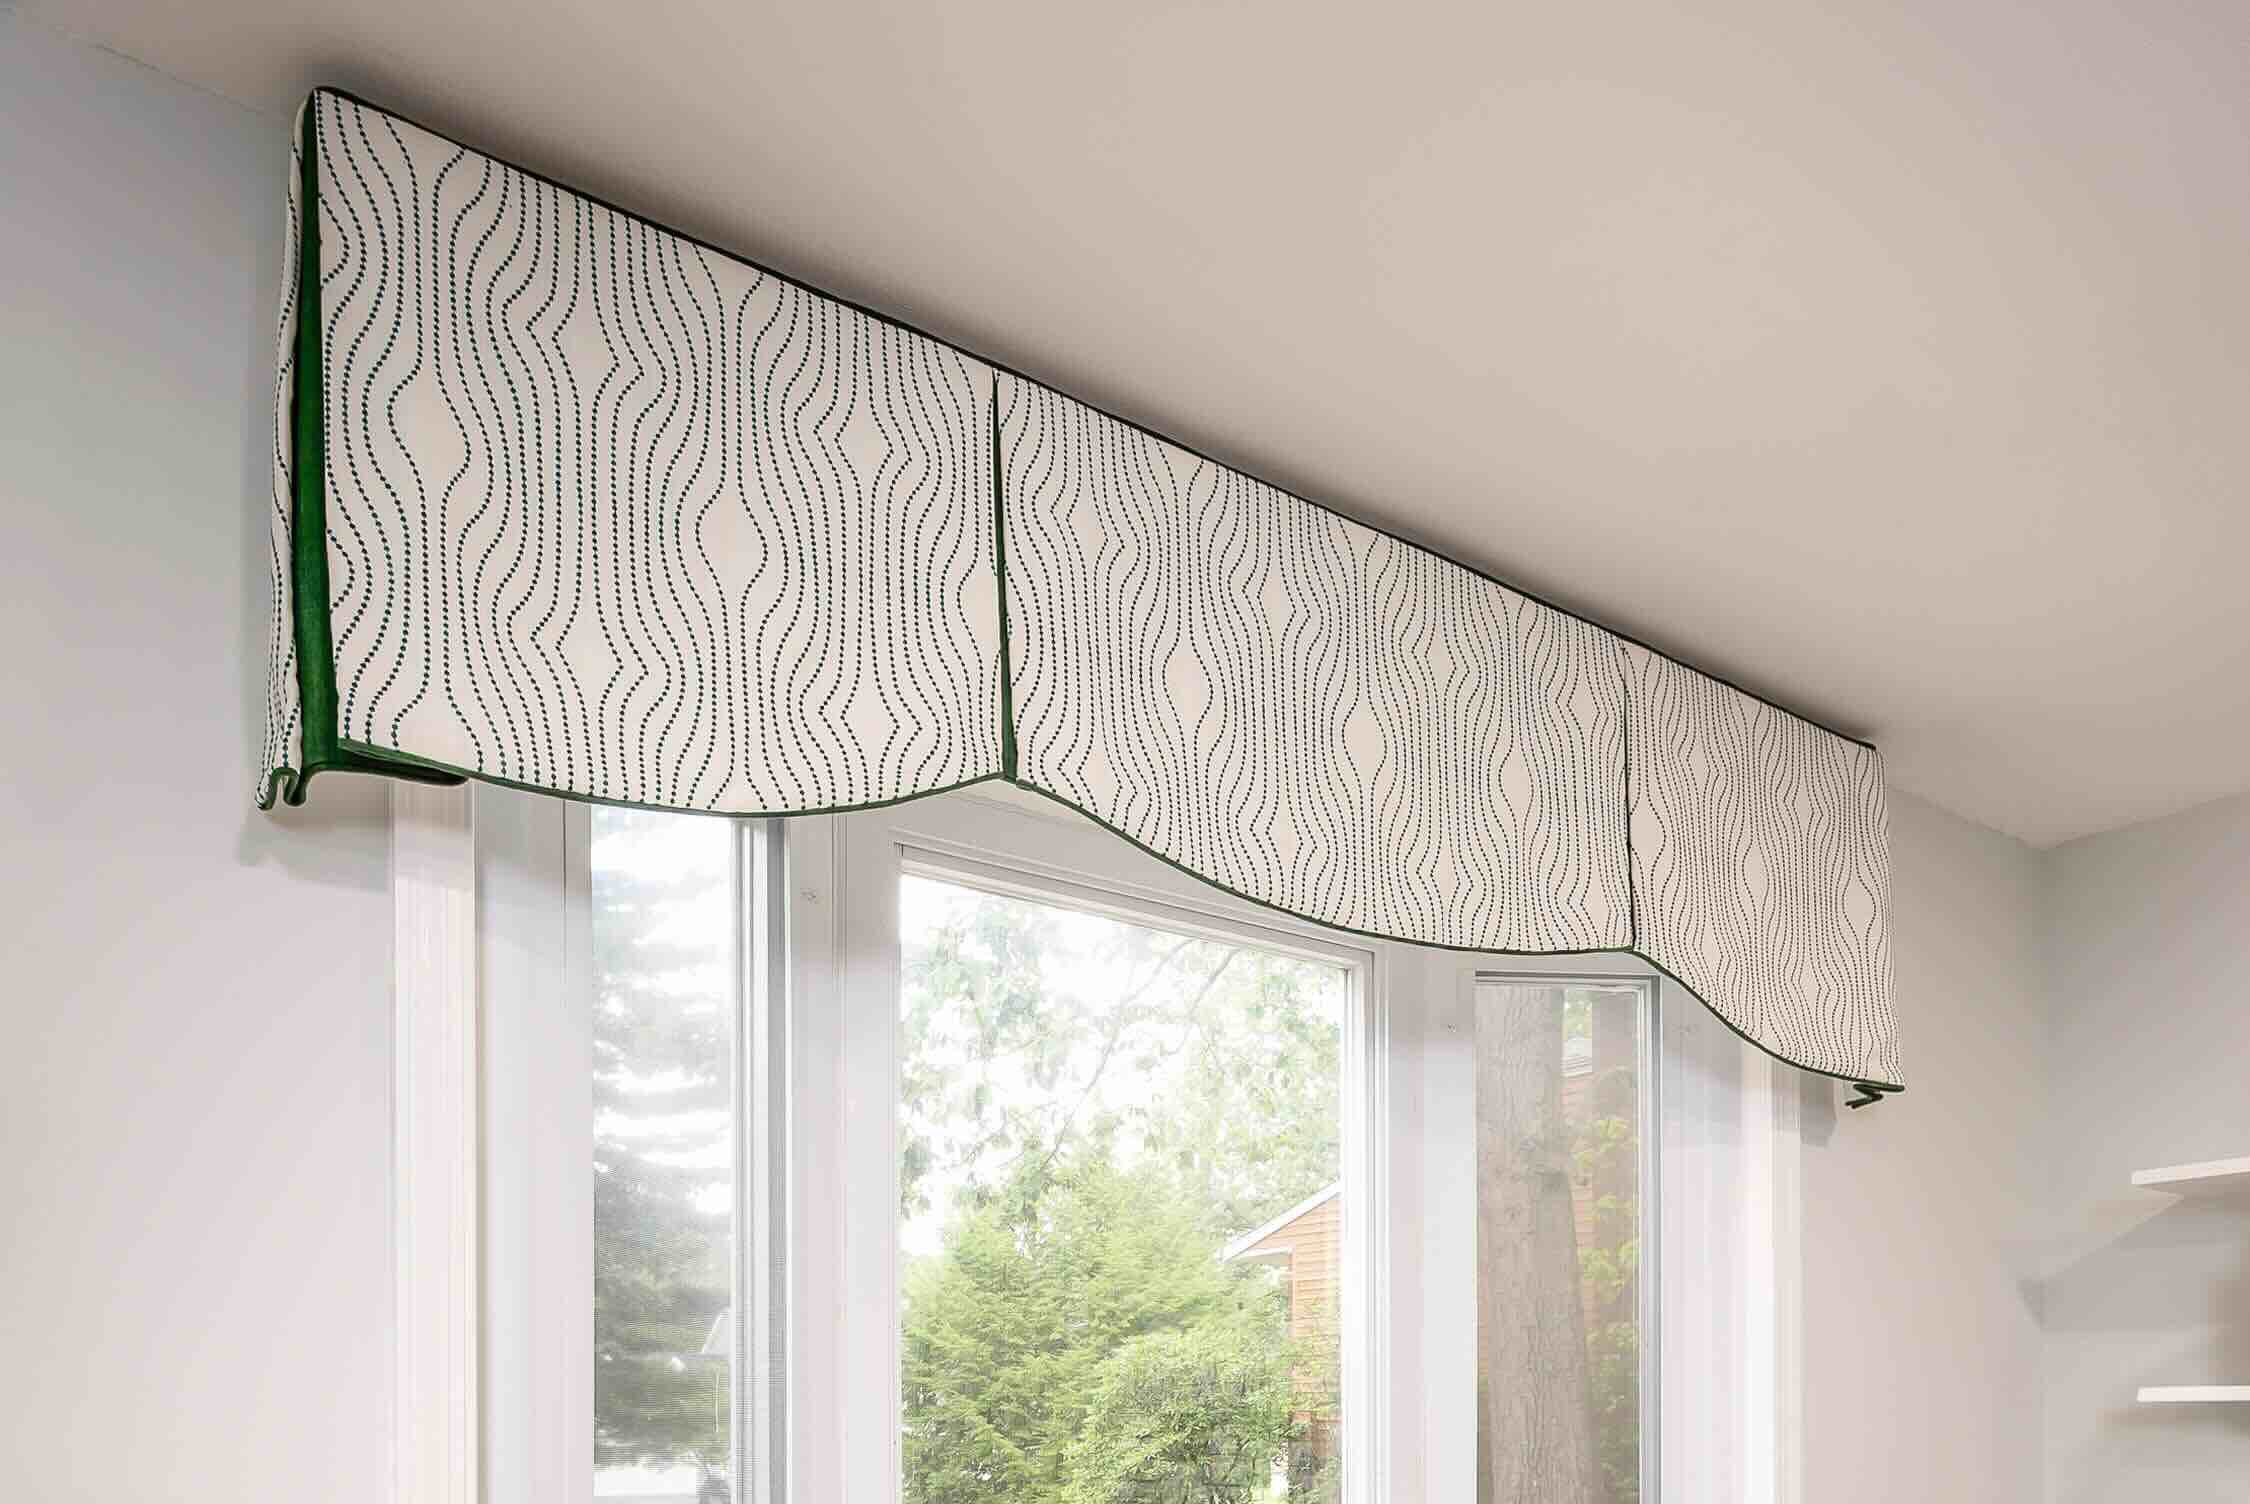
- Scalloped Cornice: If you want to add a touch of elegance and femininity, a scalloped cornice is a great choice. The curved edges create a soft and romantic look.
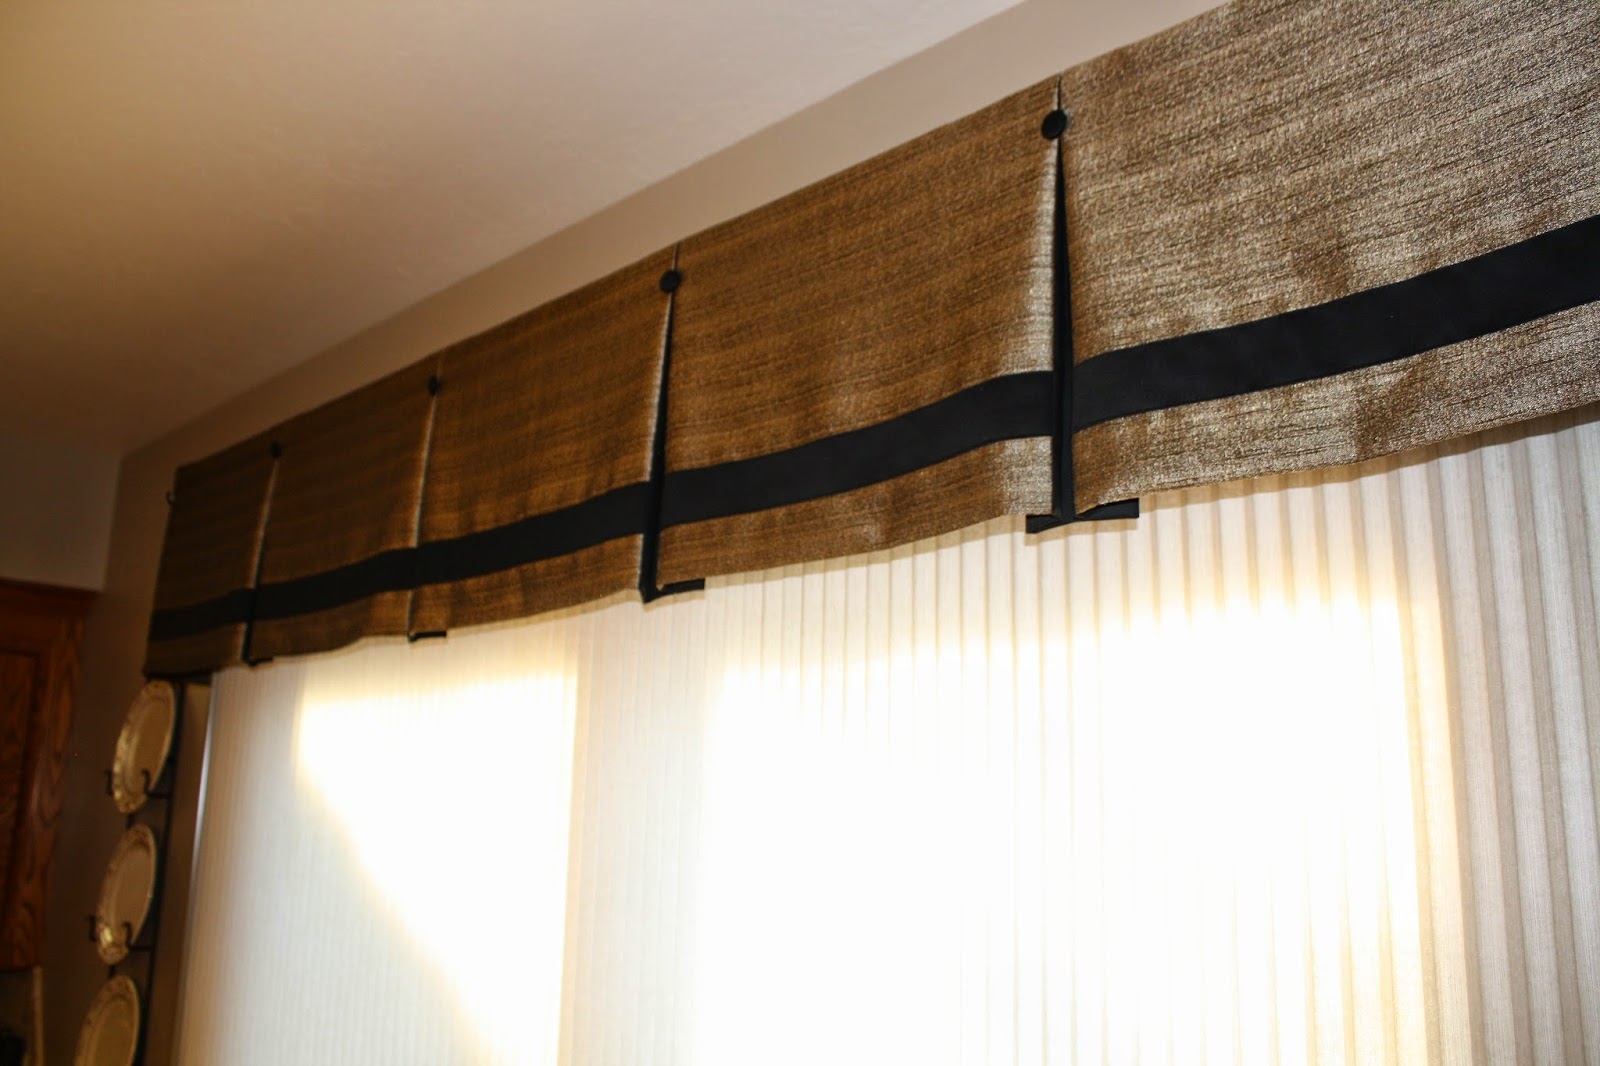
- Pleated Cornice: Pleats add texture and visual interest to the cornice valance. This style works well in traditional and formal spaces.
- Arched Cornice: For windows with an arch or curved shape, an arched cornice can be custom-made to fit the unique window design. It adds a decorative element and enhances the architectural features.
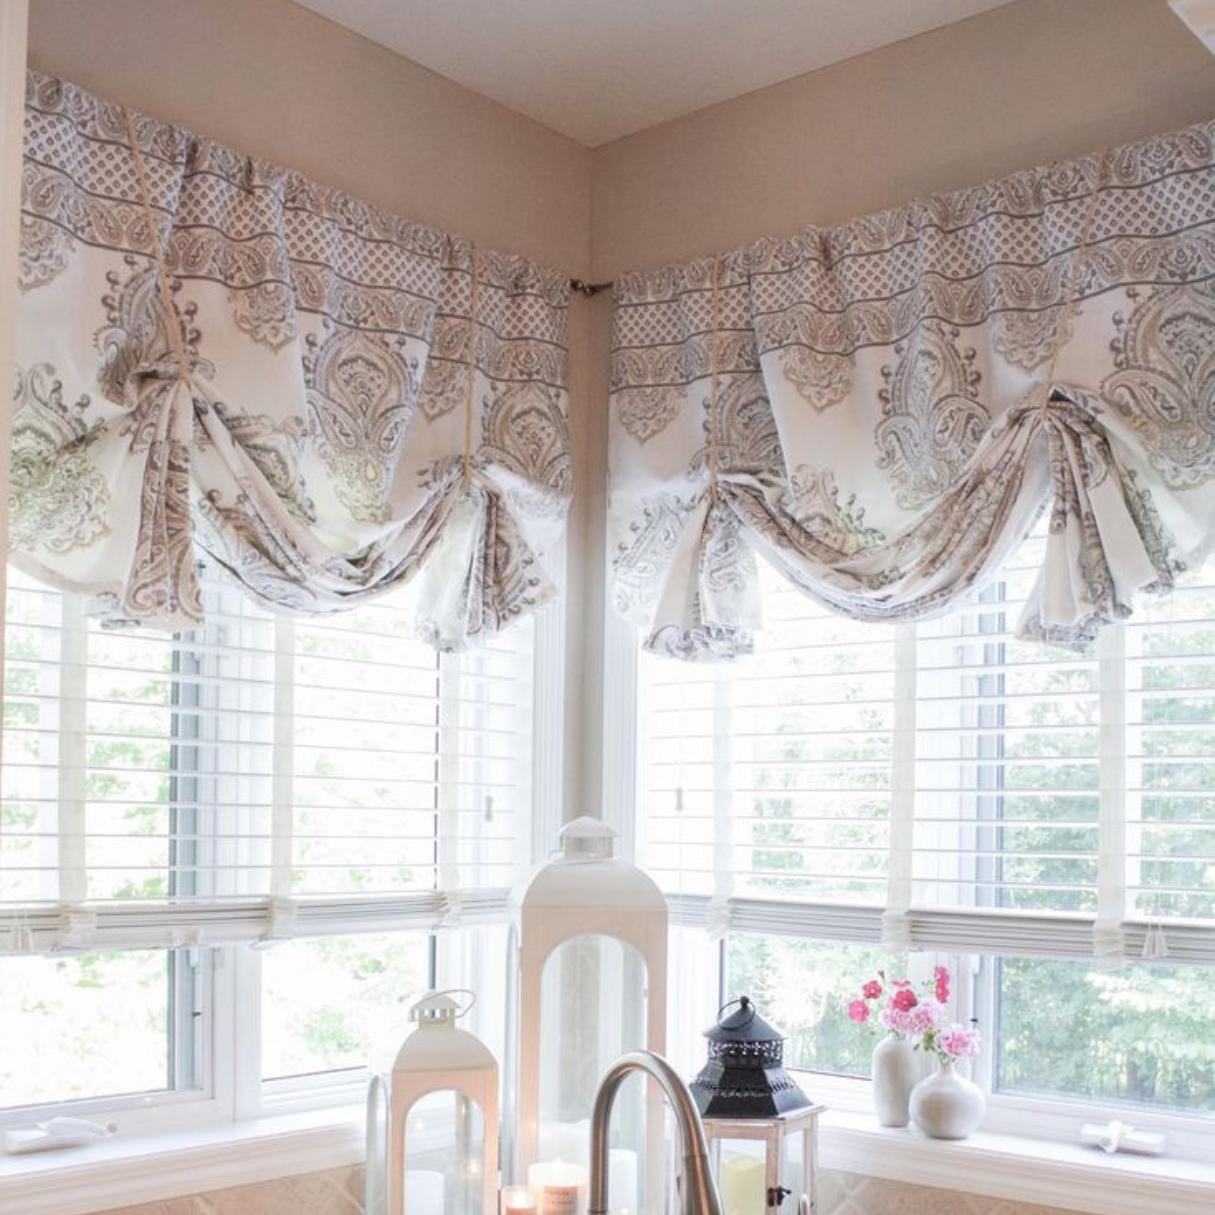
- Layered Cornice: To create a more dimensional look, consider a layered cornice. This involves adding additional fabric layers or using a combination of fabrics to create a layered effect.
Once you’ve decided on the style, you can also consider incorporating additional design elements, such as contrasting fabric panels or decorative trim, to further enhance the look of your cornice valance.
Take some time to explore different styles and designs that align with your vision. Look for inspiration online or in home decor magazines. Keeping the overall aesthetic of your room in mind will help you choose a style that harmonizes with the existing decor.
Now that you have your style and design in mind, it’s time to gather the fabric and tools necessary for creating the cornice valance. This will be covered in the next step.
Step 3: Gather the Fabric and Tools
With your style and design chosen, it’s time to gather the fabric and tools needed to bring your cornice valance to life. Here’s what you’ll need:
- Fabric: Select a fabric that matches your chosen style and complements the overall aesthetic of your room. Consider the color, pattern, and texture of the fabric. It’s a good idea to get a few extra yards of fabric to account for any mistakes or adjustments that may be needed.
- Mounting Board: Choose a sturdy mounting board that is wide enough to cover the top of your window frame and provide stability for the valance. Foam boards or wooden boards are popular choices.
- Measuring Tape: A measuring tape is essential for measuring and marking fabric and ensuring accurate dimensions.
- Fabric Scissors: Sharp fabric scissors are necessary for cutting the fabric with precision. Avoid using regular scissors, as they may result in uneven edges.
- Sewing Machine and Thread: If you’re comfortable with sewing, a sewing machine will make the process faster and more efficient. Make sure you have the appropriate thread that matches or complements the fabric.
- Staple Gun and Staples: A staple gun is used to secure the fabric to the mounting board. Ensure you have enough staples to securely attach the fabric.
- Iron and Ironing Board: A well-pressed fabric will result in a neater and more professional-looking cornice valance. Make sure you have an iron and ironing board to remove any wrinkles from the fabric.
- Optional: If you want to add a decorative touch, consider gathering trim, fringe, or any other embellishments that align with your chosen design.
Once you have gathered these materials and tools, you’re ready to move on to the next step, which involves cutting the fabric for your cornice valance.
Remember to ensure that your fabric is clean and properly ironed before starting the cutting process to maintain the quality of your final product.
When making cornice valances, be sure to measure your window accurately to ensure the proper fit. It’s important to have the right dimensions before starting the project.
Read more: How To Make Window Valances
Step 4: Cut the Fabric
Now that you have all the necessary materials and tools, it’s time to cut the fabric for your cornice valance. Follow these steps to ensure accurate and precise cuts:
- Prepare the Fabric: Lay the fabric flat on a clean surface, ensuring there are no wrinkles or folds. If needed, iron the fabric beforehand to remove any creases.
- Measure and Mark: Measure the dimensions of your cornice valance based on the window measurements you took earlier. Use a measuring tape to mark the measurements directly on the fabric. Double-check your measurements to ensure accuracy.
- Account for Seam Allowance: When measuring and marking the fabric, remember to account for the seam allowance. This is the extra fabric that will be used for sewing and attaching the fabric to the mounting board. Typically, a ½ inch to 1 inch seam allowance is sufficient.
- Cut the Fabric: Using sharp fabric scissors, carefully cut along the marked lines. Take your time to ensure clean and even cuts. If you are creating a patterned cornice valance or using multiple fabric layers, make sure to align the pattern or fabric layers accordingly.
- Label the Fabric: To avoid confusion later on, label the fabric pieces based on their designated positions in the cornice valance. This will make it easier to assemble the valance correctly later on.
Remember to handle the fabric with care and attention to detail during the cutting process. Slow and precise cuts will result in a more professional-looking finished product.
Once you have cut the fabric, you’re now ready to sew the cornice valance. This will be covered in the next step.
Step 5: Sew the Cornice Valance
With the fabric cut to size, it’s time to sew the cornice valance together. Whether you’re using a sewing machine or hand sewing, follow these steps for a successful sewing process:
- Prepare the Fabric Pieces: Lay out the fabric pieces in the correct order and position according to your chosen design. Double-check that you have labeled the pieces to ensure correct assembly.
- Pin the Fabric: To keep the fabric pieces in place, use straight pins to pin them together along the seams. This will help ensure accurate alignment during the sewing process.
- Sew the Seams: Using a sewing machine or hand sewing, start sewing along the pinned seams, following a straight stitch. Remove the pins as you sew, being careful not to sew over them. Take your time to sew straight and secure seams.
- Trim Excess Threads: After sewing each seam, trim any excess threads for a neater appearance. This step will also prevent threads from getting tangled during future steps.
- Press Open the Seams: Use an iron to press open the sewn seams. This will create a crisp and professional finish. Take care not to apply too much heat to delicate fabrics.
- Create Hems: If your cornice valance design requires hems, fold the fabric edges to the desired hem width and press them with an iron. Then, stitch the hems in place using a sewing machine or hand sewing.
- Optional: If you’re adding decorative trim or fringe, sew it in place according to your chosen design. Make sure to secure it firmly to prevent it from coming loose.
Throughout the sewing process, maintain your attention to detail and precision. Take breaks as needed and review your work to ensure the valance is coming together as planned.
Once the sewing is complete, you’re ready to move on to the next step, which involves attaching the mounting board to the fabric.
Step 6: Attach the Mounting Board
Now that you have the fabric sewn together to form the cornice valance, it’s time to attach it to the mounting board. Follow these steps to securely attach the fabric:
- Position the Fabric: Lay the fabric face down on a clean surface. Ensure that the fabric is smooth and free from any wrinkles or folds.
- Place the Mounting Board: Position the mounting board on top of the fabric, aligning it with the bottom edge of the fabric. Center it horizontally to ensure an even overhang on each side.
- Secure with Staples: Starting from the center of the fabric, use a staple gun to staple the fabric to the mounting board. Continue stapling along the bottom edge, spacing the staples every few inches. Pull the fabric taut as you go to ensure a smooth and tight fit.
- Move to the Sides: Once the bottom edge is secured, move to the sides of the fabric. Pull the fabric taut and staple it to the mounting board, working your way from the center towards each end.
- Repeat for the Top Edge: Finally, carefully fold over the top edge of the fabric to cover the mounting board. Pull the fabric taut and staple it along the top edge, maintaining an even spacing between the staples.
- Trim Excess Fabric: Trim any excess fabric along the edges, leaving a clean and even finish. Be mindful not to cut too close to the staples to avoid compromising the fabric’s hold.
Throughout the process, ensure that the fabric is smooth and free from any wrinkles or creases. Pay attention to maintaining an even tension on the fabric to achieve a professional and polished look.
Once you’ve securely attached the fabric to the mounting board, you’re now ready for the final step: hanging the cornice valance.
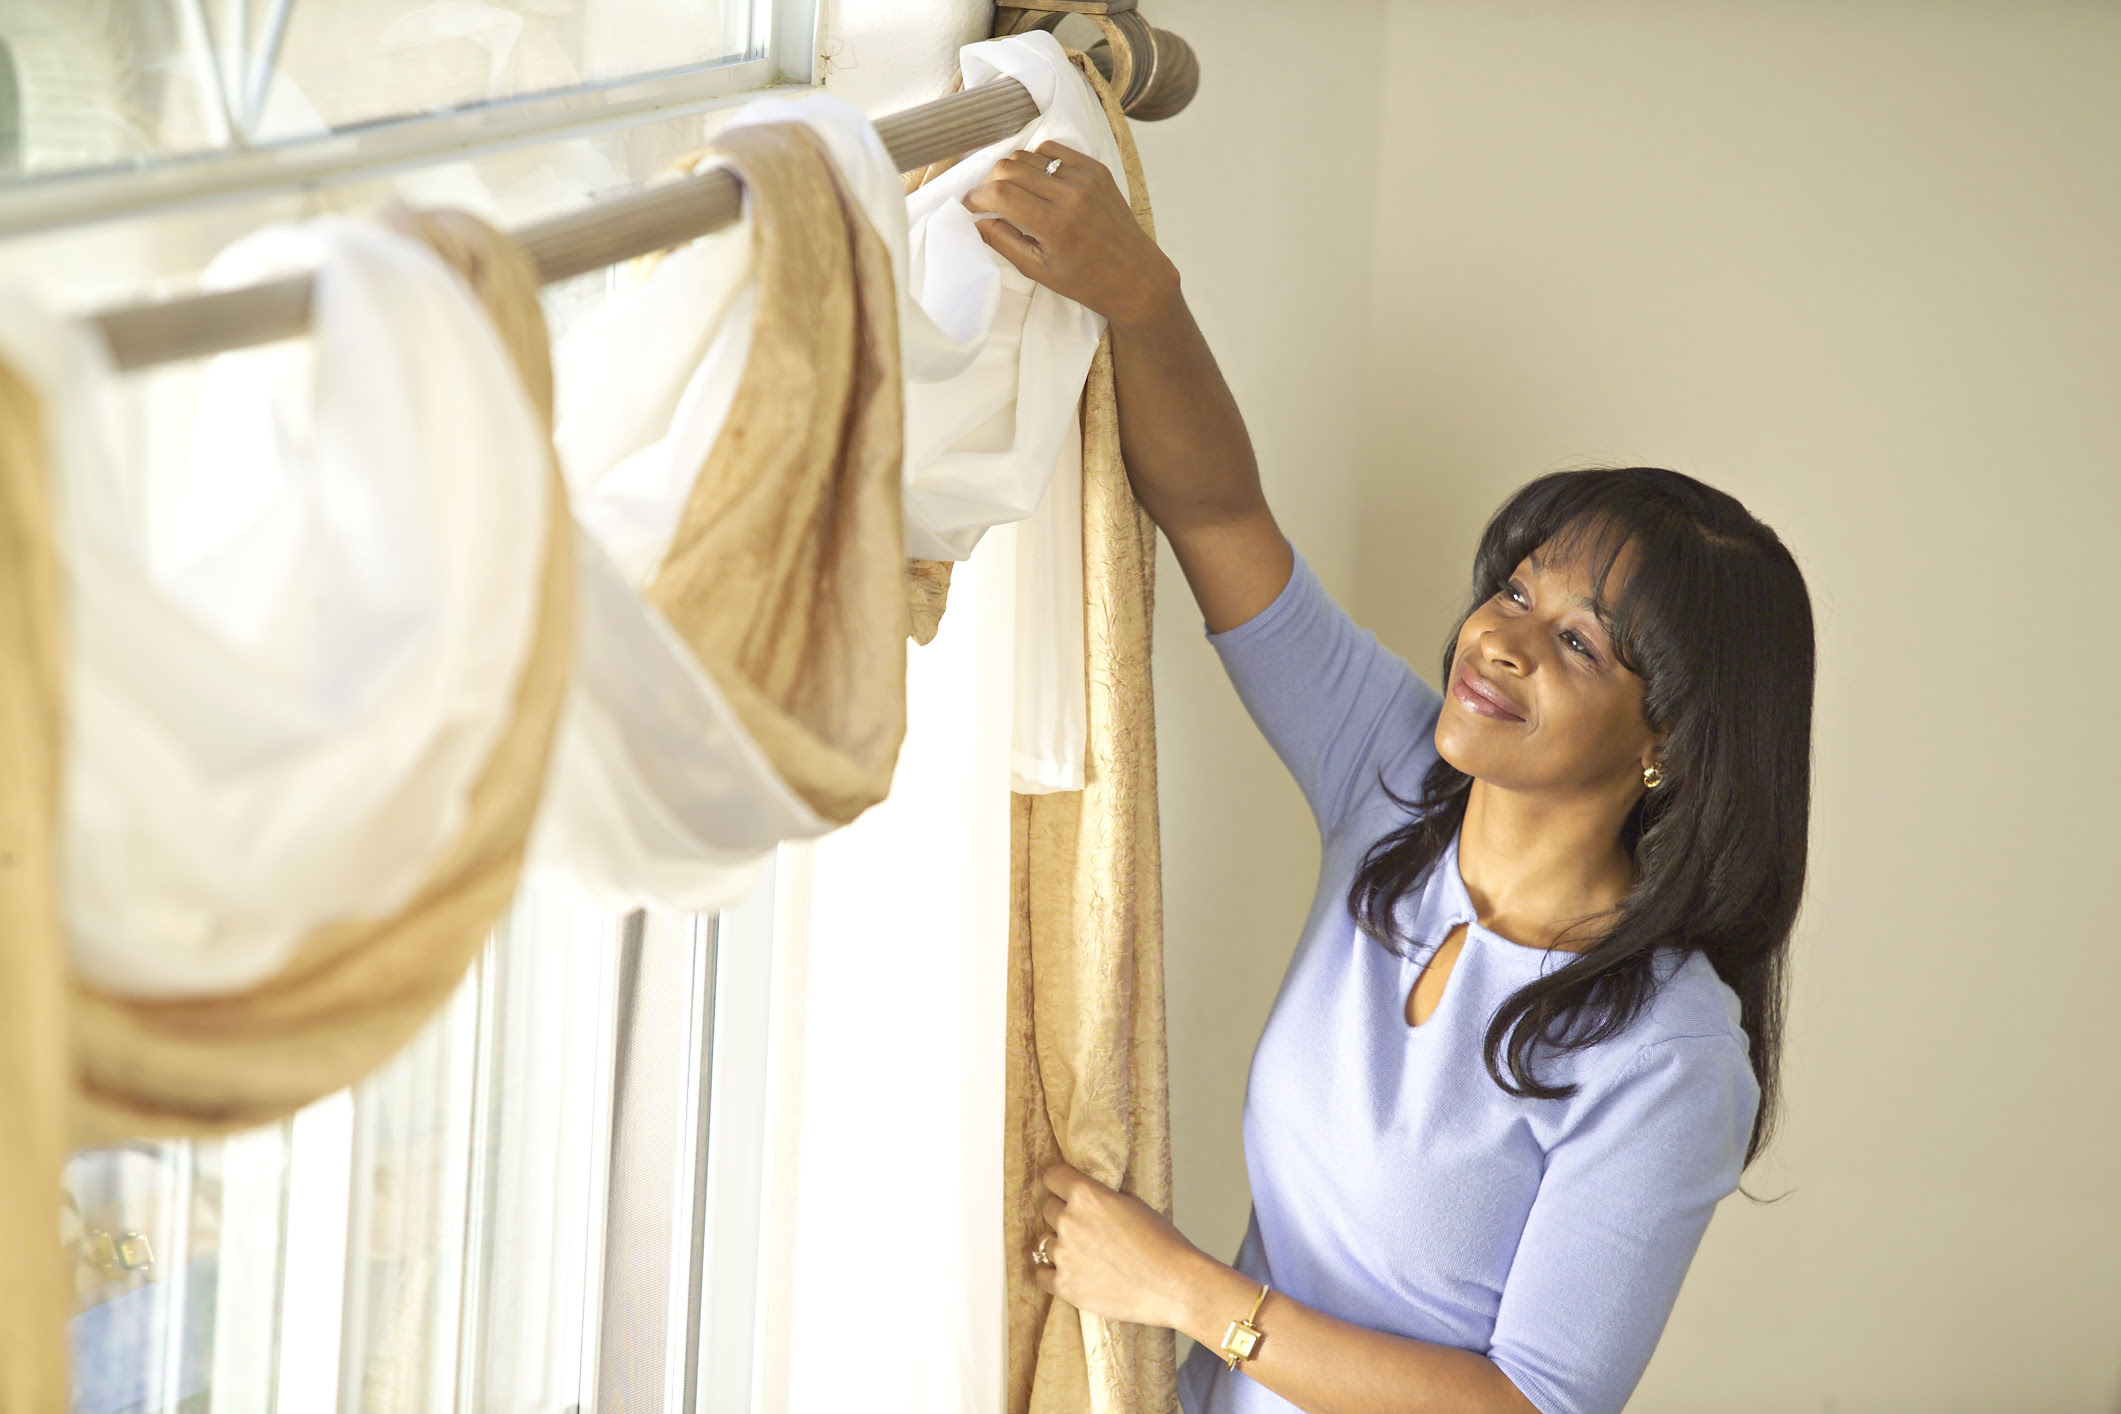
Step 7: Hang the Cornice Valance
With your cornice valance complete, it’s time to hang it and enjoy the beautiful transformation it brings to your window. Follow these steps to hang your cornice valance:
- Prepare the Mounting Hardware: Depending on your window type and preference, gather the necessary mounting hardware. This may include brackets, screws, or other hardware to secure the cornice valance to the wall or window frame.
- Position the Cornice Valance: Decide on the desired placement of the cornice valance. Center it over the window, ensuring it’s level and properly aligned.
- Mark the Mounting Points: Use a pencil or marker to mark the exact points where the mounting hardware will be attached. Double-check your measurements to ensure accuracy.
- Install the Mounting Hardware: Follow the manufacturer’s instructions to install the mounting hardware. Use a level to ensure that the cornice valance will be straight when attached.
- Attach the Cornice Valance: Once the mounting hardware is in place, carefully lift the cornice valance and align it with the mounted brackets or screws. Slowly lower it into position, ensuring a secure fit on the hardware.
- Double-Check the Alignment: Use a level to confirm that the cornice valance is level and properly aligned. Make any necessary adjustments before proceeding.
- Step Back and Admire: Stand back and admire your newly hung cornice valance. Take a moment to appreciate the beauty and elegance it adds to your window and overall room decor.
After hanging your cornice valance, step back and assess the overall look. Make any final adjustments if needed, such as adjusting the fabric folds or ensuring the valance is evenly spaced.
Now, sit back and enjoy the transformation of your window with the custom-made cornice valance you created. It’s a testament to your creativity and craftsmanship!
As a final note, remember that different window treatments and decor elements may require specific care and maintenance. Refer to the fabric manufacturer’s recommendations for cleaning and upkeep to ensure the longevity and visual appeal of your cornice valance.
Congratulations on completing your cornice valance project. Now you can enjoy the beauty and elegance it adds to your space. Well done!
Read more: How To Make Waterfall Valances
Conclusion
Creating your own cornice valances is a rewarding and enjoyable project that allows you to personalize your window treatments and add a touch of elegance to your space. By following the step-by-step process outlined in this article, you can confidently craft custom cornice valances that perfectly align with your style and decor.
From measuring the window and choosing the style and design to gathering the necessary materials and sewing the fabric together, each step plays a crucial role in creating a beautifully tailored cornice valance. Taking the time to accurately measure, select high-quality materials, and sew with precision ensures a professional-looking finished product that you can be proud of.
Attaching the fabric to the mounting board and properly hanging the cornice valance completes the process, transforming your window into a focal point of your room. The added beauty, texture, and dimension that cornice valances bring can turn a plain window into a stunning feature that reflects your personal style and enhances the overall ambiance of your space.
Remember to maintain and care for your cornice valances to keep them looking their best. Refer to the fabric manufacturer’s recommendations for cleaning and maintenance, and address any issues promptly to extend their lifespan.
Now that you have the knowledge and confidence to create beautiful cornice valances, it’s time to unleash your creativity and transform your windows into exquisite focal points. Enjoy the process, and let your personal style shine through in every stitch and fabric choice.
Happy crafting!
Frequently Asked Questions about How To Make Cornice Valances
Was this page helpful?
At Storables.com, we guarantee accurate and reliable information. Our content, validated by Expert Board Contributors, is crafted following stringent Editorial Policies. We're committed to providing you with well-researched, expert-backed insights for all your informational needs.

0 thoughts on “How To Make Cornice Valances”