Articles
How To Make Kitchen Curtain Valances
Modified: August 17, 2024
Learn how to make beautiful kitchen curtain valances with our step-by-step articles. Enhance your kitchen decor and add a touch of style!
(Many of the links in this article redirect to a specific reviewed product. Your purchase of these products through affiliate links helps to generate commission for Storables.com, at no extra cost. Learn more)
Introduction
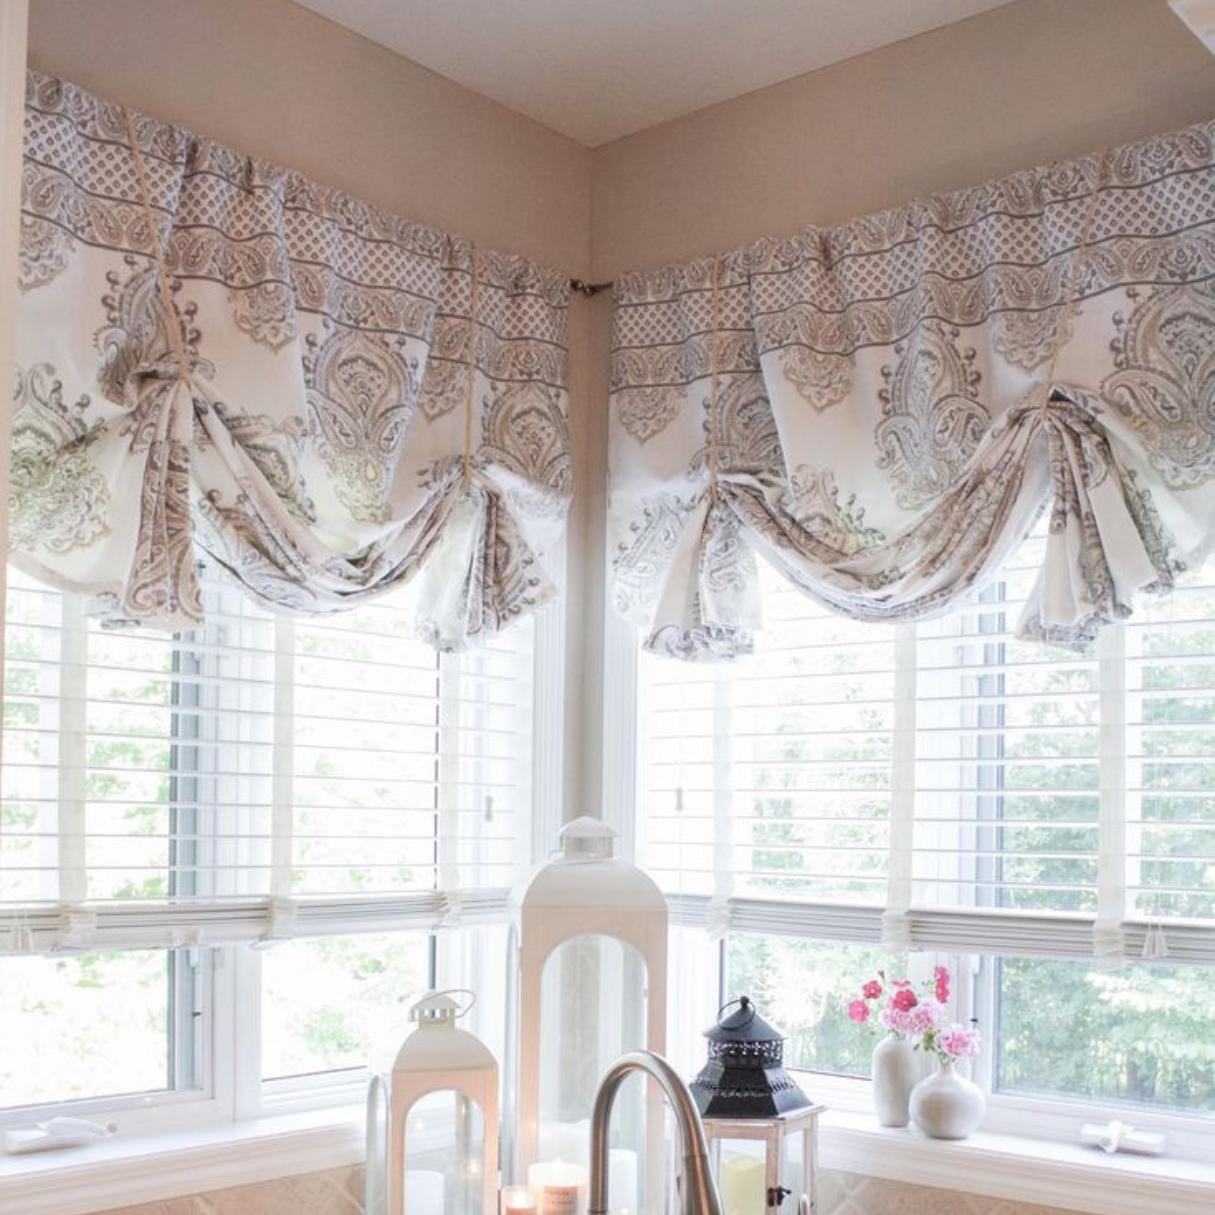
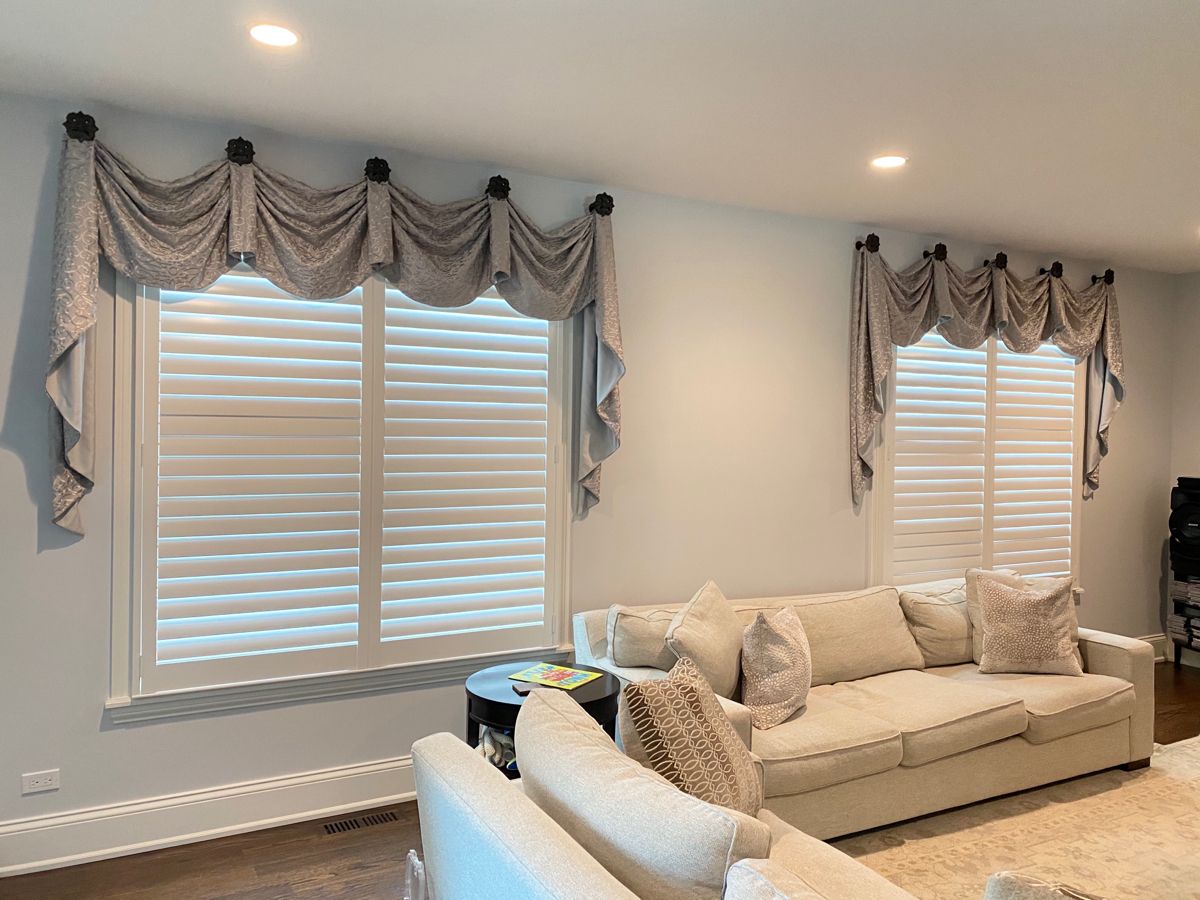
Welcome to our guide on how to make kitchen curtain valances. Valances are a popular choice for adding a touch of style and functionality to your kitchen windows. Not only do they provide privacy and block out unwanted sunlight, but they also serve as a decorative accent that can enhance the overall aesthetic of your kitchen.
Creating your own kitchen curtain valances allows you to customize the design, fabric, and dimensions to perfectly suit your taste and window size. Whether you’re a beginner or an experienced seamstress, this step-by-step guide will walk you through the process of making beautiful valances that will transform your kitchen.
Before we dive into the details, let’s discuss some essential factors to consider when choosing the right fabric for your valances. The fabric you choose will not only determine the look and feel of the valance but also its durability and functionality.
Key Takeaways:
- Create customized kitchen curtain valances by choosing durable, light-filtering fabric and following precise measuring and cutting techniques for a professional finish.
- Personalize your valances with decorative trims, embroidery, or pleats to add a unique touch to your kitchen decor, and enjoy the satisfaction of completing a DIY project.
Read more: What Are Valance Curtains
Choosing the Right Fabric
When it comes to choosing the fabric for your kitchen curtain valances, there are a few important factors to keep in mind. Consider the following guidelines to ensure you select the best fabric for both practical and aesthetic purposes:
- Durability: Since kitchen curtains are exposed to heat, moisture, and potential food stains, it’s crucial to choose a fabric that can withstand these conditions. Opt for durable materials such as cotton, polyester, or a blend that is easy to clean and maintain.
- Light Control: Determine the amount of light you want to filter through your valances. If you prefer a bright and airy kitchen, choose lightweight fabrics like sheer voile or lightweight cotton. For more light control, opt for fabrics with a tighter weave or consider adding a blackout lining.
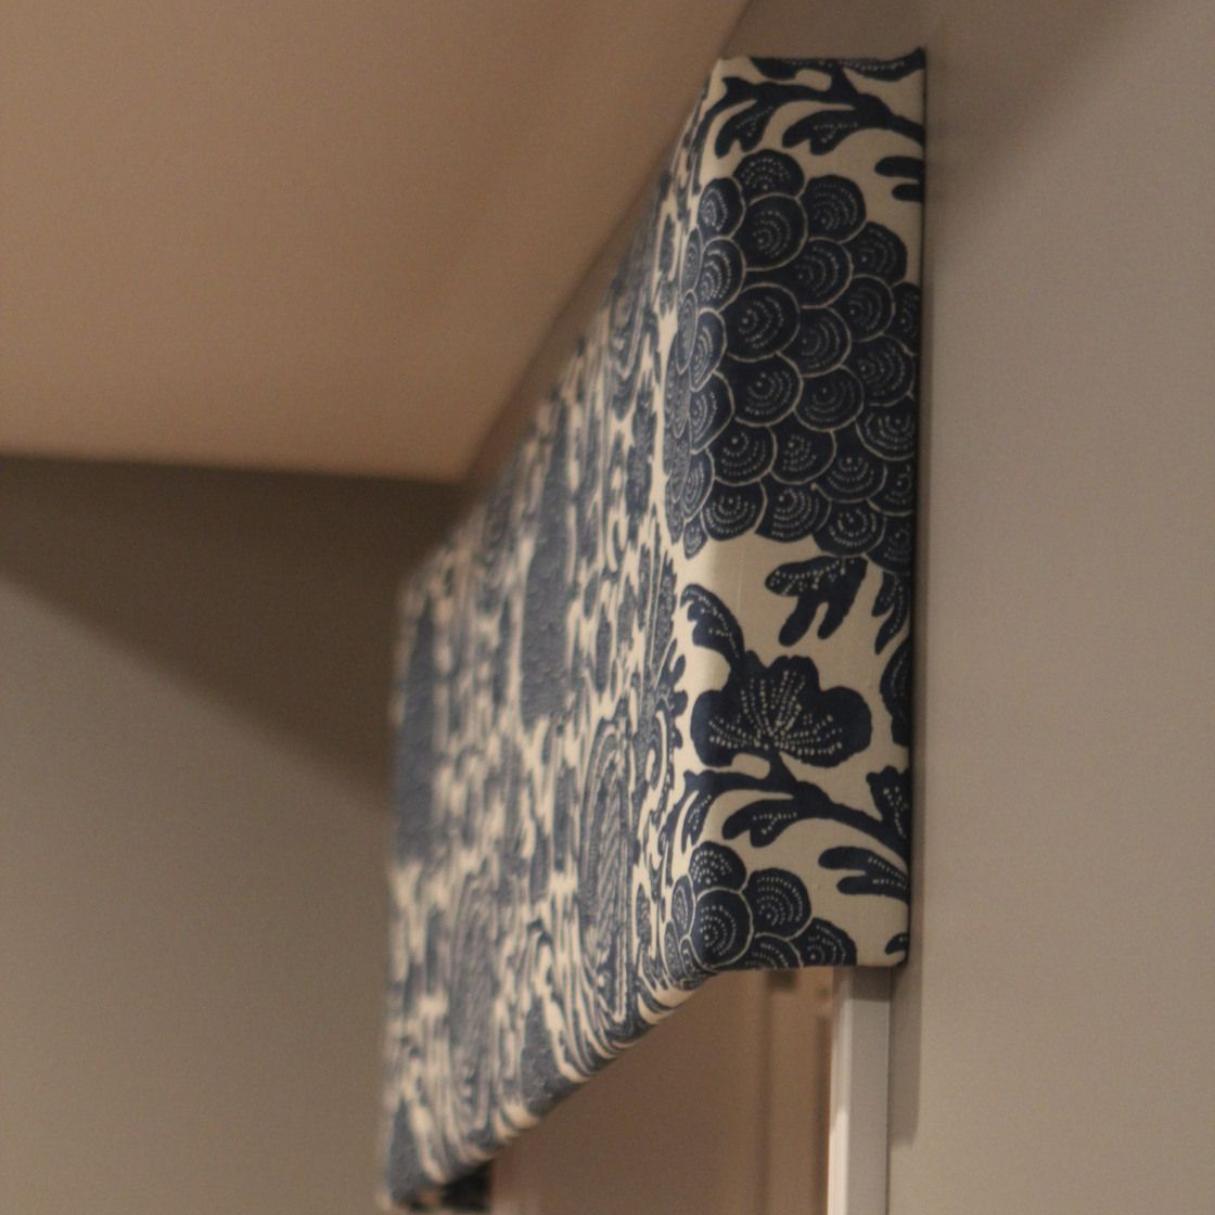
- Pattern and Color: Consider the existing color palette and style of your kitchen when selecting the fabric pattern and color. Choose a fabric that complements or contrasts with your kitchen decor. Bold patterns can add a pop of visual interest, while solid colors can create a more subtle and harmonious look.
- Cleaning and Maintenance: Think about practicality and ease when it comes to cleaning your valances. Fabrics that are machine washable or can be easily spot cleaned are ideal for kitchen curtains. Avoid delicate fabrics that require special care.
- Functionality: Determine the functionality you want from your valances. If you need privacy but still want natural light to filter through, consider using fabrics that are semi-sheer or have a light filtering effect. If privacy is not a priority, you can choose more decorative fabrics that allow for more light while still adding a touch of style.
Take these factors into account when selecting the fabric for your kitchen curtain valances. It’s important to strike a balance between durability, functionality, and aesthetics to ensure you create valances that not only look great but also withstand the demands of the kitchen environment. Now let’s move on to the next step: measuring and cutting the fabric.
Measuring and Cutting
Accurate measurements are crucial when it comes to making kitchen curtain valances. By measuring your windows correctly, you can ensure a proper fit and a polished end result. Follow these steps to measure and cut the fabric for your valances:
- Measure Your Window: Start by measuring the width and height of your window. For the width, measure the entire window frame or the area where you want the valance to cover. Add a few inches on each side for the desired amount of fullness and coverage. For the height, decide the length you prefer the valance to be – whether it’s just above the window sill or reaching down to the floor.
- Calculate Fabric Yardage: Once you have the measurements, calculate the amount of fabric you’ll need. For the width, double the width of your window measurement to allow for gathering and fullness. For the height, add a few extra inches for hems and rod pockets. It’s always better to have extra fabric than being short, so round up the measurements.
- Prepare the Fabric: Lay your chosen fabric on a flat surface, ensuring it is wrinkle-free. Use a measuring tape, ruler, or a straight edge to mark and cut the fabric according to your measurements. Double-check the measurements before cutting to avoid any mistakes.
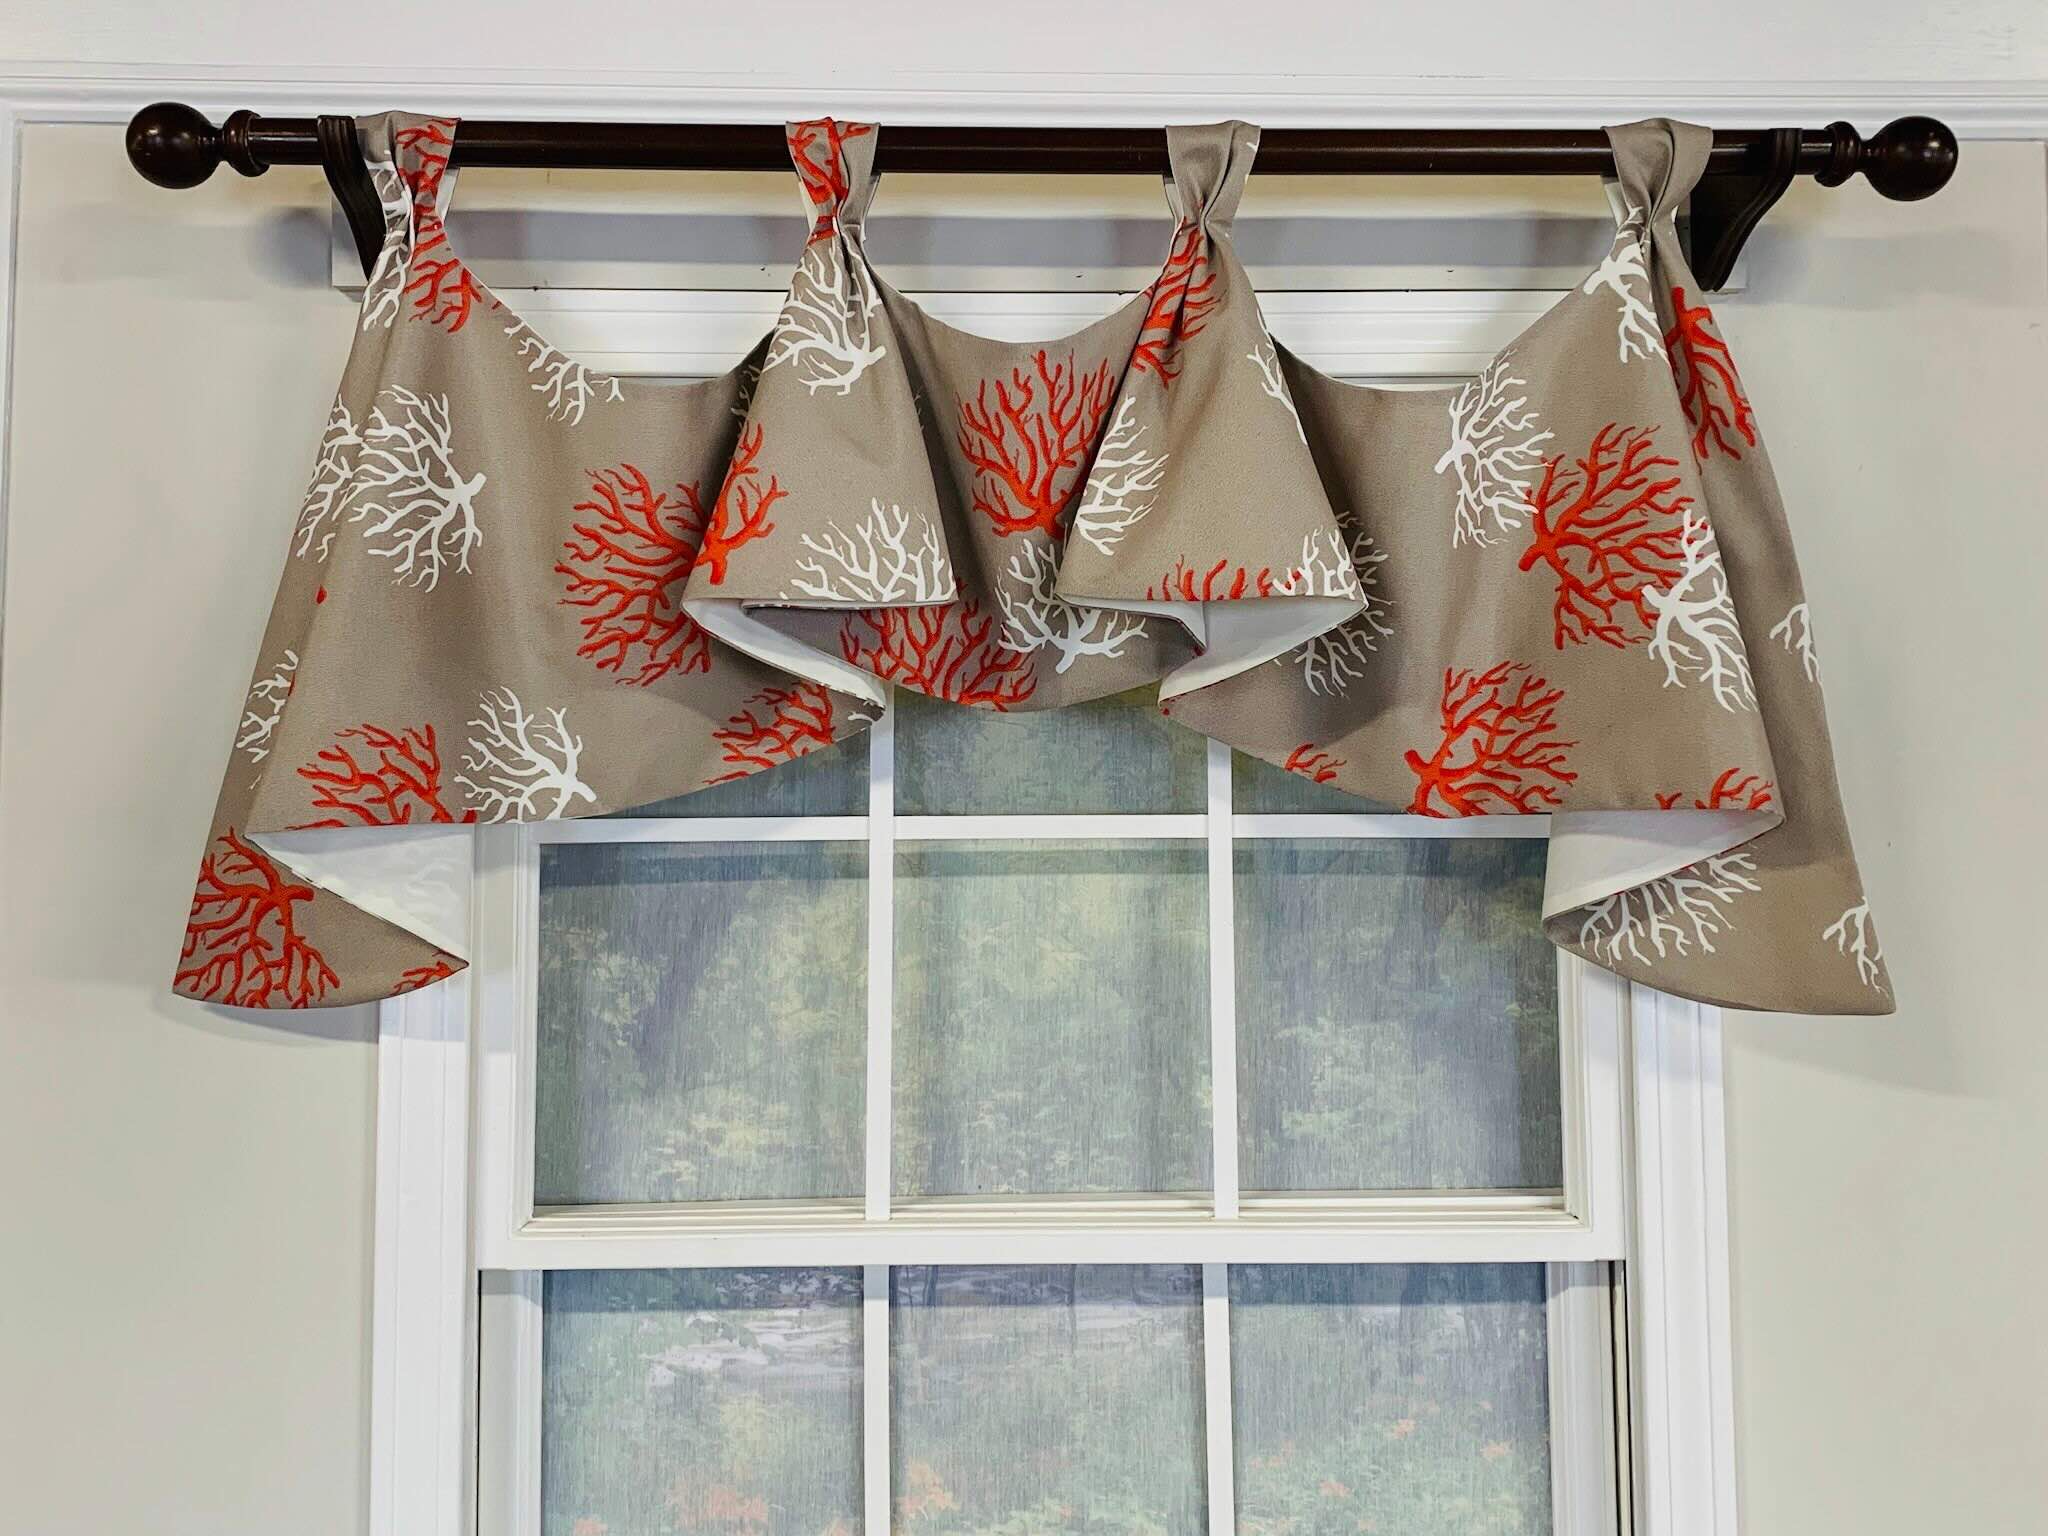
- Cut the Valance Shape: Decide on the desired shape of your valance – whether it’s a straight rectangular shape or with arched edges. Use fabric scissors to carefully cut along the marked lines for each valance.
- Trim and Hem: Once the valance shape is cut, take this opportunity to trim any uneven edges or excess fabric. This step will ensure clean and polished edges. If desired, you can also hem the bottom and side edges of the valance using a sewing machine or a serger to prevent fraying.
With these steps, you can accurately measure and cut the fabric for your kitchen curtain valances. Remember to always double-check your measurements and be precise in your cutting to achieve a professional-looking finished product. Next, we’ll move on to the hemming and sewing process.
Hemming and Sewing
Once you have cut the fabric for your kitchen curtain valances, the next step is to hem and sew the edges. Hemming not only gives your valances a polished look but also prevents fraying and ensures durability. Follow these steps to hem and sew your valances:
- Prepare your Sewing Machine: Set up your sewing machine with a coordinating thread color and a suitable needle. Consult your sewing machine manual for specific settings and instructions.
- Hem the Bottom Edge: Fold the bottom edge of the valance fabric about 1 inch towards the wrong side, then fold it over again by another 1 inch. Pin the folded edge in place to secure it. Sew along the folded edge, ensuring a straight and even stitch. This will create a neat and secure hem on the bottom edge of the valance.
- Hem the Side Edges: Repeat the same process for the side edges of the valance. Fold each side edge towards the wrong side by about 1 inch, then fold it over again by another 1 inch. Pin and sew along the folded edges to create even and secure hems. This will give the valance a finished look and prevent fraying.
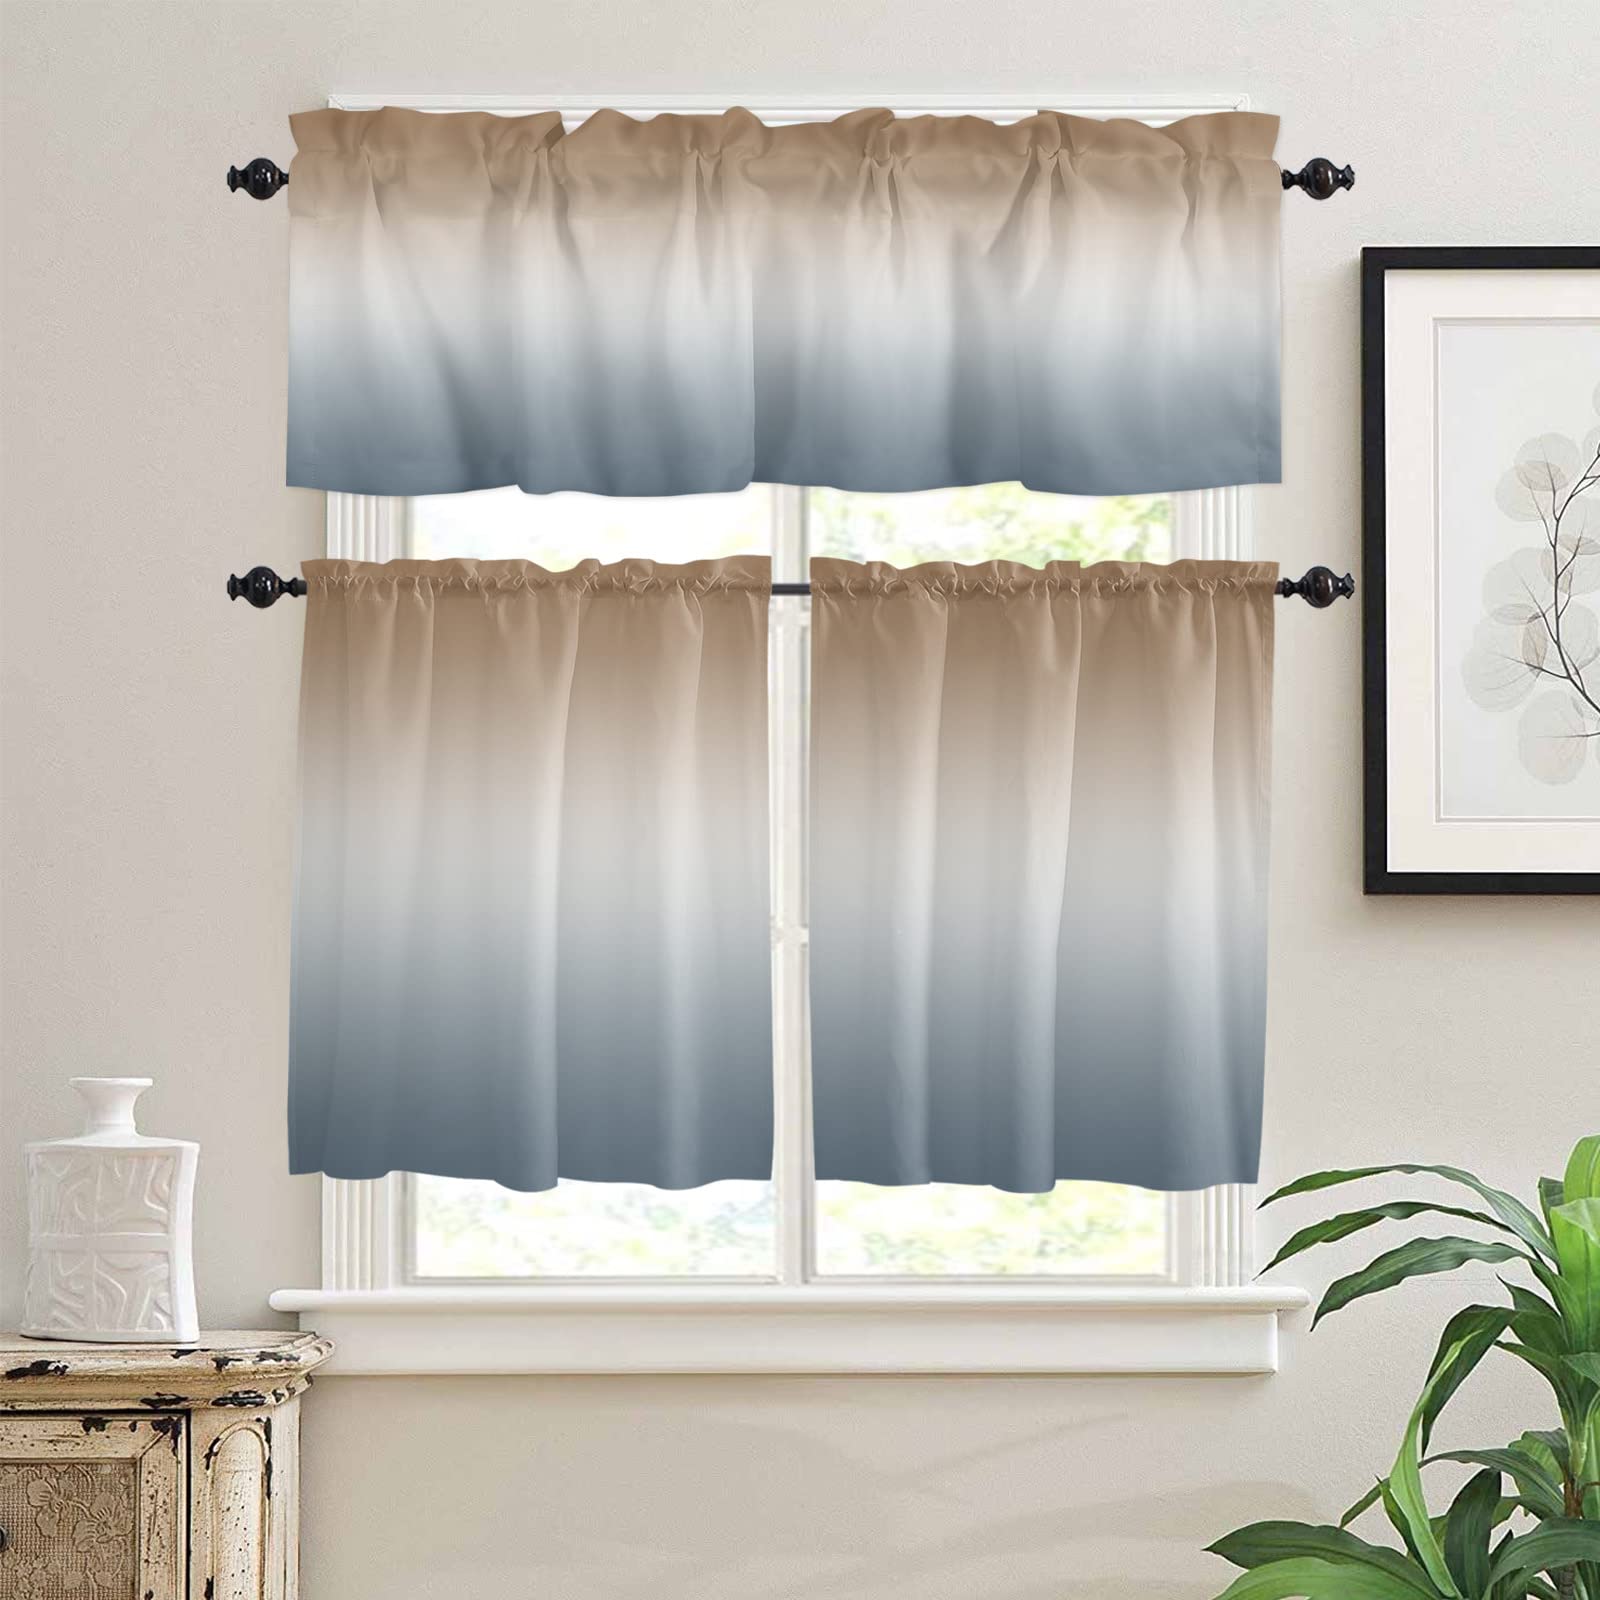
- Create the Rod Pocket: To create a rod pocket at the top of the valance, fold about 3 inches of fabric towards the wrong side. Repeat the folding process once more, enclosing the raw edge. Pin and sew along the folded edge, leaving a small opening at each end to insert the curtain rod.
- Optional: Add Decorative Trim or Embellishments: If desired, you can enhance the look of your valances by adding decorative trim, ribbon, or embellishments. Sew them along the hemmed edges or around the rod pocket for an extra touch of style and visual interest.
By following these steps, you can confidently hem and sew the edges of your kitchen curtain valances. Remember to take your time and sew with precision for a clean and professional finish. Now, let’s move on to the next step: adding decorative features to further enhance the look of your valances.
When making kitchen curtain valances, choose a fabric that is easy to clean and can withstand the heat and moisture of the kitchen. Consider using a simple rod pocket or tab top for easy installation and removal.
Adding Decorative Features
Adding decorative features to your kitchen curtain valances is a fantastic way to personalize them and make them truly unique to your style and taste. Here are some creative ideas for adding decorative touches to enhance the look of your valances:
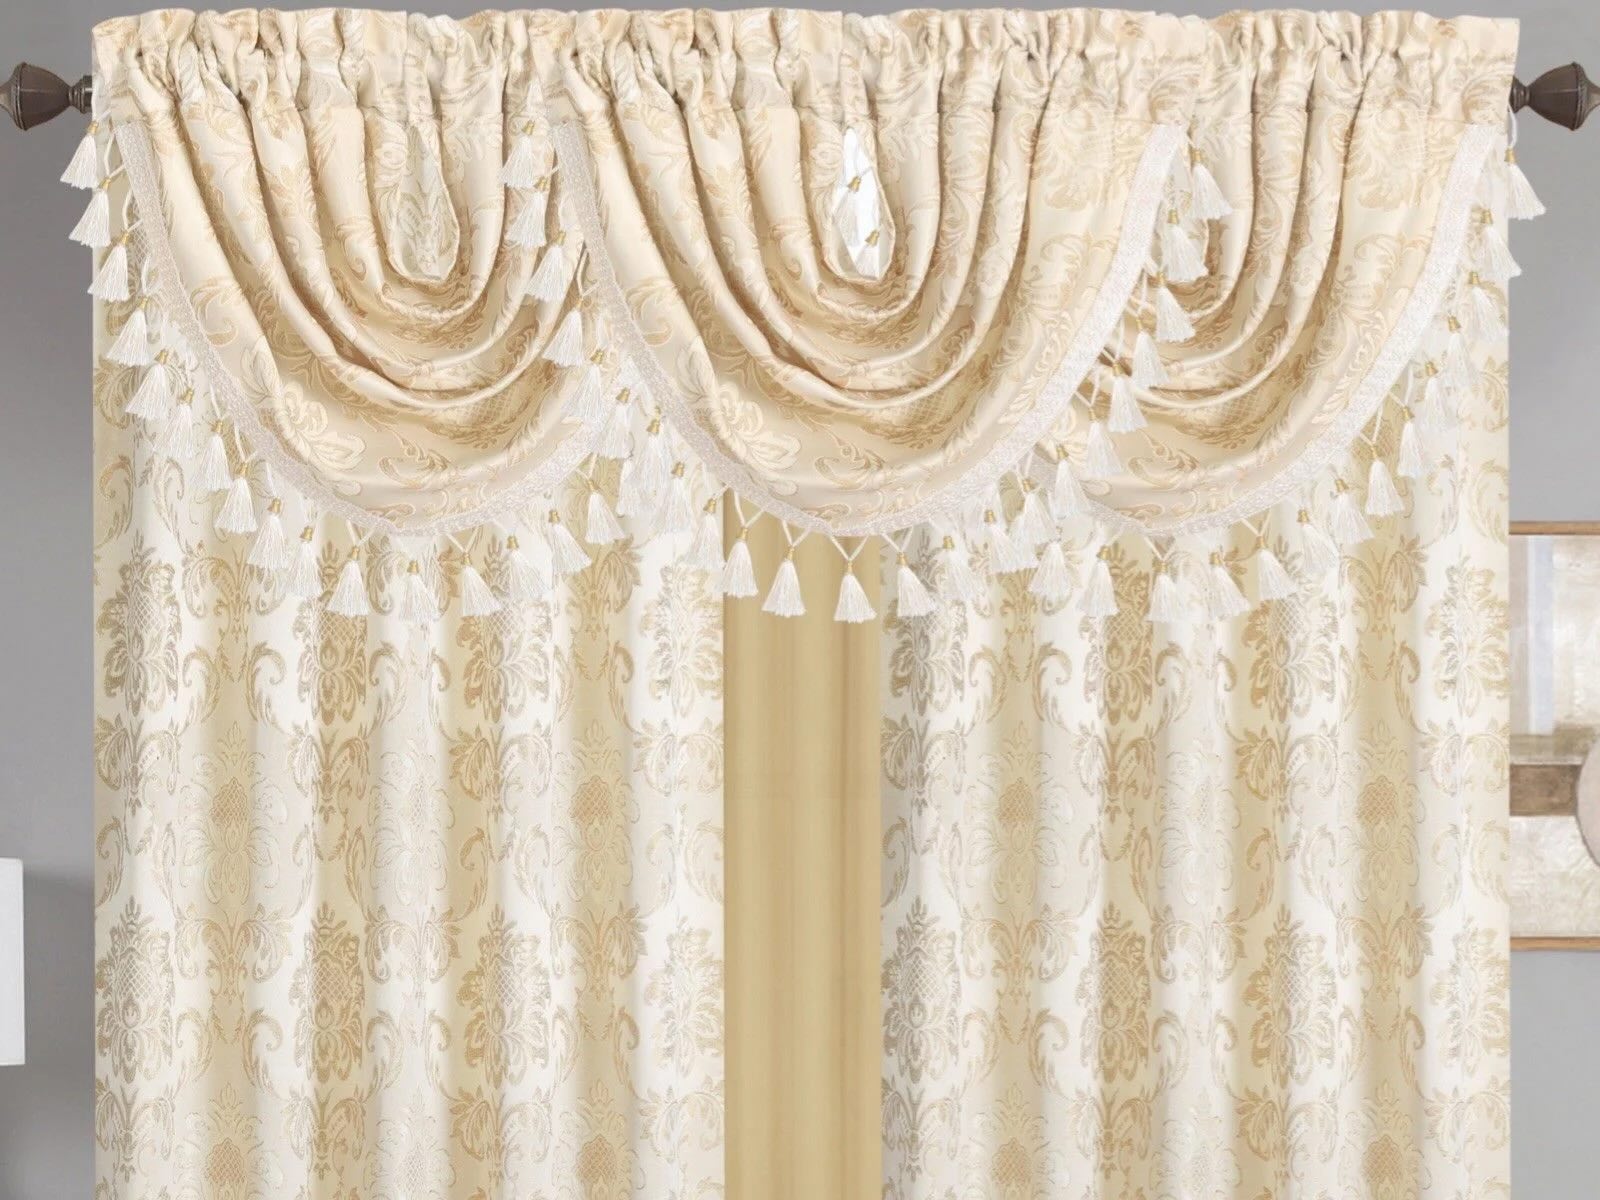
- Trim and Fringe: Attach decorative trims or fringes along the hemmed edges of the valance. This can add a touch of elegance and sophistication to your valances. Choose trims that complement the fabric and overall design of your kitchen.
- Embroidery or Appliqué: Consider adding embroidery or appliqué designs to your valance fabric. This can be done by hand or with a sewing machine. Choose thread colors and designs that coordinate with your kitchen decor to create a personalized and eye-catching look.
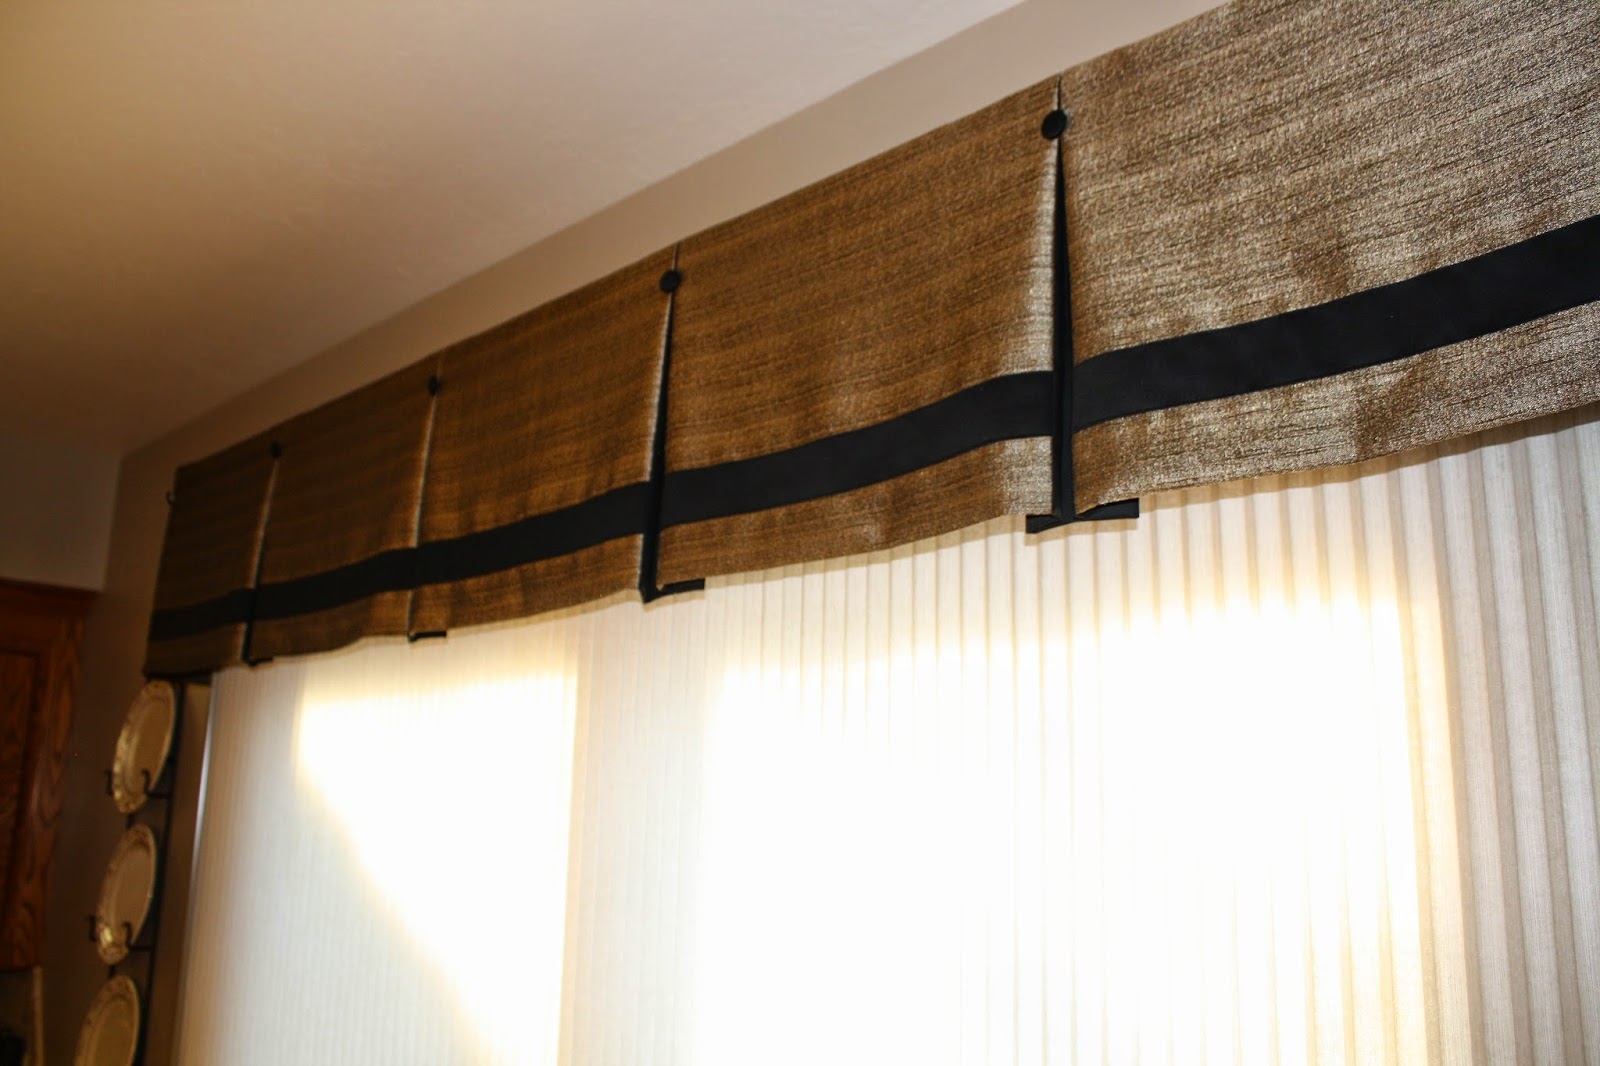
- Ruffles or Pleats: Create decorative ruffles or pleats along the bottom edge of the valance. This adds texture and visual interest to your valances. Experiment with different sizes and styles of ruffles or pleats to find the one that best suits your kitchen’s aesthetic.
- Bows or Ties: Attach fabric bows or ties to the sides or corners of the valances. This not only adds a charming touch but also allows you to adjust the gathering and shape of the valance. Use coordinating or contrasting fabrics to create a visually appealing effect.
- Buttons or Accents: Consider adding decorative buttons or accents to the valance fabric. This can be done by sewing them onto the fabric or using fabric glue for non-sewing options. Choose buttons or accents that match the style of your kitchen and complement the fabric color.
Remember, the choice of decorative features depends on your personal style and the overall look you want to achieve in your kitchen. Don’t be afraid to get creative and experiment with different ideas to make your valances stand out.
Once you have added the desired decorative features, it’s time to move on to attaching the valances to the rod. We’ll cover this step in the next section.
Read more: How To Hang Valance And Curtains
Attaching the Valances to the Rod
Attaching the valances to the rod is the next step in completing your kitchen curtain valances. This process ensures that the valances are securely and neatly hung, providing a finished look for your windows. Here’s how you can attach the valances to the rod:
- Prepare the Curtain Rod: Start by selecting a curtain rod that complements the style of your kitchen and fits the width of your window. Make sure the rod is properly installed according to the manufacturer’s instructions.
- Insert the Rod through the Rod Pocket: Take the valance and locate the rod pocket that you created at the top. Gently slide the curtain rod through the rod pocket, ensuring that the valance is evenly distributed along the rod.
- Adjust the Valance: Once the rod is inserted through the rod pocket, adjust the valance to your preferred gathering and positioning. You can evenly distribute the fabric along the rod or create gentle pleats for a more tailored look.
- Secure the Rod: Once you are satisfied with the positioning of the valance, secure the curtain rod in place according to the manufacturer’s instructions. This may involve tightening screws or using support brackets, depending on the type of rod you have.
By following these steps, you can easily attach your kitchen curtain valances to the rod. Take your time to ensure they are evenly distributed and properly secured for a polished and professional appearance. Now, let’s move on to the final step: hanging and adjusting the valances.
Hanging and Adjusting the Valances
Once you have attached the valances to the rod, the final step is to hang and adjust them to achieve the desired look and fit for your kitchen windows. Follow these steps to properly hang and adjust your kitchen curtain valances:
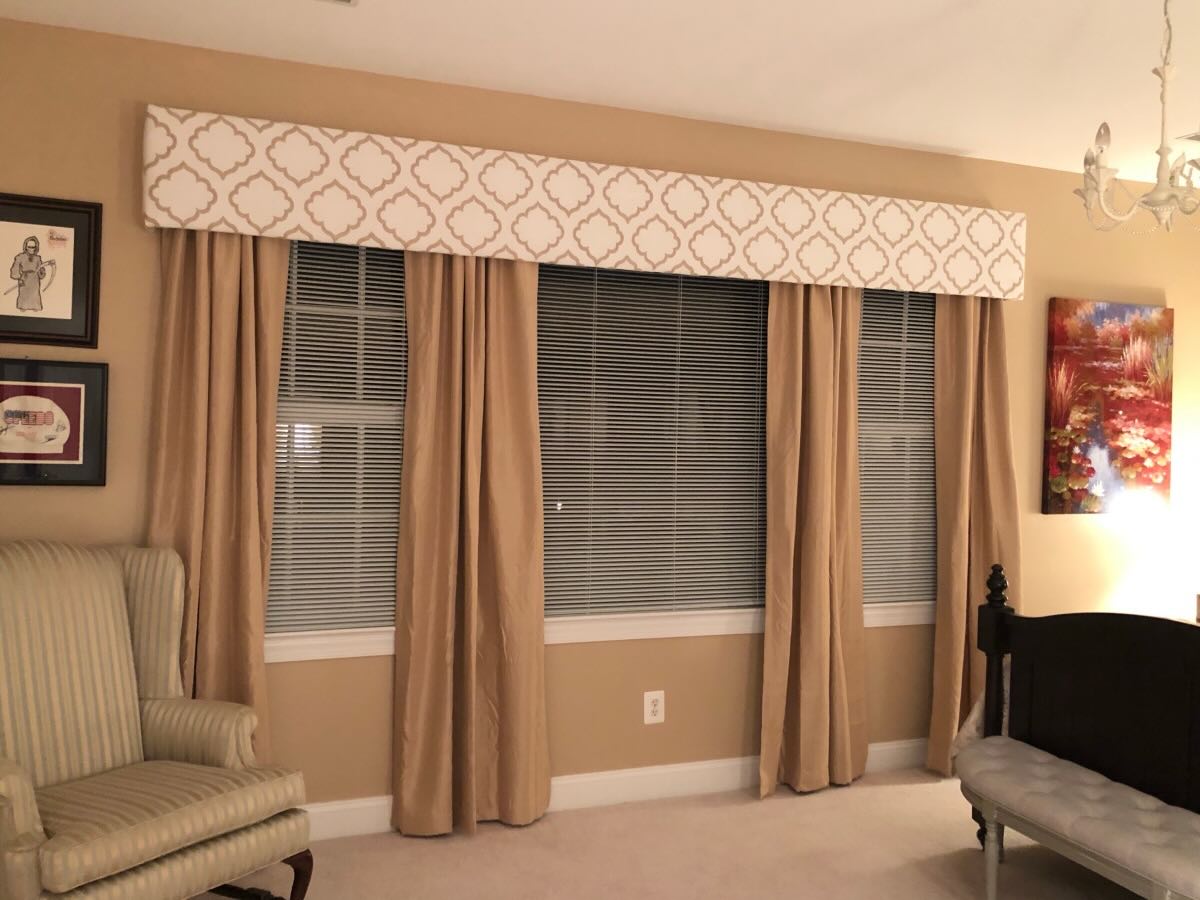
- Position the Rod: Determine the ideal height at which you want to hang the valances. This can vary depending on factors such as the height of your windows and the overall design of your kitchen. Use a level or measuring tape to ensure the rod is straight and level.
- Hang the Valances: With the rod properly positioned, carefully hang the valances onto the rod. Ensure that they are evenly distributed and hanging straight. Step back and take a look to make any necessary adjustments before proceeding.
- Adjust the Length: If you find that the valances are too long and touching the floor or too short and not covering the desired area, you can make adjustments. Remove the valance from the rod, measure the desired length, and hem the bottom edge accordingly. Rehang the valance once the adjustments are made.
- Adjust the Gather: If you prefer a more gathered or tailored look, adjust the fabric on the rod to create the desired effect. You can gently distribute the fabric along the rod for a more gathered look or adjust the pleats to achieve a more tailored appearance.
- Step Back and Assess: Once you have made any necessary adjustments, step back and assess the overall look of the valances. Ensure that they are evenly hanging, straight, and properly covering the window area. Take the time to make any final tweaks until you are satisfied with the final result.
By following these steps, you can hang and adjust your kitchen curtain valances to achieve the desired fit, appearance, and functionality. Remember to take your time and make any necessary adjustments to ensure a polished and professional look. Now, let’s conclude our guide on how to make kitchen curtain valances.
Conclusion
Congratulations! You have successfully learned how to make kitchen curtain valances. By following the steps outlined in this guide, you can create beautiful and customized valances that add style and functionality to your kitchen windows. Whether you’re a beginner or an experienced seamstress, making your own valances allows you to unleash your creativity and personalize your kitchen decor.
Remember to choose the right fabric that is durable, easy to clean, and complements your kitchen’s design. Accurate measurements and precise cutting are essential for achieving a proper fit. Hemming and sewing the edges give your valances a polished and professional finish.
Don’t forget to add decorative features, such as trims, embroidery, or pleats, to enhance the visual appeal of your valances. Attach them securely to a curtain rod, ensuring proper positioning and adjustment for the desired look. Finally, hang and adjust your valances until they perfectly complement your kitchen decor and provide the desired privacy and light control.
By making your own kitchen curtain valances, you can create a unique and personalized touch to your kitchen windows. Enjoy the satisfaction of completing a DIY project while enhancing the beauty and functionality of your space.
We hope this guide has been helpful in your journey to create stunning kitchen curtain valances. Get creative, experiment with different fabric choices and decorative features, and have fun making valances that reflect your personal style. Happy sewing!
Frequently Asked Questions about How To Make Kitchen Curtain Valances
Was this page helpful?
At Storables.com, we guarantee accurate and reliable information. Our content, validated by Expert Board Contributors, is crafted following stringent Editorial Policies. We're committed to providing you with well-researched, expert-backed insights for all your informational needs.


0 thoughts on “How To Make Kitchen Curtain Valances”