Articles
How To Mount A Lowe’s Toilet Paper Holder
Modified: October 20, 2024
Looking for articles on how to mount a toilet paper holder from Lowes? Check out our guide for step-by-step instructions and helpful tips!
(Many of the links in this article redirect to a specific reviewed product. Your purchase of these products through affiliate links helps to generate commission for Storables.com, at no extra cost. Learn more)
Introduction
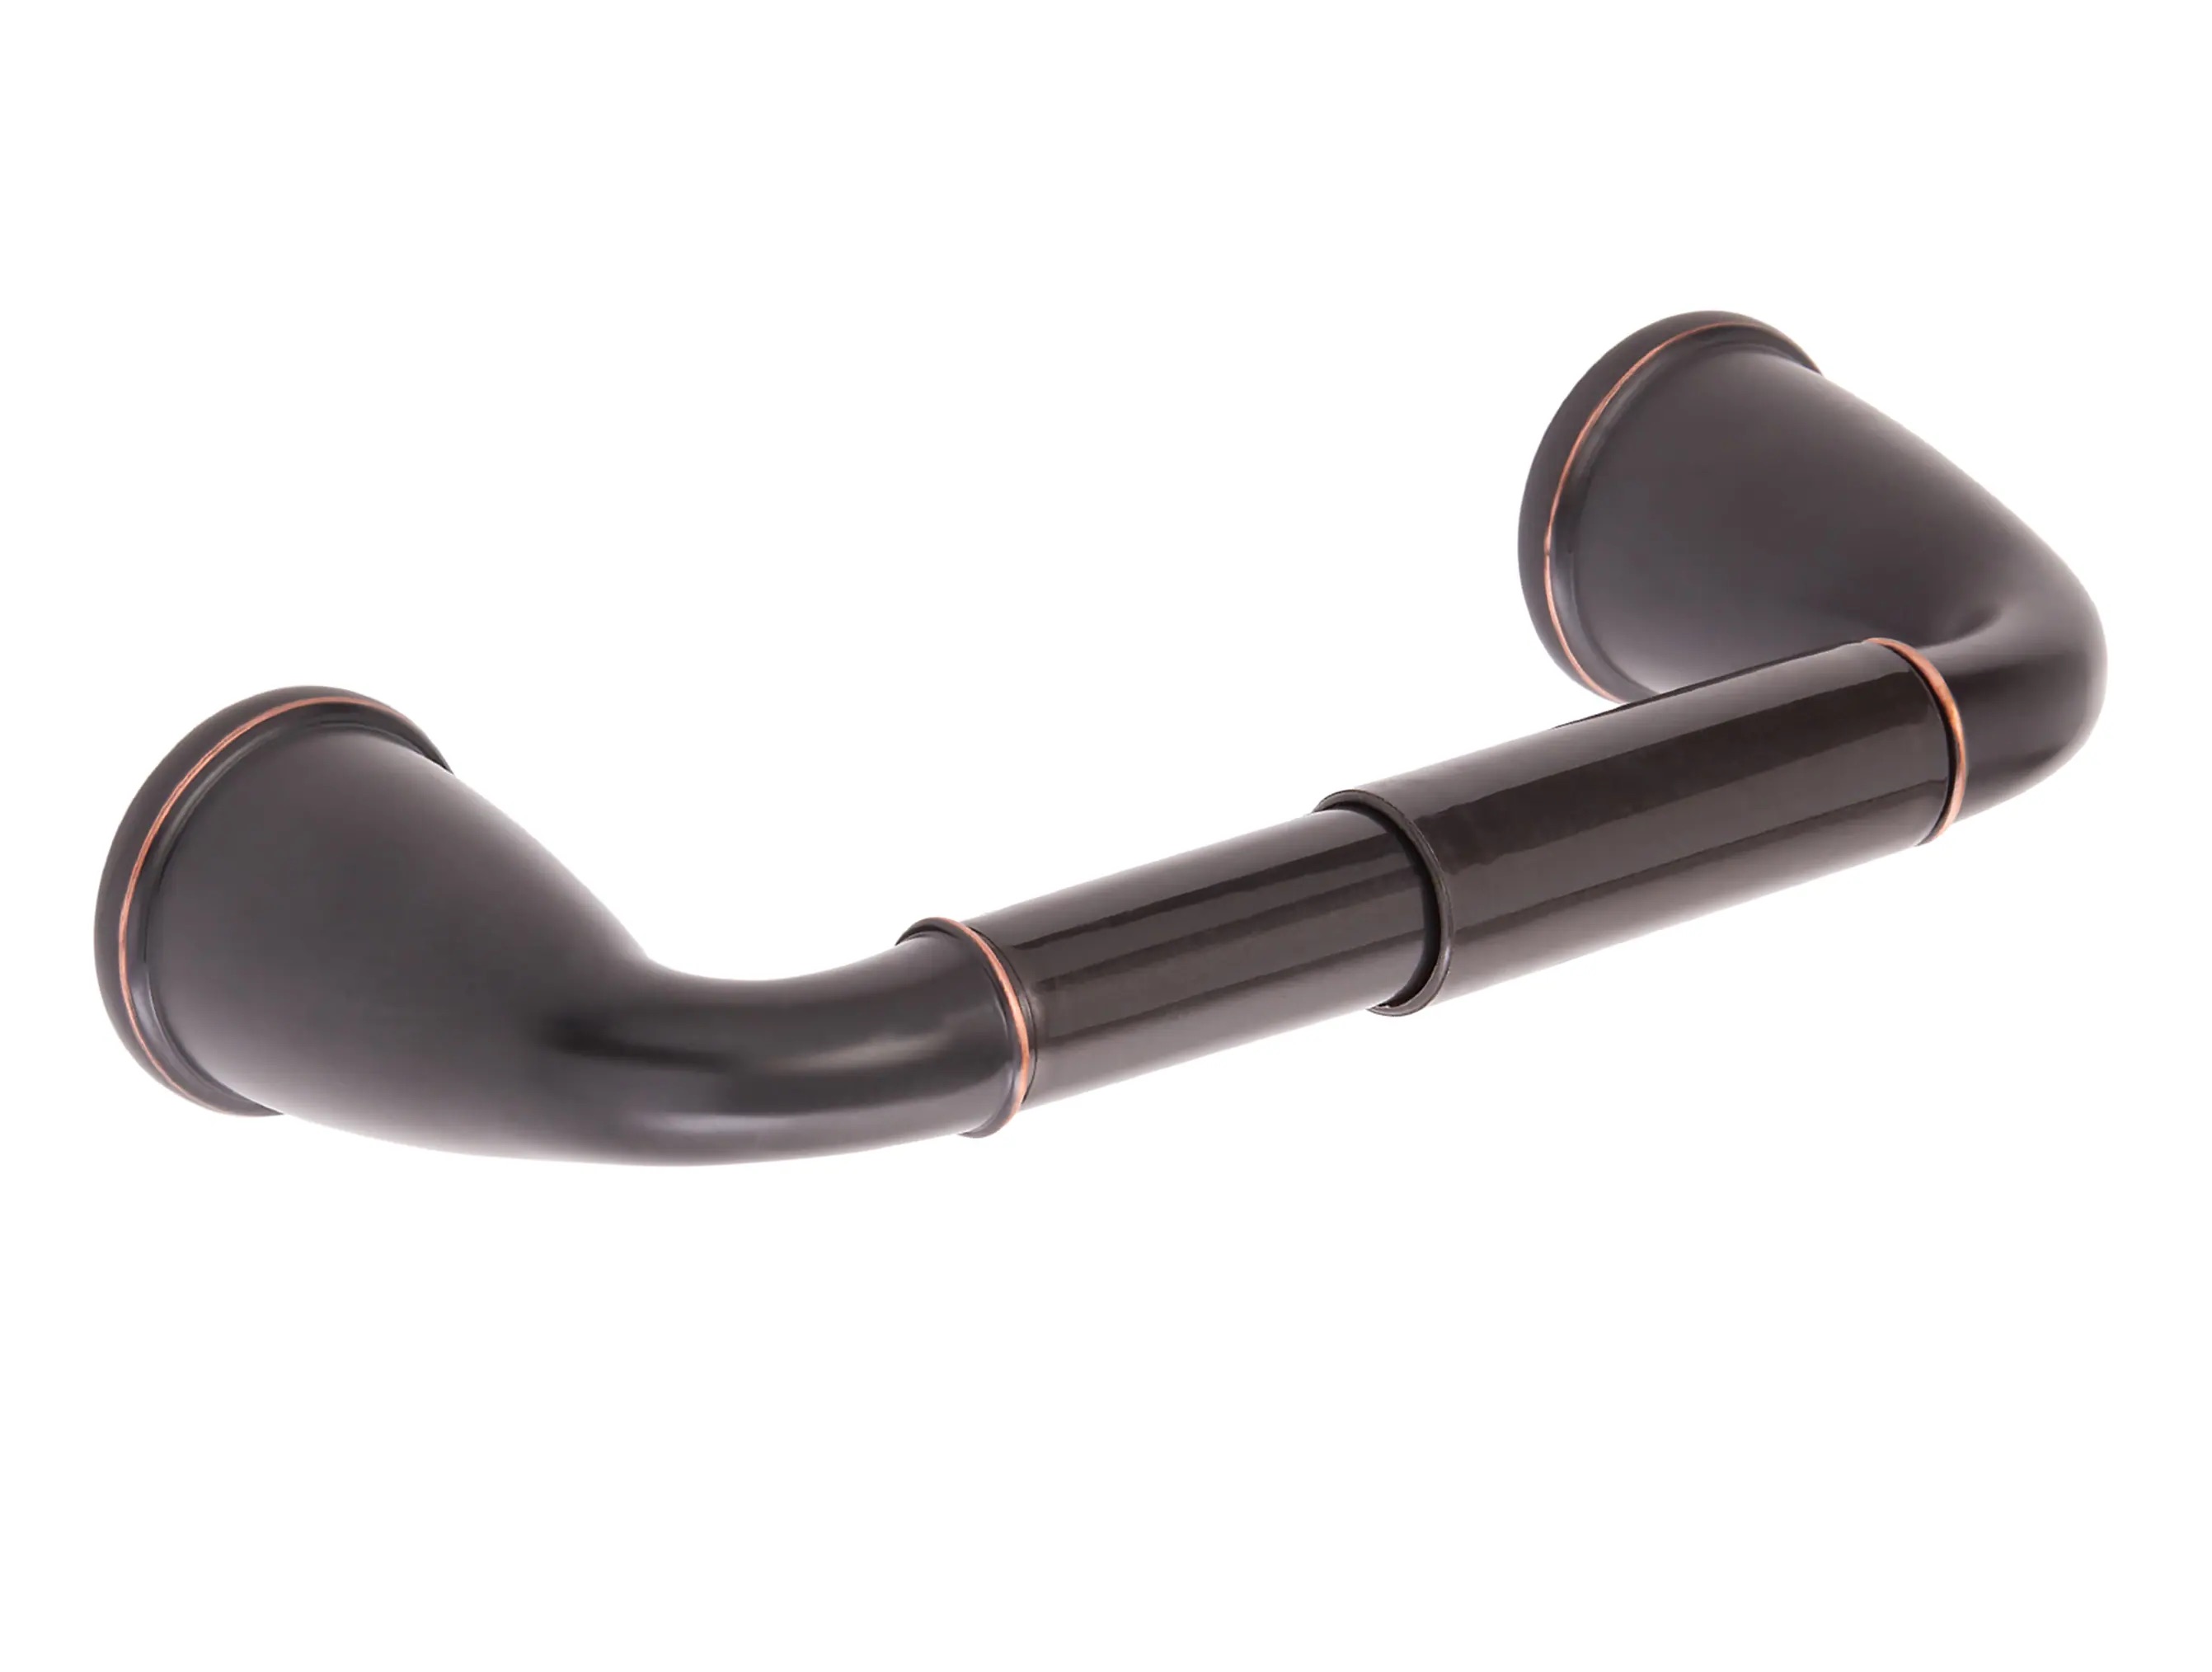
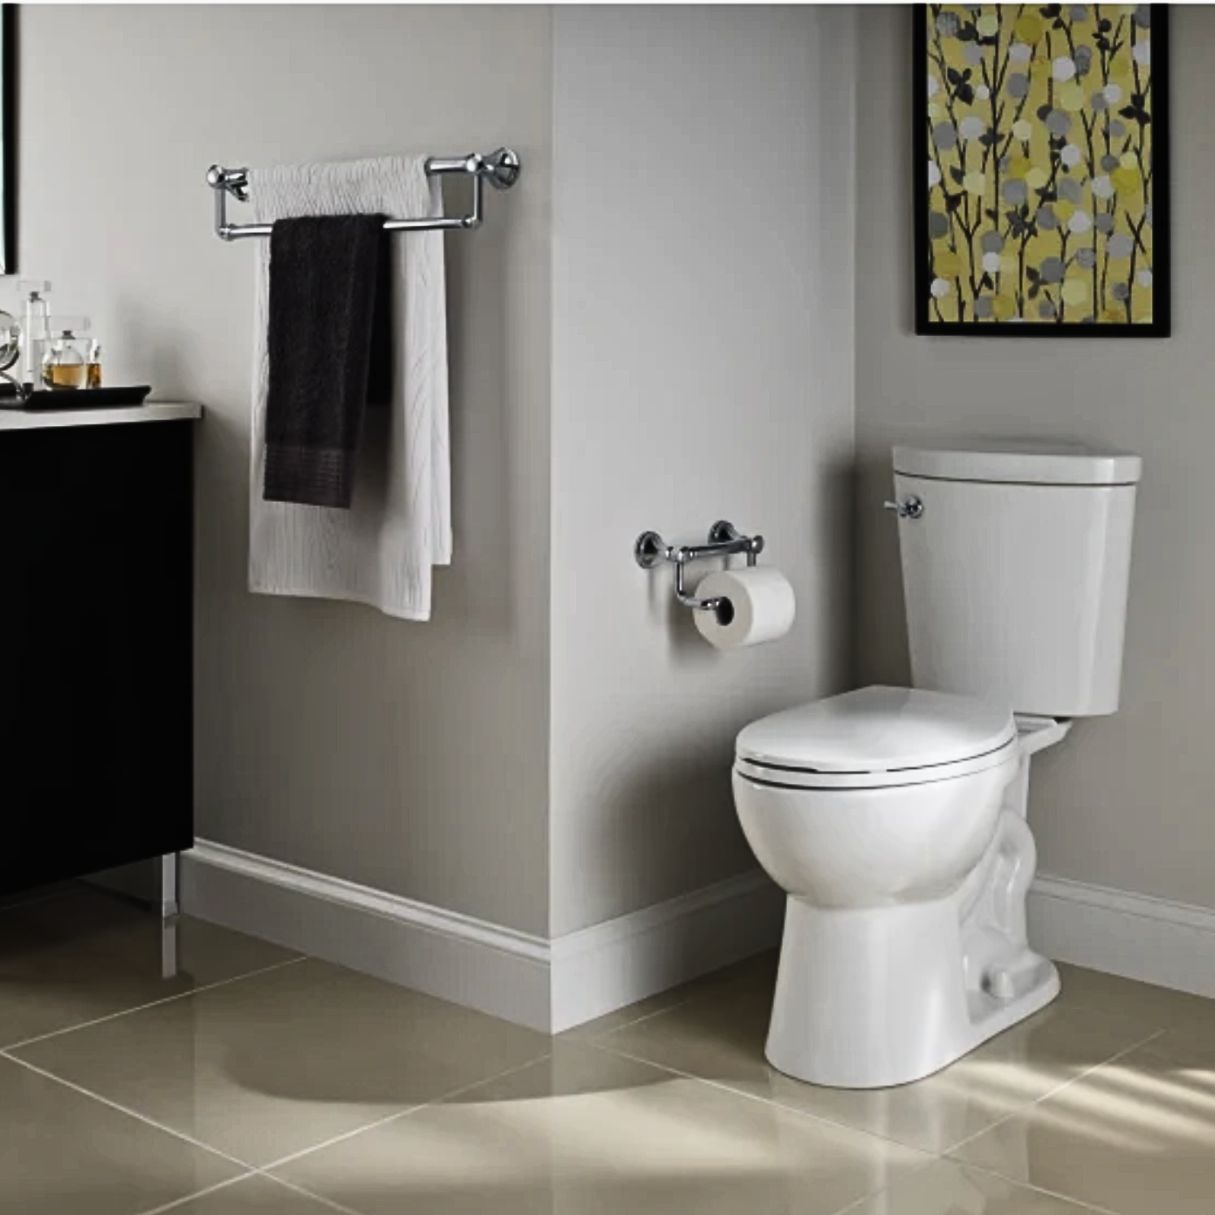
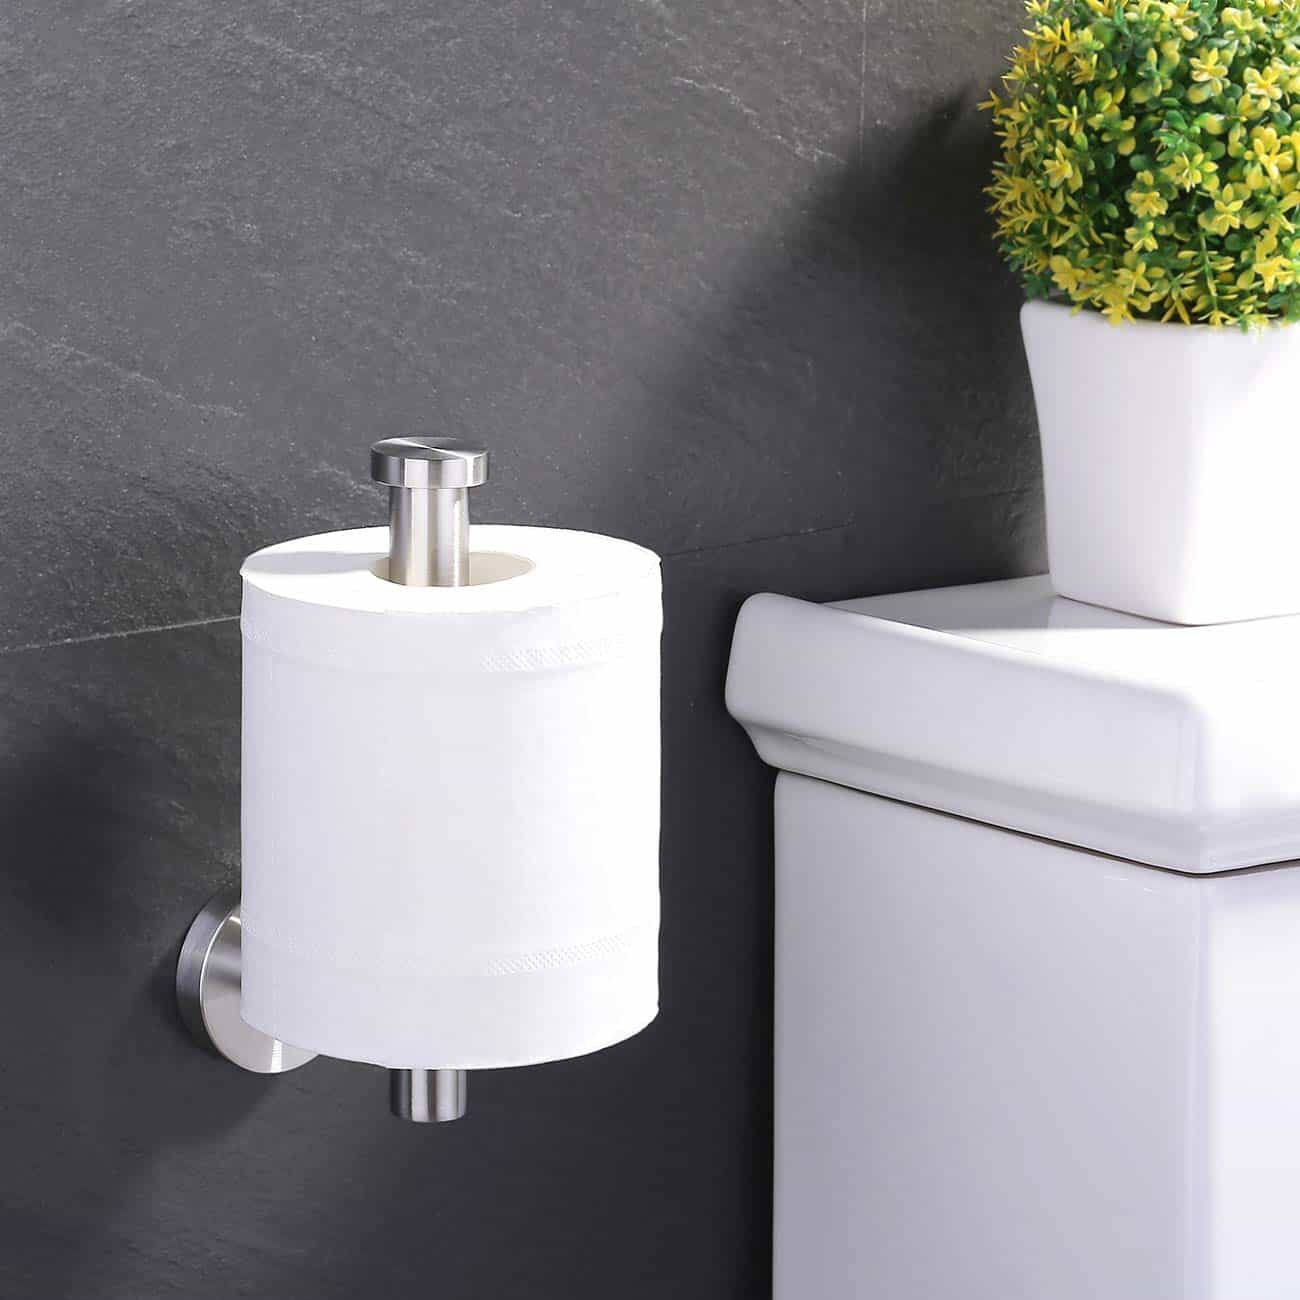
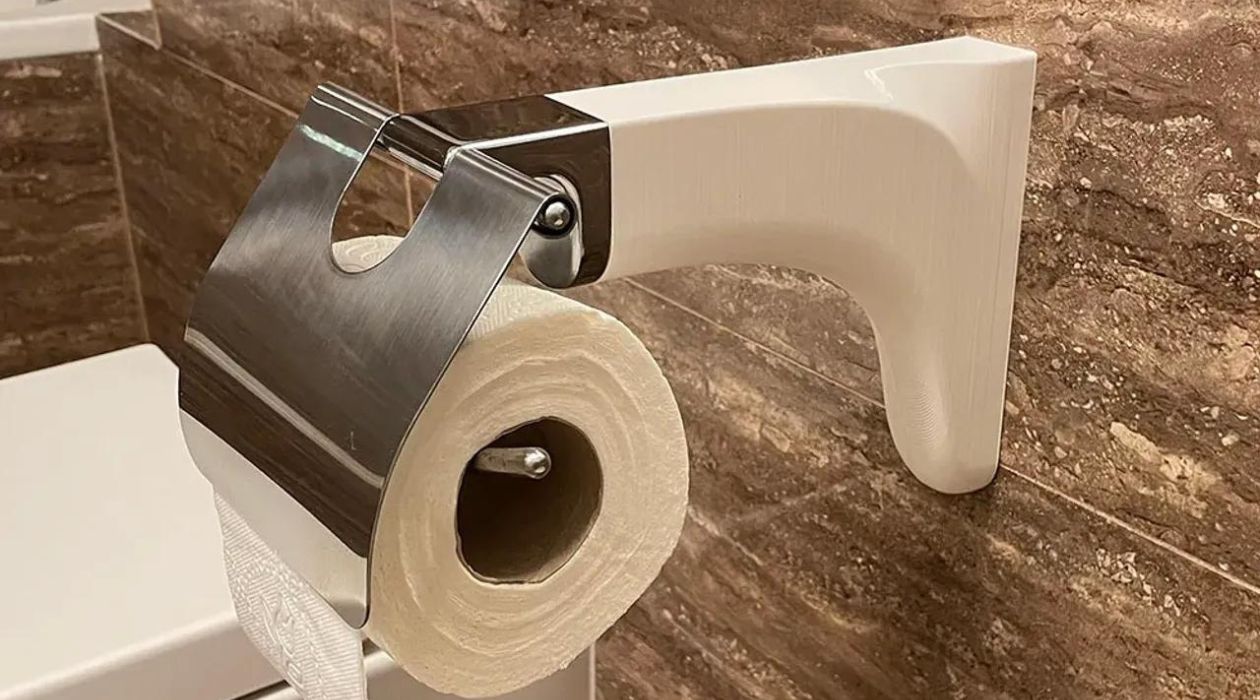
When it comes to bathroom accessories, a toilet paper holder is an essential item. Not only does it keep your toilet paper neatly organized, but it also provides convenience and accessibility. If you’re looking to upgrade your bathroom or replace an old toilet paper holder, a Lowes toilet paper holder is a great option.
In this step-by-step guide, we will walk you through the process of mounting a Lowes toilet paper holder in your bathroom. By following these instructions, you can ensure a secure and professional installation that will enhance the functionality and aesthetics of your space.
Before we dive into the installation process, it’s important to gather all the necessary materials. This will help you stay organized and ensure a smooth installation. Let’s take a look at what you’ll need:
Key Takeaways:
- Upgrade your bathroom with a Lowes toilet paper holder for convenience and accessibility. Follow the step-by-step guide for a secure and professional installation that enhances functionality and aesthetics.
- Ensure a durable and long-lasting installation by testing the stability of your toilet paper holder. Address any issues promptly to maintain functionality and convenience in your bathroom.
Read more: How High Do You Mount Toilet Paper Holder
Step 1: Gather Materials
Before you start the installation process, it’s important to gather all the materials you’ll need. This will ensure that you have everything on hand and avoid any interruptions during the installation. Here are the materials you’ll need:
- A Lowes toilet paper holder kit, which typically includes the holder bracket, mounting screws, and any necessary hardware.
- A measuring tape to determine the proper height and placement for the toilet paper holder.
- A pencil for marking the mounting holes.
- A drill, preferably with a masonry bit if you’re installing the holder on a tiled surface.
- Wall anchors if the mounting surface is drywall or plaster.
- A screwdriver or a drill with a screwdriver bit for securing the mounting screws.
- A level to ensure that the toilet paper holder is installed straight.
Once you have all of these materials ready, you’ll be prepared to move on to the next step of the installation process.
Step 2: Prepare the Surface
Before mounting the Lowes toilet paper holder, it’s essential to prepare the surface where it will be installed. This step will help ensure that the holder is securely mounted and will stay in place over time. Here’s how to prepare the surface:
- Clean the area: Start by cleaning the wall or surface where the toilet paper holder will be installed. Remove any dust, dirt, or debris using a damp cloth or cleaning solution. This will provide a clean and smooth surface for the installation.
- Locate studs or wall anchors: Determine if there are studs behind the wall where you plan to mount the toilet paper holder. Studs provide a sturdy and reliable base for the installation. Use a stud finder to locate the studs, or if the studs are not accessible, you will need to use wall anchors for installation on drywall or plaster walls.
Preparing the surface properly will ensure that the toilet paper holder is securely mounted and will withstand regular use. Take your time to clean the area and locate studs or wall anchors before proceeding to the next step.
Step 3: Determine the Mounting Height
Determining the proper mounting height for your Lowes toilet paper holder is crucial for optimal functionality and convenience. You want to ensure that it is within easy reach and at a comfortable height for all users. Here’s how to determine the mounting height:
- Consider accessibility: Take into account the height and reach of the users in your household. The toilet paper holder should be installed at a height that is easily accessible for everyone.
- Measure and mark: Use a measuring tape to measure the desired mounting height. Typically, the standard height for a toilet paper holder is around 26 inches from the floor to the center of the holder.
- Mark the wall: Use a pencil to make a small mark on the wall at the determined mounting height. This mark will serve as a guide for the installation process.
Remember to take into account any obstructions or fixtures near the intended installation area. The goal is to have the toilet paper holder positioned in a convenient and functional location.
Once you have determined the mounting height and marked the wall, you are ready to move on to the next step of the installation process.
Step 4: Mark the Mounting Holes
Now that you have determined the mounting height for your Lowes toilet paper holder, it’s time to mark the precise location of the mounting holes. This step is crucial to ensure that the holder is properly aligned and securely attached to the wall. Follow these steps to mark the mounting holes:
- Position the holder: Hold the toilet paper holder against the wall at the desired mounting height. Align it with the mark you made earlier, ensuring that it is level and centered as desired.
- Mark the holes: With the holder in position, use a pencil to make small marks on the wall through the mounting holes of the holder. These marks indicate where the mounting screws will go.
- Double-check alignment: Before proceeding, double-check the alignment of the marks to ensure they are straight and evenly spaced. Adjust the position if needed.
By marking the mounting holes accurately, you will ensure a proper fit when it comes time to install the toilet paper holder. Take your time to align and mark the holes carefully for a successful installation.
Step 5: Drill Pilot Holes
After marking the mounting holes on the wall, the next step is to drill pilot holes. These holes will act as guides for the mounting screws, making the installation easier and more accurate. Follow these steps to drill pilot holes for your Lowes toilet paper holder:
- Select the appropriate drill bit: Choose a drill bit that matches the size of the mounting screws provided with your toilet paper holder. Refer to the manufacturer’s instructions for the recommended drill bit size.
- Insert the drill bit: Attach the selected drill bit to your drill, making sure it is securely in place.
- Drill pilot holes: Position the drill bit on one of the marked holes and start drilling. Apply gentle pressure and proceed slowly to avoid damaging the wall. Repeat this process for each marked hole, drilling straight into the wall.
- Remove debris: After drilling the pilot holes, remove any debris or dust from the holes. You can use a small brush or compressed air to clear out the holes.
Drilling pilot holes will ensure that the mounting screws go in smoothly and securely, minimizing the risk of damaging the wall. Take your time during this step to create clean and precise pilot holes for a successful installation.
When mounting a Lowes toilet paper holder, use a level to ensure it is straight before marking the screw holes. Use anchors if mounting on drywall for added support.
Step 6: Install Wall Anchors (if needed)
If you’re mounting your Lowes toilet paper holder on a drywall or plaster surface without studs, it is important to use wall anchors. Wall anchors provide additional support and stability to prevent the holder from pulling out of the wall. Here’s how to install wall anchors:
- Choose the right wall anchors: Select wall anchors that are suitable for your wall type and the weight capacity required for your toilet paper holder. Plastic or metal expansion anchors are commonly used for drywall and plaster surfaces.
- Prepare the holes: Insert the appropriate size drill bit for the wall anchors into your drill. Position the drill bit on the marked pilot holes and drill a hole into the wall. Make sure the hole is slightly smaller than the wall anchor to ensure a tight fit.
- Insert the wall anchors: Gently tap the wall anchors into the drilled holes using a hammer or mallet. Ensure that they are flush with the wall surface.
- Test the anchors: Give the wall anchors a slight tug to make sure they are secure and properly installed. If the anchors feel loose or wobbly, remove them and try a larger size or a different type of anchor.
Installing wall anchors will provide a strong foundation for your toilet paper holder, ensuring long-lasting stability. It’s always better to err on the side of caution and use wall anchors when mounting on drywall or plaster surfaces without studs.
Step 7: Mount the Toilet Paper Holder
Now that you have prepared the surface and, if necessary, installed wall anchors, it’s time to mount the Lowes toilet paper holder. Follow these steps to securely attach the holder to the wall:
- Position the holder: Place the holder against the wall, aligning the mounting holes with the pilot holes or wall anchors.
- Insert the mounting screws: Insert the provided mounting screws through the mounting holes of the holder and into the pilot holes or wall anchors. Start by hand-tightening the screws to ensure they are properly aligned.
- Double-check alignment: Before fully tightening the screws, double-check the alignment of the holder. Use a level to make sure the holder is straight. Adjust if necessary.
- Tighten the screws: Using a screwdriver or a drill with a screwdriver bit, secure the mounting screws tightly. Be careful not to overtighten, as this can damage the holder or the wall.
By following these steps, you will ensure that the Lowes toilet paper holder is securely mounted to the wall. The proper installation of the holder is essential for its functionality and longevity.
Once the holder is mounted, you are ready to move on to the next step of attaching the toilet paper holder itself.
Step 8: Secure the Mounting Screws
After mounting the toilet paper holder to the wall, it’s important to ensure that the mounting screws are securely fastened. This step will help provide stability and prevent any wobbling or loosening of the holder. Follow these steps to secure the mounting screws:
- Gently test the holder: Give the toilet paper holder a slight shake or tug to check for any movement. If you notice any looseness or wobbling, tighten the mounting screws further.
- Use a screwdriver or drill: Using a screwdriver or a drill with a screwdriver bit, carefully tighten the mounting screws. Apply steady pressure, turning clockwise, until the screws are fully secured.
- Avoid over-tightening: Take care not to over-tighten the screws, as this can cause damage to the holder or the wall. Stop tightening once the holder feels secure and does not move or wobble.
By ensuring that the mounting screws are securely fastened, you will achieve a stable and reliable installation of your Lowes toilet paper holder. Regularly check the tightness of the screws over time to prevent any loosening and maintain the longevity of the holder.
With the mounting screws secured, you are one step closer to completing the installation of your toilet paper holder.
Step 9: Attach the Toilet Paper Holder
Now that the Lowes toilet paper holder is securely mounted to the wall and the mounting screws are tightened, it’s time to attach the holder itself. This step will allow you to easily and conveniently add or replace toilet paper rolls. Follow these steps to attach the toilet paper holder:
- Locate the holder bracket: The holder bracket is the part of the toilet paper holder that holds the actual roll of toilet paper. It is usually a separate piece that attaches to the mounted holder.
- Align the bracket: Align the bracket with the holder by inserting it into the designated slots or slots on the holder.
- Secure the bracket: Once the bracket is aligned, use your hand to firmly press it into place. You should feel a click or snap when the bracket is securely attached to the holder.
After attaching the toilet paper holder, give it a gentle tug or shake to ensure that the bracket is firmly in place. If it feels loose, remove it and reattach it until it is securely fastened.
With the toilet paper holder securely attached, you are ready to move on to the final step of the installation and test the stability of your newly installed holder.
Step 10: Test the Stability
After completing the installation of your Lowes toilet paper holder, it’s important to test its stability. This step will ensure that the holder is securely mounted and can withstand everyday use. Follow these steps to test the stability of your toilet paper holder:
- Gently pull on the toilet paper: Grab hold of the end of the toilet paper and give it a light tug. The holder should remain stable and not come loose from the wall. If it feels loose, revisit the previous steps to ensure all mounting screws are tightened.
- Check for any wobbling: Give the toilet paper holder a slight shake to check for any wobbling or movement. It should remain firmly in place without any significant shifting or instability.
- Observe for any sagging: Take a step back and visually inspect the holder. Ensure that it is level and straight, without any noticeable sagging or tilting. If there are any alignment issues, make adjustments as needed.
If your toilet paper holder passes these stability tests, congratulations! You have successfully installed your Lowes toilet paper holder. You can now enjoy the convenience and functionality it brings to your bathroom.
However, if you notice any issues with stability, looseness, or alignment, it’s important to address them promptly. Recheck the mounting screws and make sure they are securely tightened. If necessary, consider using additional support such as wall anchors or consulting a professional for assistance.
By thoroughly testing the stability of your toilet paper holder, you can ensure a durable and long-lasting installation that will reliably hold your toilet paper for years to come.
Conclusion
Congratulations! You have successfully completed the installation of your Lowes toilet paper holder. By following the step-by-step guide, you have ensured a secure and professional installation that enhances the functionality and aesthetics of your bathroom.
The process of mounting a toilet paper holder involves gathering the necessary materials, preparing the surface, determining the mounting height, marking the mounting holes, drilling pilot holes, installing wall anchors if needed, mounting the holder, securing the mounting screws, attaching the toilet paper holder, and testing the stability. Each step is vital in achieving a solid and reliable installation.
Having a properly installed toilet paper holder not only keeps your bathroom organized but also adds convenience and accessibility for you and your guests. A Lowes toilet paper holder offers both durability and style, making it a great addition to your bathroom décor.
Remember to periodically check the stability and tightness of the mounting screws to ensure that your toilet paper holder remains secure. If any issues arise, promptly address them to maintain the functionality of the holder.
Thank you for following this installation guide. We hope that it has been helpful in your journey to mount a Lowes toilet paper holder. Enjoy the convenience and ease that it brings to your bathroom routine!
Frequently Asked Questions about How To Mount A Lowe's Toilet Paper Holder
Was this page helpful?
At Storables.com, we guarantee accurate and reliable information. Our content, validated by Expert Board Contributors, is crafted following stringent Editorial Policies. We're committed to providing you with well-researched, expert-backed insights for all your informational needs.


0 thoughts on “How To Mount A Lowe’s Toilet Paper Holder”