Articles
How To Fix My Toilet Paper Holder
Modified: August 24, 2024
Learn how to fix your toilet paper holder with these helpful articles. Find step-by-step guides and expert tips to easily repair your bathroom accessory.
(Many of the links in this article redirect to a specific reviewed product. Your purchase of these products through affiliate links helps to generate commission for Storables.com, at no extra cost. Learn more)
Introduction
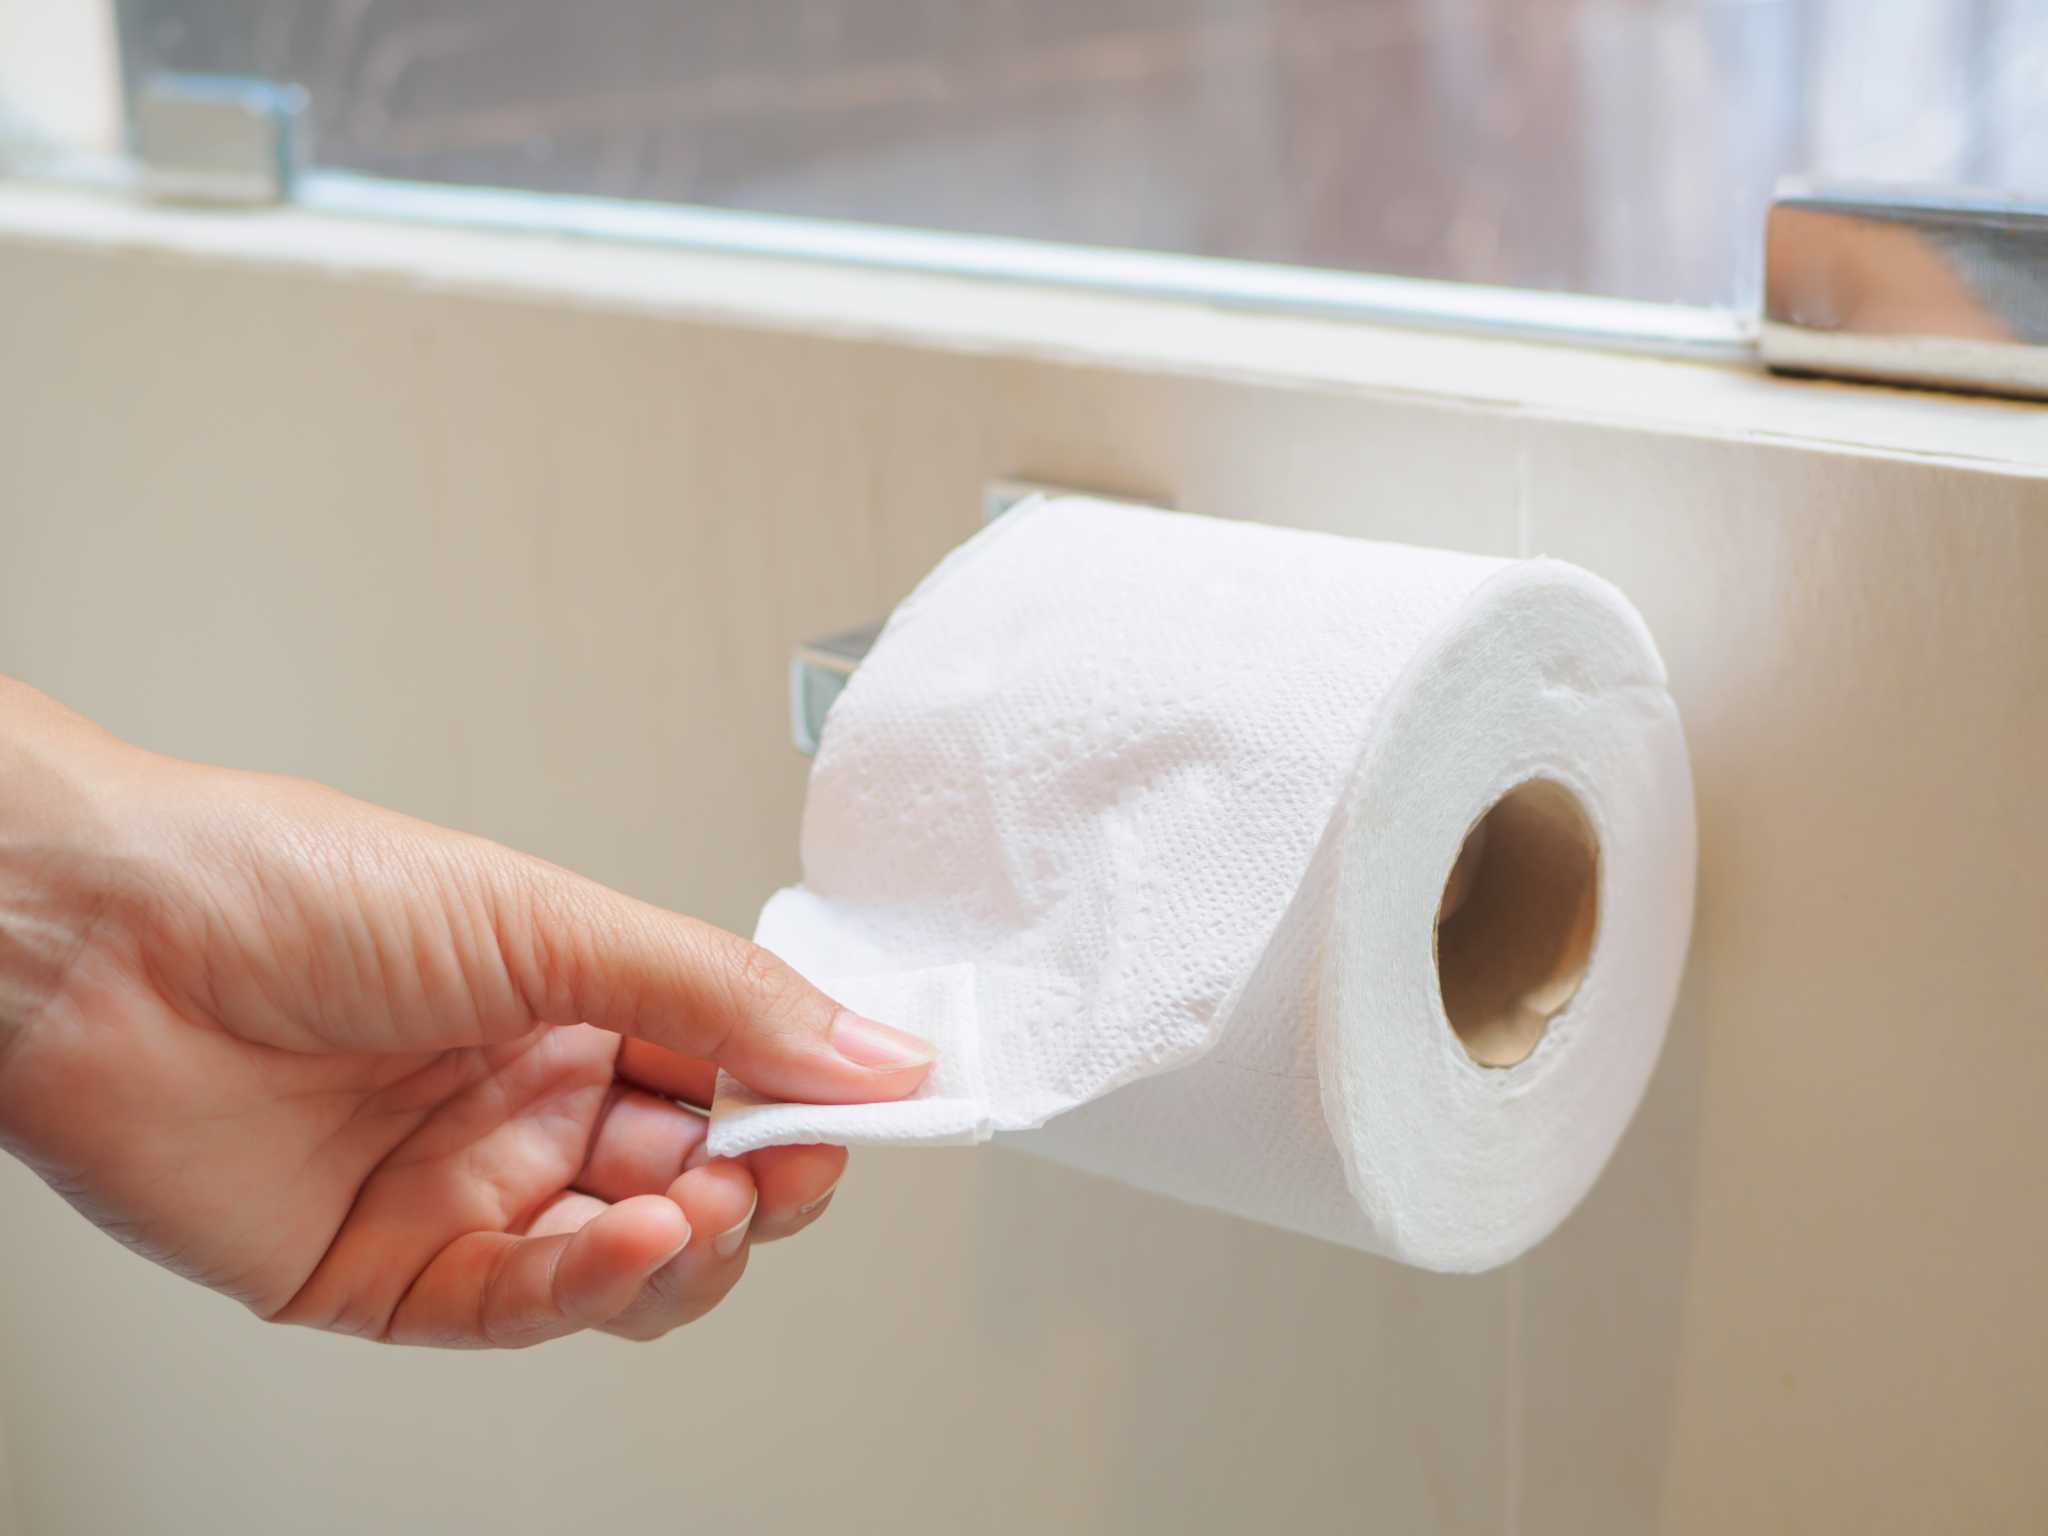
Welcome to this step-by-step guide on how to fix your toilet paper holder. There’s nothing more frustrating than a bathroom essential that doesn’t function properly. Luckily, with a little troubleshooting and some basic tools, you can easily tackle this common household issue.
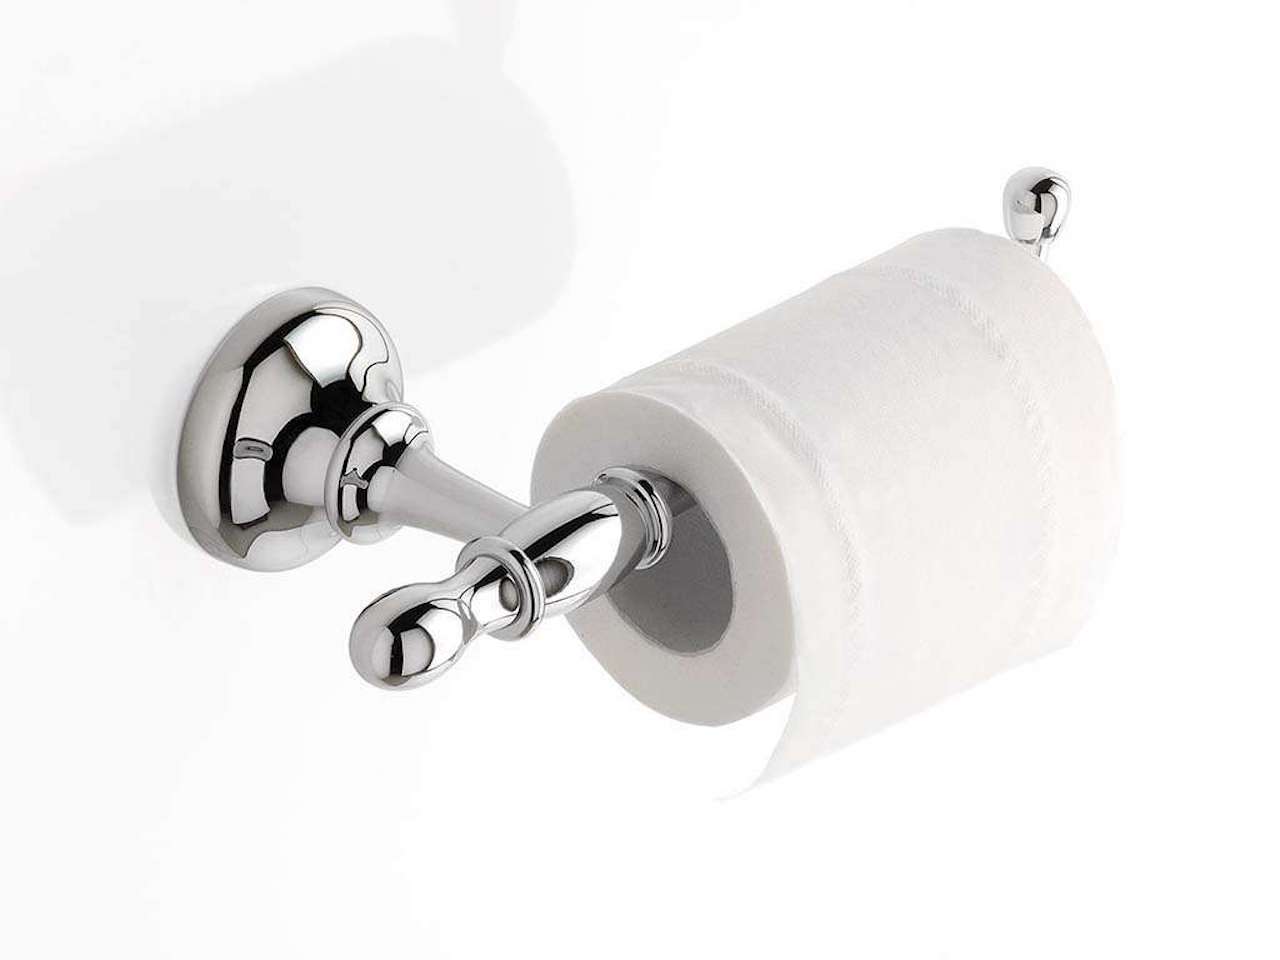
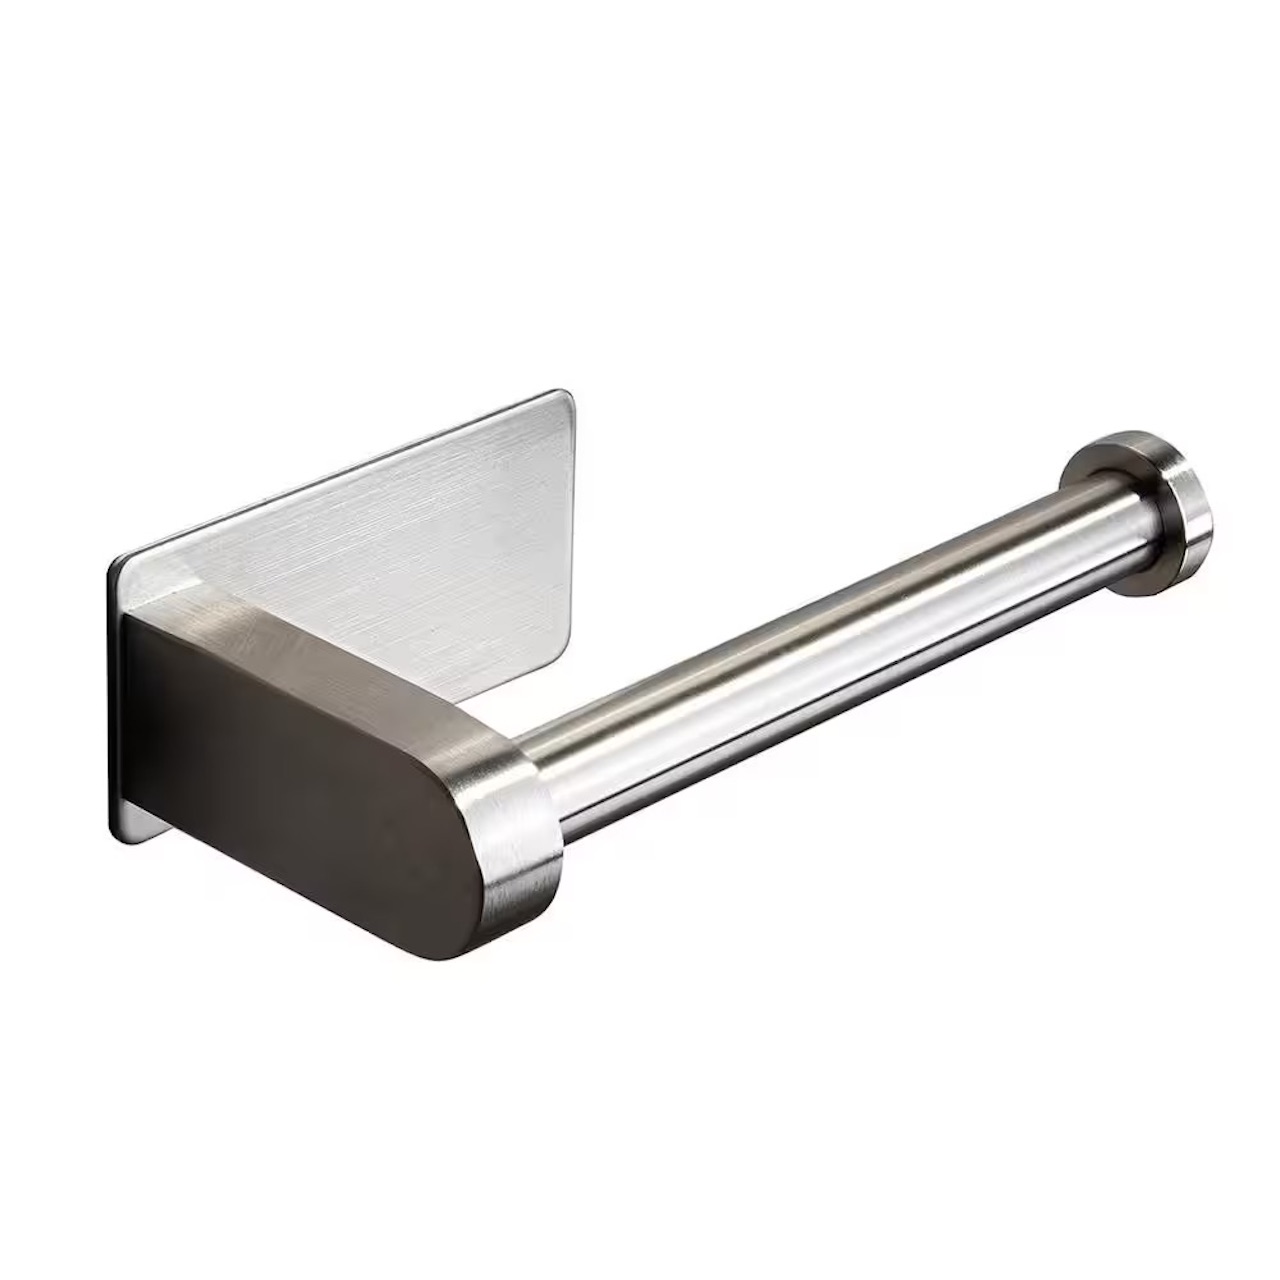
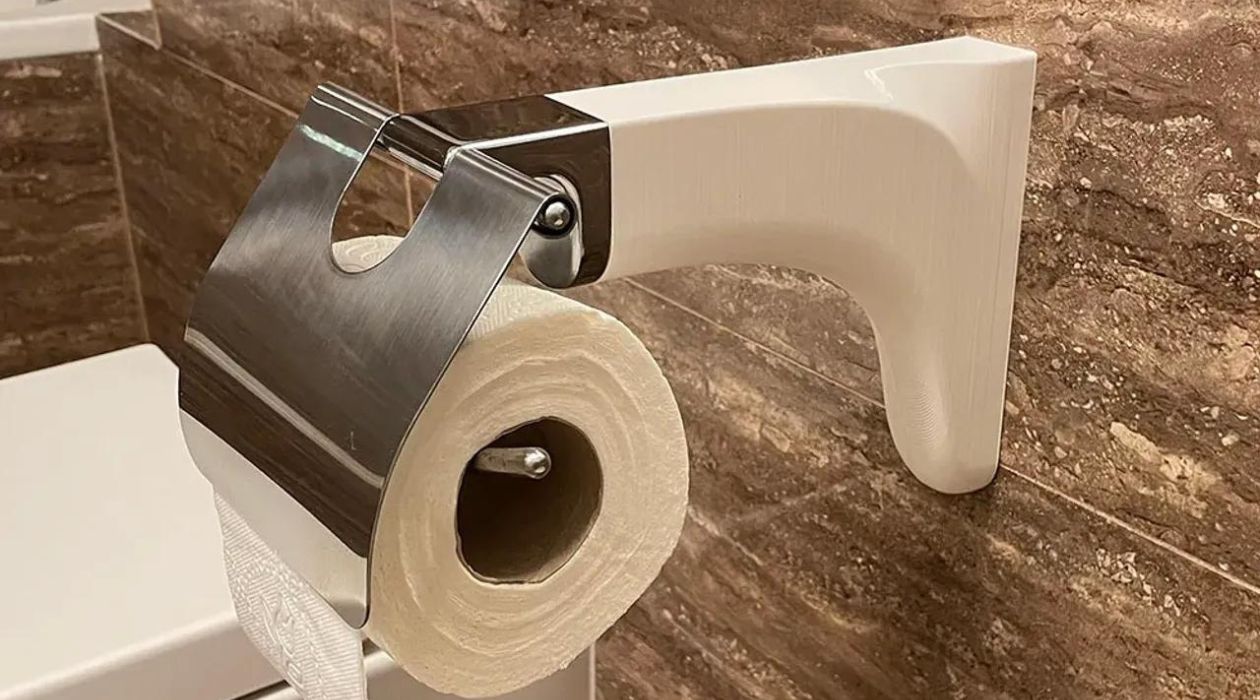
Before we dive into the process, let’s take a moment to explain the purpose of a toilet paper holder. It’s a simple yet essential fixture in every bathroom, designed to securely hold your roll of toilet paper and provide easy access whenever needed. However, over time, these holders may become loose or even detach from the wall, leaving you in need of a quick fix.
In this article, we’ll guide you through the process of fixing your toilet paper holder and restoring it to its former functional glory. We’ll cover everything from assessing the problem to reattaching the holder securely. So let’s grab our tools and get started!
Key Takeaways:
- Easily fix your toilet paper holder by assessing, removing, and reattaching it with basic tools. Test for sturdiness and troubleshoot if needed for a functional bathroom essential.
- Gather materials, follow the step-by-step process, and troubleshoot if necessary to restore your toilet paper holder’s functionality and stability. Don’t hesitate to seek professional help if needed.
Read more: How To Fix A Loose Toilet Paper Holder
Materials needed
Before you begin fixing your toilet paper holder, it’s essential to gather a few materials to ensure a smooth and successful repair. Here are the items you’ll need:
- Screwdriver or drill
- Replacement screws and anchors
- Level
- Pencil
- Tape measure
- Hammer
- Optional: Wall putty or spackle
Having these materials on hand will ensure that you have everything you need to address any potential issue with your toilet paper holder and complete the repair process. Now, let’s move on to the step-by-step instructions.
Step 1: Assessing the problem
The first step in fixing your toilet paper holder is to assess the problem. Take a close look at the holder to determine what may be causing the issue. Here are a few common problems you might encounter:
- Loose screws or brackets: Over time, the screws or brackets holding the toilet paper holder to the wall may become loose, causing the holder to wobble or detach.
- Broken or damaged hardware: If you notice any cracks, breaks, or other damage to the hardware of the toilet paper holder, it may need to be replaced.
- Improper installation: In some cases, the holder may not have been installed correctly initially, leading to instability or malfunction.
Once you’ve identified the issue, you can proceed to the next steps to fix the problem and regain a functional toilet paper holder. It’s important to note that if the holder is severely damaged or beyond repair, you may need to consider purchasing a new one.
Now that you have a good understanding of what could be causing the problem, it’s time to move on to the next step: removing the toilet paper holder.
Step 2: Removing the toilet paper holder
Before you can fix the toilet paper holder, you’ll need to remove it from the wall. Follow these steps to safely remove the holder:
- Locate the screws: Most toilet paper holders are attached to the wall with screws. Look for the screws or brackets that hold the holder in place.
- Use a screwdriver or drill: Depending on the type of screws used, use a screwdriver or drill to loosen and remove the screws. Turn counterclockwise to loosen them.
- Gently pull the holder away from the wall: Once the screws have been removed, carefully pull the holder away from the wall. Be cautious not to damage the surrounding area.
- Set aside the holder and screws: Place the removed holder and screws in a safe location where they won’t get lost or damaged.
With the holder successfully removed, you can now move on to the next step: checking for loose screws or brackets that may be causing the problem.
Step 3: Checking for loose screws or brackets
Now that you have removed the toilet paper holder, it’s time to inspect the screws and brackets to determine if they are the cause of the problem. Follow these steps:
- Examine the screws: Inspect the screws that were holding the toilet paper holder to the wall. Look for any signs of damage or wear.
- Tighten or replace screws: If the screws are loose, use a screwdriver or drill to tighten them. If the screws are damaged or stripped, replace them with new ones.
- Check the brackets: Inspect the brackets that hold the holder to the wall. Look for any signs of damage or misalignment.
- Adjust or replace brackets: If the brackets are loose or misaligned, adjust them using a screwdriver or replace them with new brackets.
By ensuring that the screws and brackets are tight and in good condition, you can improve the stability and functionality of the toilet paper holder. Once you’ve addressed any issues with the screws and brackets, you can move on to the next step: reattaching the toilet paper holder.
If your toilet paper holder is loose, try tightening the screws or mounting hardware. If it’s broken, consider replacing it with a new one that matches the existing holes.
Read more: How To Screw On Toilet Paper Holder
Step 4: Reattaching the toilet paper holder
After inspecting and fixing any loose screws or brackets, it’s time to reattach the toilet paper holder to the wall. Follow these steps to ensure a secure attachment:
- Hold the holder against the wall: Position the holder in the desired location against the wall. Use a level to ensure that it is straight.
- Mark the screw holes: Using a pencil, mark the locations where the screws will go. This will serve as a guide for drilling the holes.
- Drill the pilot holes: Use a drill with an appropriate bit size to drill pilot holes at the marked locations. Be sure to drill straight and at the necessary depth.
- Insert anchors (if needed): If the wall material requires additional support, such as drywall, insert anchors into the pilot holes.
- Secure the holder: Place the holder against the wall again, aligning the screw holes with the pilot holes. Use a screwdriver or drill to tighten the screws and secure the holder in place.
Ensure that the holder is firm and doesn’t wobble. If necessary, make adjustments to the screws or brackets until the holder feels sturdy and secure.
With the toilet paper holder successfully reattached, it’s time to move on to the next step: testing the sturdiness.
Step 5: Testing the sturdiness
Now that you have reattached the toilet paper holder, it’s important to test its sturdiness to ensure that it can withstand regular use. Follow these steps to evaluate its stability:
- Gently tug on the holder: Give the toilet paper holder a gentle tug to test its stability. It should feel secure and not move or wobble.
- Check for any movement or looseness: Carefully inspect the holder to ensure that there is no movement or looseness at the attachment points. If you notice any issues, revisit the previous steps to address them.
- Load the holder with a roll of toilet paper: Place a roll of toilet paper onto the holder to simulate real-world usage. Check if the holder can support the weight without any issues.
- Try pulling on the toilet paper: Pull on the toilet paper to test the holder’s ability to dispense it smoothly. It should remain firmly in place and provide easy access to the toilet paper.
If you encounter any issues during the testing process, such as wobbling or detachment, it may be necessary to repeat the previous steps and ensure a proper installation. Don’t hesitate to make any necessary adjustments until you are satisfied with the stability and functionality of the toilet paper holder.
Now that you have tested the sturdiness of the holder, it’s time for the final step: Additional troubleshooting tips.
Step 6: Additional troubleshooting tips
If you have followed the previous steps and still encounter issues with your toilet paper holder, here are some additional troubleshooting tips to help you address the problem:
- Use wall putty or spackle: If the screw holes in the wall are worn or damaged, you can fill them with wall putty or spackle. Allow it to dry according to the manufacturer’s instructions, then re-drill the pilot holes and reattach the holder.
- Consider alternative mounting methods: If the wall material or condition doesn’t allow for a secure attachment, you may need to consider alternative mounting methods, such as using adhesive strips designed for bathroom fixtures.
- Upgrade to a new holder: If your toilet paper holder is old or damaged beyond repair, it may be time to consider replacing it with a new one. Explore different styles and materials to find a holder that suits your bathroom decor and meets your needs.
- Consult a professional: If you’ve exhausted all troubleshooting options and are still unable to fix the toilet paper holder, it may be best to consult a professional plumber or handyman who can assess the situation and provide specialized assistance.
Remember, it’s essential to address any issues with your toilet paper holder promptly to ensure convenience and functionality in your bathroom. By following these troubleshooting tips, you’ll be able to overcome common problems and enjoy a well-functioning toilet paper holder once again.
With these additional troubleshooting tips, you are now equipped to handle any challenges that may arise during the repair process. Remember to take your time, follow the steps carefully, and don’t hesitate to seek professional help if needed.
Before we conclude, let’s recap the steps we covered in this guide:
- Assess the problem
- Remove the toilet paper holder
- Check for loose screws or brackets
- Reattach the toilet paper holder
- Test the sturdiness
- Utilize additional troubleshooting tips if necessary
We hope this guide has helped you fix your toilet paper holder and restore its functionality. Happy repairing!
Conclusion
Fixing a loose or malfunctioning toilet paper holder doesn’t have to be a daunting task. With the right tools, materials, and a bit of troubleshooting, you can easily restore your holder’s functionality and stability.
In this comprehensive guide, we covered the step-by-step process of fixing a toilet paper holder, starting from assessing the problem to reattaching the holder securely. By following these steps, you can address common issues such as loose screws, damaged hardware, or improper installation.
Remember to gather the necessary materials before starting the repair process. A screwdriver or drill, replacement screws and anchors, a level, pencil, tape measure, and optionally, wall putty or spackle, will help you achieve the best results.
Throughout the guide, we emphasized the importance of thorough assessment, careful removal, proper inspection, secure reattachment, and thorough testing to ensure the sturdiness of the toilet paper holder. We also provided troubleshooting tips for those facing persistent challenges.
If you’ve followed the steps outlined in this guide and are still unable to resolve the issue with your toilet paper holder, it may be time to consider consulting a professional for assistance. They can offer expertise and guidance tailored to your specific situation.
We hope that this guide has empowered you to confidently tackle the task of fixing your toilet paper holder. By taking the time to address the problem, you can ensure a functional and convenient bathroom experience for yourself and your household.
Remember, a well-functioning toilet paper holder is a small but essential element of a well-maintained bathroom. Don’t delay in addressing any issues and enjoy the peace of mind that comes with a properly fixed toilet paper holder.
Thank you for reading, and happy repairing!
Frequently Asked Questions about How To Fix My Toilet Paper Holder
Was this page helpful?
At Storables.com, we guarantee accurate and reliable information. Our content, validated by Expert Board Contributors, is crafted following stringent Editorial Policies. We're committed to providing you with well-researched, expert-backed insights for all your informational needs.


0 thoughts on “How To Fix My Toilet Paper Holder”