Home>Articles>How To Install A Delta Wall Mounted Toilet Paper Holder
Articles
How To Install A Delta Wall Mounted Toilet Paper Holder
Modified: August 27, 2024
Learn how to easily install a Delta wall mounted toilet paper holder with our step-by-step articles. Upgrade your bathroom today!
(Many of the links in this article redirect to a specific reviewed product. Your purchase of these products through affiliate links helps to generate commission for Storables.com, at no extra cost. Learn more)
Introduction
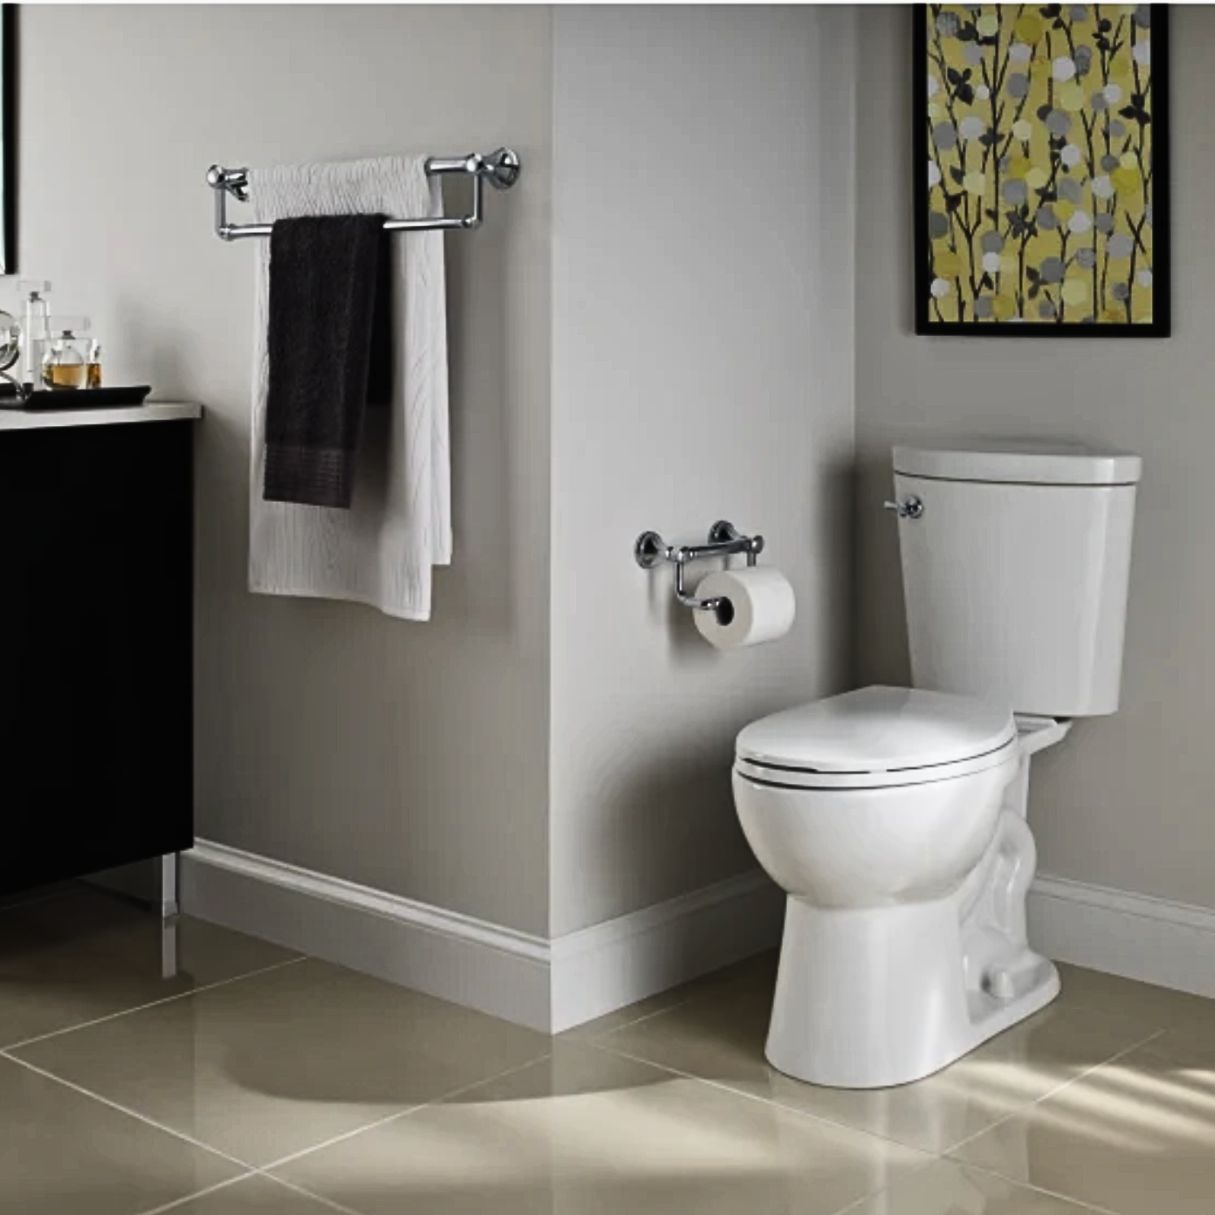
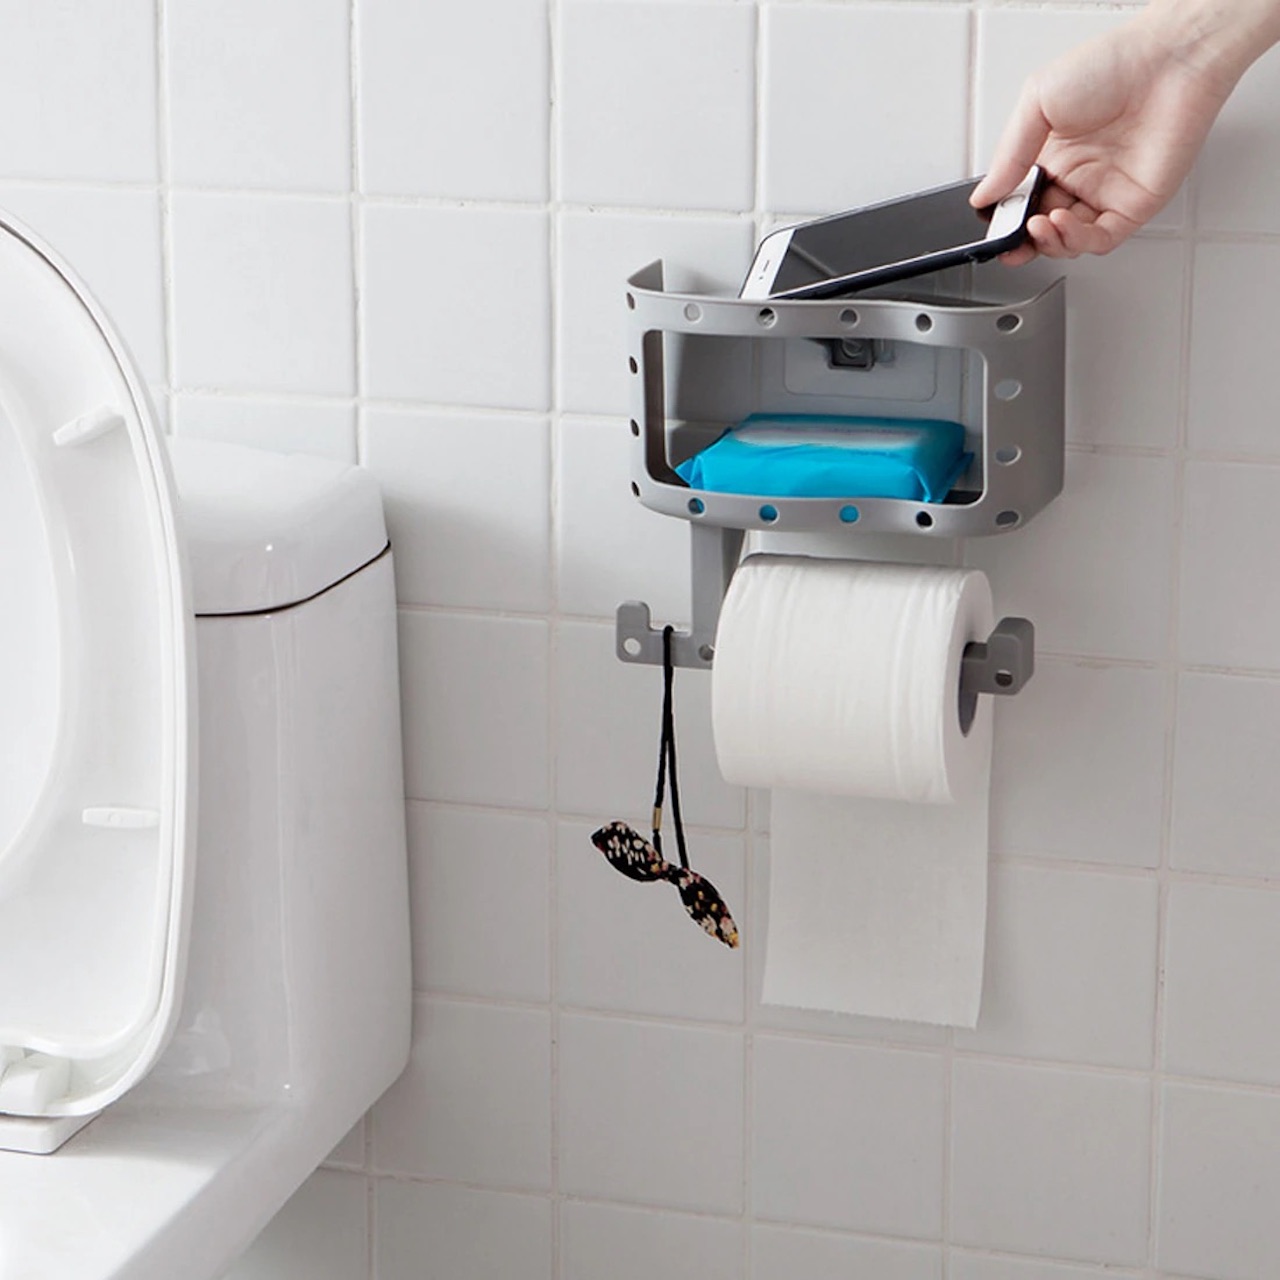
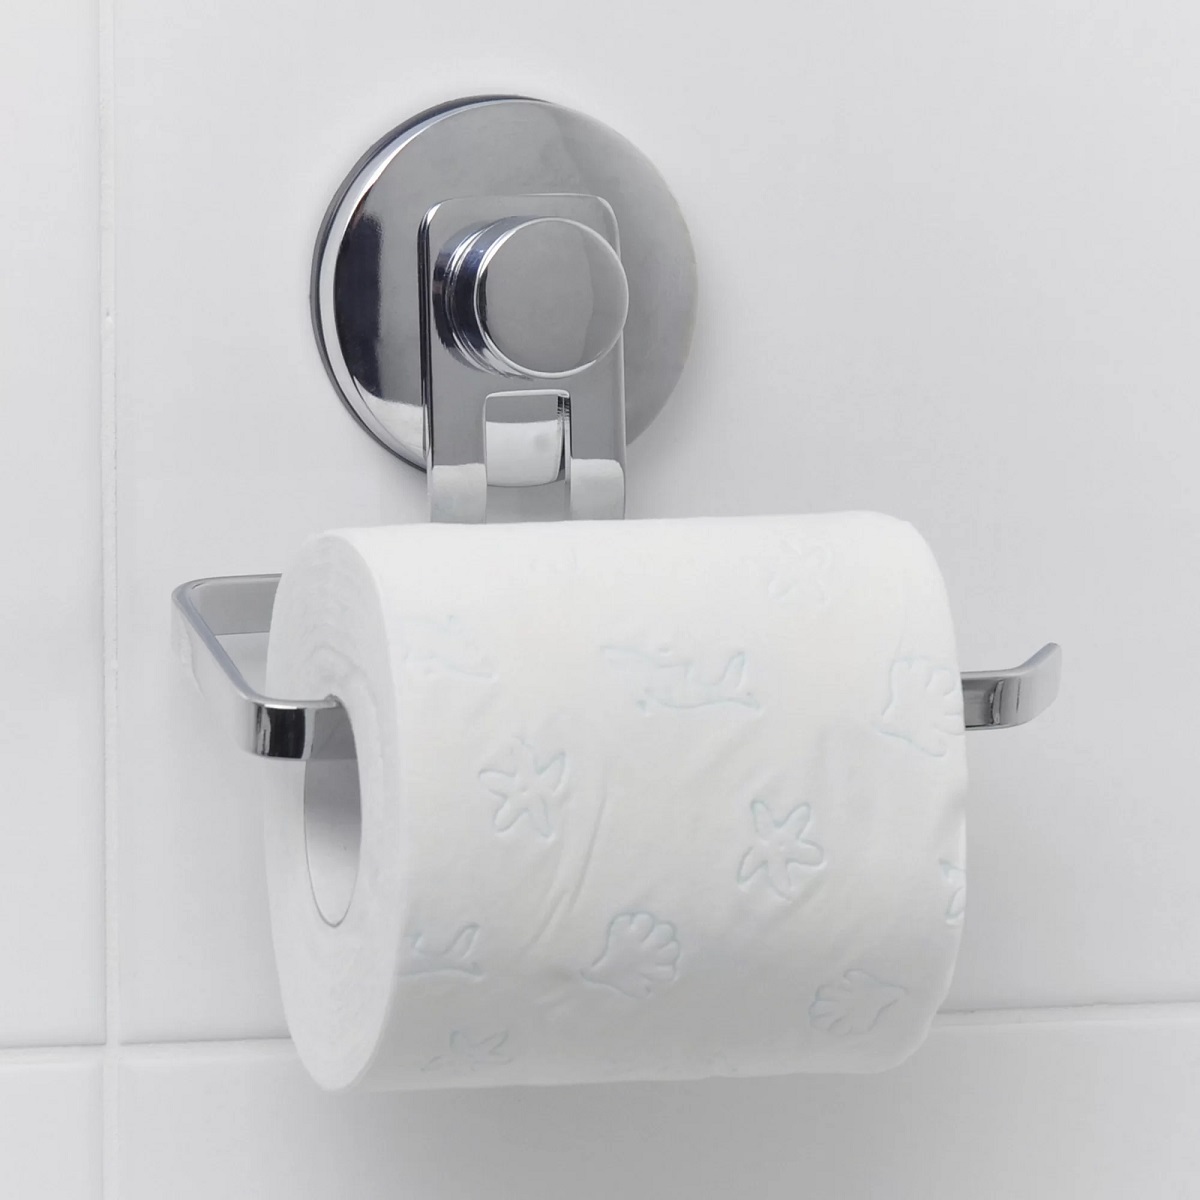
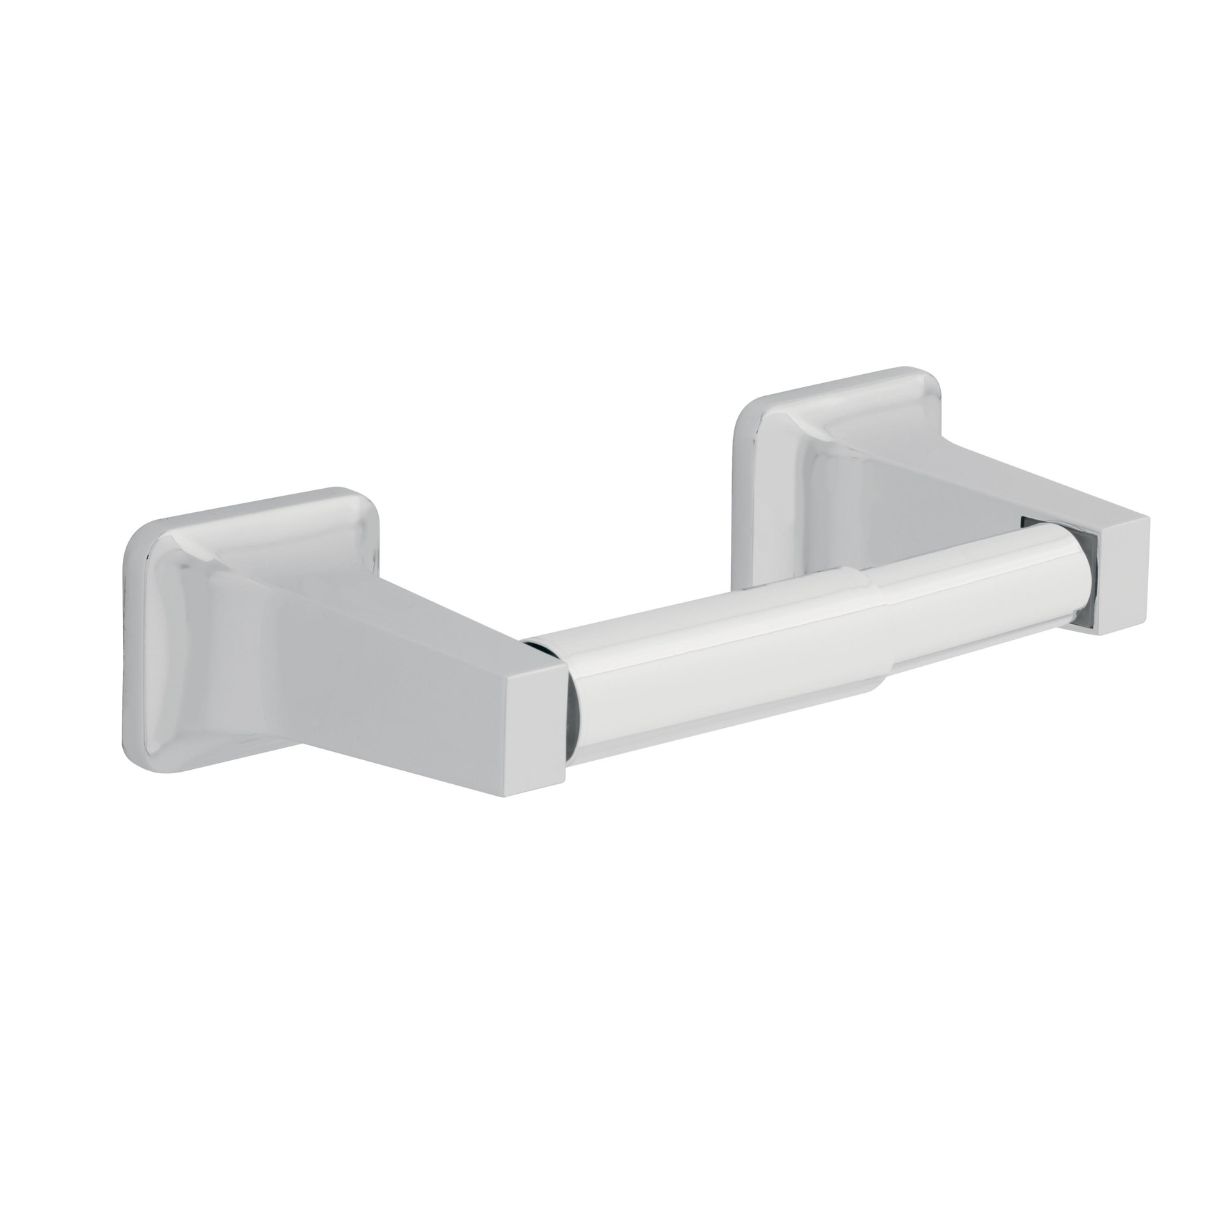
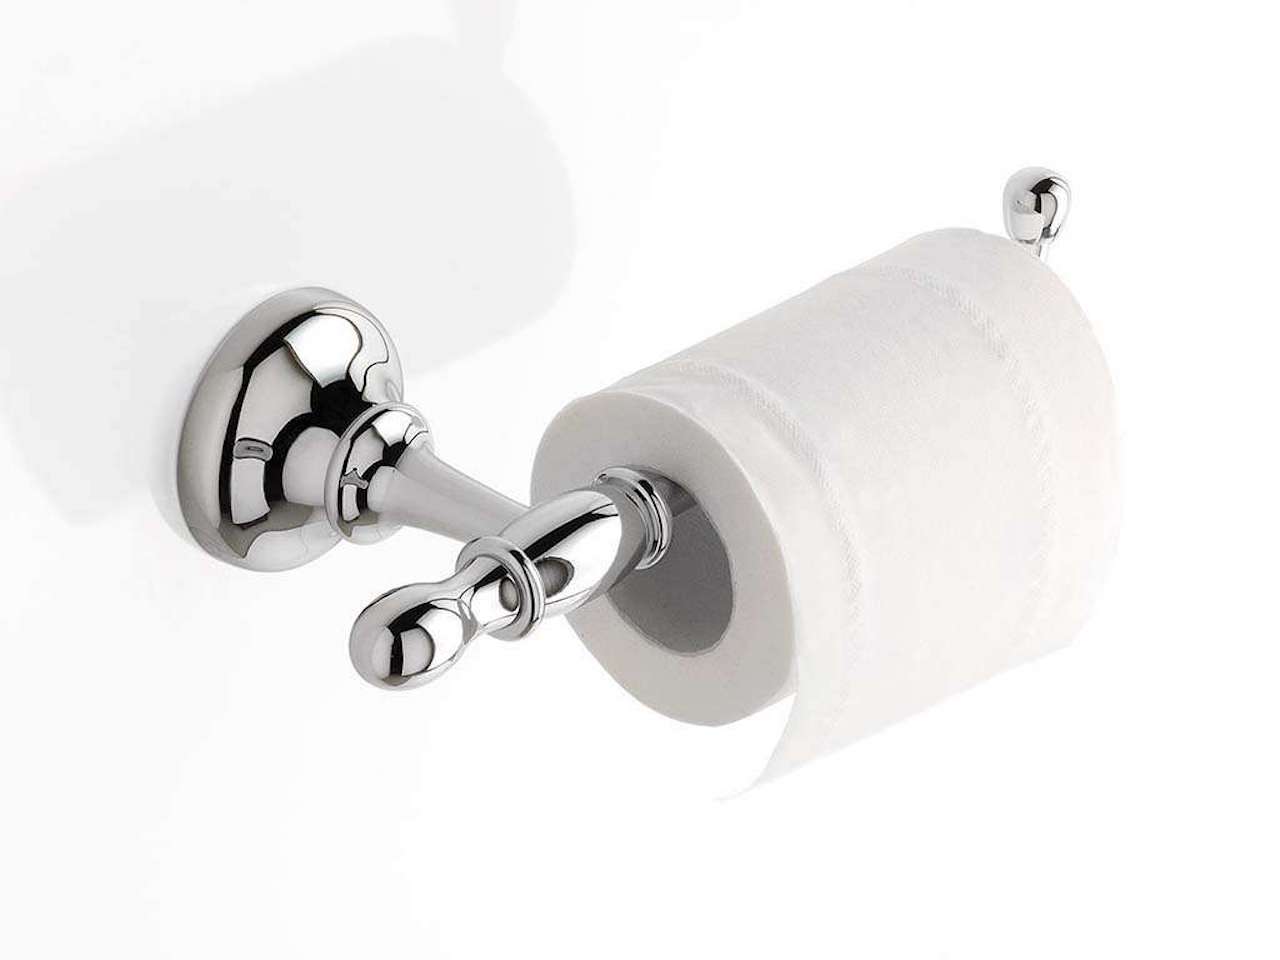
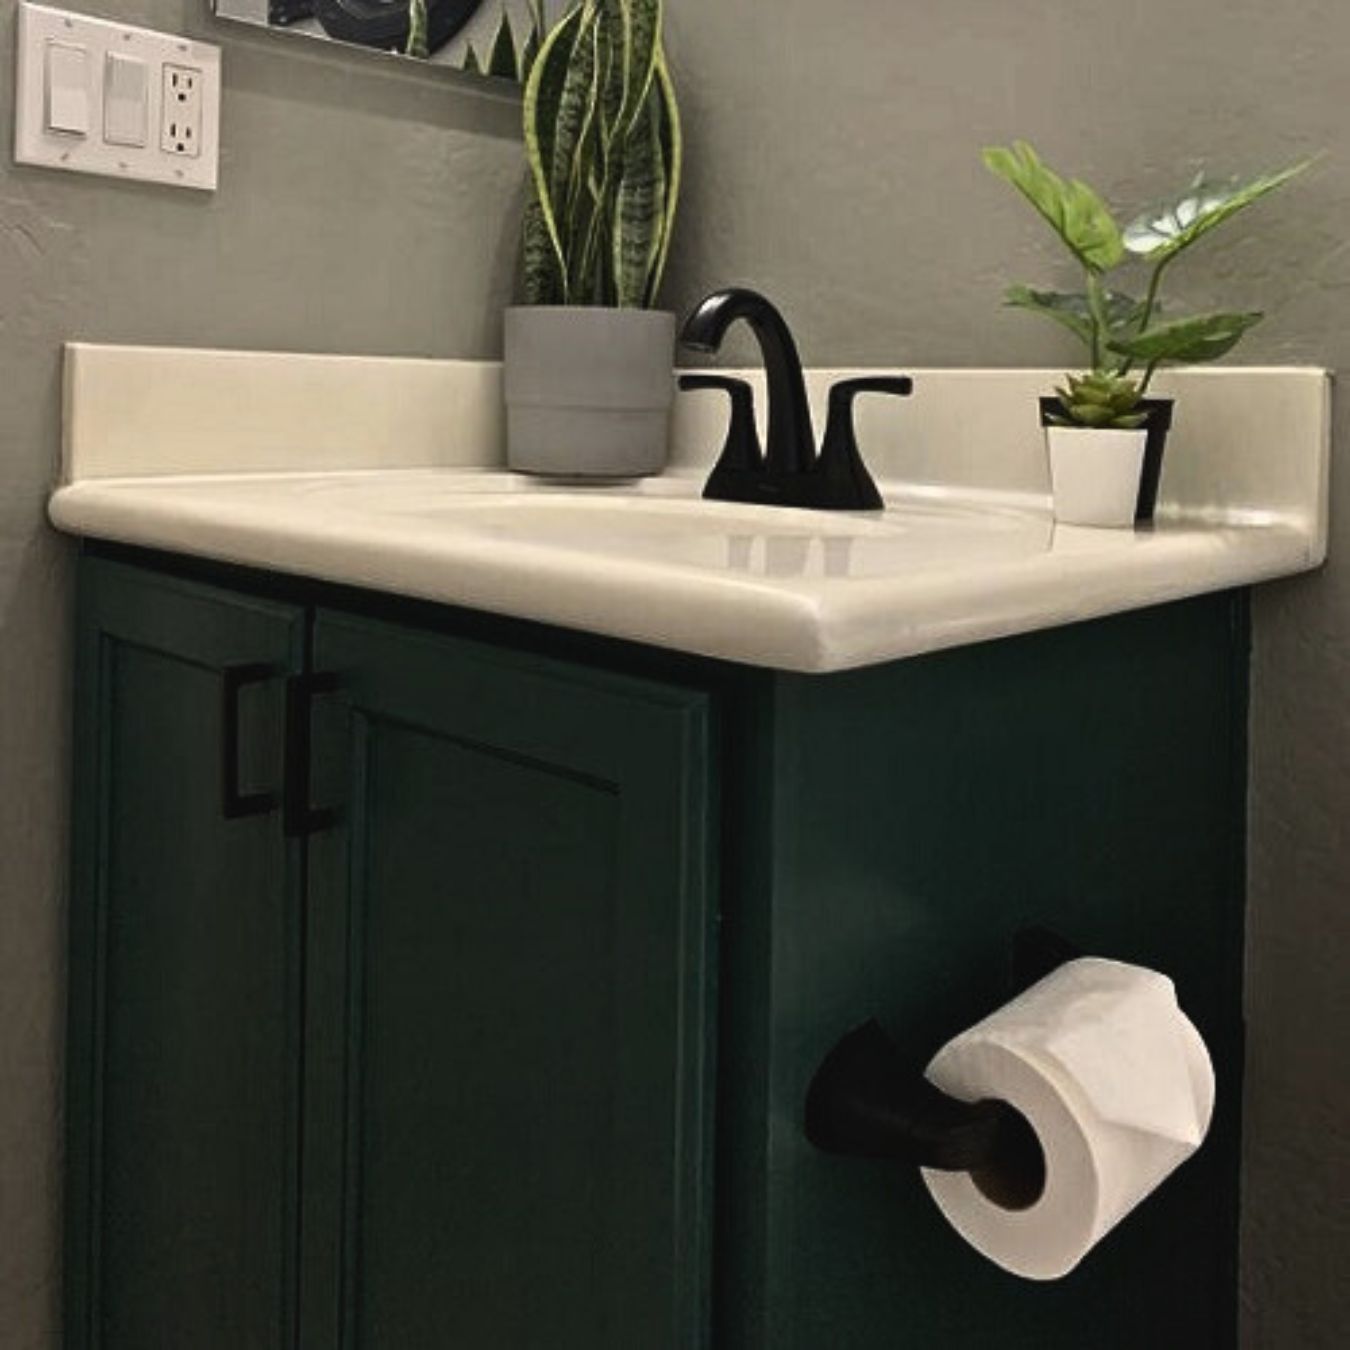
Installing a Delta wall mounted toilet paper holder can be a great addition to your bathroom. Not only does it provide a convenient and accessible spot to keep your toilet paper, but it also adds a touch of style and elegance to the overall design of your bathroom.
Whether you’re renovating your bathroom or simply looking to replace an old toilet paper holder, learning how to install a Delta wall mounted toilet paper holder is a relatively straightforward process. By following the steps outlined in this guide, you’ll have your new toilet paper holder securely installed in no time.
Before we dive into the installation process, it’s important to gather all the necessary tools and materials. Here’s what you’ll need:
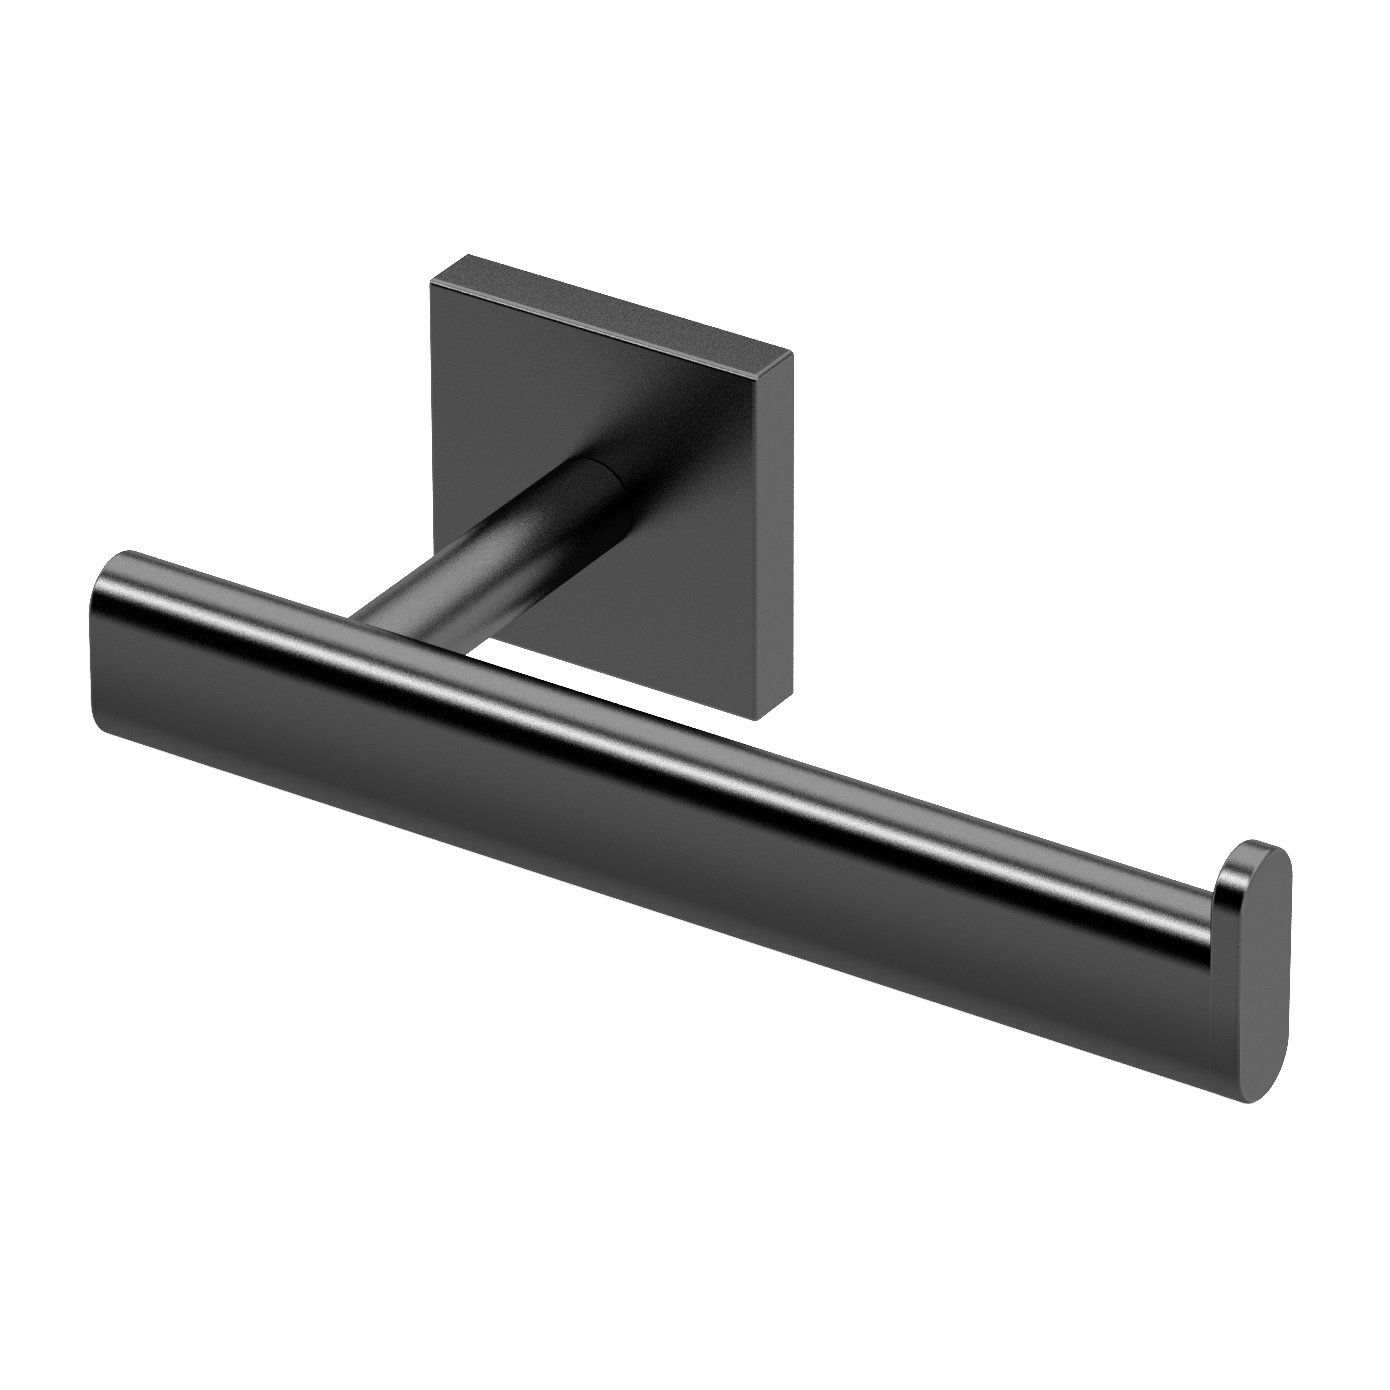
- Delta wall mounted toilet paper holder kit
- Power drill
- Drill bits
- Pencil or marker
- Screwdriver
- Level
- Measuring tape
- Wall anchors (if necessary)
Once you have all the tools and materials ready, you can move on to preparing the wall for installation. This step involves ensuring that the wall is clean, dry, and free from any debris. It’s also important to identify the stud locations in the wall, as you’ll need to secure the mounting bracket to the studs for maximum stability.
Key Takeaways:
- Installing a Delta wall mounted toilet paper holder is a straightforward DIY project that adds both functionality and style to your bathroom. Proper preparation, precise marking, and secure installation are key to a successful outcome.
- By following the step-by-step guide and ensuring stability and accessibility, you can confidently install and enjoy the convenience and elegance of your new Delta wall mounted toilet paper holder. Remember to keep the manufacturer’s instructions for future reference.
Step 1: Gather the necessary tools and materials
Before you begin installing your Delta wall mounted toilet paper holder, it’s essential to gather all the tools and materials you’ll need for the job. By having everything ready in advance, you can streamline the installation process and ensure a smooth and efficient experience.
Here’s a list of the tools and materials you’ll need:
- Delta wall mounted toilet paper holder kit: This includes the toilet paper holder itself, mounting bracket, screws, and any other necessary components.
- Power drill: You’ll need a power drill to create holes in the wall and fasten the screws.
- Drill bits: Make sure to have the appropriate drill bits for your specific wall type – whether it’s drywall, tile, or another material.
- Pencil or marker: These will be used to mark the position where you’ll be installing the toilet paper holder.
- Screwdriver: A screwdriver will be needed to tighten and secure the screws in place.
- Level: This handy tool will help you ensure that the toilet paper holder is level during installation.
- Measuring tape: Use a measuring tape to accurately measure the spacing for the mounting bracket.
- Wall anchors (if necessary): If you’re not mounting the toilet paper holder directly onto a stud, you may need wall anchors to provide additional support.
Having all these tools and materials ready will save you time and make the installation process much more convenient. Before you start the actual installation, it’s also a good idea to read through the manufacturer’s instructions that come with the Delta wall mounted toilet paper holder kit. This will ensure that you have a clear understanding of the specific installation requirements and any additional steps you may need to take.
Once you’re confident that you have all the necessary tools and materials, you can move on to the next step: preparing the wall for installation.
Step 2: Prepare the wall for installation
Before you can install the Delta wall mounted toilet paper holder, it’s important to prepare the wall surface where it will be mounted. This step ensures that the installation is secure and the holder will stay in place for the long term.
Here are the steps to prepare the wall for installation:
- Clean the wall: Start by cleaning the area of the wall where the toilet paper holder will be installed. Use a mild cleaning solution and a cloth to remove any dirt, dust, or grease that may be present. A clean surface will help the adhesive and mounting bracket adhere properly.
- Determine the wall type: Identify the type of wall you’ll be installing the toilet paper holder on. Common wall types include drywall, tile, or plaster. The wall type will influence the tools and techniques you’ll need to use for installation.
- Locate the studs: If you’re planning to mount the toilet paper holder onto a stud, it’s crucial to locate the stud’s position in the wall. Use a stud finder or tap the wall lightly to listen for a solid, supporting sound. Mark the stud location with a pencil for reference during installation.
- Consider using wall anchors: If you’re not mounting the holder onto a stud, you’ll need to use wall anchors to provide extra support. Use a drill to create holes for the wall anchors following the manufacturer’s instructions. Insert the anchors into the holes and tap them in until they’re flush with the wall surface.
- Allow the wall to dry: If you’ve cleaned the wall with a wet cloth or cleaning solution, allow it to dry completely before proceeding. This ensures that the adhesive and mounting bracket will adhere properly to the wall surface.
By taking the time to prepare the wall for installation, you’ll create a solid foundation for mounting the Delta wall mounted toilet paper holder. A clean and properly prepared wall will ensure a secure and long-lasting installation.
Once the wall is ready, you can move on to the next step: marking the position of the toilet paper holder on the wall.
Step 3: Mark the position of the toilet paper holder
Before installing the Delta wall mounted toilet paper holder, it’s essential to mark the precise position on the wall where it will be mounted. This step ensures that the holder will be properly aligned and at the desired height for easy use.
Here are the steps to mark the position of the toilet paper holder:
- Measure and mark the height: Decide on the desired height for your toilet paper holder. Use a measuring tape to measure the distance from the floor or another fixed reference point and make a light mark on the wall using a pencil or marker. This mark will indicate the bottom of the mounting bracket.
- Measure and mark the spacing: Determine the proper spacing for your toilet paper holder. Typically, the center of the holder should be positioned about 8-10 inches in front of the toilet bowl. Use a measuring tape to find the center point and make a mark on the wall. This mark will indicate the center of the mounting bracket.
- Use a level: To ensure that the toilet paper holder will be installed straight, use a level. Place the level horizontally against the wall at the position where the mounting bracket will be placed and adjust the position until the bubble is centered. Make any necessary adjustments to align the mark with the level line.
- Double-check the alignment: Step back and visually inspect the marks to ensure they are level and align with your expectations. Make any final adjustments if needed.
Take your time during this step to ensure accurate measurements and markings. Properly marking the position of the toilet paper holder will help you achieve a neat and visually pleasing installation.
Once you have marked the position of the toilet paper holder, you can move on to the next step: installing the mounting bracket on the wall.
When installing a Delta wall mounted toilet paper holder, make sure to use a level to ensure it is straight. Use the provided template for accurate placement and secure it tightly to the wall for stability.
Step 4: Install the mounting bracket on the wall
Now that you have marked the position of the Delta wall mounted toilet paper holder, it’s time to install the mounting bracket onto the wall. The mounting bracket provides the foundation for securely attaching the toilet paper holder.
Follow these steps to install the mounting bracket:
- Hold the mounting bracket against the wall: Position the mounting bracket on the marked spot, aligning it with the center mark and ensuring it is level. Hold it firmly in place.
- Mark the screw hole locations: With the mounting bracket held against the wall, use a pencil or marker to mark the screw hole locations through the bracket’s pre-drilled holes. These marks will guide you during the drilling process.
- Drill pilot holes: Using an appropriate drill bit for your wall type, drill pilot holes into the marked locations on the wall. The size of the drill bit should match the size of the screws provided in the Delta toilet paper holder kit.
- Attach the mounting bracket: Once the pilot holes are drilled, position the mounting bracket back onto the wall and align the holes with the pilot holes. Secure the bracket to the wall by inserting and tightening the screws provided in the kit. Use a screwdriver or power drill with a screwdriver bit to ensure they are tightly fastened.
Make sure that the mounting bracket is securely attached to the wall and that it is level. Using a level, double-check the alignment before moving on to the next step.
If you’re using wall anchors for additional support, follow the manufacturer’s instructions on how to insert the anchors before attaching the mounting bracket.
With the mounting bracket securely installed, you’re ready to move on to the next step: attaching the toilet paper holder to the mounting bracket.
Step 5: Attach the toilet paper holder to the mounting bracket
Now that the mounting bracket is securely installed on the wall, it’s time to attach the Delta wall mounted toilet paper holder to the bracket. This step will complete the installation process and allow you to start using your new toilet paper holder.
Follow these steps to attach the toilet paper holder:
- Align the holes: Take the toilet paper holder and align the holes on the back with the slots or openings on the mounting bracket.
- Insert the screws: Once the holes are properly aligned, insert the screws provided with the Delta toilet paper holder kit through the holes and into the slots or openings on the mounting bracket.
- Tighten the screws: Use a screwdriver or a power drill with a screwdriver bit to tighten the screws. Be careful not to overtighten, as this could damage the holder or the bracket.
Ensure that the toilet paper holder is securely attached to the mounting bracket by giving it a gentle tug. It should feel stable and not move or wobble.
If your Delta wall mounted toilet paper holder has a snap-on or twist-on mechanism, follow the manufacturer’s instructions for attaching it to the mounting bracket. Some holders may require you to slide or snap the holder onto the bracket, while others may need to be twisted or locked into place.
After attaching the toilet paper holder to the mounting bracket, take a moment to step back and visually inspect the installation. Ensure that the holder is level and aligned with your expectations.
With the toilet paper holder securely attached to the mounting bracket, you’ve completed the installation process. Now, all that’s left is to ensure its stability and make any necessary adjustments if needed.
Proceed to the next step: testing the stability of the toilet paper holder and making adjustments, if necessary.
Step 6: Test the stability and adjust if needed
After installing the Delta wall mounted toilet paper holder and attaching it to the mounting bracket, it’s important to test its stability and make any necessary adjustments to ensure a secure and functional installation.
Follow these steps to test the stability and make adjustments if needed:
- Gently tug on the toilet paper holder: Give the holder a gentle tug to check its stability. It should feel firmly in place and not move or wobble.
- Check for levelness: Examine the toilet paper holder to ensure it is level. If it appears uneven, use a level to make adjustments. Loosen the screws on the mounting bracket if necessary and reposition the holder until it is level. Then, tighten the screws to secure it in place.
- Verify accessibility: Take a roll of toilet paper and ensure that it fits properly on the holder. The roll should slide on and off easily, and there should be enough space between the holder and the wall to accommodate the roll.
- Make any necessary adjustments: If you find any issues with the stability, levelness, or accessibility of the toilet paper holder, make the necessary adjustments. This may include repositioning the mounting bracket, tightening or loosening the screws, or changing the location of the holder altogether.
By thoroughly testing the stability and making any needed adjustments, you’ll ensure that your Delta wall mounted toilet paper holder is securely installed and ready to be used with ease.
Once you’ve verified the stability and made any necessary adjustments, the installation process is complete. Step back and admire your newly installed Delta wall mounted toilet paper holder, adding both functionality and style to your bathroom.
Congratulations! You’ve successfully installed your Delta wall mounted toilet paper holder and can now enjoy the convenience and elegance it brings to your bathroom space.
Remember to keep the installation instructions and any additional components that come with the holder for future reference or maintenance needs.
Thank you for choosing Delta and happy using your new wall mounted toilet paper holder!
Conclusion
Installing a Delta wall mounted toilet paper holder can be a straightforward and rewarding DIY project that adds both functionality and style to your bathroom. By following the steps outlined in this guide, you can confidently install your toilet paper holder and enjoy the convenience it brings for years to come.
Before beginning the installation process, gather all the necessary tools and materials to ensure a smooth and efficient installation. Take the time to clean and prepare the wall surface, locate the studs (if applicable), and mark the precise position of the toilet paper holder.
Installing the mounting bracket is a crucial step in providing a stable foundation for the toilet paper holder. Take care to align the bracket with the marked position and securely attach it to the wall using the supplied screws or wall anchors.
Attaching the toilet paper holder to the mounting bracket is the next step. Ensure proper alignment of the holes and use the provided screws to secure the holder in place. Double-check the stability and levelness of the holder, making any necessary adjustments for an optimal installation.
Finally, test the stability and functionality of the installed toilet paper holder. Give it a gentle tug, verify its levelness, and ensure that it can hold a roll of toilet paper with ease. Make any needed adjustments to improve its stability or accessibility.
With the installation process complete, step back and admire your newly installed Delta wall mounted toilet paper holder. Enjoy the convenience and elegance it adds to your bathroom while knowing that a job well done will provide you with long-lasting functionality and satisfaction.
Remember to keep the manufacturer’s instructions and any additional components for future reference or maintenance needs. If you have any questions or encounter difficulties during the installation process, consult the manufacturer’s customer support or seek assistance from a professional.
Thank you for choosing Delta and congratulations on successfully installing your wall mounted toilet paper holder. May it enhance the aesthetics and convenience of your bathroom for years to come.
Now that you've mastered installing your Delta wall mounted toilet paper holder, why not perfect its placement? Our next guide, "Where Do I Install The Toilet Paper Holder," covers all you need to know about the optimal positioning for ease of use and aesthetic appeal in any bathroom. This handy guide will ensure your accessories are both functional and stylish. Don't miss out; make sure every detail in your bathroom stands out!
Frequently Asked Questions about How To Install A Delta Wall Mounted Toilet Paper Holder
Was this page helpful?
At Storables.com, we guarantee accurate and reliable information. Our content, validated by Expert Board Contributors, is crafted following stringent Editorial Policies. We're committed to providing you with well-researched, expert-backed insights for all your informational needs.

0 thoughts on “How To Install A Delta Wall Mounted Toilet Paper Holder”