
Articles
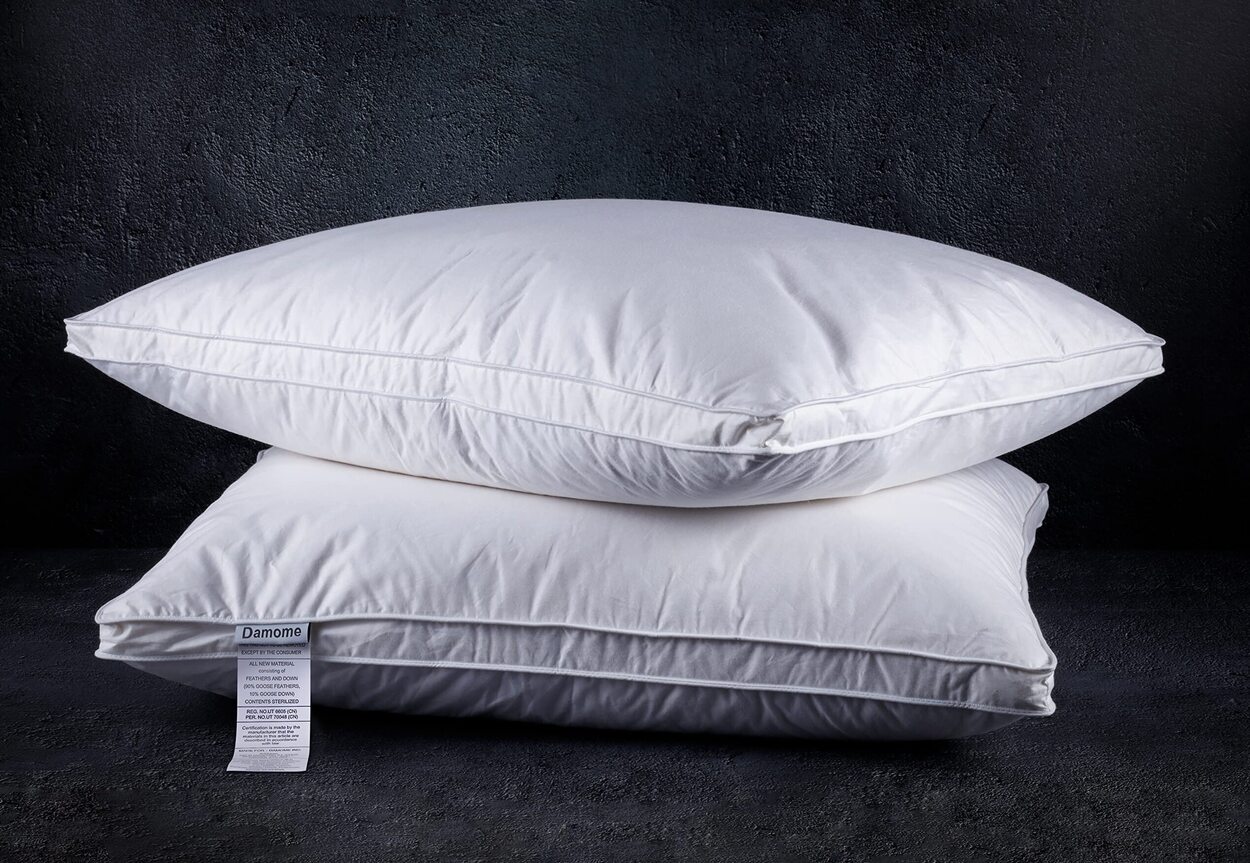
How To Pack Pillows For Moving
Modified: January 6, 2024
Learn how to properly pack pillows for moving in this informative article. Find helpful tips and tricks to ensure your pillows stay clean and protected during the moving process.
(Many of the links in this article redirect to a specific reviewed product. Your purchase of these products through affiliate links helps to generate commission for Storables.com, at no extra cost. Learn more)
Introduction
Moving can be a stressful and overwhelming process, with multiple tasks to tackle in a limited timeframe. When it comes to packing, it is important to ensure that all your belongings are carefully packaged to minimize the risk of damage during transportation. Pillows, despite being soft and seemingly easy to pack, require a little extra care to maintain their shape and cleanliness throughout the moving process.
In this article, we will guide you through the step-by-step process of packing pillows for a move. Whether you are moving locally or long-distance, these instructions will help you protect your pillows and ensure they arrive at your new home in perfect condition. So let’s get started!
Note: Before you begin packing your pillows, make sure to assess their condition. If your pillows are old, worn out, or stained, it may be a good time to consider replacing them. Only pack pillows that are clean and in good condition to avoid carrying unnecessary items to your new home.
Key Takeaways:
- Protect your pillows during a move by cleaning, folding or rolling, and securing them with rubber bands or string. Wrap them in plastic and pack them in sturdy boxes, then label and load them carefully for a smooth transition.
- Prioritize your pillows during a move by gathering the right packing materials, cleaning and wrapping them in plastic, and labeling and loading them securely. Taking these steps ensures a comfortable night’s sleep in your new home.
Read more: How To Pack A Mattress For Moving
Step 1: Gather Packing Materials
The first step in packing your pillows for a move is to gather all the necessary packing materials. Having everything on hand will streamline the packing process and ensure that your pillows are properly protected. Here are the materials you will need:
- Sturdy moving boxes: Choose boxes that are the appropriate size to fit your pillows. It is ideal to use new or gently-used boxes to ensure they provide enough support during transportation.
- Plastic wrap: This will help keep your pillows clean and protected from dust, dirt, and moisture. Choose a high-quality plastic wrap that is thick and durable.
- Rubber bands or string: These will be used to secure and hold the wrapped pillows in place.
- Marker: You will need this to label the boxes with the contents and the room they belong to. This will make unpacking much easier once you arrive at your new home.
- Packing tape: This will be used to seal the boxes once they are packed.
- Scissors: Essential for cutting the plastic wrap and any other materials needed during the packing process.
By ensuring you have all of these materials ready and within reach, you will be able to efficiently pack your pillows without any interruptions or delays.
Step 2: Remove Pillow Covers
Once you have gathered all the necessary packing materials, it’s time to remove the pillow covers. Most pillows come with removable covers that can be washed separately. Removing the covers will allow you to clean them before packing and keep the pillows themselves protected during the move.
Start by unzipping or unbuttoning the pillow covers, if applicable. Carefully remove the covers and set them aside. If the covers are washable, follow the care instructions on the label and launder them before packing. This will ensure that your covers are fresh and clean when you unpack them in your new home.
If your pillows don’t have removable covers, move on to the next step and focus on packing the pillows themselves. However, if the pillows are soiled or stained, you may want to consider spot cleaning them before packing. Consult the care instructions on the pillow tags or use a gentle fabric cleaner to remove any dirt or stains.
Pro Tip: As you remove the covers, take note of any special care instructions or tags on the pillows themselves. Some pillows may have specific washing or handling instructions that you should be aware of to maintain their integrity.
Step 3: Clean Pillows (Optional)
While this step is optional, it is highly recommended to clean your pillows before packing them for a move. Cleaning your pillows will not only ensure that they are fresh and free from dirt and allergens, but it will also help maintain their quality during transportation.
If your pillows have removable covers, you can simply follow the care instructions on the label and wash them according to the recommended method. Be sure to use a gentle detergent and select the appropriate water temperature. Once washed, allow the covers to air dry completely before packing them separately.
If your pillows themselves are not washable or don’t have removable covers, you can still clean them by spot treating any stains or odors. Use a mild detergent or fabric cleaner and a clean cloth to gently dab the affected areas. Avoid saturating the pillows as this can lead to mold and mildew. Allow the pillows to air dry completely before proceeding to the next step.
Note: It’s important to check the care instructions on your pillows to determine the best cleaning method. Some pillows may require professional cleaning or have specific guidelines that need to be followed to prevent damage.
Cleaning your pillows before packing not only ensures a hygienic environment in your new home but also helps to maintain the longevity of your pillows. Fresh and clean pillows will provide you with a comfortable night’s sleep as you settle into your new space.
Step 4: Fold or Roll Pillows
Now that your pillows are clean and ready to be packed, it’s time to decide whether you want to fold or roll them. The method you choose will depend on the type of pillows and the available space in your moving boxes.
If you have traditional rectangular-shaped pillows, folding them is a common and convenient option. Start by holding the pillow lengthwise and fold it in half, keeping the edges aligned. If the pillow is too large for your box, you can then fold it in half again to make it more compact. Make sure the edges are aligned and the fold lines are straight to maintain the shape of the pillow.
For pillows with more flexible fillings, such as down or foam pillows, rolling them can save space and help maintain their shape. Begin by flattening the pillow and starting from one end, roll it tightly until you reach the other end. Secure the roll with a rubber band or string to keep it in place.
If you have decorative or throw pillows with unconventional shapes, consider folding or rolling them based on their individual characteristics. The goal is to pack them in a way that minimizes wasted space and protects their form.
Pro Tip: If your pillows are particularly bulky or large, you may want to check if they can be compressed. Some foam or memory foam pillows can be compressed by squeezing out excess air or using vacuum-seal bags, which will reduce the overall size and make them easier to pack.
Remember to consider the size and weight of your pillows when deciding how many to pack in each box. You want to make sure the boxes are not too heavy to lift, and that the pillows are packed tightly enough to prevent shifting during transit.
Now that your pillows are folded or rolled, it’s time to move on to the next step: securing them for the journey.
Read more: How To Pack A Dresser For Moving
Step 5: Secure Pillows with Rubber Bands or String
Once you have folded or rolled your pillows, it’s important to secure them properly to prevent them from unraveling or shifting during the moving process. This will help maintain their shape and protect them from damage.
One option for securing your pillows is to use rubber bands. Wrap a rubber band tightly around each end of the folded or rolled pillow. This will hold the pillow in place and prevent it from unfolding or unrolling. Be sure to use a thick and durable rubber band that will provide sufficient tension to keep the pillow secure.
If you don’t have rubber bands available, you can use string or twine as an alternative. Tie a knot tightly around each end of the pillow, making sure that it is secure. Ensure that the string or twine is strong enough to withstand the weight and movement of the pillow during transportation.
Securing your pillows is crucial to preventing them from becoming misshapen or damaged. Take the time to ensure that the rubber bands or string are tightly fastened, but be careful not to squeeze the pillows too tightly, as this can affect their fluffiness.
Pro Tip: For extra protection, you can place a strip of packing tape over the rubber bands or string to keep them from slipping or loosening during the move.
With your pillows securely fastened, it’s time to move on to the next step: wrapping them in plastic wrap to provide an additional layer of protection.
When packing pillows for moving, use vacuum storage bags to compress them and save space. This will also help protect them from dirt and moisture during the move.
Step 6: Wrap Pillows in Plastic Wrap
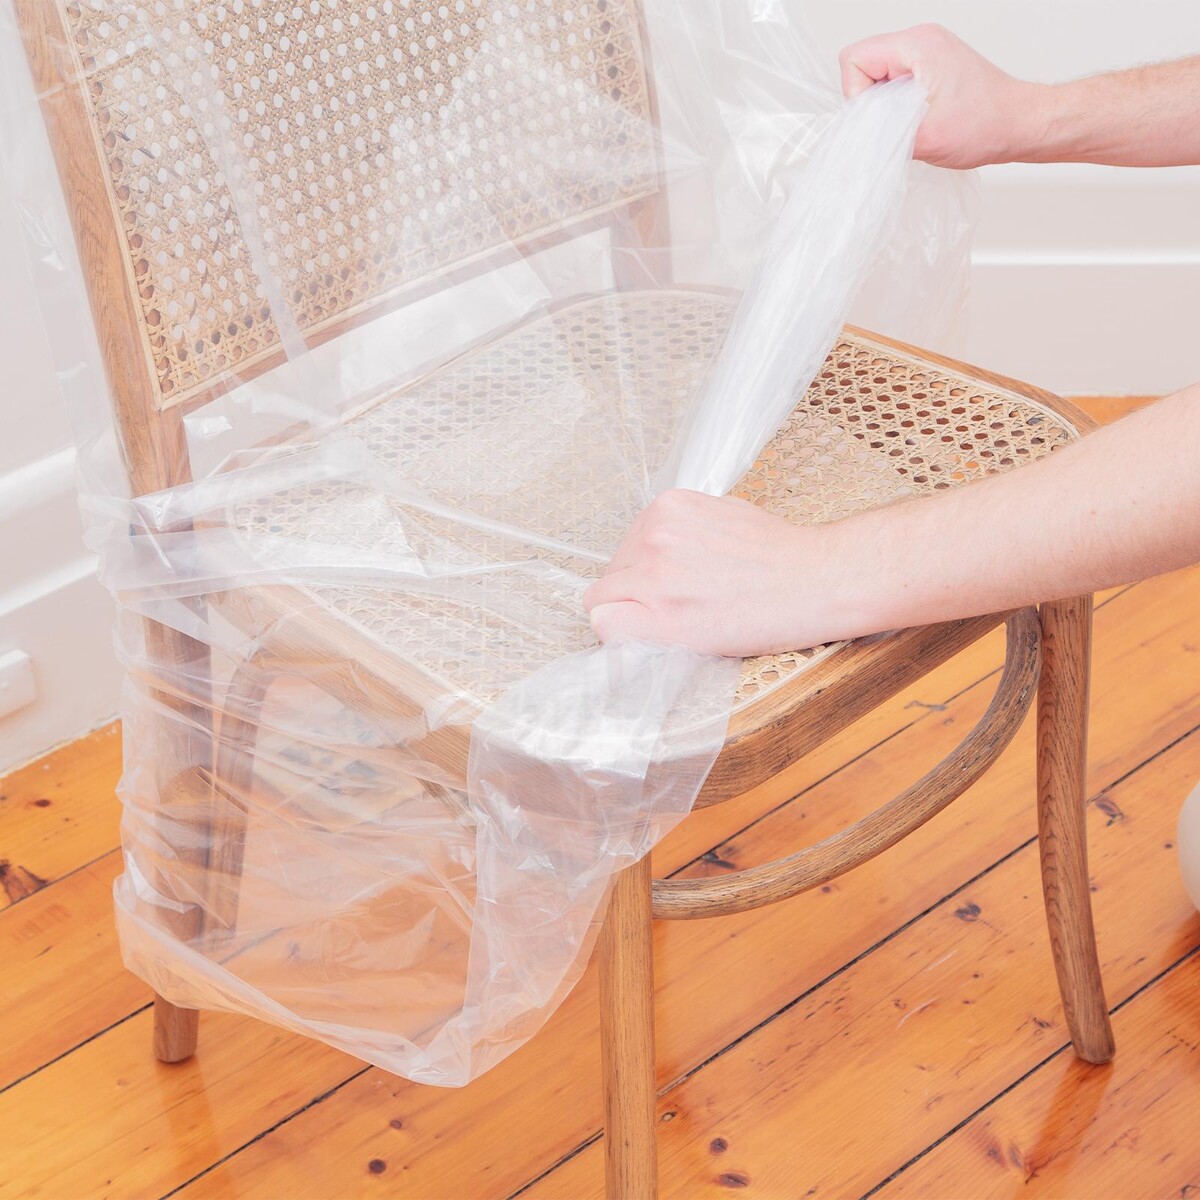
Wrapping your pillows in plastic wrap is an effective way to keep them clean, protect them from dust and dirt, and add an extra layer of padding during the moving process. Plastic wrap will also help prevent any allergens or moisture from affecting the pillows during transportation.
To wrap your pillows, start by unrolling a length of plastic wrap that is long enough to fully cover the pillow. Place the pillow in the center of the plastic wrap, ensuring that the folded or rolled end is facing the bottom.
Next, pull the plastic wrap tightly around the pillow, starting with one side and working your way around. Continue pulling the plastic wrap snugly until the entire pillow is completely covered. Be careful not to wrap it too tightly, as this may affect the shape of the pillow or put too much pressure on it.
Once the pillow is completely wrapped, cut the plastic wrap from the roll and use your hand to smooth out any wrinkles or folds. Fold any excess plastic wrap underneath the pillow and tuck it in securely to create a neat and compact package.
If you have multiple pillows that are being packed together in the same box, you can also wrap them as a bundle. Ensure that each pillow is individually wrapped in plastic wrap, and then gather them together and wrap them as a group. This will keep them organized and make it easier to unpack and set up your bedding in your new home.
Note: If you are using plastic wrap that requires heat for it to adhere, such as shrink wrap, follow the manufacturer’s instructions for proper use.
With your pillows now wrapped in plastic wrap, they are ready to be packed into the moving boxes. This will provide an extra layer of protection to help ensure that your pillows arrive safely and in excellent condition at your new destination.
Step 7: Place Wrapped Pillows in Boxes
Now that your pillows are securely wrapped in plastic wrap, it’s time to pack them into suitable boxes. Choosing the right boxes and arranging the pillows properly will help ensure that they are protected and remain in place during the moving process.
Start by selecting sturdy moving boxes that are the appropriate size to accommodate your wrapped pillows. It’s best to use new or gently-used boxes that are clean and provide adequate support. Reinforce the bottom of the boxes with packing tape to prevent them from collapsing under the weight of the pillows.
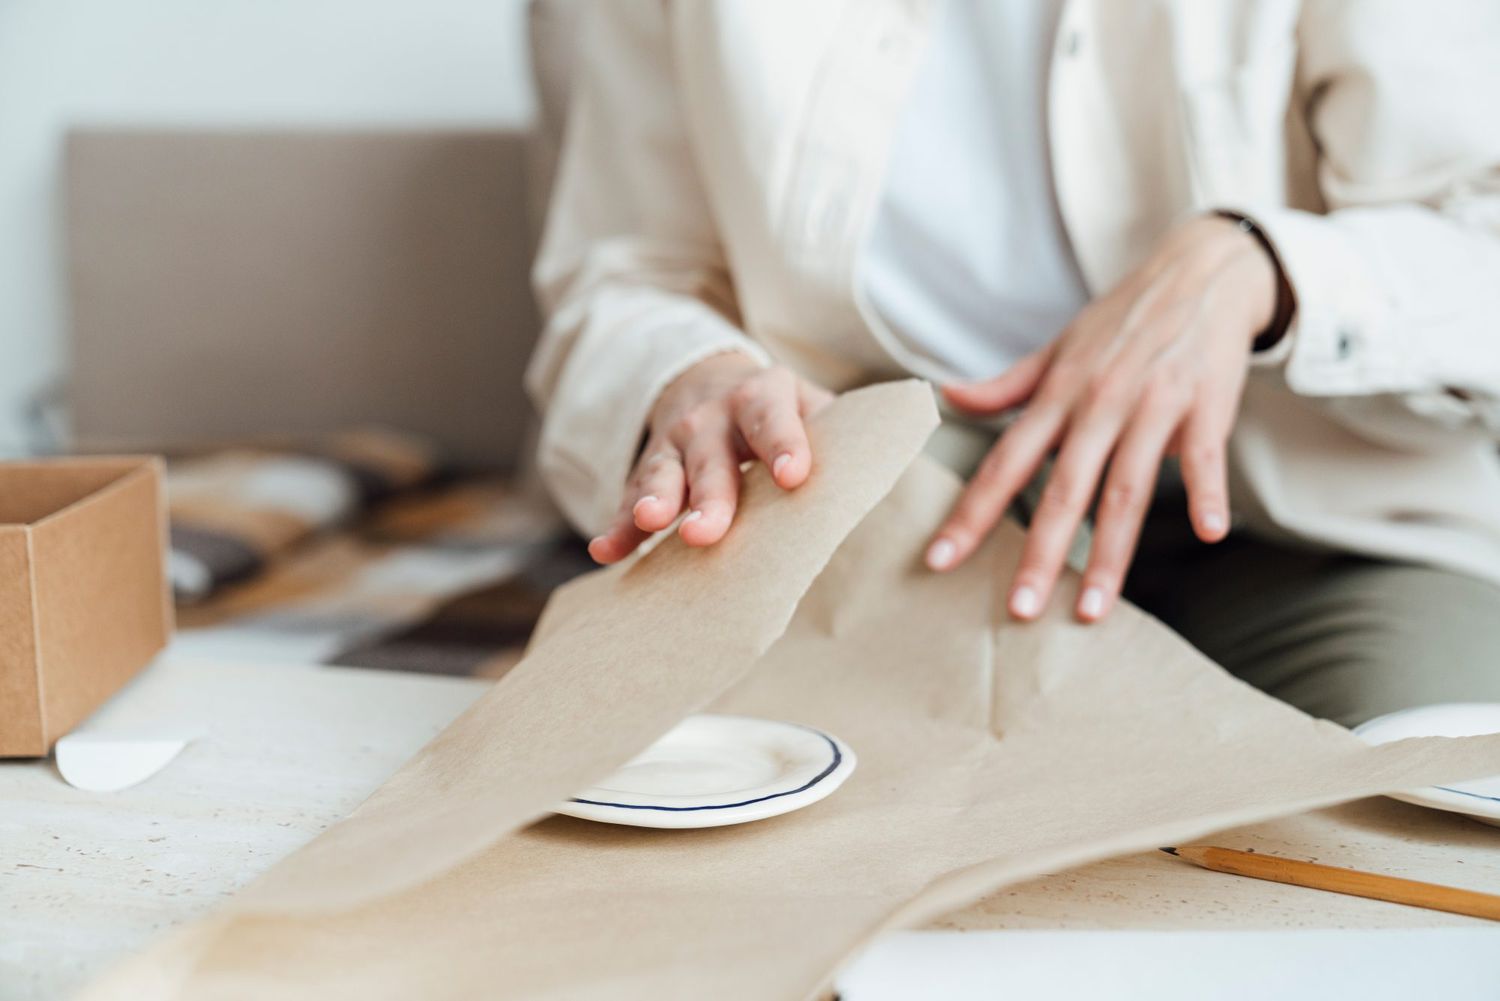
Begin by placing a layer of padding at the bottom of each box. This can include items such as towels, blankets, or packing paper. The padding will provide an extra cushion and protect the pillows from any potential impacts during transportation.
Next, carefully place the wrapped pillows inside the box, ensuring they fit snugly without any excess space. If there are any gaps between the pillows, fill them with additional padding, such as crumpled packing paper or bubble wrap, to prevent shifting and maintain stability.
Be mindful of the weight distribution within the box. Avoid overpacking the box to the point where it becomes too heavy to handle. It’s important to find a balance between packing enough pillows to maximize space efficiency and keeping the weight manageable.
Pro Tip: If you have pillows of varying sizes or shapes, consider packing them in separate boxes to prevent them from putting pressure on each other and losing their shape.
As you fill each box, make sure to pack the pillows with care and attention to detail. Avoid compressing the pillows too much, as this can affect their fluffiness. Close the boxes once they are filled, and gently press down to ensure they are securely sealed.
Label each box with a marker, indicating its contents and the room it belongs to. This will make the unpacking process much easier when you arrive at your new home. Additionally, if you have any special instructions for handling the boxes or if the pillows are fragile, be sure to communicate that clearly on the label.
With your wrapped pillows safely packed in the boxes, you are one step closer to a successful move. It’s time to move on to the next step: labeling and sealing the boxes.
Step 8: Label and Seal Boxes
Labeling and sealing your boxes is an essential step in the packing process. It not only helps you stay organized but also ensures that your belongings are handled with care during the move. Taking the time to label and seal your boxes properly will make unpacking and settling into your new home much smoother.
Start by grabbing a marker and writing a clear and concise label on each box that contains your wrapped pillows. Include information such as the contents (“Pillows”) and the room they belong to (“Bedroom”, “Living Room”, etc.). This will help you easily identify and prioritize the boxes when you arrive at your new home.
In addition to labeling the boxes, consider using color-coded labels or stickers to further differentiate between rooms or categories. For example, you can use blue stickers for bedroom boxes and green stickers for living room boxes. This visual cue will make it easier for movers or helpers to know where each box should be placed.
Once the boxes are labeled, it’s time to seal them securely. Use packing tape to reinforce the seams of each box, ensuring that there are no openings or gaps. Pay special attention to the corners and edges, as these are vulnerable areas that may be prone to damage during transportation.
If you have any particularly valuable or fragile pillows, it may be beneficial to clearly mark those boxes as “Fragile” so that extra caution can be taken when handling them.
Pro Tip: Consider creating an inventory list or numbering system to keep track of the boxes you are packing. This will help you ensure that all of your pillows and other items have arrived at your new home.
By labeling and sealing your boxes properly, you are taking proactive measures to protect your pillows and streamline the unpacking process. You can rest assured that your belongings will be handled with care and that you will be able to find what you need when it’s time to set up your new space.
Read more: How To Pack Cutlery For Moving
Step 9: Load Boxes into Moving Vehicle
With your labeled and sealed boxes containing your wrapped pillows, it’s time to load them into the moving vehicle. Properly loading the boxes will ensure their stability and minimize the risk of damage during transit.
When loading the moving vehicle, it’s important to consider the weight and distribution of the boxes. Place the heavier boxes on the bottom to create a stable foundation. This will prevent lighter boxes from being crushed or damaged during transport. Additionally, placing heavier boxes against the walls of the vehicle can help prevent them from shifting during the move.
As you load the boxes, try to create layers with the heavier boxes on the bottom and the lighter boxes on top. This will help maintain balance and stability while allowing for efficient use of space.
Leave enough space between the boxes to avoid overcrowding and to ensure that each box is easily accessible when it comes time to unload. Utilize straps or bungee cords to secure the boxes in place if necessary, especially if you’re moving long-distance or over rough terrain.
Pro Tip: If you have fragile pillows or boxes, consider placing them towards the top of the load and surrounding them with softer items like pillows or blankets for added protection.
Once all the boxes are loaded into the vehicle, double-check that they are secure and won’t shift during transit. Take care to arrange them in a way that allows for good visibility, doesn’t obstruct the driver’s view, and doesn’t interfere with any necessary driving controls.
Remember, safety is paramount during the loading process. Take proper precautions, such as using lifting straps or team lifting techniques, to prevent injuries when moving heavy boxes.
When you arrive at your new home, make unloading the pillows one of your first priorities. Place them in their designated rooms to simplify the unpacking process and ensure easy access to your bedding when it’s time to settle in for the night.
By carefully and strategically loading your boxes into the moving vehicle, you can rest assured that your pillows will arrive safely at your new home, ready for you to enjoy a comfortable night’s sleep.
Conclusion
Packing pillows for a move may initially seem like a simple task, but it is important to approach it with care to ensure that your pillows arrive at your new home in excellent condition. Following the step-by-step process outlined in this article will help you protect your pillows and simplify the unpacking process once you reach your destination.
From gathering the necessary packing materials to labeling and sealing the boxes, each step is crucial in maintaining the shape, cleanliness, and overall quality of your pillows. By removing pillow covers, cleaning the pillows (if needed), folding or rolling them, securing them with rubber bands or string, wrapping them in plastic wrap, and placing them in sturdy boxes, you are taking the necessary measures to protect your pillows during the move.
Labeling the boxes and carefully loading them into the moving vehicle will ensure that your pillows are easily identifiable and securely packed. By giving priority to your pillows during the unloading process, you will be able to quickly set up your bedding and enjoy a comfortable night’s sleep in your new home.
Remember, taking the time and effort to properly pack your pillows not only protects your investment but also contributes to a smoother and more organized moving experience. By following these steps, you can have peace of mind knowing that your pillows will withstand the journey and provide you with comfort in your new space.
So get started with packing your pillows for the move, and enjoy the process of settling into your new home with the coziness and familiarity of your very own pillows.
Frequently Asked Questions about How To Pack Pillows For Moving
Was this page helpful?
At Storables.com, we guarantee accurate and reliable information. Our content, validated by Expert Board Contributors, is crafted following stringent Editorial Policies. We're committed to providing you with well-researched, expert-backed insights for all your informational needs.







0 thoughts on “How To Pack Pillows For Moving”