Furniture
How To Pack A Dresser For Moving
Modified: August 28, 2024
Learn the best way to pack your furniture for a move, including how to pack a dresser efficiently and protect it during transportation.
(Many of the links in this article redirect to a specific reviewed product. Your purchase of these products through affiliate links helps to generate commission for Storables.com, at no extra cost. Learn more)
How to Pack a Dresser for Moving
Key Takeaways:
- Properly empty and organize your dresser before moving to ensure a smooth and efficient packing process, minimizing the risk of damage to both the dresser and its contents.
- Take precautions to secure and protect your dresser during the move, including using the right packing supplies, proper lifting techniques, and securing the dresser on the moving truck.
Read more: How To Pack A Mattress For Moving
Empty the Dresser
When preparing to move a dresser, the first step is to empty it completely. This means removing all items that are currently stored inside. It is important to take the time to properly organize and sort through the belongings to ensure a smooth and efficient packing process.
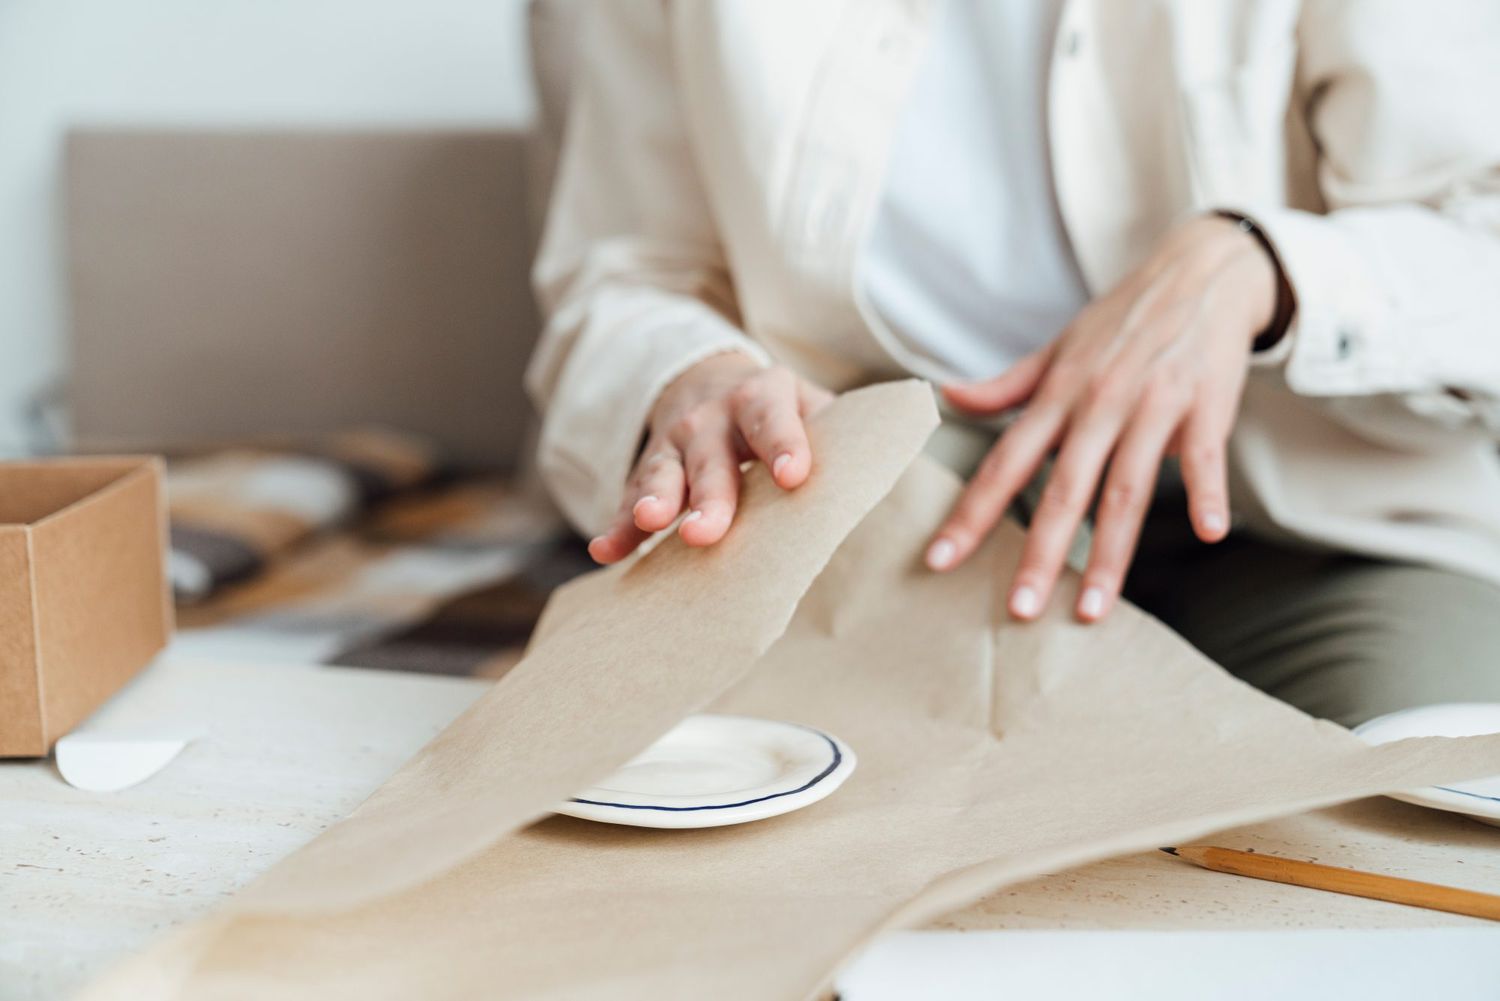
Start by taking out all the clothes from the drawers. Fold them neatly and place them in appropriate moving boxes or garment bags. Use acid-free tissue paper to wrap delicate or fragile garments to provide extra protection during transportation.
Next, remove any loose items that may be on top of the dresser. This can include trinkets, jewelry, or other accessories. Make sure to pack these items separately in small boxes or containers, ensuring they are properly protected to prevent damage.
If there are any small or loose components such as knobs or handles, remove them and keep them in a labeled bag or box. This will prevent them from getting lost or damaged during the move.
It is also important to remove any valuable or fragile items from the dresser, such as glass decorations or sentimental items. These can be packed separately using appropriate materials to ensure their safety.
Once the dresser is empty, take the time to clean the insides thoroughly. This will help prevent any dust or debris from transferring to your clothes or other belongings during the move. Wipe down the surfaces with a gentle cleaner and let it dry completely before beginning the packing process.
By emptying the dresser completely, you not only make it easier to transport, but you also lessen the chances of damage to both the dresser and the items inside. This step ensures that everything is properly organized and accounted for, making it easier to unpack and set up your dresser in your new home.
Remember, taking the time to properly empty the dresser is the foundation for a successful and hassle-free move. So don’t rush through this step, and give your belongings the proper care and attention they deserve.
Removing Items from the Dresser
Organize and Sort
Once you have emptied the dresser, it’s time to organize and sort the items you have removed. This step is crucial to ensure that everything is properly packed and ready for the move. By organizing and sorting your belongings, you can make the unpacking process much easier and more efficient.
Start by categorizing your items. Separate them into different groups based on their type or purpose. For example, group all your clothing items together, separate your accessories such as jewelry and belts, and keep small trinkets or sentimental items in their own designated pile.
As you sort through your belongings, take the time to declutter and get rid of any items you no longer need or want. Moving is the perfect opportunity to minimize and simplify your life. Consider donating, selling, or giving away items that you no longer use or that don’t hold sentimental value.
Once you have sorted through your items, you can start planning how to pack them properly. Take into account the fragility and shape of each item, as well as their size and weight. This will help you determine the best packing materials to use and how to arrange them in the moving boxes for maximum space optimization.
For clothing items, consider using wardrobe boxes or garment bags. These special boxes and bags have a built-in hanging rod, allowing you to easily transport your clothes without folding or wrinkling them. You can also use vacuum-sealed bags to reduce the amount of space they take up.
For smaller items and accessories, use small boxes or containers that are sturdy and secure. Wrap fragile items in bubble wrap or packing paper to provide extra protection. Label each box or container to make it easier to locate specific items when unpacking.
Remember to keep any important documents or valuable items with you during the move, rather than packing them in the dresser. This ensures their safety and security.
By taking the time to organize and sort your items before packing, you can save time and effort during the unpacking process. It also helps you identify any missing items or items that may have been damaged during the move, making it easier to file insurance claims if needed.
So, embrace the opportunity to declutter and organize your belongings. Your future self will thank you when it comes time to unpack and settle into your new home.
Sorting Items from the Dresser
Read more: How To Pack Pillows For Moving
Prepare for Packing
Once you have organized and sorted the items from your dresser, it’s time to prepare for the packing process. Proper preparation will ensure that your belongings are packed securely and efficiently, making the moving process smoother.
1. Gather Packing Supplies:
Start by collecting all the necessary packing supplies. This includes sturdy moving boxes of various sizes, packing tape, bubble wrap or packing paper, markers for labeling, and any specialized packing materials you may need for fragile or delicate items.
2. Label the Boxes:
Before you start packing, it’s important to label each box with the contents and the room it belongs to. This will make it easier to identify each box when unpacking and help you prioritize what items to unpack first.
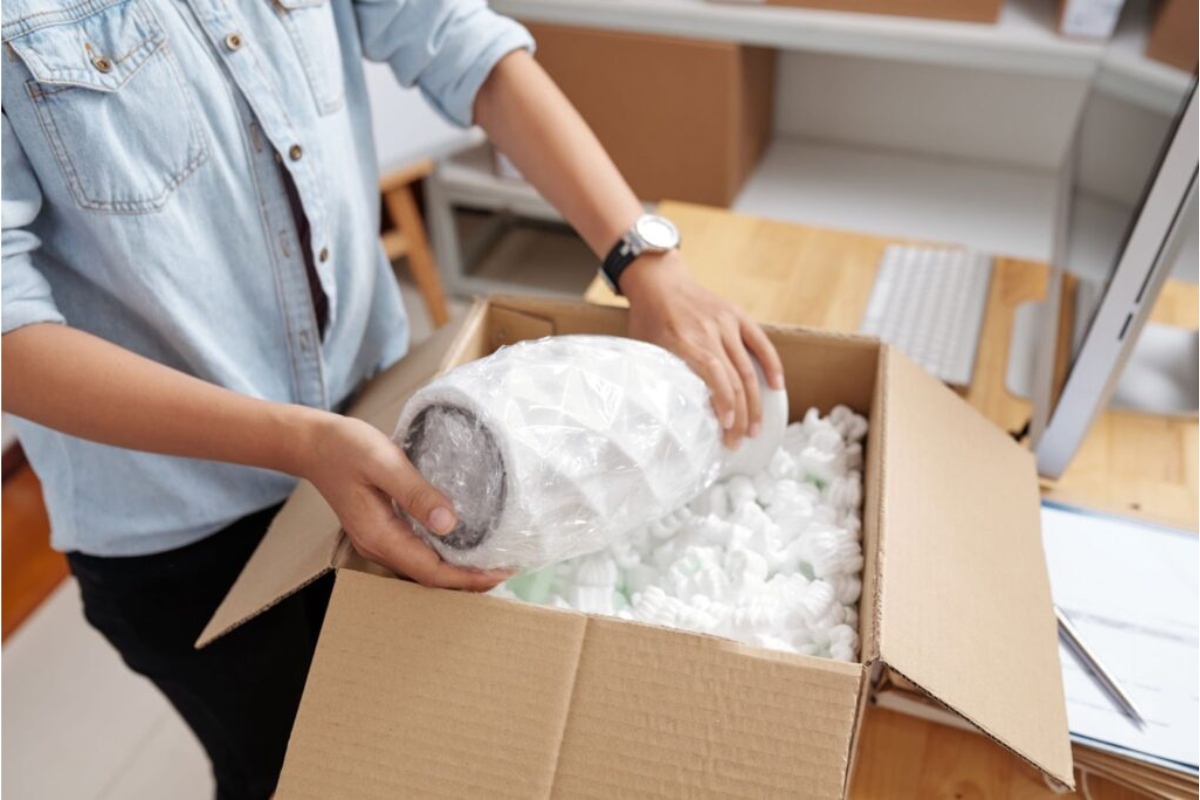
3. Wrap Fragile Items:
For delicate or fragile items, such as glass figurines or ceramics, wrap them carefully in bubble wrap or packing paper to provide cushioning and prevent breakage during transportation. Make sure to label these boxes as “Fragile” to ensure proper handling.
4. Maximize Space:
To optimize space in your moving boxes, consider using techniques like nesting or stacking. Nesting involves placing smaller items inside larger ones, while stacking involves arranging items vertically to make the most use of the available space. Just make sure to avoid overloading the boxes to prevent them from becoming too heavy and risking damage.
5. Use Blankets or Towels for Protection:
For larger, bulkier items like furniture or mirrors, consider using blankets or towels to provide extra cushioning. Wrap these items securely, using packing tape to keep the blankets or towels in place.
6. Pack Heavy Items at the Bottom:
When loading the moving boxes, place heavier items at the bottom for stability. This prevents the boxes from becoming top-heavy and reduces the risk of them toppling over during transportation.
7. Secure Loose Ends:
If there are any knobs, handles, or loose components, make sure to secure them tightly or remove them and pack them separately. This prevents them from getting damaged or causing damage to other items during the move.
8. Don’t Overpack:
While it’s essential to make the most of the available space, it’s equally important not to overpack the moving boxes. Overpacking can lead to boxes breaking or items getting damaged. Make sure to leave some room for proper cushioning and protection.
By taking the time to prepare for packing, you can ensure that your belongings are packed securely and are ready for the move. The better prepared you are, the smoother and less stressful your moving experience will be.
Gathering Packing Supplies
Wrap and Protect the Dresser
Before you can start packing your dresser for a move, it’s important to gather all the necessary packing supplies. Properly wrapping and protecting the dresser ensures that it remains safe and intact during transportation. Here are the essential packing supplies you will need:
1. Moving Blankets or Furniture Pads:
Moving blankets or furniture pads provide an extra layer of protection for your dresser. They help prevent scratches, dents, and other damage that can occur during transit. Wrap the dresser completely with the blankets, securing them with packing tape or stretch wrap.
2. Bubble Wrap or Packing Paper:
Bubble wrap or packing paper is essential for protecting any fragile or delicate parts of the dresser, such as glass panels or intricate hardware. Wrap these areas carefully to prevent them from getting scratched or broken.
3. Packing Tape:
Packing tape is a crucial supply for securing moving blankets, bubble wrap, and other protective materials. Make sure to use a high-quality packing tape that will securely hold the layers in place.
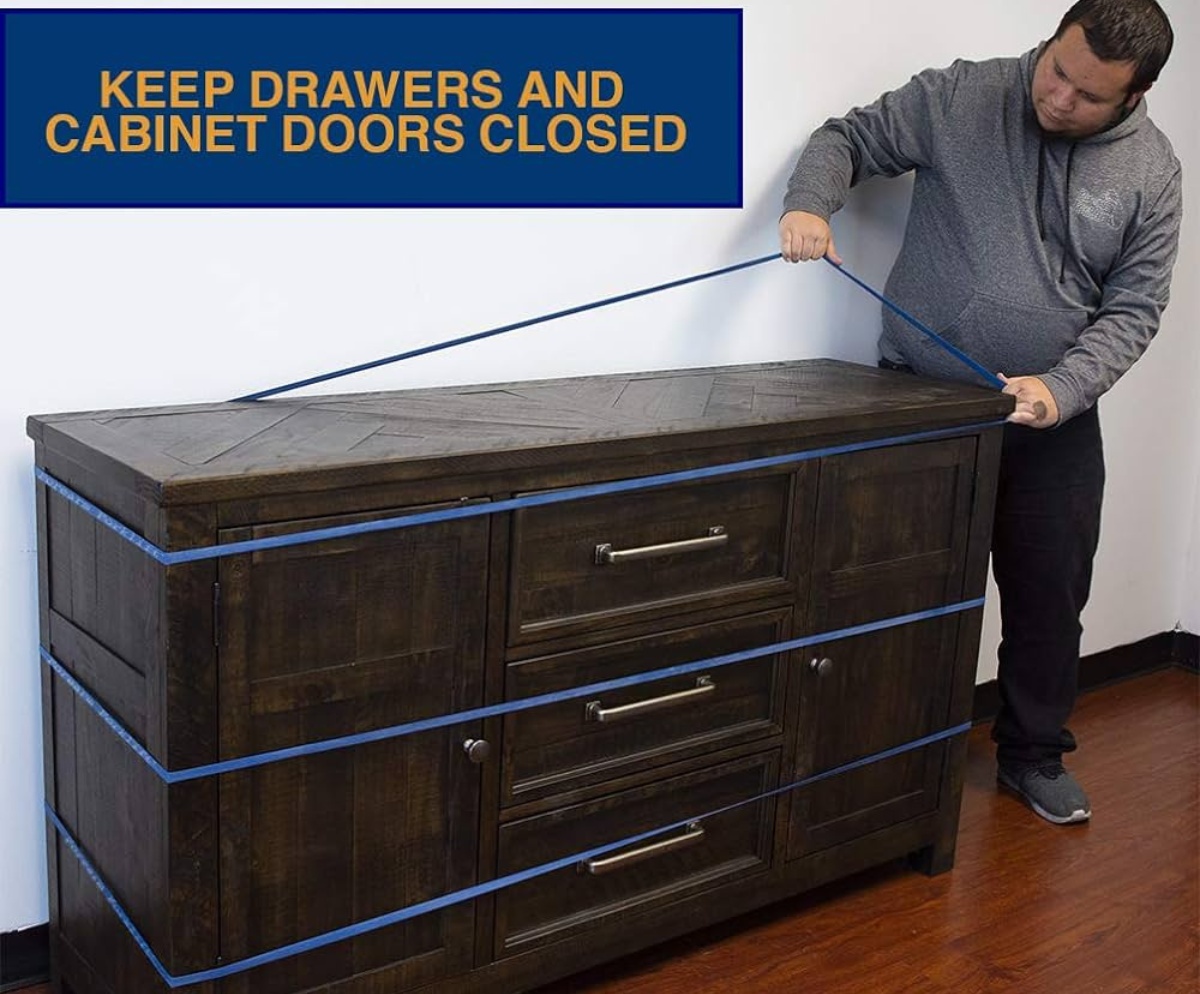
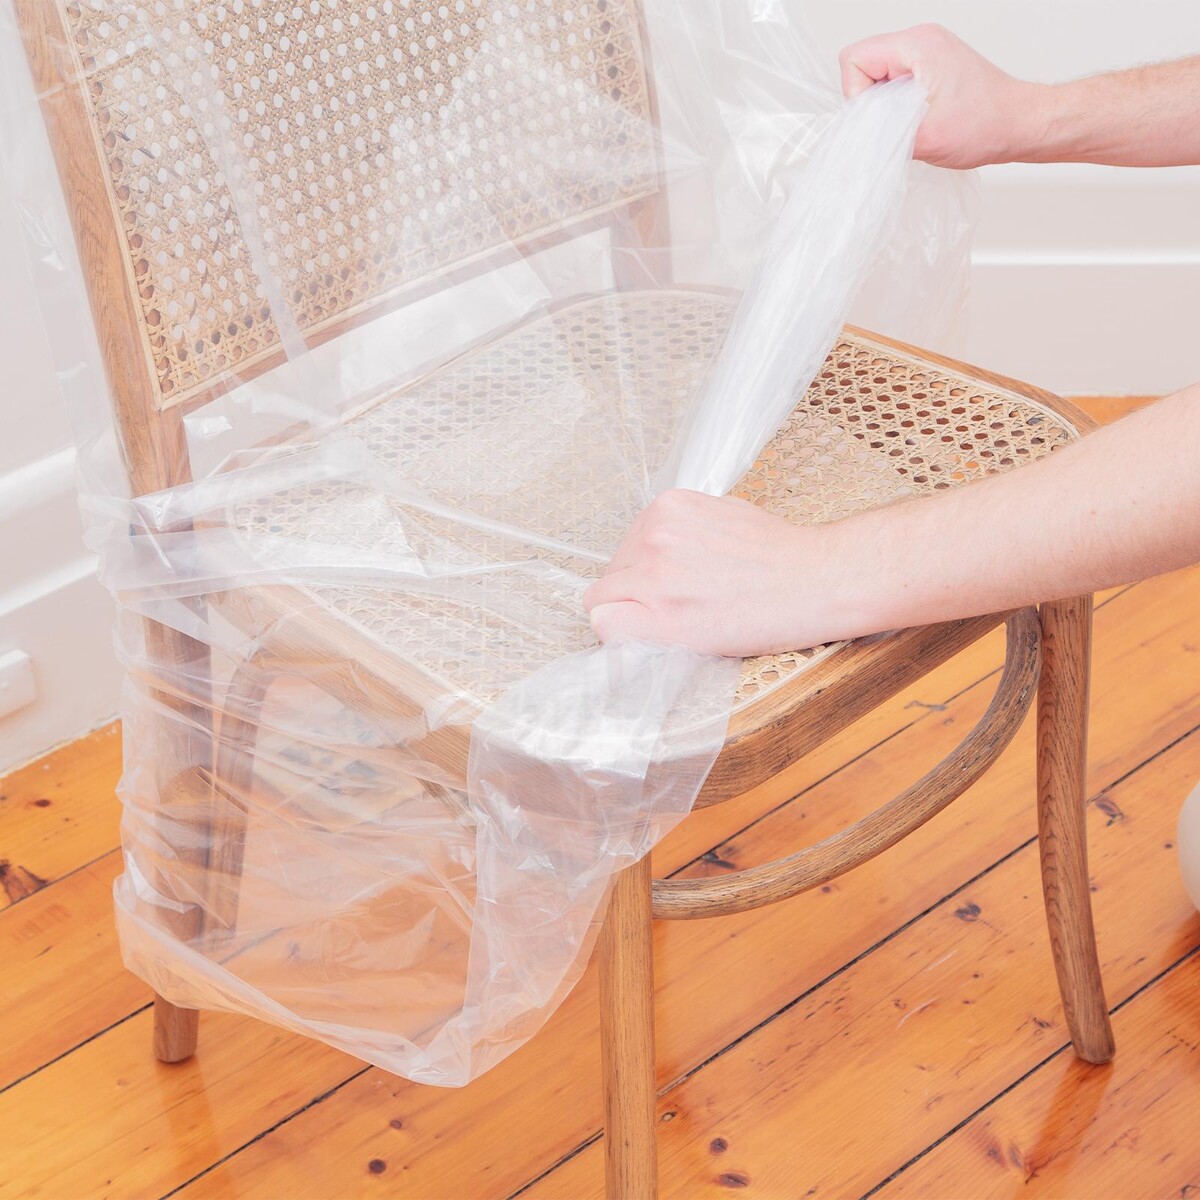
4. Stretch Wrap:
Stretch wrap, also known as plastic wrap or cling film, is useful for keeping the drawers closed and preventing them from sliding open during the move. Wrap the entire dresser with stretch wrap to provide an added layer of security.
5. Corner Protectors:
Corner protectors are foam or plastic pieces that fit over the corners of the dresser. They help prevent bumps and bruises during the moving process.
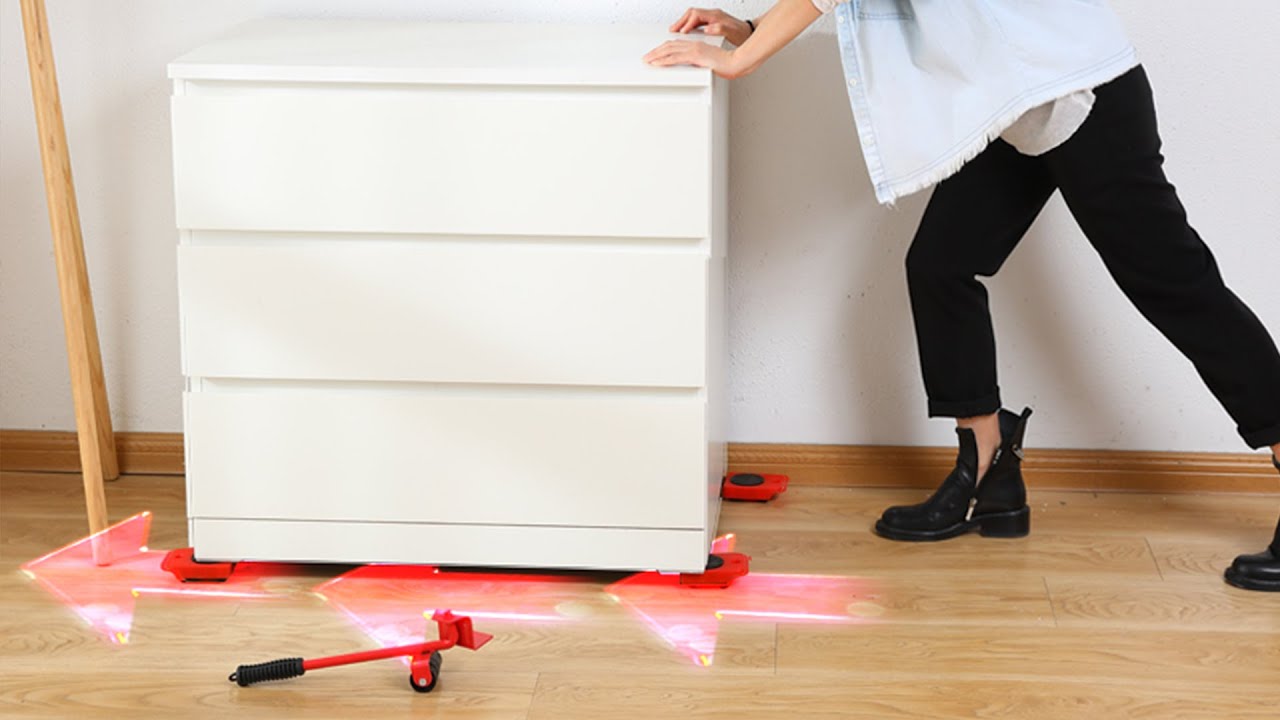
6. Furniture Dollies or Sliders:
Furniture dollies or sliders are handy tools for moving heavy furniture, including dressers. They reduce the strain on your back and make it easier to transport the dresser from one location to another.
7. Screwdrivers or Allen wrenches:
Depending on the construction of your dresser, you may need screwdrivers or Allen wrenches to remove any removable parts, such as knobs or removable legs. Keep these tools on hand for easy disassembly.
Once you have gathered all the necessary supplies, you can start wrapping and protecting your dresser. Begin by covering the entire dresser with moving blankets or furniture pads, securing them with packing tape. Pay special attention to the corners and any vulnerable areas.
Next, wrap any delicate or fragile parts of the dresser, such as glass panels or mirrors, with bubble wrap or packing paper. Use packing tape to secure them in place. Make sure to add corner protectors to prevent any damage to the corners.
For added security, wrap the entire dresser with stretch wrap to keep the drawers closed and to protect the exterior surface. This will prevent the dresser from shifting or getting scratched during the move.
Taking the time to wrap and protect your dresser properly ensures that it arrives at its new destination in the same condition as before the move. With the right packing supplies and careful attention to detail, you can safeguard your dresser from any potential damage and ensure a successful move.
Wrapping the Dresser for Moving
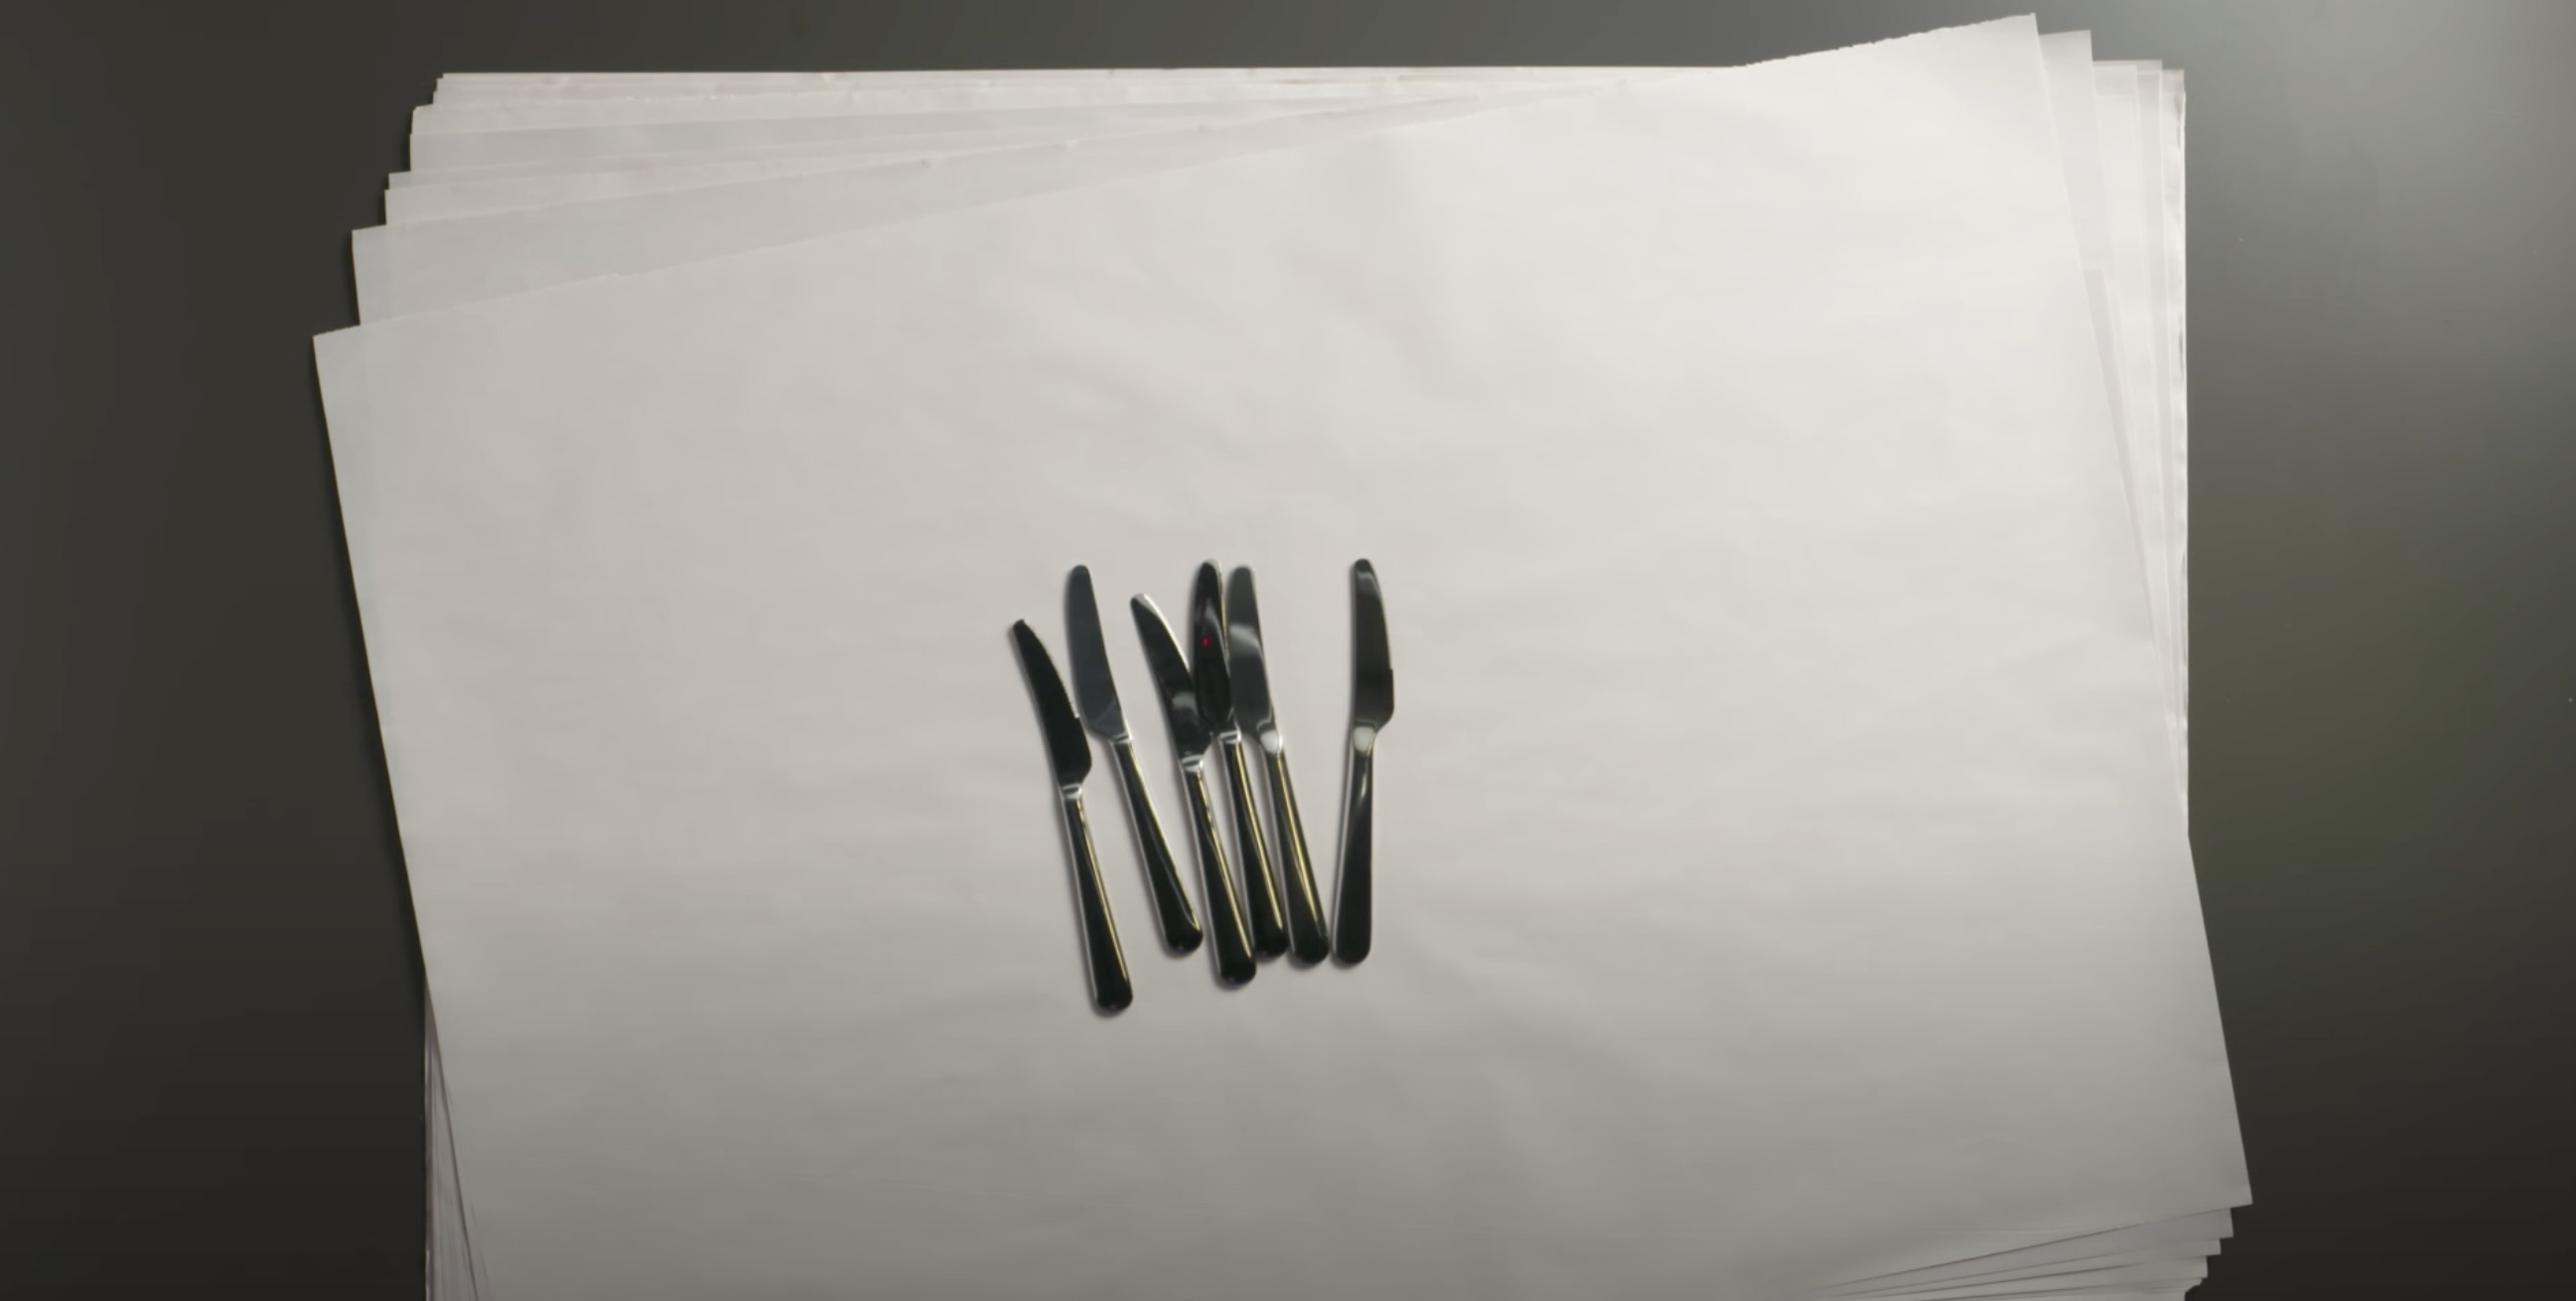
Read more: How To Pack Cutlery For Moving
Wrap and Pack Clothing
After you have emptied the dresser and gathered the necessary packing supplies, it’s time to wrap and pack the clothing items that were stored inside. Properly handling and protecting your clothing during a move ensures they arrive at your new home in good condition. Here’s how you can wrap and pack your clothing securely:
1. Sort and Organize:
Before packing your clothing, sort and organize them by category or season. This will make unpacking and finding specific items easier later on. Fold the clothing neatly and group them accordingly.
2. Vacuum Storage Bags:
Consider using vacuum storage bags for your clothing to save space during packing. These bags compress the clothing and remove excess air, minimizing bulk and maximizing the available space in your moving boxes.
3. Garment Boxes or Bags:
For delicate or wrinkle-prone clothing items, such as dresses, suits, or formal wear, use specialty garment boxes or bags. These containers have built-in hanging rods that allow you to hang your garments and keep them protected during the move. Remember to attach labels to each box or bag for easy identification.
4. Clear Plastic Bins:
Clear plastic bins are ideal for packing clothing that you’ll need immediate access to at your new home. They allow you to see the contents without having to open each box. Label the bins according to the clothing type or room they belong in.
5. Use Packing Paper:
For clothing items that are prone to wrinkling, such as shirts and blouses, wrap them in packing paper before placing them in boxes. This helps prevent creases and keeps your clothes in good shape.
6. Pack Fragile Accessories Separately:
Fragile accessories like belts, scarves, or jewelry should be packed separately in small boxes or zippered bags. This prevents them from getting tangled or damaged during transportation.
7. Fill Empty Spaces:
When packing clothing into boxes, fill any empty spaces with packing paper or soft items like socks or towels. This ensures that the contents won’t shift during transit and helps protect delicate items.
As you pack your clothing, it’s a good idea to remember a few tips that will make unpacking easier. First, label each box or container with the clothing category or room it belongs to. This will help you prioritize unpacking and locating specific items quickly.
Additionally, consider creating an inventory list of your clothing items. This can be helpful for insurance purposes and to keep track of your belongings during the move.
By taking the time to properly wrap and pack your clothing, you can ensure that they stay clean, protected, and organized during the move. This will make unpacking and getting settled into your new home a much smoother process.
When packing a dresser for moving, remove all items from the drawers and pack them separately. This will make the dresser lighter and easier to move, and will also prevent damage to the drawers and their contents during transportation.
Packing Clothing from the Dresser
Secure and Seal Drawers
When preparing a dresser for a move, it’s important to not only pack the clothing from the drawers but also secure and seal the drawers themselves. This step ensures that the drawers remain intact and prevent them from sliding open during transit. Here’s how you can pack clothing from the dresser and secure the drawers for a smooth move:
1. Remove Clothing from the Drawers:
Begin by emptying the drawers of all clothing items. Organize and fold the clothing neatly, following the sorting tips mentioned earlier. You can pack the clothing into boxes, vacuum storage bags, or garment boxes, depending on your preference and the type of clothing items.
2. Secure the Drawers with Plastic Wrap:
To prevent the drawers from sliding open during transportation, use stretch wrap or plastic wrap to secure them. Start by wrapping the dresser horizontally, ensuring that the wrap covers the entire circumference of the dresser. Then, continue wrapping vertically, overlapping the layers. Be sure to wrap the stretch wrap tightly to keep the drawers in place.
3. Use Moving Straps:
Another option for securing the drawers is to use moving straps or ropes. After wrapping the dresser with plastic wrap, place moving straps or ropes around the dresser, ensuring they’re tight enough to hold the drawers closed. This provides an extra layer of security and prevents any accidental openings during the move.
4. Apply Tape or Rubber Bands:
If the dresser does not have loose or easily opened drawers, you can use tape or rubber bands to secure them. Simply place a strip of packing tape or a rubber band across each drawer to keep them shut.
5. Remove and Pack Fragile Drawer Components:
If the dresser has removable components, such as knobs or handles, it is recommended to remove them and pack them separately. Place the components in a labeled bag or small box to ensure they stay safe and intact during the move.
By packing the clothing from the dresser and securing the drawers properly, you can minimize the risk of damage to both the dresser and the clothing during transit. This ensures that your clothing items are ready to unpack and wear once you’ve settled into your new home.
Remember to label the boxes or containers containing the packed clothing to make the unpacking process more efficient. You can include details such as the clothing category or the room they belong to, making it easier to locate specific items when unpacking.
By taking the time to secure and seal the drawers, you can have peace of mind knowing that your belongings are well-protected and will arrive safely at your new home.
Securing Drawers during Moving
Read more: How To Pack A Chandelier For Moving
Lift and Load the Dresser
Once you have properly packed and secured the drawers of your dresser, the next step is to lift and load it onto the moving truck. Proper lifting and loading techniques are essential to ensure the safety of both the dresser and the individuals involved in the moving process. Here are some important tips to secure the drawers during moving:
1. Use Teamwork: Moving a dresser can be a two-person or more job, depending on its size and weight. Enlist the help of friends or family members to ensure a safe and efficient moving process. Communicate and coordinate your movements to prevent any accidents or injuries.
2. Lift from the Bottom: When lifting the dresser, place your hands on the bottom of the piece. This provides stability and prevents the drawers from sliding open. Lift using your legs, not your back, to avoid strain or injury.
3. Secure with Straps or Ropes: Once the dresser is lifted, use moving straps or ropes to secure it to a dolly or hand truck. This adds an extra layer of stability and prevents the dresser from tipping over or shifting during transportation. Make sure the straps or ropes are tight and secure.
4. Protect the Pathway: Before moving the dresser, clear the pathway of any obstacles or tripping hazards. This ensures a safe and unobstructed route during the loading process.
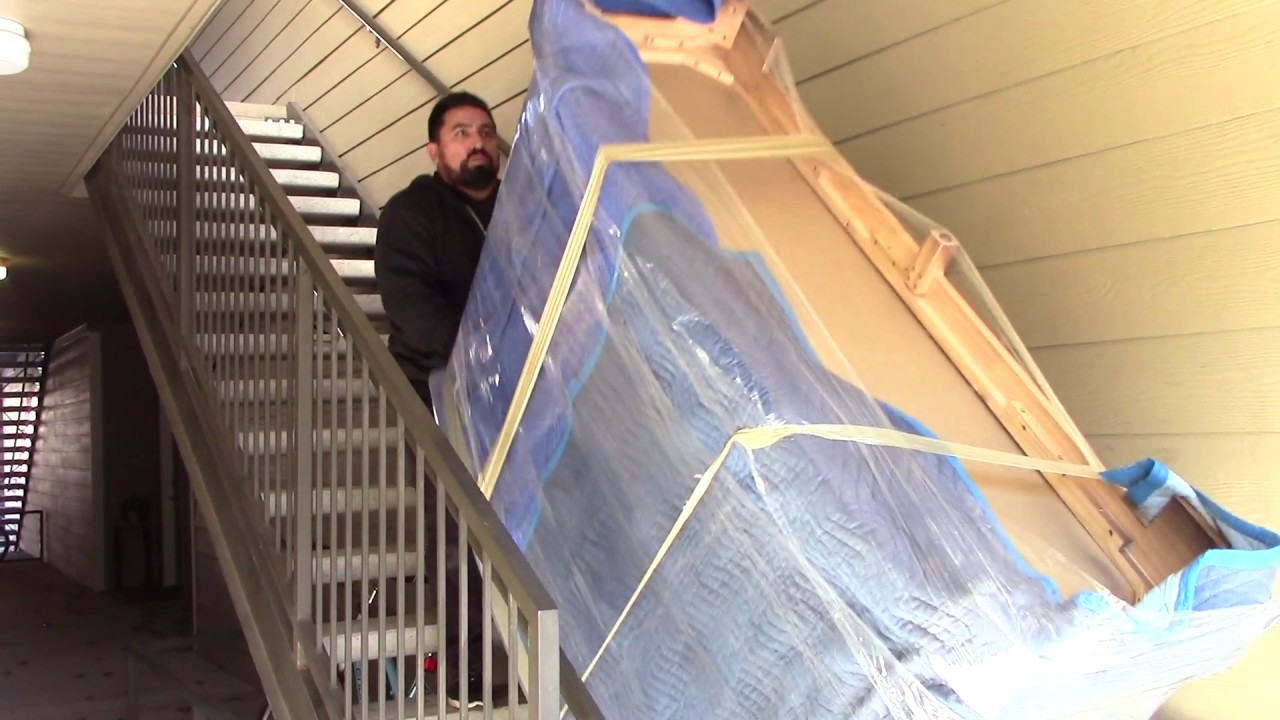
5. Lift and Load with Care: Carry the dresser with care and avoid sudden movements. Keep it level to prevent the drawers from opening and potentially damaging the dresser or its contents. Use caution when navigating stairs or uneven surfaces.
6. Position on the Moving Truck: When loading the dresser onto the moving truck, place it in an upright position if possible. This helps distribute the weight evenly and reduce the risk of damage. If you need to lay it flat, make sure to secure it properly to prevent shifting or sliding.
7. Pad and Secure: Use moving blankets, towels, or furniture pads to cushion the dresser and protect it during transportation. Secure it to the sides of the truck using straps or ropes to prevent any movement.
8. Consider Professional Movers: If you have a large or heavy dresser, or if you’re unsure about your ability to lift and load it safely, it’s advisable to hire professional movers. They have the experience, equipment, and expertise to handle the process efficiently and safely.
By following these tips, you can secure the drawers of your dresser during the moving process and ensure that it arrives at your new home in the same condition as before the move. Remember to always prioritize safety and take precautions to prevent any damage or accidents during lifting and loading.
Moving and Loading the Dresser
Unpacking and Reassembling
After successfully securing and loading your dresser onto the moving truck, the next step is to unpack and reassemble it in your new home. By following a systematic approach, you can ensure a smooth and efficient process. Here’s how to unpack and reassemble your dresser:
1. Position the Dresser:
Once you arrive at your new home, carefully position the dresser in its designated location. Take into consideration factors such as available space, access to drawers, and compatibility with the overall room layout.
2. Unload with Care:
When unloading the dresser from the truck, use caution and teamwork. Communicate with your helpers to ensure a smooth and safe unloading process. Lift the dresser carefully, using proper lifting techniques, and place it gently onto the ground or a moving dolly.
3. Remove the Protective Wrap:
If you wrapped your dresser with blankets, plastic wrap, or other protective materials, carefully remove them to reveal the dresser’s surface. Be mindful of any loose parts or hardware that may have become displaced during the move.
4. Reassemble the Drawers:
If you removed any drawers or components during the packing process, reattach them to the dresser. Refer to your labeled bag or box for the necessary hardware and follow the manufacturer’s instructions or guidelines for proper reassembly.
5. Organize the Contents:
Start unpacking the clothing and belongings you packed from the dresser. Organize them according to your preferences and return them to the appropriate drawers. Take the time to fold and arrange clothing neatly to regain order and functionality.
6. Level the Dresser:
Use a level tool to ensure that the dresser is evenly balanced and stable on the floor. Adjust the height or place small shims under the legs, if necessary, to achieve stability.
7. Secure the Dresser to the Wall:
For added safety, especially if you live in an earthquake-prone area or have small children, consider securing the dresser to the wall using furniture straps or brackets. This helps prevent tipping and ensures the dresser remains stable.
8. Clean and Beautify:
Before fully settling in, take the opportunity to clean the dresser’s surface and drawers. Wipe down any dust or debris accumulated during the move and polish or condition the wood, if applicable. This will restore the dresser’s shine and make it feel fresh in your new home.
By following these steps, you can efficiently unpack and reassemble your dresser, ensuring that it is functional and aesthetically pleasing in your new living space. Don’t rush the process, take your time to properly organize and arrange your belongings. This will contribute to a smooth transition and allow you to enjoy your dresser in its new environment.
Reassembling the Dresser after Moving
Read more: How To Pack Mirrors For Moving
Conclusion
After a successful move, reassembling your dresser is the final step in the process of settling into your new home. Taking the time to reassemble the dresser properly ensures that it functions correctly and looks great in your new space. Here are some key steps to reassembling your dresser after moving:
1. Gather the Necessary Tools: Before you begin reassembling the dresser, gather the necessary tools such as a screwdriver, Allen wrench, or any other specific tools required for your dresser’s assembly.
2. Refer to the Manufacturer’s Instructions: If you have the manufacturer’s instructions or assembly guide, refer to it for step-by-step guidance. If not, carefully examine the pieces to determine the correct order of assembly.
3. Attach the Legs or Base: If your dresser has removable legs or a base, reattach them first. Align the legs correctly and use the appropriate tools to secure them firmly in place.
4. Reattach Drawers and Hardware: Carefully place the drawers back into their designated slots. Ensure that they align properly and glide smoothly. If any hardware, such as knobs or handles, were removed during the move, reattach them using the labeled bag or box for reference.
5. Tighten Joints and Connections: Check all joints, connections, and screws to make sure they are secure. Tighten any loose screws or connections to ensure the stability and structural integrity of the dresser.
6. Level the Dresser: Use a level tool to check that the dresser is properly leveled. Adjust the legs or shim underneath if needed to ensure it sits evenly on the floor.
7. Clean and Polish: Before placing items back into the dresser, take the opportunity to clean the surfaces inside and outside. Wipe away any dust or debris accumulated during the move and polish the wood or other materials if necessary.
8. Organize and Arrange: Once the dresser is reassembled and clean, you can start organizing and arranging your belongings. Take the time to neatly fold and arrange your clothes and other items, optimizing the space within the drawers.
In conclusion, reassembling your dresser after a move is a vital step in the process of settling into your new home. By carefully following the manufacturer’s instructions, ensuring proper alignment and security of joints and connections, and taking the time to clean and organize, you can restore the functionality and aesthetics of your dresser.
Remember, moving can be a stressful process, but with proper care and attention to detail, you can ensure a successful transition. Take the time to carefully reassemble your dresser and enjoy the satisfaction of a well-organized and functional piece of furniture in your new living space.
Tips for a Successful Dresser Move
Moving a dresser can be a challenging task, but with the right approach and preparation, you can ensure a smooth and successful move. Here are some valuable tips to help you navigate the process and keep your dresser and belongings protected:
1. Empty and Organize: Before moving the dresser, empty it completely and organize the contents. This will make it easier to pack and reduce the risk of damage to your belongings during transportation.
2. Gather the Right Packing Supplies: Ensure you have the necessary packing supplies, including moving blankets, bubble wrap, packing tape, and stretch wrap. These materials will help protect your dresser and keep it secure during the move.
3. Secure Drawers and Components: Use stretch wrap, moving straps, or tape to secure the drawers and any removable components. This prevents them from sliding open or getting damaged during the move.
4. Protect Fragile Areas: For dressers with delicate or fragile areas, such as glass panels or intricate hardware, use bubble wrap or packing paper to provide extra cushioning and protection.
5. Use Proper Lifting Techniques: When lifting the dresser, remember to use proper lifting techniques to prevent injuries. Lift with your legs, not your back, and get help if the dresser is heavy or bulky.
6. Secure the Dresser on the Moving Truck: Once the dresser is loaded onto the moving truck, use straps or ropes to secure it in place. This prevents it from shifting or toppling over during transit.
7. Protect the Surface: Use moving blankets or furniture pads to protect the surface of the dresser from scratches and dents. Secure the blankets with packing tape or stretch wrap to keep them in place.
8. Take Precautions when Moving Uphill or Downhill: If you need to navigate stairs or inclines while moving the dresser, take extra caution. Use extra manpower and ensure a clear pathway to prevent accidents.
9. Communicate with Movers: If you’ve hired professional movers, communicate your specific instructions regarding the dresser and any fragile or valuable items. Provide clear directions and ensure they handle the dresser with care.
10. Inspect for Damage upon Arrival: Once the dresser reaches its destination, inspect it for any signs of damage. If you notice any issues, document them and contact your moving company or insurance provider to initiate a claim if necessary.
By following these tips, you can ensure a successful dresser move. Taking the time to properly prepare, secure, and protect your dresser will minimize the risk of damage and give you peace of mind that your belongings will arrive safely at your new home.
Frequently Asked Questions about How To Pack A Dresser For Moving
Was this page helpful?
At Storables.com, we guarantee accurate and reliable information. Our content, validated by Expert Board Contributors, is crafted following stringent Editorial Policies. We're committed to providing you with well-researched, expert-backed insights for all your informational needs.


0 thoughts on “How To Pack A Dresser For Moving”