Home>Garage Storage>How To Paint A Garage Door: 12 Easy Steps

Garage Storage
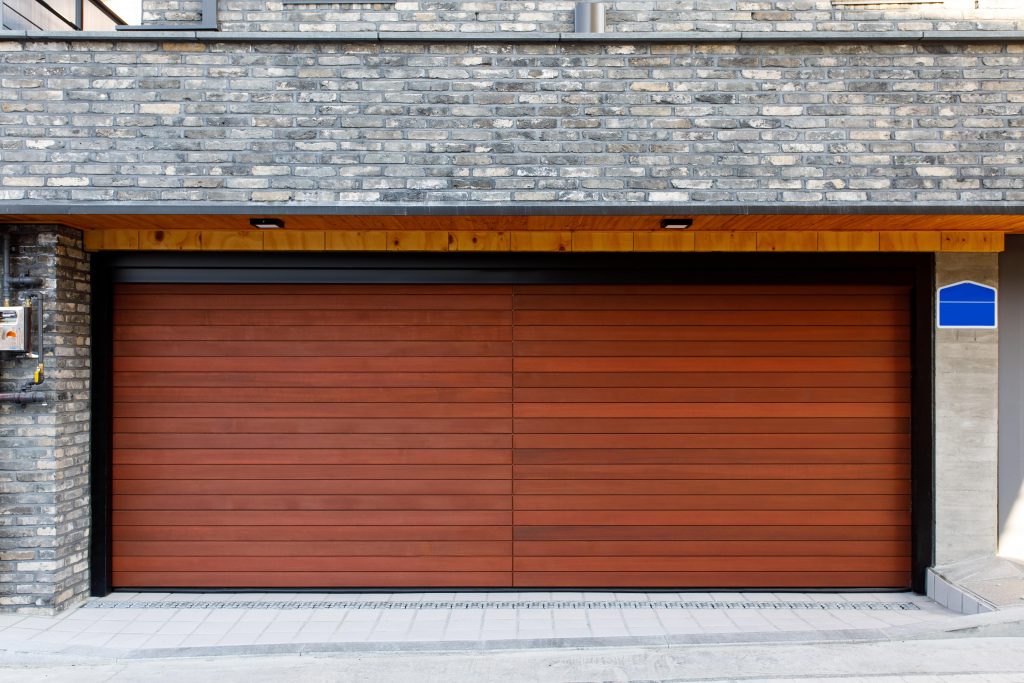
How To Paint A Garage Door: 12 Easy Steps
Modified: December 6, 2023
Follow these easy steps on how to paint a garage door and transform yours today. We'll show you how to do things the smart way!
(Many of the links in this article redirect to a specific reviewed product. Your purchase of these products through affiliate links helps to generate commission for Storables.com, at no extra cost. Learn more)
Are you considering painting your garage door? Although it may seem like a complicated thing, there are only 12 easy steps you have to take to paint a new garage door. The steps also include painting a metal garage door and a wooden garage door, so you don’t have to worry about the type of material your garage door is made out of.
Step 1: Choose Your Paint
Read more: How To Paint Wood Garage Door
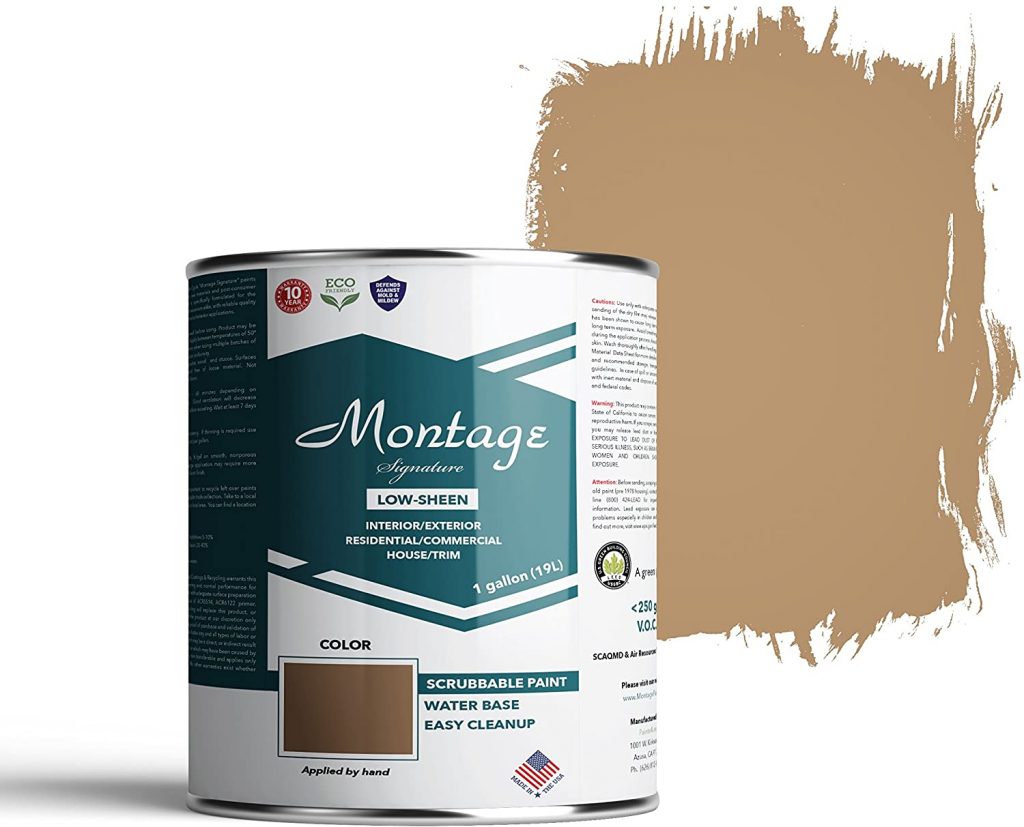
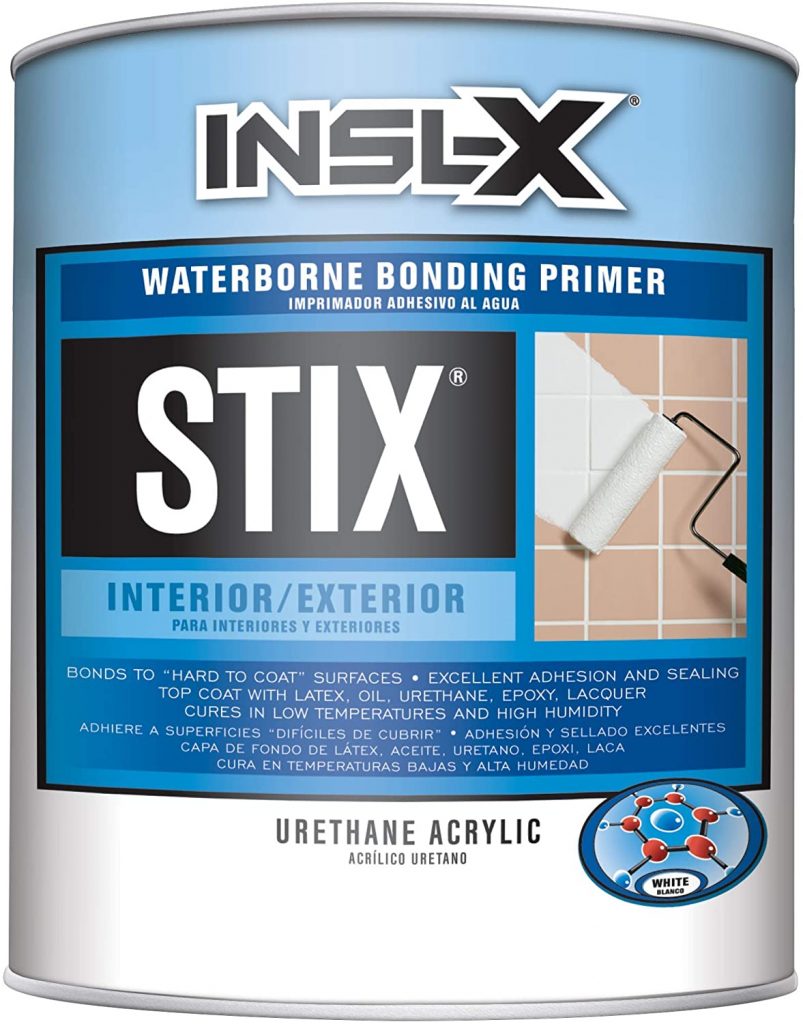
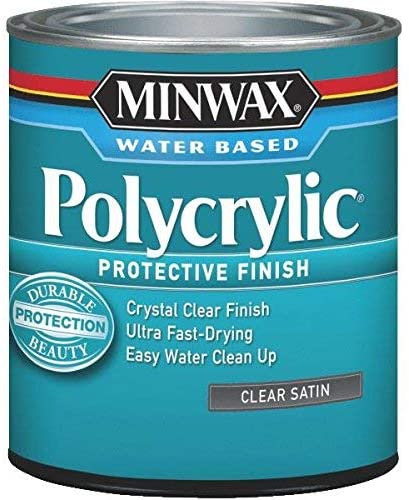
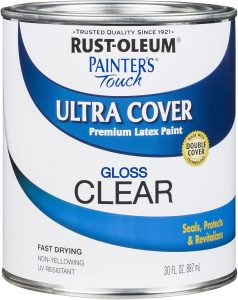
Best 3 Garage Door Paints
Premium CHOICE
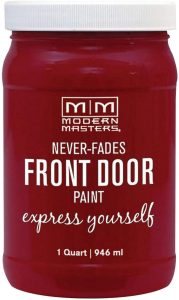
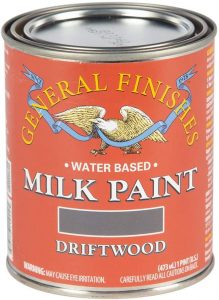
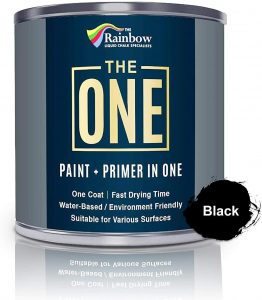
The paint you choose will depend largely on the garage door material, which is typically metal or wood. Whichever material your garage door is made of, you will need to use some exterior paint. To make the job easier, you can choose a paint that also doubles as a primer. That way, you can skip applying a coat of primer prior to painting.
Another common question is this: how much paint will you need? As a base estimation, you will need one liter of paint for every 16 square meters. There are also other factors to consider when calculating how much paint you’ll need:
- The color – If you’re covering up the same color, you’ll need less paint.
- The door material – Wooden doors typically require more paint than metal doors.
- The paint you’re using – Check the can of paint to see if the amount of coverage is right.
- Tools used – The amount of paint that you use will depend on the tool that you intend to apply it with. Typically, you’d need a paintbrush, a roller, and a rolling pan on hand as you’ll be using these tools throughout the project.
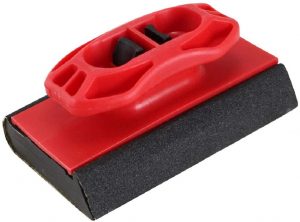
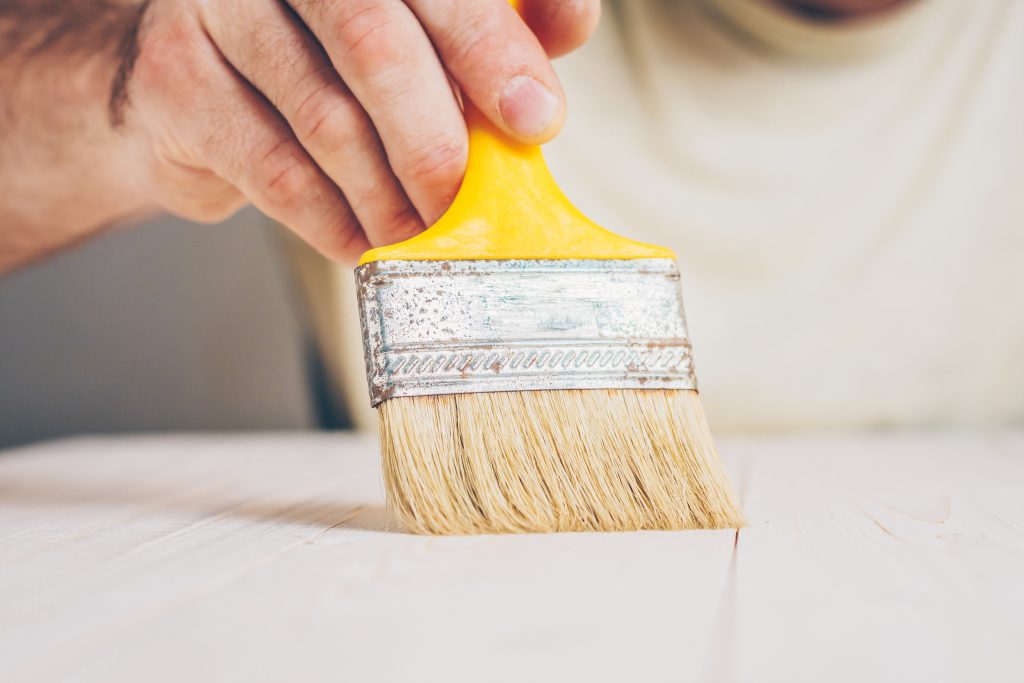
Step 2: Choose Your Tools
Best 3 Garage Door Tools
Premium CHOICE
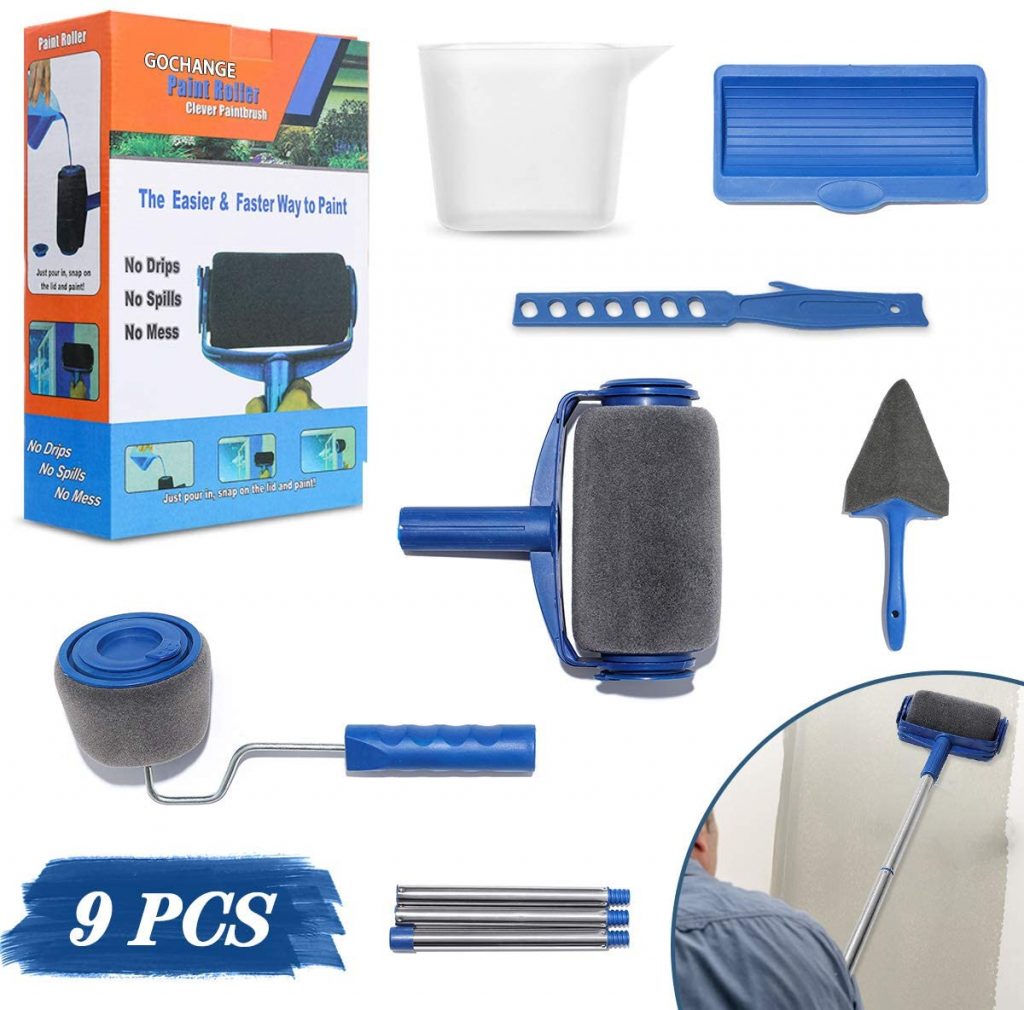
Value Buy
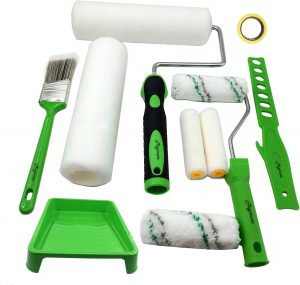
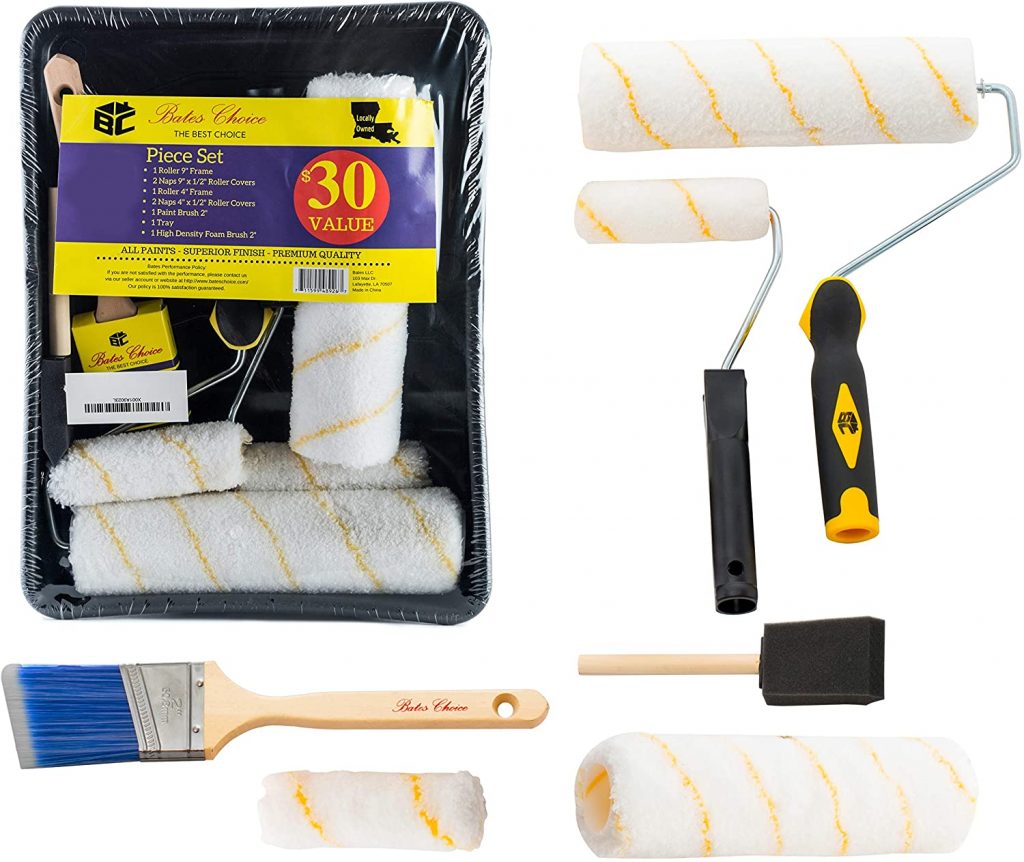
Brushes are great for doors with many nooks and crannies to ensure the paint covers the entire door. This is especially important when painting roller doors. They’re also okay for large, flat surfaces but are more time-consuming. It can be difficult to get a smooth, professional finish across the whole surface.
Rollers are ideal for painting garage doors with large, flat surfaces, such as a panel or sectional models. They can cover a large section in a small amount of time while providing a smooth finish. They will, however, need to be used in conjunction with brushes to ensure cracks and edges are covered in the paint job.
Step 3: Power Wash
Read more: How To Paint Metal Garage Door
Best 3 Garage Door Wash Products
Premium CHOICE
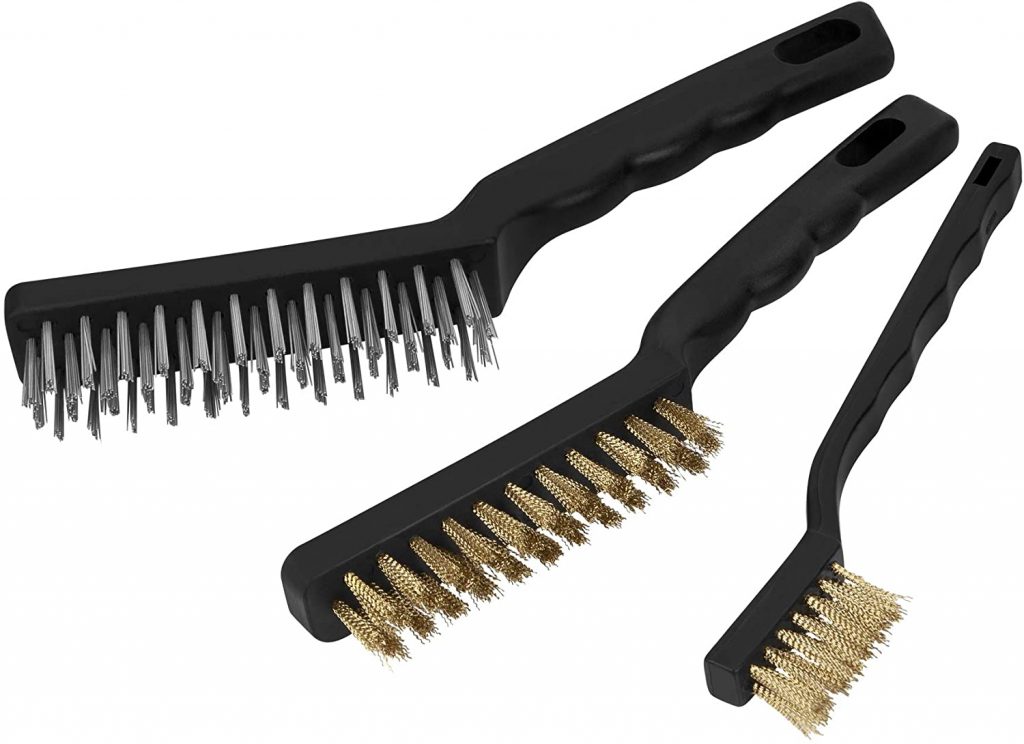
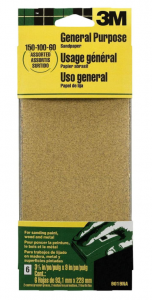
Before commencing the paint job, it’s important to power wash your garage door. The first step is to lightly scour the door’s surface with coarse sandpaper or a wire brush. The one that you will go with will depend on the material the door is made from. Sanding is better for wooden doors, while metal doors will require a wire brush.
Once the door has been scoured, rinse it with water and diluted detergent to remove any remaining dust, grease, or dirt that could create any bumps in the finished paint job that, in turn, will potentially cause the paint to chip. When the surface is completely dry, you’re almost ready to start painting.
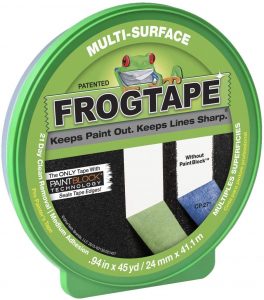
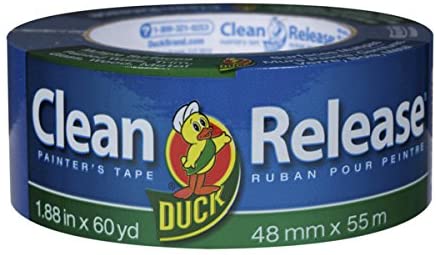
Step 4: Painter’s Tape
Best 3 Painter’s Tape
Premium CHOICE
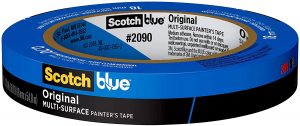
It’s important to protect all the bits that you don’t want to be painted. By using painter’s tape, you can cover any framing and hardware such as the locks that will not be painted. You will also need to cover the surrounding ground with a drop cloth to ensure your driveway doesn’t get any paint on it.
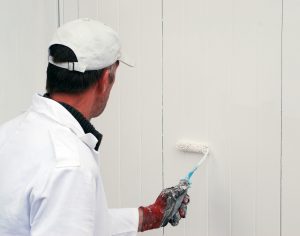
Step 5: Paint Each Square with a Brush
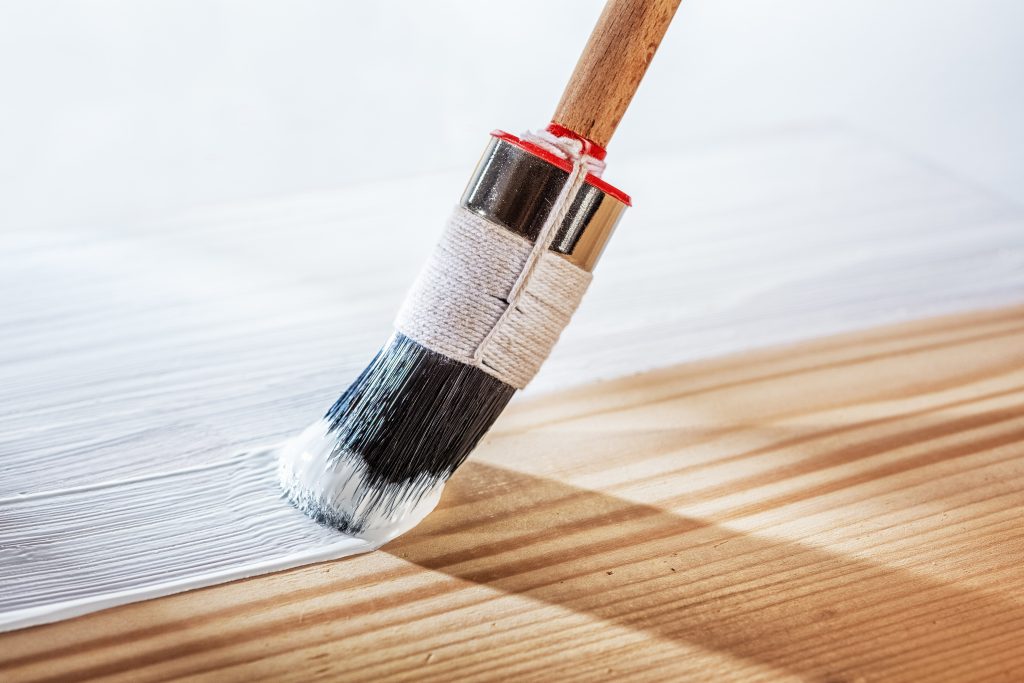
Begin by painting the areas of the door that will not be visible once the door is closed. You need to completely dry it or the paint will stick to the surrounding framework. Once dried, close the door and paint the remainder of the door, working from top to bottom.
A second layer of paint may be required, depending on the door, the paint used, and the color you want. Paint the second coat in contrast to the first. For example, if the first coat was painted using horizontal stripes, paint the second with vertical stripes. For sectional doors, you’ll need to work the paint into the cracks in between the panels.
Read more: How Much To Paint Garage Door
Step 6: Paint the Inside
When your garage door is open, you may see a strip with the original color. It’s not necessary to paint it, but it does ensure that the color will fully cover it when you close your garage door. This step should only take a few minutes. You will just need to allow a few extra minutes for the paint to dry.
Step 7: Priming for a Metal Garage Door
If your garage door has not been previously primed, you will need to apply one coat of metal primer to the entire metal door and frame. Use the metal primer according to the manufacturer’s instructions, which should be located somewhere on the tin. Allow the primer to dry before you continue (this can take up to eight hours). If the door has been primed or has been previously painted, you can skip this step.
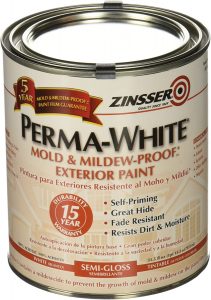
Step 8: Best Paint for a Metal Garage Door
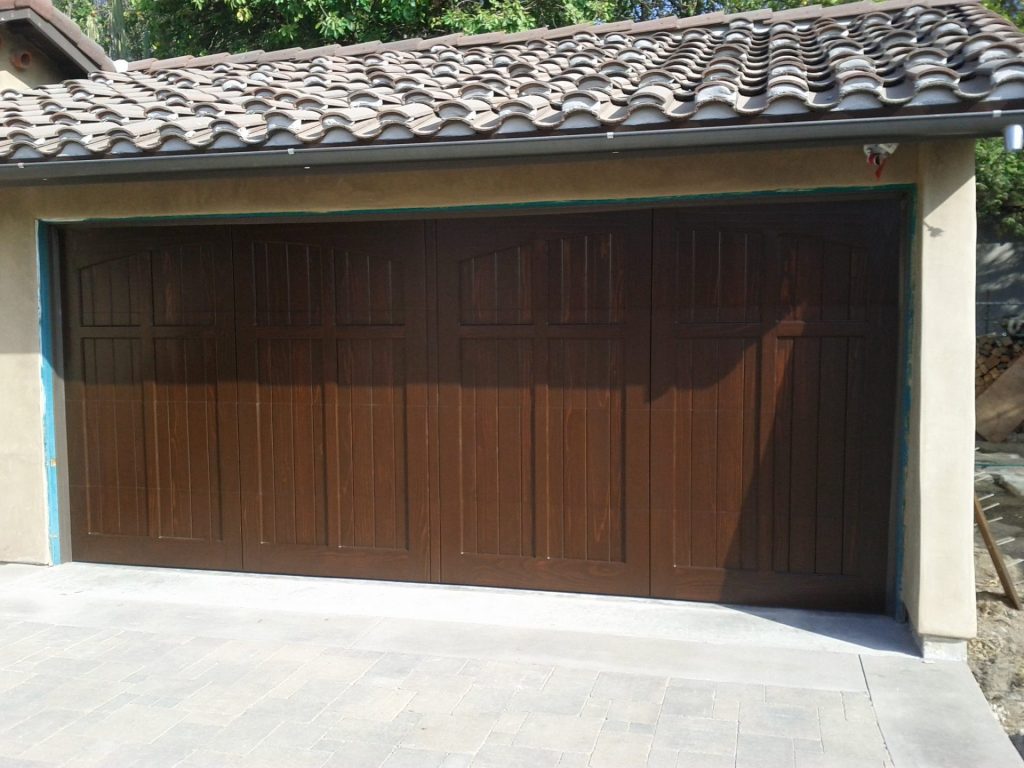
A tired and worn-looking metal garage door can bring down the whole exterior appearance of your home. Painting it could add that extra finish your house needs to make it crisp and clean looking. Some garage doors come already primed when new. So if you are painting a new door, it will be a matter of applying a metal or garage door paint on top of the primer coat with however many coats are recommended on the paint tin.
Step 8.1: Clean the Metal Doors and Metal Frame
First, you will need to give the metal doors a really good scrub with soapy water and a clean cloth. Remove all stains from the doors as they may alter the color of the finished paint. After scrubbing the entire surface, wipe it with a clean cloth to remove any residue that may remain from cleaning. Degrease the door with sugar soap and allow it to dry.
Read more: What Paint To Use For Garage Door
Step 8.2: Preparation
If you are painting over a previously painted garage door, then a light sanding is required along with the same degreasing process. It’s important that any flaking paint is rubbed down. If you get back to just bare metal, then it must be primed.
Step 8.3: Painting the Doors and Frame

It’s not a good idea to put a topcoat straight on top of a previous old topcoat, so please use an undercoat first. Remember that the more effort that you put into the preparation, the better the finish will be. Ensure that the paint used is suitable for metal garage doors. Open the paint tin and stir with a suitable spatula for about a minute to even out the color. Metal garage doors can be painted by brush or by roller. However, if you’re using a roller, try and use one with natural fibers.
You can re-apply several coats of paint until the metal is completely colored with no metal shining through. Use good-quality metal gloss paint and allow enough time for complete drying between each coat. Remember that several thin coats are better than just a singular thick one. Thin coats take less time to dry, produces a harder finish, and will look better as well. For a nice finish after rolling, run over the paint with a good-quality dry brush to soften any roller marks and give you a smoother shiny finish.
Best 3 Undercoat Paints
Premium CHOICE
Step 9: Preparing Your Wooden Garage Door for Painting
It’s important to follow proper preparation methods before painting your wooden garage door as this may impact the overall quality of your paint job. You can follow the below steps to prepare your garage door:
- Use a brush or outdoor broom to brush over the entire garage door and frame to remove any cobwebs, moss, or flaking paint. Apply a little pressure to make sure that you remove as much debris as possible, paying attention to any gaps or joints.
- Get a bucket with some warm water, mix in some sugar soap, and wash the door and frame while making sure that you get into all of the nooks and crannies. The sugar soap will help remove any grease and grime build-up. Leave it to dry out thoroughly afterward.
- You can now either sand down all of the loose paint and leave the areas that are still intact or strip all of the paint off completely.
If your garage door has windows in them, it’s a good idea to take them out and sand around the inside of each opening. Normally, you will be able to remove either the inside or outside beading and pop the glass out and remove the rest of the bead.
As we are dealing with timber, there is going to be a good chance that there may be some cracks, splits, or rot. Firstly, remove any rotten areas using a scraper to dig it all out (if it’s really bad in places or is spread over a large area, then you may need to consider more drastic repairs or even new doors or framework). With all the rot gone, you can use an external caulk or decent wood filler to fill all holes and cracks that may be present. Allow it to cure based on the manufacturer’s recommended time and sand all the areas flat if needed.
Once sanded, stripped and repaired, you can give all areas a good brush over to remove any dust and then a wipe over with a damp cloth using the sugar soap solution. Now allow it to dry completely.
Read more: How To Store Paint In Garage
Step 10: Priming for a Wooden Garage Door
With repairs done and all the prep work completed, the next job is to apply some primer to the garage door and frame. The type of primer you use will depend on the type of topcoat you’re using. It’s best to use the below-matched types:
- A latex primer with latex topcoat
- An oil-based primer with an oil-based topcoat
- A microporous primer with a microporous topcoat
Each different type of paint acts in a different way. And if they are mixed, they may actually fight against each other. Before you start, you will need to lay some dust sheets down around the area that you will be painting to catch any spillages. You can also slide some newspaper underneath the garage door so that the area underneath is also protected. You can mask up any areas that you don’t want to get paint on things like handles, hinges, locks, or latches.
Give the primer a good shake then pop the lid off and give it a good stir with a stirrer or a wooden spoon. Have a selection of brushes on hand including a ½-inch, 1-inch, and 2-inch – the smaller brushes are for the detailed areas and the larger brushes are for the paneled areas. With the priming now completed, you can leave it to dry based on the manufacturer’s recommended time. When dry, check the surface over to make sure there are no sunken areas or hard edges. If you do find any and want to get the best finish you can have, you can fill these in with external caulk or a general-purpose filler.
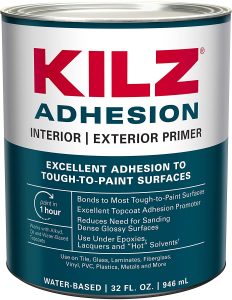
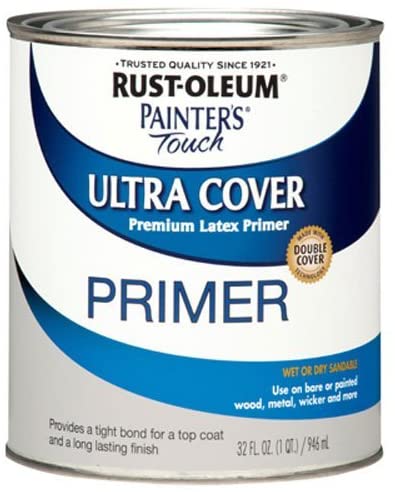
Best 3 Paint Primers
Premium CHOICE
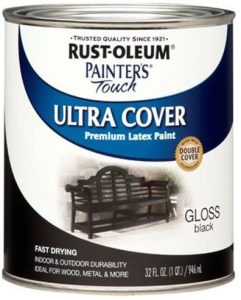
Step 11: Best Paint for a Wooden Garage Door
The best type of paint to use on a wooden garage door is microporous or moisture permeable. This paint type will allow the timber to breathe and let moisture in the timber escape while preventing any moisture from getting in. Most microporous paints also feature a UV filter that helps to prevent further damage from sunlight. These paints generally tend to be quite high-end and because of this, they can be quite expensive. But over time, they can prove to be the more cost-effective option.
Step 12: Top Coat Paint for a Wooden Garage Door
Starting with the frame, paint the topcoat on, starting at the top left-hand side. Paint down the frame to the floor and then across the top and down the other side. Repeat this on the inside as well. Next, apply the topcoat around all edges of each door. You may need to stab the brush at the edges to make sure that you get a good covering where the grain of the timber is exposed. Finally, you can apply your top coat to all the large panels on the front of the doors, working from left to right and starting at the top of each panel and working down. When you’ve completed the outside, move onto the inside using the same techniques.
Once you’ve allowed enough time for the topcoat to dry thoroughly, you should now have a very attractive looking garage. Congratulations!
Read more: How To Paint Garage Ceiling
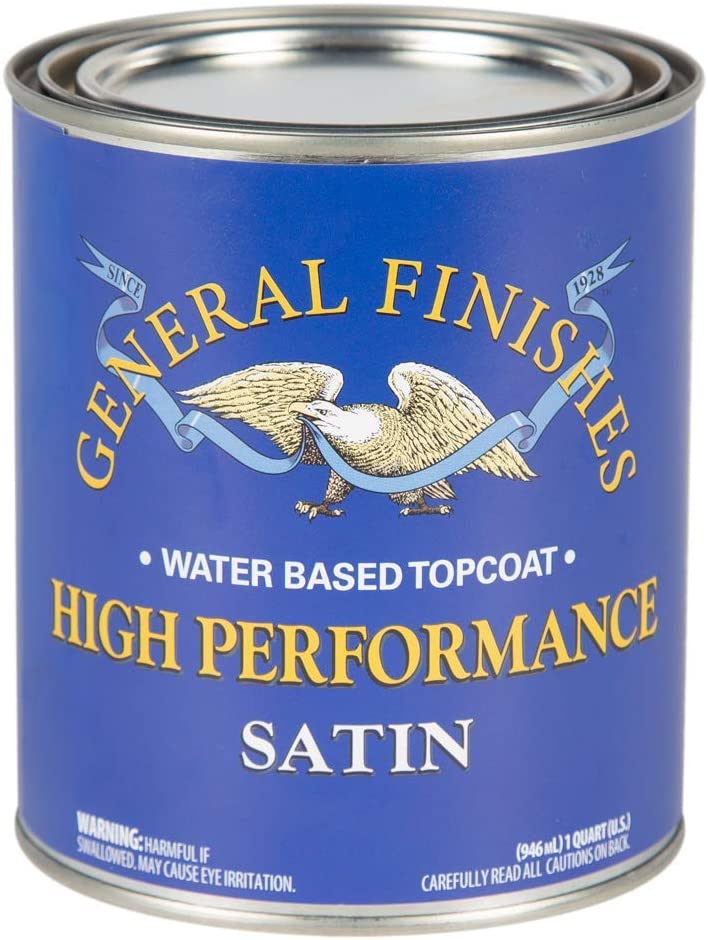
Best 3 Top Coat Paints
Premium CHOICE
Painting a garage door can be a fun weekend project, plus it will help spruce up your home. Hopefully, these easy steps will help you transform your garage door and help add value to your home.
Was this page helpful?
At Storables.com, we guarantee accurate and reliable information. Our content, validated by Expert Board Contributors, is crafted following stringent Editorial Policies. We're committed to providing you with well-researched, expert-backed insights for all your informational needs.


0 thoughts on “How To Paint A Garage Door: 12 Easy Steps”