Articles
How To Paint Garage Ceiling
Modified: October 22, 2024
Learn how to paint a garage ceiling with our informative articles. Discover step-by-step techniques and expert tips to achieve a professional finish.
(Many of the links in this article redirect to a specific reviewed product. Your purchase of these products through affiliate links helps to generate commission for Storables.com, at no extra cost. Learn more)
Introduction
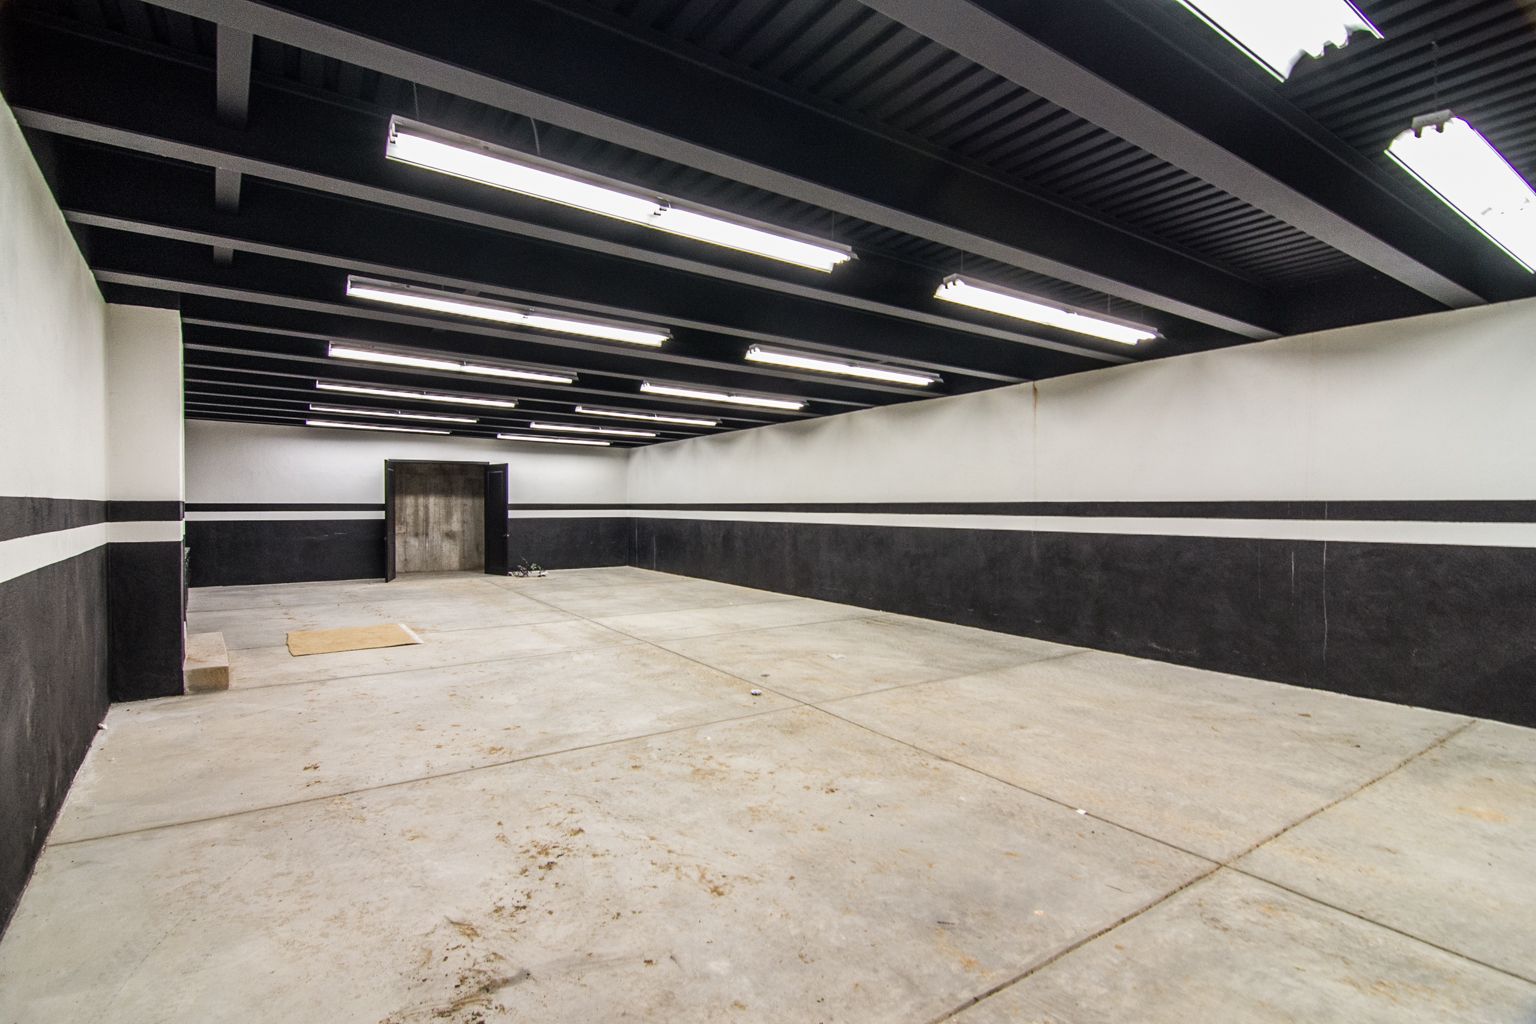
Welcome to this comprehensive guide on how to paint your garage ceiling. Your garage is a functional space that often gets overlooked when it comes to interior design and maintenance. However, by giving your garage ceiling a fresh coat of paint, you can transform the entire space and create a cleaner, more appealing environment.
Painting your garage ceiling is not only about aesthetic appeal, but it also offers protection against moisture, dust, and other elements that can deteriorate the surface over time. Whether you use your garage for storage, as a workshop, or simply to park your vehicles, a well-painted ceiling can make a significant difference in the overall look and feel of the space.
In this article, we will guide you through the step-by-step process of painting your garage ceiling, from preparation to cleanup. We will also provide you with essential tips and techniques to ensure a smooth and professional-looking finish. So, let’s gather our materials and tools and get ready to give your garage ceiling a makeover!
Key Takeaways:
- Transform your garage space by painting the ceiling, enhancing both aesthetics and functionality. Proper preparation, choosing the right paint, and using the correct techniques are essential for achieving a professional finish.
- Prioritize safety, cleanliness, and organization throughout the painting process to ensure a successful and rewarding garage ceiling makeover. Thorough preparation, proper technique, and careful cleanup are key to a flawless result.
Read more: How To Finish Garage Ceiling
Materials and Tools Needed
Before you begin painting your garage ceiling, it’s essential to gather all the necessary materials and tools. Having everything on hand will save time and ensure a smooth painting process. Here are the materials and tools you’ll need:
- Drop cloths or plastic sheets to protect the floor and any items in the garage.
- Painter’s tape to protect walls, light fixtures, and other areas that should not be painted.
- A ladder or scaffolding to reach the ceiling. Make sure the ladder or scaffolding is sturdy and secure.
- A paint roller with an extension pole for easy application. Choose a roller with a medium nap for textured ceilings or a low nap for smooth ceilings.
- A paint tray for holding the paint while you work.
- A paintbrush for cutting in edges and corners.
- A paint roller cover, which attaches to the roller, to apply the paint evenly and smoothly.
- A paint roller frame to hold the roller cover.
- Primer to prepare the surface before painting, especially if the ceiling has stains or is a different color.
- Paint in the color and finish of your choice. Opt for latex or water-based paint, as it dries quickly and is easy to clean up.
- A paint stirrer or mixing stick to ensure the paint is thoroughly mixed.
- A paint tray liner to make cleanup easier.
- Paint can opener to open paint cans without damaging them.
- Paint can lid or plastic wrap to cover the paint can when not in use.
- A bucket or sink with water and mild detergent for cleaning brushes and rollers.
- A clean cloth or sponge for wiping away any drips or spills.
- Protective clothing, including old clothes, gloves, and safety goggles, to keep yourself safe during the painting process.
Having all these materials and tools readily available will ensure a smooth, hassle-free painting experience. Now that you’re fully equipped, let’s move on to preparing your garage ceiling.
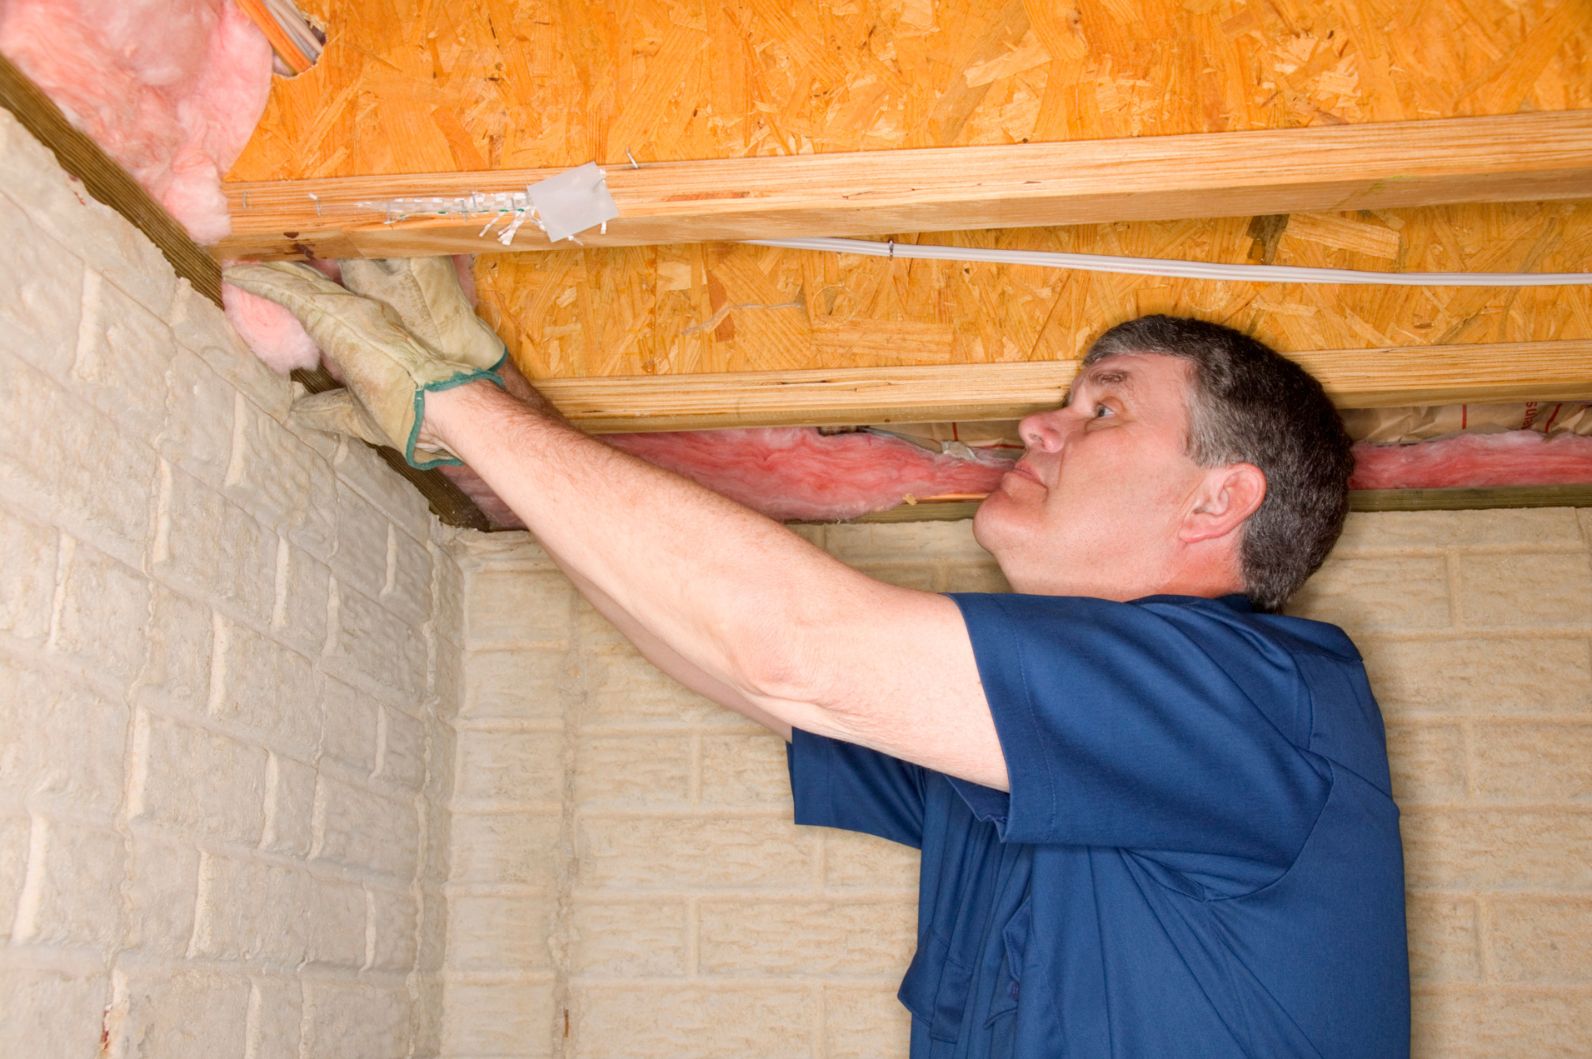
Preparing the Garage Ceiling
Before you start painting your garage ceiling, it’s important to properly prepare the surface to ensure a long-lasting and professional finish. Follow these steps to prepare your garage ceiling for painting:
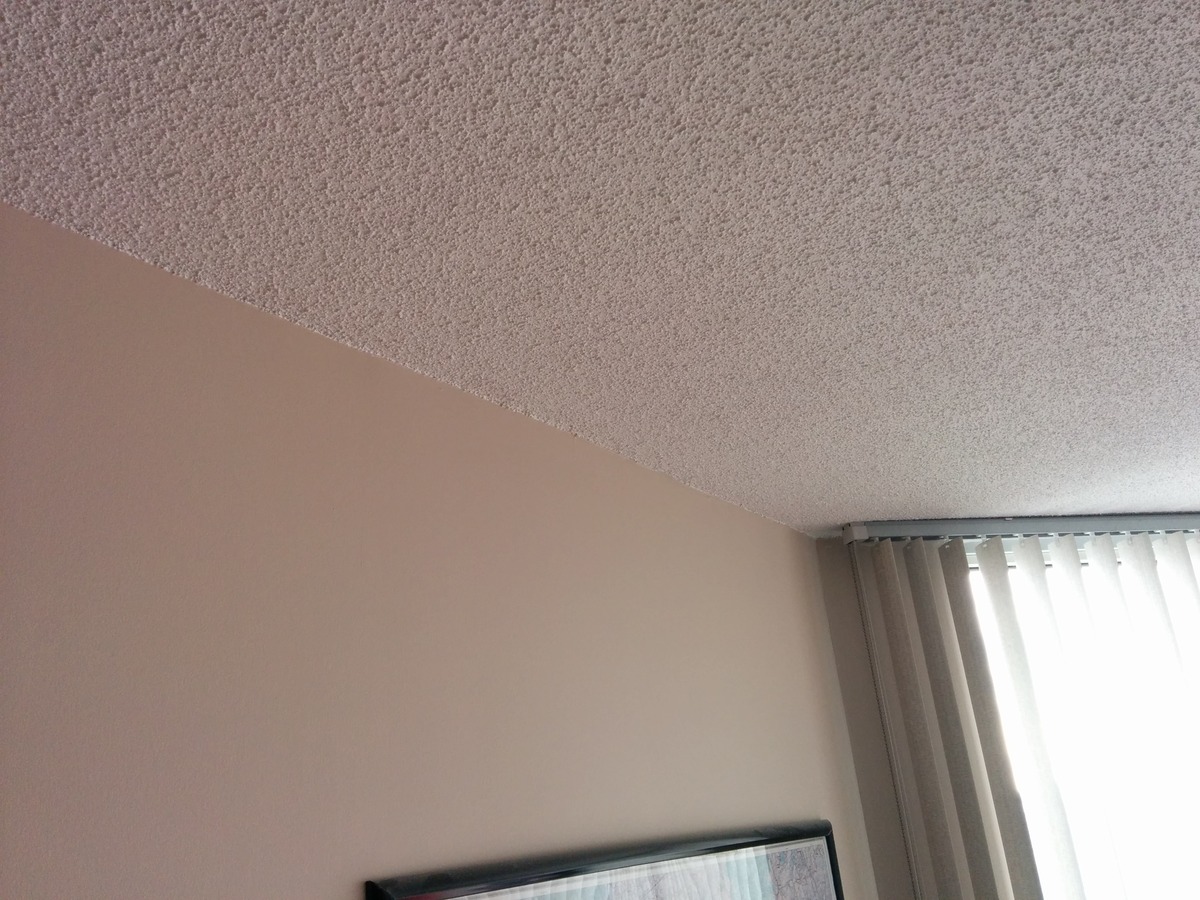
- Clean the ceiling: Begin by cleaning the ceiling to remove any dirt, dust, or cobwebs. Use a broom or vacuum cleaner with a brush attachment to remove loose debris. For stubborn stains or grease, you may need to use a mild detergent solution and a sponge to gently scrub the area. Allow the ceiling to dry completely before proceeding to the next step.
- Remove any loose paint: Inspect the ceiling for any chipping or peeling paint. If you come across any areas of loose paint, use a scraper or putty knife to remove it. Sand down the edges of the scraped areas to create a smooth surface. Make sure to wear a dust mask to protect yourself from inhaling any dust particles.
- Repair any cracks or holes: Inspect the ceiling for any cracks or holes and fill them with spackling compound or drywall putty. Use a putty knife to apply the compound and smooth it out. Allow the compound to dry according to the manufacturer’s instructions, and then sand it down to create a smooth finish. Wipe away any dust with a clean cloth.
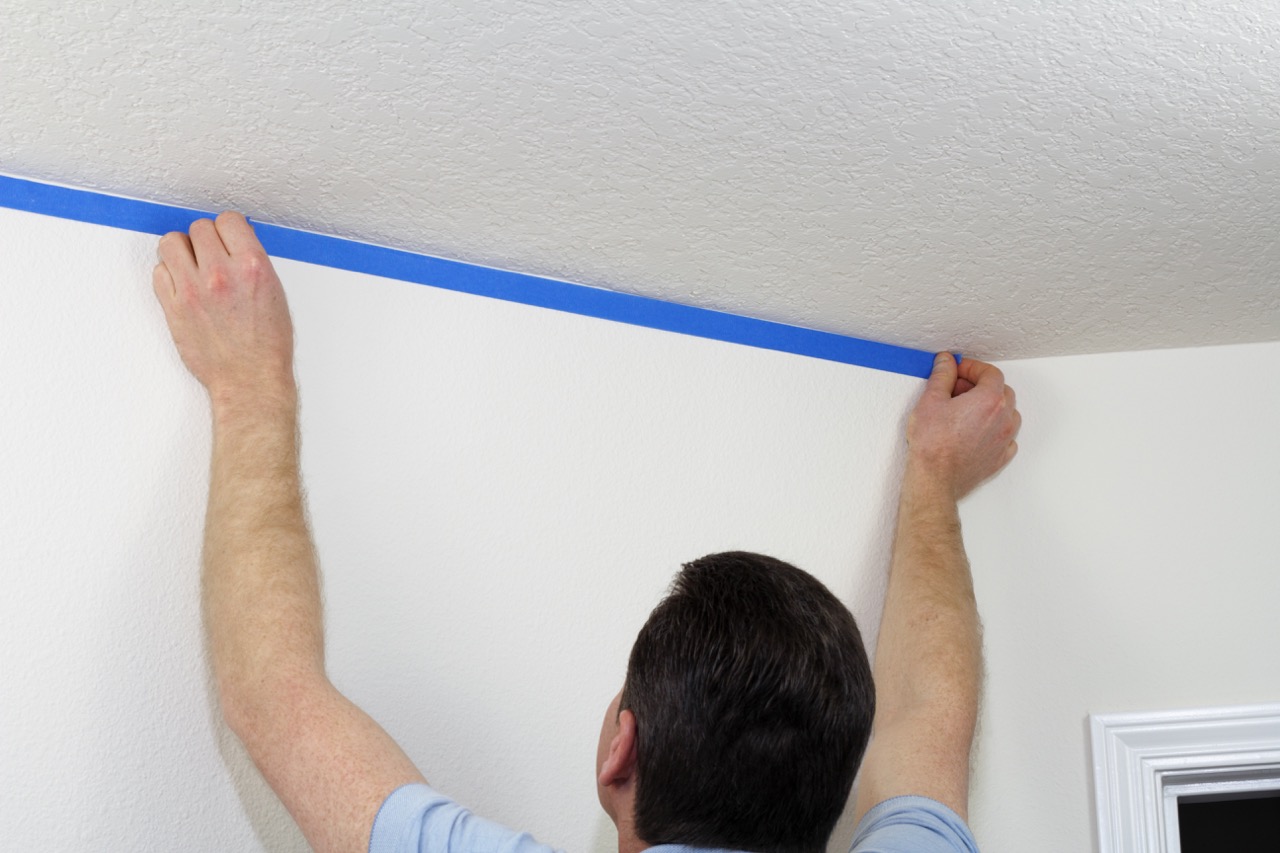
- Protect surfaces: Use painter’s tape to protect walls, light fixtures, and any other areas that should not be painted. Cover the floor and any items in the garage with plastic sheets or drop cloths to protect them from paint drips or spills.
- Apply primer: If your ceiling has stains or is a different color, it’s recommended to apply a coat of primer. This will help the paint adhere better and ensure an even finish. Use a brush to cut in the edges and corners, and then use a roller to apply the primer to the rest of the ceiling. Follow the manufacturer’s instructions for drying time and additional coats, if needed.
By properly preparing your garage ceiling, you will create a smooth and clean surface for the paint to adhere to. Once the surface is prepared, you can move on to choosing the right paint for your garage ceiling.
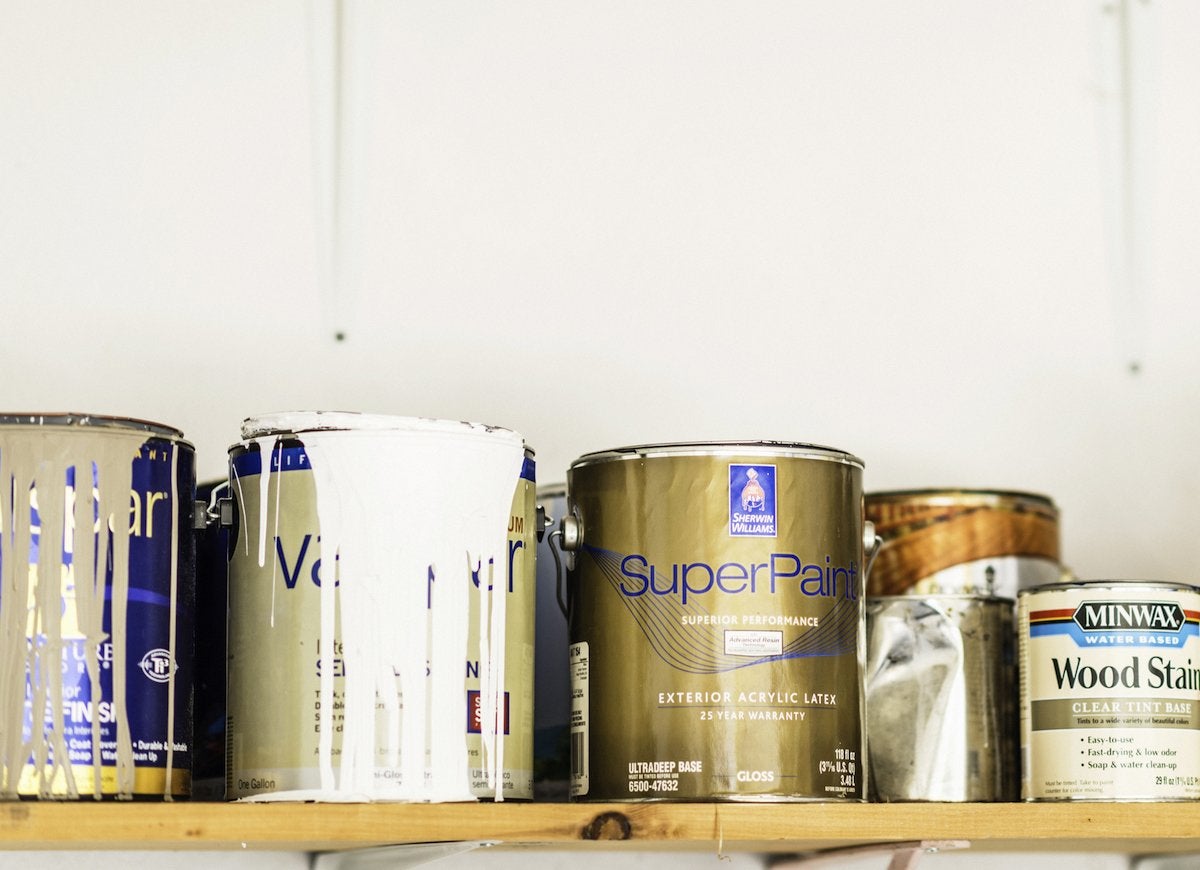
Choosing the Right Paint
When it comes to painting your garage ceiling, it’s essential to choose the right paint that will provide durability and a clean finish. Here are a few factors to consider when selecting the paint for your garage ceiling:
- Type of paint: Opt for a latex or water-based paint for your garage ceiling. These types of paint dry quickly, have low odor, and are easy to clean up with water. Additionally, latex paints are more resistant to cracking and peeling, making them ideal for high-moisture areas like garages.
- Finish: Select a paint finish that suits your needs. For most garage ceilings, a flat or matte finish is recommended. This finish is non-reflective and helps to hide surface imperfections. If you prefer a slightly more washable surface, you can opt for an eggshell or satin finish instead.
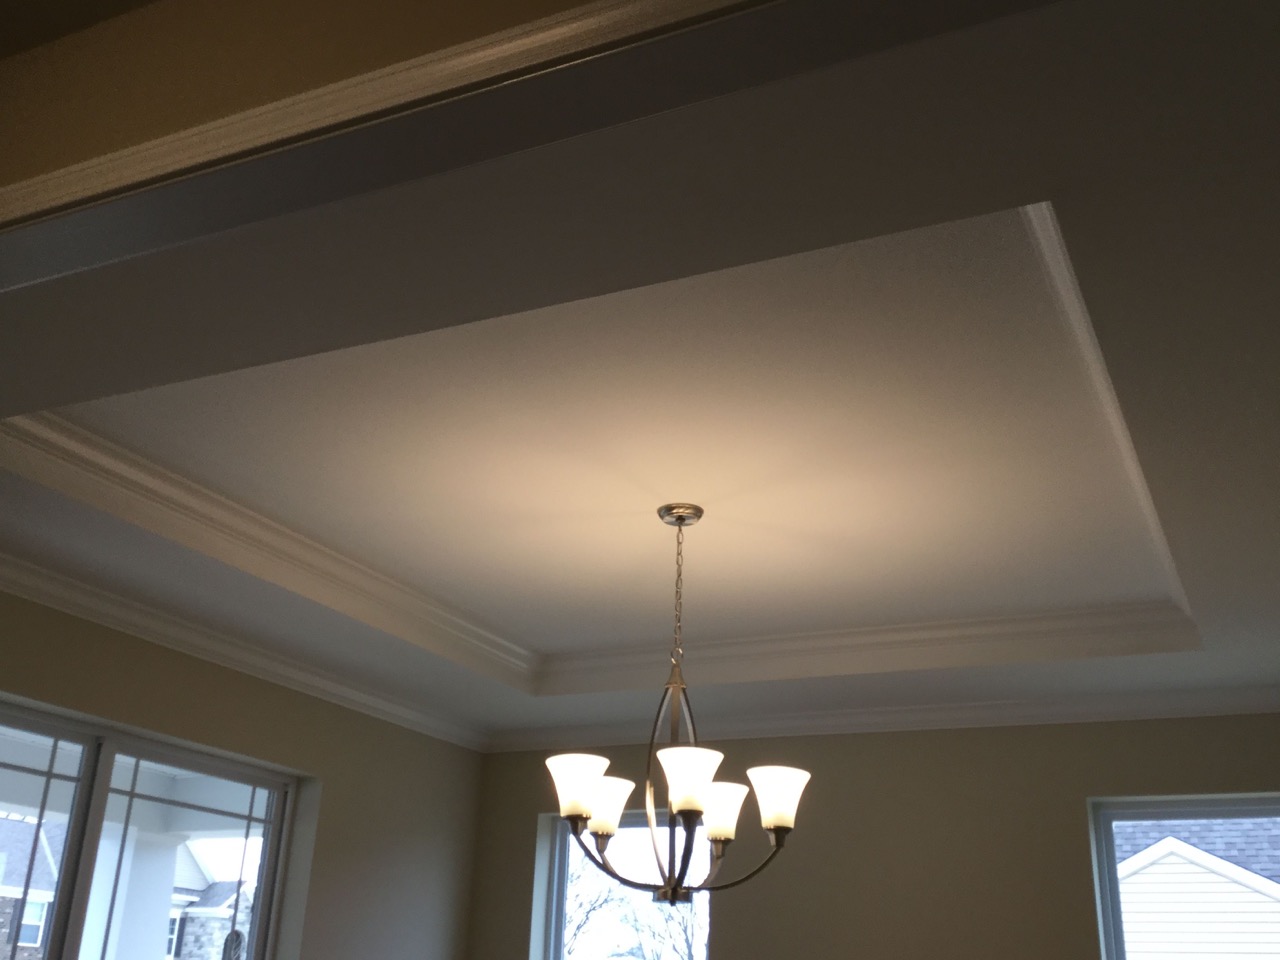
- Color: Although white is a popular and classic choice for garage ceilings, you can also consider light shades of gray or beige. Lighter colors help to brighten up the space and create a more airy feel. Avoid dark colors, as they can make the ceiling appear lower and may require more coats of paint to achieve an even finish.
- Quality of paint: Invest in a high-quality paint that is specifically formulated for ceilings. These paints are designed to provide excellent coverage, durability, and resistance to stains and moisture. While they may be slightly more expensive, they will ultimately save you time and effort in the long run.
Before making a final decision, it’s always a good idea to consult with a knowledgeable paint specialist at your local home improvement store. They can provide recommendations based on the specific conditions of your garage and your desired outcome.
Once you have chosen the right paint for your garage ceiling, it’s time to prepare the paint for application.
Preparing the Paint
Preparing the paint properly is crucial to ensure a smooth and successful painting process. Follow these steps to prepare the paint for your garage ceiling:
- Inspect the paint: Before opening the paint can, give it a good shake to ensure that the pigment is properly mixed. Then, check the paint for any lumps or debris. If you notice any, use a paint strainer or a piece of cheesecloth to remove them.
- Use a paint tray: Pour a sufficient amount of paint into a paint tray. This will make it easier to load your roller and ensure an even application of paint on the ceiling. It’s recommended to pour the paint in smaller amounts to prevent it from drying out or becoming contaminated.
- Mix if necessary: Some paints may require stirring before use, especially if they have been sitting for a while. Use a paint stirrer or a mixing stick to thoroughly stir the paint. Make sure to scrape the bottom and sides of the can to incorporate all the pigments properly.
- Check for consistency: Paint should have a smooth and consistent texture. If the paint appears too thick, you can add a small amount of water according to the manufacturer’s instructions. Avoid adding too much water, as it can affect the paint’s durability and coverage. If the paint appears too thin, you can add small amounts of paint conditioner or thickening agent, again following the manufacturer’s guidelines.
- Test the color: If you’re unsure about the color or shade of the paint, it’s a good idea to do a small test patch on a piece of cardboard or a inconspicuous area of the ceiling. This will allow you to see how the color looks under the lighting conditions of your garage.
By properly preparing the paint, you’ll ensure that it is ready for application and that it will provide the desired coverage and finish on your garage ceiling. Now that the paint is prepared, let’s move on to the painting techniques.
Use a high-quality paint roller with an extension pole to easily reach and cover the entire garage ceiling. This will help you achieve a smooth and even finish.
Read more: How To Insulate A Garage Ceiling
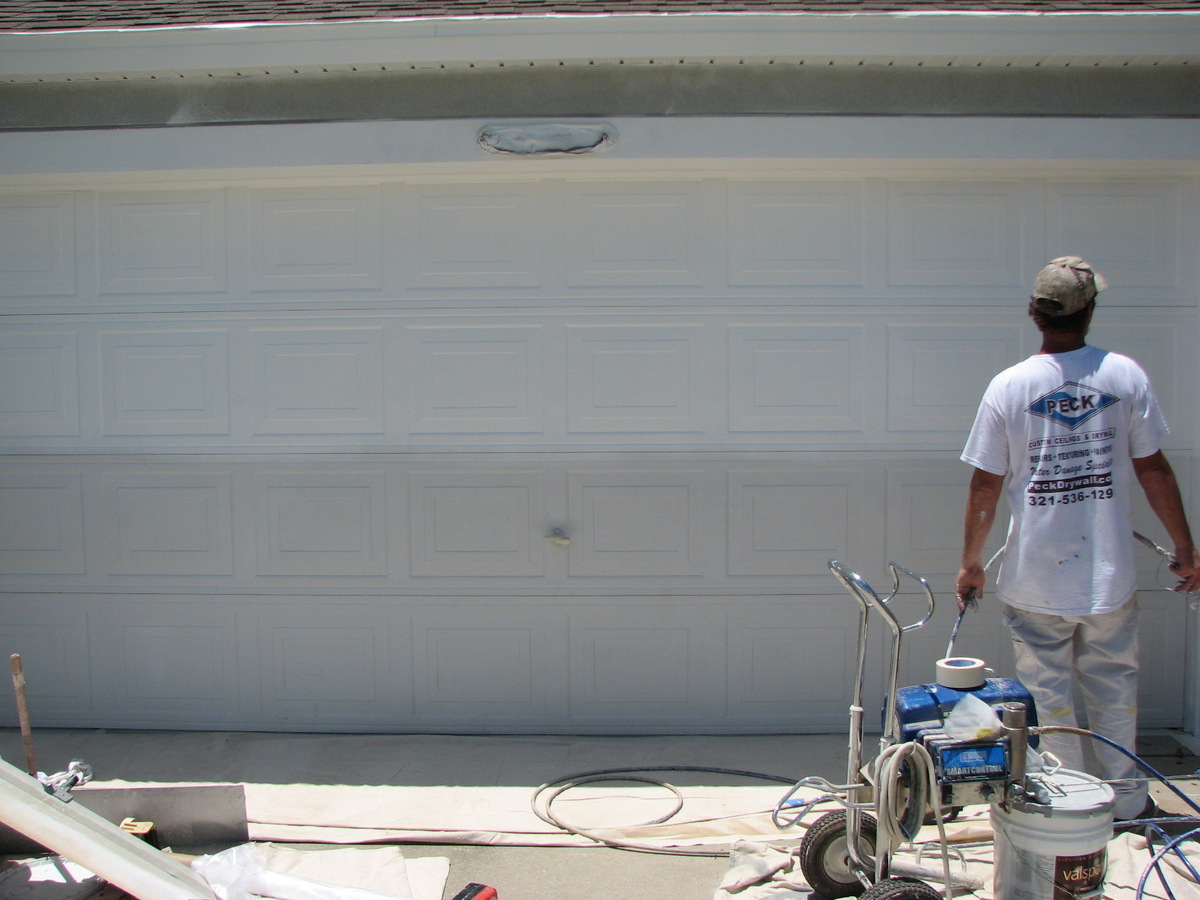
Painting Techniques
When it comes to painting your garage ceiling, using the right techniques will help you achieve a smooth and professional-looking finish. Follow these painting techniques for optimal results:
- Start with cutting in: Begin by using a paintbrush to cut in along the edges and corners of the ceiling. This will create a clean line between the ceiling and the walls or other surfaces. Apply a thin, even coat of paint along the edges, taking care not to overlap onto the walls.
- Use the “W” or “M” technique: For painting the larger areas of the ceiling, use a paint roller with an extension pole for ease of reach. To ensure an even coat, use the “W” or “M” technique. Start by rolling the paint in a zigzag pattern to create the first “W” or “M” shape. Then, fill in the shape by evenly spreading the paint from one side to the other. This technique helps to distribute the paint evenly and avoid streaks or uneven coverage.
- Work in small sections: It’s best to work in small sections at a time, about 2-3 square feet. This will allow you to maintain a wet edge, ensuring that the paint blends seamlessly. Paint each section with smooth, overlapping strokes, applying just enough pressure to evenly distribute the paint.
- Apply multiple coats if necessary: Depending on the color and texture of your ceiling, you may need to apply multiple coats of paint for full coverage. Allow each coat to dry completely before applying the next one. Follow the manufacturer’s instructions for drying time and recoat intervals.
- Blend the paint for a seamless finish: To avoid visible brush marks or roller lines, it’s crucial to blend the paint while it’s still wet. After applying each section, lightly go over the area with a smooth, dry roller or brush to smooth out any lines or streaks.
- Keep the roller loaded with paint: Make sure to keep your roller properly loaded with paint throughout the process. This will ensure even coverage and reduce the likelihood of dry spots or streaks. Reload the roller frequently to maintain a consistent paint application.
By using these painting techniques, you’ll be able to achieve a beautiful, professional-looking finish on your garage ceiling. Next, let’s explore the safety precautions you should take during the painting process.
Taking Safety Precautions
Painting your garage ceiling requires a few safety precautions to ensure your well-being and protect the surrounding areas. Here are some essential safety measures to keep in mind:
- Wear protective clothing: Before starting the painting process, make sure to wear appropriate protective clothing. This includes old clothes that you don’t mind getting paint on, gloves to protect your hands, and safety goggles to shield your eyes from any drips or splatters.
- Use proper ventilation: Garages tend to have limited ventilation, so it’s essential to provide proper air circulation during the painting process. Open windows and doors to promote airflow or use fans to remove fumes and odors. If necessary, consider using a respirator mask to protect yourself from chemical fumes.
- Ensure stability: Use a sturdy and stable ladder or scaffolding to reach the ceiling. Make sure the ladder is placed on a level surface and secure it before climbing. If using scaffolding, ensure it is properly set up and stable. Always maintain three points of contact with the ladder or scaffolding to prevent falls.
- Protect the surrounding areas: Cover the floor and any items in the garage with plastic sheets or drop cloths to protect them from paint drips or spills. Use painter’s tape to protect walls, light fixtures, and any other areas that should not be painted.
- Handle paint and tools with care: Follow the manufacturer’s instructions for handling paint, solvents, and other chemicals. Be cautious while using sharp tools such as scrapers or putty knives. Store paint cans and containers properly and keep them out of reach of children and pets.
- Take breaks and stay hydrated: Painting can be physically demanding, so remember to take short breaks to rest and hydrate. Drink plenty of water to stay hydrated throughout the process.
- Clean up properly: After completing the painting, dispose of any used paint cans, brushes, and rollers according to local regulations. Clean your tools promptly with water and mild detergent. Properly dispose of any leftover paint and store any remaining paint in airtight containers for future touch-ups.
By following these safety precautions, you’ll ensure a safe and smooth painting experience and minimize any potential risks or accidents. Now, let’s move on to some helpful tips for achieving a flawless finish on your garage ceiling.
Tips for a Smooth Finish
When it comes to painting your garage ceiling, a smooth and flawless finish is the goal. Here are some helpful tips to achieve that professional-looking result:
- Use proper lighting: Adequate lighting is essential for spotting any missed spots or imperfections on the ceiling. Use natural or artificial light sources to ensure that you can see the surface clearly as you paint.
- Avoid overloading the roller: While it’s important to keep the roller loaded with paint, avoid overloading it as it can lead to drips or uneven application. Roll off any excess paint on the tray before applying it to the ceiling.
- Work in one direction: To maintain a consistent texture, roll the paint in one direction throughout the entire ceiling. Avoid changing directions mid-roll as it can create visible lines or uneven coverage.
- Blend wet edges: To avoid visible lines between sections, make sure to blend the wet edges of each newly painted area with the previously painted section. This will create a seamless transition and result in a smoother finish.
- Keep a wet edge: It’s important to maintain a wet edge while painting to avoid lap marks. Paint an entire section or work in smaller, manageable areas, ensuring that the paint remains wet as you move along. This will help blend the strokes and avoid visible lines.
- Take your time: Painting a ceiling requires patience and attention to detail. Take your time to ensure even coverage and a smooth finish. Rushing through the process can lead to mistakes and an uneven application of paint.
- Inspect the final result: Once you have finished painting, inspect the ceiling under proper lighting conditions for any missed spots or imperfections. Touch up any areas that need additional coverage and make sure the overall finish looks even and uniform.
By following these tips, you will enhance your painting technique and achieve a smooth and flawless finish on your garage ceiling. Now, let’s move on to cleaning up after completing the painting process.
Cleaning Up
Once you have completed painting your garage ceiling, it’s time to clean up the area and ensure that everything is tidied properly. Here are some steps to follow for a thorough cleanup:
- Dispose of paint and materials: Properly dispose of any empty paint cans, paint trays, and other disposable materials. Check local regulations for guidelines on how to dispose of paint cans and other hazardous waste.
- Clean your tools: Clean your paint brushes, rollers, and other tools that were used for painting. Rinse them thoroughly with water and mild detergent to remove any remaining paint. Dry them properly before storing them.
- Remove painter’s tape: Carefully remove the painter’s tape from the walls, light fixtures, and any other areas where it was applied. Peel the tape slowly and at a 45-degree angle to prevent any damage to the surfaces.
- Clean the area: Remove the plastic sheets or drop cloths from the floor and furniture. Dispose of any debris or paint drips in a trash bag. Sweep or vacuum the floor to remove any loose dust or paint chips.
- Wipe down surfaces: Using a clean, damp cloth or sponge, wipe down any areas that may have been splattered with paint during the process. Check the walls, light fixtures, and other surfaces for any paint splatters or smudges and clean them gently.
- Air out the space: Open windows and doors to allow fresh air to circulate and help dissipate any lingering paint fumes. Use fans or ventilators to speed up the process if necessary.
- Organize your workspace: Return any furniture or items that were temporarily moved back to their original places. Put away your painting tools and materials in their appropriate storage areas.
By taking the time to clean up properly, you will ensure that your garage is back to its clean and organized state. It’s important to properly dispose of any paint cans and materials to comply with environmental regulations.
Congratulations! You have successfully painted your garage ceiling and completed the cleanup. A freshly painted garage ceiling adds a sense of cleanliness and revitalizes the overall appearance of the space. Now you can enjoy your newly transformed garage!
Remember, thorough preparation, using the right painting techniques, and taking necessary safety precautions are key to achieving a smooth and professional finish. Happy painting!
Read more: How To Store Paint In Garage
Conclusion
Painting your garage ceiling can transform the overall look and feel of your garage space. By following the step-by-step process outlined in this guide, you can achieve a smooth and professional finish that enhances the aesthetic appeal and functionality of your garage.
We began by discussing the importance of properly preparing the garage ceiling, including cleaning the surface, removing loose paint, and repairing any cracks or holes. We then explored the process of choosing the right paint, considering factors such as type, finish, and color.
Furthermore, we provided guidance on preparing the paint, ensuring it is mixed well and at the right consistency. Painting techniques such as cutting in, using the “W” or “M” pattern, and maintaining a wet edge were detailed to help you achieve an even and flawless finish.
Throughout the painting process, we emphasized the importance of taking safety precautions, such as wearing protective clothing, ensuring proper ventilation, and using stable ladders or scaffolding. We also highlighted the significance of cleaning up properly after completing the painting to maintain a tidy and organized workspace.
By following these guidelines, along with the additional tips provided, you can successfully paint your garage ceiling and create a fresh and appealing space.
Remember, painting your garage ceiling is not only about aesthetics but also about protecting the surface from moisture, dust, and other elements. Regular maintenance and touch-ups may be needed in the future to maintain the beauty and durability of your newly painted ceiling.
We hope this comprehensive guide has equipped you with the knowledge and confidence to tackle painting your garage ceiling. So, gather your materials, follow the steps carefully, and enjoy the rewarding experience of transforming your garage into a more inviting and attractive space.
Frequently Asked Questions about How To Paint Garage Ceiling
Was this page helpful?
At Storables.com, we guarantee accurate and reliable information. Our content, validated by Expert Board Contributors, is crafted following stringent Editorial Policies. We're committed to providing you with well-researched, expert-backed insights for all your informational needs.


0 thoughts on “How To Paint Garage Ceiling”