
Articles
How To Paint Furniture With Chalk Paint
Modified: September 2, 2024
Learn how to transform your furniture using chalk paint. Step-by-step guide to achieving a beautiful, chalky finish on all types of furniture. Perfect for DIY furniture makeovers.
(Many of the links in this article redirect to a specific reviewed product. Your purchase of these products through affiliate links helps to generate commission for Storables.com, at no extra cost. Learn more)
Introduction
Welcome to this comprehensive guide on how to paint furniture with chalk paint! Whether you’re a seasoned DIY enthusiast or a beginner looking to explore the world of furniture restoration, using chalk paint is a fantastic way to transform tired and outdated pieces into stylish and unique treasures.
Chalk paint has gained popularity in recent years due to its versatile nature and ease of use. It offers a beautiful matte finish that can be easily distressed to create a rustic and aged look. One of the major advantages of using chalk paint is that it requires minimal preparation and can adhere to almost any surface, including wood, metal, and even plastic.
In this article, we will guide you through the step-by-step process of painting furniture with chalk paint, from gathering the necessary supplies to adding the finishing touches.
So, grab your paintbrush and let’s embark on this furniture transformation journey together!
Key Takeaways:
- Transform tired furniture into stylish treasures with chalk paint. Minimal prep, versatile effects, and easy distressing make it a DIY favorite.
- Master the art of furniture restoration with chalk paint. From preparation to finishing, unleash creativity and achieve professional results.
Read more: What Is Chalk Painting Furniture
Supplies Needed
Before diving into your furniture painting project, it’s essential to gather all the necessary supplies. Here’s a handy list of items you’ll need:
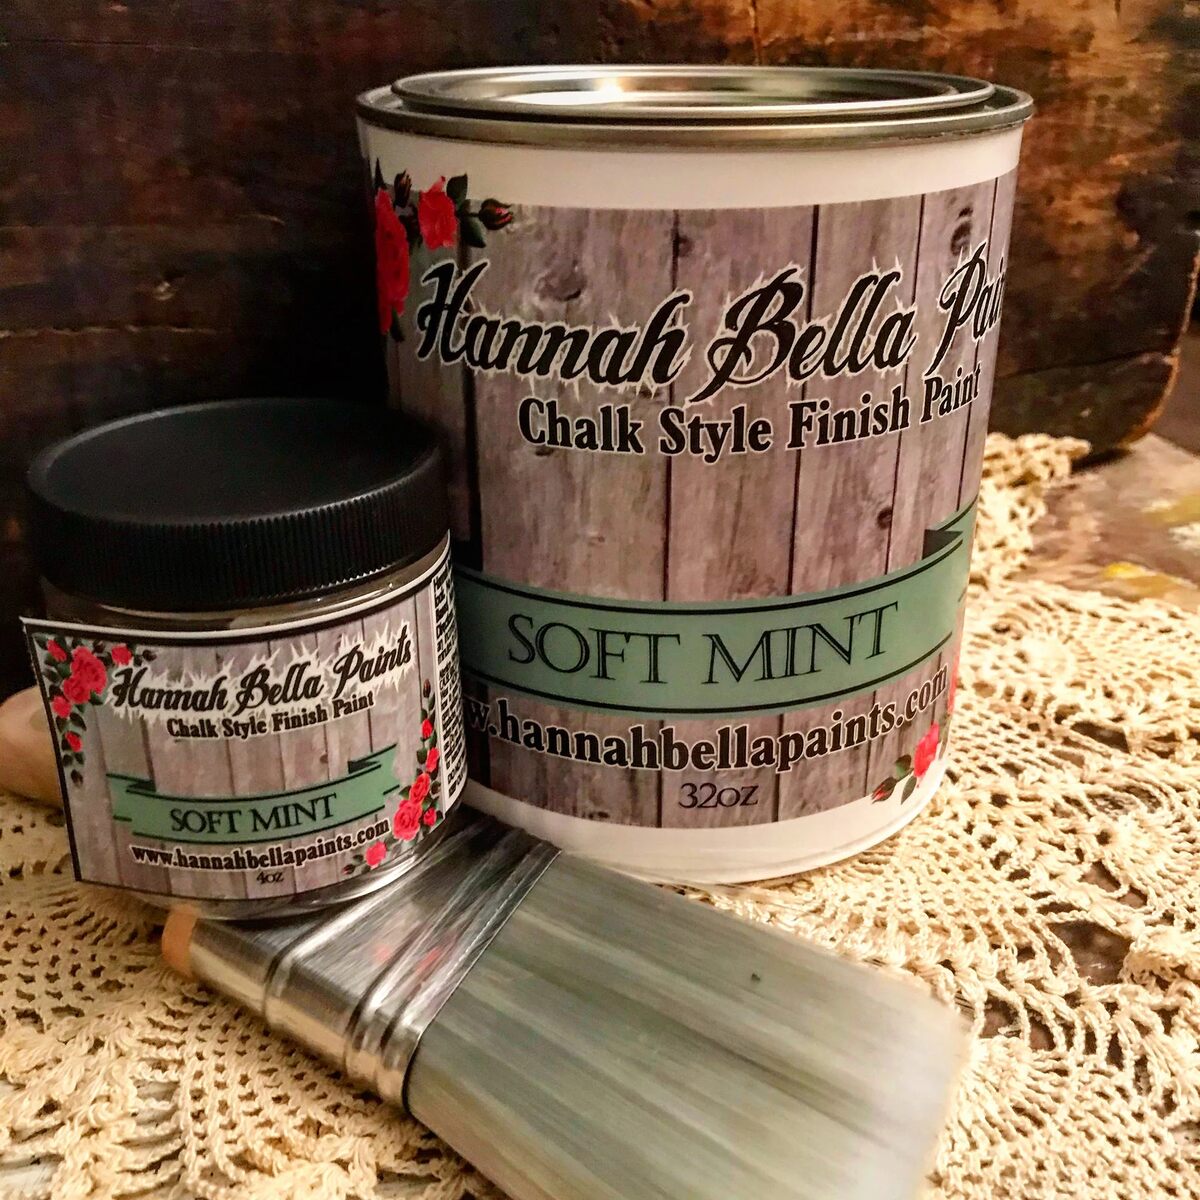
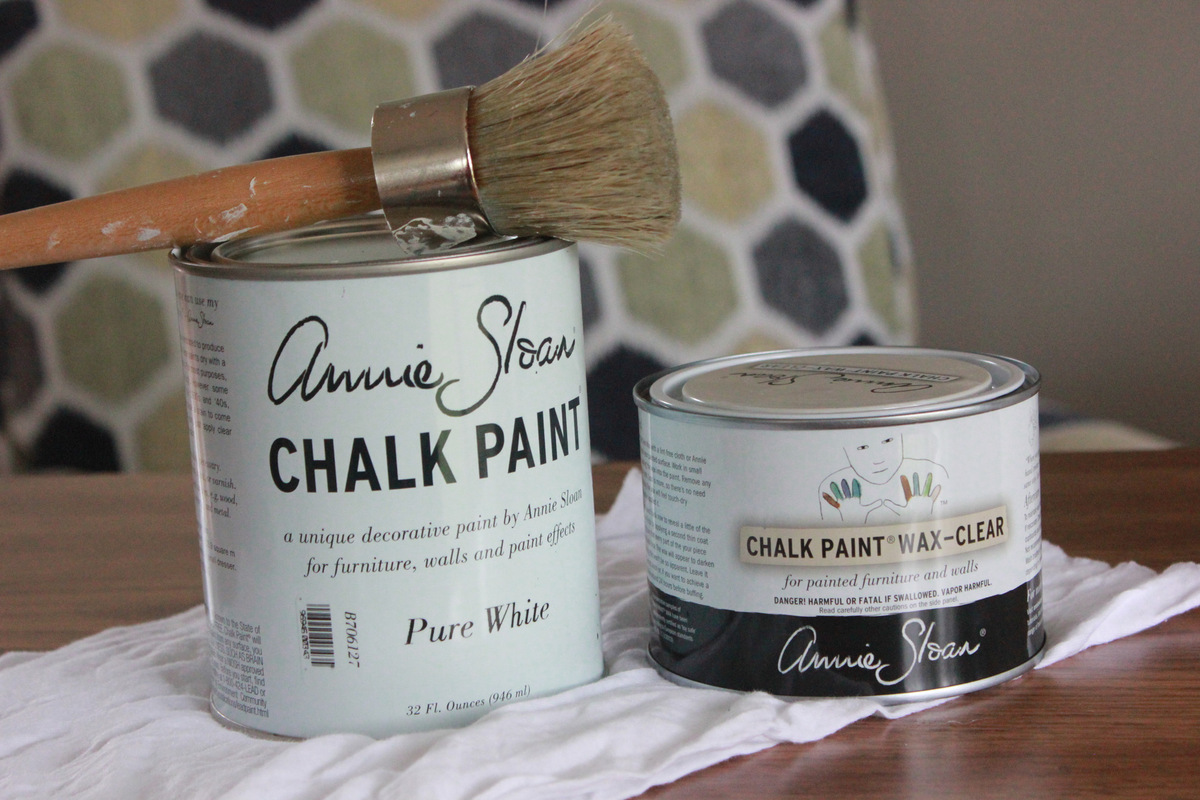
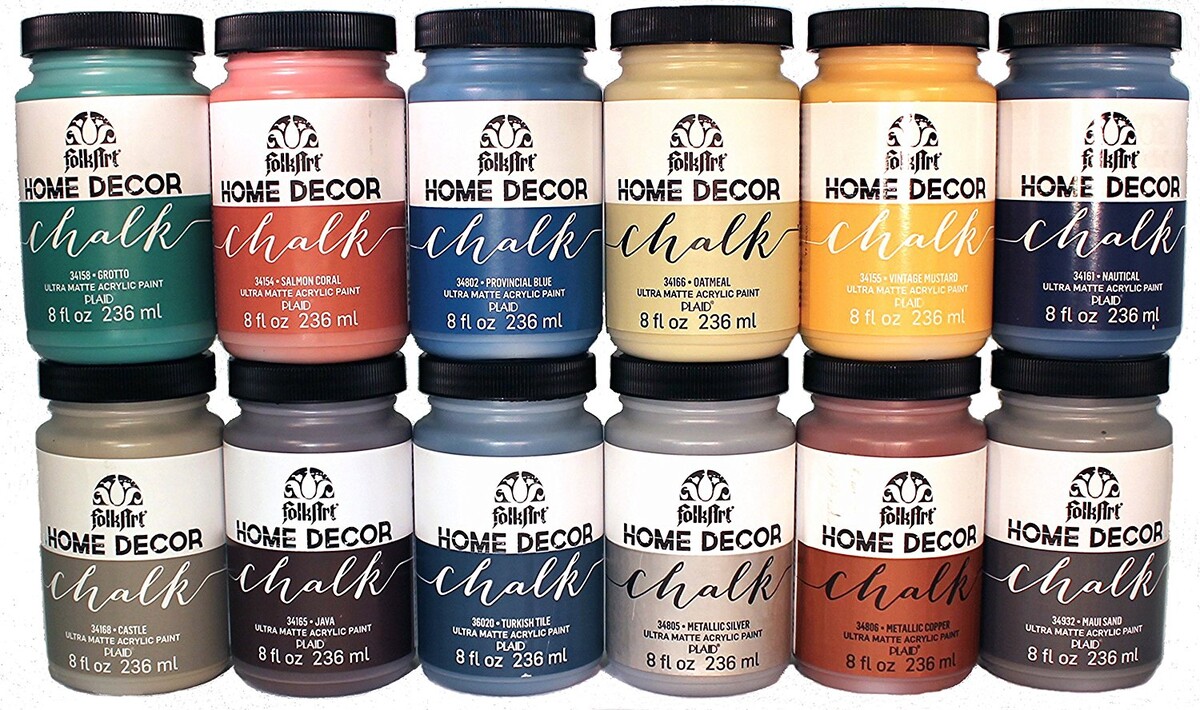
- Chalk Paint: Choose the color of your choice. Chalk paint comes in a variety of shades, allowing you to unleash your creativity.
- Cleaner or TSP: Ensure your furniture is clean and free from dirt, grease, and any previous finishes. You can use a mild cleaner or trisodium phosphate (TSP) to prep your piece.
- Sandpaper or Sanding Block: To smooth any rough surfaces and create a suitable base for the paint, you’ll need sandpaper or a sanding block. A medium-grit sandpaper (around 120-150 grit) should suffice.
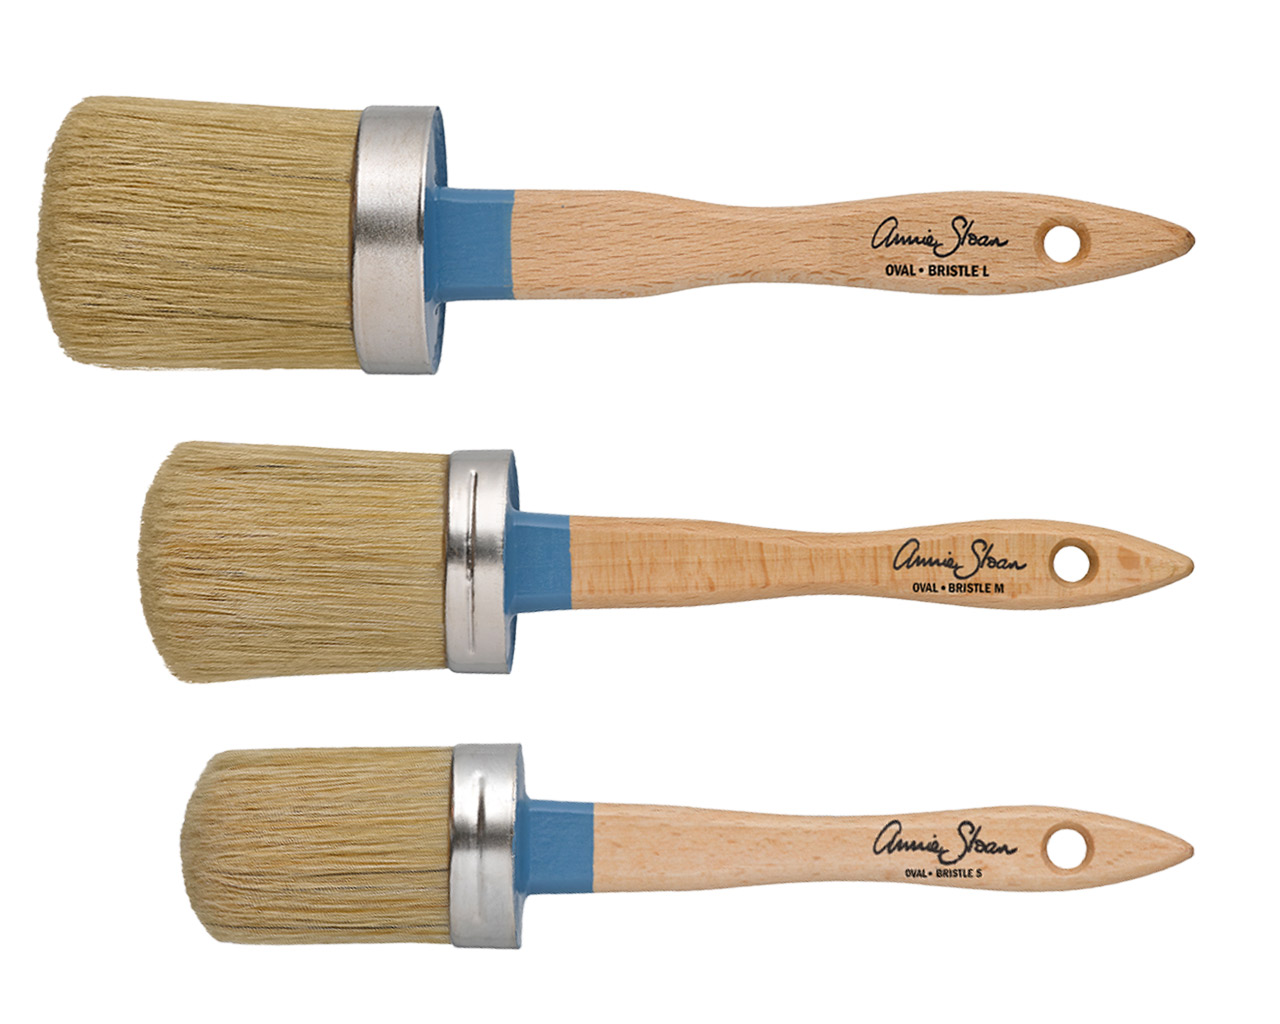
- Paintbrushes: Opt for quality paintbrushes in different sizes to cover various parts of the furniture. Look for brushes with natural bristles or those specifically designed for chalk paint.
- Painter’s Tape: Use painter’s tape to protect any areas that you don’t want to be painted, such as hardware or certain edges.
- Drop Cloth or Plastic Sheet: To protect your workspace from paint drips and spills, lay down a drop cloth or plastic sheet.
- Clear Wax: Once you’ve painted your furniture, you’ll need to seal the chalk paint with a clear wax. This step helps protect the finish and adds a subtle sheen to the piece.
- Lint-Free Cloths or Waxing Brush: To apply the clear wax, you can use lint-free cloths or a waxing brush. Make sure the cloths are free from lint or debris to achieve a smooth finish.
These supplies should equip you with everything you need to get started on your furniture painting project with chalk paint. Having these items on hand will make the process much smoother and ensure professional-looking results.
Preparing the Furniture
Properly preparing your furniture is crucial for a successful painting project. Follow these steps to ensure your piece is ready for the application of chalk paint:
- Clean the Surface: Start by thoroughly cleaning the furniture. Remove any dust, dirt, or grease using a mild cleaner or trisodium phosphate (TSP). Make sure the surface is clean and dry before moving on to the next step.
- Sand the Furniture: If the furniture has a glossy finish or rough patches, use sandpaper or a sanding block to smooth the surface. Sanding not only helps the paint adhere better but also removes any imperfections. Focus on areas with visible damage or peeling paint.
- Repair Any Damaged Areas: Inspect the furniture for any scratches, dents, or holes. Use wood putty or filler to repair these imperfections. Follow the manufacturer’s instructions for application and drying times.
- Remove Hardware and Tape Off Areas: If your furniture has any hardware, such as knobs or handles, remove them before painting. Use painter’s tape to protect any areas that you don’t want to be painted, such as glass inserts or delicate trims.
- Prime (If Needed): In most cases, chalk paint doesn’t require a primer. However, if you’re working with a piece that has a dark or heavily stained surface, you may need to apply a primer to ensure proper coverage.
By following these steps, you’ll create a clean and smooth canvas for your chalk paint. Taking the time to properly prepare your furniture will help the paint adhere better and result in a more durable and professional-looking finish.
Applying the Chalk Paint
Now that your furniture is prepped and ready, it’s time to start painting with chalk paint. Follow these steps for a smooth application:
- Stir the Paint: Before you begin, give the chalk paint a thorough stir to ensure an even consistency. Chalk paint can sometimes separate, so mixing it well is important.
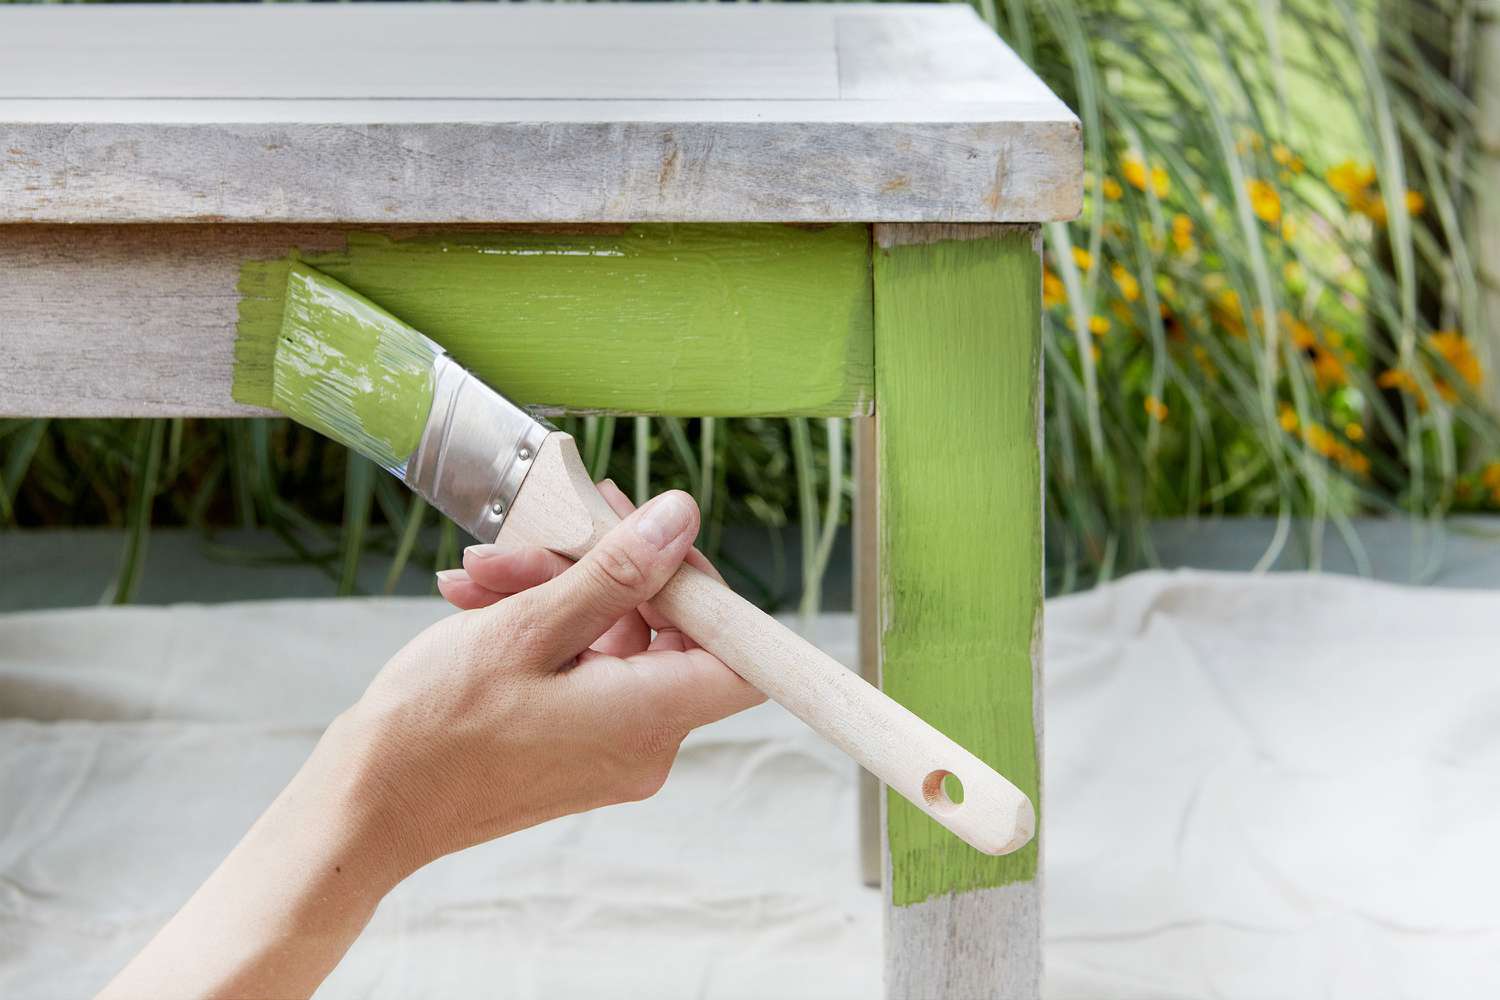
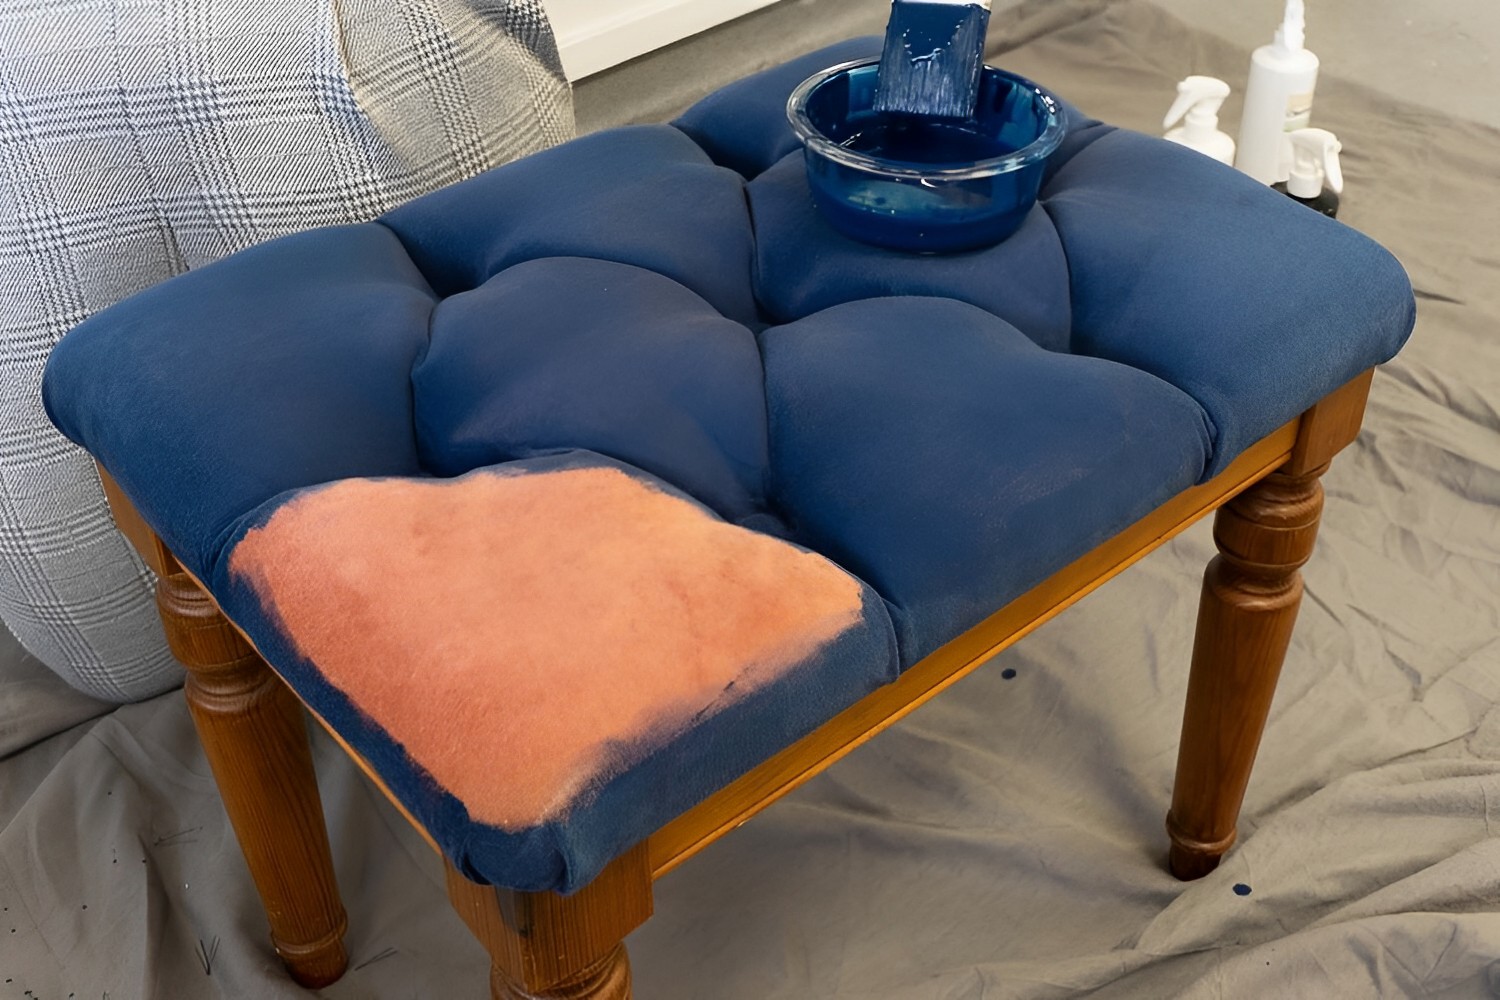
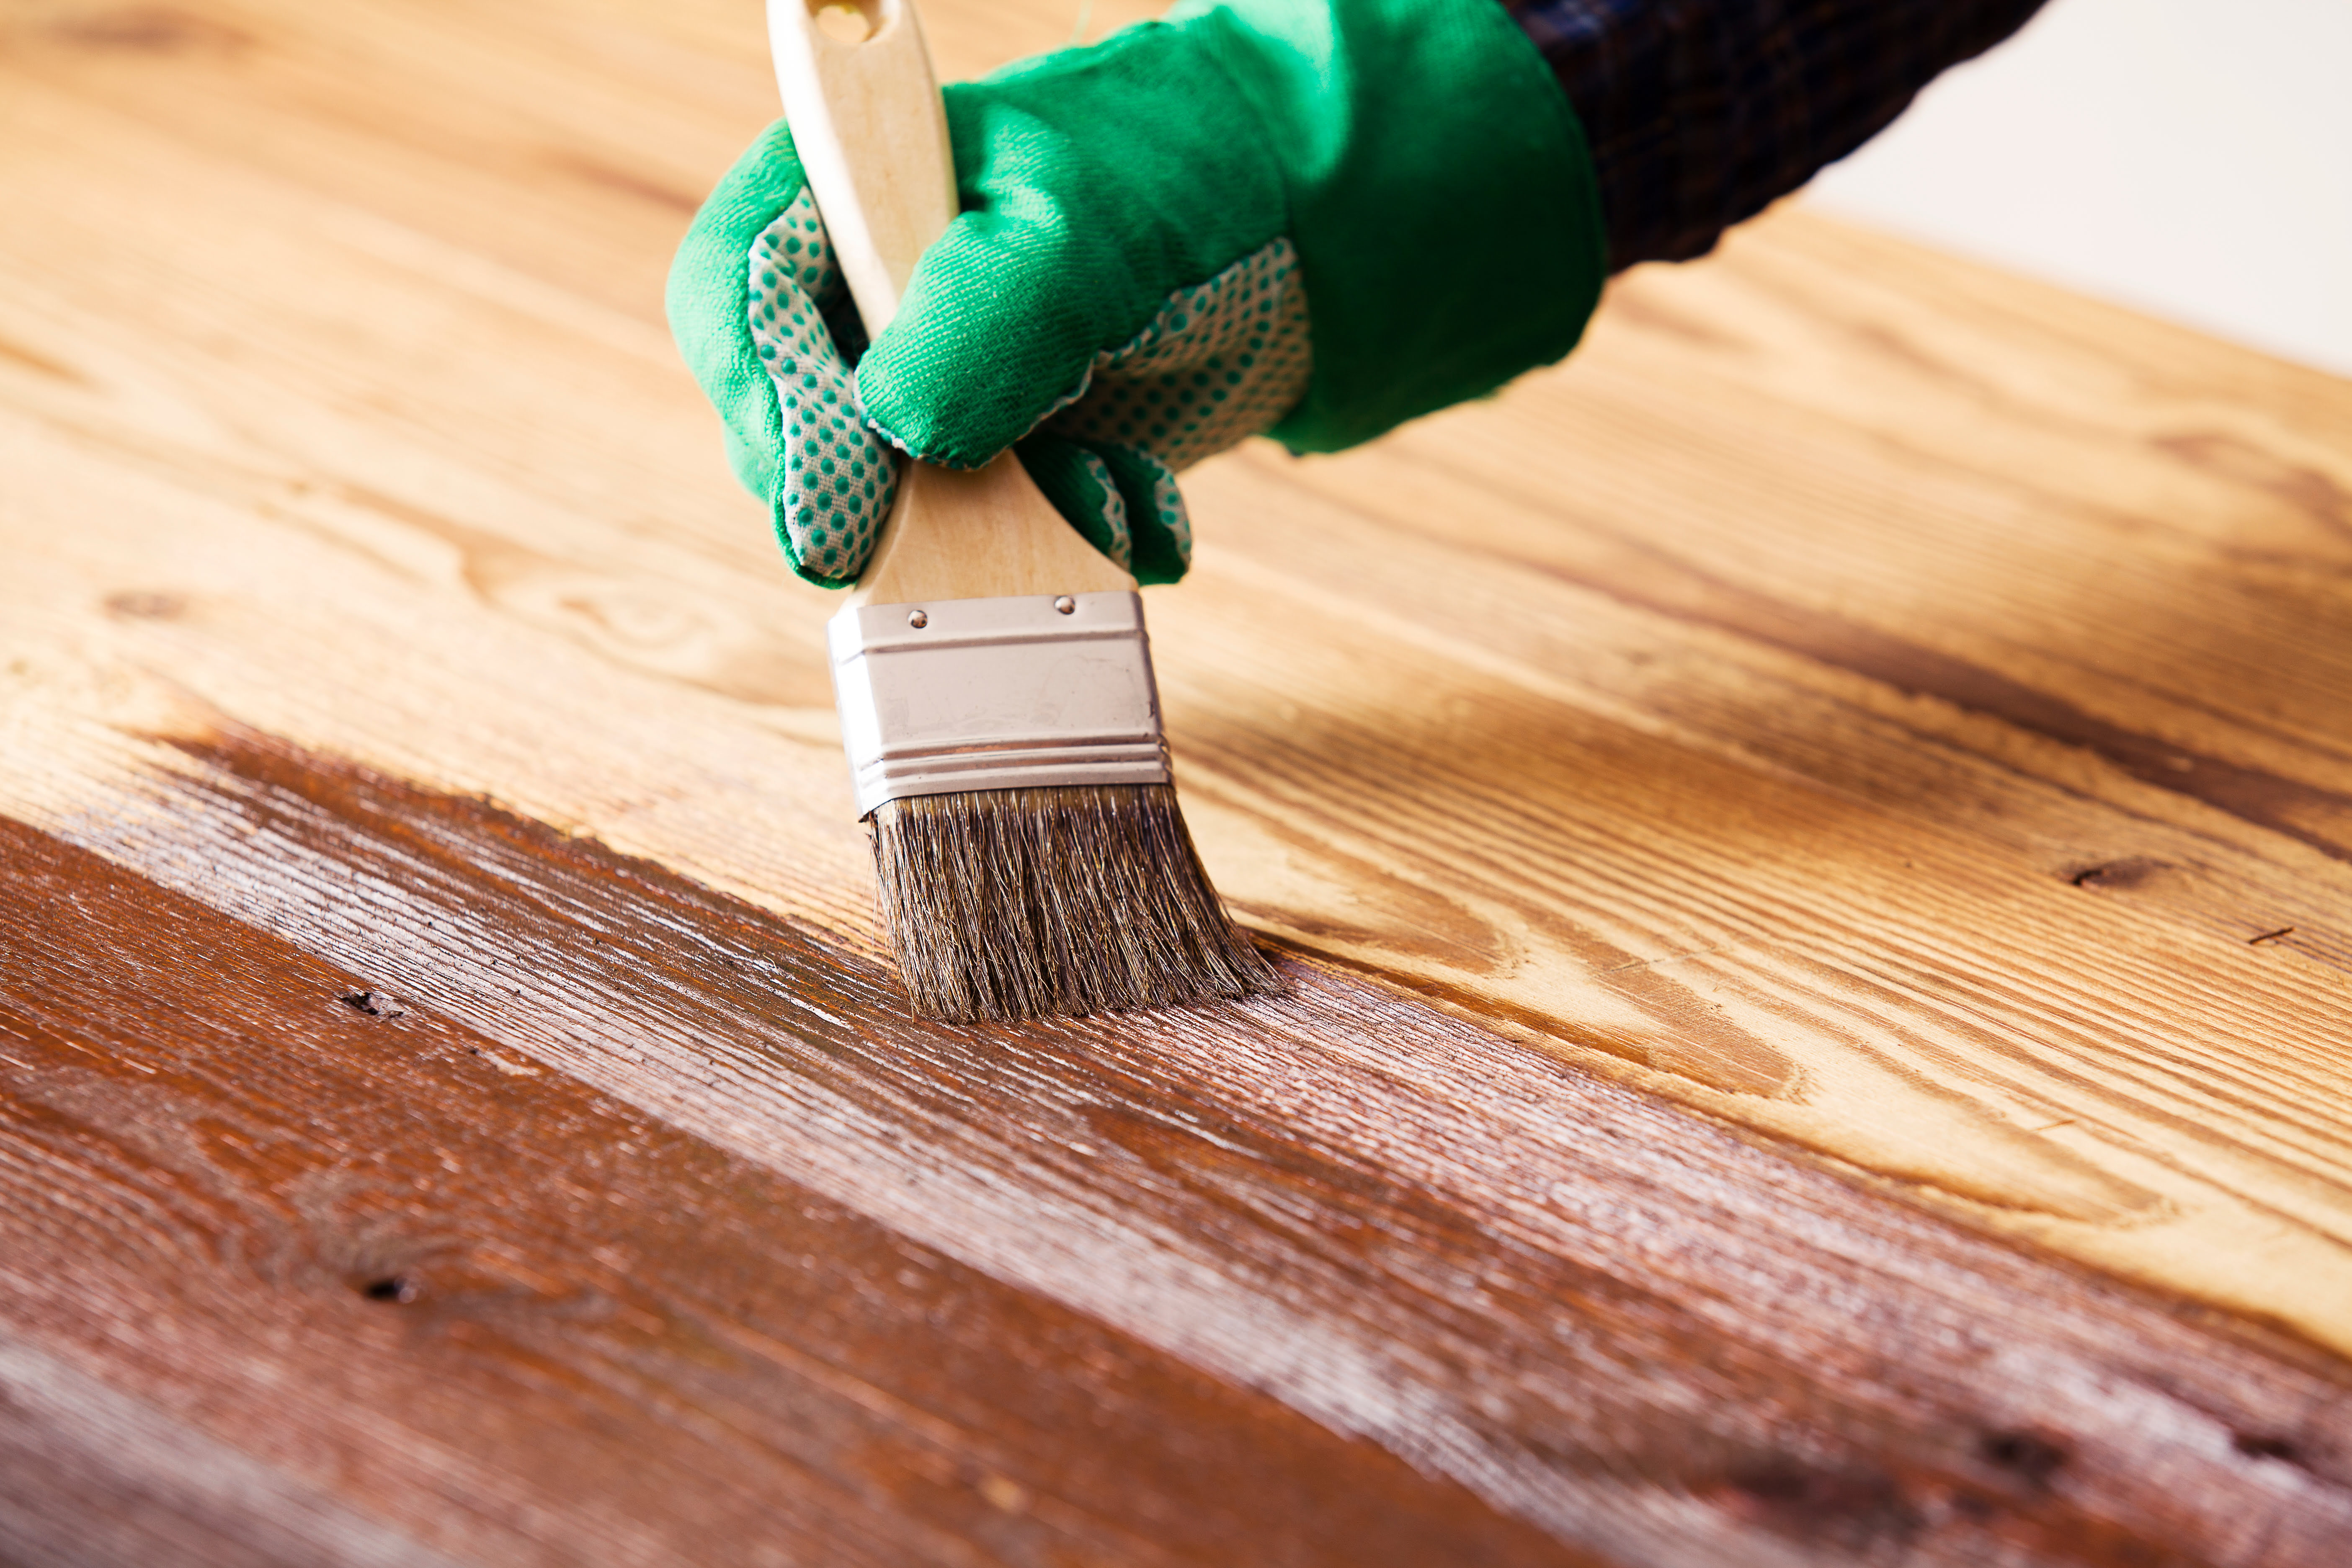
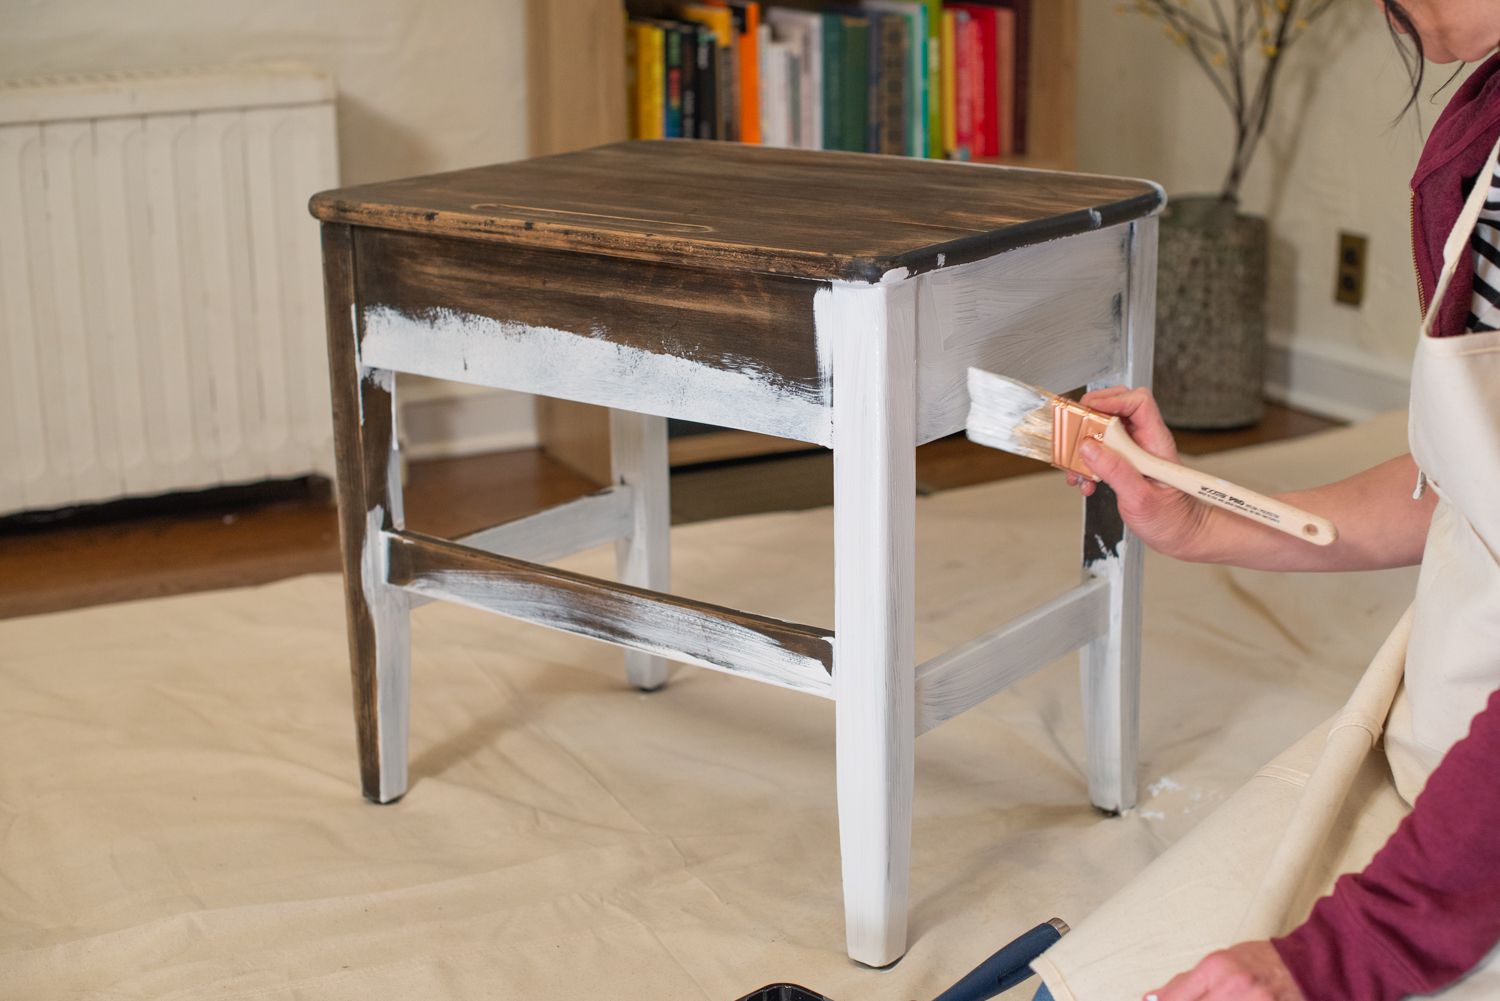
- Start with a Base Coat: Using a paintbrush, apply an even layer of chalk paint to the furniture. Work in long, smooth strokes, following the grain of the wood or the shape of the piece. Start with a base coat and let it dry completely before applying additional coats.
- Apply Additional Coats (If Needed): Depending on the desired look and the color you’re working with, you may need to apply multiple coats of chalk paint. Allow each coat to dry fully before applying the next one.
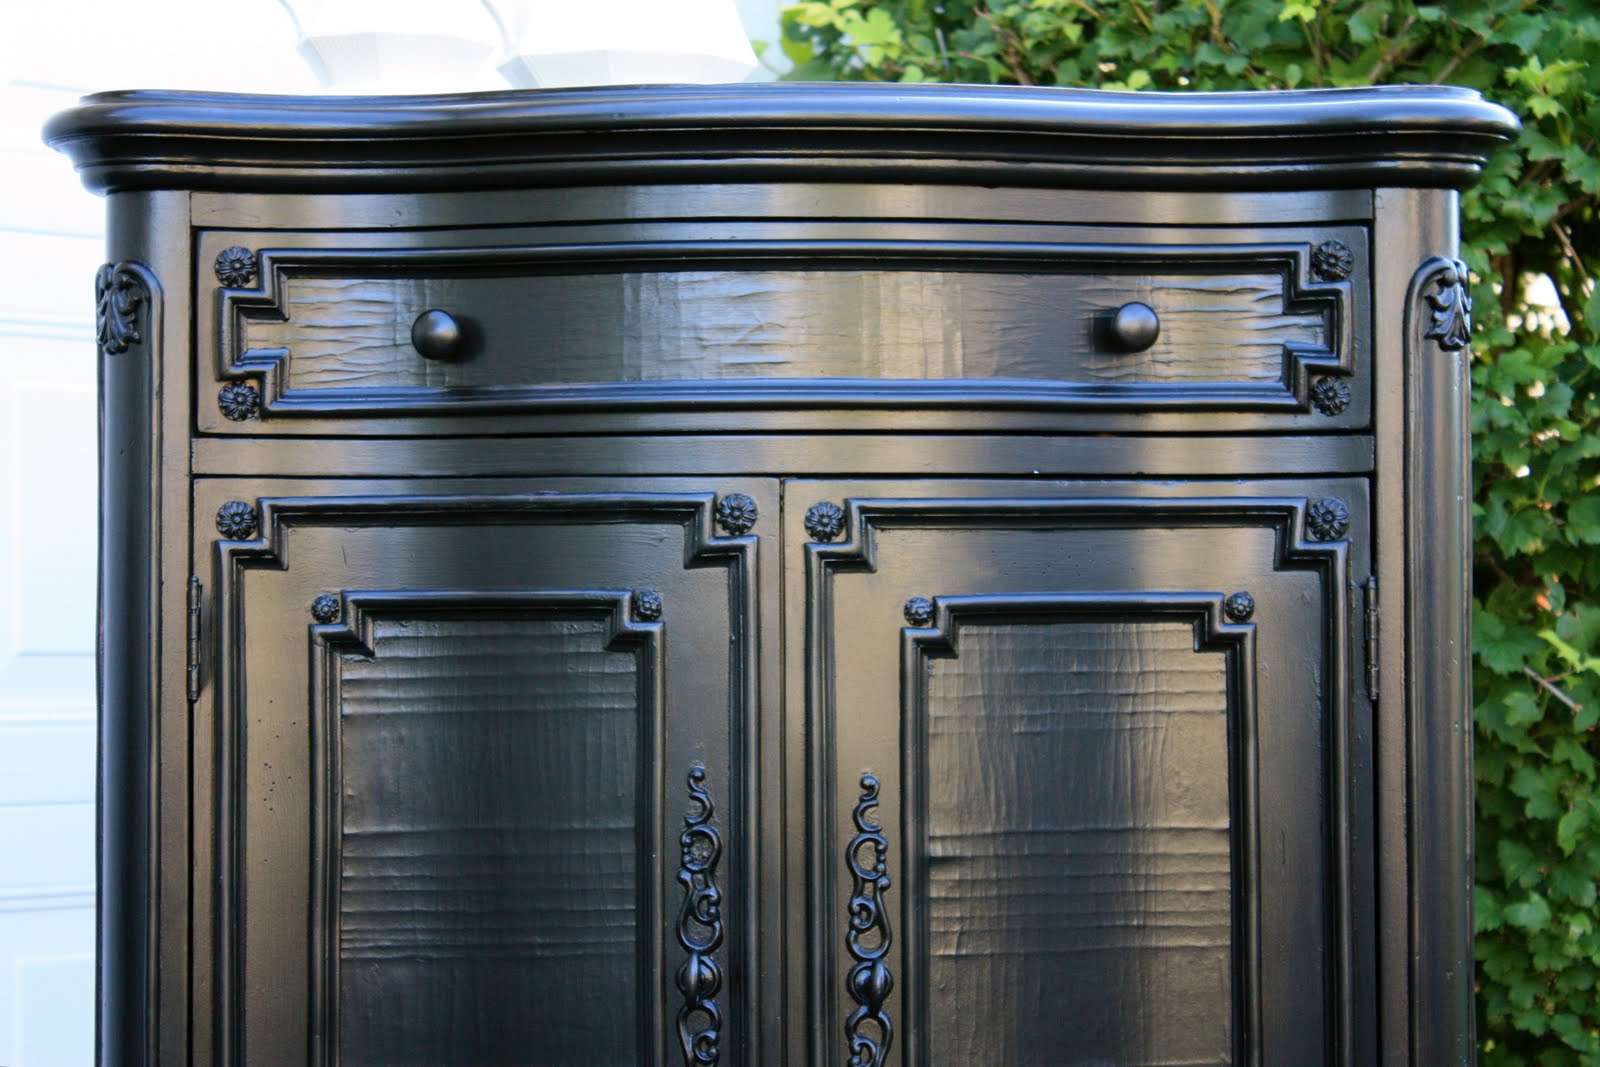
- Experiment with Techniques: Chalk paint offers versatility when it comes to creating different effects. If you want a distressed look, you can use sandpaper to gently distress certain areas after the paint dries. You can also experiment with layering multiple colors or using a wet brush to create texture.
- Let the Paint Cure: After you’ve achieved the desired coverage and effects, allow the chalk paint to fully cure. This can take anywhere from a few hours to a few days, depending on the brand and the environment. Be sure to follow the manufacturer’s instructions for curing time.
Remember, one of the great things about chalk paint is its forgiving nature. If you make a mistake or aren’t happy with the finish, you can easily sand it down and start again. Don’t be afraid to get creative and experiment with different techniques to achieve the look you desire.
Next, we’ll move on to the next step in the furniture painting process – distressing the finish.
Before painting with chalk paint, make sure to clean the furniture thoroughly to remove any dirt, grease, or wax. This will help the paint adhere better and result in a smoother finish.
Distressing the Finish
Distressing is a popular technique used to add character and charm to furniture painted with chalk paint. This process involves strategically sanding down certain areas to reveal the original wood or layers of paint underneath. Follow these steps to distress your chalk-painted furniture:
- Decide on the Distressing Technique: Before you begin, consider the desired level of distressing you want to achieve. You can go for a subtle distressing by focusing on edges and corners, or create a more heavily distressed look by sanding larger areas.
- Using Sandpaper: Grab a piece of medium-grit sandpaper (around 120-150 grit) and start sanding the areas you want to distress. Focus on edges, corners, and any areas where natural wear and tear would occur over time. Apply light to medium pressure and sand in a back-and-forth or circular motion to create a worn effect.
- Using Sanding Block: Alternatively, you can use a sanding block to distress the furniture. A sanding block provides a more even and controlled approach, making it easier to achieve the desired level of distressing.
- Step Back and Assess: While distressing, step back periodically and assess the look. Gauge the level of distressing and make adjustments accordingly. You can always add more distressing, but it’s harder to undo it once it’s done.
- Clean Up the Dust: Once you’re satisfied with the distressing, clean up any sanding dust using a brush or a tack cloth. Make sure the surface is clean and ready for the next step.
Distressing the finish adds depth and character to your furniture, giving it an aged and weathered appearance. It’s a great way to achieve a vintage or farmhouse-style look and make your piece truly unique.
Next, we’ll explore the final step in the furniture painting process – applying a clear wax finish to protect and enhance the chalk paint.
Read more: How To Clean Chalk Paint Brushes
Applying a Clear Wax Finish
After painting and distressing your furniture with chalk paint, it’s important to protect the finish and add a subtle sheen. This is where applying a clear wax finish comes in. Follow these steps to properly apply the wax:
- Choose the Right Wax: Look for a clear furniture wax specifically made for chalk paint. Make sure it’s a soft wax that is easy to apply and work with.
- Prepare Your Workspace: Lay down a clean cloth or plastic sheet to protect your workspace. The waxing process can get a little messy, so it’s important to have a designated area.
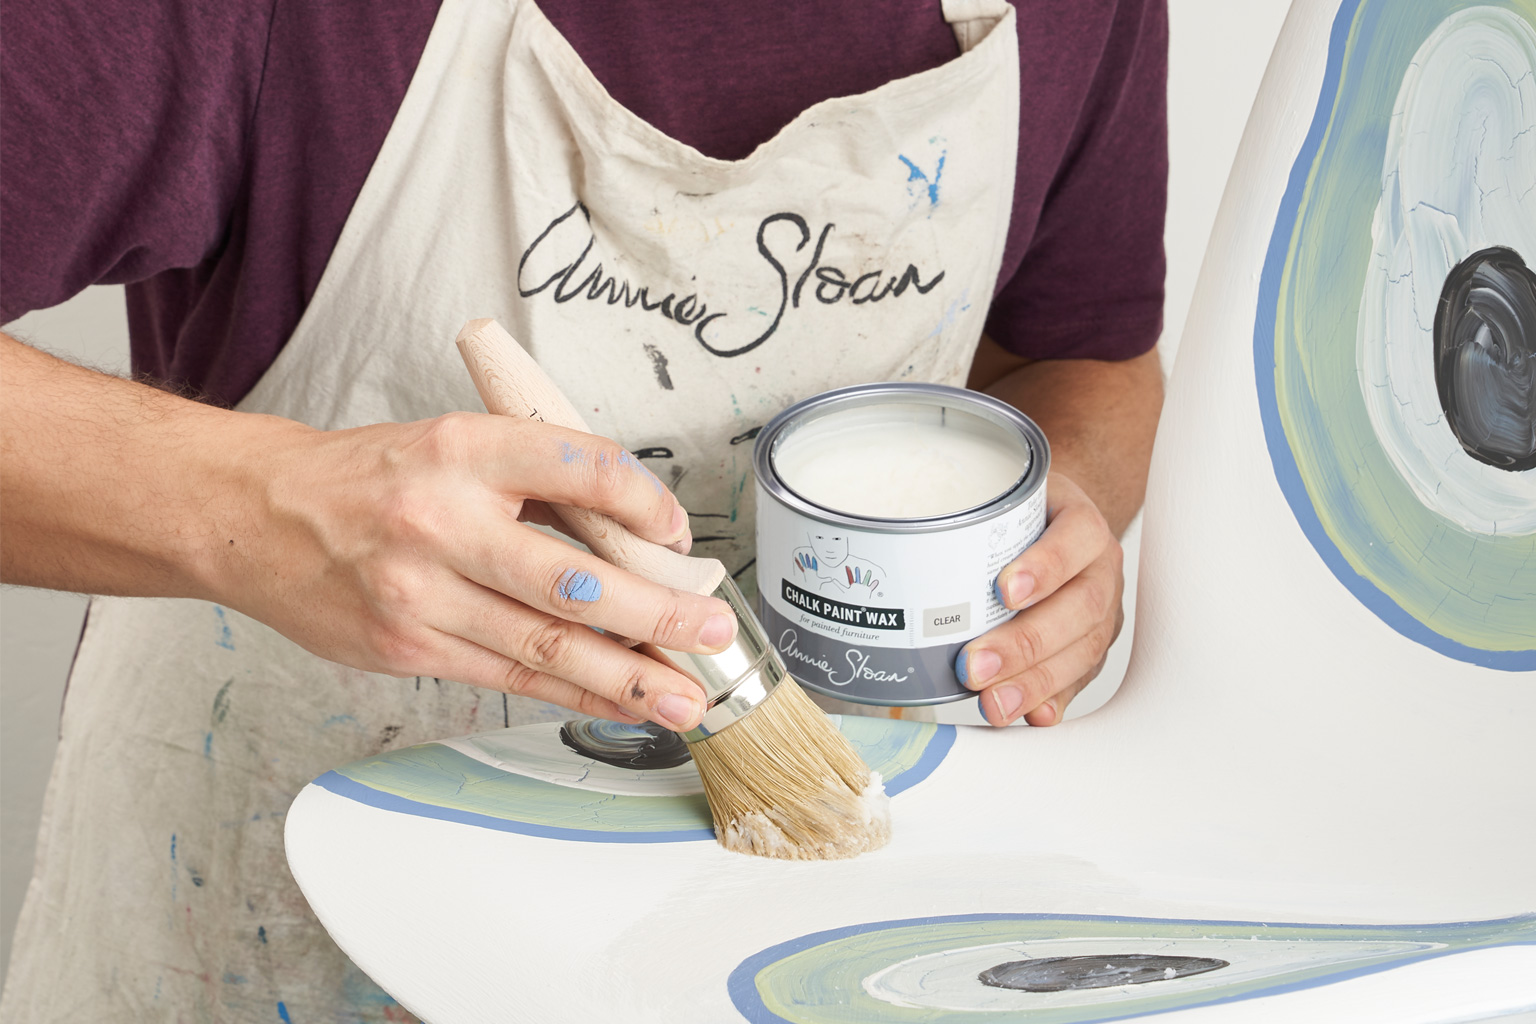
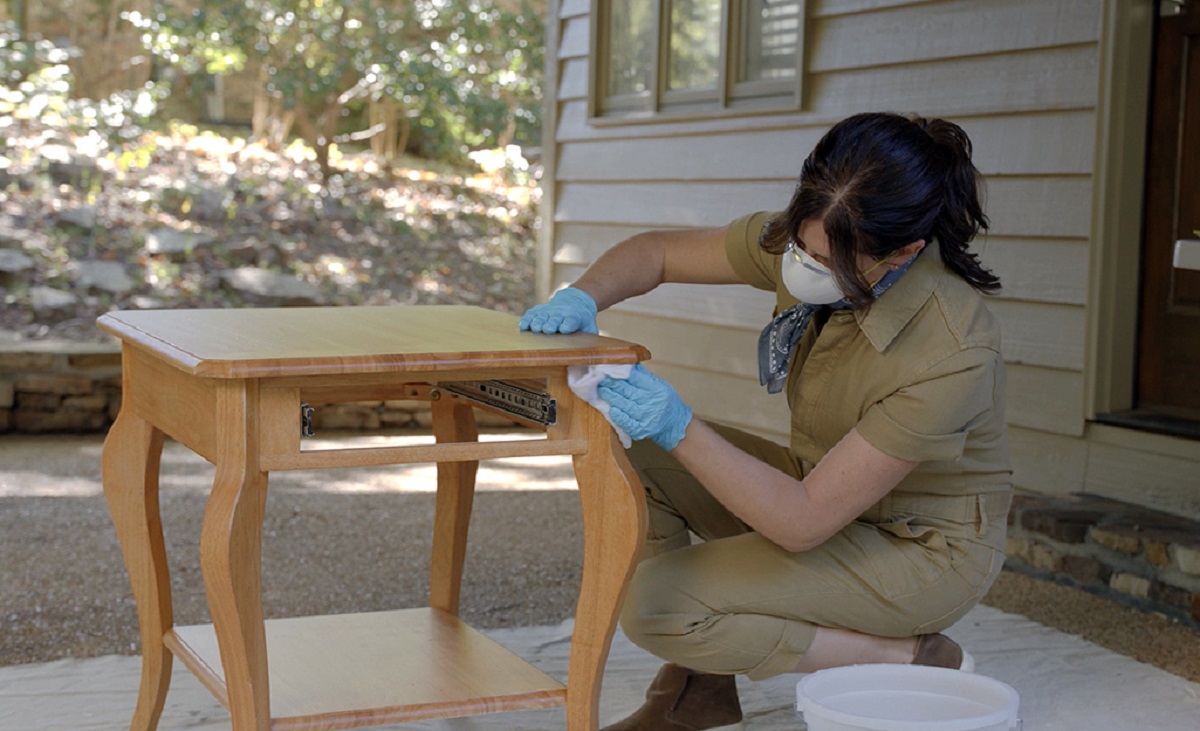
- Apply the Wax: Use a lint-free cloth or a waxing brush to apply a thin layer of clear wax to the painted surface. Work in small sections, applying the wax using circular motions. Make sure to reach all the crevices and details of the furniture.
- Remove Excess Wax: After applying the wax, use a clean cloth to remove any excess wax. This step helps achieve an even and smooth finish.
- Let the Wax Cure: Allow the wax to cure according to the manufacturer’s instructions. This typically takes around 24 hours. Avoid touching the waxed surface during this time to prevent smudging or damage.
Applying a clear wax finish not only protects the painted surface but also adds a subtle sheen and enhances the color of the chalk paint. The wax creates a durable barrier and makes the furniture easier to clean and maintain.
Once the wax has fully cured, you can proceed to the final step – buffing and polishing the waxed surface.
Buffing and Polishing
After applying a clear wax finish to your chalk-painted furniture and allowing it to cure, the final step is to buff and polish the waxed surface. This step will enhance the sheen and create a smooth, finished look. Follow these steps for optimal results:
- Gather Your Supplies: Prepare a soft, lint-free cloth or a buffing brush. These tools will help you achieve a polished and smooth finish.
- Begin Buffing: Using light pressure, start buffing the waxed surface in circular motions. This will help distribute the wax evenly and create a subtle sheen. Continue buffing until you achieve the desired level of shine.
- Pay Attention to Details: Pay special attention to details, corners, and edges while buffing. These areas may require a little extra effort to ensure an even finish.
- Inspect and Adjust: Step back and inspect the overall appearance of the furniture. If you notice any unevenness or dull spots, go over them again with the buffing cloth or brush until the desired shine is achieved.
Buffing and polishing the waxed surface not only enhances the visual appeal of your painted furniture but also helps in creating a protective layer that will prolong the lifespan of the finish.
Congratulations! You have successfully transformed your furniture using chalk paint and completed all the necessary steps. Give yourself a pat on the back for your hard work and creativity!
Remember, proper maintenance is important to ensure the longevity of your painted furniture. Avoid using harsh cleaners or abrasive materials when cleaning the surface. Instead, opt for gentle cleaning solutions and a soft cloth to keep the finish looking its best.
Now, sit back, admire your beautiful handiwork, and enjoy your renewed and stylish furniture!
Conclusion
Congratulations on completing your furniture painting journey with chalk paint! You have successfully transformed your tired and outdated furniture into stunning pieces that are sure to be the center of attention in your home. By following the step-by-step process outlined in this guide, you have learned how to properly prepare, paint, distress, and protect your furniture using chalk paint.
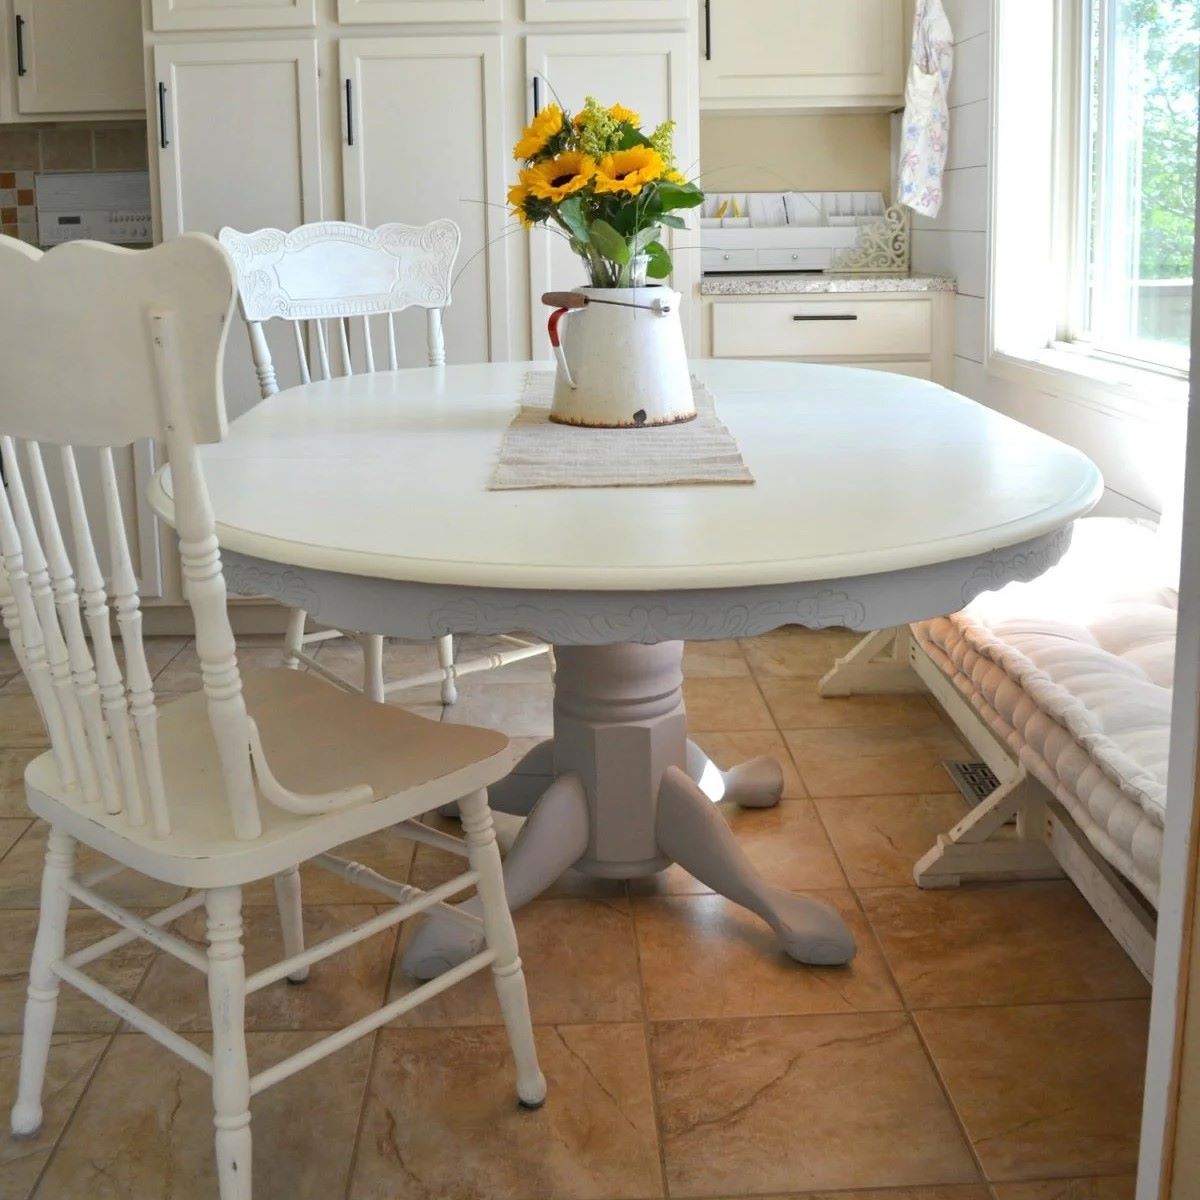
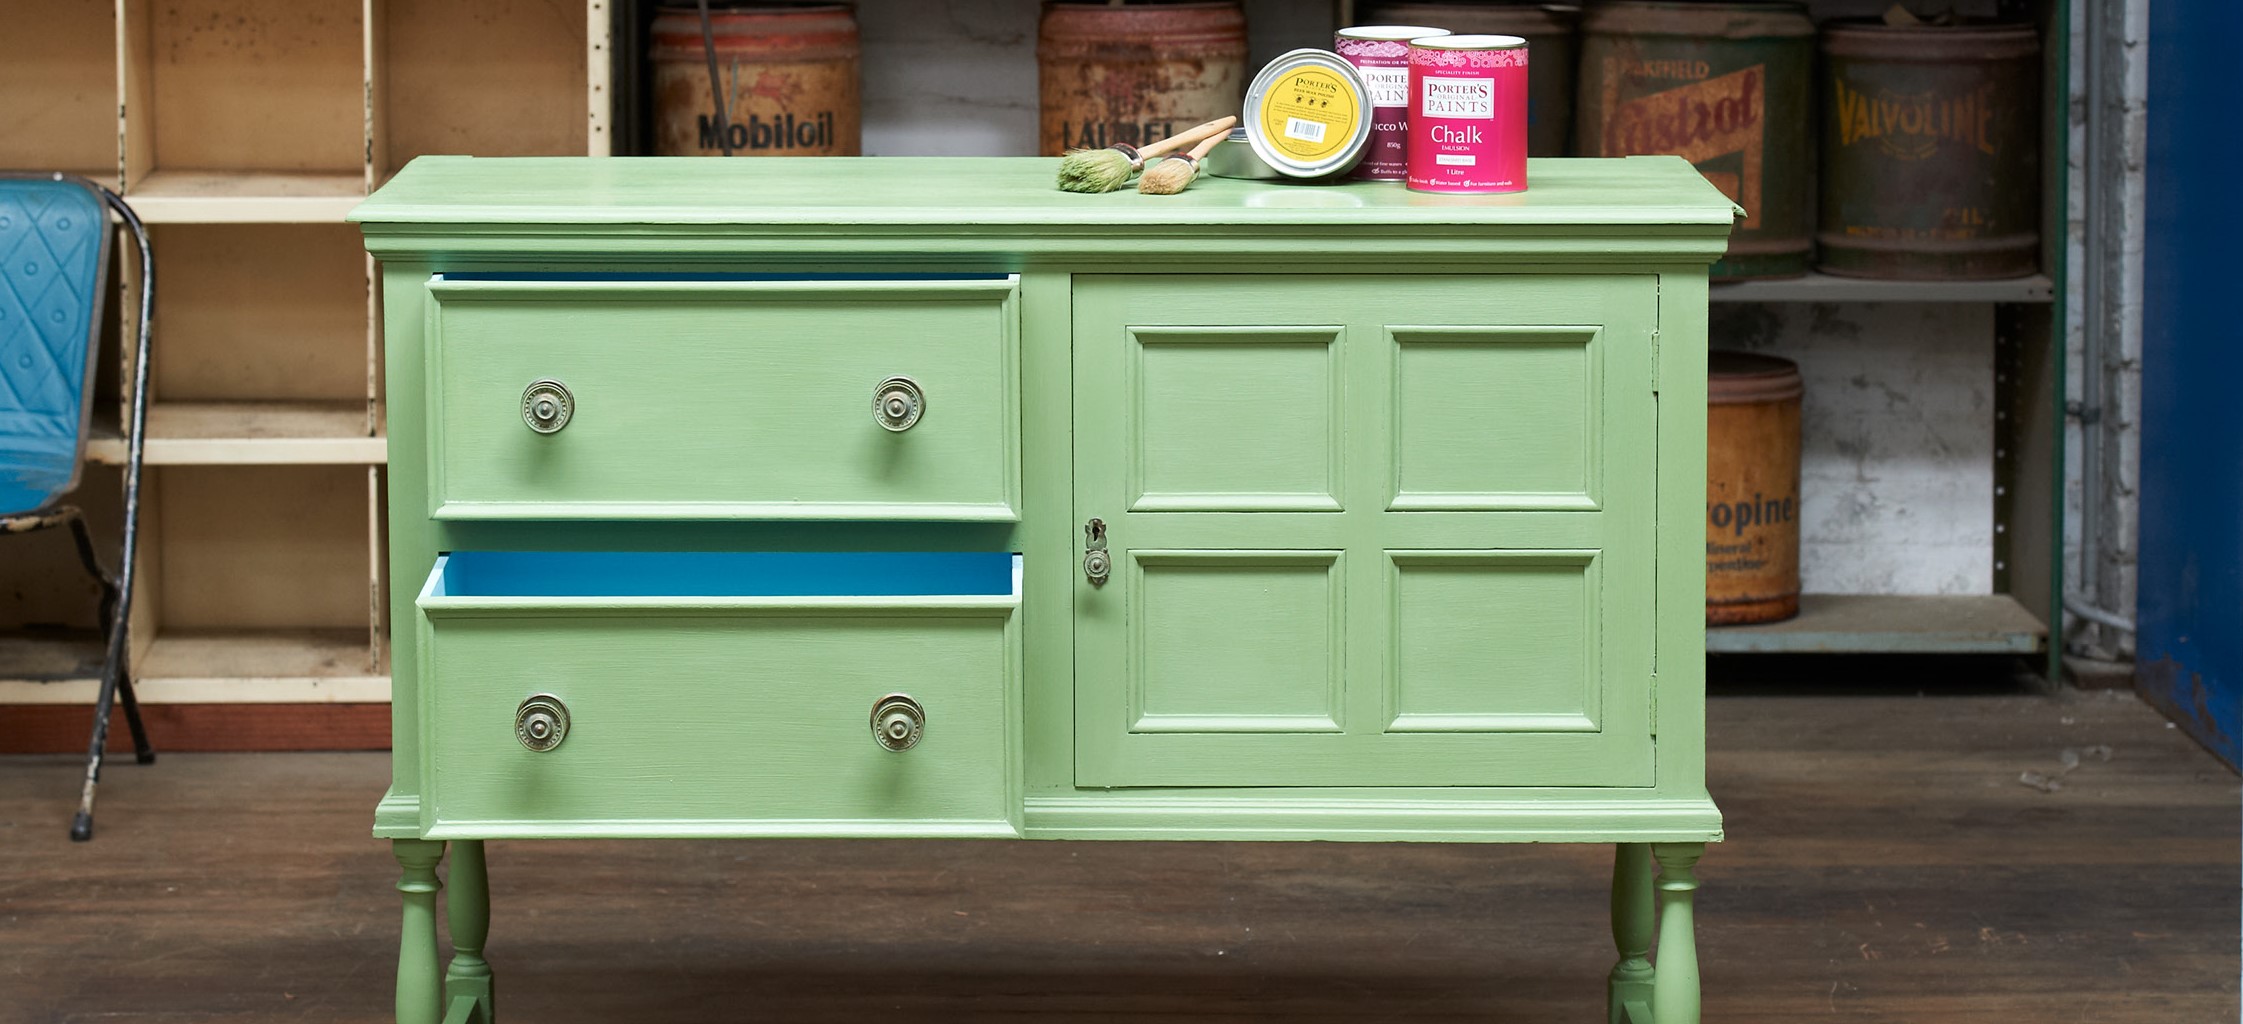
Chalk paint offers a world of possibilities when it comes to transforming furniture. Its versatility, ease of use, and ability to create various effects make it a favorite among DIY enthusiasts and professionals alike. Whether you’re going for a rustic farmhouse look or a sleek modern finish, chalk paint allows you to achieve your desired style with ease.
Remember, the key to successful furniture painting lies in proper preparation, using quality supplies, and maintaining a balance between creativity and technique. Take your time during each step of the process, from cleaning and sanding to painting and distressing. Don’t be afraid to experiment and let your creativity shine.
Once your furniture is painted and distressed, sealing it with a clear wax finish will provide durability and enhance the overall appearance. Buffing and polishing the waxed surface will give it a professional and finished look.
Now that you have mastered the art of painting furniture with chalk paint, you can lend new life to other pieces in your home. Get creative and explore different colors, techniques, and finishes to create a cohesive and personalized look throughout your living spaces.
Remember to always keep your furniture clean and well-maintained to ensure its longevity. With proper care, your chalk-painted furniture will continue to be a stunning statement in your home for years to come.
Thank you for joining us on this exciting furniture transformation journey. We hope this guide has inspired and empowered you to unleash your creativity and make your home a reflection of your personal style.
Happy painting!
Frequently Asked Questions about How To Paint Furniture With Chalk Paint
Was this page helpful?
At Storables.com, we guarantee accurate and reliable information. Our content, validated by Expert Board Contributors, is crafted following stringent Editorial Policies. We're committed to providing you with well-researched, expert-backed insights for all your informational needs.

0 thoughts on “How To Paint Furniture With Chalk Paint”