
Articles
How To Paint Furniture Black
Modified: September 2, 2024
Learn how to transform your furniture with a sleek and modern look by painting it black. Get step-by-step instructions and expert tips to achieve stunning results.
(Many of the links in this article redirect to a specific reviewed product. Your purchase of these products through affiliate links helps to generate commission for Storables.com, at no extra cost. Learn more)
Introduction
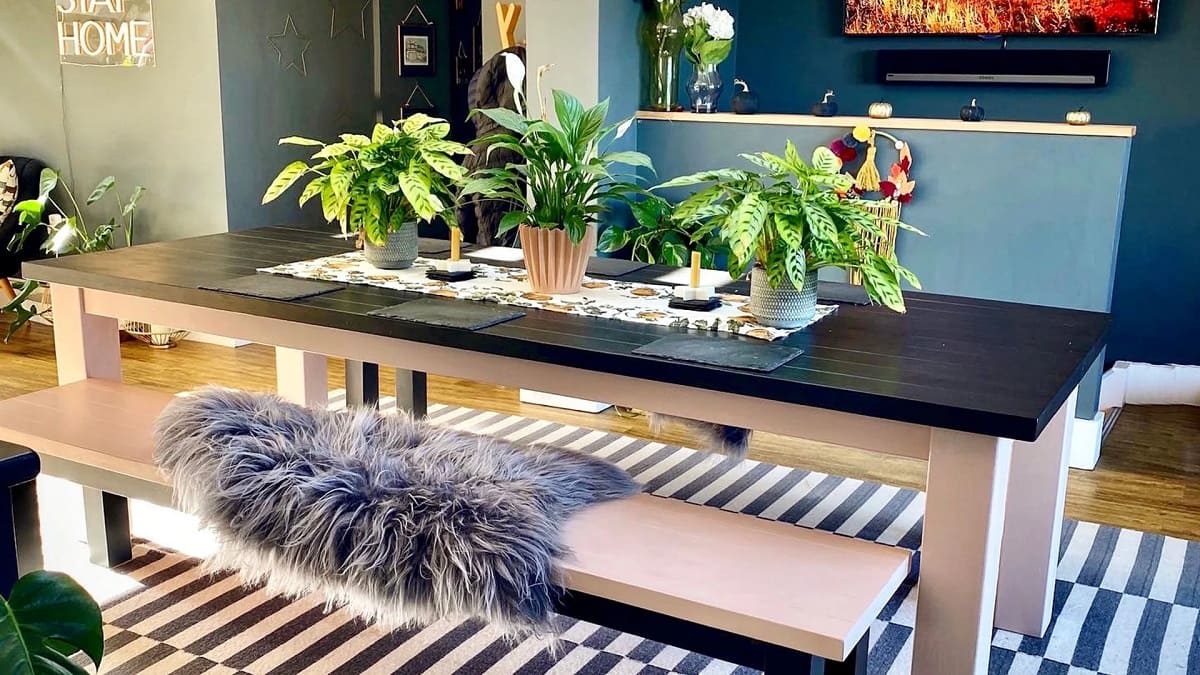
Painting furniture can be an exciting and creative way to give your old or worn-out pieces a fresh new look. While there are endless color options to choose from, painting furniture black offers a classic and timeless appeal. Black furniture can effortlessly blend into any style of décor, whether it’s modern, traditional, or eclectic.
Before embarking on your furniture painting adventure, it’s important to make sure you have all the necessary supplies and a clear plan in place. Whether you’re refinishing a wooden dresser, a metal chair, or a laminate tabletop, the process of painting furniture black is relatively similar. In this article, we will guide you through the step-by-step process of painting furniture black, ensuring that you achieve a professional-looking finish.
From preparing the furniture to choosing the right paint and applying multiple coats, we will cover all the essential steps to transform your furniture into a stunning black masterpiece. So, roll up your sleeves and let’s get started on this journey to revamp your furniture!
Key Takeaways:
- Achieve a timeless and elegant look by painting furniture black, following a meticulous process from preparation to reassembly. Embrace creativity and patience for a stunning transformation of your space.
- Transform worn-out furniture into stunning black masterpieces with careful preparation, multiple coats of paint, and protective topcoat application. Enjoy the rewarding process of reviving your space with timeless elegance.
Read more: How To Paint Furniture With Chalk Paint
Step 1: Preparing the Furniture
The first step in painting furniture black is to adequately prepare the surface. This step is crucial in ensuring a smooth and long-lasting paint job. Here’s what you need to do:
- Remove any hardware: Start by removing any knobs, handles, hinges, or other hardware from the furniture. This will make it easier to paint and ensure that you don’t accidentally paint over them.
- Clean the furniture: Next, give the furniture a thorough cleaning to remove any dirt, dust, grease, or grime. Use a mild detergent mixed with warm water and a sponge or cloth to gently scrub the surface. Pay attention to any intricate details or crevices.
- Repair any damage: Inspect the furniture for any cracks, dents, or other damage. Fill in any imperfections with wood filler or putty and allow it to dry completely. Sand the filled areas smooth once dry.
- Tape off any areas: If there are any parts of the furniture that you don’t want to paint, such as decorative trim or glass panels, use painter’s tape to carefully mask off those areas. This will ensure clean, sharp lines.
By properly preparing the furniture, you are creating a clean and smooth surface for the paint to adhere to. This will result in a professional-looking finish that will last for years to come.
Step 2: Sanding the Surface
Once the furniture is clean and dry, the next step is to sand the surface. Sanding is important as it helps to roughen up the existing finish and create a better surface for the paint to adhere to. Here’s how to do it:
- Select the right sandpaper: Depending on the type of furniture and the condition of the existing finish, choose the appropriate grit of sandpaper. For furniture with a rough or flaking finish, start with a lower grit sandpaper (around 80 or 100). For furniture with a smoother finish, a higher grit sandpaper (around 220 or 240) will suffice.
- Sand in the direction of the grain: Using a sanding block or sandpaper, start sanding the surface of the furniture. Be sure to sand in the direction of the wood grain or the existing texture. This will minimize the risk of creating scratches or marks on the surface.
- Smooth out rough patches: Pay attention to any rough or uneven areas on the furniture. Use a finer grit sandpaper to smooth out these patches until the surface feels smooth and even to the touch.
- Remove any dust: After sanding, wipe away any dust or debris with a clean, dry cloth. It’s important to have a clean surface before proceeding to the next step.
Sanding the surface helps to create better adhesion for the paint, ensuring a more durable and professional-looking finish. It also helps to smooth out imperfections and create a uniform surface for the paint to be applied.
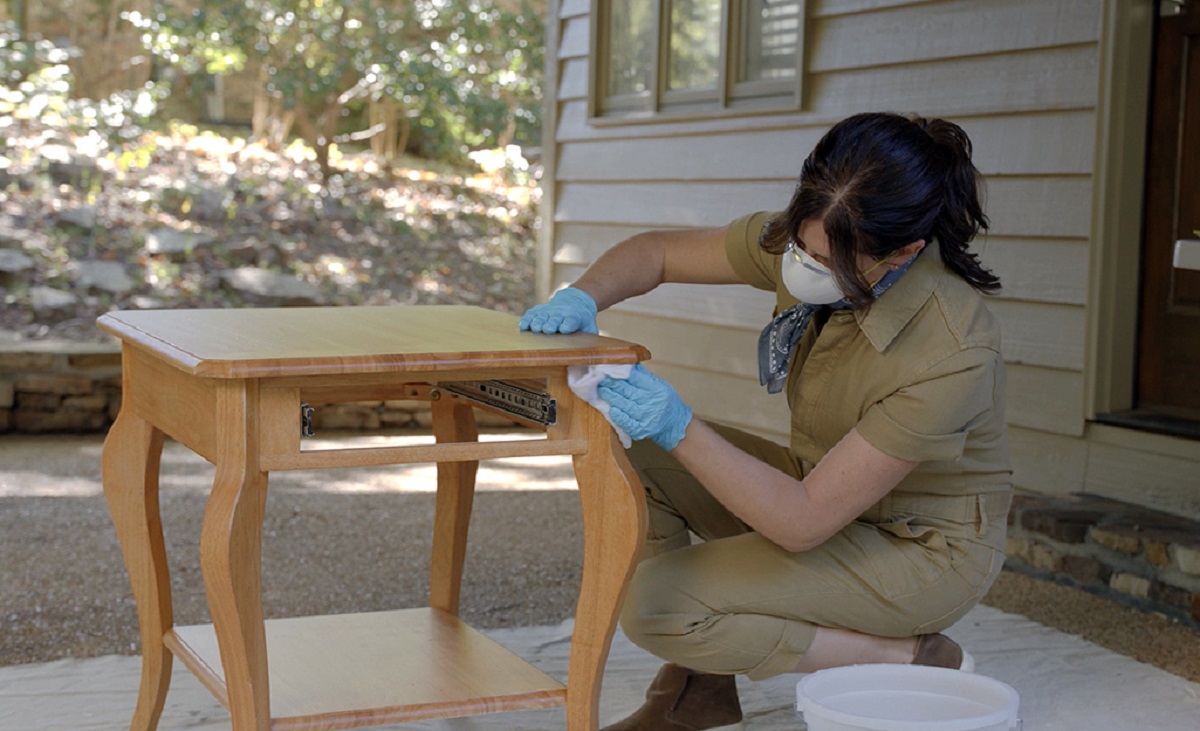
Step 3: Cleaning the Furniture
After sanding the surface, it’s important to clean the furniture once again to remove any lingering dust or debris. Cleaning the furniture ensures that the paint will adhere properly and provides a clean canvas for the new finish. Here’s what you need to do:
- Use a damp cloth: Dampen a clean cloth with water or a mild cleaning solution. Avoid using harsh chemicals, as they can leave a residue that may affect the paint’s adhesion.
- Wipe the furniture down: Gently wipe the entire surface of the furniture, paying attention to all the nooks and crannies. This will help remove any remaining dust or dirt from the sanding process.
- Dry thoroughly: After wiping down the furniture, make sure it is completely dry before proceeding to the next step. Leaving any moisture on the surface can interfere with the paint’s ability to adhere properly.
Cleaning the furniture ensures that you have a clean and smooth surface, free from any dust or debris. This step is essential to achieve a professional-looking finish and to ensure that the paint bonds well to the furniture surface.
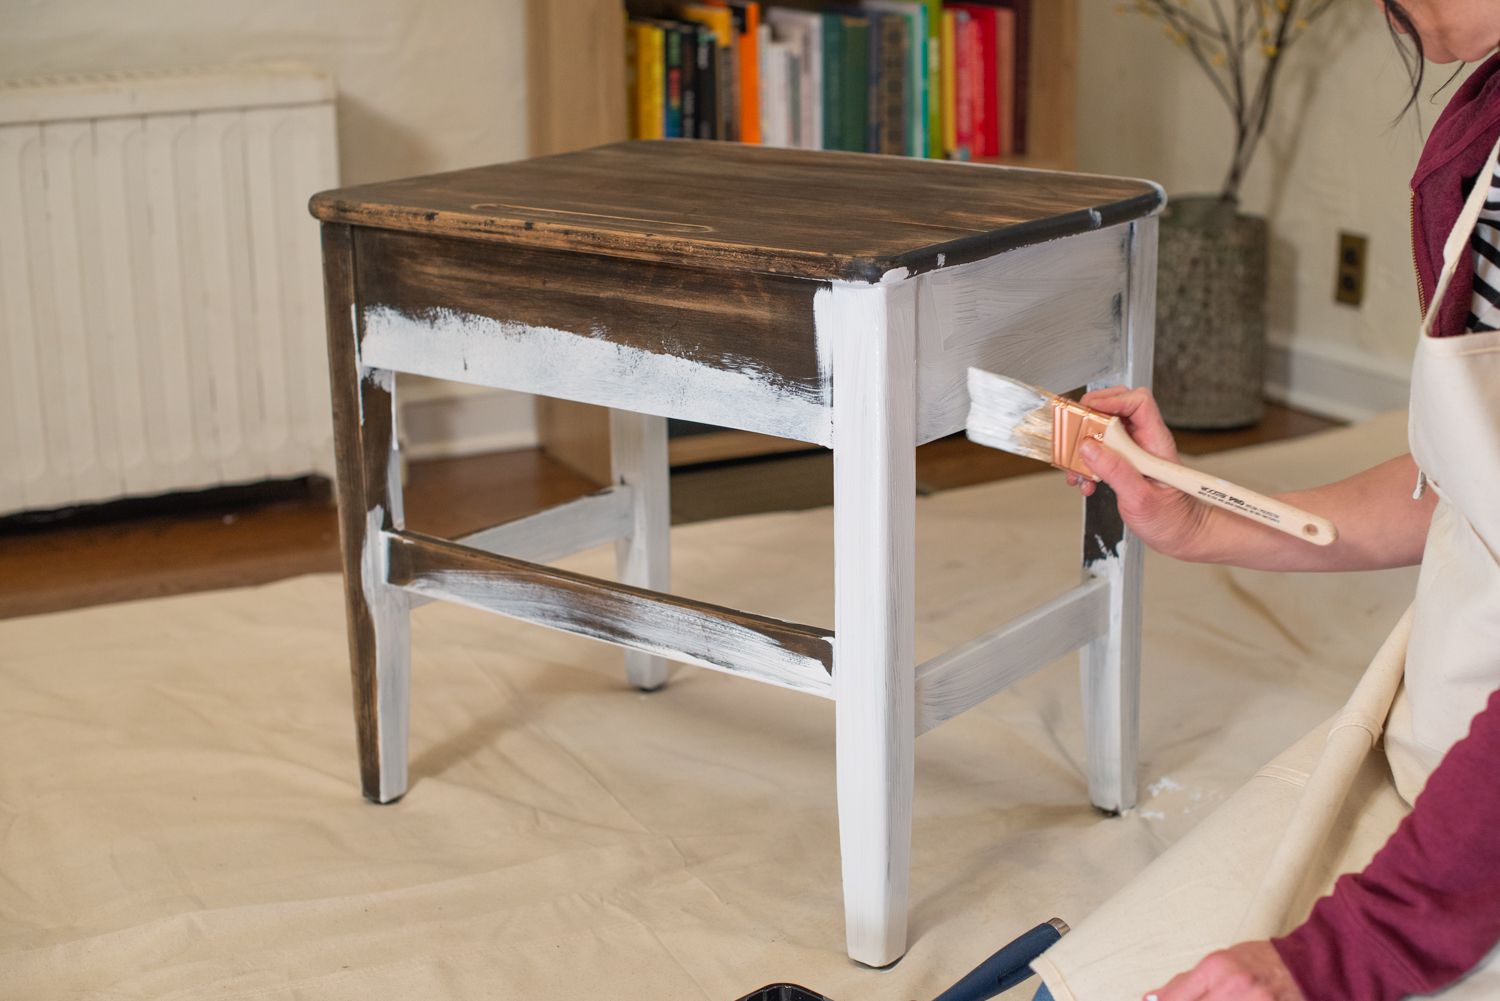
Step 4: Applying Primer
Before painting the furniture black, it’s highly recommended to apply a primer. Primer acts as a preparatory coat, creating a smooth and even surface for the paint to adhere to. It also helps to enhance the color and improve the durability of the final finish. Here’s how to apply primer to your furniture:
- Choose the right primer: Select a primer that is specifically designed for the type of furniture you are painting. For wooden furniture, use a wood primer, while metal furniture will require a metal primer. Make sure to read the label and follow the manufacturer’s instructions.
- Apply the primer: Using a brush or a foam roller, apply a thin and even coat of primer to the entire surface of the furniture. Work in the direction of the wood grain or the existing texture. Pay attention to any intricate details or hard-to-reach areas.
- Allow the primer to dry: Follow the drying time mentioned on the primer’s label. Usually, it takes a couple of hours for the primer to dry completely. Ensure that the primer is dry to the touch before proceeding to the next step.
- Inspect for coverage: After the primer is dry, inspect the furniture for any areas that may need additional priming. Apply another coat if necessary to ensure complete coverage.
- Sand the primed surface (optional): If there are any rough spots or imperfections on the primed surface, lightly sand them using a fine grit sandpaper. This will create a smooth and even surface for the paint to adhere to.
- Clean the furniture (optional): If sanding the primed surface, make sure to clean the furniture once again to remove any sanding debris or dust.
Applying primer is an important step in the furniture painting process, especially when painting with darker colors like black. It helps to ensure better coverage, adhesion, and longevity of the paint. By taking the time to prime your furniture, you are creating a solid foundation for a professional-looking finish.
Read more: How To Paint Fabric Furniture
Step 5: Choosing the Right Paint
When it comes to painting furniture black, choosing the right paint is crucial. The type of paint you select will determine the final look and durability of your piece. Here are some factors to consider when choosing the paint for your project:
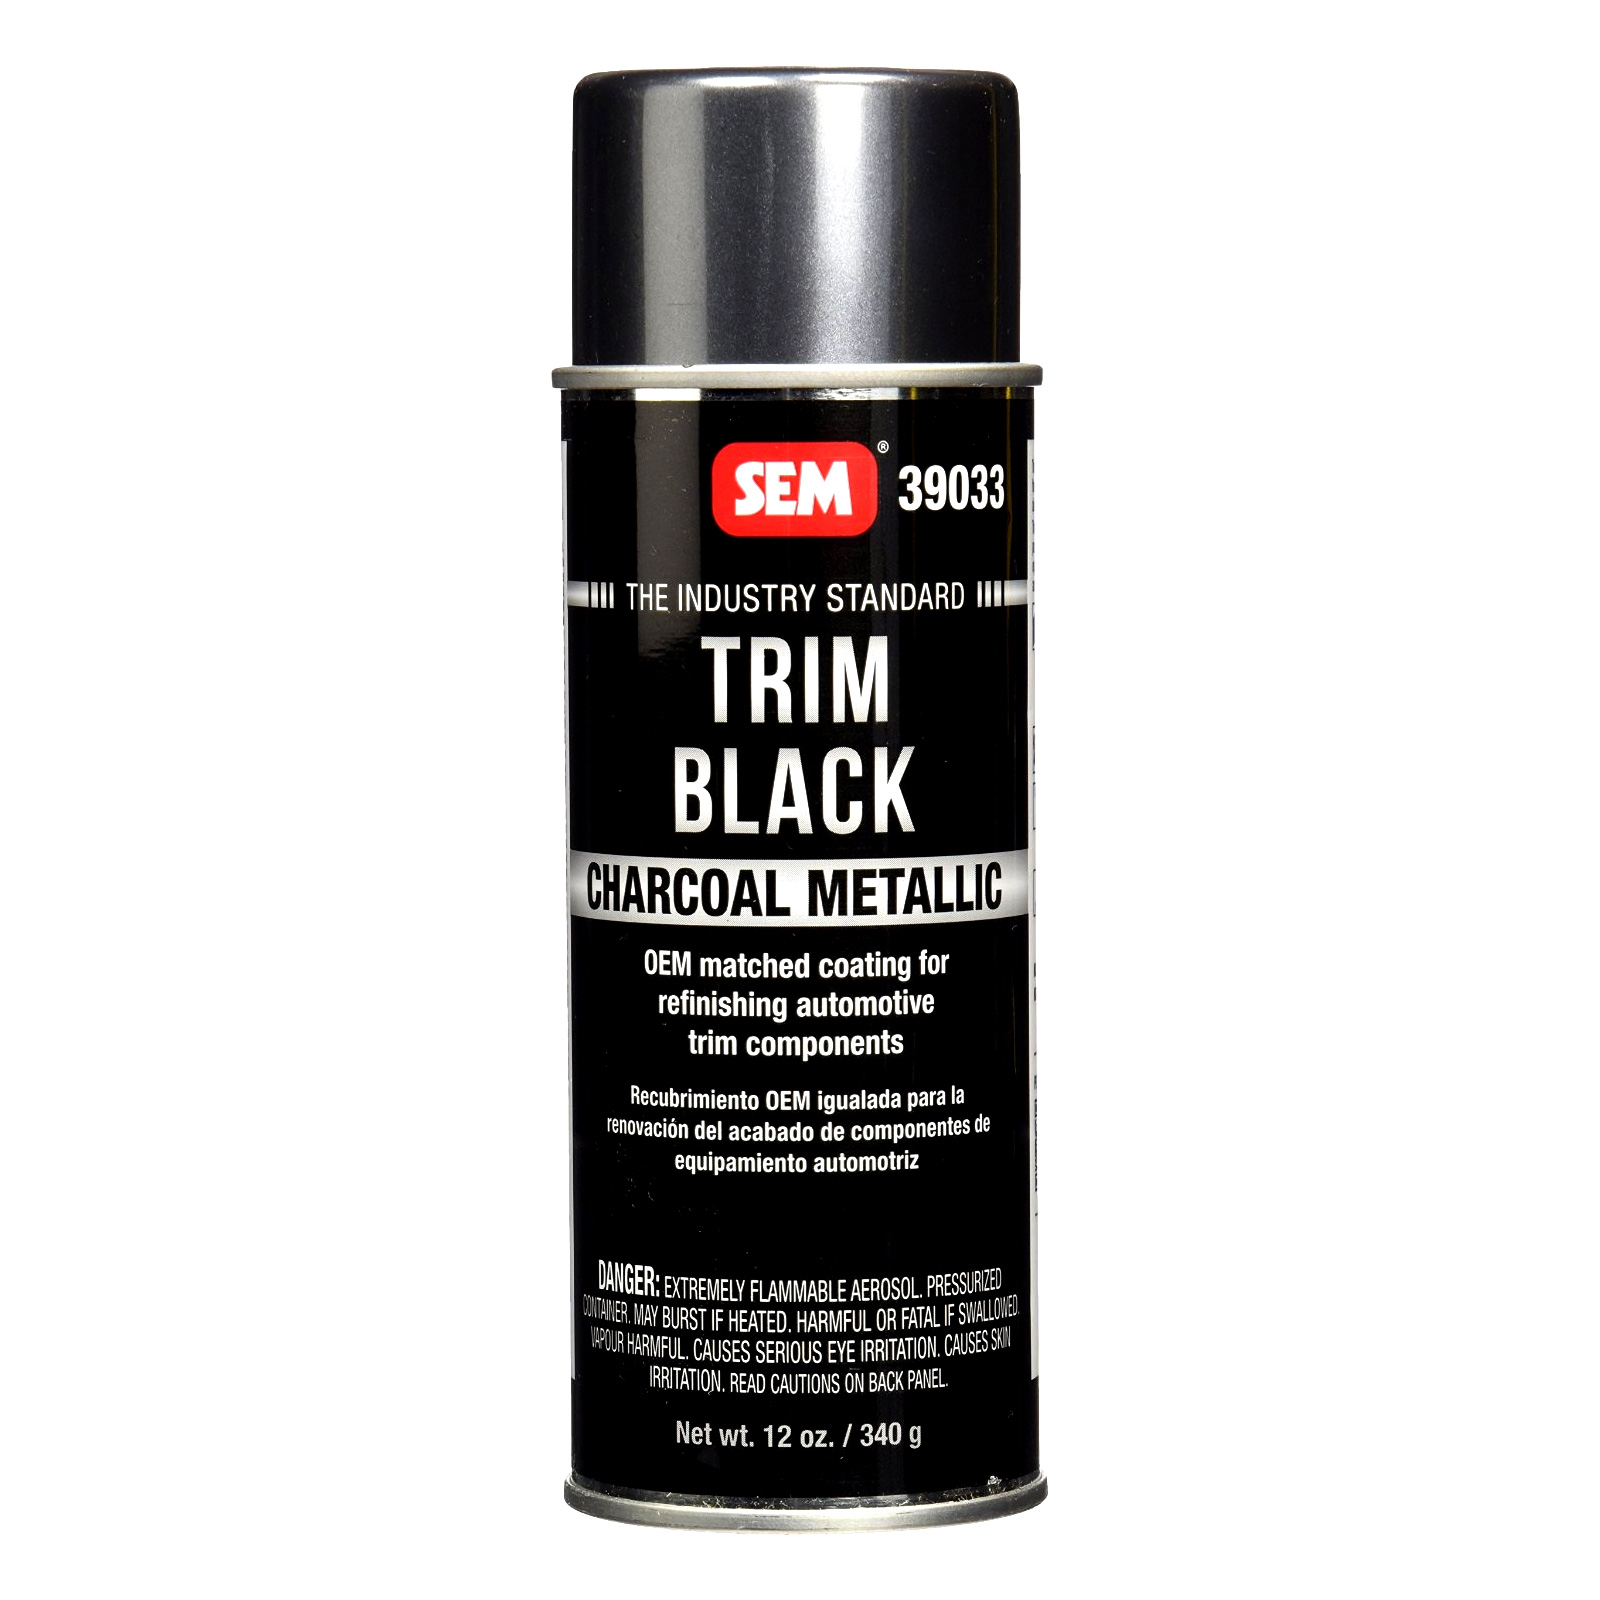
- Type of paint: There are different types of paint to choose from, including latex paint, oil-based paint, and chalk paint. Latex paint is easy to work with, dries quickly, and offers good durability. Oil-based paint provides a smoother finish and is ideal for high-traffic furniture. Chalk paint creates a matte, vintage look and requires minimal prep work.
- Finish: Decide on the type of finish you want for your furniture. Black paint is available in various finishes such as matte, satin, semi-gloss, and high gloss. Consider the desired level of shine and how it will complement your overall decor.
- Durability: Consider the durability of the paint, especially if the furniture will be subjected to heavy use or outdoor conditions. Look for paint that is labeled as durable, stain-resistant, and suitable for the intended purpose of the furniture.
- Quality: Investing in high-quality paint will ensure better coverage, adhesion, and longevity. It may cost more initially, but it will save you time and money in the long run by providing a more durable and professional-looking finish.
- Color consistency: Make sure the black paint you choose has good color consistency. Test a small area or ask for a paint sample to ensure that the color is true black and not faded or grayish in appearance.
Consider these factors and choose a paint that best meets your needs and preferences. It’s also a good idea to consult with a paint store representative for recommendations based on the type of furniture you’re painting.
Remember, selecting the right paint is crucial for achieving a beautiful and long-lasting black finish on your furniture. Take the time to research and choose wisely to ensure a successful painting project.
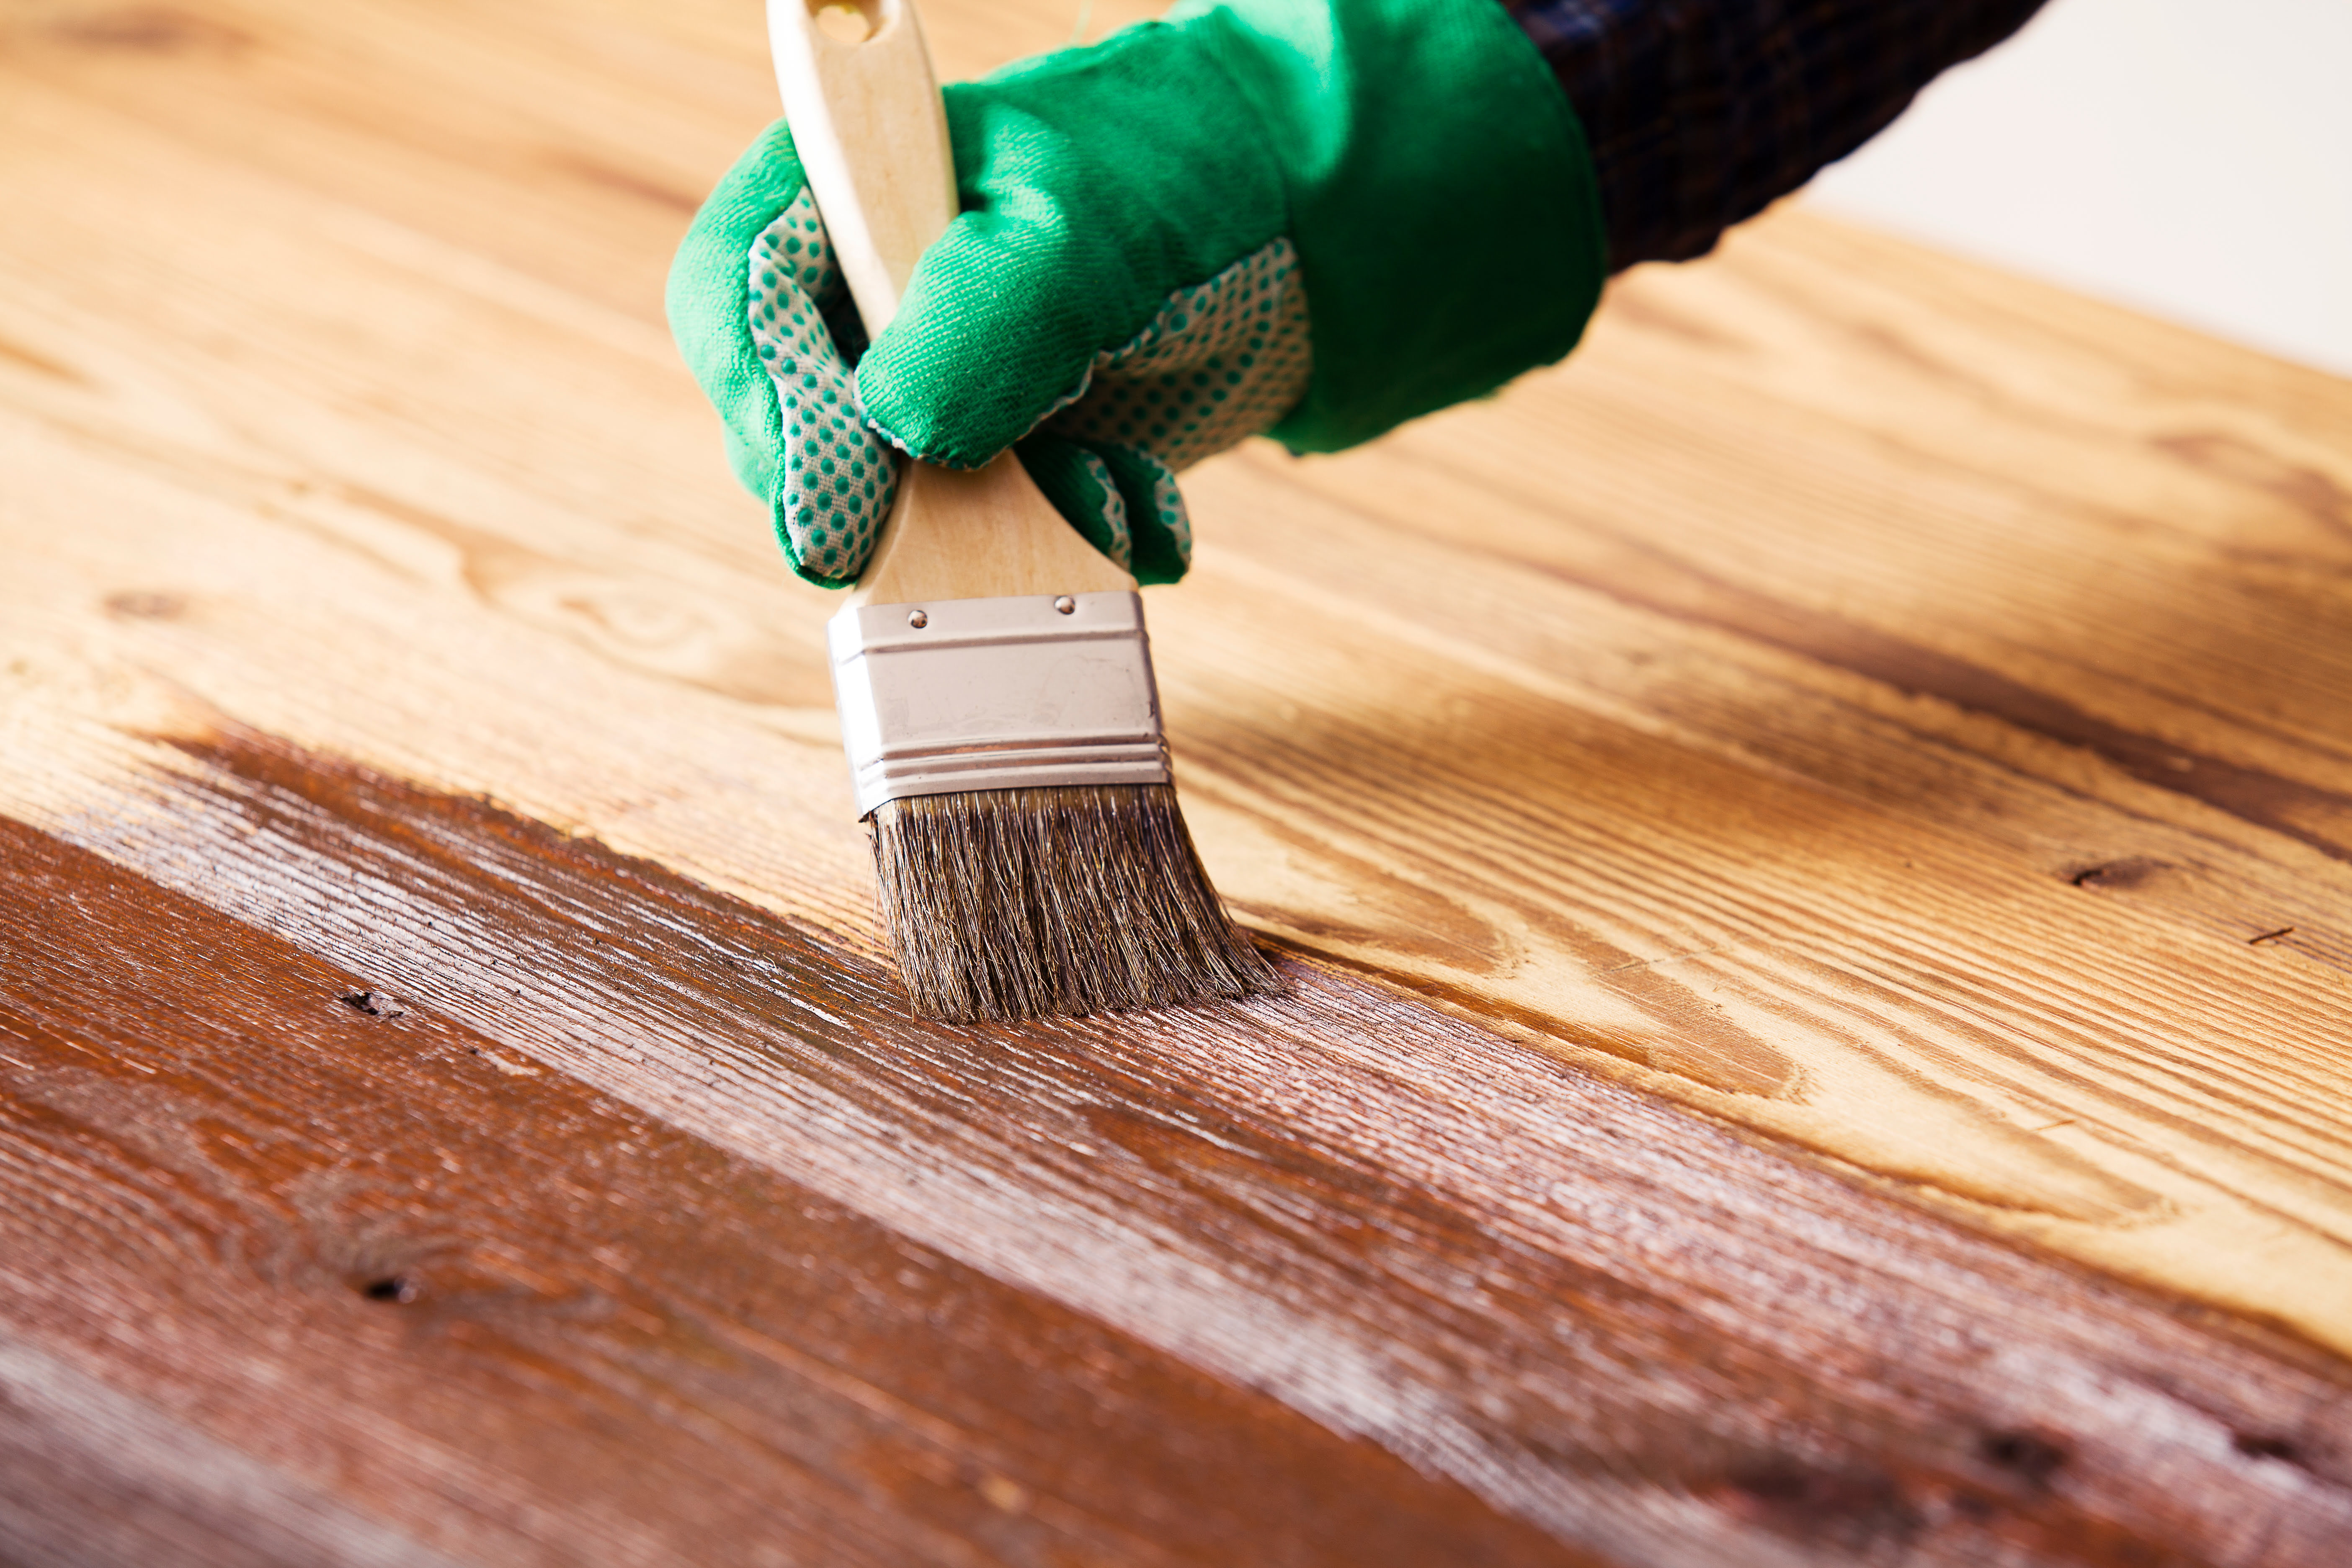
Step 6: Applying the First Coat of Black Paint
Now that the preparatory steps are complete, it’s time to start applying the black paint to your furniture. This is an exciting step as you begin to see your piece transform into a stunning black masterpiece. Here’s how to apply the first coat of black paint:
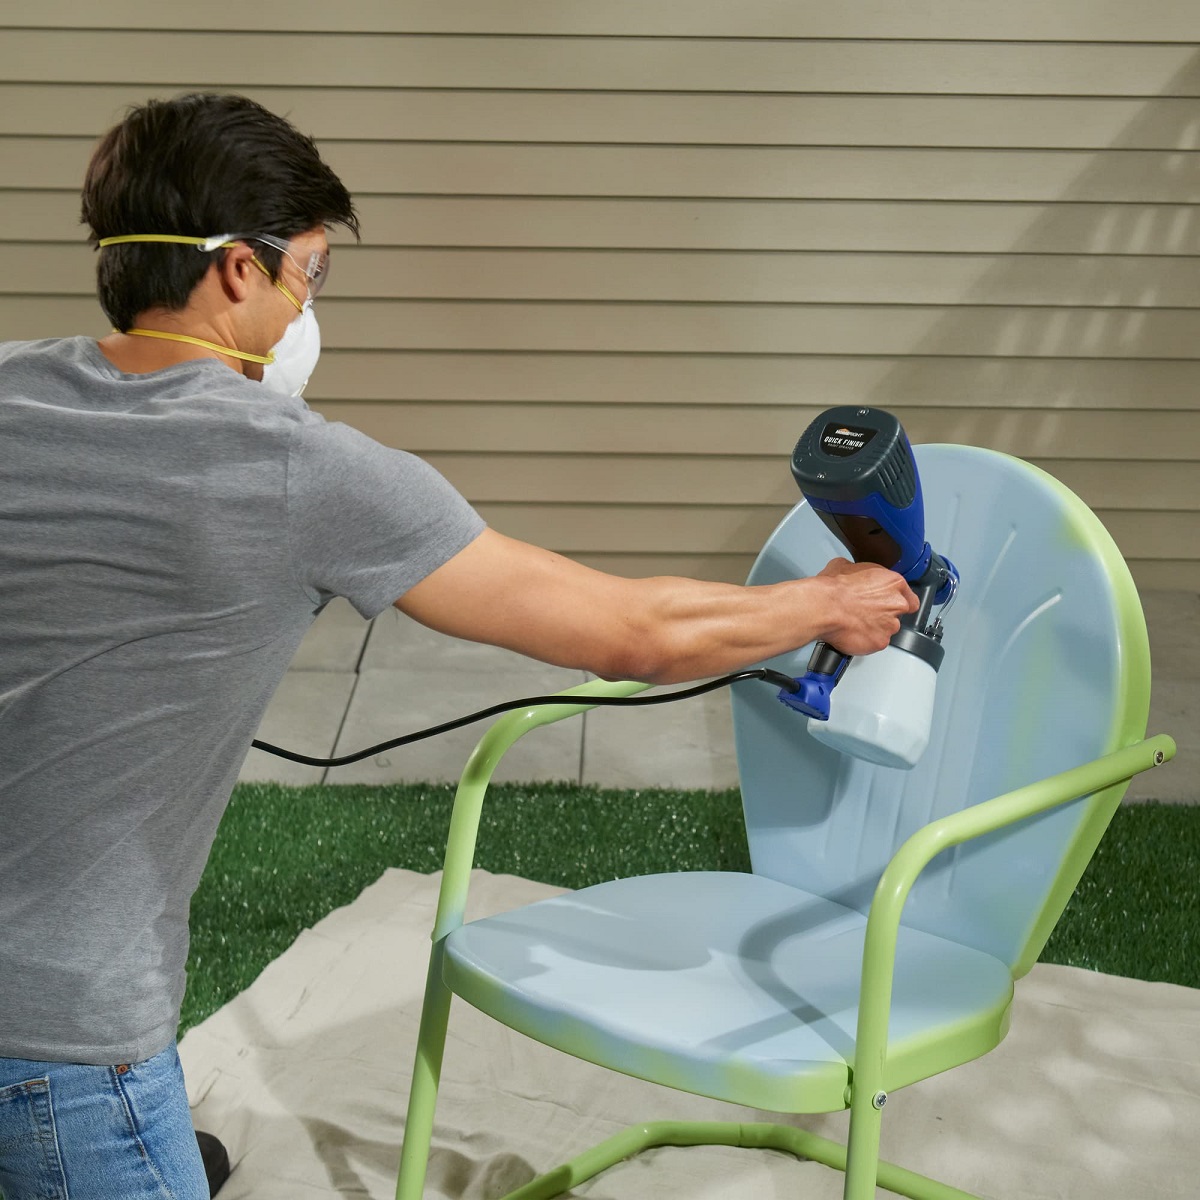
- Prepare your work area: Find a well-ventilated space to work in and lay down a drop cloth or old newspapers to protect your floor or work surface from any paint drips or spills.
- Stir the paint: Open your can of black paint and stir it thoroughly with a stir stick. This will ensure that the color is evenly distributed throughout the paint.
- Start with a high-quality brush or roller: Choose a brush or roller that is suitable for the type of paint you are using. A high-quality brush or roller will help ensure a smooth and even application of the paint.
- Apply the paint: Dip your brush or roller into the paint and begin applying it to the furniture. Work in small sections, applying the paint in even strokes, following the grain of the wood or the existing texture. Take your time to ensure proper coverage and minimize brush or roller marks.
- Allow for drying time: After applying the first coat of black paint, allow it to dry according to the instructions on the paint can. This typically takes a few hours, but drying times may vary depending on the type of paint and environmental conditions.
- Inspect for coverage: Once the first coat is dry, inspect the furniture for any areas that may need additional coverage. If necessary, apply a second coat of paint to ensure a solid and consistent black finish.
Applying the first coat of black paint is an important step in achieving the desired look for your furniture. Take your time, work in small sections, and focus on achieving even coverage. This will help you create a smooth and professional-looking finish.
Remember, patience is key when painting furniture. It’s better to apply multiple thin coats of paint rather than one thick coat, as this will help prevent drips and unevenness. Take breaks between coats to allow for proper drying, ensuring the best results for your project.
When painting furniture black, be sure to properly prepare the surface by sanding and priming it first. This will ensure a smooth and durable finish.
Step 7: Allowing the First Coat to Dry
After applying the first coat of black paint to your furniture, it’s important to allow ample drying time before moving on to the next steps. Allowing the paint to dry completely helps to ensure a smooth and professional-looking finish. Here’s what you need to know:
- Follow the instructions: Refer to the drying time indicated on the paint can. Different types of paint may have different drying times. Typically, latex paint dries within a few hours, while oil-based paint may take longer.
- Avoid touching or moving the furniture: It’s crucial to avoid touching or moving the furniture while the paint is drying. This can cause smudges, smears, or fingerprints that will mar the finish. If you need to handle the piece, use gloves to prevent any accidental marks.
- Provide proper ventilation: Ensure that the area where the furniture is drying has adequate ventilation. This helps to speed up the drying process and prevent any potential paint odors from lingering.
- Consider environmental conditions: Factors such as temperature and humidity can affect drying time. Ideally, you should paint in moderate temperature and humidity conditions to allow for optimal drying.
- Inspect for dryness: Before proceeding to the next step, inspect the furniture to ensure that the first coat of paint is completely dry. Check by gently touching a small, inconspicuous area. If there is no tackiness or transfer of paint, it is likely dry and ready for the next coat.
Patience is key during the drying process. Rushing to apply the next coat of paint before the first coat is fully dry can lead to tackiness, uneven application, and potentially ruin the finish. Take the time to allow the paint to dry properly, as this will contribute to a beautiful and long-lasting black finish on your furniture.
Remember, proper drying time is essential for achieving a professional and durable finish. It may be tempting to rush the process, but allowing the paint to dry thoroughly will yield the best results for your painted furniture project.
Step 8: Applying the Second Coat for Full Coverage
Once the first coat of black paint is fully dry, it’s time to apply the second coat. The second coat ensures full coverage and adds depth to the color, giving your furniture a rich and vibrant black finish. Follow these steps to apply the second coat:
- Prepare your work area: Make sure your work area is still clean and well-ventilated. Use a drop cloth or newspapers to protect your floor or work surface from any potential paint drips.
- Stir the paint: Give the can of black paint a thorough stir to ensure an even color distribution. This step will help prevent any inconsistencies in the final finish.
- Use the same brush or roller: Continuity is key, so use the same high-quality brush or roller that you used to apply the first coat. This will help maintain a consistent application and finish.
- Apply the second coat: Dip your brush or roller into the paint and apply it to the furniture, following the same techniques used for the first coat. Work in small sections, applying the paint in even strokes and ensuring complete coverage.
- Smooth out any imperfections: As you apply the second coat, take the time to smooth out any noticeable brush strokes or inconsistencies. This will help achieve a more polished and professional look.
- Allow for drying time: After applying the second coat, allow it to dry completely. Follow the drying time recommendations mentioned on the paint can, which is typically a few hours.
- Inspect the coverage: Once the second coat is dry, inspect the furniture for any areas that may still require additional coverage. If needed, apply a third coat or touch up the spots where coverage may be lacking.
- Clean your tools: Properly clean your brushes or rollers with soap and water or the recommended cleaning solvent for the paint used. This will ensure that your tools are in good condition for future use.
By applying the second coat, you achieve better coverage and a more uniform appearance for your black painted furniture. It helps to create a bold and striking finish that will make a statement in your space.
Remember, take your time with each coat, ensuring even application and coverage. Multiple thin coats are better than one thick coat to avoid drips and ensure a smooth finish. Step back and admire your progress as your furniture transforms into a stunning black centerpiece.
Read more: How To Seal Paint On Furniture
Step 9: Adding a Protective Topcoat
To ensure the longevity and durability of your black painted furniture, it’s essential to add a protective topcoat. A topcoat provides an extra layer of protection against everyday wear and tear, scratches, and spills. It also adds a subtle sheen or matte finish, depending on your preference. Follow these steps to apply a protective topcoat:
- Select the right topcoat: Choose a topcoat that is compatible with the type of paint you used. Water-based polyurethane or polycrylic topcoats are popular choices for their durability and ease of use.
- Prepare your work area: Ensure your work area is clean, well-ventilated, and free from dust or debris. Use a drop cloth or newspapers to protect your floor or work surface.
- Stir the topcoat: Open the can of topcoat and give it a thorough stir. This will ensure an even distribution of the protective sealant.
- Apply the topcoat: Using a clean, high-quality brush or foam applicator, apply the topcoat evenly to the furniture. Work in small sections, following the grain of the wood or the existing texture. Avoid over-applying or dragging the topcoat, as it may lead to streaks or unevenness.
- Allow for drying time: Follow the drying time mentioned on the topcoat’s label. Typically, it takes a few hours for a water-based topcoat to dry. Ensure that the topcoat is completely dry before handling or using the furniture.
- Inspect for coverage: Once the first coat of topcoat is dry, inspect the furniture for any areas that may require additional coverage. Apply a second coat if needed, following the same application techniques.
- Let the topcoat cure: Depending on the type of topcoat you used, it may take a few days or longer for the protective layer to fully cure. Avoid placing heavy objects on the furniture or subjecting it to excessive use during this curing period.
Adding a protective topcoat not only safeguards your black painted furniture but also enhances its appearance, providing a subtle sheen or maintaining a matte finish. It creates a protective barrier that helps your furniture withstand daily use, ensuring its beauty for years to come.
Remember to follow the manufacturer’s instructions for the specific topcoat you have chosen. Each product may have its own recommended drying and curing times, so be patient and allow the topcoat ample time to fully dry and cure before putting your furniture to regular use.
Step 10: Letting the Paint Cure
Once you have applied the final coat of paint and protective topcoat, it’s important to allow the paint to cure fully. Curing is the process by which the paint hardens and reaches its maximum durability. It requires time and patience to ensure a long-lasting and professional finish. Follow these steps to let the paint cure effectively:
- Refer to the paint manufacturer’s instructions: Different types of paint require varying curing times. These guidelines can usually be found on the paint can or the manufacturer’s website. Take note of the recommended curing period for your specific paint.
- Allow for proper ventilation: Ensure that the painted furniture is placed in a well-ventilated area. Good airflow helps facilitate the curing process and prevents any lingering paint odors.
- Avoid touching or using the furniture: During the curing period, it’s crucial to avoid touching or using the painted furniture. Even if the paint feels dry to the touch, it may not have fully cured. Premature use can result in scratches, smudges, or damage to the finish.
- Be patient: Curing times can range from a few days to several weeks, depending on the type of paint used. Give the paint ample time to fully cure before subjecting the furniture to regular use.
- Protect the furniture during the curing process: If necessary, cover the furniture with a breathable cloth or plastic sheet to prevent dust, dirt, or any accidental damage from affecting the curing paint.
- Follow additional precautions: Some paints may have specific recommendations for the curing process. For example, certain paints may require exposing the furniture to sunlight or applying heat to speed up the curing process. Follow any additional instructions provided by the paint manufacturer.
Allowing the paint to cure fully is essential for achieving a durable and professional-looking finish on your black painted furniture. Proper curing ensures that the paint becomes hard and resilient, providing excellent adhesion and resistance to everyday wear and tear.
Remember, patience is key during the curing process. Even though the paint may feel dry, it takes time for the chemical composition of the paint to fully transform, resulting in a durable and long-lasting finish. By giving the paint sufficient curing time, you’ll enjoy your beautifully transformed black furniture for years to come.
Step 11: Reassembling the Furniture
Once the black paint on your furniture has fully cured, it’s time to reassemble the different components and put the piece back together. This final step completes the transformation of your furniture and allows you to enjoy the fruits of your hard work. Here’s what you need to do:
- Gather all the hardware: Locate the knobs, handles, hinges, or any other hardware that you had removed earlier. Ensure that all pieces are clean and in good condition.
- Position the hardware: Carefully place each piece of hardware in its designated spot on the furniture. Insert screws or other fasteners as needed, but avoid overtightening, as it can damage the paint or the furniture itself. Use a screwdriver or a drill with the appropriate bit to secure the hardware in place.
- Check for proper functionality: Ensure that all the hardware is securely attached and that doors, drawers, or any moving parts are functioning smoothly. Test them to make sure they open and close as intended.
- Inspect for any touch-ups: Take a close look at the painted surfaces and check for any areas that may need touch-ups. If you notice any imperfections or missed spots, use a small brush or foam applicator to carefully apply additional paint or topcoat for seamless coverage.
- Final cleaning: Give the furniture a final gentle cleaning using a soft cloth or a duster. This will remove any dust or debris that may have accumulated during the reassembly process.
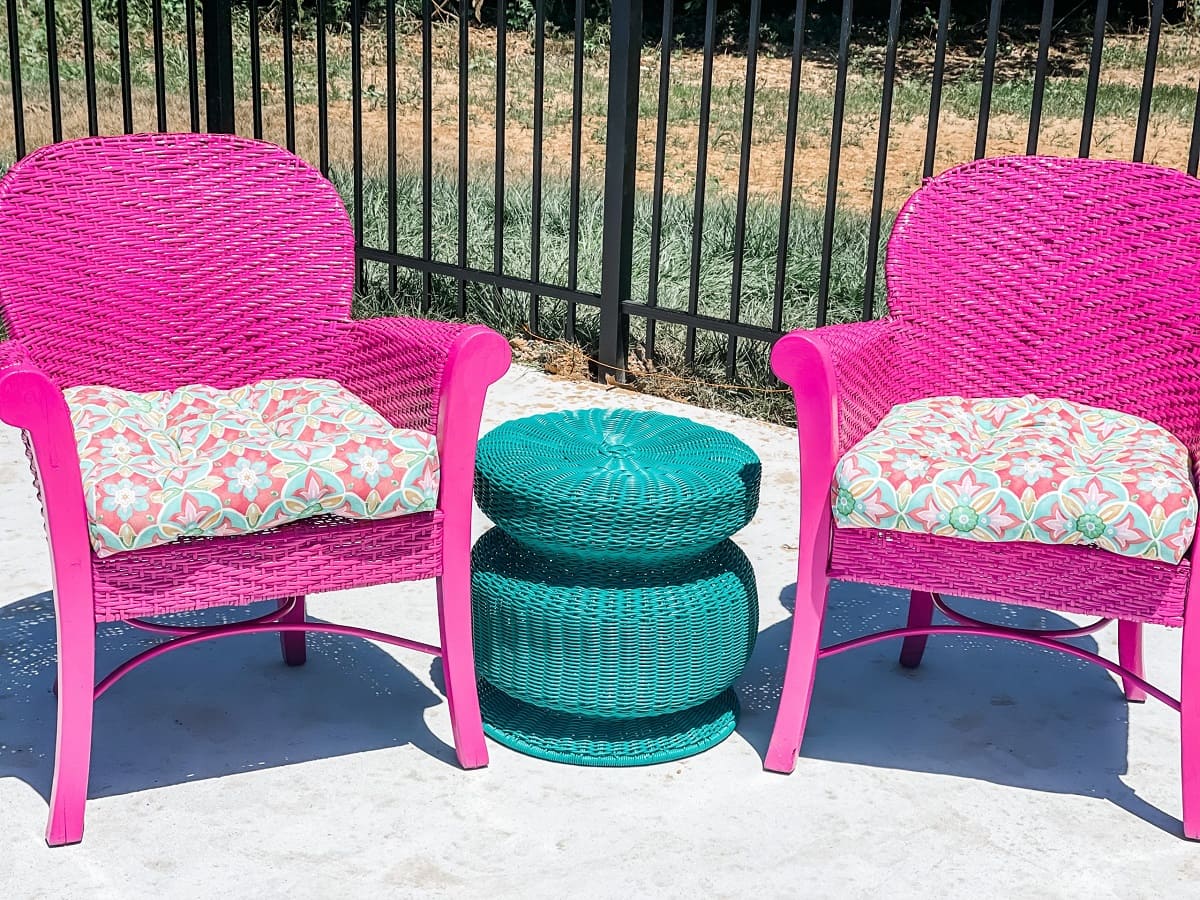
- Arrange and enjoy: Once the furniture is fully reassembled and clean, arrange it in its desired location and enjoy the transformed piece in all its black painted glory! Admire the renewed beauty and appreciate the effort you put into giving new life to your furniture.
By following these steps to reassemble your furniture, you ensure that it is not only visually appealing but also functional. Taking the time to properly restore and reassemble your piece will allow you to enjoy it for years to come.
Remember that the reassembled furniture may still require some care to maintain its beauty. Avoid placing hot items directly on the surface, use coasters or placemats to protect it from spills or scratches, and clean it regularly following the recommended guidelines for the painted finish.
Congratulations! You have successfully completed the process of painting your furniture black and reassembling it to its full glory. Take pride in your accomplishment and relish in the beauty of your transformed piece!
Conclusion
Painting furniture black is a rewarding and creative way to breathe new life into your old or worn-out pieces. By following the step-by-step process outlined in this guide, you can achieve a stunning black finish that adds a touch of elegance and sophistication to your space. From preparing the furniture and sanding the surface to applying primer, choosing the right paint, and adding a protective topcoat, each step plays a crucial role in achieving a professional-looking result.
Through proper preparation, including removing hardware, cleaning the furniture, and repairing any damage, you create a solid foundation for the paint to adhere to. Sanding the surface further ensures a smooth and even canvas for the paint application. Applying primer enhances adhesion and durability, while choosing the right type of paint and finish helps create the desired look and level of sheen.
By carefully applying multiple coats of black paint, allowing proper drying time between each coat, you achieve full coverage and a rich color depth. Adding a protective topcoat provides an extra layer of defense against everyday wear and tear, ensuring the longevity and durability of your black-painted furniture.
Finally, reassembling the furniture with care and attention to detail completes the transformation. With all hardware securely attached, doors and drawers functioning properly, and any necessary touch-ups made, your furniture is ready to be enjoyed once again.
Remember, painting furniture black requires patience, careful attention to detail, and the use of high-quality materials. Take your time throughout the process, allowing proper drying and curing times, and following the manufacturer’s instructions for the products you use. The end result will be a beautifully transformed piece that adds a touch of timeless elegance to your home.
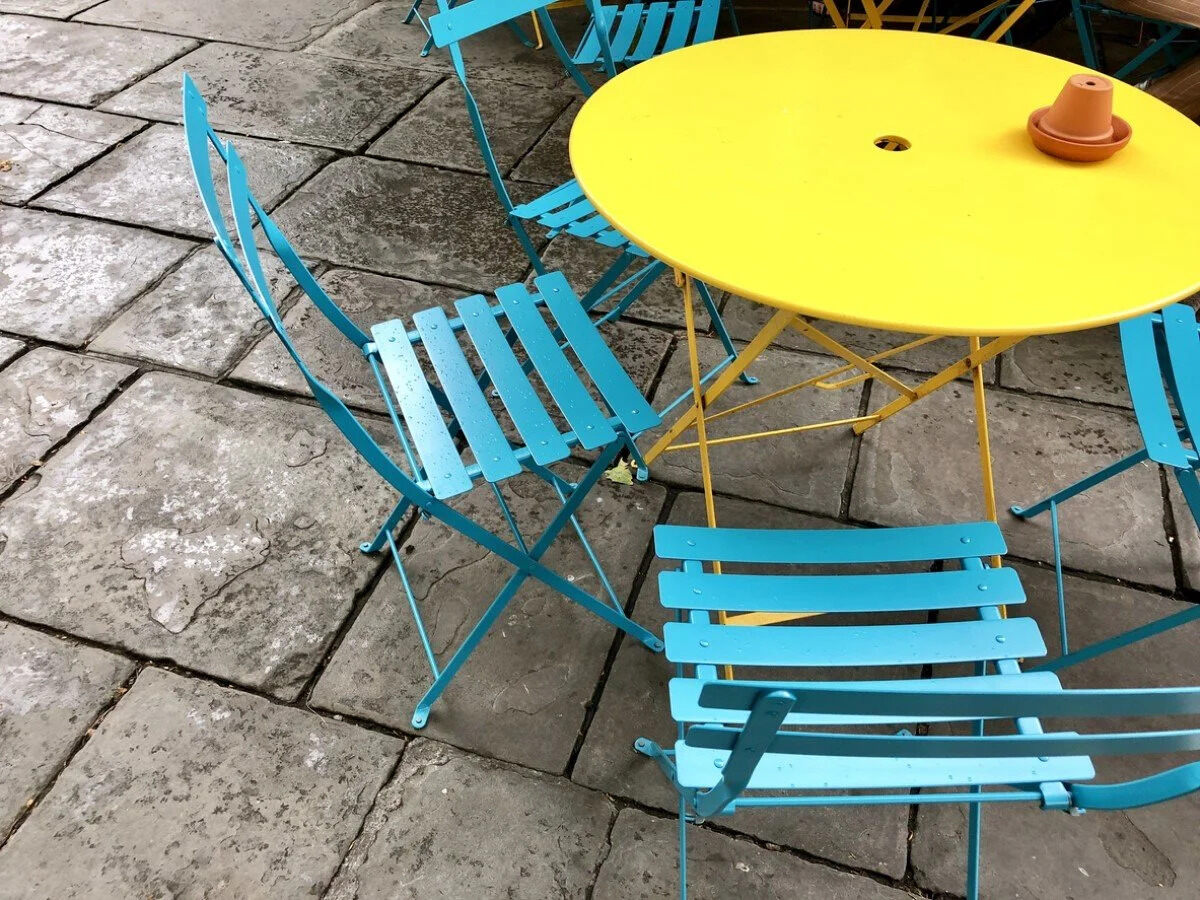
So, whether you’re reviving an old wooden dresser, giving a metal chair a sleek and modern update, or transforming a laminate tabletop into a statement piece, painting furniture black can truly breathe new life into your space. Embrace your creativity, enjoy the process, and revel in the satisfaction of seeing your furniture undergo a remarkable transformation.
Frequently Asked Questions about How To Paint Furniture Black
Was this page helpful?
At Storables.com, we guarantee accurate and reliable information. Our content, validated by Expert Board Contributors, is crafted following stringent Editorial Policies. We're committed to providing you with well-researched, expert-backed insights for all your informational needs.


0 thoughts on “How To Paint Furniture Black”