Articles
How To Level Stacked Washer Dryer
Modified: August 25, 2024
Discover helpful articles on how to level a stacked washer dryer in a simple and efficient way. Get expert tips and guidance for a balanced and stable laundry setup.
(Many of the links in this article redirect to a specific reviewed product. Your purchase of these products through affiliate links helps to generate commission for Storables.com, at no extra cost. Learn more)
Introduction
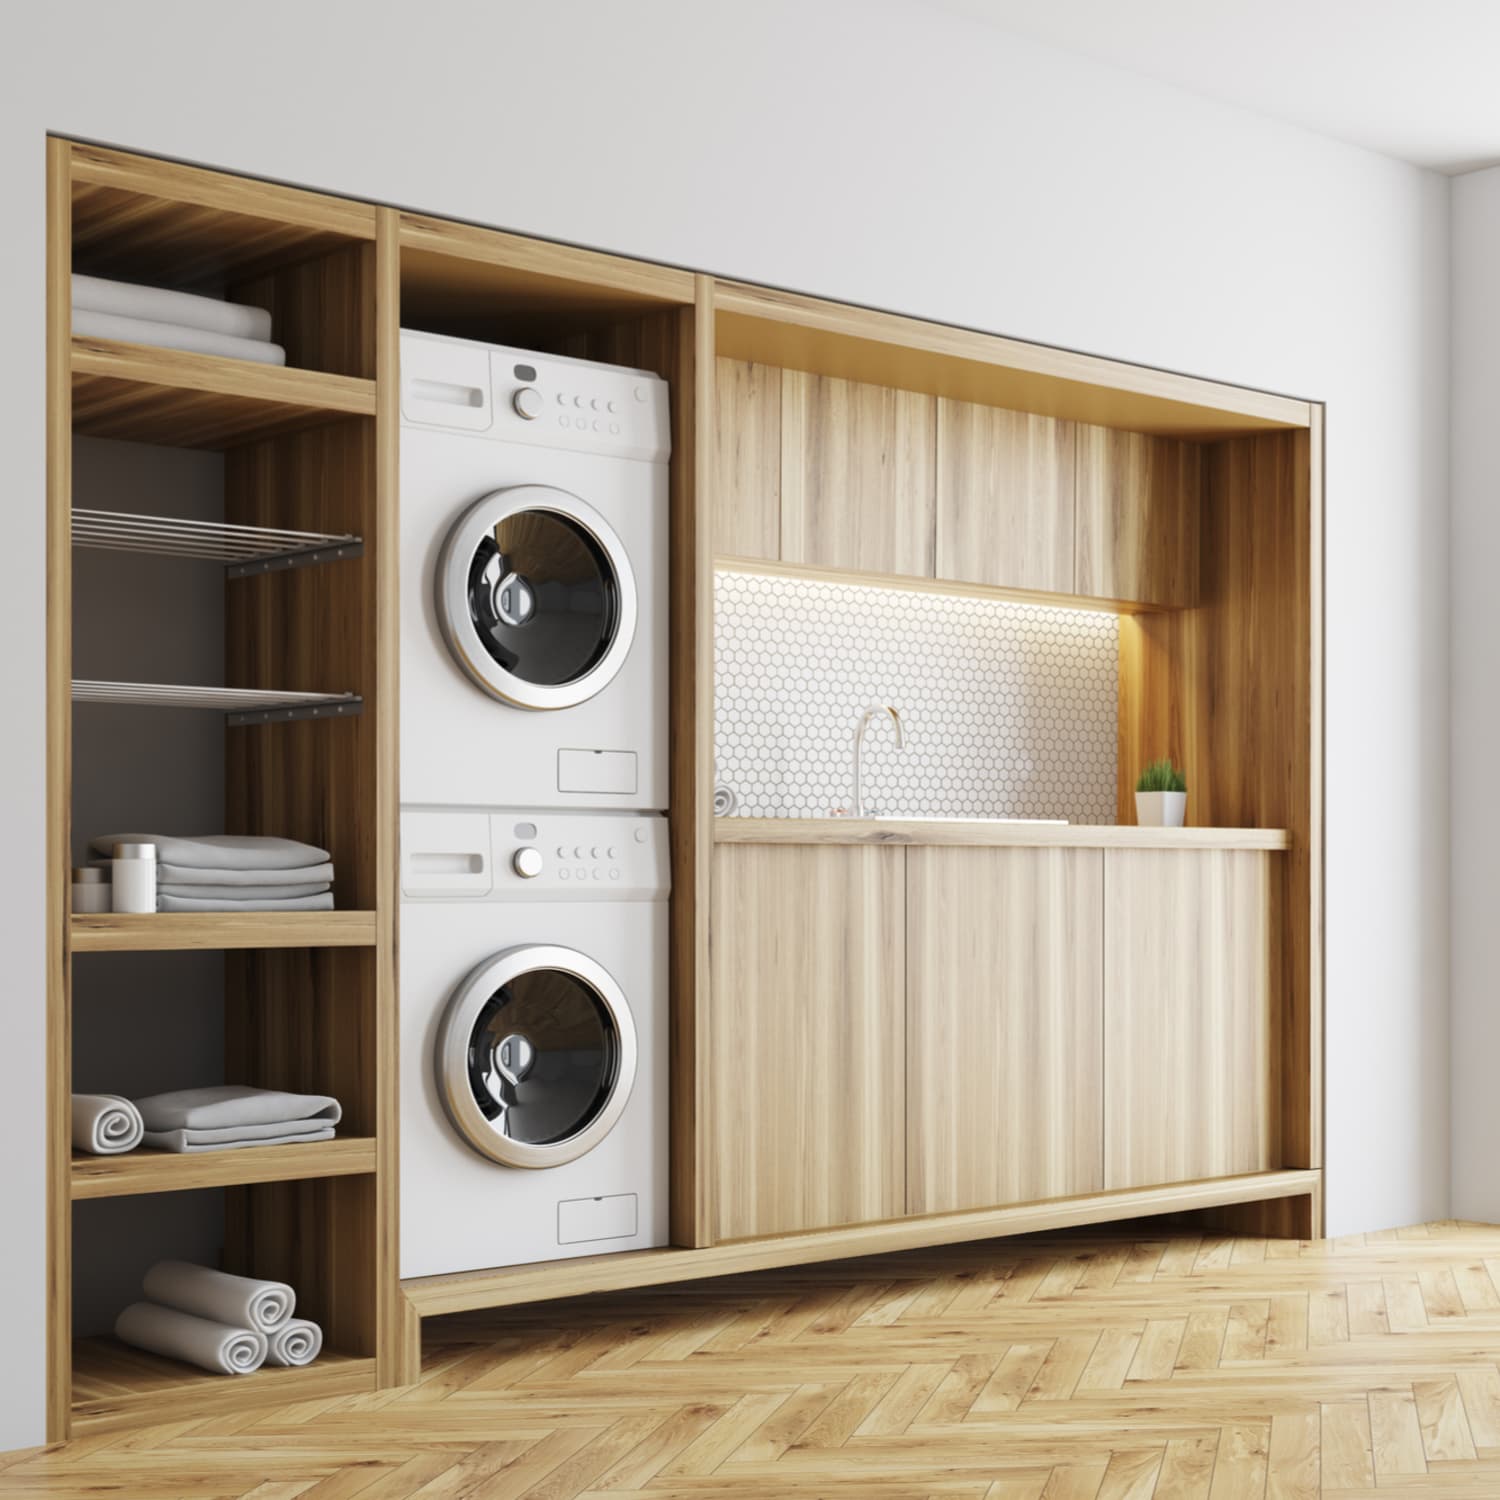
Leveling a stacked washer dryer is an important step in ensuring efficient operation and preventing potential issues. Whether you have recently installed a new stacked washer dryer or have noticed some imbalance in an existing one, taking the time to properly level the unit can make a significant difference in its performance and longevity.
Properly leveling a stacked washer dryer involves ensuring that it is stable and balanced on a solid surface. This is crucial because an unlevel unit can lead to excessive vibration, noise, and even damage to the appliance. In addition, a washer dryer that is not leveled can cause clothes to be unevenly washed or dried, resulting in poor cleaning results and longer drying times.
By leveling your stacked washer dryer, you not only improve its overall functionality but also ensure a smoother and quieter laundry experience. So, let’s dive into the steps required to level a stacked washer dryer and achieve optimal performance.
Key Takeaways:
- Properly leveling a stacked washer dryer is crucial for efficient operation, reducing vibrations, and ensuring even washing and drying. Regular maintenance and proactive adjustments help maintain stability and extend the appliance’s lifespan.
- Gathering the necessary tools and materials, preparing the area, detaching and leveling the washer, reattaching the dryer, and testing stability are essential steps in leveling a stacked washer dryer. Regularly checking and addressing any imbalances promptly is key to maintaining optimal performance.
Read more: How To Remove A Stacked Washer And Dryer
Tools and materials needed
Before you start leveling your stacked washer dryer, it’s important to gather the necessary tools and materials. Here is a list of what you will need:
- Level: A reliable bubble or digital level will help you determine if the washer dryer is perfectly level.
- Adjustable wrench or pliers: These tools are essential for loosening or tightening the leveling feet or legs.
- Protective gloves: It’s always a good idea to wear gloves to protect your hands during the process.
- Tape measure: This will come in handy for taking accurate measurements.
- Shims: These small wedges or pieces of cardboard can be used to stabilize the washer dryer and ensure it sits evenly on the floor.
In addition to these tools, you may also need some materials to ensure stability:
- Sturdy floor protector: Placing a floor protector under the washer dryer can help prevent it from sliding or scratching the floor.
- Anti-vibration pads: These pads can be placed under the washer dryer feet to minimize vibrations and noise.
- Wood screws: If you need additional stability, you can secure the washer dryer to the wall using wood screws.
Having these tools and materials ready before you start the leveling process will make the task much smoother and ensure precise adjustments for optimal stability and performance.
Preparing the area
Before you begin leveling your stacked washer dryer, it’s important to prepare the surrounding area to ensure a safe and effective leveling process. Here are the steps to follow:
1. Clearing the space around the washer dryer:
Start by removing any items or obstacles near the washer dryer. This includes laundry supplies, baskets, or any other objects that may interfere with the leveling process. Clearing the area will give you better access to the appliance and prevent any accidental damage or tripping hazards.
2. Ensuring a solid and level surface:
Check the surface where the stacked washer dryer is placed. It should be solid and level to provide a stable foundation for the appliance. Avoid placing the washer dryer on uneven or soft surfaces, as this can lead to imbalance and potential issues with the machine’s performance.
If you find that the floor is not level, you may need to consider using shims to compensate for any inconsistencies. A shim is a thin piece of material that can be placed under the feet of the washer dryer to level it. You can use wooden shims or even small pieces of cardboard to create a stable and even surface.
By clearing the space around the washer dryer and ensuring a solid, level surface, you create the ideal environment for the leveling process. This will allow you to make accurate adjustments and achieve the desired stability for your stacked washer dryer.
Detaching the dryer from the washer
If you need to level a stacked washer dryer, it’s important to first detach the dryer from the unit. This will make it easier to access and adjust the washer. Here are the steps to follow:
1. Unplug the unit: Before starting any work, ensure that the stacked washer dryer is completely disconnected from the power source. This is crucial for safety purposes.
2. Locate the connection points: Look for the connection points between the dryer and the washer. These are typically located at the top or back of the unit. Depending on the brand and model, there may be screws, brackets, or other fasteners holding the dryer in place.
3. Remove the screws or brackets: Using the appropriate tool, such as a screwdriver or wrench, carefully remove the screws or brackets that secure the dryer to the washer. Keep track of any hardware you remove to avoid misplacing it.
4. Slide or lift the dryer: Once the screws or brackets are removed, you can now slide or lift the dryer away from the washer. Be cautious not to strain your back or drop the dryer during this process. If needed, ask for assistance to ensure a safe separation.
5. Set the dryer aside: Once the dryer is detached from the washer, set it aside in a safe and stable location. Be mindful of the electrical and gas connections, if applicable. If necessary, close off any gas valves or unplug the power cord.
It’s important to take precautions during the process of detaching the dryer from the washer to avoid any damage. Be gentle when removing screws or brackets to prevent stripping or breaking them. Be aware of any electrical or gas connections and handle them with caution, following the manufacturer’s guidelines.
By following these steps, you will successfully separate the dryer from the stacked unit, allowing you to proceed with the leveling process for the washer.
Leveling the washer
Once you have detached the dryer from the stacked washer dryer unit, you can now focus on leveling the washer. Here are the steps to follow:
1. Determining the current level of the washer:
Place the level on top of the washer in different orientations, both front to back and side to side. This will help you determine if the washer is currently level or if any adjustments are needed. The bubble in the level should be centered if the washer is level. Take note of any unevenness or tilts in the appliance.
2. Adjusting the feet or leveling legs to achieve balance:
Most washers have either leveling feet or leveling legs located at the bottom. These can be adjusted to achieve the desired level. Check the manufacturer’s instructions for your specific model to identify the type and location of the leveling mechanism.
Using an adjustable wrench or pliers, turn the leveling feet or legs in the appropriate direction to raise or lower them. Make small adjustments and recheck the level after each adjustment until the washer is perfectly level. It’s important to adjust all the feet or legs evenly to maintain balance.
If your washer does not have adjustable leveling feet or legs, you can use shims to achieve balance. Place the shims under the uneven feet or legs until the washer is level. Be sure to use enough shims to provide stability and prevent movement during operation.
Remember to take your time during the leveling process to ensure accuracy. Check the level multiple times and make small adjustments as needed until the washer is perfectly leveled.
By leveling the washer, you create a stable base for the appliance, which promotes smooth and efficient operation while minimizing vibration and noise.
Make sure the stacked washer dryer is on a level surface. Use a bubble level to check and adjust the feet as needed. Tighten the locking nuts to secure the units together.
Read more: How Tall Is A Stacked Washer Dryer
Reattaching the dryer
Once you have successfully leveled the washer, it’s time to reattach the dryer to the stacked unit. Here are the steps to follow:
1. Aligning the dryer with the washer:
Move the dryer back into position, aligning it carefully with the washer. Ensure that the front, sides, and back of the dryer are properly aligned with the corresponding parts of the washer. This will ensure a snug fit and proper functionality of the stacked unit.
2. Securely fastening the dryer to the washer:
Using the screws or brackets that were previously removed, securely fasten the dryer to the washer. Insert the screws or attach the brackets to the designated connection points and tighten them with the appropriate tool. Follow the manufacturer’s guidelines for proper fastening.
Verify that the dryer is securely attached and does not wobble or move when gently pressed. This will ensure that the dryer remains stable during operation and minimize any potential risks or malfunctions.
If your washer dryer unit does not have specific screws or brackets for attachment, you can consult the manufacturer’s instructions for alternative methods, or consider using straps or other securing mechanisms recommended by the manufacturer.
By reattaching the dryer to the washer and ensuring a secure connection, you restore the integrity of the stacked unit. This allows for efficient and safe operation of the appliance while maintaining proper balance and stability.
Testing the stability and leveling
After reattaching the dryer to the washer and completing the leveling process, it’s important to test the stability and ensure that the unit is properly leveled. Here are the steps to follow:
1. Checking for any wobbling or movement:
Gently rock the stacked washer dryer back and forth and from side to side. Observe if there is any excessive movement or wobbling. If you notice any instability or shaking, it indicates that the unit may not be fully leveled.
2. Making final adjustments if necessary:
If you detect any wobbling or movement, you may need to make final adjustments to achieve optimal stability. Revisit the leveling feet or legs, and using an adjustable wrench or pliers, make small adjustments to ensure that all corners of the washer dryer are firmly planted on the ground.
Check the level once again to confirm that the unit is perfectly level. Make additional adjustments as needed until the bubble in the level is centered in all orientations.
It’s important to make these final adjustments to eliminate any remaining imbalances and ensure that the washer dryer is stable during operation. This will prevent unnecessary movement, reduce the risk of damage, and provide a more efficient laundry experience.
Testing the stability and leveling should be done periodically to ensure that the unit maintains its balance. Over time, vibrations or movements during use may require slight adjustments. By regularly checking and making necessary adjustments, you can maintain the stability and performance of your stacked washer dryer in the long run.
Additional tips for maintaining balance
Once you have leveled your stacked washer dryer, it’s important to take a proactive approach to maintain its balance and stability over time. Here are some additional tips to keep in mind:
1. Regularly checking the washer dryer’s level:
Make it a habit to periodically check the level of your washer dryer. Over time, vibrations, movement, or adjustments to the flooring can result in slight imbalances. By checking the level regularly, you can catch any changes early on and make necessary adjustments to maintain stability.
2. Addressing any issues promptly to prevent further imbalances:
If you notice any signs of imbalance, such as excessive vibrations, shaking, or wobbling, address the issue promptly. Check the leveling feet or legs and make adjustments if required. Additionally, inspect the washer dryer for any loose screws or bolts that may be contributing to the imbalance and tighten them as needed.
By addressing issues promptly, you can prevent further imbalances from occurring and extend the lifespan of your stacked washer dryer.
3. Avoid overloading the washer dryer:
Overloading the washer or dryer can lead to imbalance and strain on the unit. Follow the manufacturer’s recommended load capacity to ensure that the appliance operates within its limits. By properly distributing the load and avoiding overloading, you can maintain better balance and prevent unnecessary wear and tear on the appliance.
4. Keep the washer dryer on a sturdy and level surface:
Ensure that the stacked washer dryer remains on a solid and level surface at all times. This will provide a stable foundation and help maintain balance. Avoid placing the appliance on uneven or soft surfaces that can contribute to imbalance and instability.
By implementing these additional tips, you can ensure the ongoing balance and stability of your stacked washer dryer. Regular maintenance and proactive measures will help you enjoy optimal performance and longevity from your appliance.
Conclusion
Leveling a stacked washer dryer is a crucial step in ensuring optimal performance and longevity of the appliance. By following the steps outlined in this guide, you can successfully level your washer dryer and enjoy a more efficient and stable laundry experience.
To recap, here are the main steps for leveling a stacked washer dryer:
- Prepare the area by clearing the space around the unit and ensuring a solid and level surface.
- Detach the dryer from the washer, taking necessary precautions to avoid damage.
- Level the washer by determining its current level and adjusting the feet or leveling legs to achieve balance.
- Reattach the dryer to the washer, aligning it properly and securely fastening it.
- Test the stability and leveling by checking for any wobbling or movement, making final adjustments if necessary.
Maintaining a proper level for your washer dryer is essential for optimal performance. A leveled unit reduces vibrations, minimizes noise, and prevents potential damage to the appliance. It also ensures that clothes are evenly washed or dried, resulting in better cleaning results and shorter drying times.
Additionally, regularly checking the washer dryer’s level and addressing any issues promptly can prevent further imbalances and potential damage. By taking a proactive approach and implementing the aforementioned tips, you can maintain better balance and stability over time.
In conclusion, proper leveling of a stacked washer dryer is not only crucial for its efficient operation but also for extending its lifespan. By following the steps outlined in this guide and incorporating regular maintenance practices, you can ensure optimal performance and enjoy a reliable and stable laundry appliance for years to come.
Now that you're all set with a perfectly leveled stacked washer dryer, why not tackle another area of your home? If keeping your linens tidy and accessible sounds appealing, check out our guide on selecting fabric storage cubes ideal for home organization. For those considering an upgrade in their laundry appliances, our roundup of the top stackable washer dryers for 2024 will provide you with the latest options to ensure your home is as efficient as possible. Both articles offer practical advice to enhance your living space beautifully and efficiently.
Frequently Asked Questions about How To Level Stacked Washer Dryer
Was this page helpful?
At Storables.com, we guarantee accurate and reliable information. Our content, validated by Expert Board Contributors, is crafted following stringent Editorial Policies. We're committed to providing you with well-researched, expert-backed insights for all your informational needs.


0 thoughts on “How To Level Stacked Washer Dryer”