Articles
How To Remove A Stacked Washer And Dryer
Modified: August 16, 2024
Looking for articles on how to remove a stacked washer and dryer? Check out our step-by-step guide for an easy and hassle-free process.
(Many of the links in this article redirect to a specific reviewed product. Your purchase of these products through affiliate links helps to generate commission for Storables.com, at no extra cost. Learn more)
Introduction
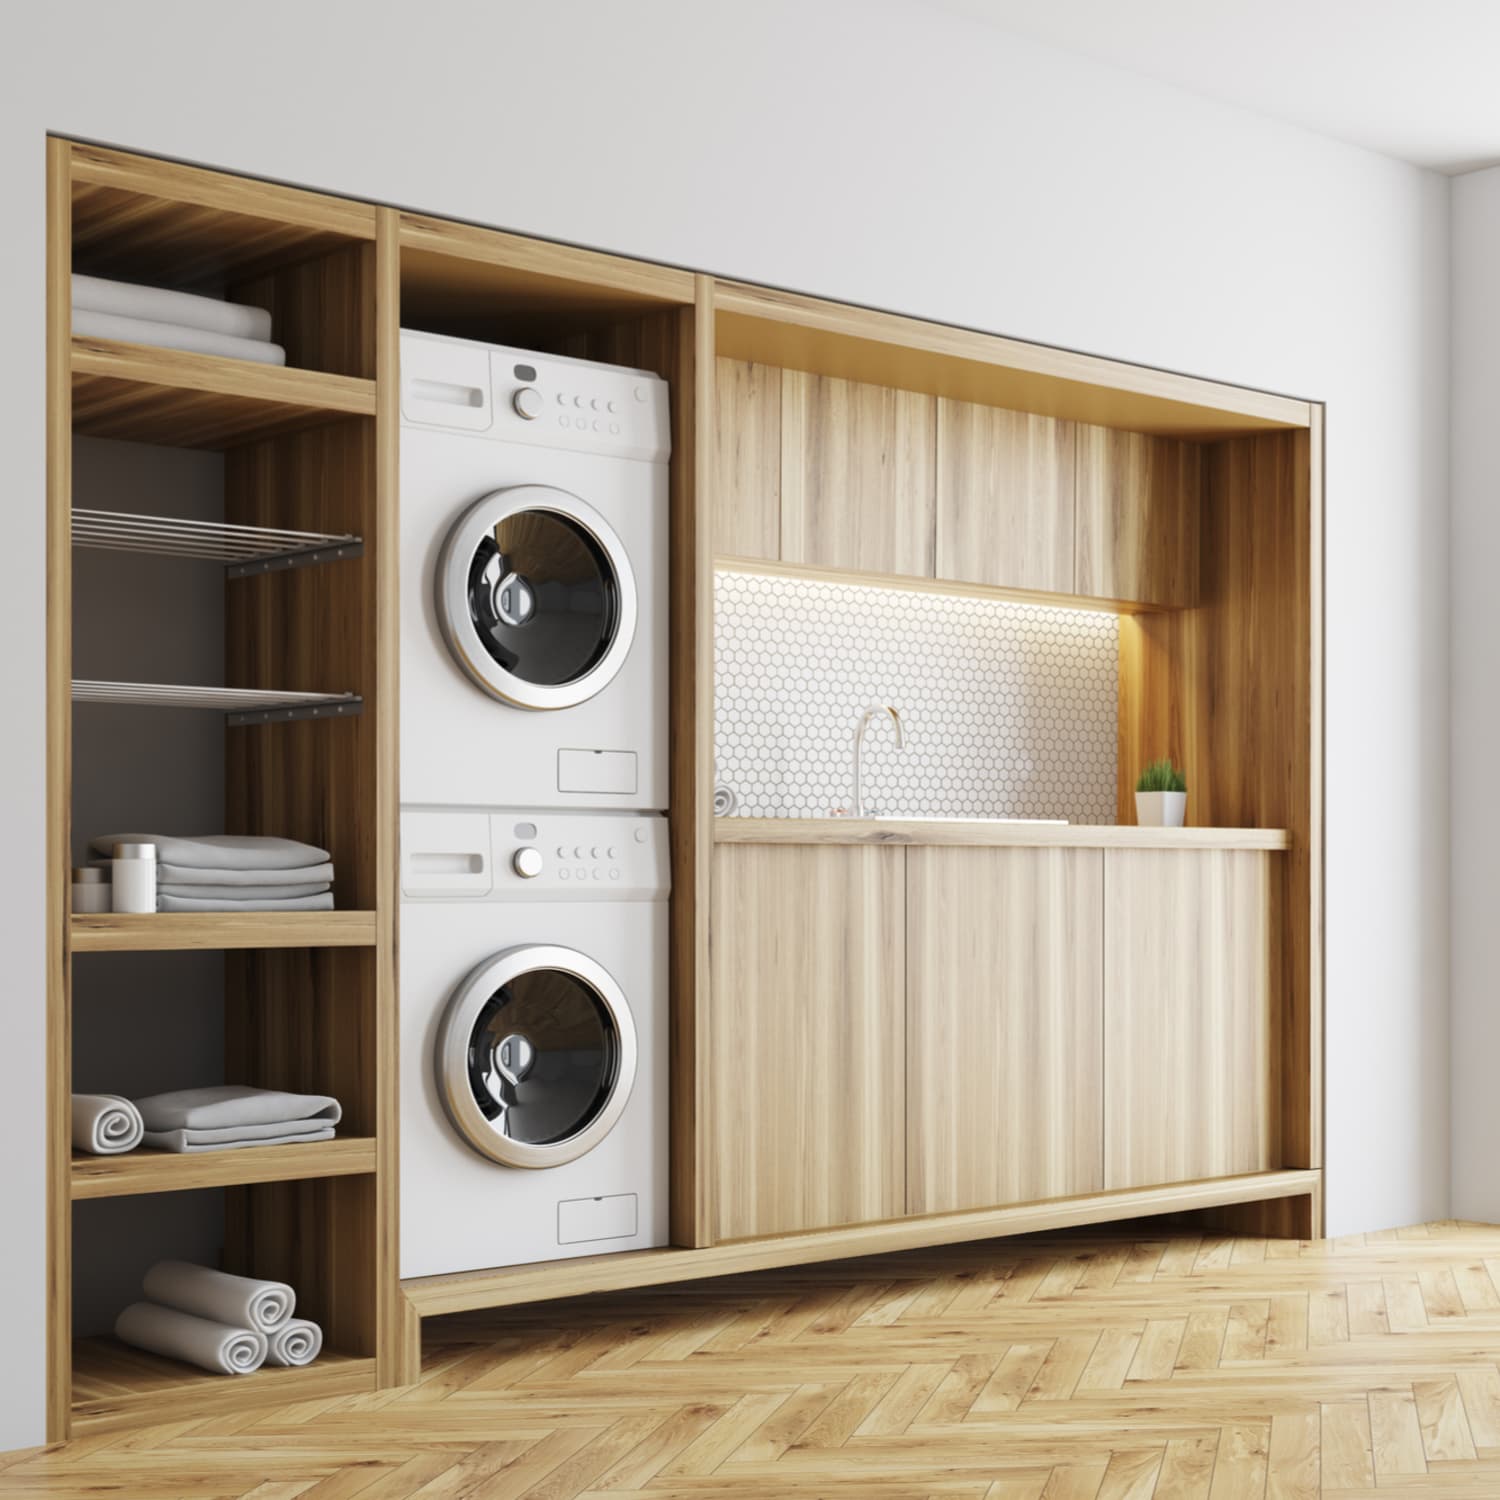
Removing a stacked washer and dryer can be a daunting task, especially if you have never done it before. However, with the right tools, a little patience, and some careful planning, you can successfully separate and move these appliances without any hassle. Whether you are upgrading your laundry room, relocating your appliances, or performing maintenance, this article will guide you through the step-by-step process of efficiently removing a stacked washer and dryer.
Before you begin the process, it is important to note that safety should always be your top priority. Be sure to read and follow the manufacturer’s instructions for your specific make and model to ensure you are taking the necessary precautions. Additionally, always make sure to shut off any relevant power supply and water connections before proceeding with any work.
Now, let’s get started on the journey of removing a stacked washer and dryer!
Key Takeaways:
- Safely and efficiently remove a stacked washer and dryer by following step-by-step instructions, prioritizing safety, and using the right tools and equipment.
- Take the necessary precautions, such as disconnecting electrical and plumbing connections, and seek assistance if needed to successfully move and potentially reinstall your washer and dryer units.
Read more: How Tall Is A Stacked Washer Dryer
Step 1: Gather necessary tools and equipment
Before you can begin the process of removing a stacked washer and dryer, it is important to gather all the necessary tools and equipment. By having these items on hand, you can ensure a smooth and efficient process. Here are the essential tools you will need:
- Adjustable wrench or pliers: These tools will be used to disconnect any plumbing connections.
- Screwdriver: Depending on the make and model of your appliances, you may need a screwdriver to remove any screws securing the units together.
- Moving straps or harnesses: These will be helpful for lifting and maneuvering the heavy appliances.
- Furniture dolly: A dolly will make it easier to transport the washer and dryer units, especially if you need to navigate stairs or uneven surfaces.
- Protective gloves: To protect your hands during the removal process.
It is also a good idea to have someone else to assist you during this process. The extra set of hands can make the job safer and more efficient.
Once you have gathered all the necessary tools and equipment, you are ready to move on to the next step: disconnecting the electrical and plumbing connections.
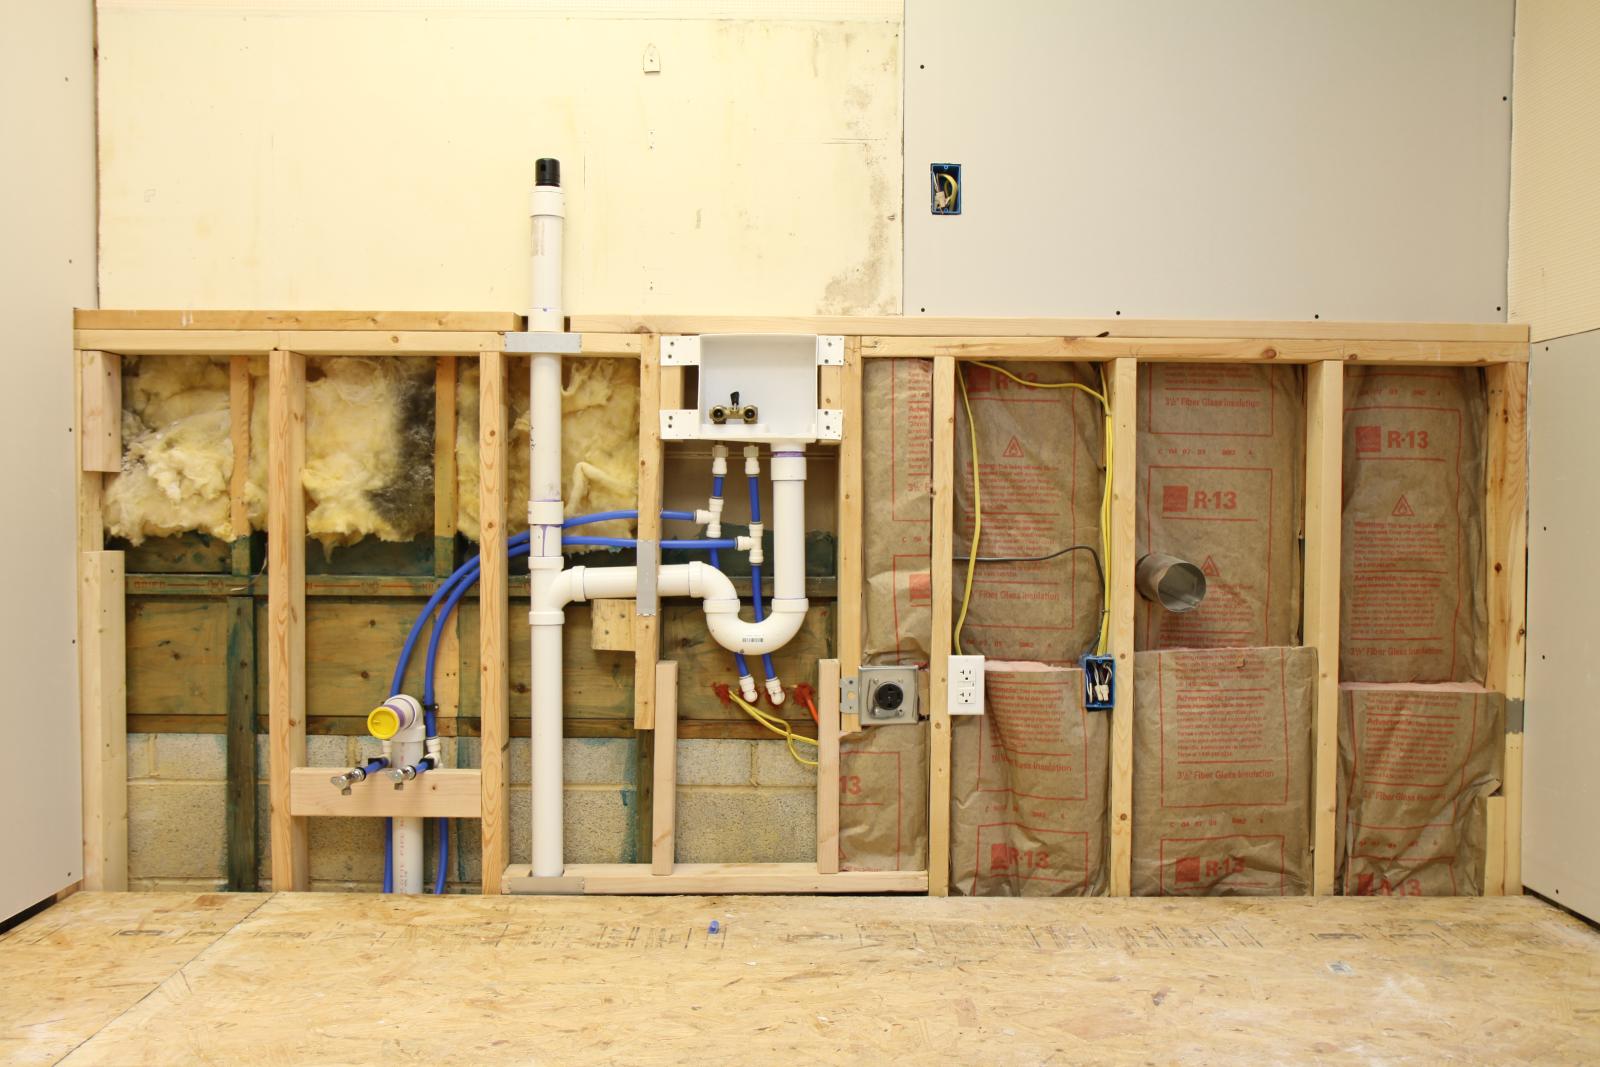
Step 2: Disconnect the electrical and plumbing connections
Before you can start separating the stacked washer and dryer units, you need to disconnect the electrical and plumbing connections. Here’s how to do it:
- Start by unplugging both the washer and dryer from their respective electrical outlets. This will ensure that there is no risk of electrical shock during the removal process.
- If your appliances are connected to a single power source, locate the power cord that connects the washer and dryer. Unplug this cord from the wall outlet or power strip.
- Next, turn off the water supply valves for the washer. You can usually find these valves behind the unit or on a nearby wall. Rotate the valves clockwise to shut off the water flow.
- Once the water supply is turned off, use an adjustable wrench or pliers to disconnect the hoses from the back of the washer. Be prepared for some water to drain out, so have a bucket or towels handy to catch any spills.
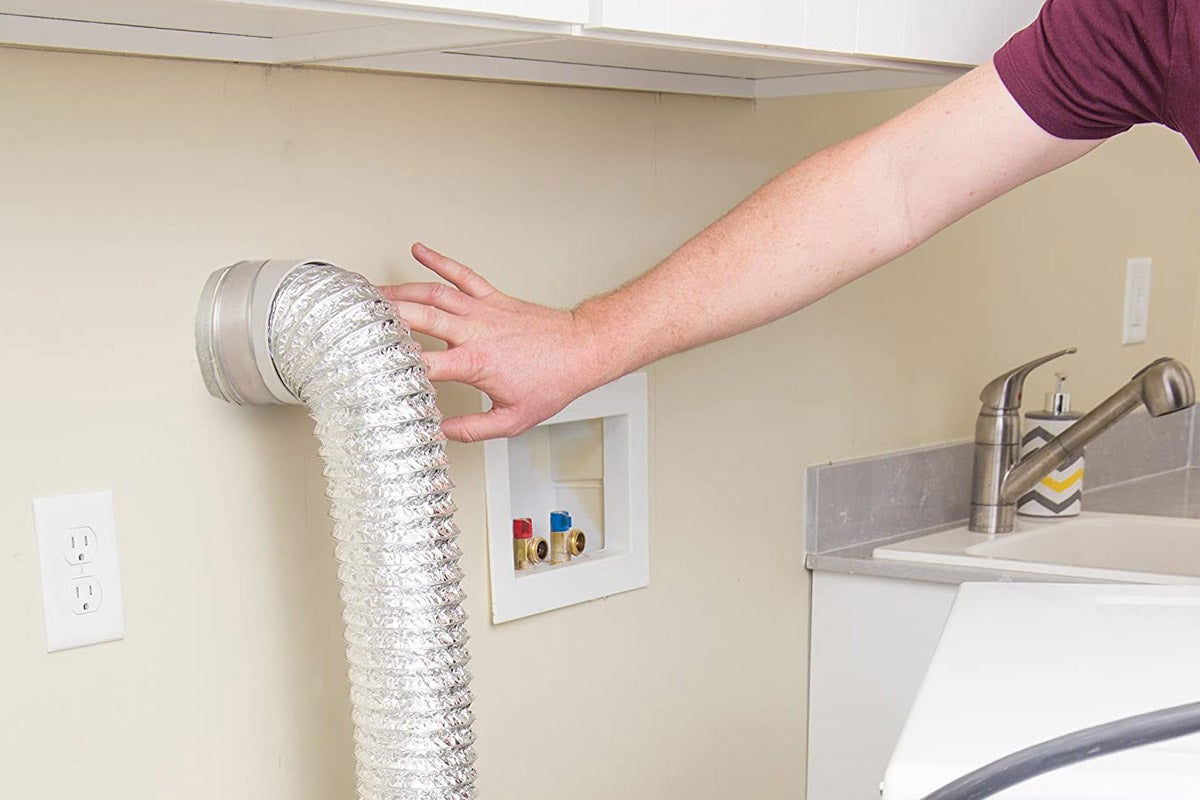
- If the dryer is vented, locate the vent hose that connects the dryer to the outside. Loosen the hose clamp and carefully disconnect the vent hose from both the dryer and the external vent. Make sure to secure the hose to prevent any dust or debris from escaping into the room.
It is crucial to properly disconnect the electrical and plumbing connections before moving the appliances to avoid any damage or accidents. Once you have successfully disconnected the connections, you can proceed to the next step: removing the dryer from the top.
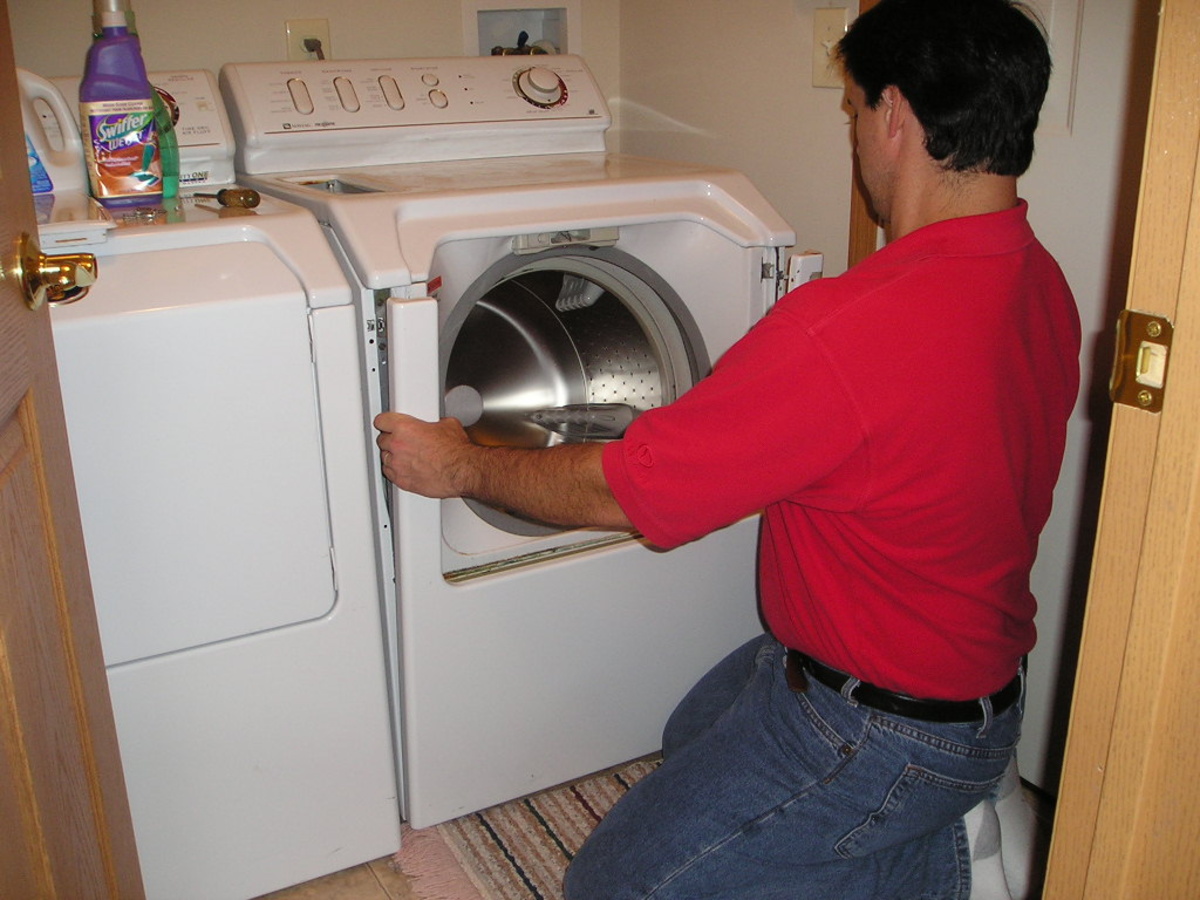
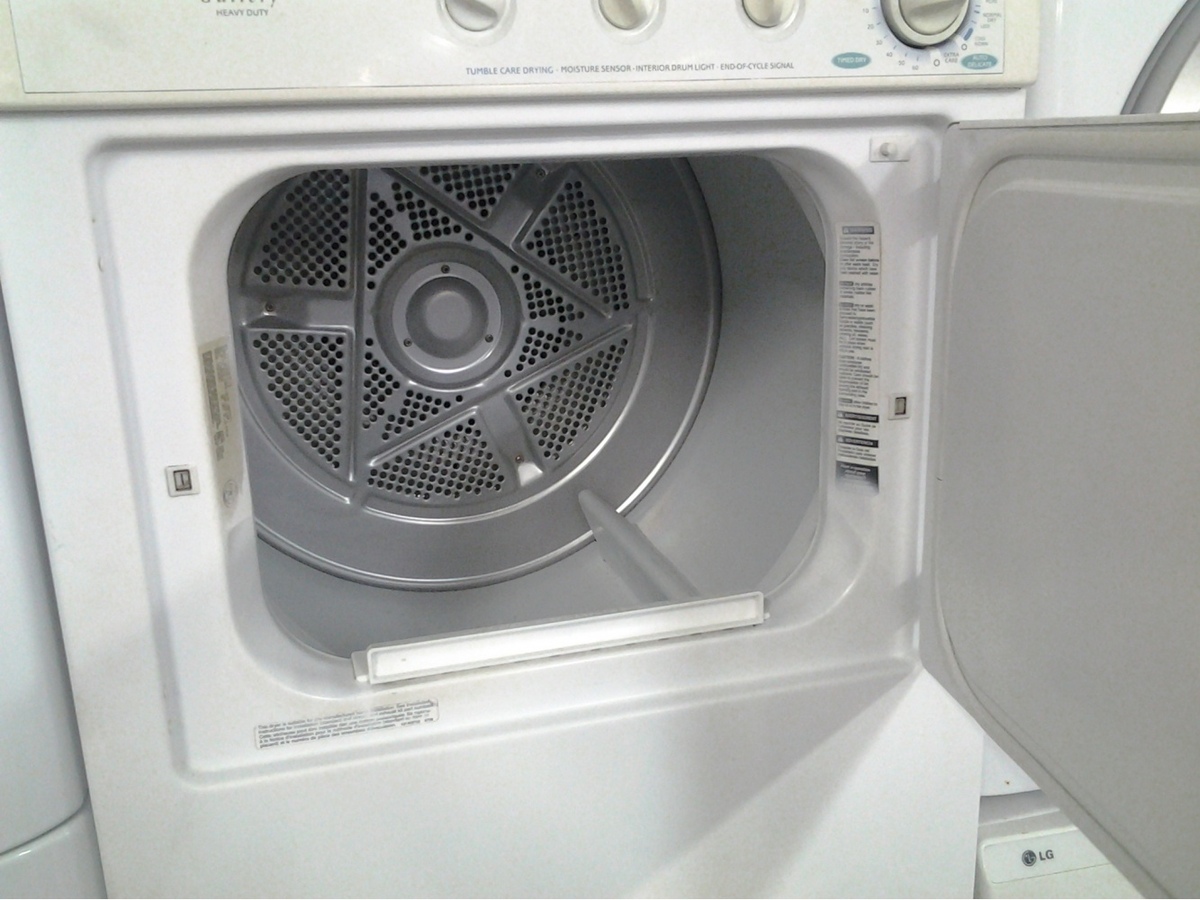
Step 3: Remove the dryer from the top
With the electrical and plumbing connections disconnected, you can now move on to removing the dryer from the top of the stacked washer and dryer units. This step requires caution and careful handling to avoid any damage or injury. Follow these steps to safely remove the dryer:
- Start by locating any securing brackets or screws that connect the dryer to the washer or the wall. These are typically found on the back or sides of the unit. Use a screwdriver to remove any screws or bolts.
- If your dryer is attached to the washer, gently push the dryer away from the washer to create some separation.
- Once you have created enough space between the two units, carefully lift and tilt the dryer backward. It may be helpful to have someone assist you in stabilizing the unit as you lift.
- Move the dryer away from the top of the washer and place it in a safe area. Be mindful of any obstacles or tight spaces, and use caution to prevent any unnecessary damage.
Remember to take your time and be gentle when removing the dryer. It is important to avoid any sudden movements or pulling that could cause injury or damage to the appliances. Once you have successfully removed the dryer, you can proceed to the next step: unstacking the washer and dryer units.
Before removing a stacked washer and dryer, make sure to disconnect the power and water supply. Use a moving dolly to carefully transport the units, and have a friend assist to prevent injury.
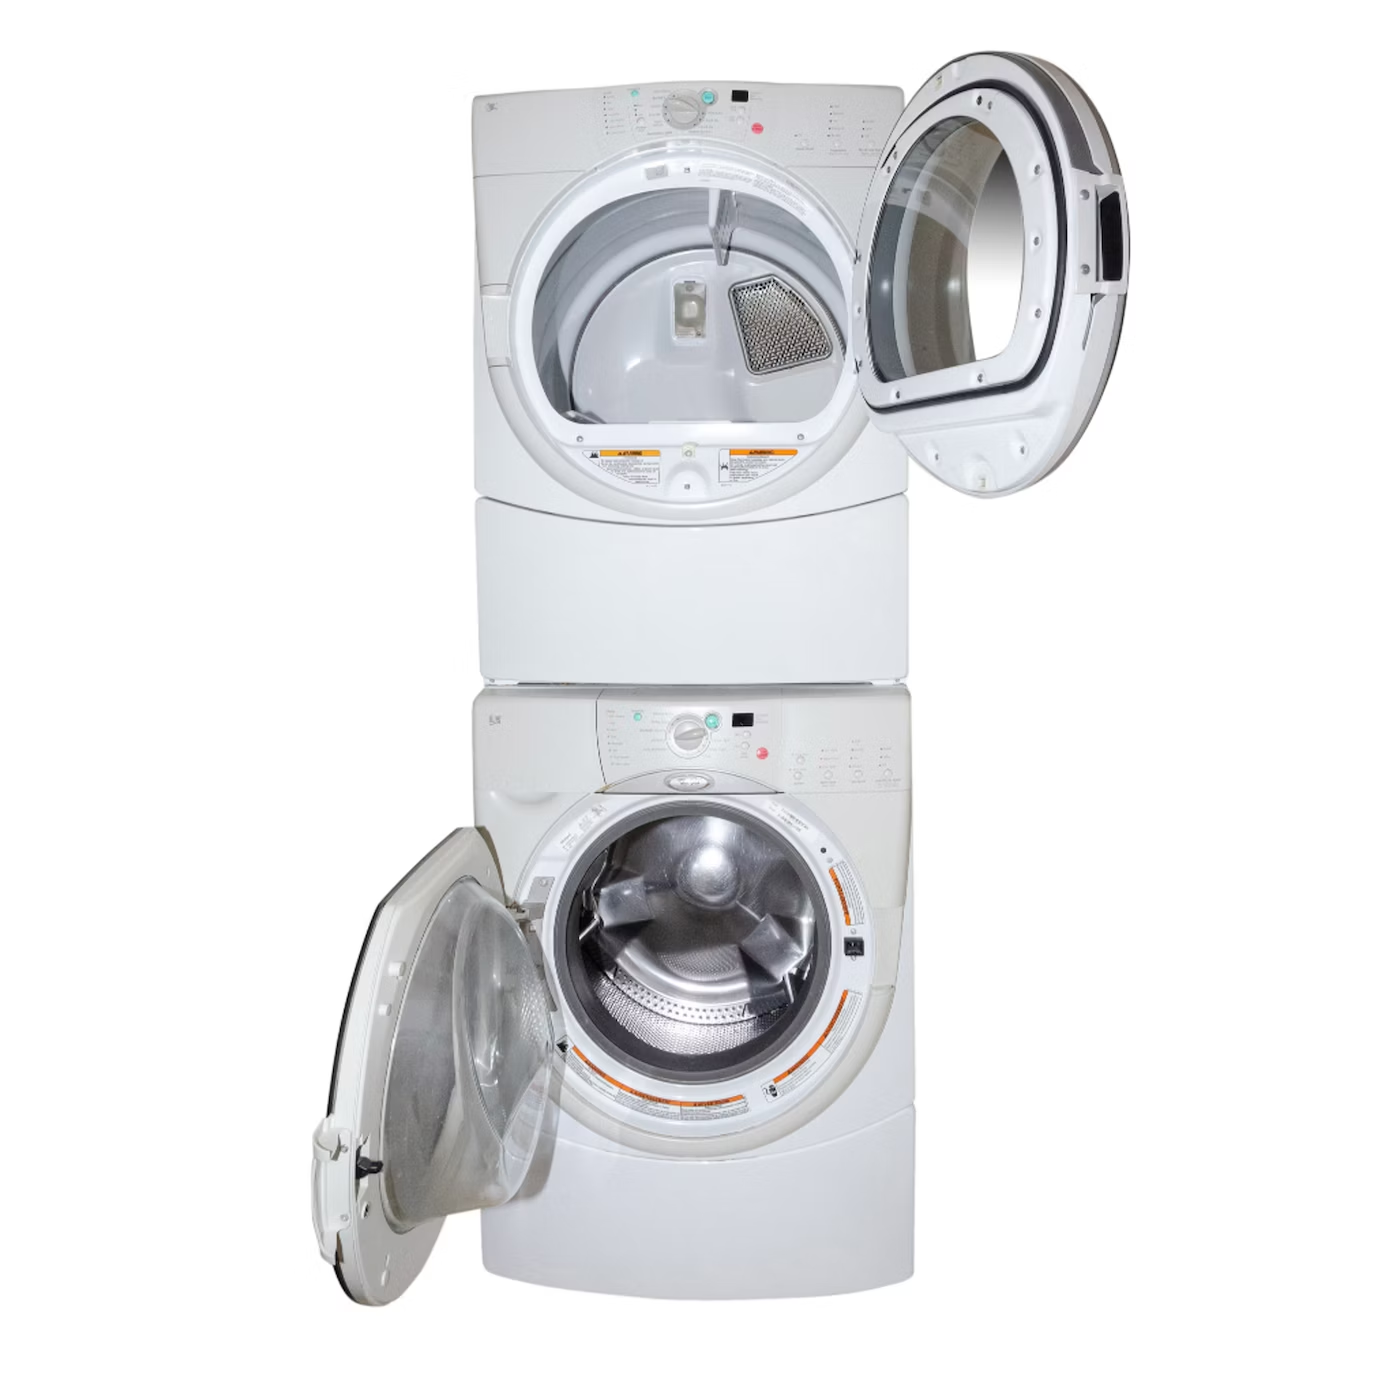
Step 4: Unstack the washer and dryer units
Now that you have removed the dryer, it’s time to unstack the washer and dryer units. This step requires careful maneuvering and positioning to safely separate the two appliances. Follow these steps to unstack the units:
- Ensure that the area where you plan to unstack the appliances is clear and provides enough space for both units.
- Locate the stacking kit or brackets that are used to secure the washer and dryer units together. These are usually found at the front or sides of the appliances.
- Use a screwdriver to remove any screws or bolts that are holding the units together. Make sure to keep these screws in a safe place for reassembly, if necessary.
- Gently slide the washer forward, away from the dryer. Be mindful of any wires or hoses that may still be connected to the washer, and make sure to disconnect them if necessary.
- Once the washer is separated from the dryer, carefully lower it to the ground. If needed, use a furniture dolly to assist in maneuvering and moving the washer to its new location.
- With the washer unit safely removed, you can now focus on repositioning or relocating the dryer if necessary. Follow the same steps as outlined earlier to move the dryer to its desired location, using caution and assistance if needed.
Remember to take your time and be cautious when unstacking the washer and dryer units. Pay attention to any connections or wires that may still be attached, and ensure that they are properly disconnected before moving the appliances. Once you have successfully unstacked the units, you can proceed to the next step: moving the washer and dryer units separately.
Read more: How To Hide A Stacked Washer Dryer
Step 5: Move the washer and dryer units separately
Now that you have successfully unstacked the washer and dryer units, it’s time to move them to their new location. Moving these heavy appliances requires careful planning and the use of proper techniques to prevent any injuries or damage. Follow these steps to move the washer and dryer units separately:
- Before moving the appliances, ensure that the path is clear of any obstacles or hazards. Clear any furniture, rugs, or objects that may obstruct your way.
- If you are moving the appliances to another room or a different floor, consider using a furniture dolly. Place the washer or dryer securely onto the dolly, making sure it is properly balanced and stable.
- When maneuvering the appliances, use caution and take extra care when going through doorways or around tight corners. Keep the appliances steady and avoid any sudden movements that may cause them to tip or fall.
- If you encounter any stairs during the move, it is advisable to have a helper assist you. Use the appropriate dolly and lifting techniques to safely navigate the stairs, taking your time and maintaining control over the appliances.
- Once you have reached the desired location, carefully lower the washer or dryer onto the floor. Make sure they are placed on a level surface to ensure stability.
- If you are reassembling the stacked washer and dryer in a different location, follow the manufacturer’s instructions and use the previously removed screws or brackets to secure the units together.
Remember to always prioritize safety while moving the washer and dryer units. Lift with your legs, not your back, and use proper lifting techniques to prevent strains or injuries. Take breaks if needed and ask for assistance if the appliances are too heavy to lift on your own.
Once you have successfully moved the washer and dryer units to their new locations, you can proceed to the final step: reinstalling the washer and dryer (if applicable).
Step 6: Reinstall the washer and dryer (if applicable)
If you are planning to reinstall the washer and dryer in the same or a different location, this step will guide you through the process. Follow these steps to properly reinstall the washer and dryer:
- Ensure that the desired location for the appliances is suitable and provides the necessary electrical and plumbing connections.
- If you had previously disconnected any electrical or plumbing connections, now is the time to reconnect them. Refer to the manufacturer’s instructions for proper installation guidelines.
- Position the washer in its designated spot, making sure it is level and stable. Adjust the leveling feet, if necessary, to achieve a balanced position.
- If your washer has hoses, connect them to the water supply lines using an adjustable wrench or pliers. Make sure to tighten the connections to prevent any leaks.
- For the dryer, position it in its designated spot and ensure that it is level as well. Adjust the leveling feet, if needed.
- If the dryer is vented, reconnect the vent hose to both the dryer and the external vent. Secure the hose with a hose clamp to ensure a tight connection.
- If you had previously stacked the units, use the provided stacking kit or brackets to secure the washer and dryer together. Follow the manufacturer’s instructions for proper installation.
Take your time during the reinstallation process to ensure that the appliances are correctly positioned and all connections are secure. It is essential to double-check all connections to prevent any potential leaks or electrical issues.
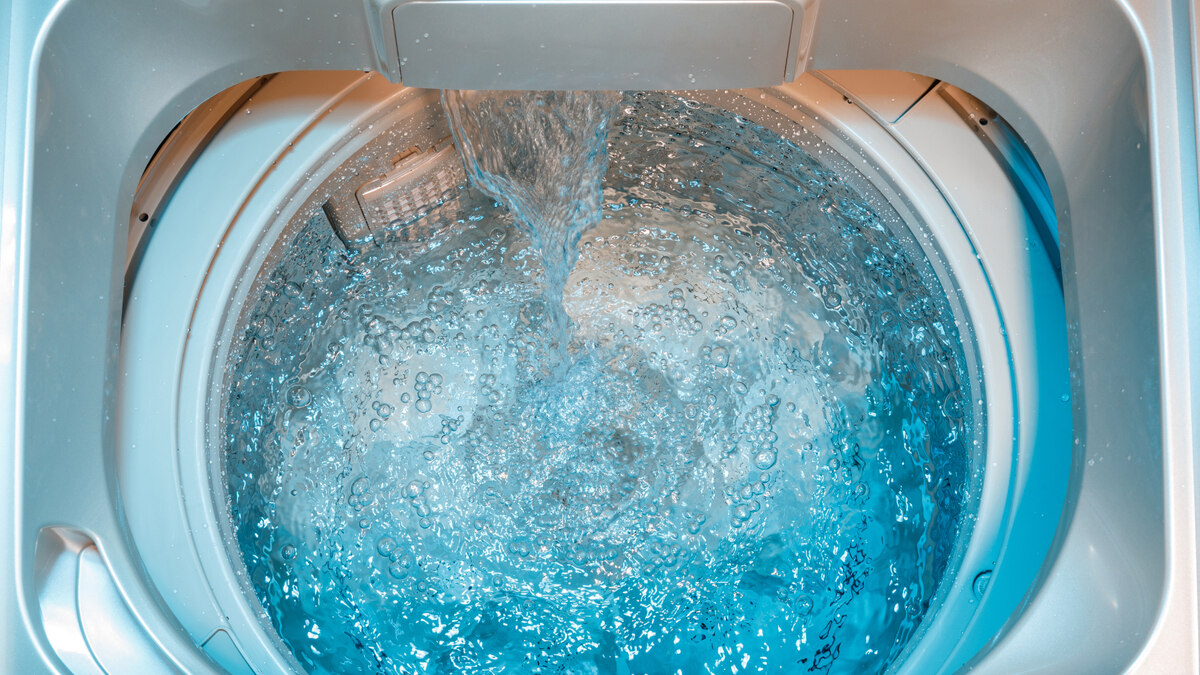
Once the washer and dryer are successfully reinstalled, you can test their functionality to ensure everything is working properly. Run a test cycle on the washer and check for any leaks or malfunctions. Similarly, turn on the dryer to ensure that it is heating and drying clothes as expected.
Congratulations! You have now completed the process of removing, unstacking, moving, and potentially reinstalling your washer and dryer units. By following these steps and taking the necessary safety precautions, you have successfully accomplished the task at hand. Now you can enjoy the flexibility of your newly separated washer and dryer units or the updated arrangement in your laundry space.
Remember, if you encounter any difficulties during the process or if you are unsure about any steps, it is always best to consult the manufacturer’s instructions or seek assistance from a professional.
Conclusion
Removing a stacked washer and dryer may seem like a daunting task, but with careful planning and attention to detail, it can be done efficiently and safely. By following the step-by-step process outlined in this article, you can successfully separate and move your appliances as needed.
Remember, safety should always be your top priority. Make sure to disconnect any electrical and plumbing connections before attempting to remove the units. Use the proper tools and equipment, such as adjustable wrenches, screwdrivers, moving straps, and furniture dollies, to facilitate the process.
Take your time and exercise caution when removing the dryer from the top and unstacking the washer and dryer units. Ensure you have a clear path and adequate space for maneuvering. If necessary, don’t hesitate to ask for assistance from a helper to ensure the process goes smoothly.
When moving the washer and dryer units separately, make sure to lift with proper technique and use a furniture dolly if necessary. Take extra care when navigating stairs or tight corners to avoid any accidents or damage to the appliances.
If you choose to reinstall the washer and dryer, consult the manufacturer’s instructions and properly reconnect the electrical and plumbing connections. Verify that the units are properly leveled and secure to prevent any issues in the future.
Always test the functionality of the washer and dryer after reinstallation to ensure they are working correctly. Address any leaks or malfunctions promptly to avoid further complications.
By following these guidelines, you can successfully remove a stacked washer and dryer, reconfigure your laundry space, or relocate your appliances without any hassle. Remember to prioritize safety, take your time, and seek professional assistance if needed. Enjoy your newly separated or reinstalled washer and dryer units!
Frequently Asked Questions about How To Remove A Stacked Washer And Dryer
Was this page helpful?
At Storables.com, we guarantee accurate and reliable information. Our content, validated by Expert Board Contributors, is crafted following stringent Editorial Policies. We're committed to providing you with well-researched, expert-backed insights for all your informational needs.


0 thoughts on “How To Remove A Stacked Washer And Dryer”