Articles
How To Prepare Soil For A Vegetable Garden
Modified: October 20, 2024
Learn how to prepare the perfect soil for your vegetable garden with our expert gardening tips and techniques. Enhance your gardening experience and grow healthy, thriving vegetables.
(Many of the links in this article redirect to a specific reviewed product. Your purchase of these products through affiliate links helps to generate commission for Storables.com, at no extra cost. Learn more)
Introduction
Gardening is a rewarding and enjoyable activity that allows you to connect with nature, grow your own food, and beautify your outdoor space. One essential aspect of successful gardening is preparing the soil for planting. The quality of the soil directly impacts the growth and health of your plants.
When it comes to starting a vegetable garden, proper soil preparation is crucial. It involves a series of steps that aim to improve soil fertility, structure, and drainage. By taking the time to prepare your soil correctly, you can create an optimal environment for your vegetables to thrive.
In this article, we will guide you through the process of preparing your soil for a vegetable garden. Whether you are a beginner or an experienced gardener, these steps will help you create an ideal growing environment for your plants, leading to bountiful harvests.
Key Takeaways:
- Create an optimal environment for your vegetable garden by clearing the area, testing the soil, adding organic matter, and adjusting pH levels. These steps ensure nutrient-rich soil for bountiful harvests.
- Enhance the growth of your vegetable garden by diligently removing weeds, adding fertilizer, and creating organized rows or raised beds. Consistent watering and ongoing soil maintenance are key to successful gardening.
Read more: How To Prepare Soil For Wildflower Seeds
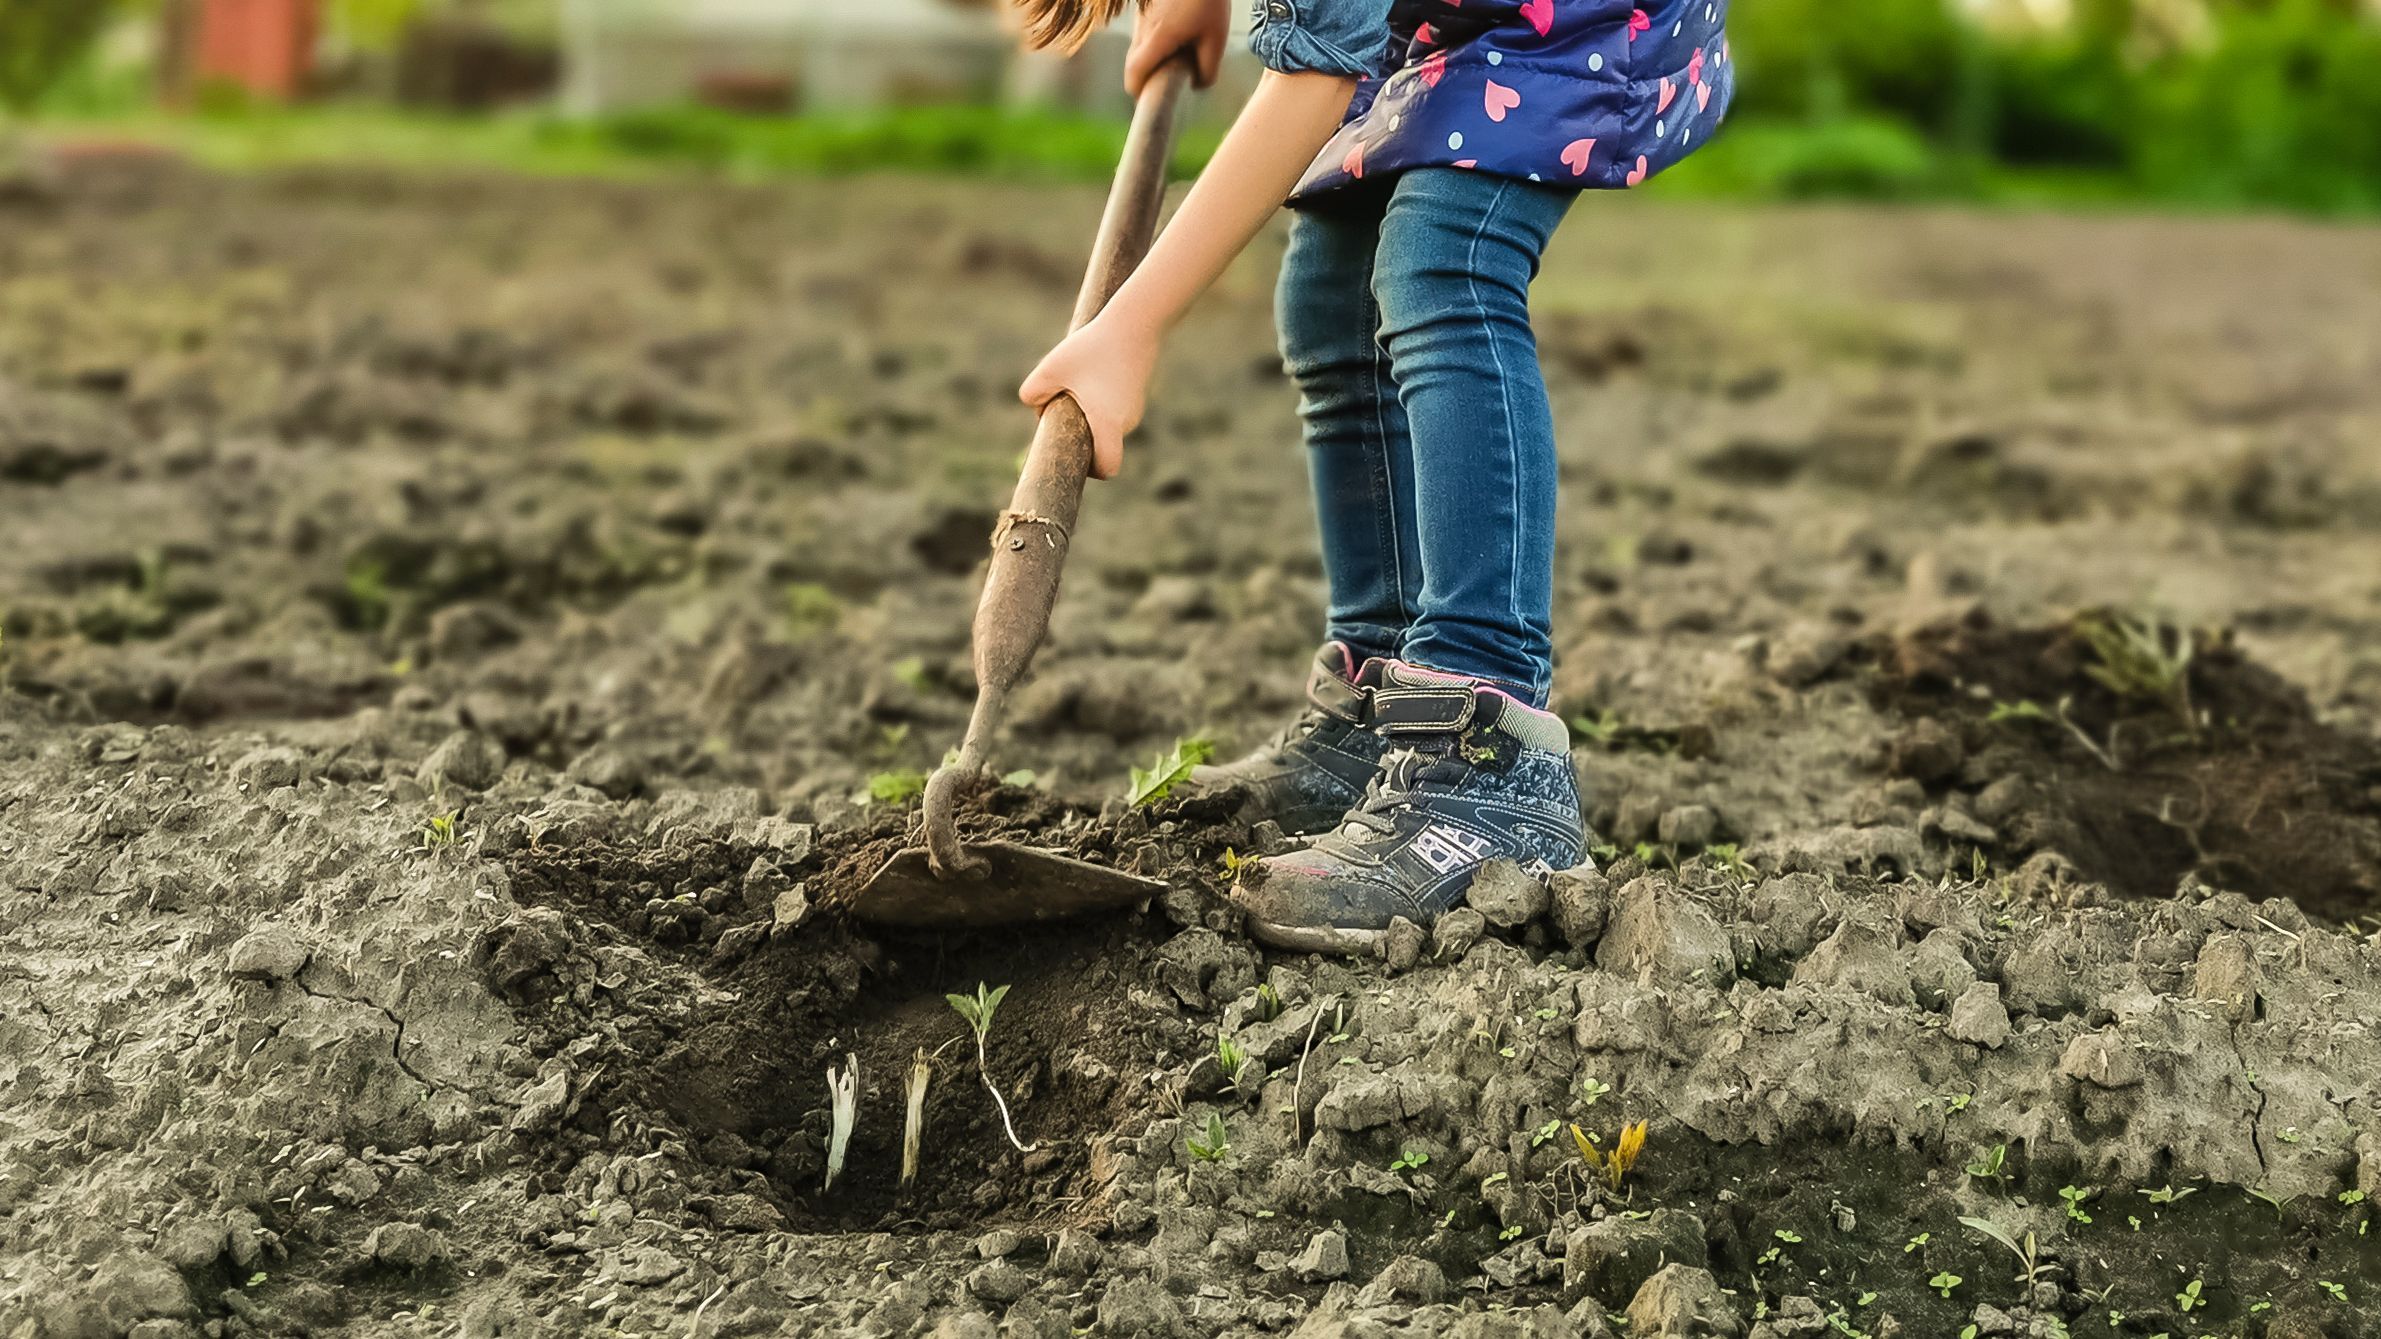
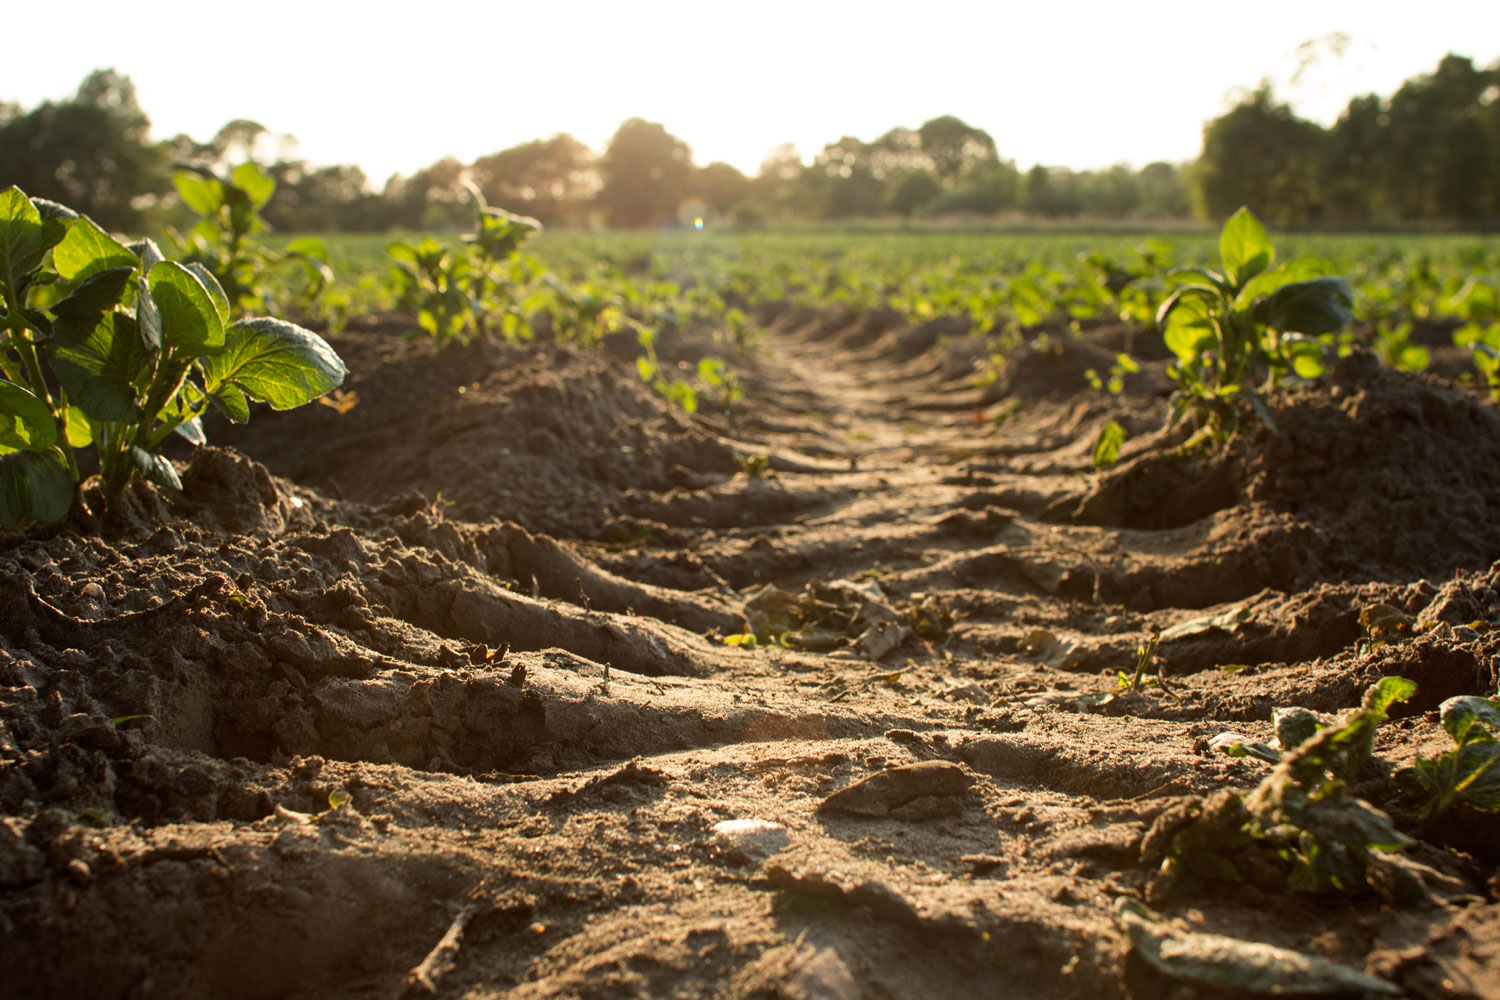
Step 1: Clearing the Area
The first step in preparing your soil for a vegetable garden is to clear the area of any existing vegetation or debris. Remove any weeds, grass, or plants that may interfere with your vegetable garden’s growth. Use a shovel or garden hoe to uproot the weeds, making sure to remove the entire root system to prevent regrowth.
It is essential to clear the area thoroughly to create a clean slate for your vegetable garden. Removing grass and weeds prevents them from competing with your vegetables for nutrients, sunlight, and water resources.
If the area is covered with other plants or vegetation, you may need to use a weed killer or herbicide. However, it is important to choose an eco-friendly option that will not harm the environment or the soil’s health. Read the instructions carefully and apply the weed killer according to the manufacturer’s recommendations.
Once you have cleared the area, it is a good idea to lay down a weed barrier or landscape fabric. This layer will further suppress weed growth and help maintain a clean and tidy garden. Cut the barrier or fabric to the size of your garden bed and secure it in place with staples or garden stakes.
By clearing the area thoroughly and using a weed barrier, you are setting the foundation for a weed-free and well-organized vegetable garden.
Step 2: Testing the Soil
Testing the soil is an important step in preparing your vegetable garden. Soil testing provides valuable information about the nutrient content and pH level of your soil, allowing you to make informed decisions about necessary amendments.
To test your soil, you can purchase a soil testing kit from a garden center or send a sample to a professional laboratory for analysis. A soil testing kit typically includes instructions on how to collect a soil sample and interpret the results.
The soil test will reveal important information such as the pH level, which is a measure of the soil’s acidity or alkalinity. Most vegetables prefer a slightly acidic soil with a pH level between 6.0 and 7.0. If the pH level is too high or too low, you may need to make adjustments to create the right conditions for your vegetables to thrive.
In addition to pH, the soil test will also provide information on nutrient levels, including nitrogen, phosphorus, and potassium. These nutrients are essential for plant growth, and having an understanding of their availability in the soil will help you determine whether any amendments are necessary.
Based on the soil test results, you may need to add organic matter or mineral supplements to improve the soil’s fertility and balance. This will ensure that your vegetables have access to the necessary nutrients for healthy growth and development.
By testing the soil before planting, you can address any deficiencies or imbalances to create an ideal growing environment for your vegetable garden.
Step 3: Removing Weeds and Debris
Before you start prepping your soil for a vegetable garden, it’s important to remove any remaining weeds or debris that may hinder plant growth and nutrient absorption. Weeds are notorious for competing with your vegetables for essential resources like water, sunlight, and nutrients.
Take the time to inspect the area carefully, paying close attention to any weeds that might have sprouted since you cleared the area initially. Use a garden hoe, hand trowel, or your hands to remove the weeds, ensuring that you extract the roots to prevent regrowth. Be thorough in this process to give your vegetable plants the best chance at success.
In addition to weeds, you should also remove any other debris such as rocks, sticks, or leftover plant parts. These can obstruct root penetration and interfere with the overall health of your plants.
By diligently removing weeds and debris, you create a clean and weed-free environment for your vegetable garden. This ensures that your plants have maximum access to resources and reduces the likelihood of pests and diseases.
Consider adding the pulled weeds and debris to your compost pile, if you have one, to recycle and enrich your compost for future use in the garden.
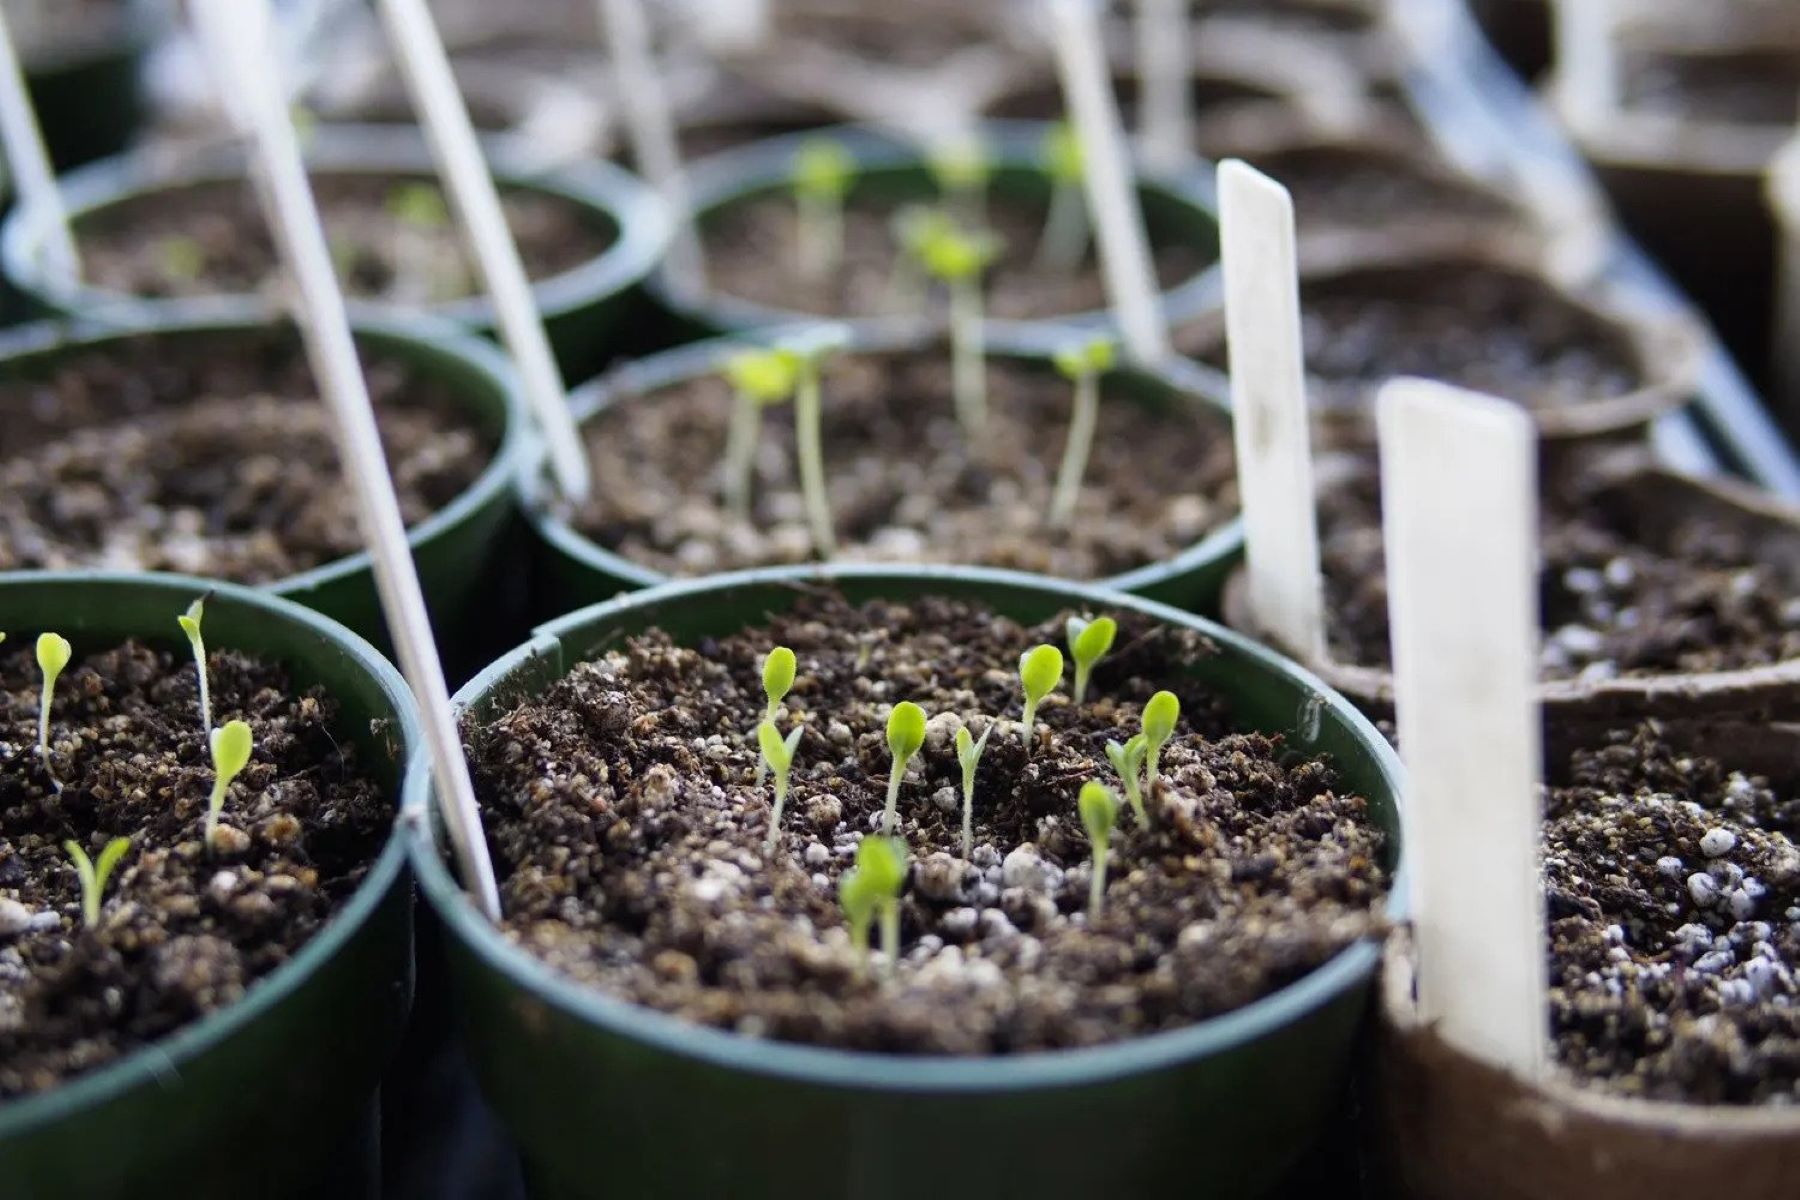
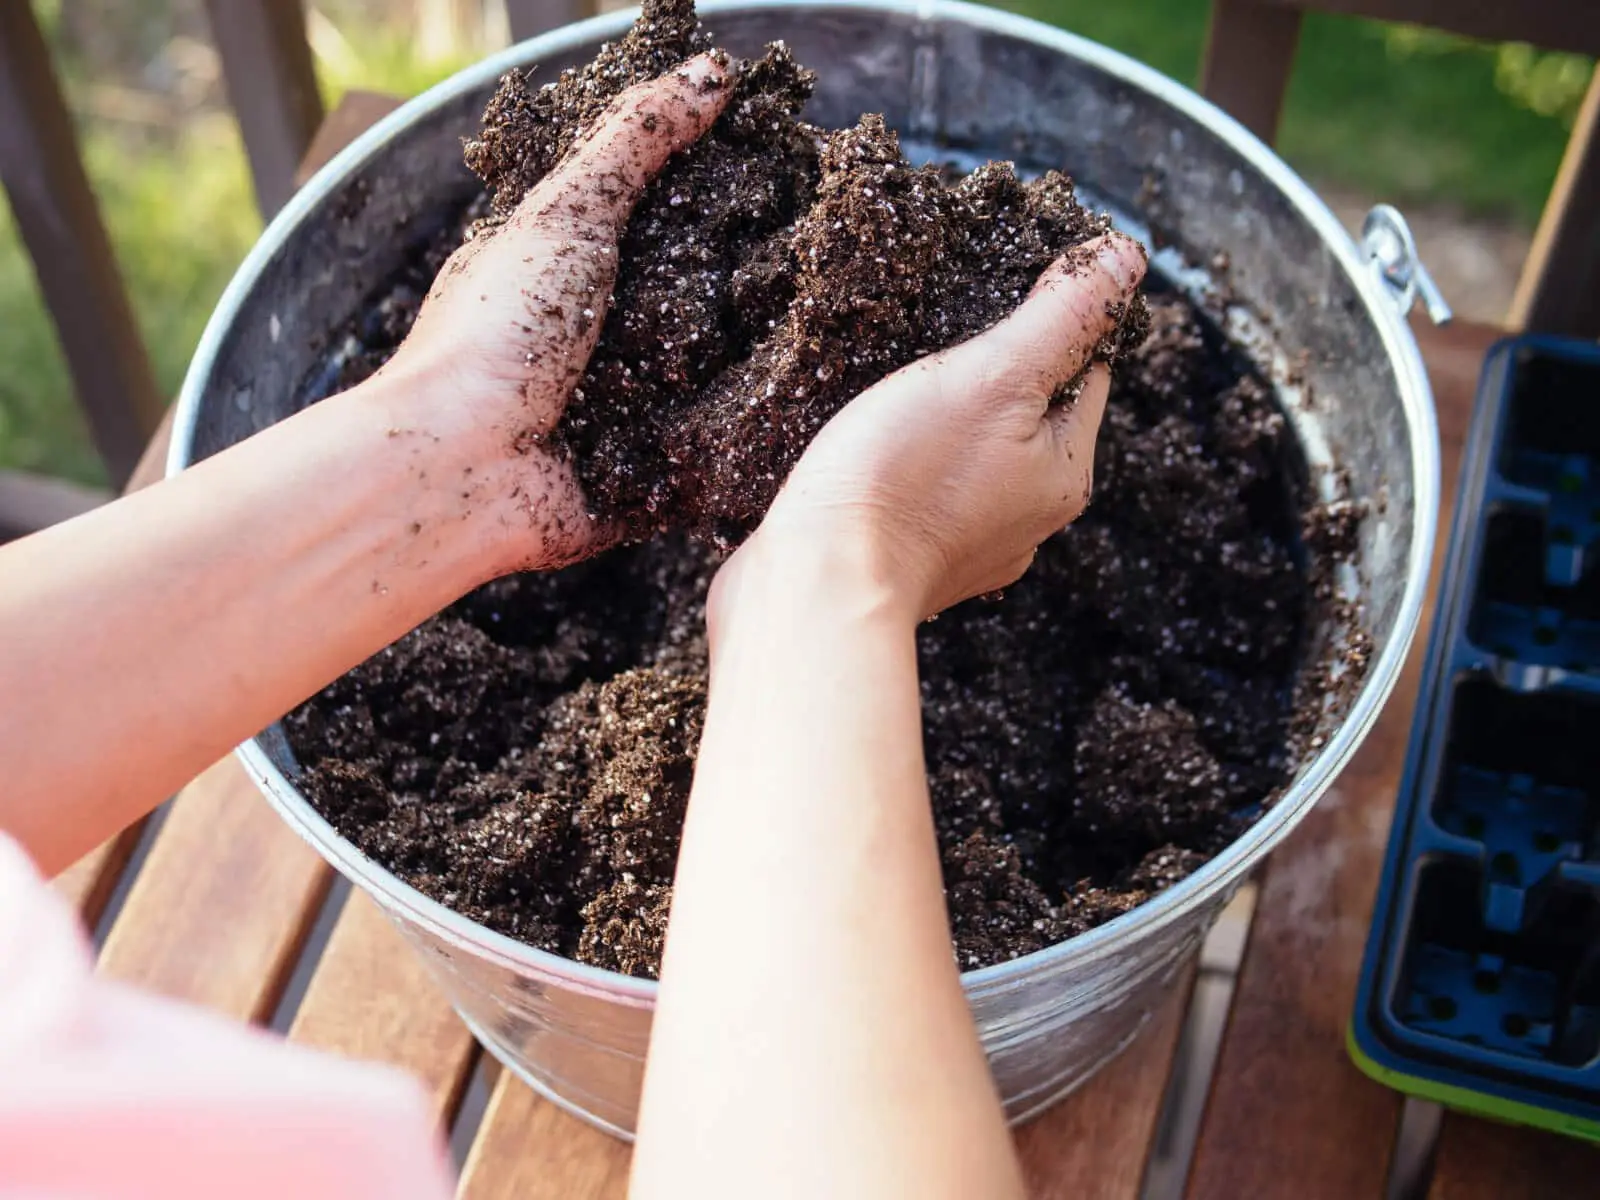
Step 4: Adding Organic Matter
Organic matter is the key to improving soil structure, fertility, and overall health. It provides essential nutrients, improves moisture retention, and promotes a thriving ecosystem of beneficial microorganisms. Adding organic matter to your vegetable garden soil is a critical step in preparing it for optimal plant growth.
There are several types of organic matter you can incorporate into your soil, such as compost, aged manure, leaf mold, and cover crops. Compost is a popular choice as it provides a balanced mix of nutrients and improves soil structure.
To add organic matter, spread a layer of compost or well-rotted manure across the garden bed. Aim for a thickness of about 2-3 inches. Work the organic matter into the top few inches of soil using a garden fork or tiller. This helps distribute the nutrients and improve the soil’s texture. Ensure the organic matter is evenly mixed throughout the soil.
In addition to improving soil fertility, organic matter helps the soil retain moisture and promotes better drainage, preventing waterlogging during heavy rains. This is crucial for the healthy development of your vegetable plants.
Adding organic matter also contributes to the long-term health of your garden as it feeds beneficial soil organisms. These microorganisms break down organic matter, releasing nutrients in a form that is readily available to plants.
Remember to replenish the organic matter annually or as needed to maintain a healthy soil structure and nutrient content.
By incorporating organic matter into your soil, you create a nutrient-rich environment that supports vigorous vegetable growth and improves overall soil health.
Read more: How To Store Garden Soil
Step 5: Loosening the Soil
Loosening the soil is an important step in preparing your vegetable garden, as it helps improve aeration, drainage, and root penetration. When soil becomes compacted, it can restrict plant growth and hinder the absorption of water and nutrients.
To loosen the soil, start by using a garden fork or a tiller to break up any compacted areas. Begin at one end of the garden bed and work your way across, inserting the fork or tiller into the soil and gently turning it over. This action helps to break up clumps, loosen the soil structure, and allow for easier root development.
Be careful not to overwork the soil, as excessive tilling can disrupt the natural microbial activity and disturb the soil’s balance. Aim for a loose, crumbly texture without excessive clumps or large chunks.
In addition to hand tools, you can also use a technique called double digging. This method involves removing the topsoil from the bed, loosening the subsoil beneath to a depth of around 12 inches, breaking up any compacted layers, and then replacing the topsoil. This technique is particularly effective for heavy or clay soils.
Loosening the soil provides several benefits for your vegetable garden. It improves root penetration, allowing plants to access water, nutrients, and oxygen more easily. It also enhances drainage, preventing waterlogging and reducing the risk of root rot. Loose soil also promotes the growth of beneficial soil organisms.
Remember to avoid working the soil when it is excessively wet, as this can lead to soil compaction. Wait until the soil is slightly moist but not saturated.
By loosening the soil, you create an optimal growing environment that allows your vegetable plants to thrive and reach their full potential.
Before planting, test your soil’s pH and nutrient levels. Add organic matter like compost or aged manure to improve soil structure and fertility. This will help your vegetables thrive.
Step 6: Adjusting pH Levels
The pH level of your soil plays a crucial role in determining the availability of nutrients to your vegetable plants. Most vegetables thrive in slightly acidic soil with a pH level between 6.0 and 7.0. However, the pH of your soil may vary depending on your location and the type of vegetation previously grown in the area.
To adjust the pH of your soil, start by referring to the results of your soil test. If the pH level is too low (acidic), you can raise it by adding lime. Lime is commonly available in powdered or pellet form and can be spread evenly over the garden bed. Follow the instructions on the package for the recommended application rate based on your soil’s pH and the desired adjustment.
If, on the other hand, the pH level is too high (alkaline), you can lower it by adding organic matter such as compost or peat moss. These acidic materials help lower the pH over time as they break down and release organic acids. Mix the organic matter into the soil during the preparation process to aid in adjusting the pH.
It’s important to note that adjusting the pH of your soil is a gradual process, as sudden changes can stress the plants. Monitor the pH over time and make additional adjustments as needed, keeping in mind the specific pH requirements of the vegetables you plan to grow.
Regularly testing and maintaining the proper pH level in your soil allows your vegetable plants to efficiently absorb nutrients, leading to healthier growth and better yields.
Step 7: Adding Fertilizer
Adding fertilizer to your soil is a vital step in preparing your vegetable garden for optimum plant growth. Fertilizers provide essential nutrients that may be lacking in the soil, promoting healthy development and maximizing yields.
Before applying fertilizer, it is crucial to consider the results of your soil test. This will help you determine which nutrients are deficient and require supplementation. Common nutrients found in fertilizers include nitrogen (N), phosphorus (P), and potassium (K), which are often represented by the NPK ratio listed on fertilizer packages.
When selecting a fertilizer, choose one specifically formulated for vegetable gardens. These blends typically have balanced nutrient ratios tailored to the needs of vegetables. Organic or slow-release fertilizers are excellent options as they release nutrients gradually over time, providing a steady supply to your plants.
The application rate and frequency of fertilization depend on the specific fertilizer and the requirements of your vegetable plants. Follow the instructions on the fertilizer package, as over-fertilizing can lead to nutrient imbalances and environmental pollution.
When applying fertilizer, distribute it evenly throughout the garden bed, taking care not to concentrate too much in one area. Use a garden rake or hoe to lightly incorporate the fertilizer into the top few inches of soil.
In addition to synthetic fertilizers, you can also incorporate organic amendments such as compost, aged manure, or worm castings. These organic materials not only provide nutrients but also improve soil structure, moisture retention, and microbial activity.
Regularly monitor your plants for signs of nutrient deficiencies or excesses. Adjust the fertilizer application as necessary to ensure your vegetables are receiving the nutrients they need for healthy growth.
Adding the right fertilizer to your soil helps create an environment rich in nutrients, setting the stage for robust and productive vegetable plants.
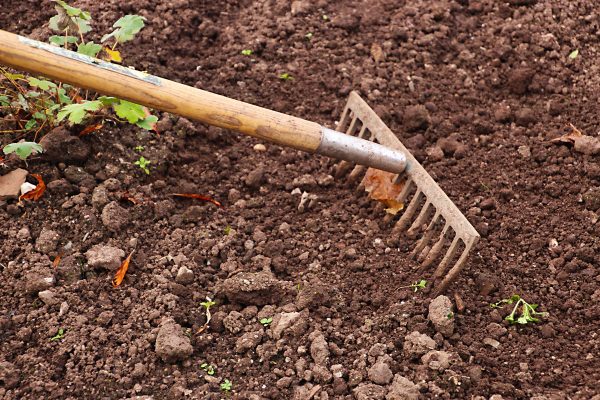
Step 8: Tilling the Soil
Tilling the soil is an essential step in preparing your vegetable garden, especially if you have compacted or heavy soil. Tilling loosens the soil, breaks up clumps, and prepares it for planting.
Start by using a garden tiller, a broadfork, or a garden fork to break up the soil. Begin at one end of the garden bed and work your way across, using a back-and-forth motion to turn over the soil. Aim for a depth of about 8-12 inches, which will provide enough space for root development.
It’s important to note that over-tilling can be detrimental to the soil structure and beneficial microbial ecosystem. Therefore, avoid excessive tilling, especially if your soil is already in good condition.
If you’re dealing with heavy or clay soil, consider introducing organic matter, such as compost or leaf mold, during the tilling process. This helps improve the soil structure, promoting better drainage and aeration.
After tilling, take the time to remove any remaining weeds, rocks, or other debris that might have come to the surface. Use a rake or garden hoe to level the soil and create a smooth, even surface for planting.
Keep in mind that frequent tilling every year may disrupt the beneficial ecosystem of microorganisms and earthworms in the soil. As an alternative, you can practice the “no-till” or “minimum-till” gardening approach, which involves incorporating organic matter directly onto the soil surface without disturbing the existing soil structure.
Tilling the soil prepares it for planting by creating a loose and fertile environment that allows roots to penetrate easily and water to drain efficiently. It is an important step to ensure the success of your vegetable garden.
Read more: How To Prepare For A Garden
Step 9: Creating Rows or Raised Beds
Creating rows or raised beds in your vegetable garden is a practical and efficient way to maximize your growing space and make it easier to manage. Both options offer benefits in terms of organization, soil drainage, and weed control.
Creating Rows:
If you choose to create rows, start by marking out the desired row spacing based on the recommendations for the vegetables you plan to grow. This spacing will vary depending on the specific plant’s requirements. Use a garden string or a straight edge to ensure straight rows.
With a garden hoe or a rake, loosen the soil in the marked-out rows. This helps to create a loose and friable growing space for your vegetable plants. Consider adding a layer of mulch or organic matter to help retain moisture and reduce weed growth.
Rows are particularly suitable for larger gardens where you have ample space to work with. They provide defined spaces for planting, cultivating, and harvesting, making it easier to access your plants. Additionally, rows simplify irrigation and make it more straightforward to apply fertilizers or other necessary treatments to specific areas.
Creating Raised Beds:
If you opt for raised beds, there are several advantages to consider. Raised beds provide better drainage, as the soil is elevated above ground level. This prevents waterlogging and promotes root health. Furthermore, the soil in raised beds warms up more quickly in spring, extending the growing season for your vegetables.
To create a raised bed, start by building a raised frame using wood, bricks, or other suitable materials. Ensure the bed’s width allows you to comfortably reach the center from either side without having to step on the soil. Fill the frame with a mixture of quality topsoil, compost, and organic matter, ensuring the bed is level and firmly packed.
With raised beds, you can also consider square foot gardening, a technique that maximizes space by dividing the bed into square foot sections for planting. This method ensures efficient use of space and simplifies crop rotation.
Regardless of whether you choose rows or raised beds, creating organized growing areas helps optimize your vegetable garden’s productivity and makes maintenance tasks more efficient.
Step 10: Watering the Soil
Watering is a critical aspect of caring for your vegetable garden and ensuring the proper growth and development of your plants. Establishing a consistent and effective watering routine is vital to keep your vegetables hydrated and thriving.
The frequency and amount of water needed will depend on several factors, including the specific vegetable varieties, weather conditions, and soil type. Generally, it’s recommended to water deeply and evenly, allowing the soil to absorb moisture to a depth of 6-8 inches.
When watering your vegetable garden, it’s best to water in the morning. This allows the foliage to dry before evening, reducing the risk of fungal diseases. Watering in the morning also ensures that the plants have sufficient moisture throughout the day, especially during hot summer months.
Avoid watering in the heat of the day, as much of the water may evaporate before it has a chance to reach the plants’ roots. Direct the water at the base of the plants, aiming for the soil rather than spraying the leaves. This helps to minimize water waste and prevents potential leaf diseases.
Consider using a soaker hose or drip irrigation system to deliver water directly to the plants’ root zones. These methods provide targeted and efficient watering, reducing the risk of overwatering or underwatering.
Regularly monitor the moisture level of the soil, checking for dryness by sticking your finger about an inch into the soil. If it feels dry, it’s time to water. Adjust your watering schedule based on rainfall and prevailing weather conditions, as excessive rainfall may reduce the need for supplemental watering.
Keep in mind that different vegetables have varying water requirements, so it is essential to research the specific needs of the vegetables you are growing. Factors such as the stage of growth and the weather will also influence their water needs.
By providing consistent and appropriate irrigation, you ensure that your vegetable plants receive the moisture they need to thrive and produce a bountiful harvest.
Conclusion
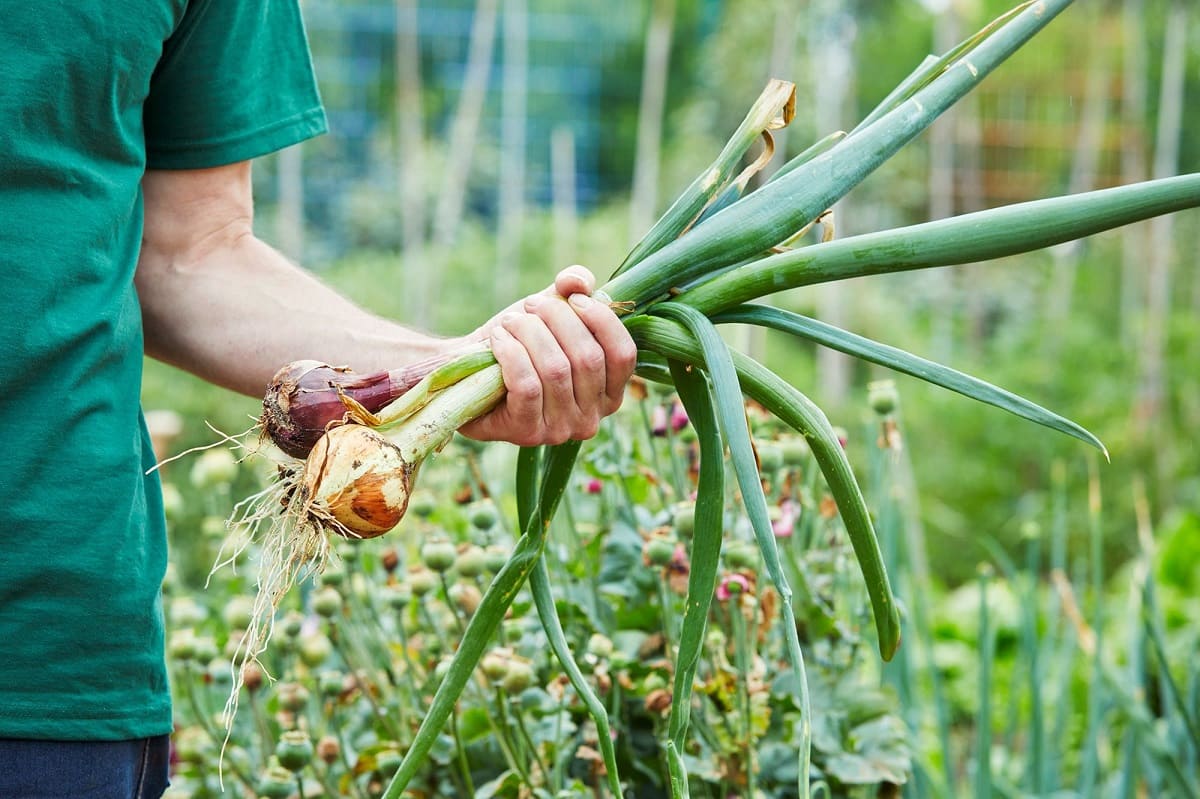
Preparing the soil for a vegetable garden is a crucial step in setting the stage for successful plant growth and abundant harvests. By following the steps outlined in this guide, you can create an optimal environment for your vegetables to thrive.
Clearing the area of weeds and debris creates a clean slate for your vegetable garden, eliminating competition for resources. Testing the soil provides valuable insights into its nutrient content and pH levels, allowing you to make informed decisions about necessary amendments.
Removing weeds and debris, adding organic matter, and loosening the soil improve soil structure, drainage, and nutrient availability. Adjusting the pH level ensures that your vegetables have access to the right acidity or alkalinity for optimal growth.
Adding fertilizer and tilling the soil further enhance nutrient availability and ensure that the soil is loose and well-prepared for planting. Creating rows or raised beds provides organization and ease of cultivation, while watering the soil adequately ensures your plants receive the necessary moisture.
Remember, gardening is a continuous process, and soil preparation should be an ongoing practice. Regularly monitor the health of your plants, make adjustments as needed, and maintain the fertility of your soil through proper care and maintenance.
By dedicating time and effort to prepare your soil correctly, you lay the foundation for a thriving vegetable garden that will reward you with a bountiful harvest and the joy of growing your own food.
Frequently Asked Questions about How To Prepare Soil For A Vegetable Garden
Was this page helpful?
At Storables.com, we guarantee accurate and reliable information. Our content, validated by Expert Board Contributors, is crafted following stringent Editorial Policies. We're committed to providing you with well-researched, expert-backed insights for all your informational needs.


0 thoughts on “How To Prepare Soil For A Vegetable Garden”