
Articles
How To Program A Craftsman Garage Door Remote
Modified: August 17, 2024
Discover step-by-step articles on programming a Craftsman garage door remote for seamless access to your garage. Follow our expert tips and troubleshoot any issues easily.
(Many of the links in this article redirect to a specific reviewed product. Your purchase of these products through affiliate links helps to generate commission for Storables.com, at no extra cost. Learn more)
Introduction
Welcome to the comprehensive guide on how to program a Craftsman garage door remote. If you own a Craftsman garage door opener, programming the remote is a crucial step to ensure convenient and secure access to your garage. Whether you have a new remote that needs to be programmed or you’re looking to reprogram an existing one, this article will walk you through the process step by step.
A Craftsman garage door remote allows you to open and close your garage door with ease, providing a convenient solution for entering and exiting your home. It eliminates the need for manually operating the door, enhancing convenience and security. Programming the remote is a relatively straightforward process, but it’s important to follow the correct steps to ensure successful programming.
Before we dive into the programming steps, it’s worth noting that different Craftsman garage door opener models may have slight variations in the programming process. It’s always recommended to consult your specific model’s user manual for detailed instructions. However, this guide will provide you with general steps that are applicable to most Craftsman garage door openers.
Now, let’s get started with the programming process. Follow the step-by-step instructions outlined in the upcoming sections to program your Craftsman garage door remote effectively. Before you begin, make sure you have the remote and access to the garage door opener unit.
Key Takeaways:
- Easily program your Craftsman garage door remote by locating the program button, clearing the memory, and following simple steps for seamless functionality.
- Enjoy the convenience and security of operating your garage door with a properly programmed Craftsman remote, ensuring effortless access to your home.
Read more: How To Reset Craftsman Garage Door Keypad
Step 1: Finding the Program Button
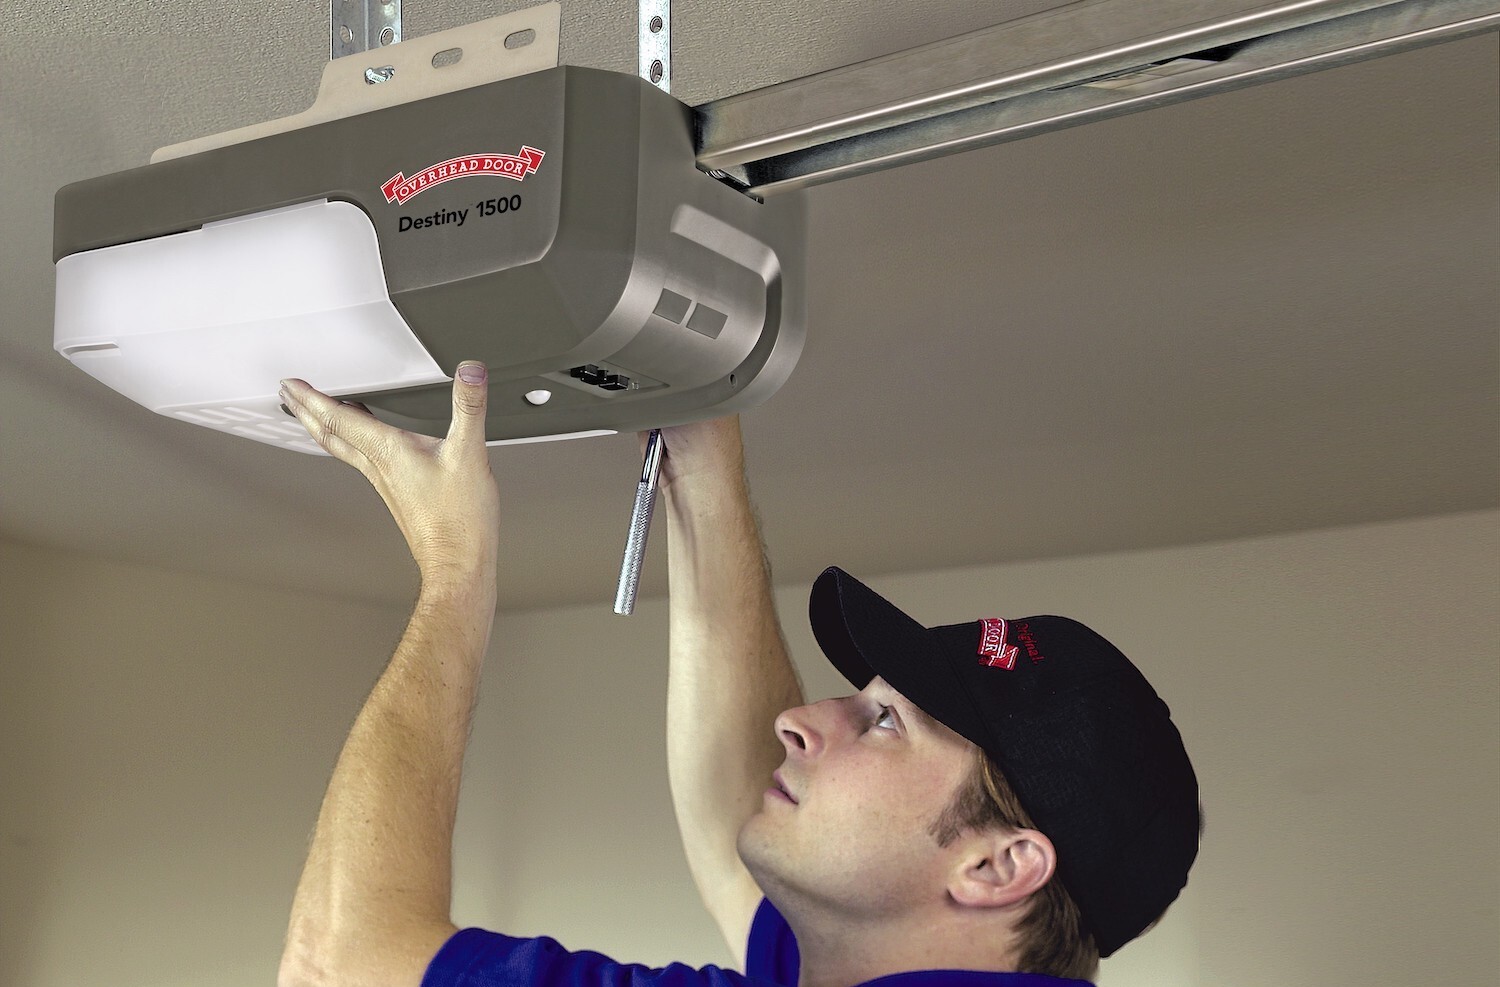
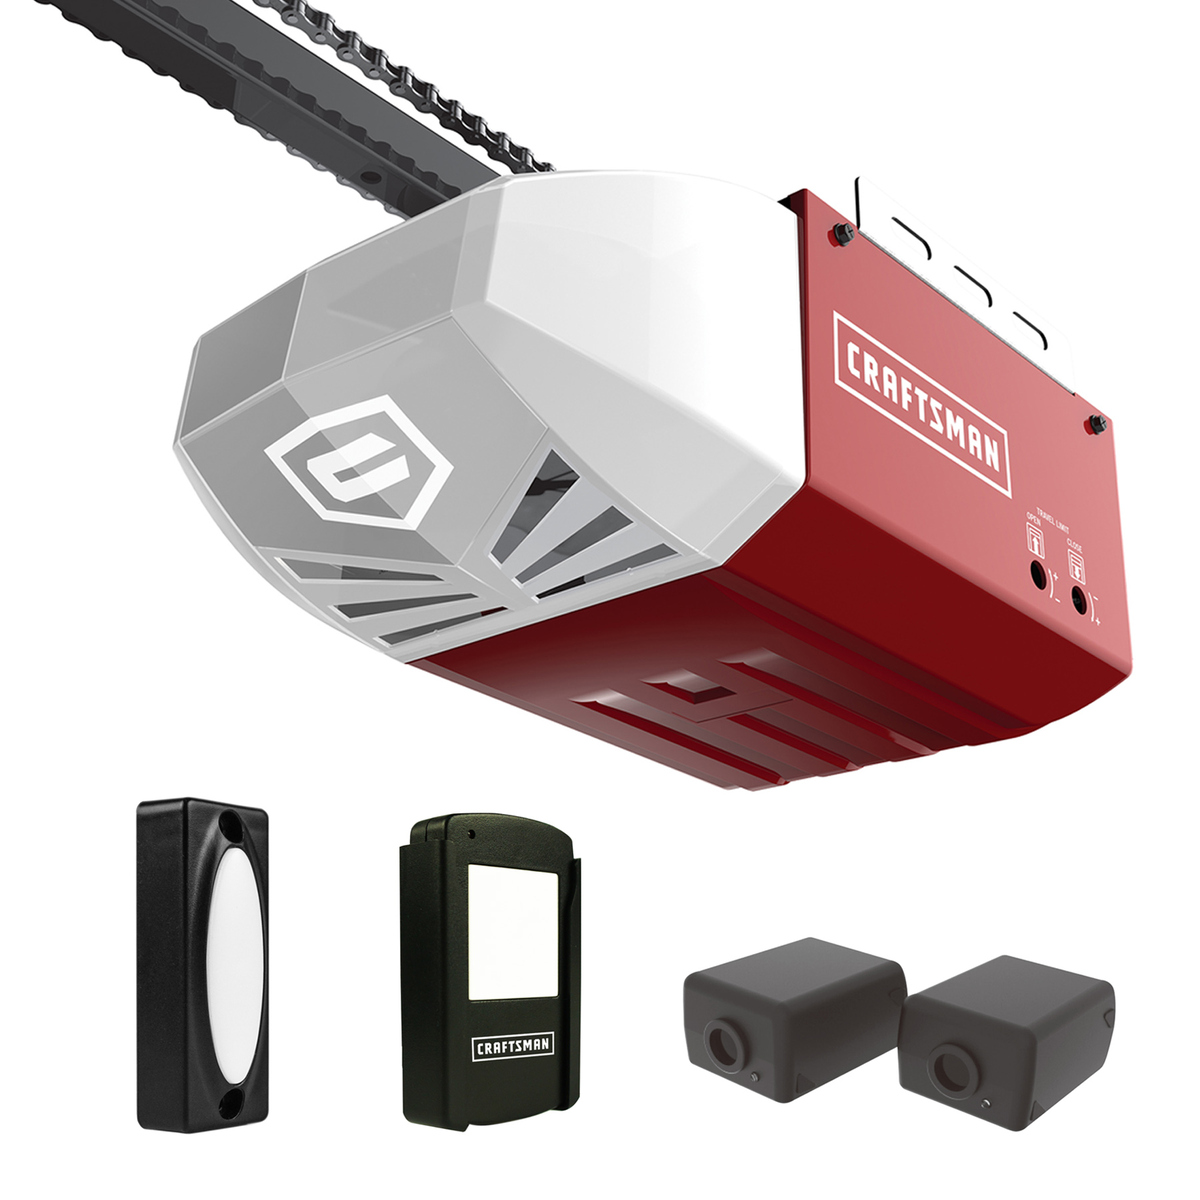
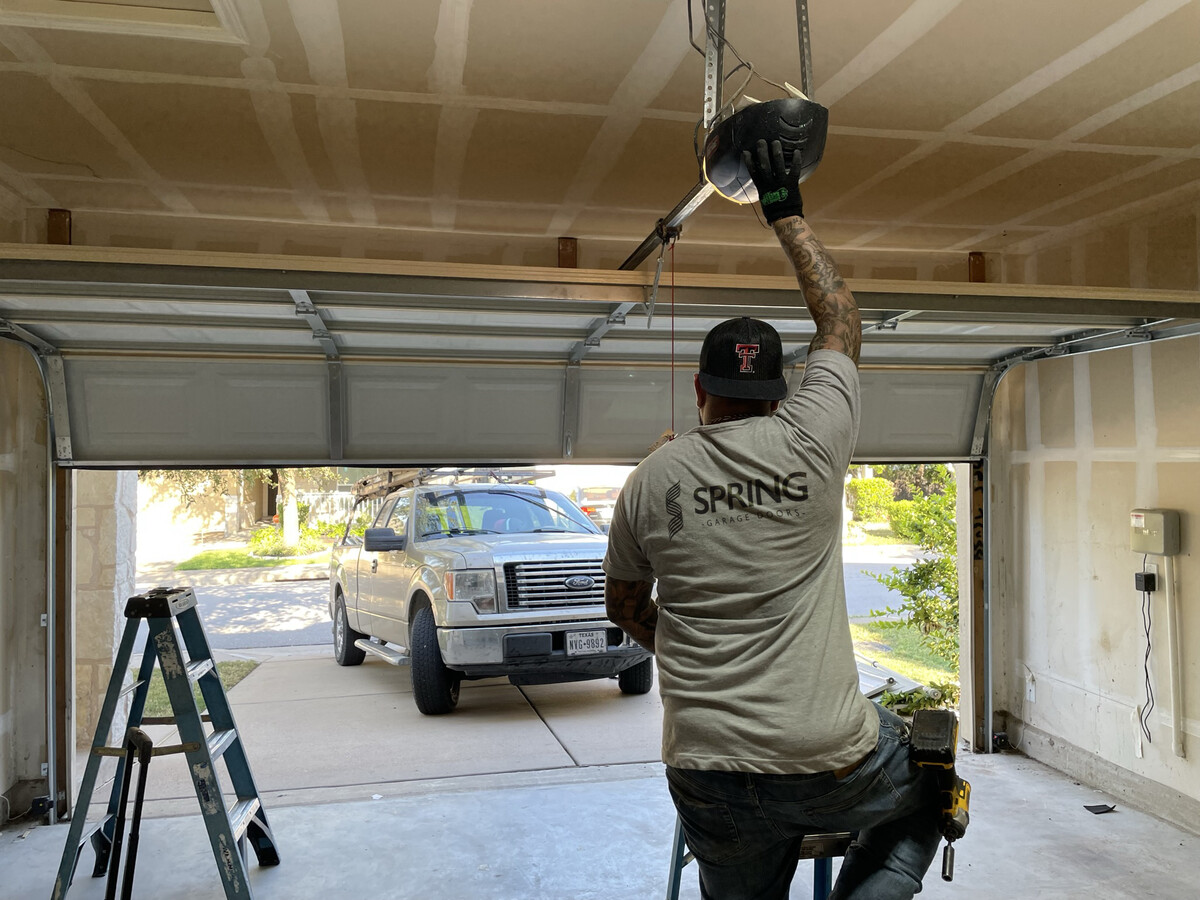
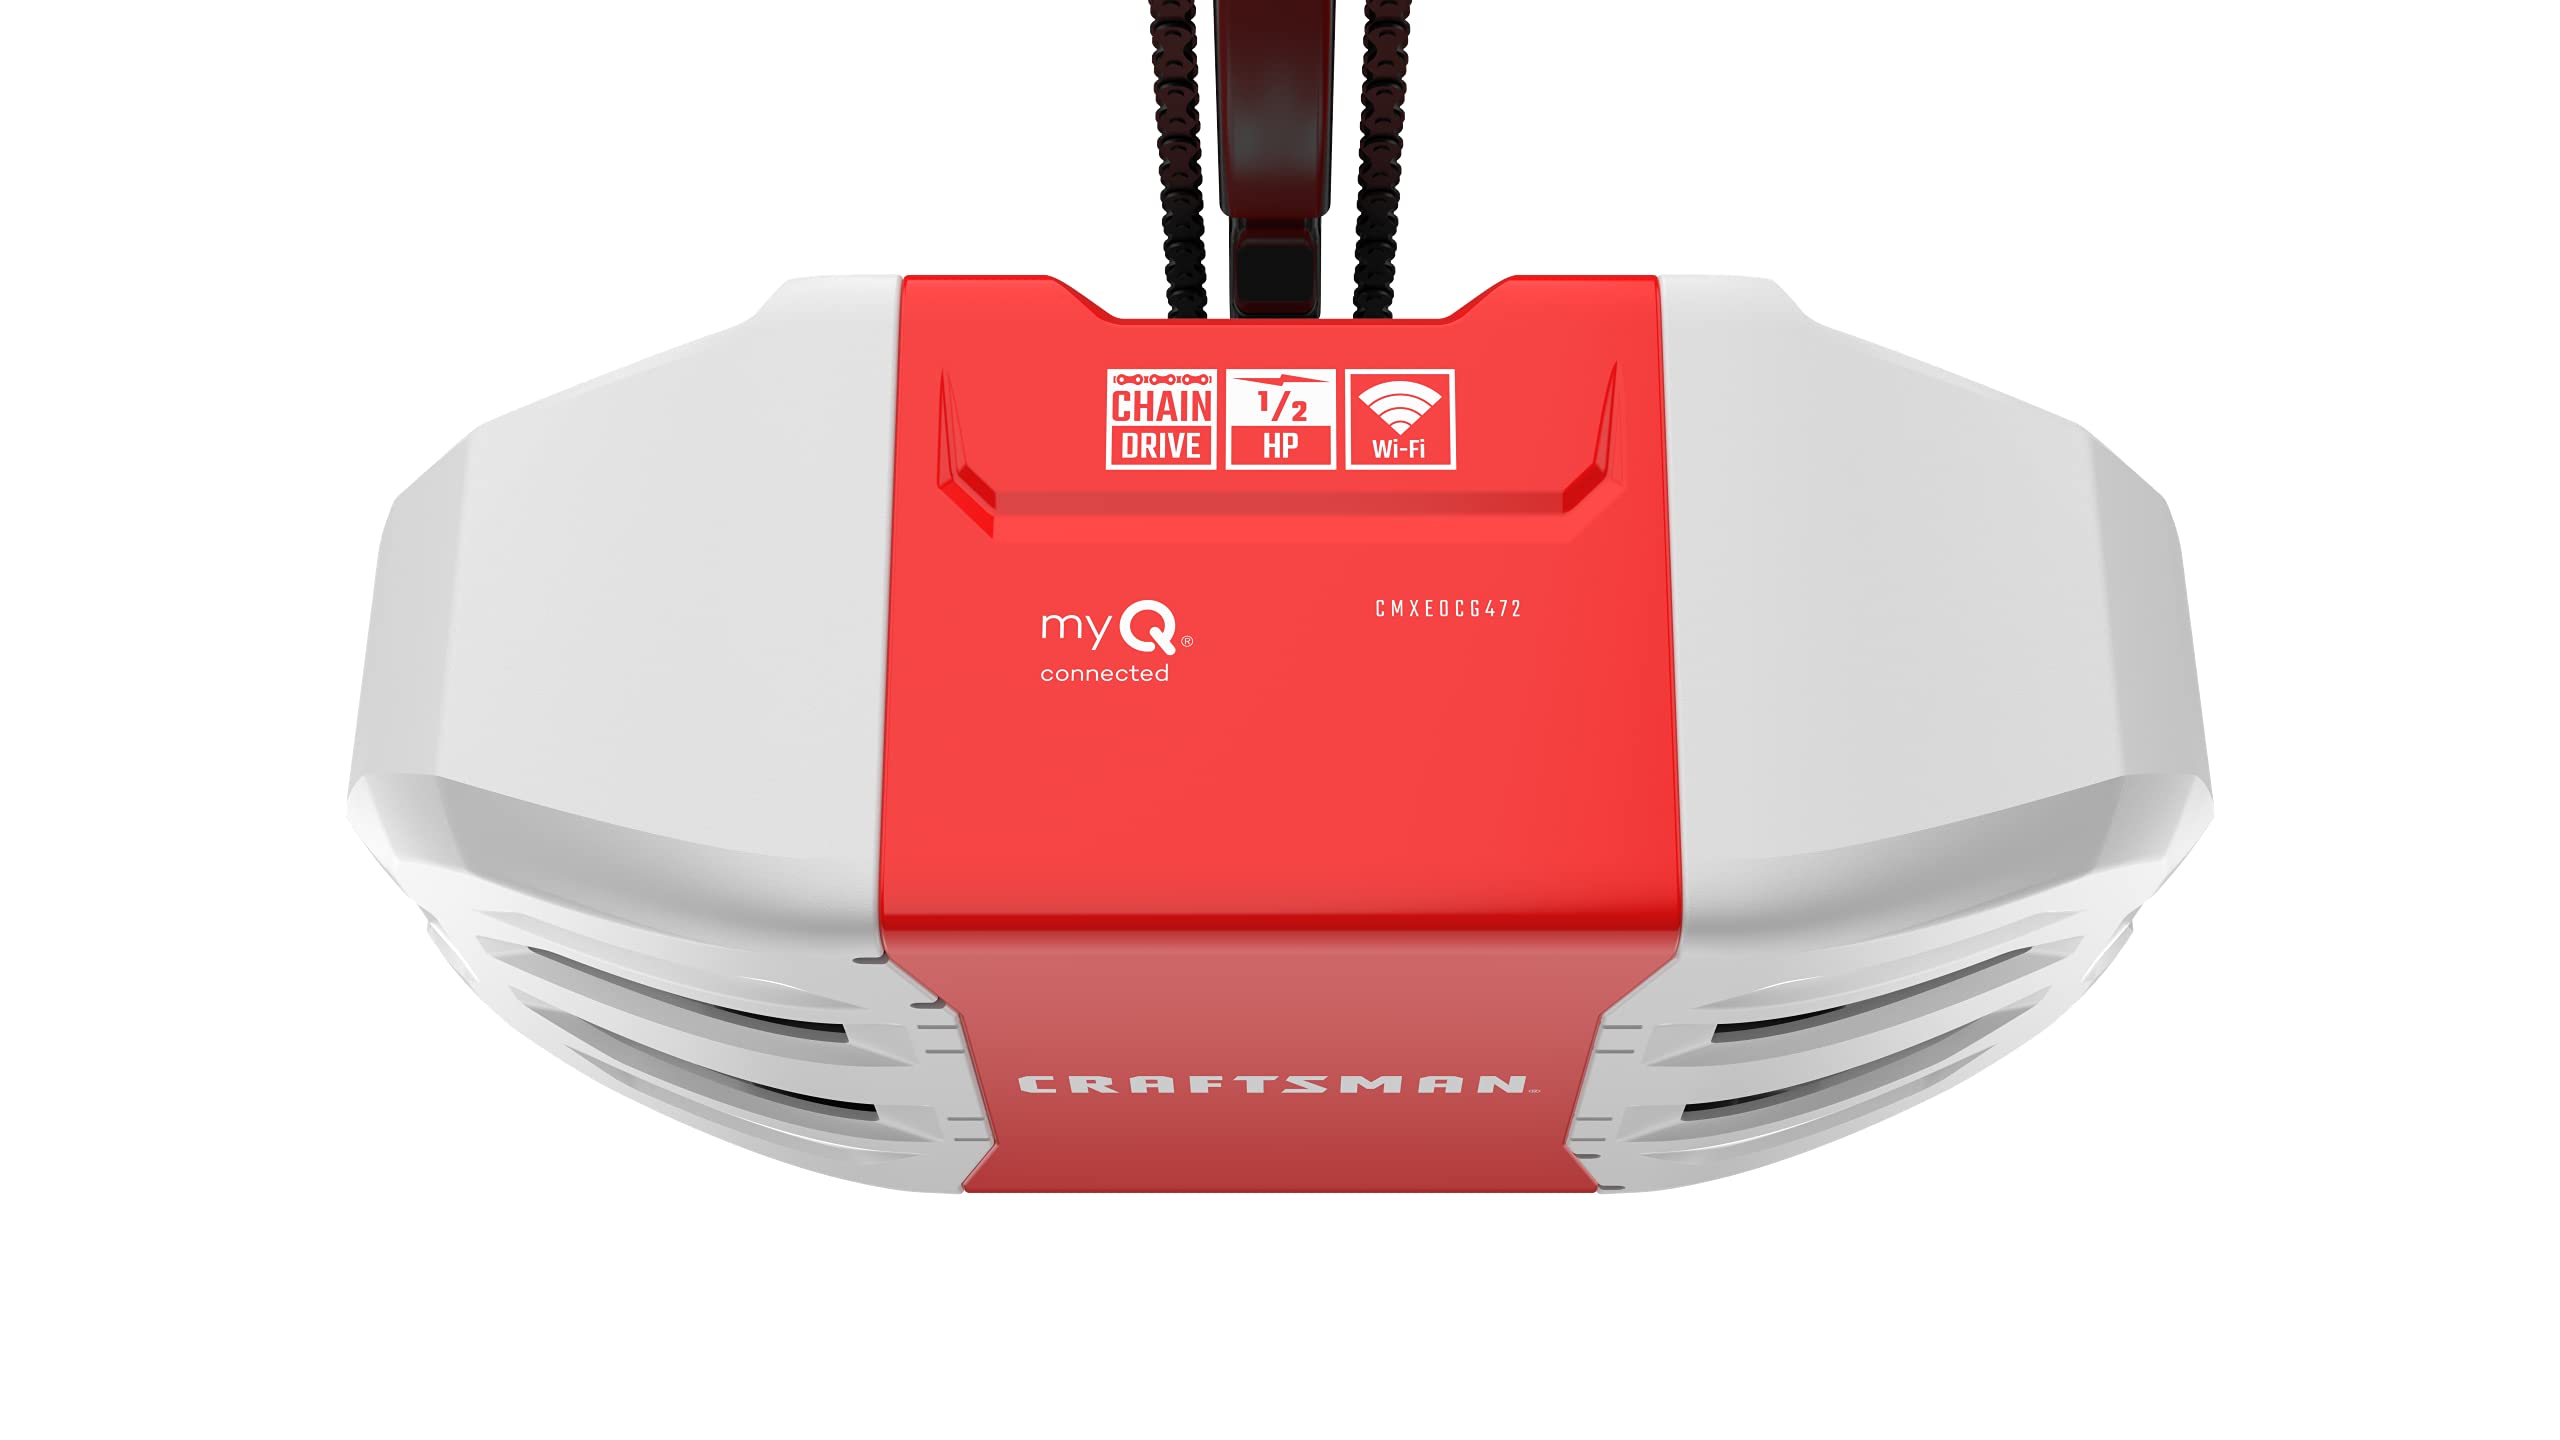
The first step in programming a Craftsman garage door remote is to locate the program button on your garage door opener unit. The location of the program button may vary depending on the model and manufacturer, so consult your user manual for specific instructions. However, in most cases, you can find the program button on the back or side panel of the opener unit.
To locate the program button, you may need to remove the cover or access panel of the garage door opener unit. Use a screwdriver or any necessary tools to carefully remove the cover without causing any damage. Once you’ve removed the cover, take a close look at the components of the opener unit to find the program button.
The program button is typically a small, round button that may be labeled as “Program” or “Learn.” It’s important to note that some models may have a switch instead of a button. If your model has a switch, it should be labeled as “Program” or “Learn” as well.
Once you have located the program button, make sure you have your Craftsman garage door remote ready for programming. This includes having fresh batteries installed in the remote to ensure optimal performance. Having the remote prepared beforehand will save you time during the programming process.
With the program button found and your remote prepared, you’re now ready to move on to the next step: clearing the memory of the opener unit.
Step 2: Clearing Memory
Before programming a new or existing Craftsman garage door remote, it’s essential to clear the memory of the opener unit. This step ensures that any previously programmed remotes are removed from the system, allowing you to start fresh with the programming process.
To clear the memory of your Craftsman garage door opener, follow these steps:
- Locate the program button on the opener unit, as mentioned in the previous step.
- Press and hold down the program button for approximately 10 seconds. During this time, you may see a light or indicator on the opener unit start to blink or flash.
- Continue holding down the program button until the light or indicator stops flashing or blinks steadily. This indicates that the memory of the opener unit has been cleared.
Once you have successfully cleared the memory of the opener unit, you’re now ready to proceed with programming the Craftsman garage door remote. Clearing the memory ensures that any previous programming is erased, allowing you to start fresh and avoid any conflicts or issues with the remote programming process.
Before moving on to the next step, take a moment to ensure that the memory has been cleared by pressing the remote’s button to operate the garage door. If the door doesn’t respond or operate, it indicates that the memory has been successfully cleared.
With the memory cleared, you can now move on to the next step for programming your Craftsman garage door remote: programming the remote itself.
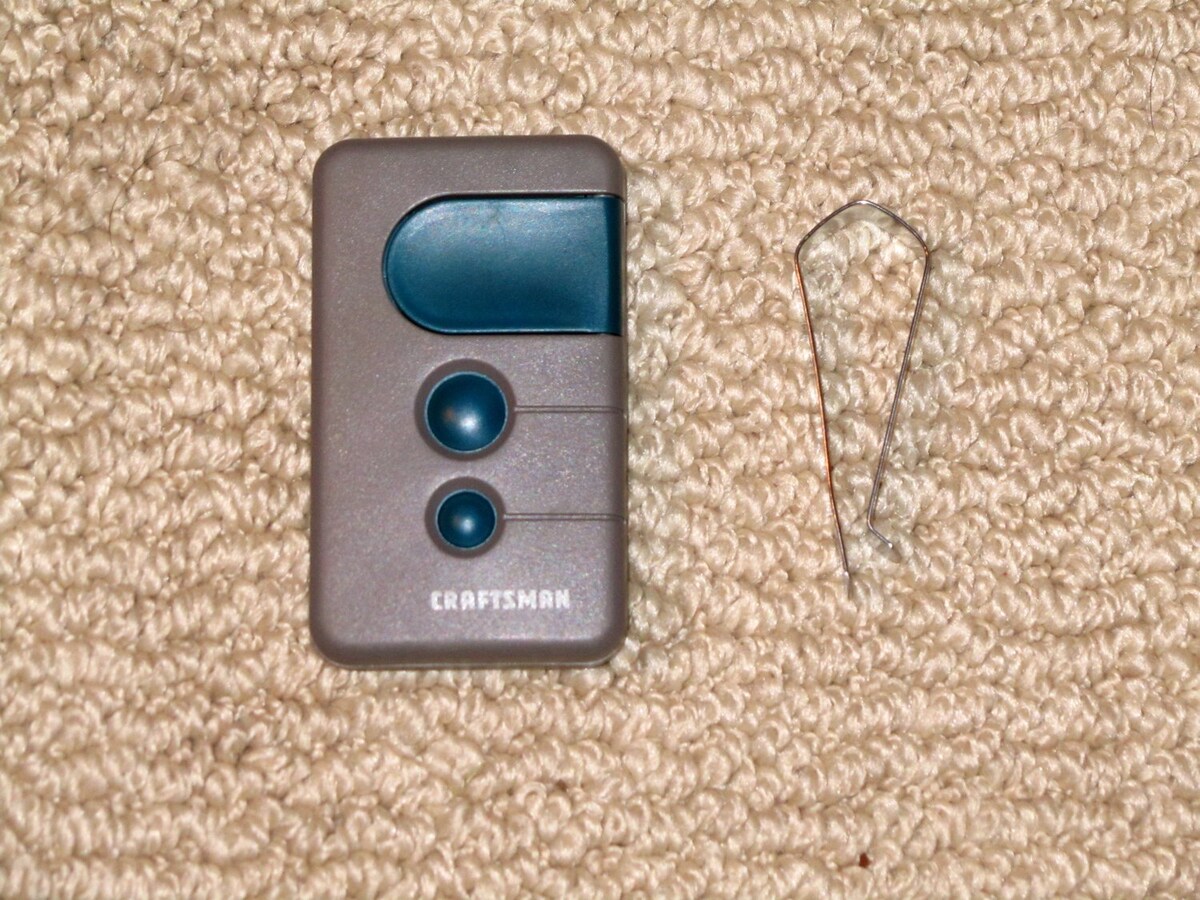
When programming a Craftsman garage door remote, make sure to follow the specific instructions provided in the user manual. Typically, this involves pressing a button on the remote and then pressing the “learn” button on the garage door opener.
Step 3: Programming the Remote
After clearing the memory of your Craftsman garage door opener, it’s time to program the remote. This step allows the opener unit to recognize and communicate with the remote, enabling you to control the garage door effectively. Follow the steps below to program your Craftsman garage door remote:
- Hold the remote close to the opener unit, within a few feet range. This ensures a strong and reliable signal during the programming process.
- Locate the program button on the opener unit, as mentioned in Step 1.
- Press and release the program button on the opener unit. The indicator light or LED on the unit should start to flash or blink, indicating that it’s ready for programming.
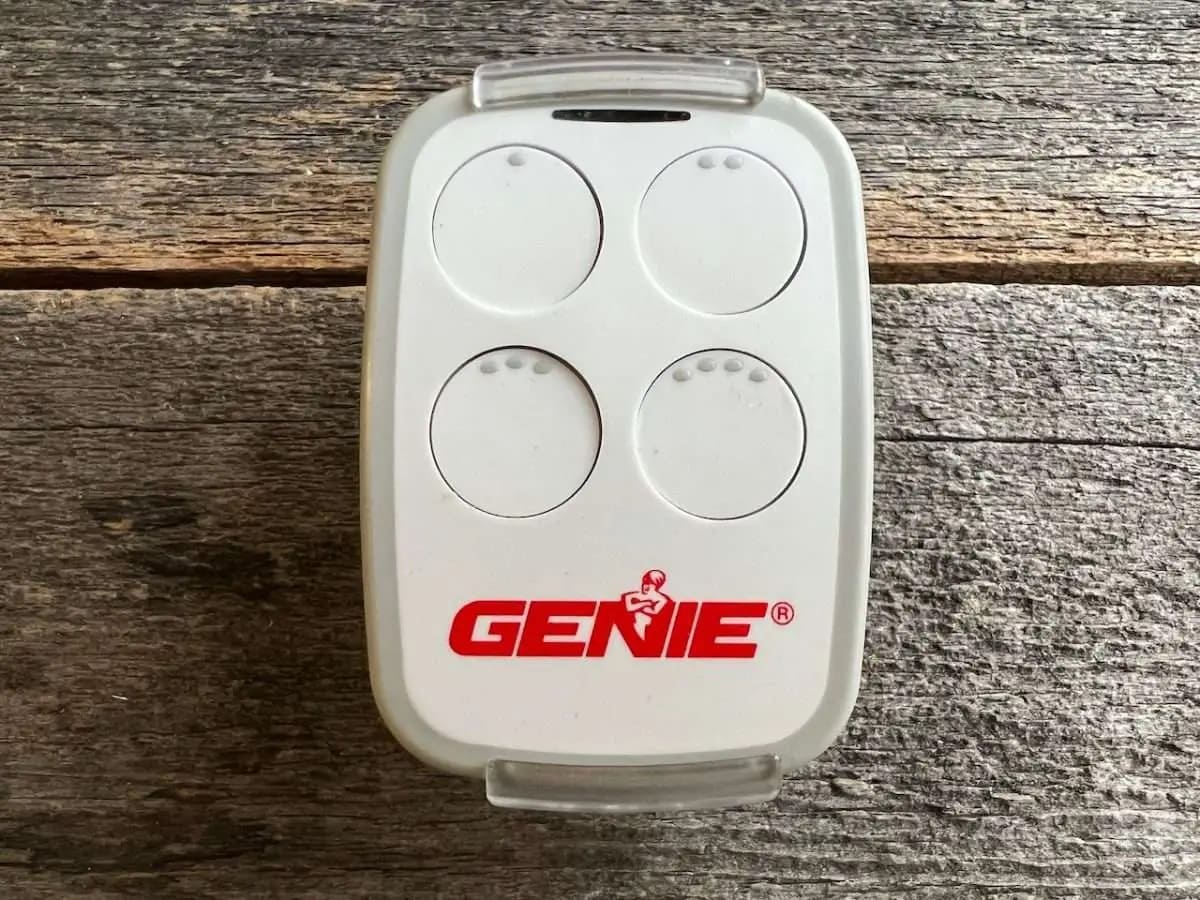
- Immediately press and hold the button on the remote that you wish to program. This button is usually labeled as a number or a function (e.g., “Open” or “Close”). Hold the button down until the indicator light on the opener unit stops flashing or blinks a few times.
- Release the button on the remote and observe the indicator light on the opener unit. If the light stays on or stops blinking, it means that the remote has been successfully programmed. You can now test the remote to ensure it operates the garage door as intended.
It’s important to follow the sequence of pressing and releasing the buttons as mentioned above. This ensures that the opener unit and the remote sync properly, allowing for seamless communication between the two.
If you have multiple Craftsman garage door remotes to program, repeat the above steps for each additional remote. Make sure to program them one at a time to avoid any confusion or conflicts during the programming process.
With the remote successfully programmed, it’s time to move on to the final step: testing the remote to ensure it operates the garage door correctly.
Step 4: Testing the Remote
Now that you have programmed your Craftsman garage door remote, it’s time to test its functionality. Testing the remote ensures that it operates the garage door correctly and allows you to make any necessary adjustments if needed. Follow these steps to test your Craftsman garage door remote:
- Stand at a reasonable distance from your garage door, ensuring that you have a clear line of sight to the opener unit.
- Press the button on the remote that you programmed. This should be the button that corresponds to the desired function, such as opening or closing the garage door.
- Observe the garage door and listen for any noise or movement. If the door starts to open or close smoothly and without any issues, it indicates that the remote is working correctly.
- Repeat the process a few more times to ensure consistent and reliable operation of the garage door. This helps verify that the programming was successful and that the remote is functioning as intended.
If the garage door doesn’t respond to the remote or exhibits any problems during testing, there are a few troubleshooting steps you can take:
- Make sure the batteries in the remote are fresh and properly installed. Weak or depleted batteries can affect the signal strength and prevent the remote from functioning correctly.
- Double-check that you followed the programming steps correctly. Go back and retrace the programming process to ensure you didn’t miss any crucial steps.
- Ensure that the opener unit’s antenna is properly extended and unobstructed. If the antenna is bent or blocked, it can affect the signal reception and cause issues with the remote’s operation.
- If problems persist, consult the user manual of your Craftsman garage door opener for further troubleshooting steps or contact the manufacturer’s customer support for assistance.
Once you have successfully tested the remote and ensured that it operates the garage door smoothly, congratulations! You have successfully programmed your Craftsman garage door remote and can now enjoy the convenience of opening and closing your garage with ease.
Conclusion
Programming a Craftsman garage door remote is a straightforward process that can be easily accomplished by following the steps outlined in this guide. By locating the program button, clearing the memory, programming the remote, and testing its functionality, you can ensure that your garage door can be operated conveniently and securely.
Remember, it’s important to consult your specific Craftsman garage door opener’s user manual for any model-specific instructions or troubleshooting steps. Different models may have slight variations in the programming process, so it’s always best to refer to the manufacturer’s guidelines.
By taking the time to program your Craftsman garage door remote correctly, you can enjoy the benefits of effortless and secure access to your garage. Whether you’re coming home after a long day or leaving for work, having a properly programmed remote allows you to open and close your garage door with the simple press of a button.
If you encounter any issues during the programming process or have any unanswered questions, don’t hesitate to reach out to the manufacturer’s customer support for assistance. They will be able to provide you with further guidance and troubleshooting tips specific to your Craftsman garage door opener.
Now that you have successfully programmed your Craftsman garage door remote, sit back, relax, and enjoy the convenience and ease of controlling your garage door from the palm of your hand.
Now that you've mastered programming your Craftsman garage door remote, why not tackle more hands-on projects around your house? Our next feature walks you through various DIY home projects that are perfect for enhancing your living space. From simple repairs to creative makeovers, these projects will keep you busy and transform your home into a personalized haven. Ready to roll up your sleeves and get to work? Check out our detailed guide and start your DIY journey today!
Frequently Asked Questions about How To Program A Craftsman Garage Door Remote
Was this page helpful?
At Storables.com, we guarantee accurate and reliable information. Our content, validated by Expert Board Contributors, is crafted following stringent Editorial Policies. We're committed to providing you with well-researched, expert-backed insights for all your informational needs.

0 thoughts on “How To Program A Craftsman Garage Door Remote”