Articles
How To Clear A Garage Door Remote
Modified: October 20, 2024
Learn how to clear a garage door remote in this informative article. Find step-by-step instructions and troubleshooting tips.
(Many of the links in this article redirect to a specific reviewed product. Your purchase of these products through affiliate links helps to generate commission for Storables.com, at no extra cost. Learn more)
Introduction
Having a functioning and reliable garage door remote is essential for convenient access to your garage. However, there may come a time when you need to clear or reset your garage door remote. This could be due to a variety of reasons, such as the remote not working properly, needing to program a new remote, or simply wanting to start fresh with your garage door opener system.
In this article, we will guide you through the process of clearing a garage door remote successfully. By following these steps, you will be able to reset your remote and regain control over your garage door access. So, let’s get started!
Key Takeaways:
- Clearing a garage door remote is a straightforward process that involves locating the opener, pressing the programming button, and testing the remote. Following these steps ensures a fresh start for your garage door access.
- Successfully clearing your garage door remote allows for reprogramming and ensures a reliable and functional device for accessing your garage. Take the time to understand the process and enjoy hassle-free access to your garage.
Read more: How To Remove A Garage Door
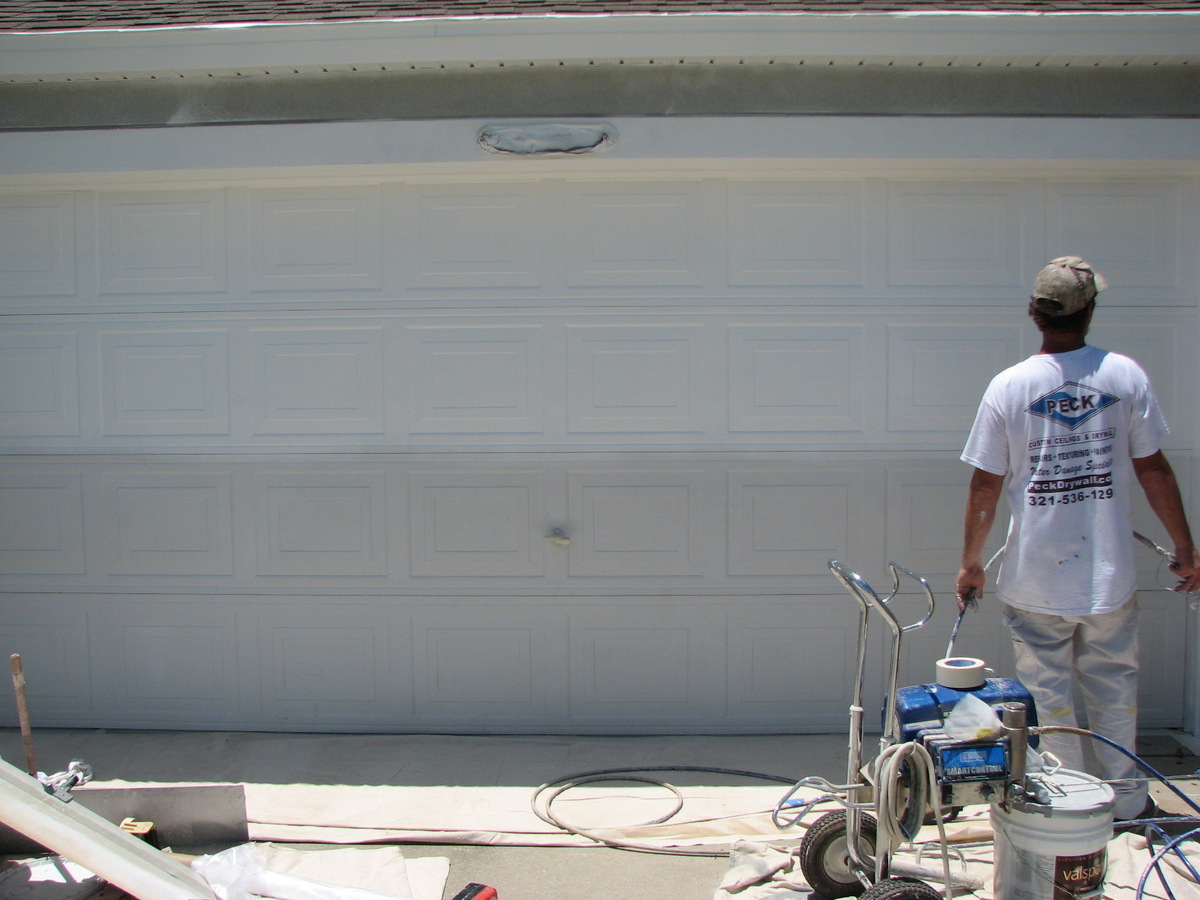
Step 1: Locate the Garage Door Opener
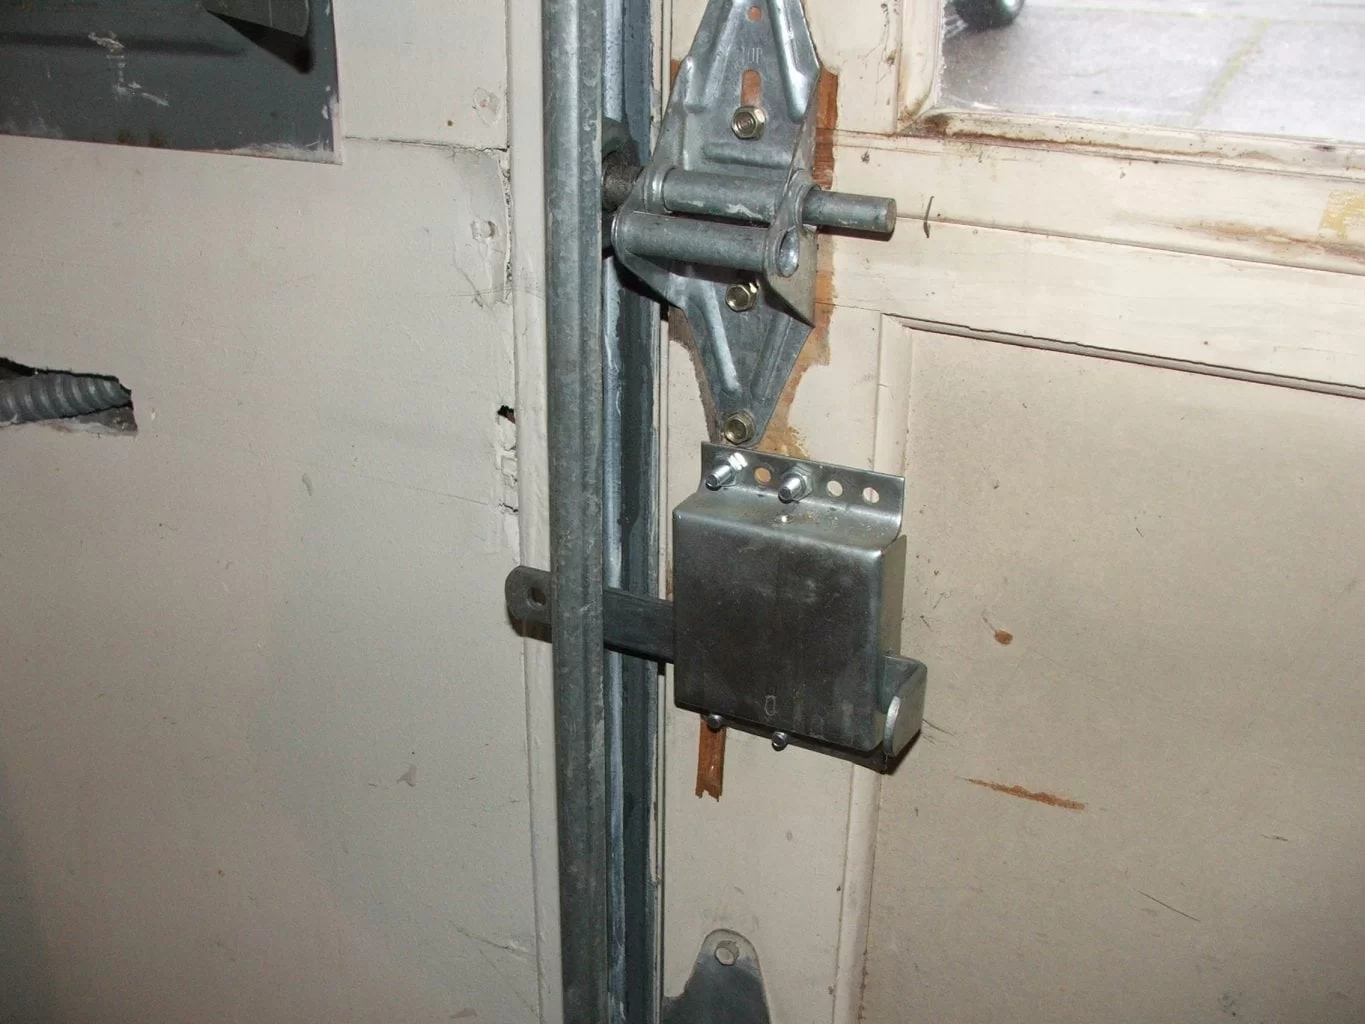
The first step in clearing a garage door remote is to locate the garage door opener itself. The garage door opener is usually installed on the ceiling of the garage near the center or slightly off to one side. It is a rectangular-shaped box with a motor and a rail system that controls the opening and closing of the garage door.
If you are unsure about the location of your garage door opener, you can look for a hanging cord with a red handle. This is the emergency release cord, which is typically connected to the garage door opener. Alternatively, you can consult the user manual or contact the manufacturer of your garage door opener for specific instructions on how to locate it.
Once you have located the garage door opener, make sure that the power is turned on. You may need to check the circuit breaker or replace the batteries in the opener if it is not functioning properly. It is important to have the opener powered on before proceeding with the next steps.
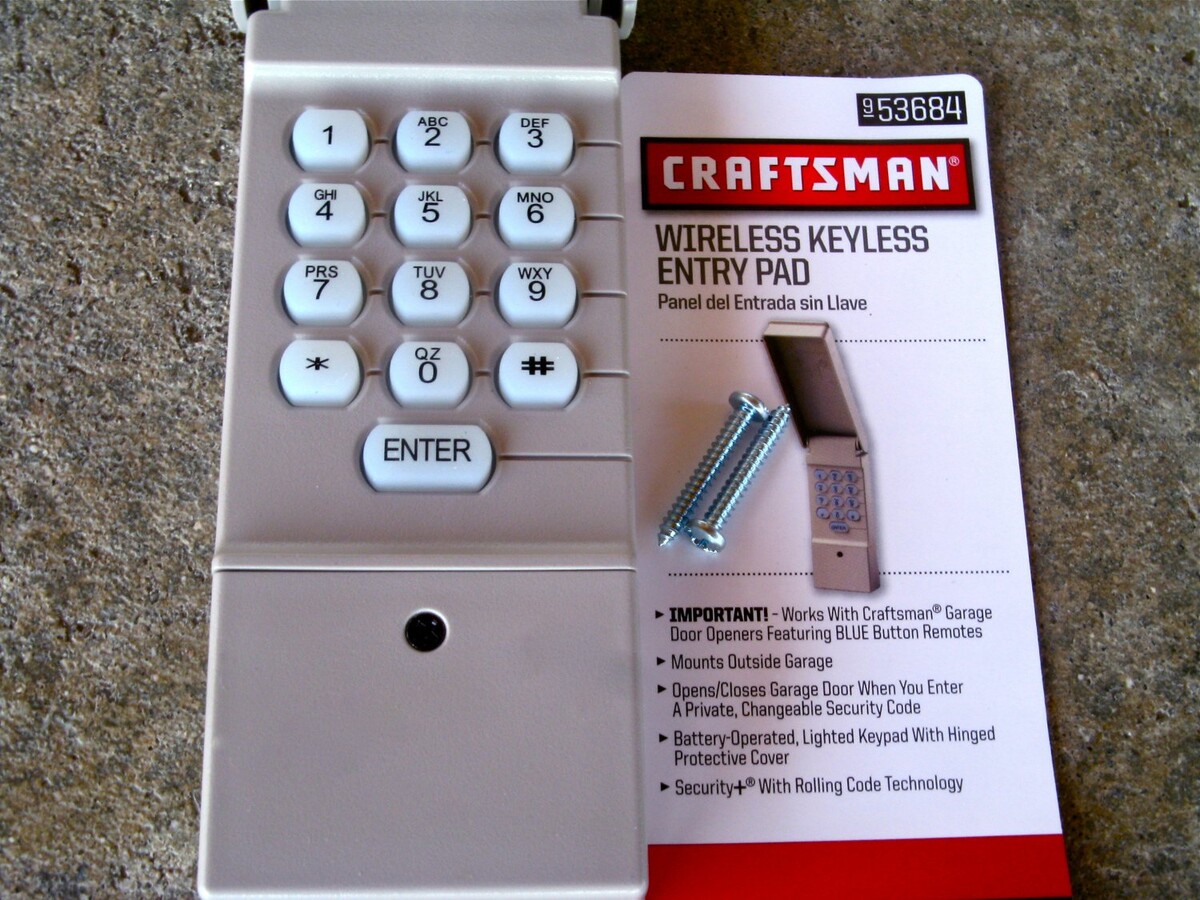
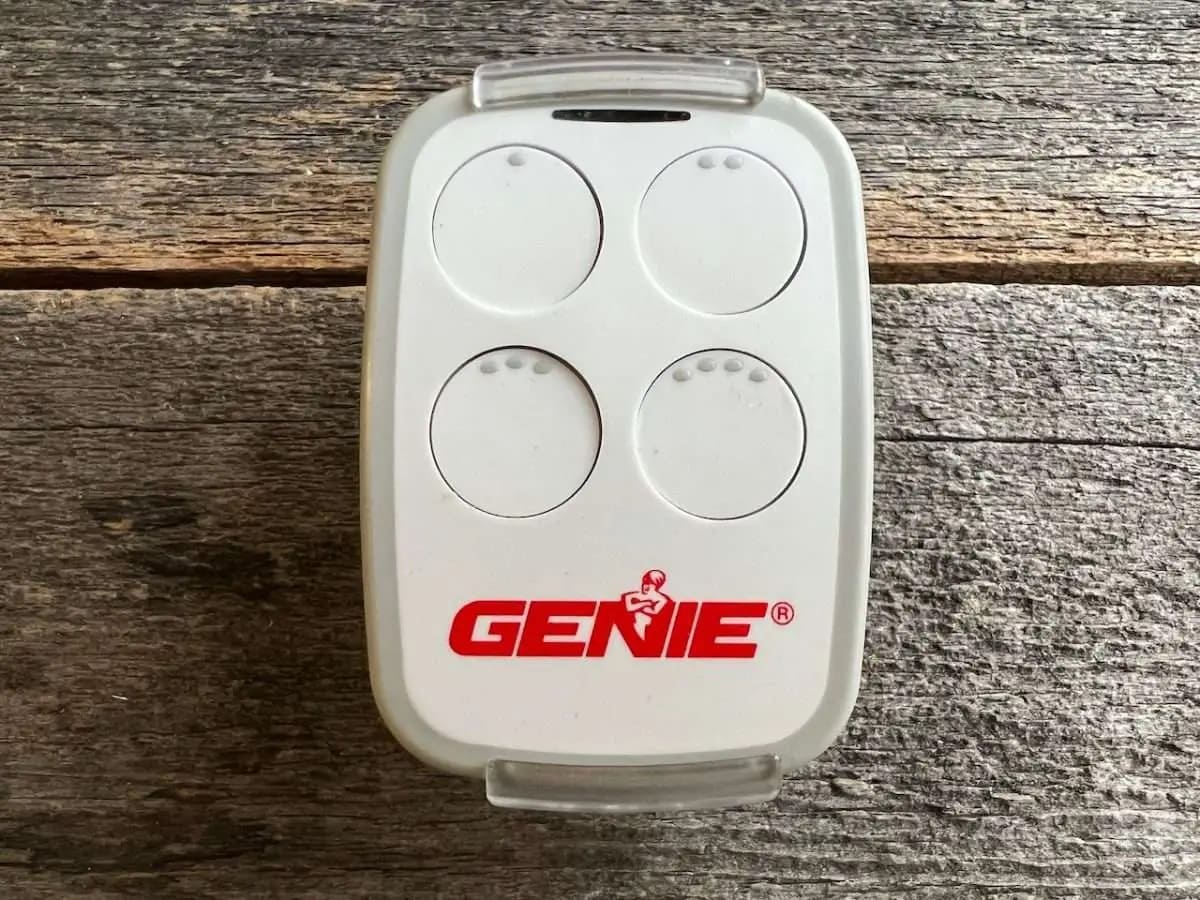
Step 2: Identify the Remote Programming Button
After locating the garage door opener, the next step is to identify the remote programming button. This button is used to initiate the process of clearing or resetting the garage door remote. The location of the programming button may vary depending on the brand and model of your garage door opener.
Commonly, the remote programming button is located on the back or side of the garage door opener. It may be labeled as “Learn” or “Program” and is usually a small, round button that you can press using a pen or a small object. In some cases, the programming button may also be located on the front side of the opener, hidden under a protective cover. Again, consulting the user manual or contacting the manufacturer can provide specific details on locating the programming button.
It is important to note that clearing the garage door remote will not affect the operation of the garage door opener itself. It only clears the remote’s memory, allowing you to reprogram it later. If you want to clear multiple remotes or all devices connected to the opener, you may need to press and hold the programming button for a specific duration as per the manufacturer’s instructions.
Please remember that resetting or clearing the garage door remote will result in the loss of all previously programmed remotes. So, ensure that you have all the necessary remotes available for reprogramming once the clearing process is complete.
Step 3: Press and Hold the Programming Button
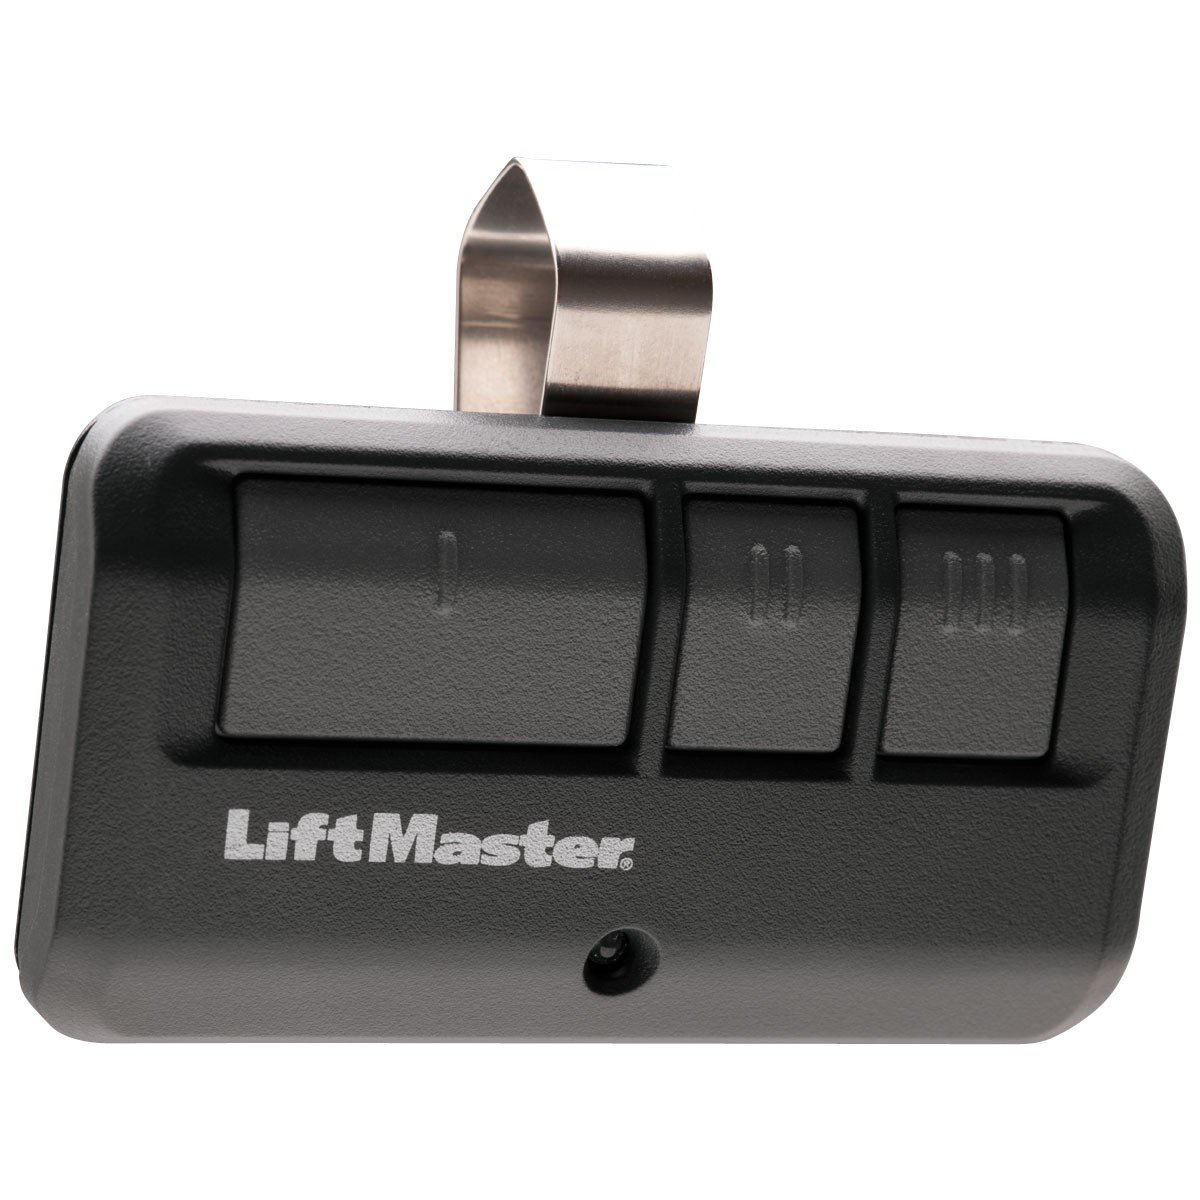
Now that you have located the garage door opener and identified the remote programming button, it’s time to clear the garage door remote. To do this, you will need to press and hold the programming button on the garage door opener.
Before pressing the programming button, ensure that you are within a close range of the opener and have a clear line of sight to it. This will ensure a strong signal for the programming process. Additionally, make sure that you are holding the garage door remote in your other hand.
Press and hold the programming button on the garage door opener. You may need to use a pen or a small object to firmly press and hold the button. Hold it down for approximately 10-15 seconds or until you see a visual indication on the opener, such as a light flashing or a beep sound.
While continuing to hold the programming button, move to the next step to complete the clearing process.
If you are unsure about the duration for which you need to hold the programming button, it is recommended to consult the user manual or contact the manufacturer for specific instructions. Each garage door opener may have different requirements for the clearing process.
To clear a garage door remote, locate the “learn” button on the opener, press and hold it until the indicator light turns off. Then, reprogram the remote by pressing the desired button.
Step 4: Release the Programming Button
After holding the programming button on the garage door opener for the designated duration, it’s time to release the button. Releasing the programming button will complete the clearing process and reset the memory of the garage door opener.
Once you have released the programming button, you may notice additional visual indications on the garage door opener, such as a light turning off or a different pattern of flashing lights. These indications may vary depending on the specific model of your garage door opener.
Releasing the programming button will clear the memory of the garage door opener and remove all previously programmed remotes from its system. This will allow you to start fresh and reprogram the garage door remote that you want to use.
It is important to note that after releasing the programming button, you typically have a limited amount of time to reprogram the garage door remote. This timeframe may vary depending on the garage door opener model. Refer to the user manual or manufacturer’s instructions for specific details on the reprogramming process.
By releasing the programming button, you have successfully cleared the garage door remote and prepared it for reprogramming. Proceed to the next step to test the functionality of the remote.
Read more: How To Set Remote Garage Door Opener
Step 5: Test the Remote
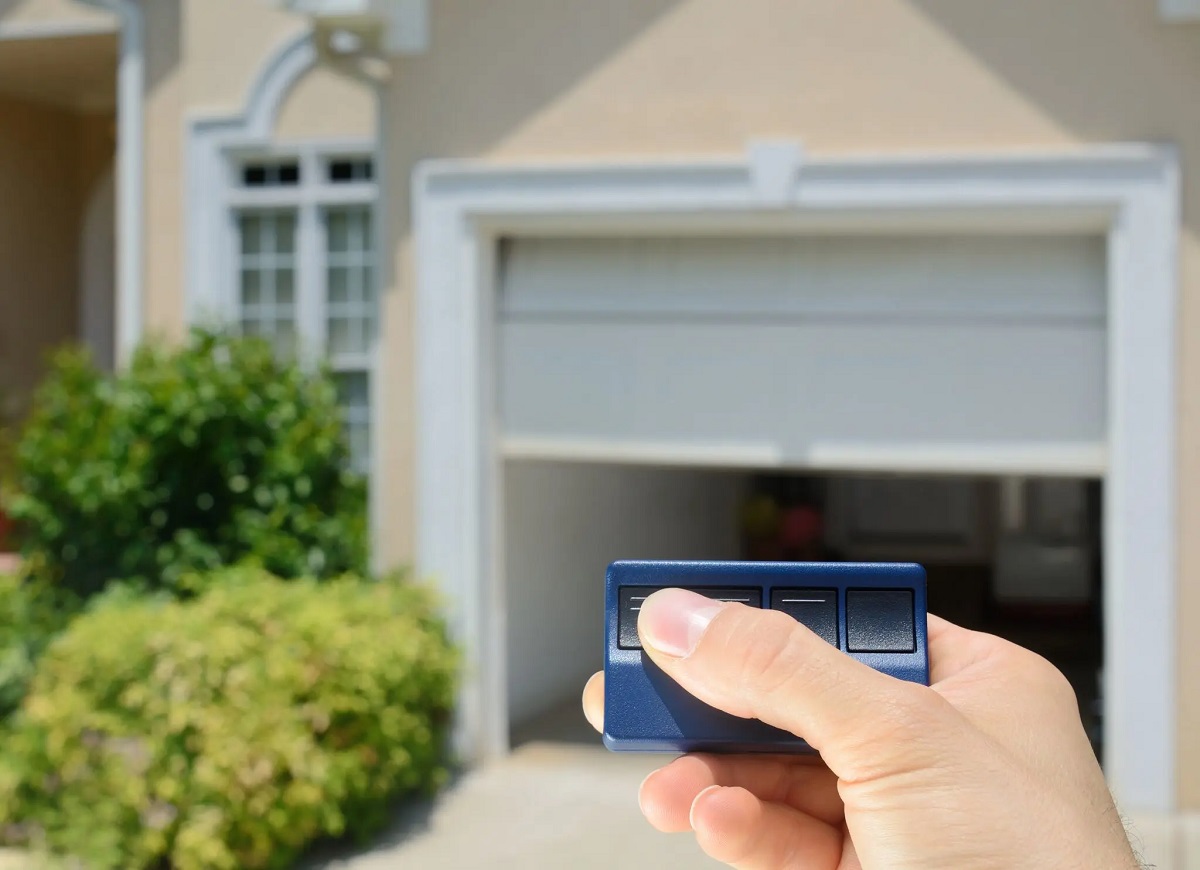
The final step in clearing a garage door remote is to test its functionality. After clearing the remote and resetting the garage door opener, it’s important to ensure that the remote is working properly and can successfully open and close the garage door.
To test the remote, stand within a reasonable distance from the garage door and press the button on the remote. If the remote is successfully programmed and working correctly, you should see the garage door responding and either opening or closing as desired.
If the remote does not operate the garage door or if there are any issues with its functionality, you may need to repeat the clearing process from the beginning. Ensure that you are following the proper steps and holding the programming button for the required duration.
If the remote still does not work after multiple attempts, it is recommended to consult the user manual of the garage door opener or contact the manufacturer for further assistance. There may be specific troubleshooting steps or additional programming instructions that need to be followed.
Successfully testing the remote confirms that it has been cleared and properly reprogrammed to operate the garage door. You can now enjoy the convenience and ease of accessing your garage with the cleared remote.
Remember to keep the user manual of the garage door opener handy for future reference, as it contains valuable information and troubleshooting tips.
Conclusion
Clearing a garage door remote is a simple process that can be done by following a few steps. By locating the garage door opener, identifying the remote programming button, pressing and holding the programming button, releasing the programming button, and finally testing the remote, you can successfully clear and reset your garage door remote.
Clearing the remote allows you to start fresh and reprogram it according to your needs. Whether you need to program a new remote or simply troubleshoot an existing one, the process of clearing the remote ensures that any previous programming is erased, allowing for a clean slate.
Remember, it’s important to consult the user manual or contact the manufacturer of your garage door opener for specific instructions and guidelines. Each brand and model may have slight variations in the clearing and programming process.
By successfully clearing your garage door remote, you can enjoy the convenience and security of having a functional and reliable device for accessing your garage. Whether it’s for storing your vehicle, storing household items, or using your garage as a workshop, maintaining a properly programmed remote is essential for a smooth and hassle-free experience.
Take the time to understand the process and follow the steps carefully. With a little patience and attention to detail, you’ll have your garage door remote cleared and ready to use in no time.
Frequently Asked Questions about How To Clear A Garage Door Remote
Was this page helpful?
At Storables.com, we guarantee accurate and reliable information. Our content, validated by Expert Board Contributors, is crafted following stringent Editorial Policies. We're committed to providing you with well-researched, expert-backed insights for all your informational needs.


0 thoughts on “How To Clear A Garage Door Remote”