Home>Articles>How To Protect Carpet When Painting Baseboards
Articles
How To Protect Carpet When Painting Baseboards
Modified: August 28, 2024
Learn how to protect your carpet while painting baseboards with these helpful articles. Avoid any accidental mess or damage with these tips.
(Many of the links in this article redirect to a specific reviewed product. Your purchase of these products through affiliate links helps to generate commission for Storables.com, at no extra cost. Learn more)
Introduction
When it comes to giving your space a fresh new look, painting the baseboards can make a world of difference. However, one common concern that arises when tackling this task is how to protect your carpet from accidental paint spills or drips. Painting baseboards can be a messy process, but with the right precautions, you can avoid any mess and protect your carpet.
In this article, we will guide you through a step-by-step process on how to protect your carpet when painting baseboards. By following these simple steps, you’ll be able to confidently tackle your baseboard painting project without worrying about damaging your carpet.
Key Takeaways:
- Protect your carpet while painting baseboards by preparing the area, gathering supplies, and applying painter’s tape and protective coverings. Take your time, allow the paint to dry, and remove the tape carefully for a flawless finish.
- Properly clean the area, remove existing baseboards, and apply multiple coats of paint for a professional look. After painting, allow the baseboards to dry completely, clean up, and remove protective coverings to reveal a beautifully transformed space.
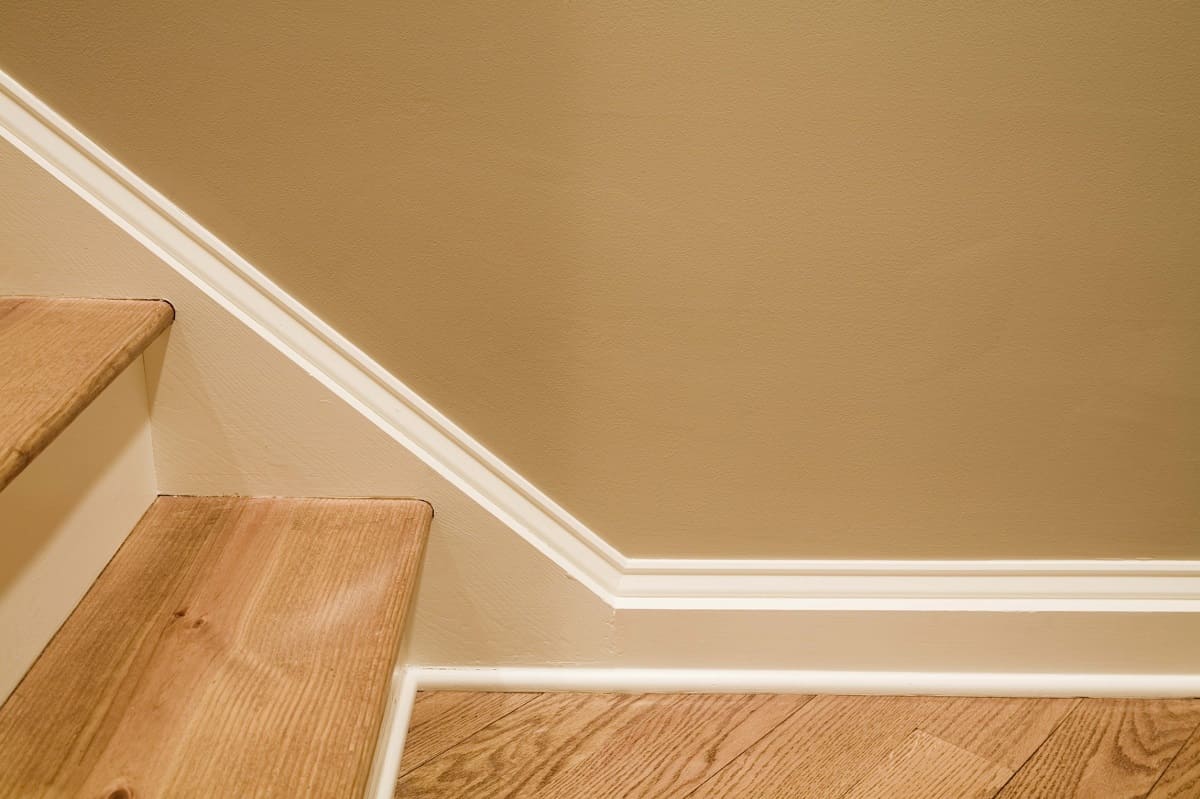
Read more: How To Replace Baseboards With Carpet
Step 1: Prepare the area
The first step in protecting your carpet while painting baseboards is to prepare the area properly. Start by clearing out the room as much as possible. Remove any furniture, decor, or other items that may obstruct your access to the baseboards or increase the risk of accidental paint splatters.
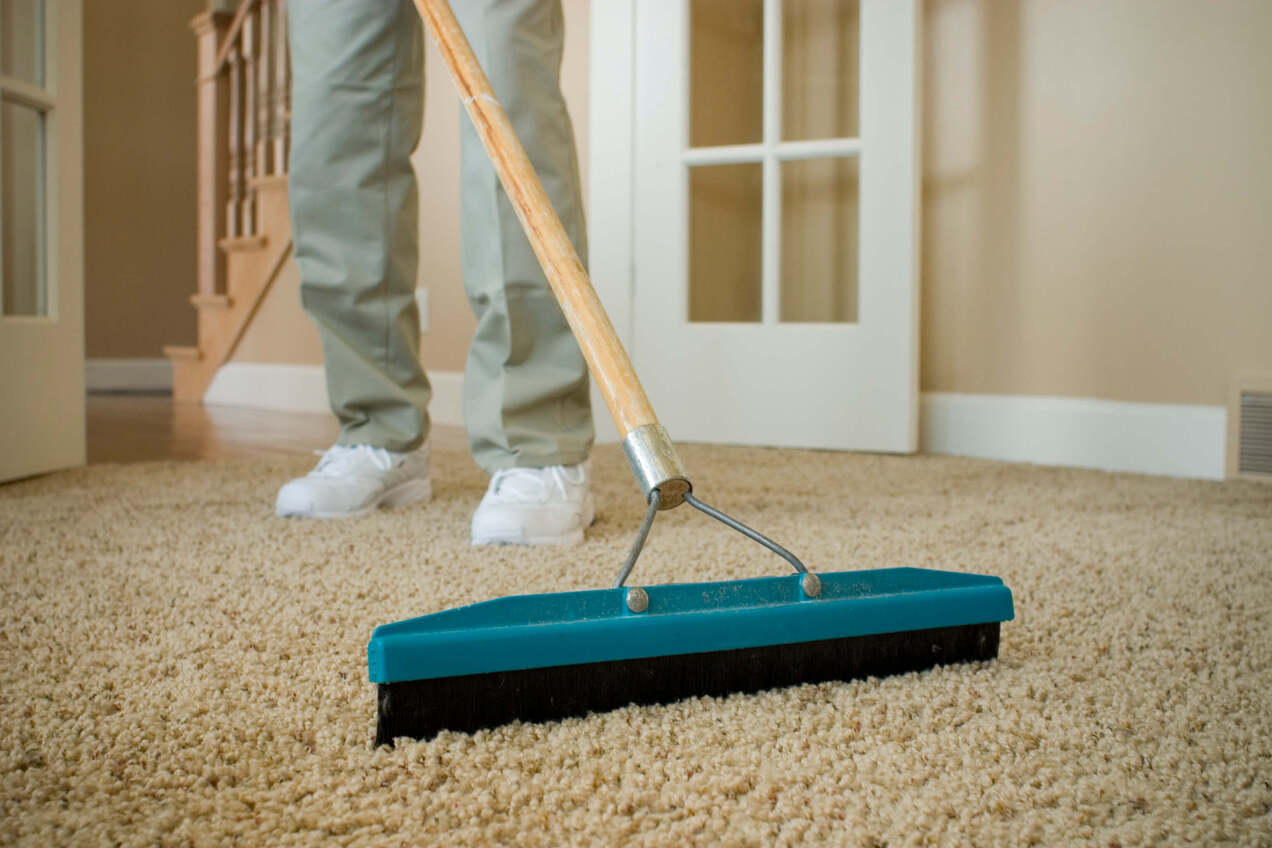
Next, thoroughly vacuum the carpet to remove any dust, dirt, or debris that could interfere with the paint adhesion or create an uneven surface. It’s important to ensure that the carpet is clean so that the paint can adhere properly to the baseboards without any debris getting in the way.
You should also take this opportunity to inspect the baseboards for any loose or damaged areas. If you notice any, make sure to repair them before proceeding with the painting process.
Lastly, open windows or use fans to ensure proper ventilation in the room. This will help to minimize the odor and fumes from the paint and promote faster drying.
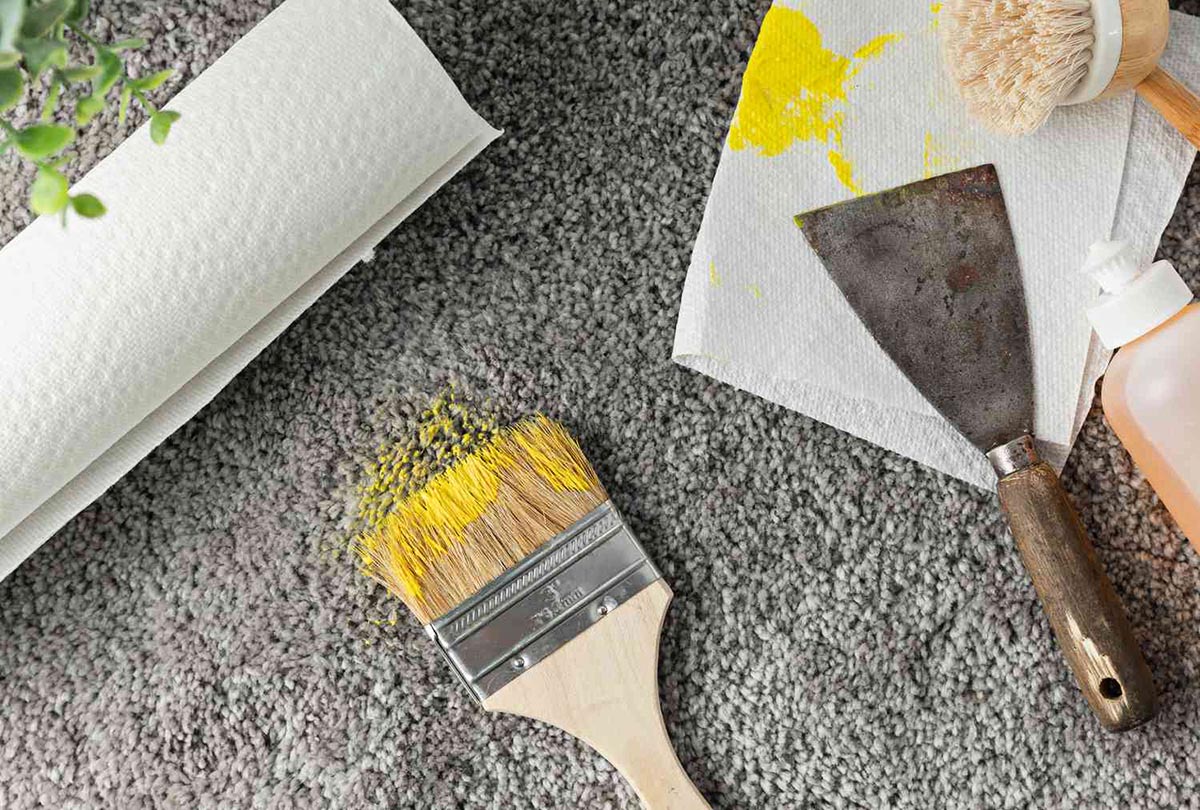
Step 2: Gather the necessary supplies
Before you begin painting the baseboards, it’s essential to gather all the necessary supplies to ensure a smooth and efficient process.
Here are the supplies you’ll need:
- Painter’s tape: Choose a high-quality painter’s tape that is specifically designed for delicate surfaces. This tape will help protect your carpet from accidental paint splatters and ensure crisp, clean lines.
- Plastic drop cloths or plastic sheeting: These will serve as a barrier between the carpet and the paint. Make sure to choose a heavy-duty plastic material that is thick enough to prevent any paint from seeping through.
- Old newspapers or cardboard: These can be used to cover larger areas of the carpet, especially if you’re working in a small space and want to provide extra protection.
- Paintbrushes and rollers: Depending on your preference, gather the necessary brushes and rollers to apply the paint to the baseboards. Make sure they are clean and in good condition for a smooth application.
- Paint: Choose a high-quality paint that is specifically formulated for baseboards. Consider the color and finish that will best complement your space.
- Paint tray or bucket: This will be used to hold and mix the paint as you work.
- Paint thinner or cleaning solution: Have these on hand for cleaning your brushes and rollers once you have completed the painting process.
- Painter’s gloves and safety goggles: Ensure your safety by wearing gloves and goggles to protect your hands and eyes from any potential paint splatters or fumes.
By having all these supplies ready before you start painting, you’ll be able to work efficiently and minimize any disruptions during the process.
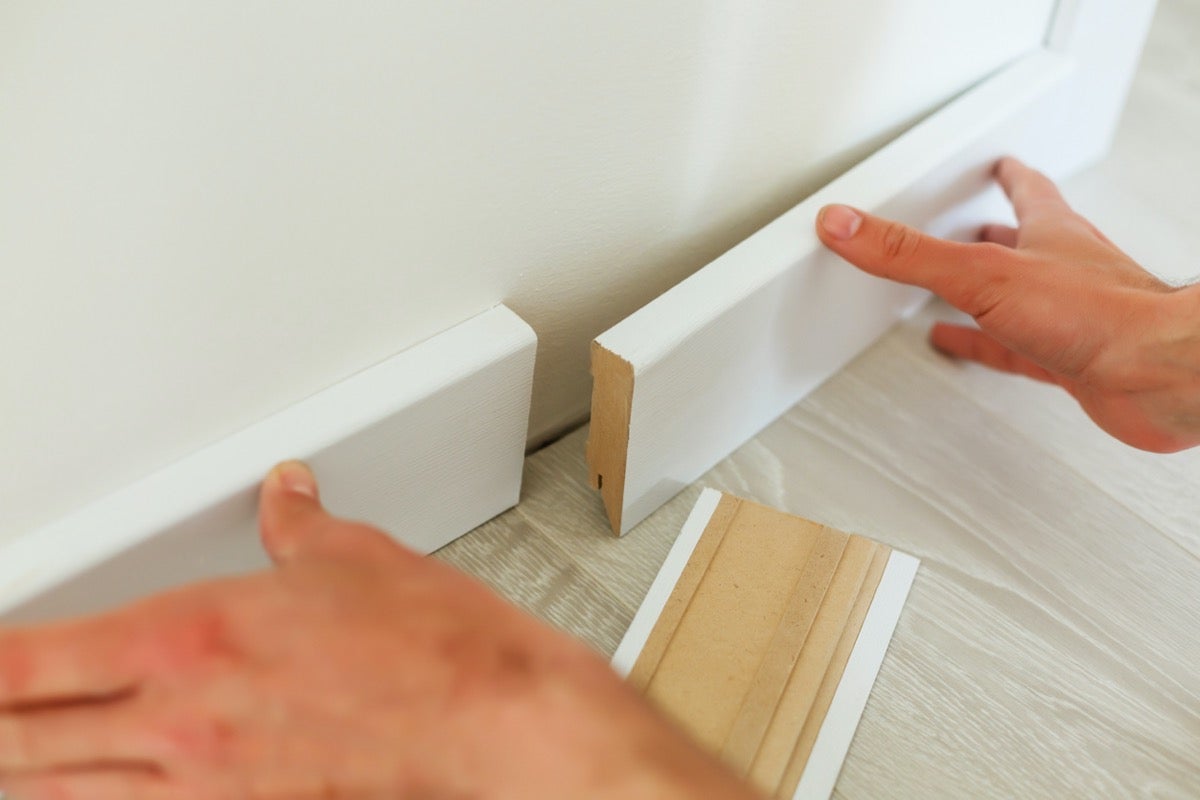
Step 3: Remove any existing baseboards
Once you have gathered all the necessary supplies, the next step is to remove any existing baseboards before you start painting. This step is crucial as it allows you to have a clean and even surface to work with.
Here’s how to remove the baseboards:
- Start by carefully running a putty knife along the top edge of the baseboard. This will help loosen any caulking or adhesive that may be holding the baseboard in place.
- Using a pry bar or a flathead screwdriver, gently insert the tool between the baseboard and the wall. Apply gentle pressure and pry the baseboard away from the wall.
- Work your way along the length of the baseboard, repeating the process every few inches until the entire baseboard is removed.
- Be cautious while removing the baseboard to avoid any damage to the wall or the baseboard itself. Take your time and be patient to ensure a smooth removal process.
If you encounter any stubborn or hard-to-remove baseboards, you can use a reciprocating saw or a multi-tool with a cutting blade to carefully cut through the baseboard. Again, exercise caution to prevent any accidental damage.
Once all the baseboards have been removed, set them aside for now. You can either reuse them after the painting process or replace them with new ones if desired.
Removing the baseboards will provide you with a clean canvas to work on and ensure that there are no obstructions or potential uneven surfaces when painting the baseboards.
Step 4: Clean the area thoroughly
After removing the baseboards, it’s important to thoroughly clean the area to ensure that the paint adheres properly and you achieve a professional-looking finish.
Here’s how to clean the area:
- Use a damp cloth or sponge to wipe down the walls and the surface where the baseboards were attached. This will remove any dust, dirt, or residue that may have accumulated over time.
- Pay particular attention to any areas where there was adhesive or caulking. Use a scraper or a putty knife to gently remove any remaining traces of caulk or adhesive. This will create a smooth surface for the new paint.
- If there are any stubborn stains or marks on the walls, you may need to use a mild detergent solution to remove them. Dilute a small amount of detergent in warm water and gently scrub the area with a sponge or cloth.
- Allow the walls to dry completely before proceeding with the painting process. This will ensure that the paint adheres properly and prevents any moisture-related issues.
By cleaning the area thoroughly, you’ll create an ideal surface for the new paint to adhere to. This will result in a more even and long-lasting finish for your baseboards.
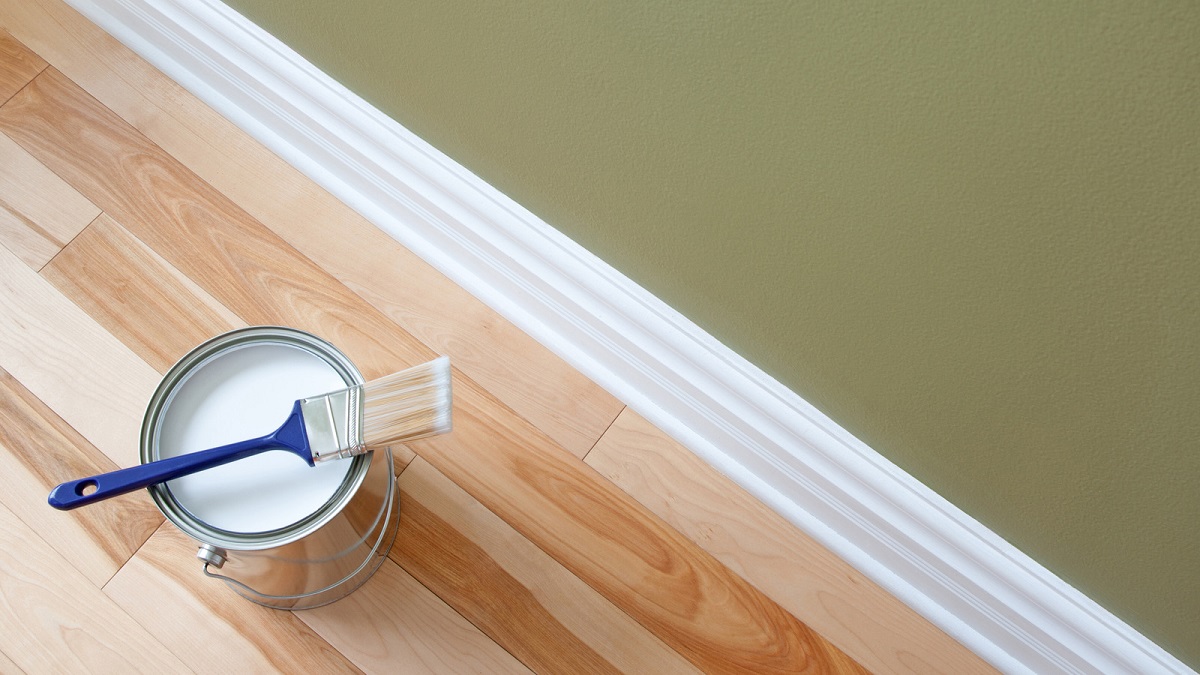
Step 5: Apply painter’s tape to the carpet
To protect your carpet from accidental paint spills or drips, applying painter’s tape is a crucial step. The tape acts as a barrier between the baseboards and the carpet, ensuring clean, crisp lines and preventing any paint from seeping onto the carpet fibers.
Follow these steps to apply painter’s tape to the carpet:
- Start by unrolling a length of painter’s tape and hold one end of it against the baseboard, slightly overlapping the edge where the wall meets the carpet. Make sure the tape is straight and aligned with the length of the baseboard.
- Gently press the tape down onto the carpet, ensuring it adheres firmly and creates a tight seal against the edge of the baseboard. Smooth out any wrinkles or air bubbles as you go along.
- Continue applying the tape along the entire length of the baseboard, ensuring the tape runs parallel to the floor and covers the entire edge of the baseboard.
- If you have any corners or angles, cut the tape diagonally using a sharp utility knife or scissors to create a clean, seamless transition.
- Repeat this process for all the baseboards you will be painting to ensure complete protection for your carpet.
Keep in mind that it’s important to firmly press the tape down onto the carpet to ensure a tight seal and prevent any paint from seeping underneath. However, be careful not to press too hard as it may damage the carpet fibers.
By applying painter’s tape to the carpet, you create a clear boundary between the baseboards and the carpet, giving you peace of mind while you paint.
Use painter’s tape to protect the edges of the carpet when painting baseboards. Press the tape firmly along the edge to create a barrier and prevent any paint from seeping onto the carpet.
Step 6: Lay down protective covering
In addition to using painter’s tape, laying down a protective covering over the carpet is an extra precautionary measure to safeguard against paint splatters or spills. This covering acts as a physical barrier, providing an additional layer of protection for your carpet.
Here’s how to lay down a protective covering:
- Start by laying down plastic drop cloths or plastic sheeting along the baseboards, covering the entire length of the area you will be painting. Ensure that the plastic extends outwards, covering a sufficient distance from the baseboards to catch any paint that may accidentally drip.
- Secure the edges of the plastic coverings to the baseboards using painter’s tape to prevent them from shifting or moving during the painting process.
- If you have a larger area to cover or prefer additional protection, you can layer old newspapers or cardboard on top of the plastic covering. This will serve as an absorbent barrier and provide an extra layer of protection.
- Make sure that the protective coverings are securely in place and cover the entire area around the baseboards where you will be painting.
By laying down a protective covering, you ensure that any accidental paint splatters are contained and don’t come into contact with your carpet. This step adds an extra level of protection and gives you peace of mind throughout the painting process.
Step 7: Begin painting the baseboards
Now that you have taken the necessary precautions to protect your carpet, it’s time to start painting the baseboards. Follow these steps to achieve a professional and flawless finish:
- Start by stirring the paint thoroughly to ensure a consistent color and smooth texture. Pour a small amount of paint into a paint tray or bucket.
- If using a paintbrush, dip the brush into the paint, gently tapping off any excess. Begin painting the baseboards using smooth, even strokes, following the direction of the wood grain.
- For larger areas, you may opt to use a paint roller. Roll the roller in the paint tray to evenly distribute the paint. Apply the paint to the baseboards using a light, rolling motion.
- Work your way along the length of the baseboards, ensuring an even coat of paint. Pay attention to any drips or excess paint and smooth them out immediately using a brush or roller.
- Take your time and apply multiple coats if necessary, allowing each coat to dry completely before applying the next one. This will ensure a smooth and durable finish.
- Be careful not to overload the brush or roller with too much paint, as this can lead to drips or uneven application. It’s better to apply multiple thin coats than one thick coat.
- Continue painting until all the baseboards have been thoroughly coated. Take breaks as needed to prevent fatigue and allow the paint to dry between coats.
Remember to refer to the paint manufacturer’s guidelines for recommended drying times between coats. This will ensure that the paint dries properly and minimizes the risk of accidentally smudging or damaging the paint.
By following these steps and painting with care, you’ll achieve beautifully painted baseboards while keeping your carpet protected.
Step 8: Remove the painter’s tape carefully
After you have finished painting the baseboards and allowed sufficient time for the paint to dry, it’s time to remove the painter’s tape. Removing the tape properly is crucial to avoiding any damage to the newly painted baseboards and ensuring clean, crisp lines.
Follow these steps to remove the painter’s tape carefully:
- Start by inspecting the painted baseboards to ensure they are completely dry. If there are any wet or tacky areas, wait a little longer for them to dry before proceeding.
- Gently score along the edge of the tape where it meets the baseboards using a utility knife or a sharp blade. This will help prevent any paint from peeling off with the tape.
- Using a slow and steady motion, begin peeling back the painter’s tape at a 45-degree angle away from the baseboard. Pull it back slowly and carefully to avoid any tearing or damage to the paint.
- If you notice any resistance or if the tape starts to lift the paint, stop immediately and use the utility knife to score along the edge again before continuing to remove the tape.
- Continue removing the painter’s tape from all the baseboards, being mindful of the carpet edges as you go along.
Once all the tape has been removed, take a close look at the baseboards to ensure that the lines are clean and there are no signs of paint bleeding or smudging. If you notice any imperfections, you can use a small paintbrush to touch up any areas that require attention.
Properly removing the painter’s tape will reveal crisp, clean lines between the painted baseboards and the surrounding walls, leaving you with a professionally finished look.
Read more: How To Protect Carpeted Stairs
Step 9: Allow the paint to dry completely
After completing the painting process and removing the painter’s tape, it is crucial to allow the paint on the baseboards to dry completely. Proper drying time ensures that the paint sets, hardens, and provides a durable finish.
Follow these guidelines to ensure that the paint on the baseboards dries thoroughly:
- Refer to the paint can or manufacturer’s instructions for the recommended drying time. Typically, it can take anywhere from a few hours to overnight for the paint to dry completely.
- Avoid touching or placing any objects near the freshly painted baseboards while they are drying. This will prevent smudges or accidental damage to the paint.
- Keep the room well-ventilated by opening windows or using fans. Good air circulation promotes faster drying and helps dissipate any lingering paint odors.
- Avoid walking on or placing furniture against the baseboards until the paint has fully dried. This will prevent any accidental marks or smudges on the paint surface.
- Patience is key. Allow ample time for the paint to dry before resuming normal activities in the room. Rushing the drying process can lead to unsightly imperfections or a compromised finish.
By allowing the paint on the baseboards to dry completely, you’ll ensure a long-lasting, professional-looking result. It’s worth waiting for the paint to fully cure before moving on to the final step.
Step 10: Clean up and remove protective covering
Once the paint on the baseboards has dried completely, the final step is to clean up the area and remove the protective coverings that were placed to safeguard your carpet.
Follow these steps to clean up and remove the protective coverings:
- Start by carefully removing any plastic drop cloths, plastic sheeting, newspapers, or cardboard that were laid down to protect the carpet. Dispose of them properly.
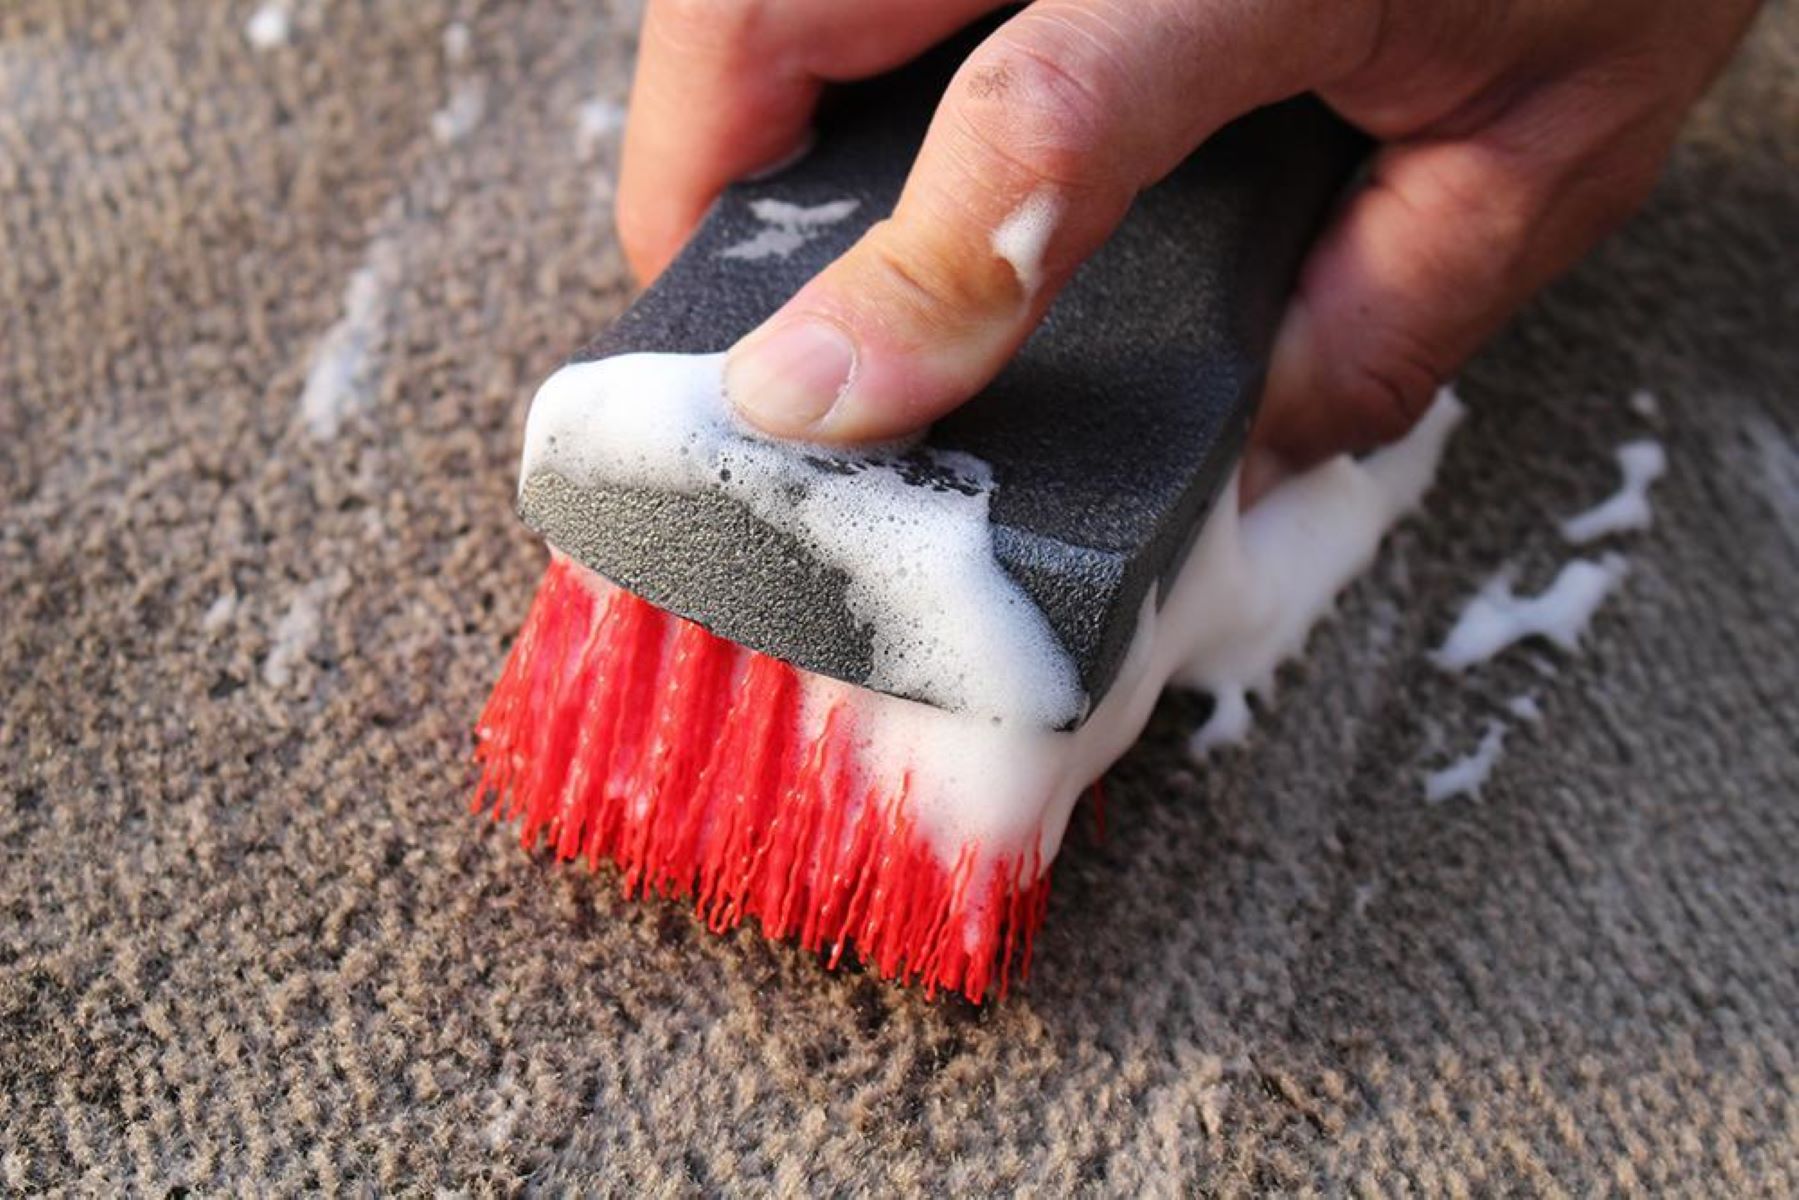
- Check the surrounding area for any paint spills or drips. If you see any, use a damp cloth or sponge to clean them up before they dry and become harder to remove.
- Clean your painting tools, such as brushes and rollers, according to the paint manufacturer’s instructions or using an appropriate cleaning solution. This will ensure that your tools are ready for future use.
- Inspect the baseboards to ensure that they have the desired finish and that there are no visible imperfections. If necessary, you can do any touch-ups or corrections at this stage.
- Lastly, remove the painter’s tape that was protecting the carpet. Slowly and carefully peel back the tape at a 45-degree angle, ensuring you do not damage the paint or carpet fibers.
Take a moment to admire your newly painted baseboards and the clean carpet that has been protected throughout the process. You can now enjoy your refreshed space without any worries about accidental paint spills or damage to your carpet.
Remember to properly dispose of any leftover paint cans, brushes, or other painting materials according to local regulations.
By following these steps and taking care in the final clean-up process, you’ll have achieved a professional result and a beautifully painted baseboard.
Conclusion
Painting baseboards can instantly transform the look and feel of a room, adding a finishing touch to your space. However, it’s essential to protect your carpet during the painting process to prevent any accidental spills or damage.
By following the step-by-step guide outlined in this article, you can confidently tackle your baseboard painting project while keeping your carpet safe and pristine. From preparing the area and gathering the necessary supplies to removing the painter’s tape and cleaning up, each step plays a crucial role in achieving a professional and flawless finish.
Remember, proper preparation is key. Clearing the area, cleaning the walls, and removing any existing baseboards ensure a clean canvas for your painting project. Applying painter’s tape and laying down protective coverings provide an extra layer of protection for your carpet.
When it comes to painting, take your time and apply multiple coats if necessary. Allow each coat to dry completely before proceeding to ensure a durable and long-lasting finish. And when the paint has dried, carefully remove the painter’s tape to reveal clean lines and a polished look.
Lastly, don’t forget the importance of clean-up. Dispose of paint cans and materials properly, clean your tools, and carefully remove any protective coverings.
By following these steps and taking the necessary precautions, you can confidently paint your baseboards without worrying about accidental paint spills or damage to your carpet. Enjoy the process and the transformative effect it has on your space. Happy painting!
Frequently Asked Questions about How To Protect Carpet When Painting Baseboards
Was this page helpful?
At Storables.com, we guarantee accurate and reliable information. Our content, validated by Expert Board Contributors, is crafted following stringent Editorial Policies. We're committed to providing you with well-researched, expert-backed insights for all your informational needs.