Articles
How To Put Baseboard On Stairs
Modified: August 21, 2024
Learn how to put baseboard on stairs with our informative articles. Get step-by-step instructions and tips for a professional finish.
(Many of the links in this article redirect to a specific reviewed product. Your purchase of these products through affiliate links helps to generate commission for Storables.com, at no extra cost. Learn more)
Introduction
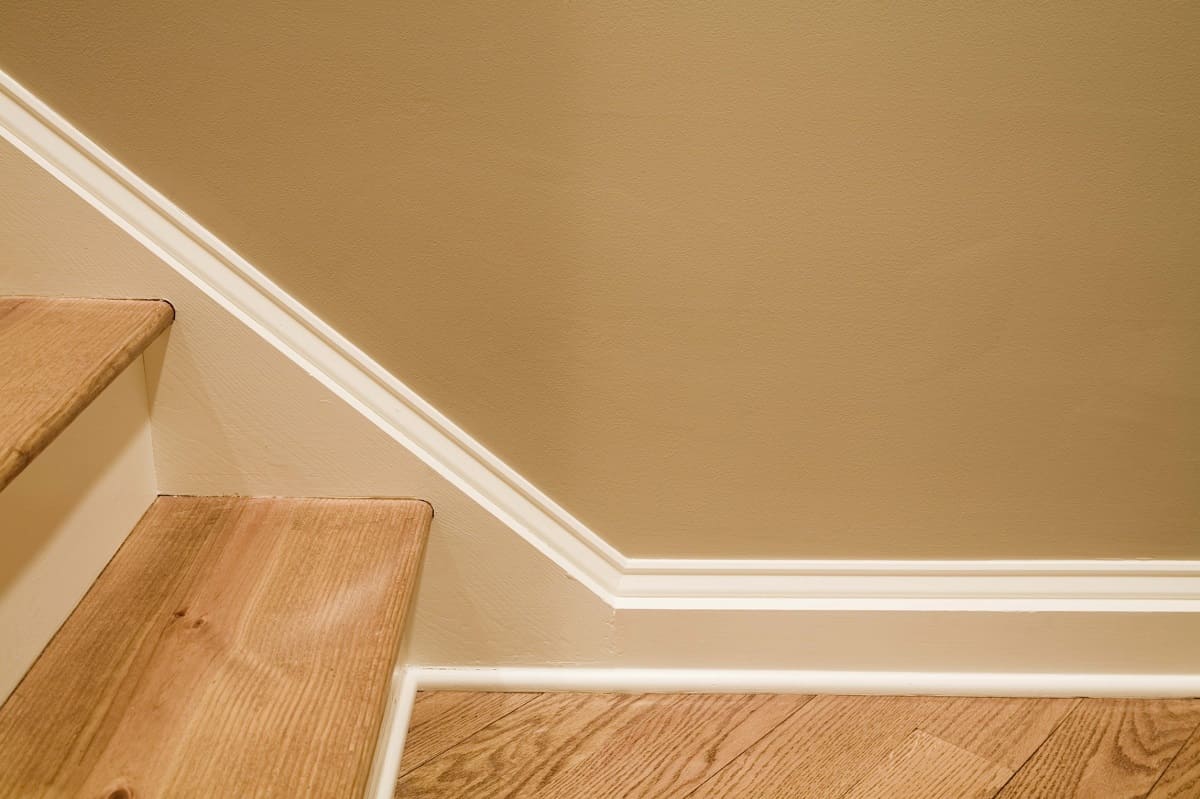
Welcome to our comprehensive guide on how to put baseboard on stairs. Installing baseboards on stairs not only adds a finishing touch to your staircase but also helps protect the edges of the steps from damage. Whether you are renovating your home or simply looking to upgrade your staircase, this step-by-step tutorial will provide you with the knowledge and guidance you need to successfully complete the project.
Before we dive into the steps, it is important to gather the necessary tools and materials for the installation process. This will ensure that you have everything you need at hand and can work efficiently.
Throughout this guide, we will provide detailed instructions on how to measure and cut the baseboard, prepare both the baseboards and stairs, install the baseboards securely, and add the finishing touches to achieve a professional-looking result.
Let’s get started with Step 1: Gathering the necessary tools and materials.
Key Takeaways:
- Transform your staircase with professional-looking baseboards that not only add aesthetic appeal but also protect the edges of the steps from damage. Follow the step-by-step guide for a rewarding and successful installation.
- Gather the necessary tools and materials, measure and cut the baseboard accurately, prepare the baseboards and stairs, and install the baseboards securely to achieve a polished and professional look for your staircase.
Read more: How To Put Tile On Stairs
Step 1: Gather the necessary tools and materials
Before you begin your baseboard installation on stairs, it’s essential to have all the right tools and materials. Here is a list of what you’ll need:
Tools needed for the project:
- Miter saw or coping saw
- Tape measure
- Pencil or marker
- Level
- Chisel
- Hammer
- Nail set
- Screwdriver or drill
- Sanding block or sandpaper
- Paintbrush
Materials required for installing baseboards on stairs:
- Baseboards (choose the style and material that best suits your staircase and decor)
- Construction adhesive or adhesive caulk
- Nails or screws
- Wood filler
- Primer
- Paint or stain
Having these tools and materials ready before you start will save you time and frustration as you navigate through the installation process. It is also important to ensure that all the materials are of high quality to achieve a professional-looking finish.
Once you have gathered all the necessary tools and materials, you are ready to move on to the next step: measuring and cutting the baseboard.
Step 2: Measure and cut the baseboard
Now that you have gathered all the necessary tools and materials, it’s time to measure and cut the baseboard for your stairs. Proper measurements and accurate cuts are crucial for a seamless installation. Follow these steps to ensure precision:
Read more: How To Put Carpet On Stairs
Measuring the length of baseboard needed for each stair step:
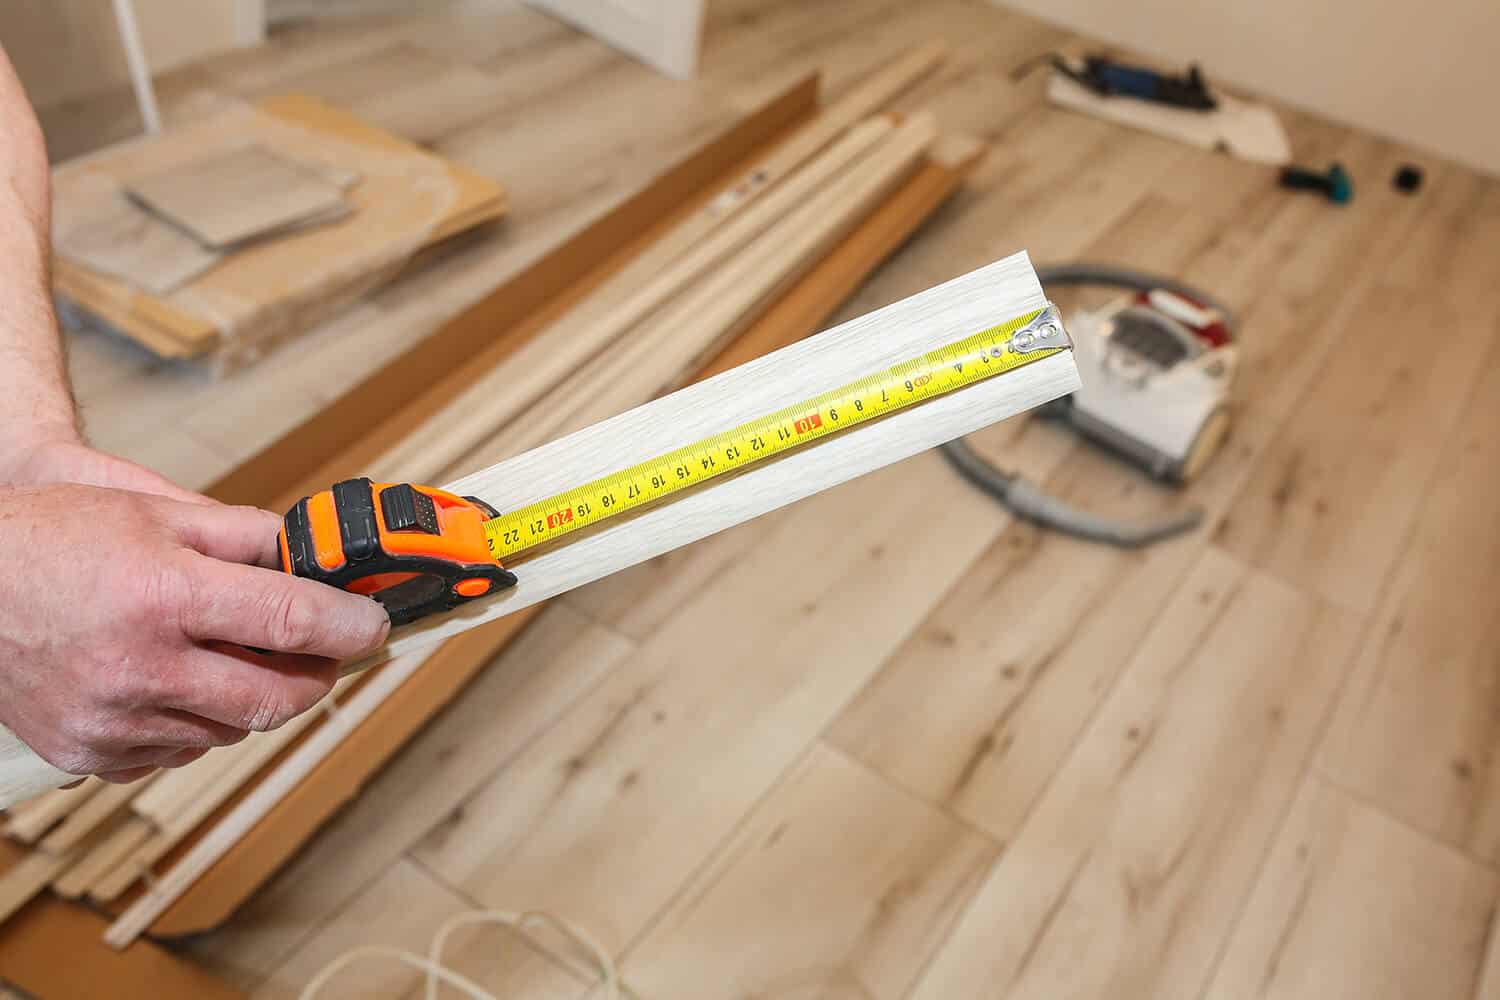
1. Start by measuring the width of each stair step. Use a tape measure to get an accurate measurement of the horizontal distance from one side of the step to the other. Record these measurements for each step.
2. Next, measure the height of each stair riser. This will be the vertical distance from the top of one step to the top of the next. Again, record these measurements for each step.
3. Add the width and height measurements together to calculate the length of baseboard needed for each stair step. Make sure to account for any corners or angles in your staircase.
Cutting the baseboard accurately:
1. Transfer the measurements onto the baseboard using a pencil or marker. Be sure to mark the measurements on the backside of the baseboard to avoid visible markings on the front.
2. Use a miter saw or coping saw to make precise cuts along the marked lines. A miter saw is ideal for straight cuts, while a coping saw is useful for cutting curved or intricate shapes.
3. Take your time and cut slowly to ensure accuracy. Double-check the measurements and test-fit the cut baseboard on the stairs before proceeding.
Remember, it’s always better to measure twice and cut once to minimize mistakes and make sure your baseboards fit perfectly as you progress through the installation process.
With the baseboard cut to the correct lengths, you are now ready to move on to the next step: preparing the baseboards and stairs for installation.
Step 3: Prepare the baseboards and stairs
Before installing the baseboards on your stairs, it’s important to ensure that both the stairs and baseboards are properly prepared. This will help ensure better adhesion and a flawless final result. Follow these steps to prepare the baseboards and stairs:
Cleaning the stairs and removing any existing baseboards:
1. Start by thoroughly cleaning the stairs to remove any dust, dirt, or debris. Using a broom or vacuum cleaner, sweep the entire staircase to ensure a clean surface for installation.
2. If there are existing baseboards on your stairs, carefully remove them using a chisel and hammer. Take your time to avoid damaging the staircase during this process. If necessary, use a pry bar to gently loosen the baseboards.
3. Once the existing baseboards are removed, inspect the stairs for any nails or screws that may be sticking out. Hammer them in or remove them completely to create a smooth surface for the new baseboards.
Read more: What To Put On Stairs For Dogs
Sanding and priming the baseboards for better adhesion:
1. Before installing the baseboards, it’s important to sand them to create a smooth surface and remove any rough edges. Use a sanding block or sandpaper to gently sand the baseboards, paying attention to any imperfections or splintering.
2. After sanding, wipe down the baseboards with a damp cloth to remove any dust. This will ensure better adhesion of the primer.
3. Apply a coat of primer to the baseboards using a high-quality paintbrush. Primer helps seal the wood and provides a better surface for paint or stain to adhere to. Allow the primer to dry completely before proceeding.
By cleaning the stairs and removing any existing baseboards, as well as sanding and priming the baseboards, you are creating an optimal surface for the installation of the new baseboards. Now you’re ready to move on to the next step: installing the baseboards on the stairs.
Step 4: Install the baseboards on the stairs
Now that the baseboards and stairs are properly prepared, it’s time to start installing the baseboards on your stairs. Follow these steps for a successful installation:
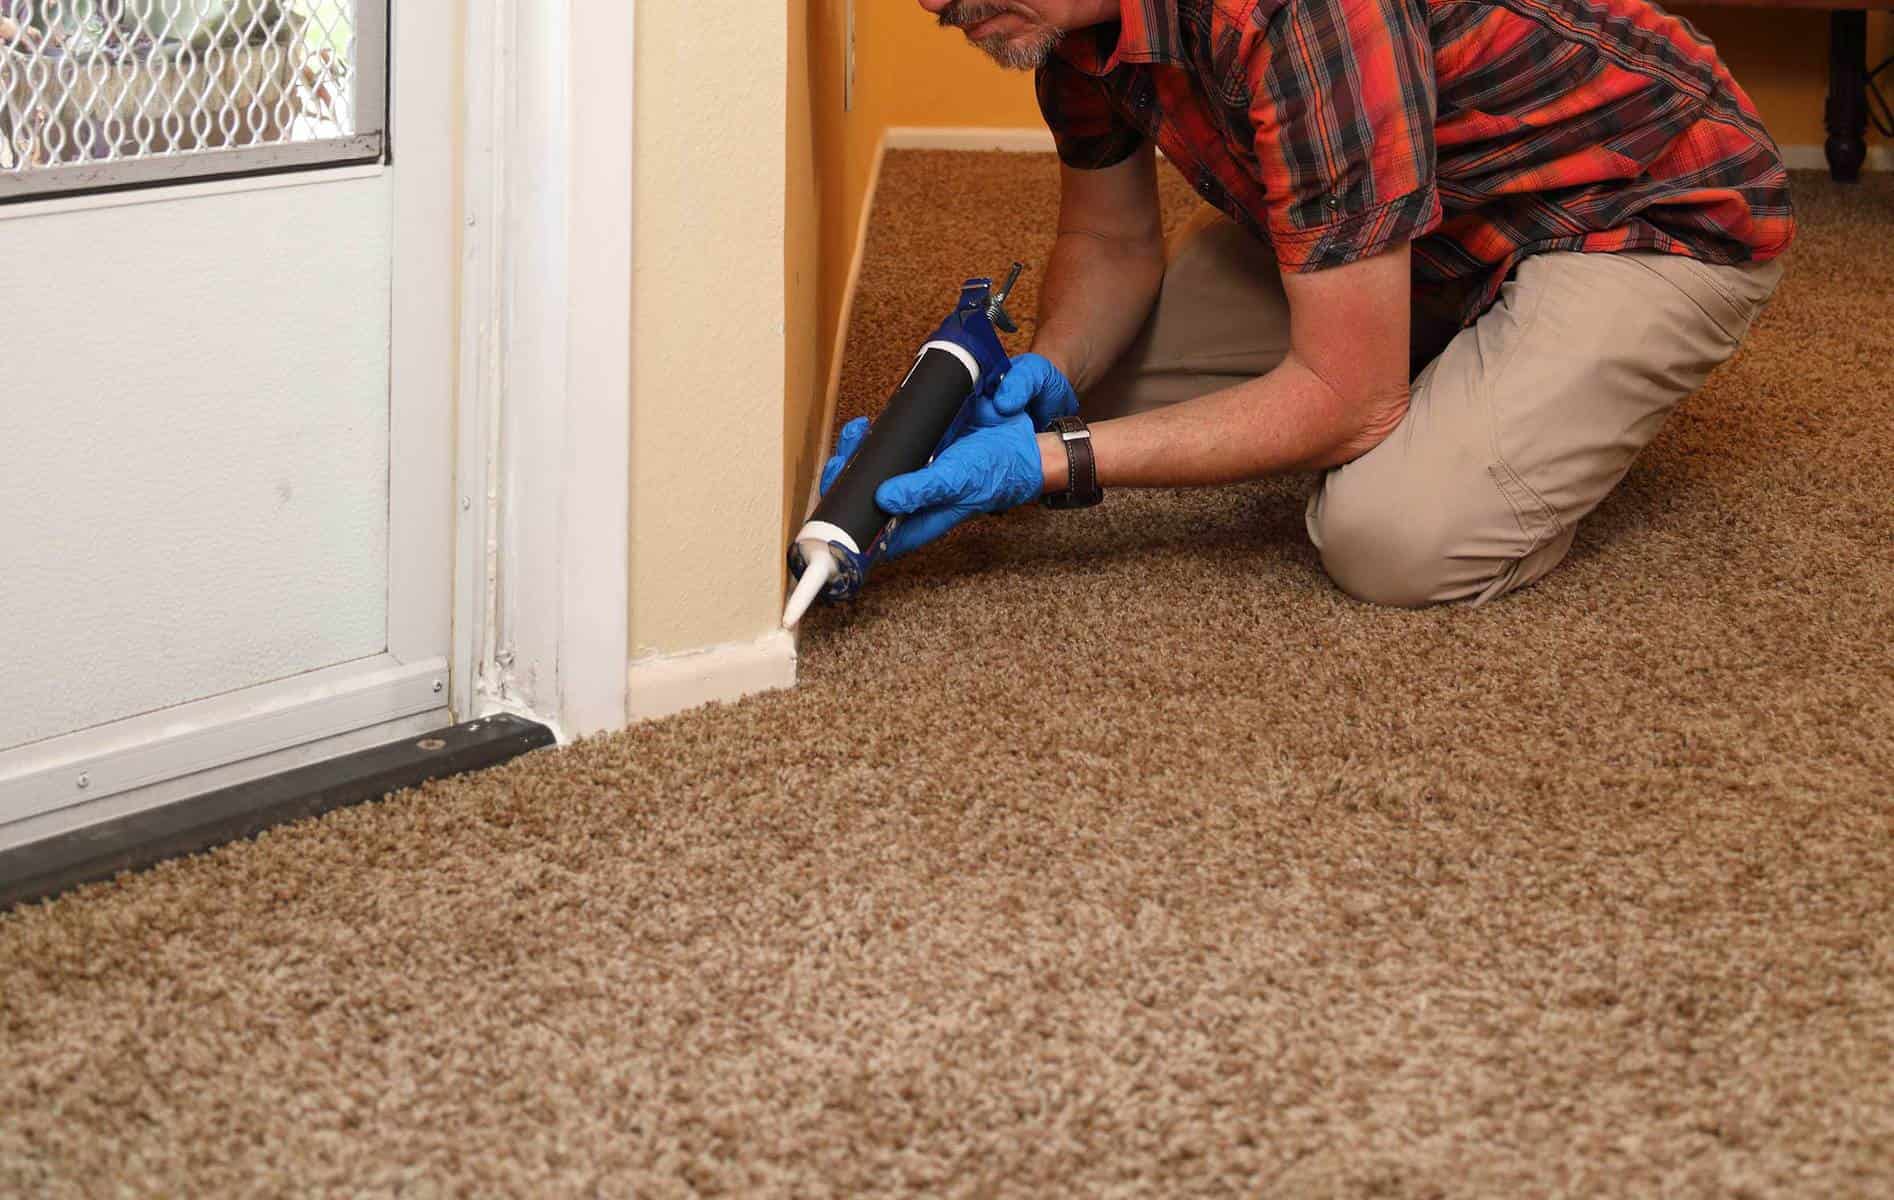
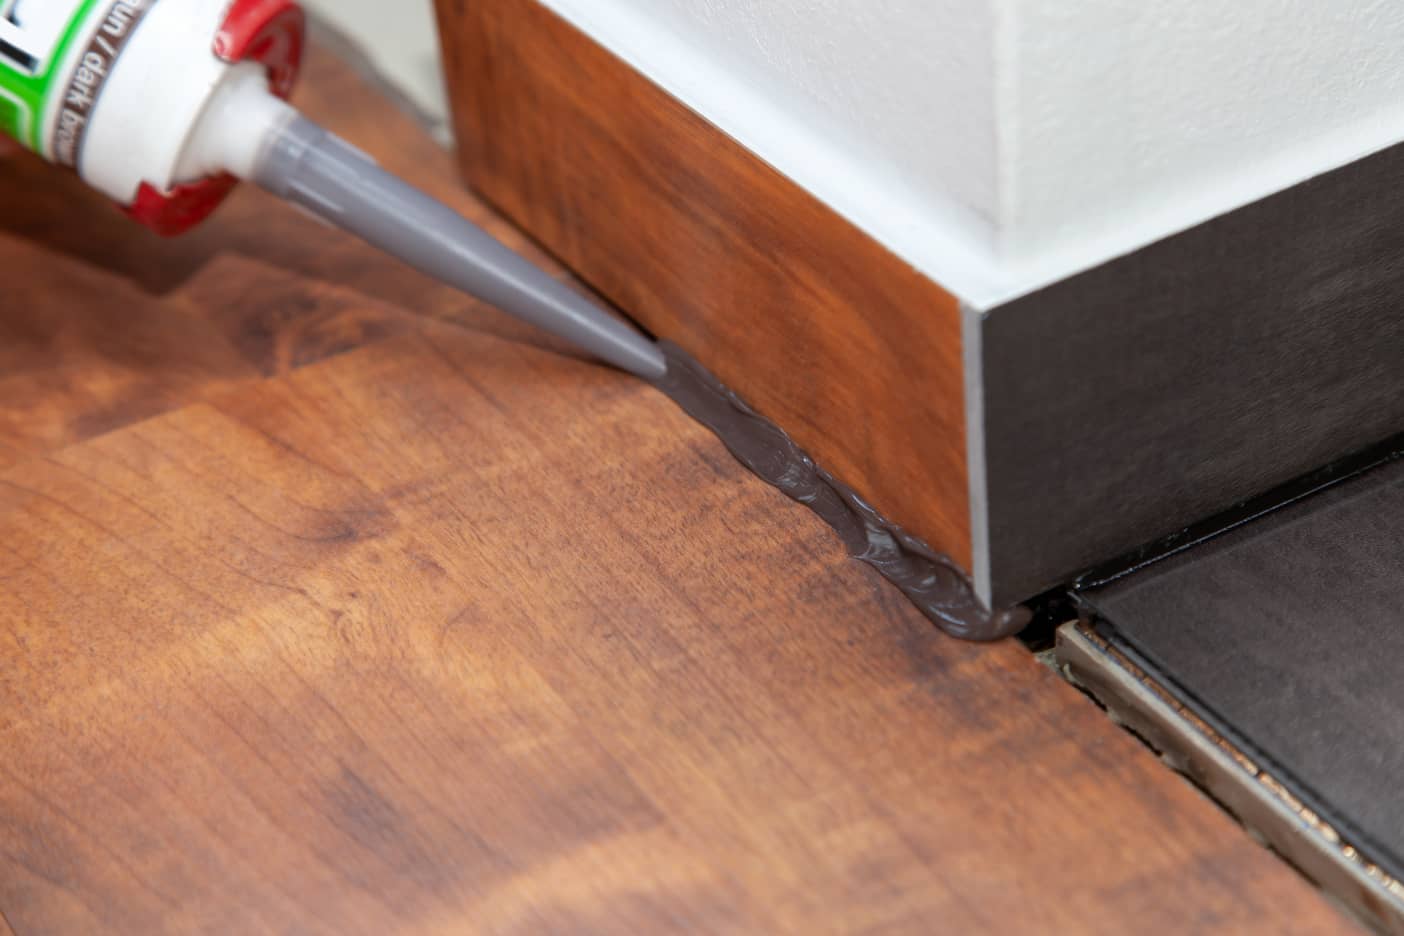
Applying adhesive or construction adhesive on the back of the baseboard:
1. Start by applying a generous amount of adhesive or construction adhesive on the backside of the baseboard. This will ensure a strong bond between the baseboard and the stairs.
2. For added adhesion, you can also apply adhesive caulk along the edges and corners of the baseboard.
Pressing the baseboard firmly onto the stairs:
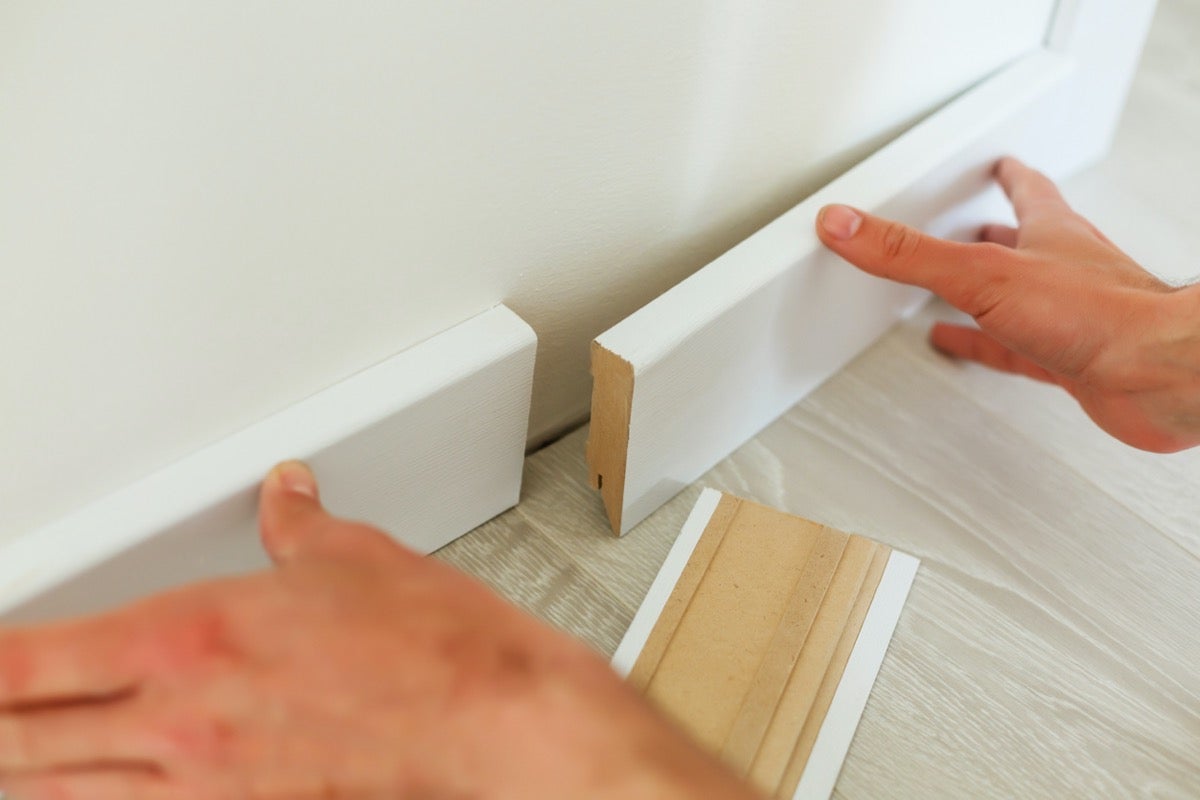
1. Position the baseboard at the bottom of the stairs, aligning it with the edge of the step. Press the baseboard firmly against the step, ensuring that it sticks to the adhesive on the back.
2. Gradually work your way up the stairs, pressing the baseboard onto each step, making sure it is securely adhered to the stairs.
3. Use a level to ensure that the baseboard is straight and aligned correctly along the edge of the steps. Adjust as needed.
Read more: How To Put Wood Flooring On Stairs
Nailing or screwing the baseboard into place for added stability:
1. Once the baseboard is firmly pressed onto the stairs, you can further enhance its stability by securing it with nails or screws.
2. Carefully drive nails or screws through the baseboard into the stairs. Make sure to countersink the nails or screws slightly so that they are flush with the surface of the baseboard.
3. Space the nails or screws at regular intervals along the baseboard for added support and stability.
By applying adhesive or construction adhesive, firmly pressing the baseboard onto the stairs, and nailing or screwing it into place, you can ensure a secure and stable installation. Now you’re ready for the final step: adding the finishing touches to complete the project.
Step 5: Finishing touches
With the baseboards securely installed on your stairs, it’s time to add the finishing touches to complete the project. These final steps will help ensure a polished and professional-looking result:
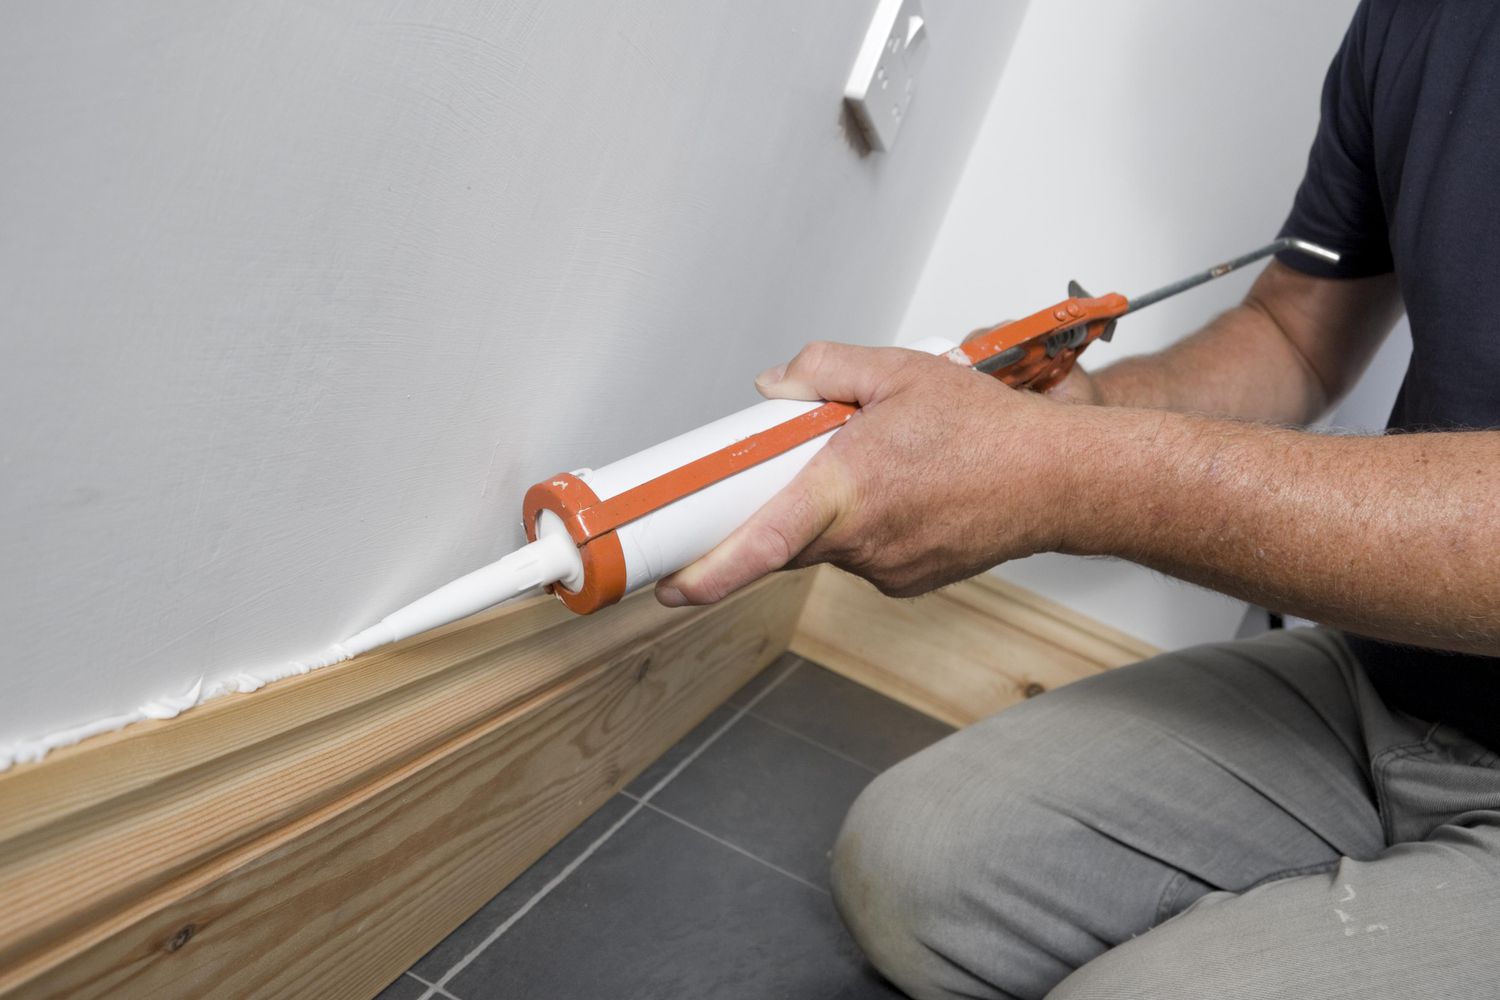
Filling in any gaps or nail holes with wood filler:
1. Inspect the installed baseboards for any gaps or visible nail holes. If you notice any imperfections, use a wood filler that matches the color of the baseboards to fill them in.
2. Apply the wood filler to the gaps or nail holes using a putty knife. Smooth it out and level it with the surface of the baseboard. Allow the wood filler to dry completely according to the manufacturer’s instructions.
3. Once the wood filler is dry, lightly sand the baseboards to create a smooth surface and blend the filled areas with the rest of the baseboard.
Sanding the baseboards for a smooth and polished finish:
1. Using a sanding block or sandpaper, gently sand the baseboards to remove any rough edges or imperfections. Sand in the direction of the wood grain for the best results.
2. Pay extra attention to the edges and corners of the baseboards to ensure they are smooth and well-defined.
3. After sanding, wipe down the baseboards with a damp cloth to remove any dust or debris.
Read more: Which Side Of Stairs To Put Handrail
Adding a final coat of paint or stain, if desired:
1. If you prefer a natural wood look, you can simply apply a clear coat of varnish or sealant to protect the baseboards and enhance their appearance.
2. If you want to add color or coordinate with your staircase and decor, apply a final coat of paint or stain to the baseboards. Use a high-quality paintbrush or foam roller for a smooth and even finish.
3. Allow the paint or stain to dry completely before handling or walking on the stairs.
By filling in any gaps, sanding the baseboards for a smooth finish, and applying a final coat of paint or stain, you will achieve a polished and professional look for your baseboards on the stairs. Take a step back and admire your beautifully transformed staircase!
Congratulations! You have successfully completed the installation of baseboards on your stairs, enhancing the overall aesthetic and protection of your staircase.
Conclusion
Installing baseboards on stairs is a rewarding project that can add a finishing touch to your staircase while protecting the edges of the steps. By following the step-by-step guide outlined in this article, you can successfully complete the installation process and achieve professional-looking results.
Starting with gathering the necessary tools and materials, measuring and cutting the baseboards accurately, preparing the baseboards and stairs, and then installing the baseboards securely are all crucial steps in the process. Taking the time to properly prepare and install the baseboards will ensure a long-lasting and aesthetically pleasing result.
Remember to pay attention to the finishing touches, such as filling in any gaps or nail holes with wood filler, sanding the baseboards for a smooth and polished finish, and adding a final coat of paint or stain if desired. These steps will enhance the overall appearance of your baseboards on the stairs and give your staircase a polished look.
Throughout the installation process, it’s important to exercise caution, take accurate measurements, and work with precision. Always prioritize safety by wearing appropriate protective gear and using tools properly.
With your newly installed baseboards on the stairs, your staircase will have a fresh and updated look. The baseboards not only add aesthetic appeal but also serve as a protective barrier against any potential damage to the edges of the steps.
We hope this comprehensive guide has provided you with the knowledge and confidence to embark on your baseboard installation project. Now, go ahead and transform your stairs into a beautiful focal point of your home!
If you relished mastering baseboard installation, why not expand your skill set with more DIY and woodworking projects? Curious about making your own decor and furniture? Our article on why DIY projects are rewarding offers insights into creating personalized items at home. For enthusiasts eager to dive deeper into crafting, our guide to the best woodworking techniques and tools for the coming year is perfect. Both articles provide practical advice to enhance your home beautifully and efficiently.
Frequently Asked Questions about How To Put Baseboard On Stairs
Was this page helpful?
At Storables.com, we guarantee accurate and reliable information. Our content, validated by Expert Board Contributors, is crafted following stringent Editorial Policies. We're committed to providing you with well-researched, expert-backed insights for all your informational needs.


0 thoughts on “How To Put Baseboard On Stairs”