Articles
How To Fill Gap Between Baseboard And Floor
Modified: May 6, 2024
Learn how to easily fill the gap between your baseboard and floor with our informative articles. Say goodbye to unsightly cracks and improve the overall appearance of your home.
(Many of the links in this article redirect to a specific reviewed product. Your purchase of these products through affiliate links helps to generate commission for Storables.com, at no extra cost. Learn more)
Introduction
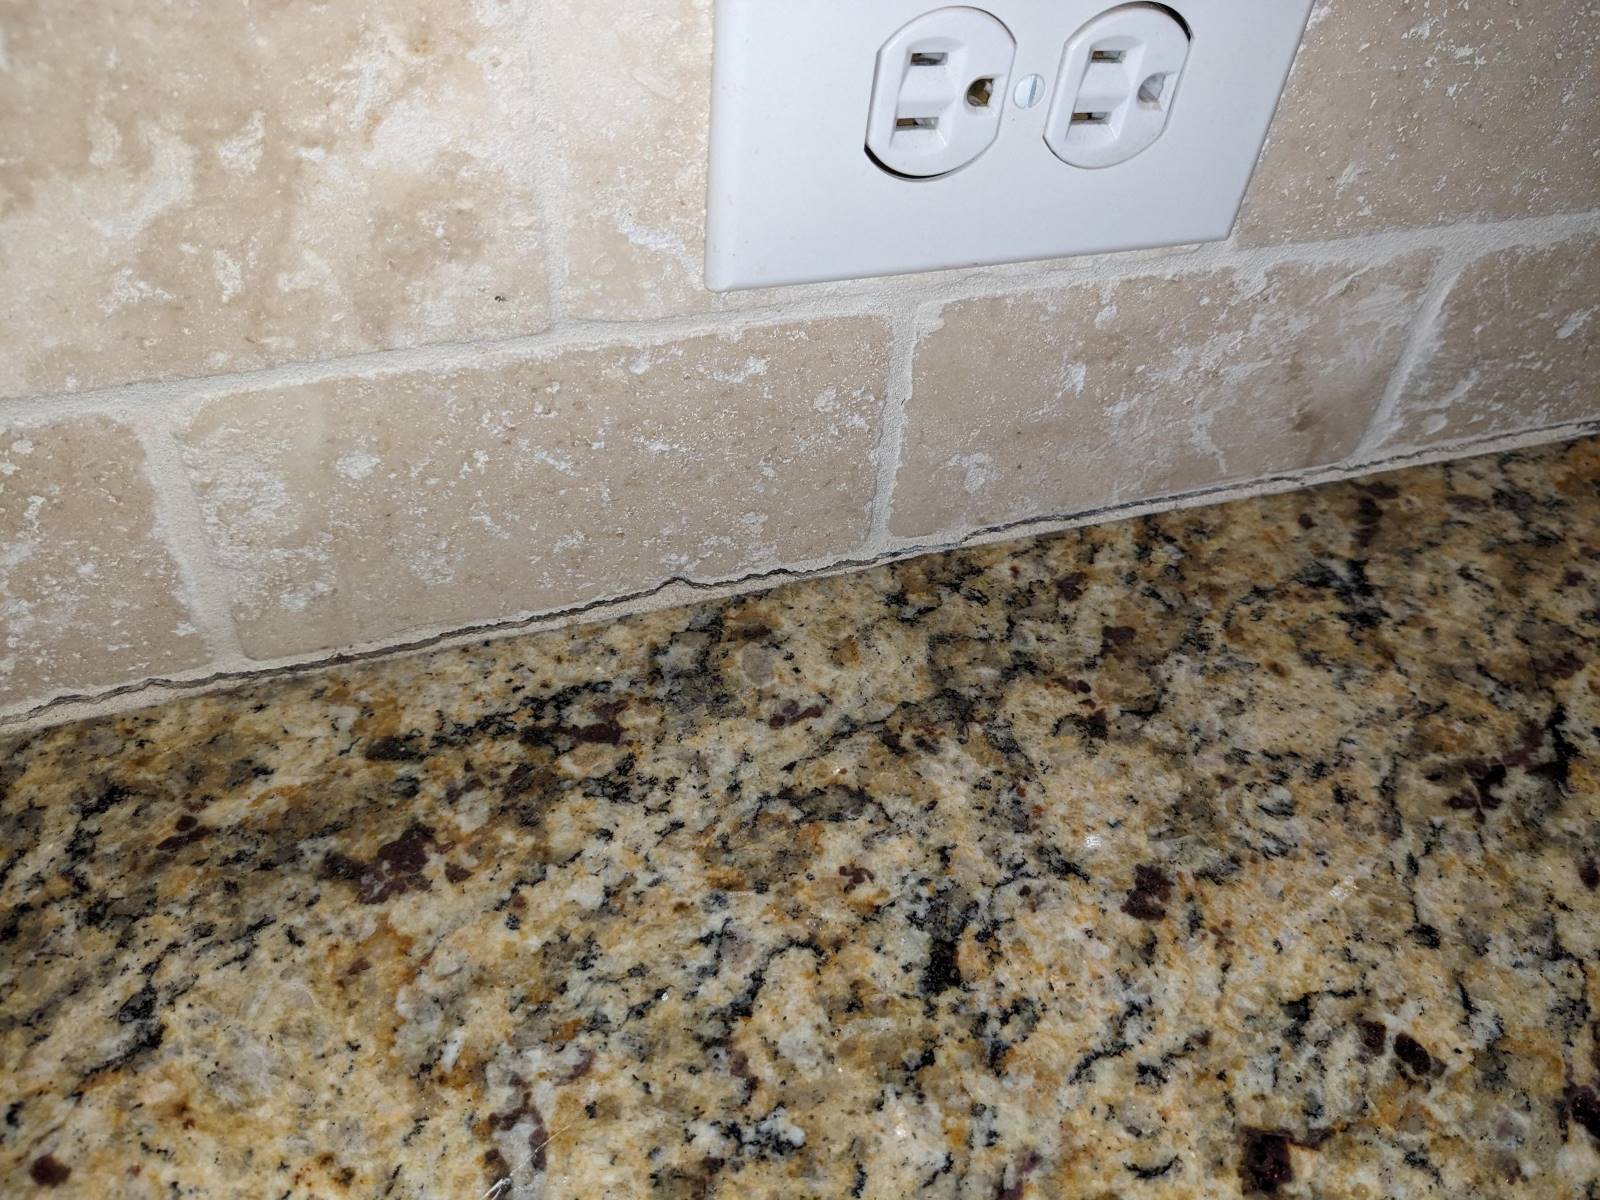
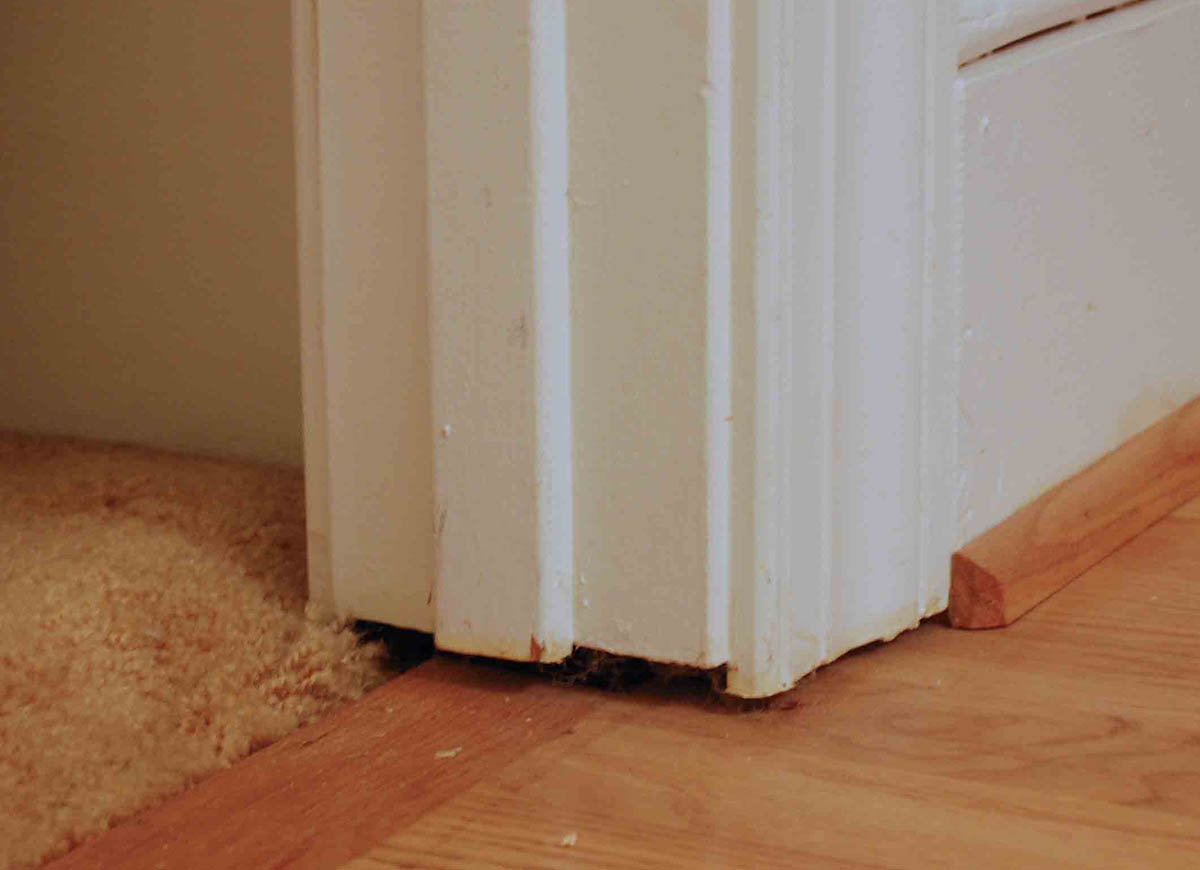
When it comes to home improvement, one common issue many homeowners face is the gap between the baseboard and the floor. These gaps not only detract from the overall appearance of a room but can also collect dirt and debris over time. However, with a few simple steps and the right materials, you can easily fill that gap and achieve a seamless and polished look.
In this article, we will guide you through the process of filling the gap between your baseboard and floor. We will discuss the tools and materials you will need, as well as the steps to follow for a successful fill. Whether your baseboard is made of wood, vinyl, or any other material, this guide will help you tackle the task with ease.
Before we dive into the step-by-step process, let’s take a look at the tools and materials you will need:
Key Takeaways:
- Achieve a seamless and polished look by filling the gap between baseboard and floor using the right tools and materials, and following a step-by-step process for a professional finish.
- Properly measuring, preparing, and applying the filler material, followed by smoothing, leveling, and painting or staining, will result in a transformed room free from unsightly gaps.
Read more: How To Fill Hardwood Floor Gaps
Tools and Materials Needed
Before you begin filling the gap between the baseboard and floor, gather the following tools and materials:
- A measuring tape: This will help you accurately measure the size of the gap.
- A utility knife or chisel: You’ll need this to remove any existing caulking or debris from the gap.
- A vacuum cleaner: Use it to thoroughly clean the area and remove any dust or loose particles.
- A putty knife: This will come in handy for applying and smoothing the filler material.
- A caulk gun: If you choose to use caulk as the filler, you will need a caulk gun to apply it.
- A filler material: Depending on your preferences and the size of the gap, you can choose from various options such as wood filler, epoxy resin, or caulk.
- Sandpaper: Use a fine-grit sandpaper to smooth out the filler material.
- Primer and paint or stain: If you plan on painting or staining the filler to match your baseboard, make sure to have these materials on hand.
- A damp cloth: This will be used to wipe away any excess filler or paint/stain.
Once you have gathered all the necessary tools and materials, you are ready to proceed to the next steps. Let’s move on to measuring the gap between the baseboard and floor.
Step 1: Measure the Gap
Before you can fill the gap between the baseboard and floor, you need to accurately measure its size. This will allow you to determine the amount of filler material needed and ensure a precise fit.
Follow these steps to measure the gap:
- Begin by selecting a starting point along the baseboard where the gap is most noticeable.
- Using a measuring tape, measure the width of the gap from one end to the other. Take multiple measurements along the length to account for any variations in size.
- Record the measurements and calculate the average width of the gap. This will help you determine how much filler material you will need.
It’s important to note that the size of the gap may vary in different areas of the room. Be sure to measure multiple sections and calculate averages to ensure an accurate fit for the filler material.
Once you have measured the gap and determined the average width, you can proceed to the next step: choosing the appropriate filler material.
Step 2: Choose the Appropriate Filler Material
After measuring the gap between the baseboard and floor, it’s time to select the right filler material. The choice of filler will depend on the size of the gap, the material of your baseboard, and your personal preferences.
Here are some common filler materials to consider:
- Wood filler: This is an excellent choice if you have a wooden baseboard. It comes in different colors and can be stained or painted to match your baseboard. Wood filler is ideal for larger gaps or areas that require structural support.
- Caulk: Caulk is a flexible material that can be used for small to medium-sized gaps. It is easy to apply and provides a seamless finish. Caulk is available in different types, such as silicone, latex, or acrylic. Choose a type that suits your needs and is compatible with the baseboard material.
- Epoxy resin: If you have a larger gap or need a more durable solution, epoxy resin can be a good option. It is a two-part compound that forms a strong bond and provides a long-lasting fill. Epoxy resin comes in different colors and can be sanded and painted over for a smooth, finished look.
Consider the size of the gap and the material of your baseboard when choosing the filler material. If you’re unsure which option is best, consult with a local home improvement professional for guidance.
With the filler material chosen, you’re ready to proceed to the next step: preparing the gap for filling.
Step 3: Prepare the Gap
Before applying the filler material, it is important to prepare the gap between the baseboard and floor. Proper preparation will ensure better adhesion and a more seamless finish.
Follow these steps to prepare the gap:
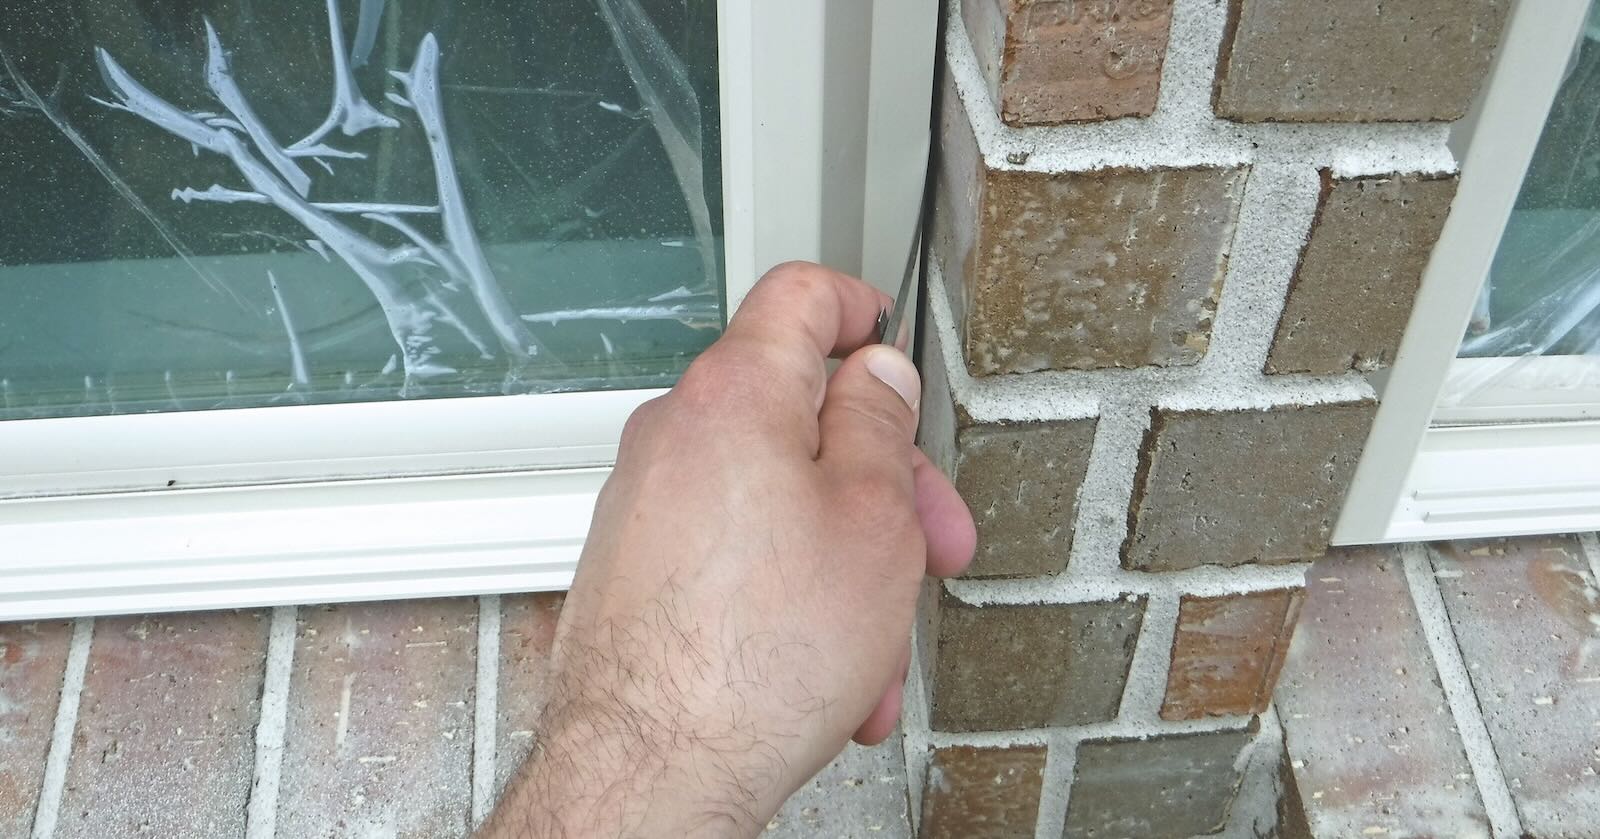
- Start by removing any existing caulking or debris from the gap. Use a utility knife or chisel to carefully scrape away the old caulk or other materials.
- Thoroughly clean the area by vacuuming or using a damp cloth to remove any dust, dirt, or loose particles. Make sure the gap is clean and free of any obstacles.
- If you are using wood filler, sand the surface of the baseboard and the edges of the gap to create a rough texture. This will help the filler adhere better.
- If using caulk or epoxy resin, read the manufacturer’s instructions for any specific preparation steps. Some products may require priming the gap or applying a bonding agent before filling.
By properly preparing the gap, you are ensuring a clean and suitable surface for the filler material to adhere to. This will result in a more durable and professional-looking finish.
With the gap prepared, you’re now ready to move on to the next step: applying the filler material.
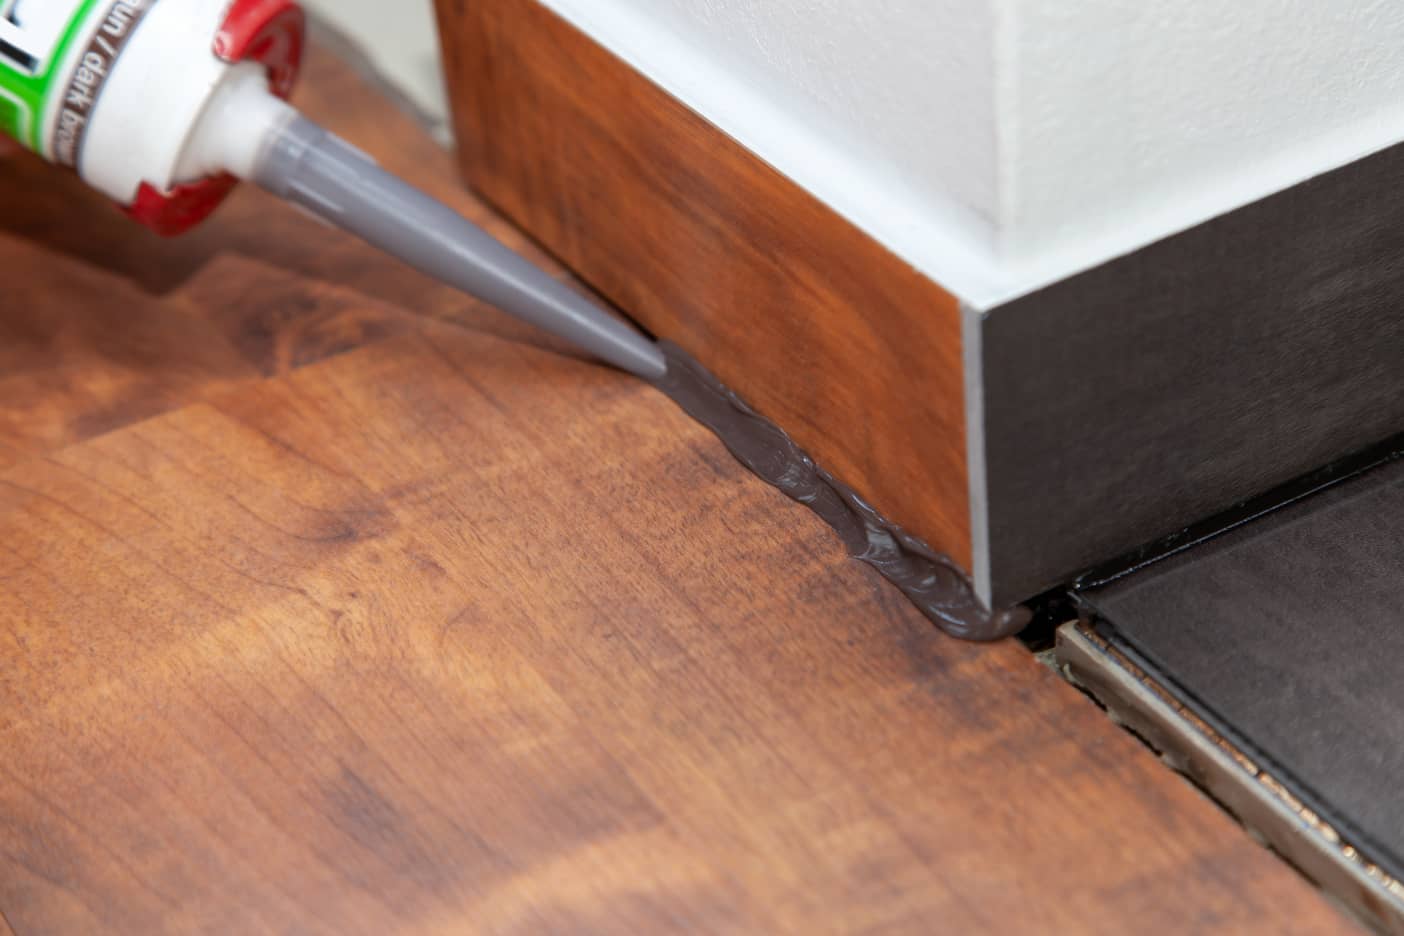
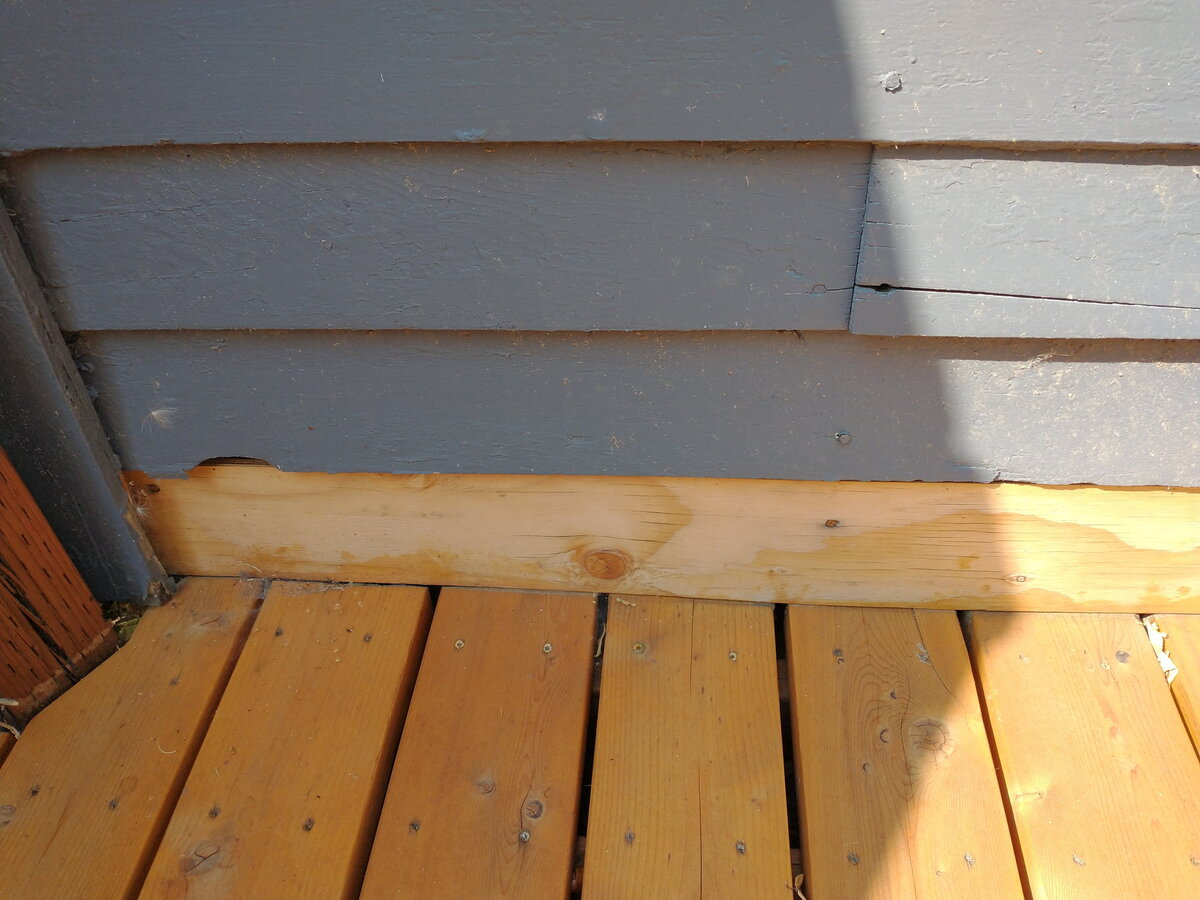
Use a flexible caulk to fill the gap between the baseboard and floor. Make sure to clean the area first and apply the caulk in a smooth, even line for a professional finish.
Read more: How To Fill Gap Between Wall And Ceiling
Step 4: Apply the Filler Material
Now that the gap between the baseboard and floor is prepared, it’s time to apply the chosen filler material. The application process will depend on the type of filler you’re using, so follow the instructions specific to your chosen material.
Here are some general steps to guide you:
- If you’re using wood filler, start by following the manufacturer’s instructions for mixing the filler if necessary. Then, use a putty knife to apply the filler into the gap. Fill the gap completely, ensuring the filler is level with the surface of the baseboard.
- If using caulk, cut the tip of the caulk tube at a 45-degree angle. Load the tube into a caulk gun and apply a bead of caulk along the gap. Use even pressure to ensure a consistent flow of caulk. Fill the gap completely, being careful not to over-apply.
- If using epoxy resin, follow the instructions for mixing the two components of the resin. Apply the mixed resin into the gap using a putty knife or a disposable applicator. Fill the gap completely, ensuring the resin is level with the baseboard.
Take your time during the application process to ensure the filler material is applied evenly and smoothly. This will result in a more seamless and professional finish.
With the filler material applied, you’re ready to move on to the next step: smoothing and leveling the filler.
Step 5: Smooth and Level the Filler
After applying the filler material into the gap between the baseboard and floor, it’s important to smooth and level it for a seamless finish. This step will ensure that the filler blends in with the surrounding surfaces and creates a cohesive and polished appearance.
Follow these steps to smooth and level the filler:
- For wood filler: Use a putty knife or a smooth, flat tool to carefully smooth the surface of the wood filler. Gently apply pressure and glide the tool across the filler material, ensuring it is flush with the baseboard and floor. Remove any excess filler and create a smooth, even surface.
- For caulk or epoxy resin: Immediately after applying the caulk or resin, use a damp cloth or your finger to smooth and shape the material. Wipe away any excess caulk or resin and create a neat, level surface. If necessary, you can also use a putty knife or scraper to achieve the desired levelness.
Take your time during the smoothing and leveling process to achieve the best results. If working with wood filler, ensure that the surface is smooth and matches the rest of the baseboard. For caulk or resin, focus on creating a seamless transition between the filler and the surrounding surfaces.
With the filler material smooth and level, you’re ready to move on to the next step: paint or stain the filler to match your baseboard.
Step 6: Paint or Stain the Filler
Now that the filler material is applied, smoothed, and leveled, it’s time to finish the gap between the baseboard and floor by painting or staining the filler. This step will help the filler blend seamlessly with the surrounding baseboard, creating a cohesive and professional look.
Follow these steps to paint or stain the filler:
- If using wood filler, allow it to dry completely according to the manufacturer’s instructions. Once dry, sand the filled area lightly with fine-grit sandpaper to create a smooth surface. Remove any dust or debris with a damp cloth.
- Apply a coat of primer to the filled area. This will help the paint or stain adhere better and ensure a more even color. Follow the instructions on the primer label for drying time.
- After the primer is dry, apply the desired paint or stain color to the filled area. Use a small brush or a foam brush for precise application. Apply multiple thin coats, allowing each coat to dry before applying the next one, until you achieve the desired color and coverage.
- If necessary, sand lightly between coats for a smoother finish. Remove any sanding residue before applying the next coat. Once you’re satisfied with the color and coverage, allow the final coat to dry completely according to the paint or stain instructions.
Take care during the painting or staining process to ensure even coverage and avoid drips or smudges. Use sharp, clean brushes and follow the recommended drying times for each coat.
After the paint or stain is dry, inspect the filled area to ensure it matches the rest of the baseboard seamlessly. If needed, touch up any areas with additional paint or stain to achieve a uniform look.
Congratulations! You have successfully filled the gap between the baseboard and floor and achieved a polished and seamless finish.
With the final step complete, you can now enjoy the transformed appearance of your room, with no more unsightly gaps distracting from its overall beauty.
Conclusion
Filling the gap between the baseboard and floor is a straightforward and rewarding home improvement project. By following the steps outlined in this article and using the right tools and materials, you can achieve a seamless and professional-looking finish.
Remember to measure the gap accurately before selecting the appropriate filler material. Wood filler, caulk, or epoxy resin can all be effective options, depending on the size of the gap and the material of your baseboard.
Properly preparing the gap by removing any debris and cleaning the area is crucial for a successful fill. Take your time to apply the filler material carefully, ensuring it is level with the baseboard and floor.
Smoothing and leveling the filler will create a seamless transition between the surfaces. And don’t forget to paint or stain the filled area to match your baseboard, providing a cohesive and polished appearance.
With these steps completed, you can enjoy the improved aesthetics of your room, free from the unsightly gap between the baseboard and floor. Your hard work and attention to detail will be rewarded with a finished look that enhances the overall beauty and value of your home.
Remember, if you’re unsure about any part of the process, it’s always recommended to consult with a professional or a local home improvement expert for guidance.
Now, armed with the knowledge and instructions provided in this article, you can confidently tackle the task of filling the gap between your baseboard and floor, bringing a touch of perfection to your living space.
After mastering the art of filling gaps between baseboard and floor, why stop there? Dive deeper into maintaining your living space with our detailed guide on handling various home mend tasks. Whether dealing with a leaky faucet or fixing a creaky door, our comprehensive advice covers all you need to know about keeping your home in top shape.
Frequently Asked Questions about How To Fill Gap Between Baseboard And Floor
Was this page helpful?
At Storables.com, we guarantee accurate and reliable information. Our content, validated by Expert Board Contributors, is crafted following stringent Editorial Policies. We're committed to providing you with well-researched, expert-backed insights for all your informational needs.


0 thoughts on “How To Fill Gap Between Baseboard And Floor”