Articles
How To Install Baseboard Molding
Modified: October 20, 2024
Learn step-by-step instructions on how to install baseboard molding with our comprehensive articles. Enhance your DIY skills and transform your space today!
(Many of the links in this article redirect to a specific reviewed product. Your purchase of these products through affiliate links helps to generate commission for Storables.com, at no extra cost. Learn more)
Introduction
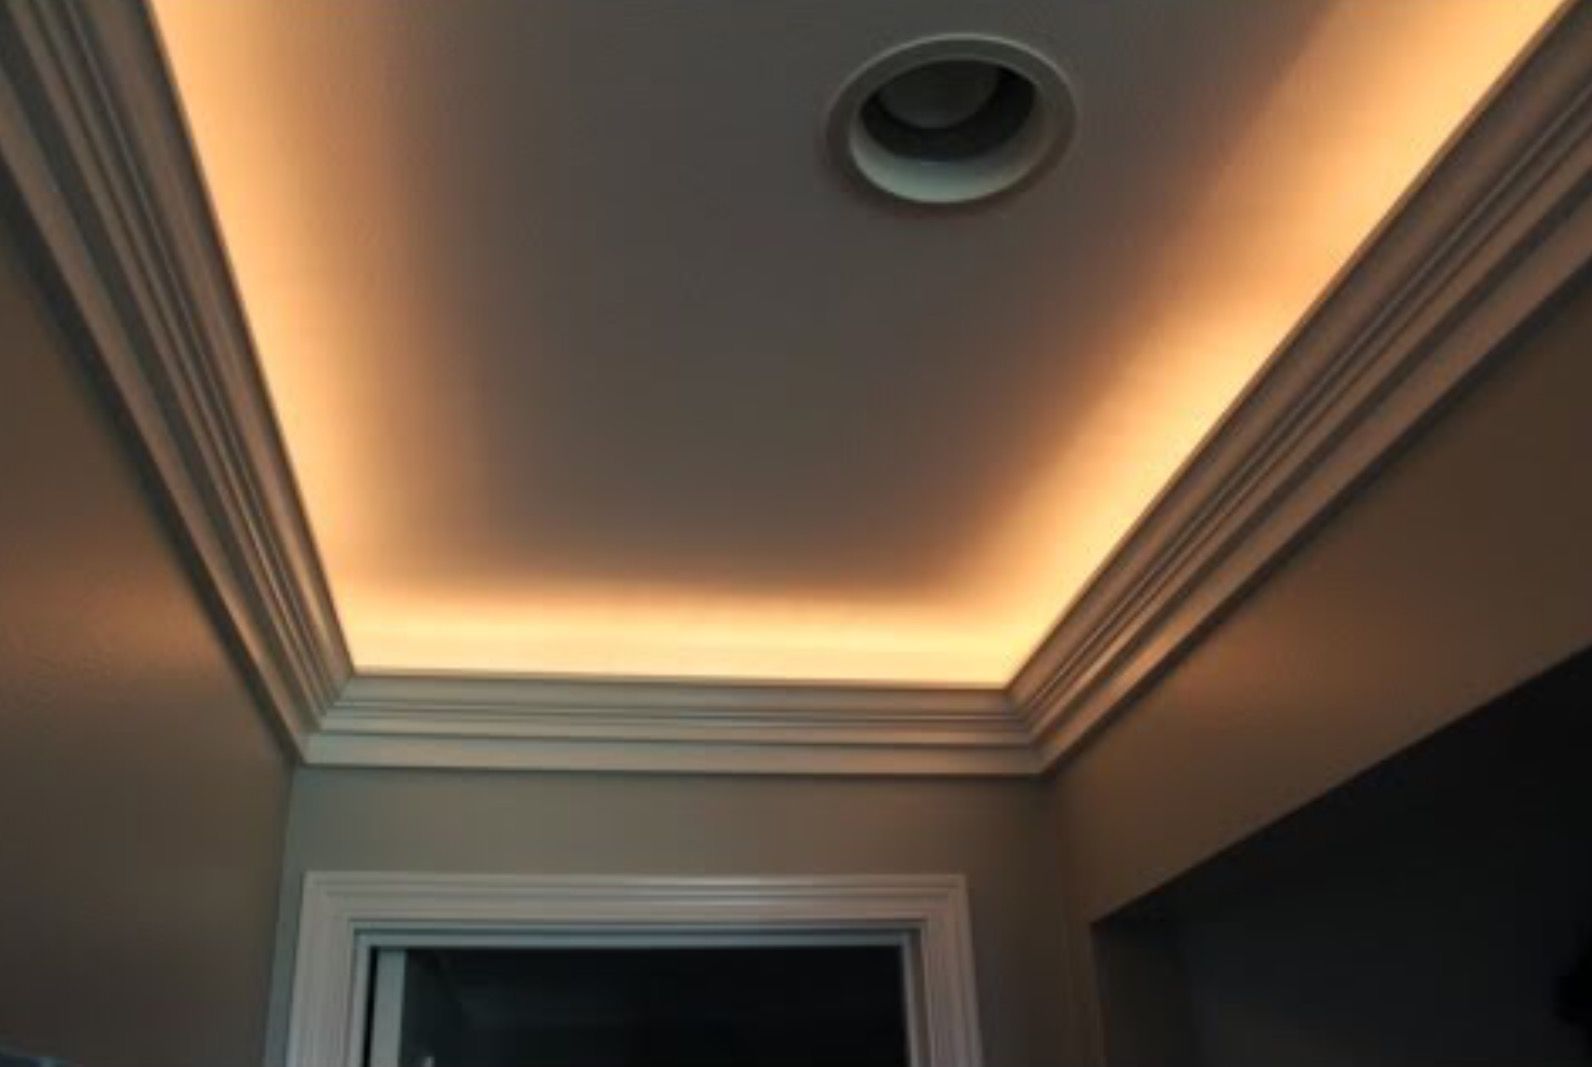
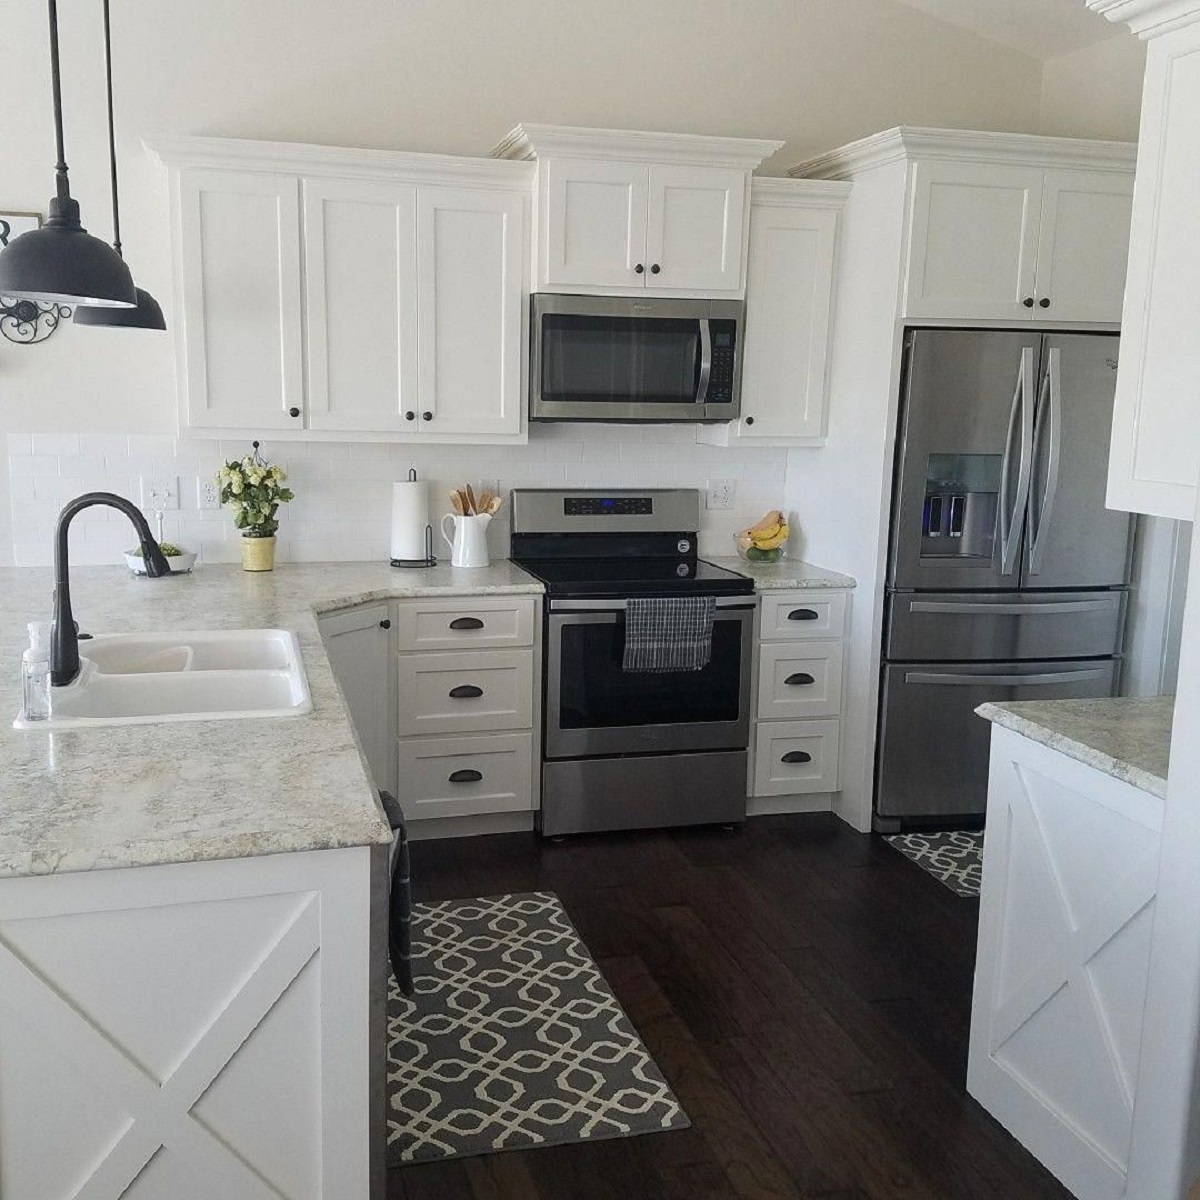
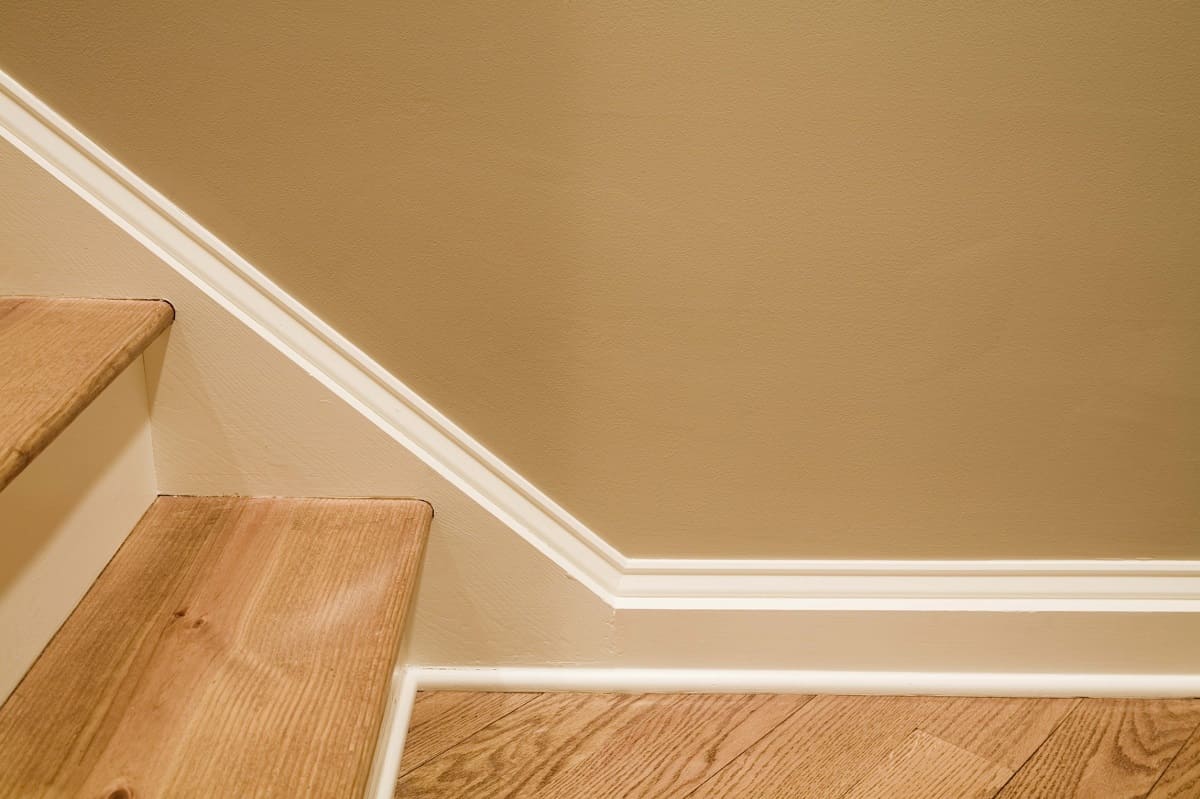
Baseboard molding is an essential element in interior design, adding a finishing touch to any room. Not only does it enhance the aesthetic appeal of your space, but it also serves a practical purpose by protecting walls from damage and covering the gaps between the wall and the floor. Installing baseboard molding may seem like a daunting task, but with the right tools and a step-by-step approach, it can be a satisfying DIY project.
In this article, we will guide you through the process of installing baseboard molding in your home. We will cover everything from the tools and materials you’ll need to the finishing touches that will make your molding look professional. So, gather your tools and let’s get started!
Key Takeaways:
- Proper preparation is crucial for a successful baseboard molding installation. Clear the area, measure and cut the molding accurately, and take your time to ensure a seamless and professional-looking result.
- Attention to detail is key when installing and painting baseboard molding. From filling nail holes to applying thin, even coats of paint, each step contributes to achieving a polished and elegant finish.
Tools and Materials Needed
Before you begin installing baseboard molding, make sure you have the following tools and materials on hand:
- Miter saw or coping saw
- Tape measure
- Pencil
- Level
- Hammer
- Nailset
- Finishing nails
- Wood putty or filler
- Sandpaper or sanding block
- Primer
- Paint
- Paintbrush
- Drop cloth or plastic sheeting
- Safety glasses
- Dust mask
These tools and materials are essential for a successful baseboard molding installation. Make sure to gather them all before you start the project to avoid any unnecessary interruptions.
Preparing the Area
Before you begin installing the baseboard molding, it’s important to prepare the area properly. This will ensure a smooth installation process and a professional-looking result. Follow these steps to prepare the area:
- Clear the area: Remove any furniture, decorations, or obstacles from the walls and floor where you’ll be installing the baseboard molding. This will give you ample space to work and prevent any accidental damage.
- Clean the walls and floor: Thoroughly clean the walls and floor to remove any dust, dirt, or debris. This will help the baseboard molding adhere properly and create a clean-looking finish.
- Measure and mark: Use a tape measure to measure the length of each wall where you’ll be installing the baseboard molding. Mark the measurements on the molding itself using a pencil. This will ensure accurate cuts and a precise fit.
- Check for unevenness: Use a level to check for any unevenness in the walls or floors. If you notice any discrepancies, you may need to use shims or spacers to create a level surface for the baseboard molding.
By properly preparing the area, you’ll set a solid foundation for the baseboard molding installation. This will contribute to a professional and visually pleasing end result.
Measuring and Cutting the Baseboard Molding
Accurate measurements and precise cuts are crucial for a seamless baseboard molding installation. Follow these steps to measure and cut the molding:
- Measure the walls: Measure the length of each wall where you’ll be installing the baseboard molding. Be sure to account for any corners or unevenness in the walls.
- Add a few inches: When measuring the molding, add a few extra inches to each piece to allow for any mistakes or miter cuts.
- Mark the measurements: Use a pencil to mark the measurements on the baseboard molding. Draw a straight line across the molding to indicate where the cut should be made.
- Cut the molding: Using a miter saw or coping saw, carefully cut along the marked lines. Make sure to hold the molding securely and wear safety glasses.
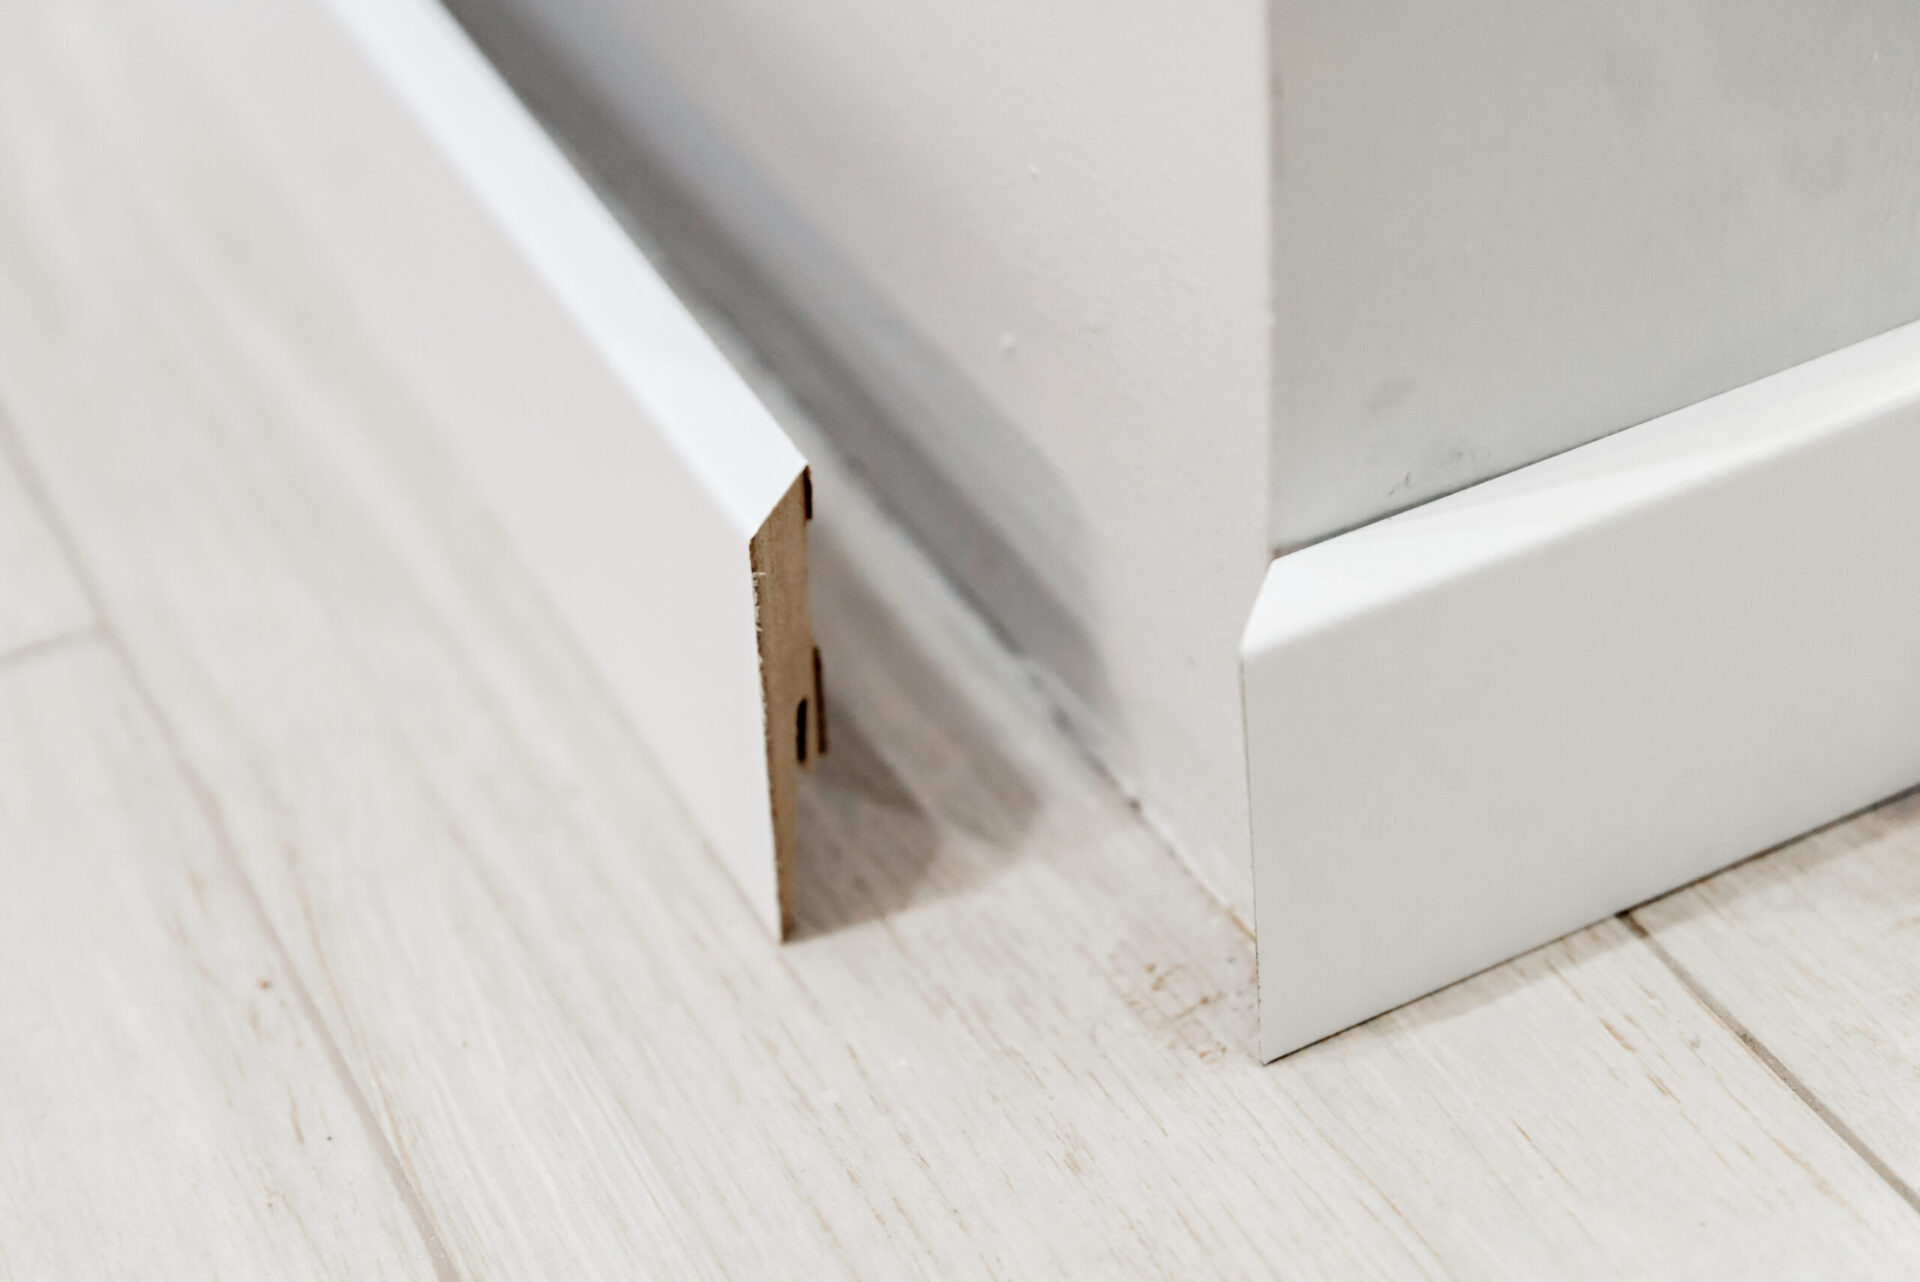
- Check the fit: After cutting each piece, hold it up against the wall to check the fit. It should fit snugly and align properly with the adjacent pieces.
- Make adjustments if necessary: If the cut is not perfect or the fit is not right, use additional tools like a coping saw or sandpaper to refine the edges and ensure a proper fit.
Take your time when measuring and cutting the baseboard molding to ensure precise and accurate results. Remember to double-check your measurements and make any necessary adjustments before moving on to the next step.
Attaching the Baseboard Molding
Now that you have measured and cut the baseboard molding, it’s time to attach it to the walls. Follow these steps for a secure installation:
- Apply adhesive (optional): If you want extra stability, you can apply a construction adhesive to the back of the molding before attaching it to the wall. This will help prevent any gaps or movement over time.
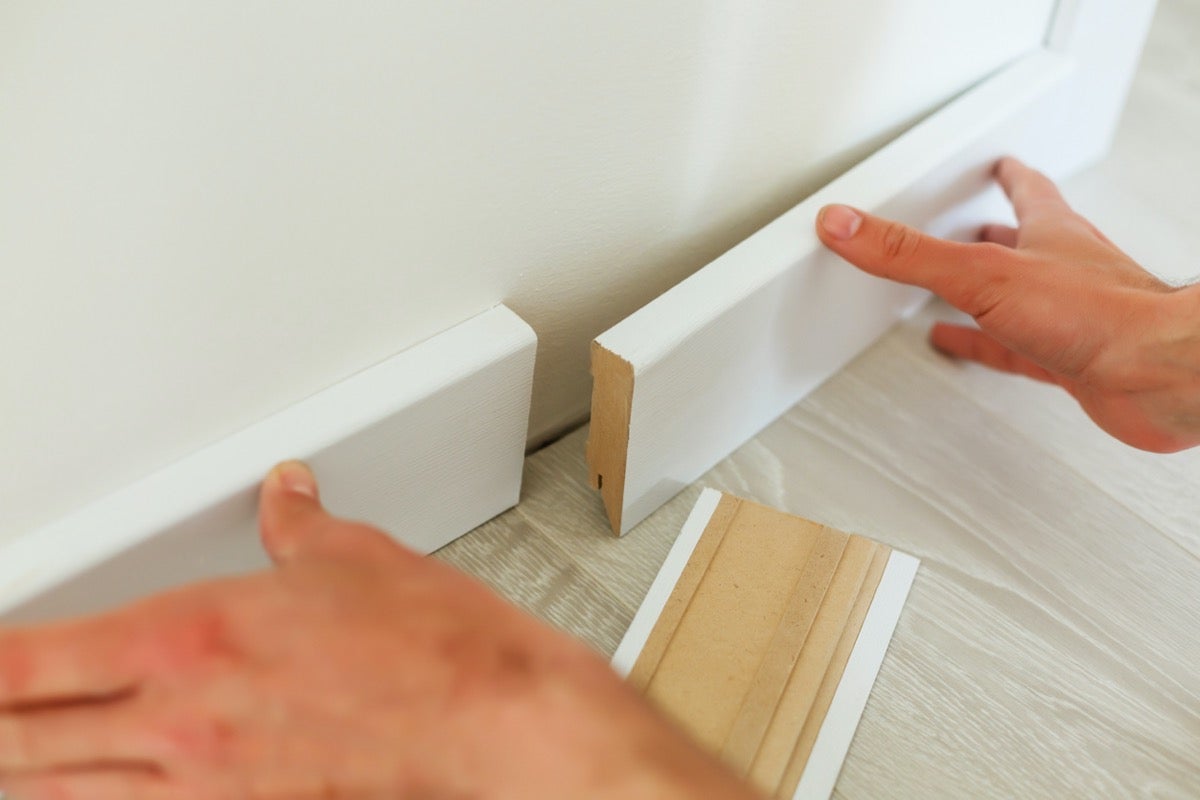
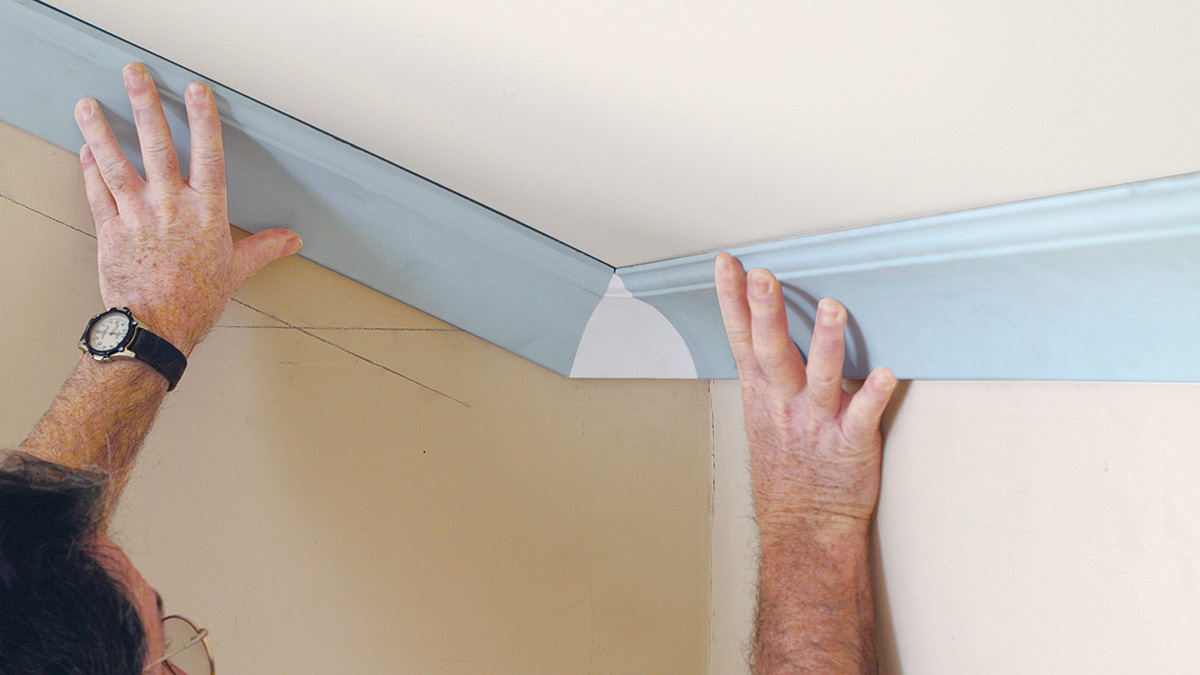
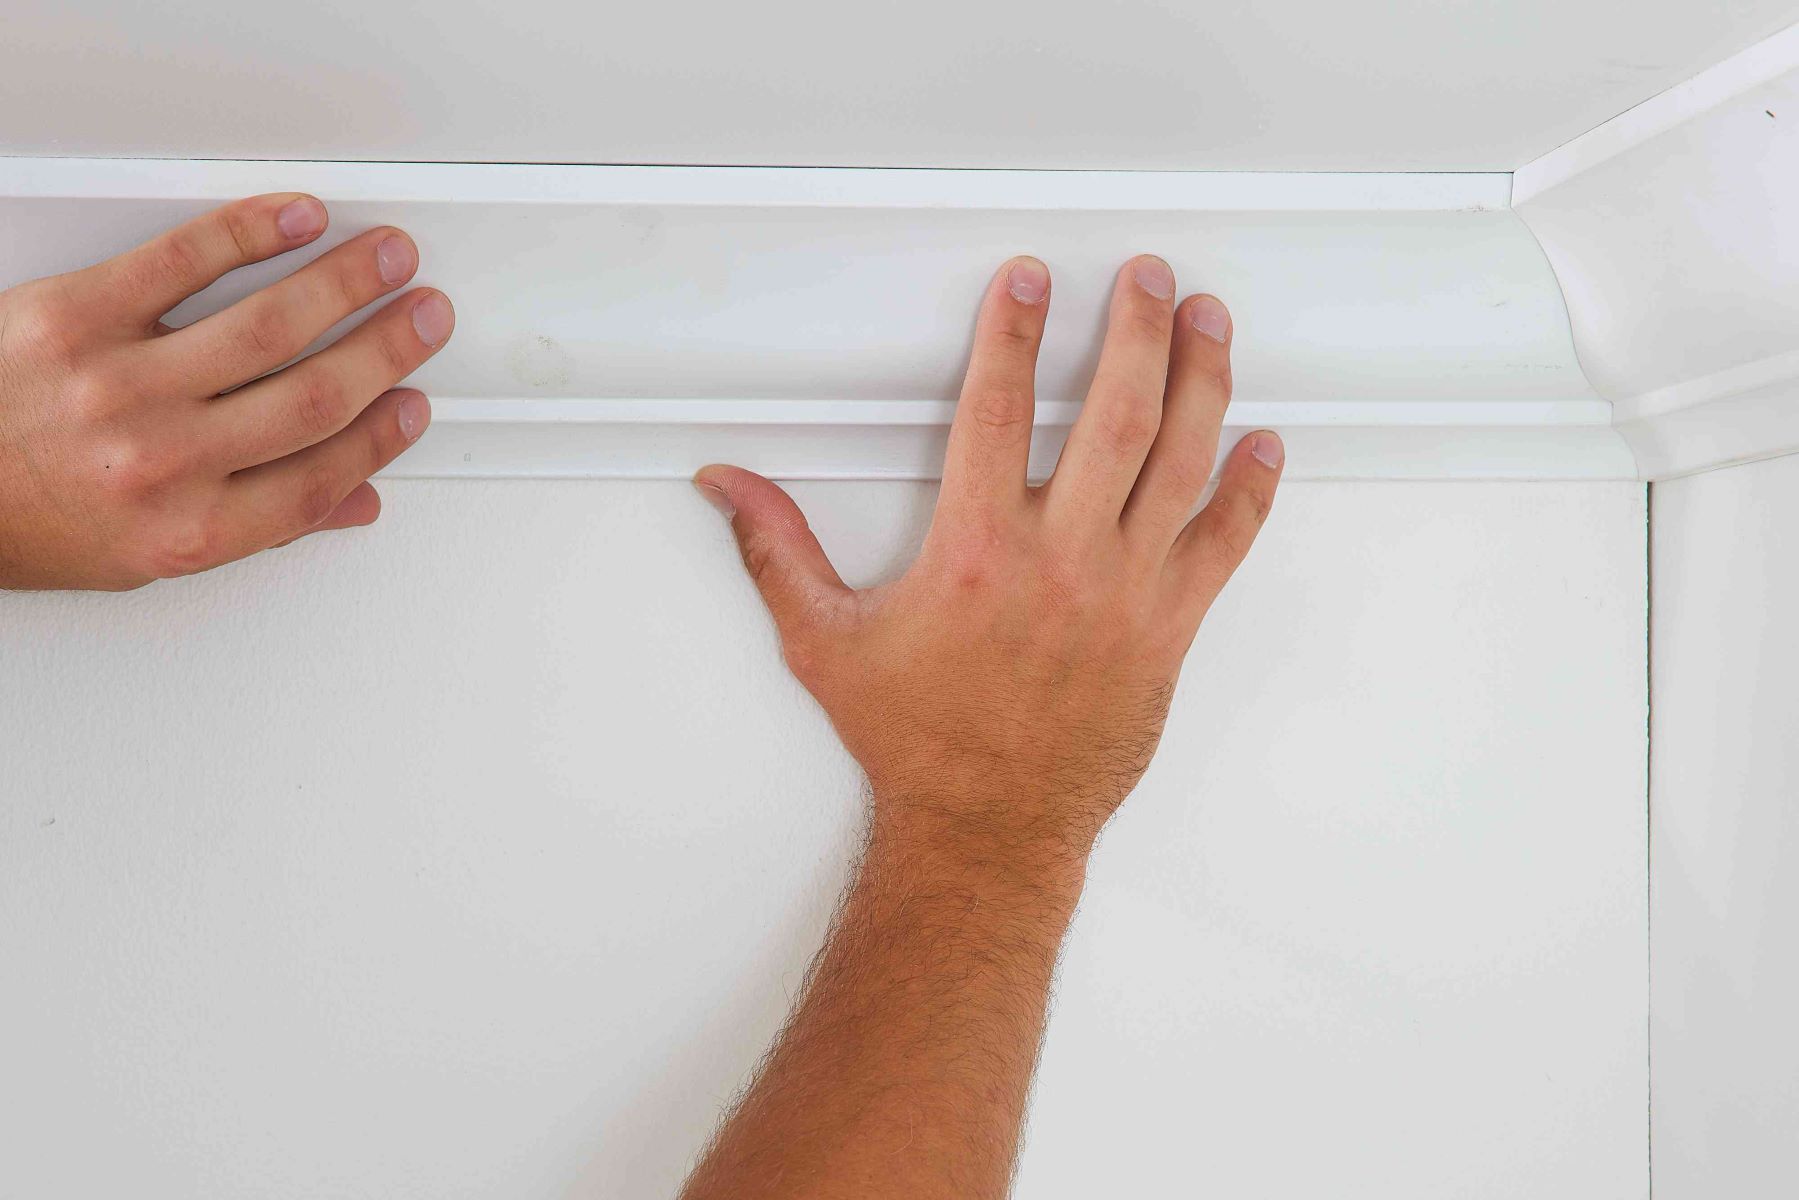
- Position the molding: Starting at one end of the wall, hold the molding against the wall, aligning it with the floor and making sure it is level. Use a level to double-check the alignment.
- Secure with finishing nails: Once the molding is positioned correctly, use a hammer and nailset to drive finishing nails through the molding and into the wall. Space the nails approximately every 16 inches along the length of the molding.
- Countersink the nails: After driving the nails, use a nailset to gently tap the heads of the nails below the surface of the molding. This will allow you to conceal the nail holes later.
- Repeat for each piece: Continue attaching the remaining pieces of baseboard molding, making sure to align them properly and secure them with finishing nails.
Always take care when hammering nails into the molding to avoid damaging the wood. Drive the nails in at a slight angle to ensure a secure hold. Take your time and be precise when positioning and attaching the molding.
Remember to work gradually and methodically to ensure a clean and professional installation.
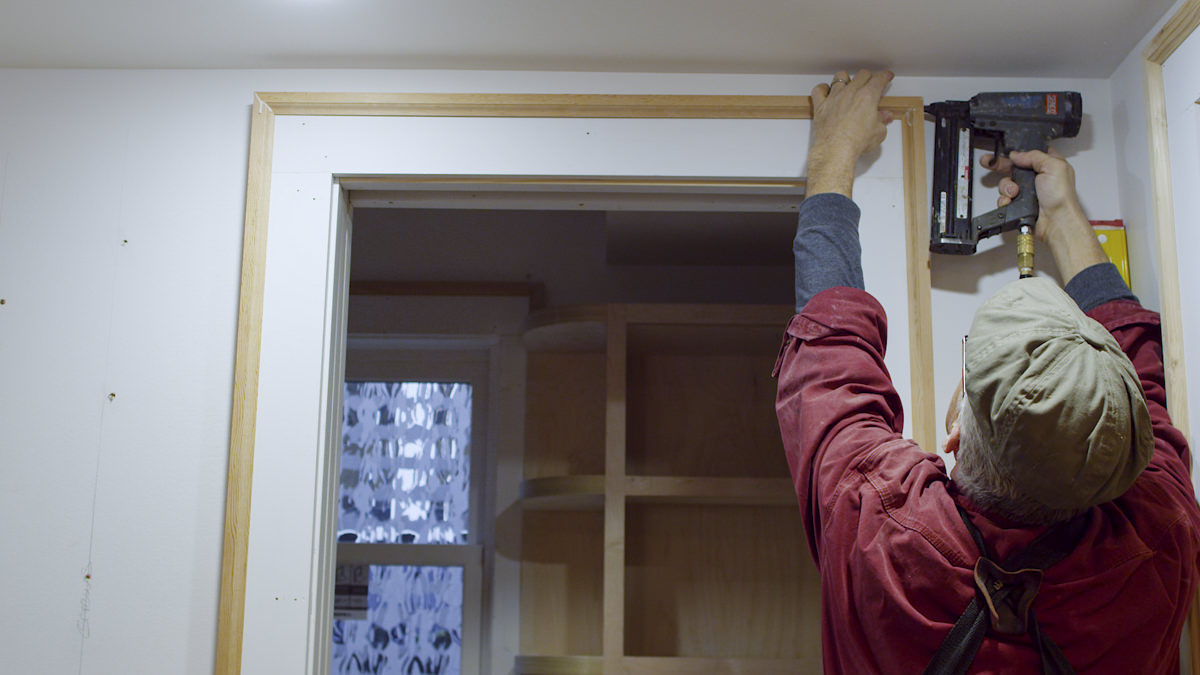
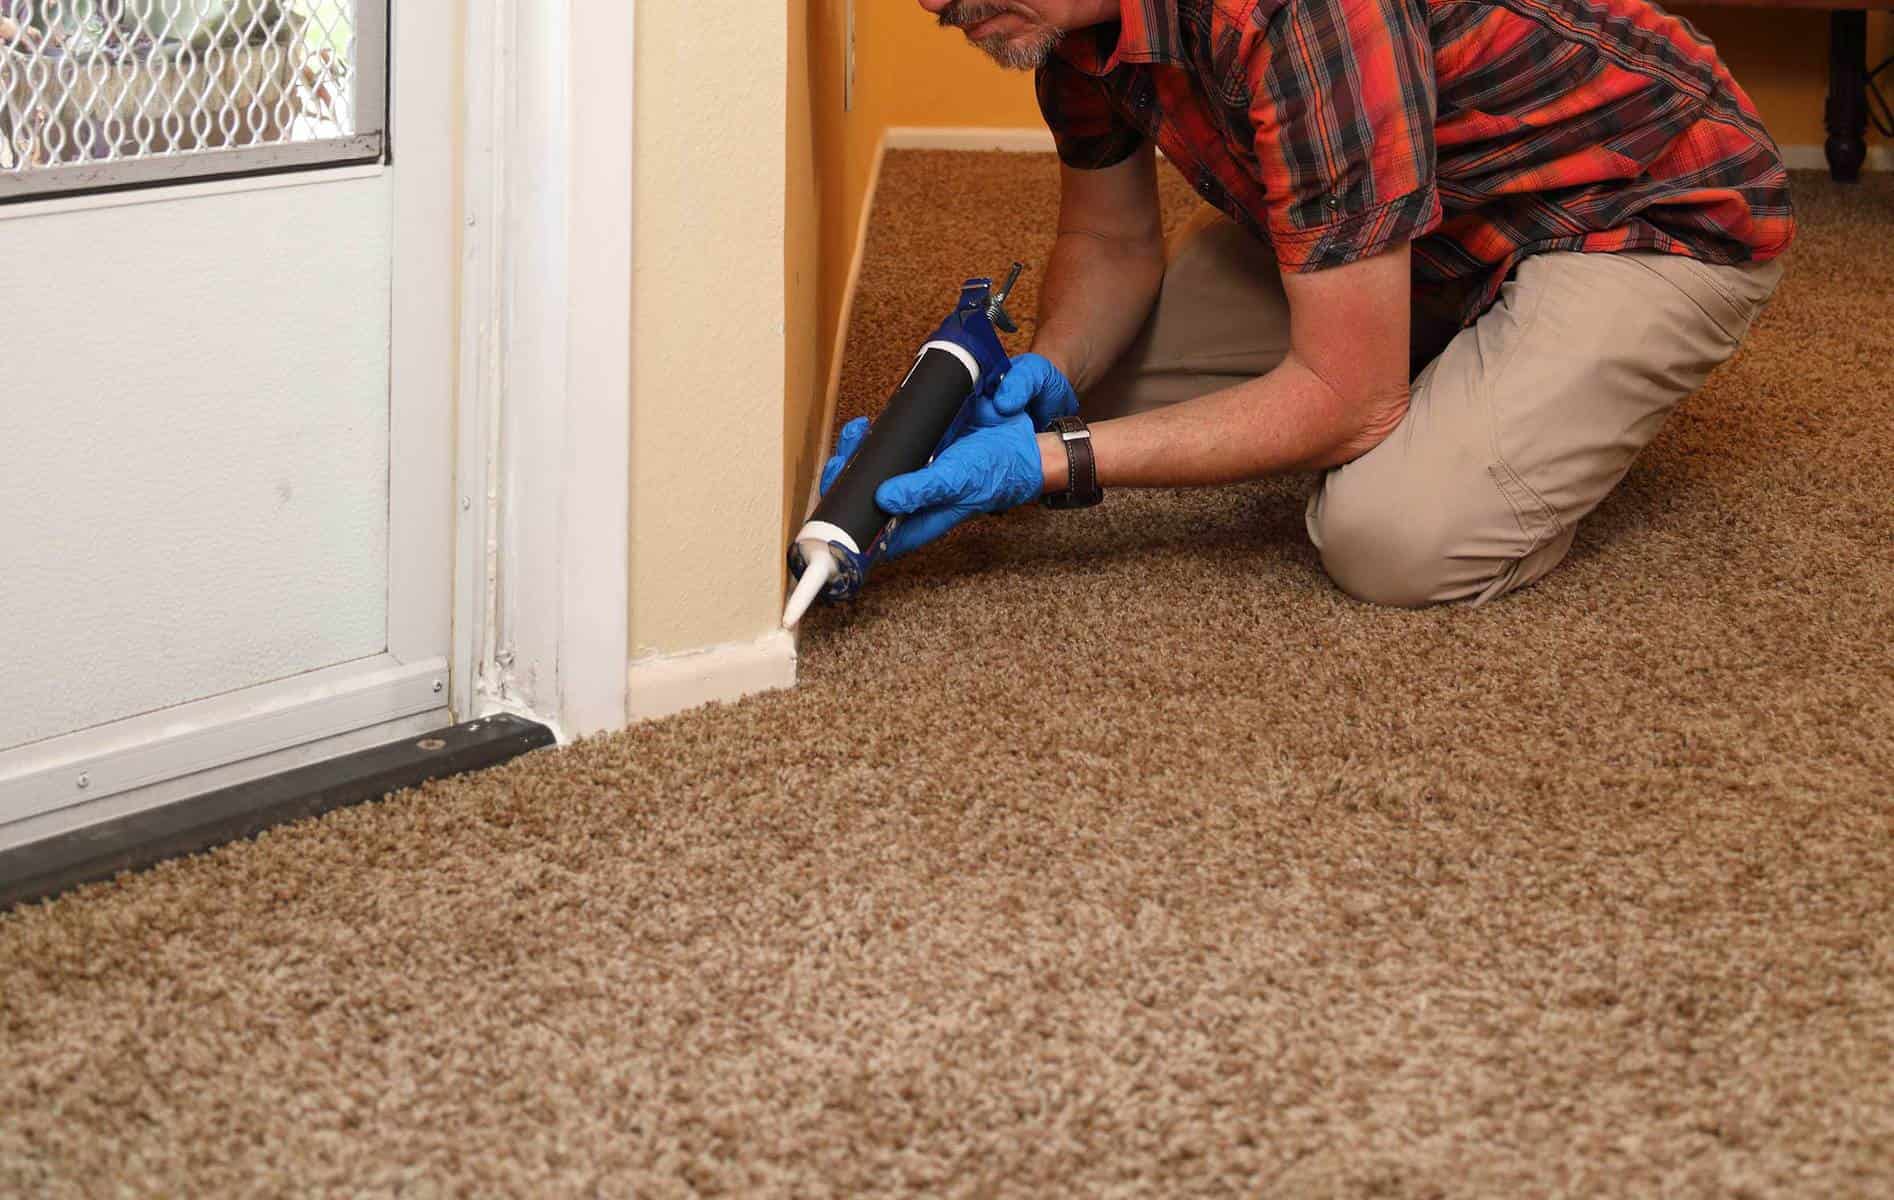
Measure and cut the baseboard molding to fit the length of each wall, then use a nail gun to secure it in place. Fill any gaps with caulk for a seamless finish.
Filling Nail Holes and Sanding
After attaching the baseboard molding to the walls, there will be visible nail holes that need to be filled and smoothed out. Follow these steps to achieve a seamless finish:
- Inspect the nail holes: Take a close look at each nail hole and ensure they are fully countersunk below the surface of the molding.
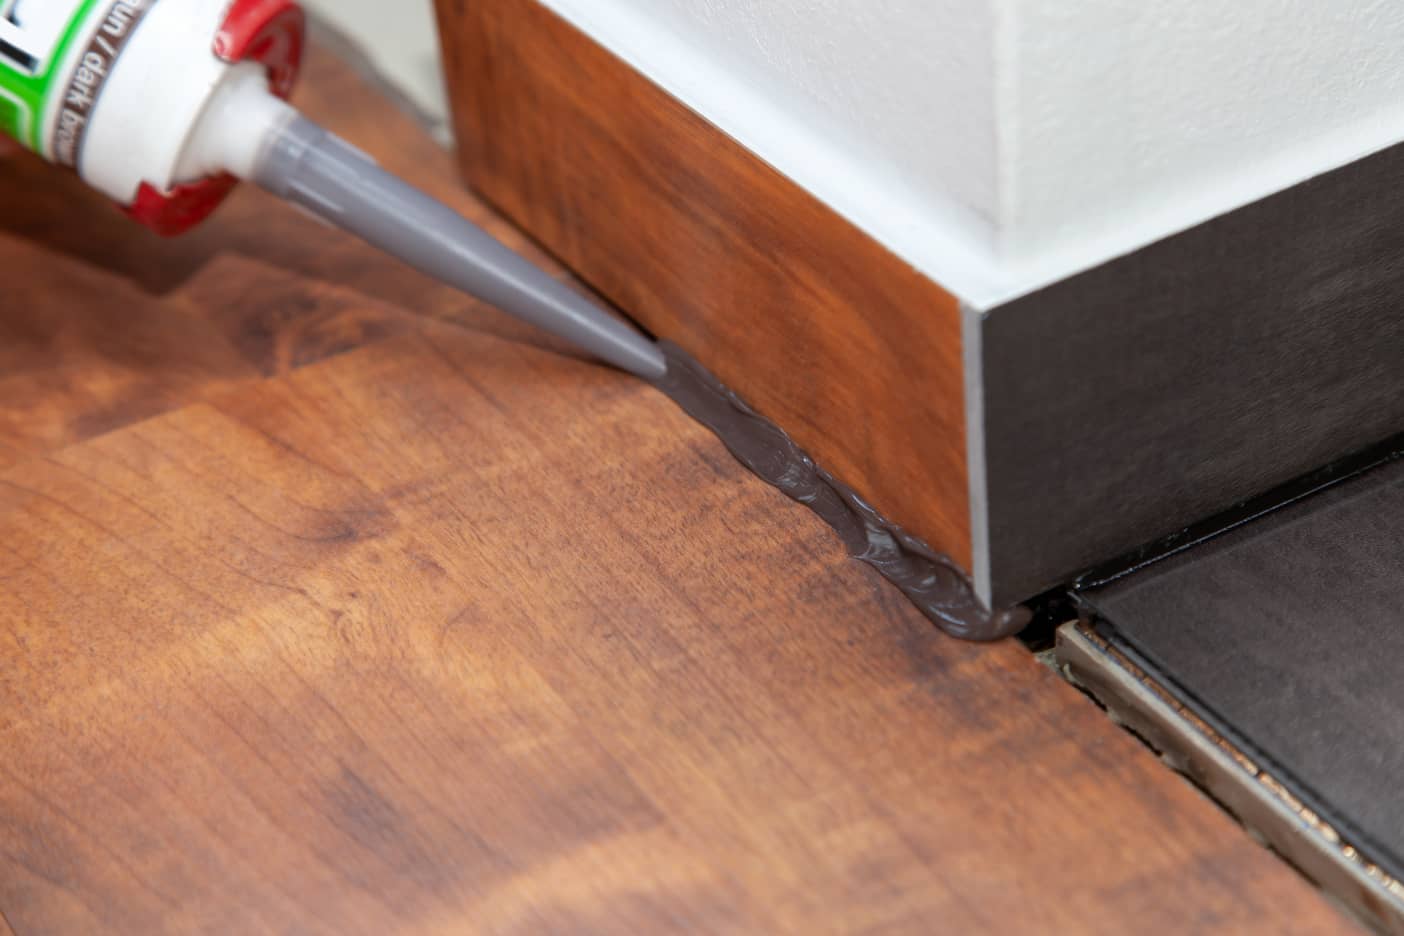
- Prepare the wood putty or filler: If there are any gaps or small imperfections in the joints or corners of the molding, mix a small amount of wood putty or filler according to the manufacturer’s instructions.
- Fill the nail holes and gaps: Using a putty knife or a small spatula, carefully fill each nail hole and any gaps or imperfections in the molding with the wood putty or filler. Smooth it out to create an even surface.
- Allow the putty to dry: Follow the drying time specified on the wood putty or filler packaging. It usually takes a couple of hours to fully dry and harden.
- Sand the filled areas: Once the putty is dry, use fine-grit sandpaper or a sanding block to gently sand the filled areas. This will smooth out any roughness and blend the filled areas with the rest of the molding.
- Wipe away dust: After sanding, use a clean cloth or a tack cloth to wipe away any sanding dust from the surface of the molding.
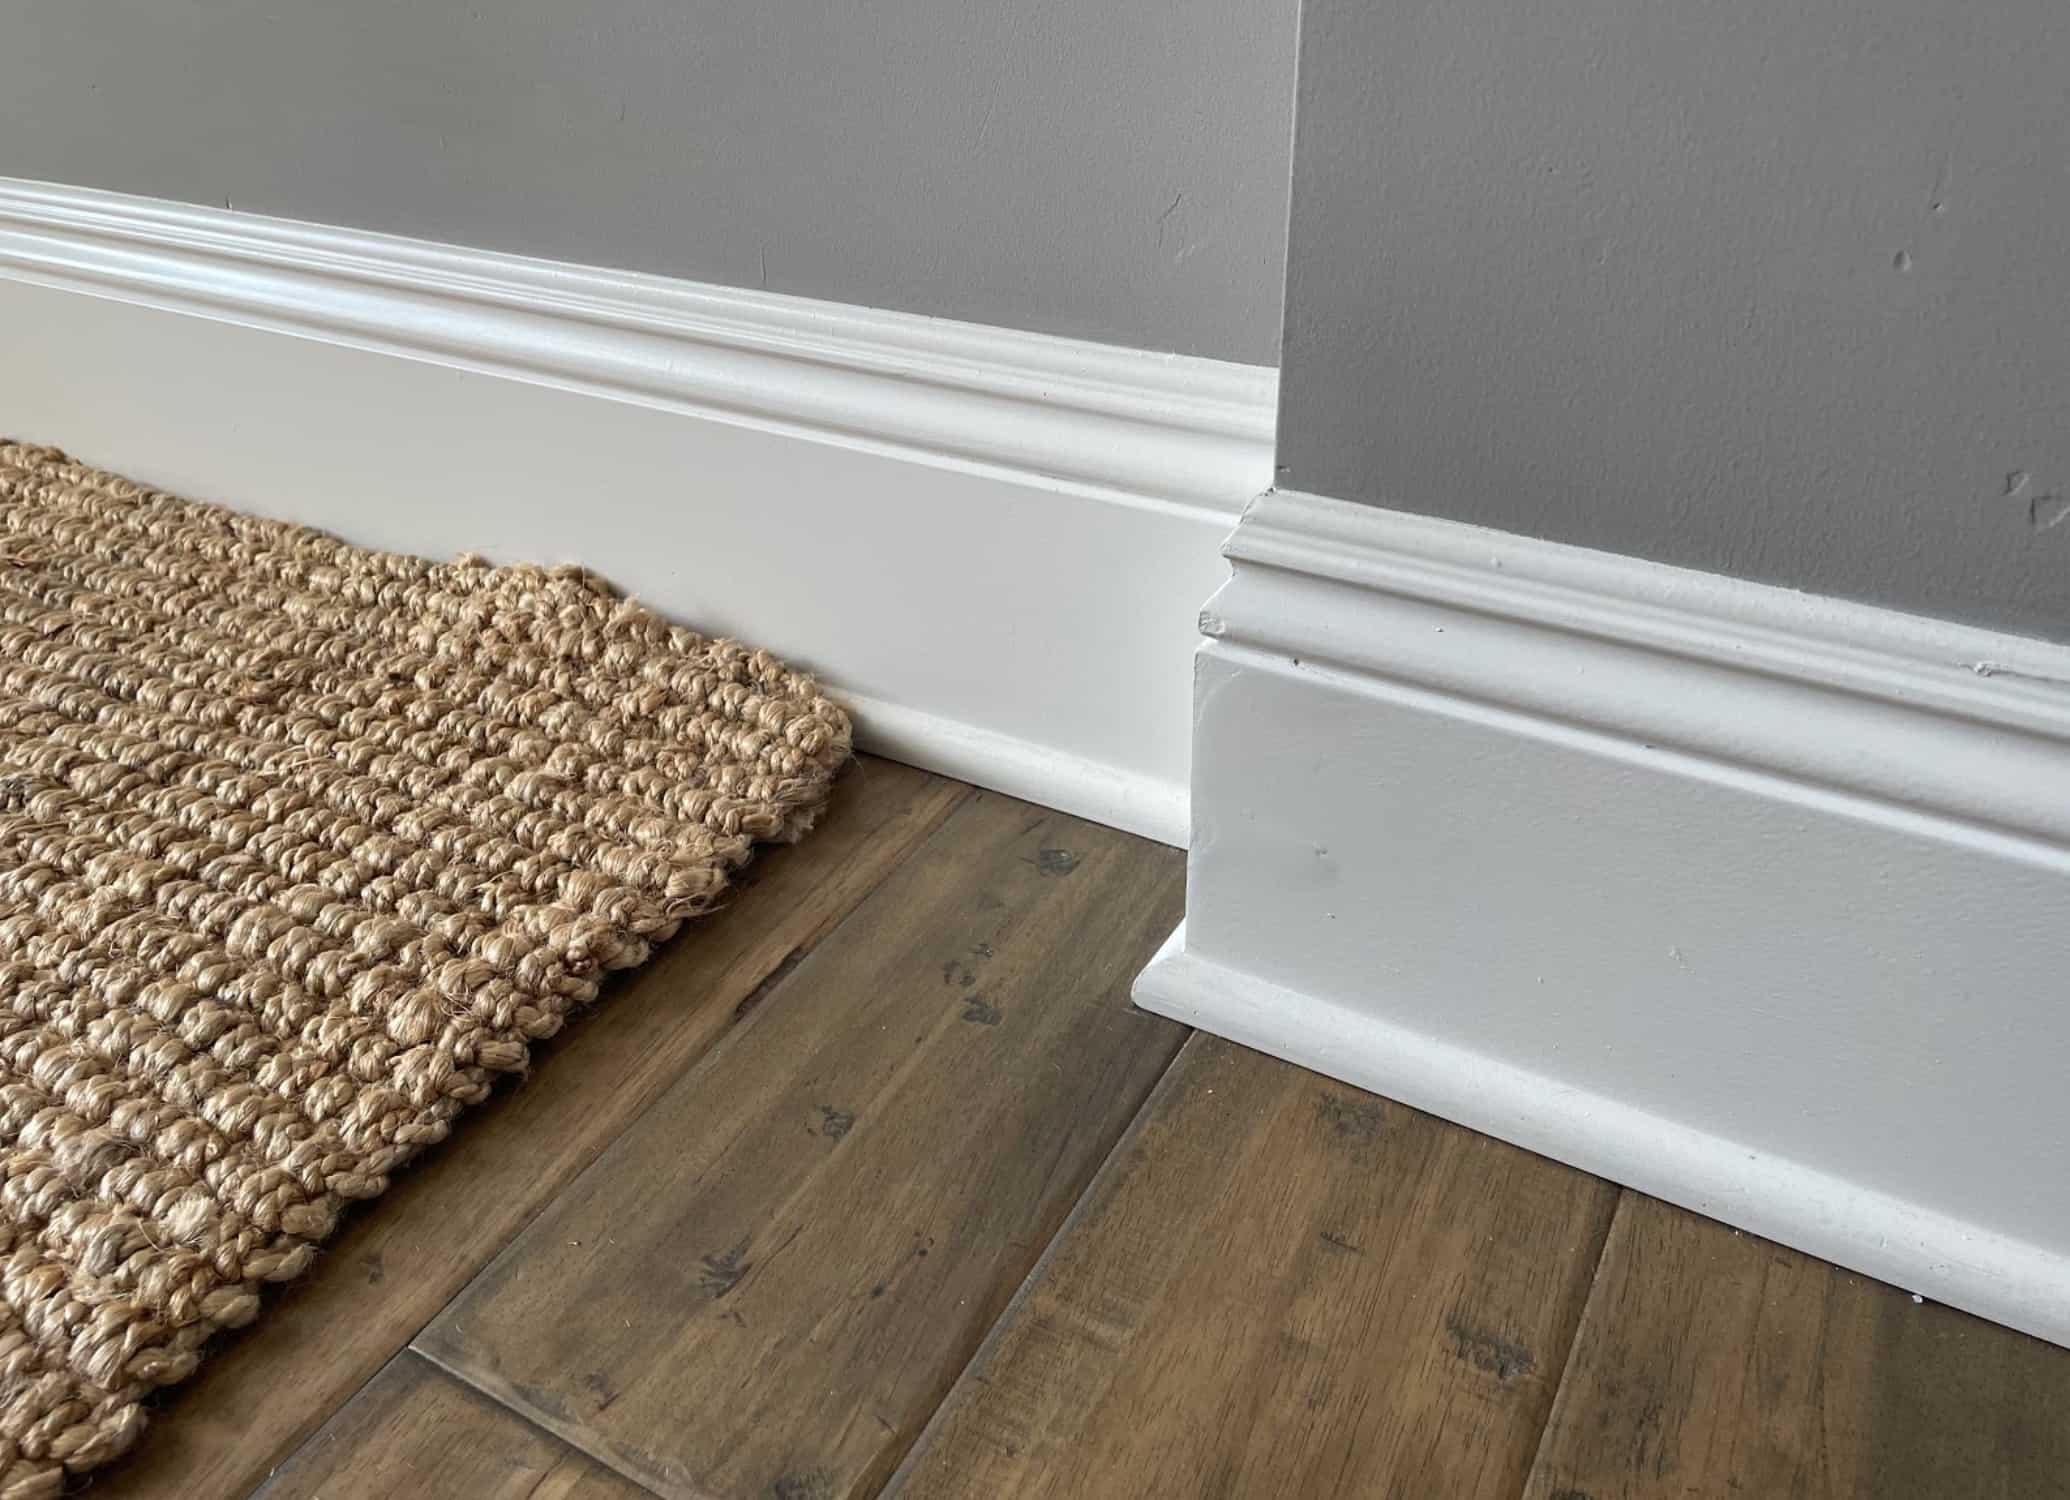
By filling the nail holes and sanding the molding, you will create a seamless finish that enhances the overall appearance of the baseboard molding installation.
Keep in mind that it’s important to choose a wood putty or filler that matches the color of the molding to ensure a cohesive look. Additionally, be careful not to overfill the nail holes or gaps, as excessive putty can be difficult to sand down smoothly.
Priming and Painting the Baseboard Molding
Once the baseboard molding is installed and all the nail holes have been filled and sanded, it’s time to prime and paint the molding to achieve a polished and finished look. Follow these steps to ensure a successful painting process:
- Prepare the area: Cover the surrounding floor and walls with a drop cloth or plastic sheeting to protect them from paint splatters.
- Priming the molding: Apply a coat of primer to the baseboard molding using a paintbrush. This will create a smooth, even surface for the paint to adhere to and ensure better coverage. Allow the primer to dry according to the manufacturer’s instructions.
- Sand the primed molding: After the primer has dried, lightly sand the molding using fine-grit sandpaper or a sanding block. This will help create a smooth finish and remove any imperfections or brush marks.
- Clean the surface: Use a clean cloth to wipe away any sanding dust from the surface of the molding.
- Paint the molding: Apply your chosen paint color to the baseboard molding using a paintbrush or a small roller. Start from one end and work your way to the other, applying thin, even coats. Allow each coat to dry before applying the next one, following the drying time specified on the paint can.
- Apply additional coats if needed: Depending on the desired finish and the opacity of the paint, you may need to apply multiple coats. Make sure to let each coat dry thoroughly before applying the next.
When painting the baseboard molding, it’s important to choose a paint that is suitable for trim and woodwork. Opt for a paint with a durable finish that can withstand wear and tear.
Finally, once the paint has dried completely, remove any tape or protective coverings and enjoy the newly painted baseboard molding that perfectly complements your room’s decor.
Tips and Precautions
When installing and painting baseboard molding, keep these tips and precautions in mind to ensure a successful and safe project:
- Measure twice, cut once: Double-check your measurements before cutting the molding to avoid any mistakes.
- Use a miter saw or coping saw: These tools will help you achieve precise and clean cuts on the molding.
- Wear safety gear: Protect your eyes with safety glasses and wear a dust mask to prevent inhaling any dust particles while cutting, sanding, or painting the molding.
- Secure the molding properly: Use finishing nails spaced about every 16 inches to securely attach the molding to the wall.
- Fill nail holes and gaps: Take the time to fill nail holes and any gaps or imperfections in the molding with wood putty or filler for a seamless finish.
- Sand the filled areas: After filling the nail holes, sand them to create a smooth surface and blend them with the rest of the molding.
- Select the right paint: Choose a paint specifically designed for trim and woodwork to ensure durability and a professional finish.
- Apply thin, even coats: Apply the paint in thin layers to avoid drips and achieve a smooth and even finish.
- Allow proper drying time: Follow the drying time specified on the paint can between coats and before handling or reinstalling any furniture.
- Keep the area well-ventilated: Open windows or use fans to ventilate the room during the painting process to minimize fumes.
By following these tips and taking necessary precautions, you can ensure a successful baseboard molding installation and a beautifully painted finish that will enhance the overall look of your space.
Conclusion
Installing baseboard molding is a fantastic way to add a touch of elegance and sophistication to your home. By following the step-by-step instructions provided in this article, you can confidently tackle this DIY project and achieve professional-looking results.
From gathering the necessary tools and materials to preparing the area, measuring and cutting the molding, attaching it to the walls, and finally priming and painting, each step contributes to the overall success of the project.
Remember to take your time and pay attention to detail throughout the process. Accurate measurements, precise cuts, and secure attachment are key elements for a seamless installation. Filling nail holes, sanding, and applying primer and paint will give your baseboard molding a finished look that enhances the overall aesthetic of your space.
While this project may require some effort and attention, the end result will be well worth it. Not only will you have beautiful baseboard molding that adds value to your home, but you will also have the satisfaction of completing a DIY project that showcases your skills and creativity.
So, gather your tools, take the necessary precautions, and enjoy the process of transforming your space with the installation of baseboard molding. With careful planning and execution, your home will have a touch of elegance and style that will impress all who enter.
Frequently Asked Questions about How To Install Baseboard Molding
Was this page helpful?
At Storables.com, we guarantee accurate and reliable information. Our content, validated by Expert Board Contributors, is crafted following stringent Editorial Policies. We're committed to providing you with well-researched, expert-backed insights for all your informational needs.


0 thoughts on “How To Install Baseboard Molding”