Articles
How To Measure For Cabinet Pulls
Modified: August 28, 2024
Learn how to properly measure for cabinet pulls in your home. Follow our step-by-step guide for accurate measurements and home maintenance.
(Many of the links in this article redirect to a specific reviewed product. Your purchase of these products through affiliate links helps to generate commission for Storables.com, at no extra cost. Learn more)
Introduction
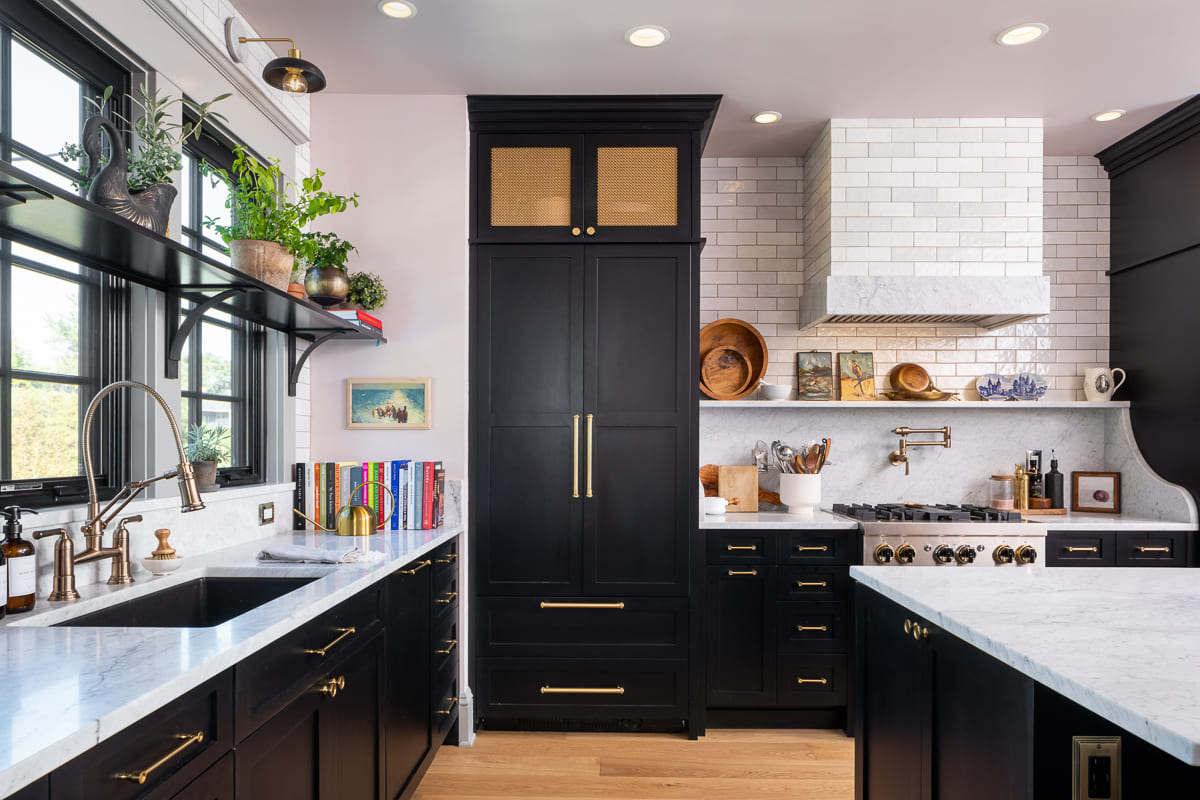
Welcome to our guide on how to measure for cabinet pulls. Whether you’re renovating your kitchen or updating your bathroom, cabinet pulls can make a big difference in the overall look and functionality of your cabinets. Getting the right measurements for your cabinet pulls is crucial to ensure a seamless installation.
In this article, we will walk you through the step-by-step process of measuring for cabinet pulls, from gathering the necessary tools to installing the pulls. By following these instructions, you will be able to achieve professional-looking results and enjoy cabinets that are both stylish and easy to use.
Before we dive into the measuring process, let’s quickly touch on the importance of properly measuring for cabinet pulls. Cabinet pulls not only serve as decorative elements but also as functional handles to open and close cabinet doors and drawers. If the pulls are not properly aligned or positioned, it can lead to inconvenience and a lack of aesthetic appeal.
By taking the time to measure accurately, you can ensure that your cabinet pulls are installed in the optimal position, providing easy access and enhancing the overall appearance of your cabinets.
So, let’s get started with the first step – gathering the necessary tools.
Key Takeaways:
- Properly measuring and installing cabinet pulls is crucial for achieving a polished and functional look in your kitchen or bathroom. Attention to detail and using the right tools are key to achieving professional-looking results.
- By following the step-by-step instructions outlined in this article, you can ensure that cabinet pulls not only enhance the aesthetics of your cabinets but also provide easy access and convenience. Take pride in achieving this transformation with your own hands!
Read more: How To Pull Blinds Down
Step 1: Gather the necessary tools
Before you begin measuring for cabinet pulls, it’s important to gather all the necessary tools to ensure a smooth and efficient process. Here are the tools you’ll need:
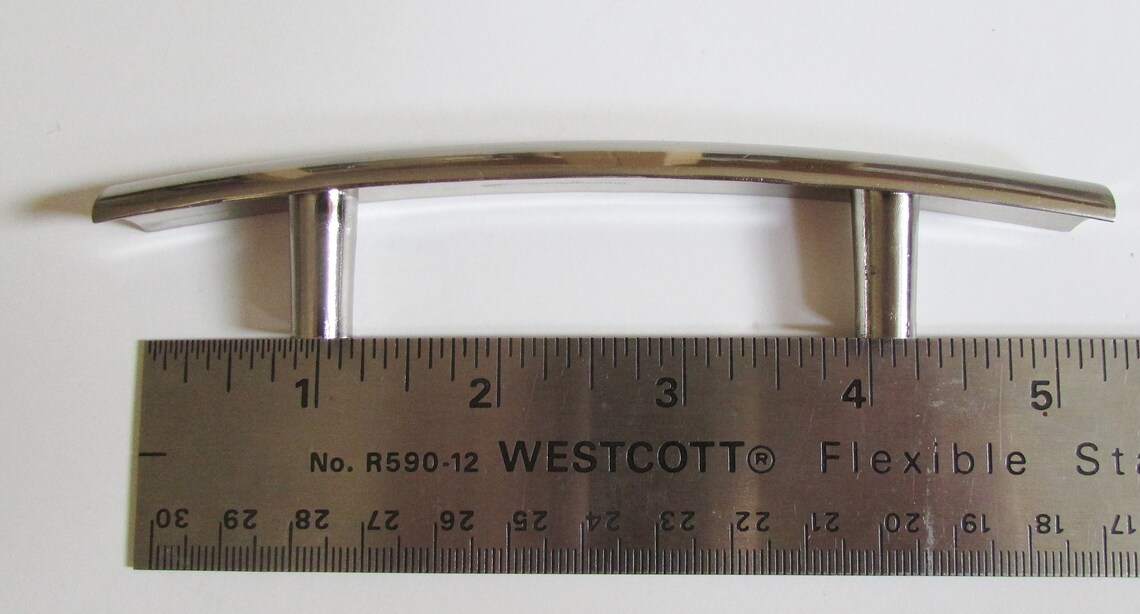
- Measuring tape or ruler: A measuring tape or ruler is essential for accurate measurements. Make sure it’s long enough to measure the length and width of your cabinets.
- Pencil or marker: You’ll need a pencil or marker to mark the measurement points on your cabinet doors or drawer fronts.
- Drill: Depending on the type of cabinet pulls you have or plan to install, you may need a drill to create holes for the screws.
- Drill bits: If you’re using a drill, make sure you have the appropriate drill bits to match the size of your cabinet pulls’ screws.
- Screwdriver: A screwdriver will be needed to attach the cabinet pulls securely in place.
Having all these tools readily available will make the measuring and installation process much more efficient and convenient.
Once you have gathered all the necessary tools, you are now ready to move on to the next step – determining the hole center-to-center measurements.
Step 2: Determine the hole center-to-center measurements
Now that you have all the necessary tools, it’s time to determine the hole center-to-center measurements for your cabinet pulls. The hole center-to-center measurement refers to the distance between the center points of the holes where the screws will go.
To accurately determine the hole center-to-center measurements, follow these steps:
- Measure the width or length of your cabinet door or drawer front. This will help you determine the placement of the cabinet pulls.
- Decide on the location where you want to place the cabinet pulls. This can vary depending on personal preference and the design of your cabinets.
- Measure and mark the desired starting point for the first hole.
- Measure the distance between the starting point and the desired location for the second hole.
- Use these measurements to determine the hole center-to-center distance.
It’s important to keep in mind that there are some industry-standard hole center-to-center measurements for cabinet pulls. Common measurements include 3 inches, 3.75 inches, and 4 inches. However, you can also customize the measurements based on your preferences and the size of your cabinet doors or drawer fronts.
Once you have determined the hole center-to-center measurements, you can proceed to the next step – marking the measurement on the cabinet door or drawer front.
Step 3: Mark the measurement on the cabinet door or drawer front
With the hole center-to-center measurements in hand, it’s time to mark the measurement on the cabinet door or drawer front. This step is crucial to ensure accurate placement of the cabinet pulls.
To mark the measurements, follow these steps:
- Place the cabinet door or drawer front on a flat surface, ensuring it is stable and secure.
- Use a measuring tape or ruler to measure and mark the starting point for the first hole. This should correspond to the measurement you determined in the previous step.
- Using a pencil or marker, make a small dot or mark to indicate the exact spot where the hole will be drilled.
- Repeat the process for the remaining holes, making sure to measure and mark each hole according to the hole center-to-center measurements.
Take your time to ensure that each mark is accurate and aligned with the desired location for the cabinet pulls. Double-check your measurements before proceeding to the next step to avoid any errors in the installation process.
Once you have marked the measurements on the cabinet door or drawer front, you are ready to move on to the next step – drilling holes for the cabinet pulls.
When measuring for cabinet pulls, start by determining the center-to-center distance between the screw holes. Measure from the center of one hole to the center of the other for accurate placement.
Step 4: Drill holes for the cabinet pulls
Now that you have marked the measurements on the cabinet door or drawer front, it’s time to drill holes for the cabinet pulls. This step requires careful execution to ensure clean and accurate holes.
To drill holes for the cabinet pulls, follow these steps:
- Secure the cabinet door or drawer front in a stable position. You can use clamps or a workbench to hold it securely.
- Select the appropriate drill bit size based on the screws that came with your cabinet pulls. If necessary, refer to the manufacturer’s instructions for the recommended drill bit size.
- Attach the drill bit to your drill, making sure it is securely tightened.
- Position the drill bit on one of the marked spots, aligning it with the center of the mark.
- Apply gentle, steady pressure and start drilling the hole. Be sure to keep the drill perpendicular to the surface to ensure a straight hole.
- Drill until the desired depth is reached. This will typically be the length of the screw plus a little extra to allow space for the cabinet pull’s base.
- Repeat the drilling process for the remaining marked spots.
As you drill, periodically remove the sawdust from the hole with a soft brush or cloth to maintain visibility and prevent the drill bit from getting clogged.
Once all the holes have been drilled, ensure they are clean and free of any debris. Now you are ready to move on to the final step – installing the cabinet pulls.
Read more: How To Pull Down Cordless Blinds
Step 5: Install the cabinet pulls
Congratulations! You have successfully drilled the holes for the cabinet pulls. Now it’s time to complete the process by installing the pulls onto the cabinet doors or drawer fronts.
To install the cabinet pulls, follow these steps:
- Position the cabinet pull over one of the drilled holes, aligning the screw holes on the pull with the holes on the cabinet door or drawer front.
- Insert the screws provided with the pulls into the holes and tighten them using a screwdriver. Be careful not to overtighten, as this can strip the holes or damage the screws.
- Repeat the process for the remaining cabinet pulls, ensuring they are aligned and mounted securely.
- Once all the pulls are installed, double-check that they are straight and aligned properly. Make any necessary adjustments as needed.
Take a step back and admire your newly installed cabinet pulls. They should now be securely in place, enhancing the overall appearance and functionality of your cabinets.
If you have any additional cabinet doors or drawer fronts, repeat the measurement and installation process for those as well.
Remember, when installing cabinet pulls, it’s important to pay attention to details and ensure consistent spacing and alignment. This will create a polished and professional look.
With the cabinet pulls successfully installed, you have completed the measuring and installation process. Enjoy your updated cabinets and the convenience of easily accessible handles.
As a final note, always keep the tools and extra screws handy in case you need to make adjustments or replace any components in the future.
Conclusion
Congratulations! You have reached the end of our guide on how to measure for cabinet pulls. By following the step-by-step instructions outlined in this article, you have learned how to gather the necessary tools, determine the hole center-to-center measurements, mark the measurements on the cabinet door or drawer front, drill holes for the cabinet pulls, and finally, install the pulls.
Properly measuring and installing cabinet pulls is crucial for achieving a polished and functional look in your kitchen or bathroom. By taking the time to accurately measure and align the pulls, you can ensure that they not only enhance the aesthetics of your cabinets but also provide easy access and convenience.
Remember to always double-check your measurements, use the right tools, and take your time during the installation process. Attention to detail is key to achieving professional-looking results.
Now that you have completed the installation, step back and admire your newly updated cabinets. Take pride in the fact that you achieved this transformation with your own hands!
Thank you for following our guide. We hope this information has been helpful and that you are satisfied with the results of your cabinet pull installation. Should you have any further questions or need additional assistance, feel free to reach out. Happy remodeling!
Frequently Asked Questions about How To Measure For Cabinet Pulls
Was this page helpful?
At Storables.com, we guarantee accurate and reliable information. Our content, validated by Expert Board Contributors, is crafted following stringent Editorial Policies. We're committed to providing you with well-researched, expert-backed insights for all your informational needs.


0 thoughts on “How To Measure For Cabinet Pulls”