Articles
How To Pump Down An AC Unit
Modified: October 19, 2024
Learn how to properly pump down an AC unit with our informative articles. Discover step-by-step instructions and expert tips for efficient maintenance.
(Many of the links in this article redirect to a specific reviewed product. Your purchase of these products through affiliate links helps to generate commission for Storables.com, at no extra cost. Learn more)
Introduction
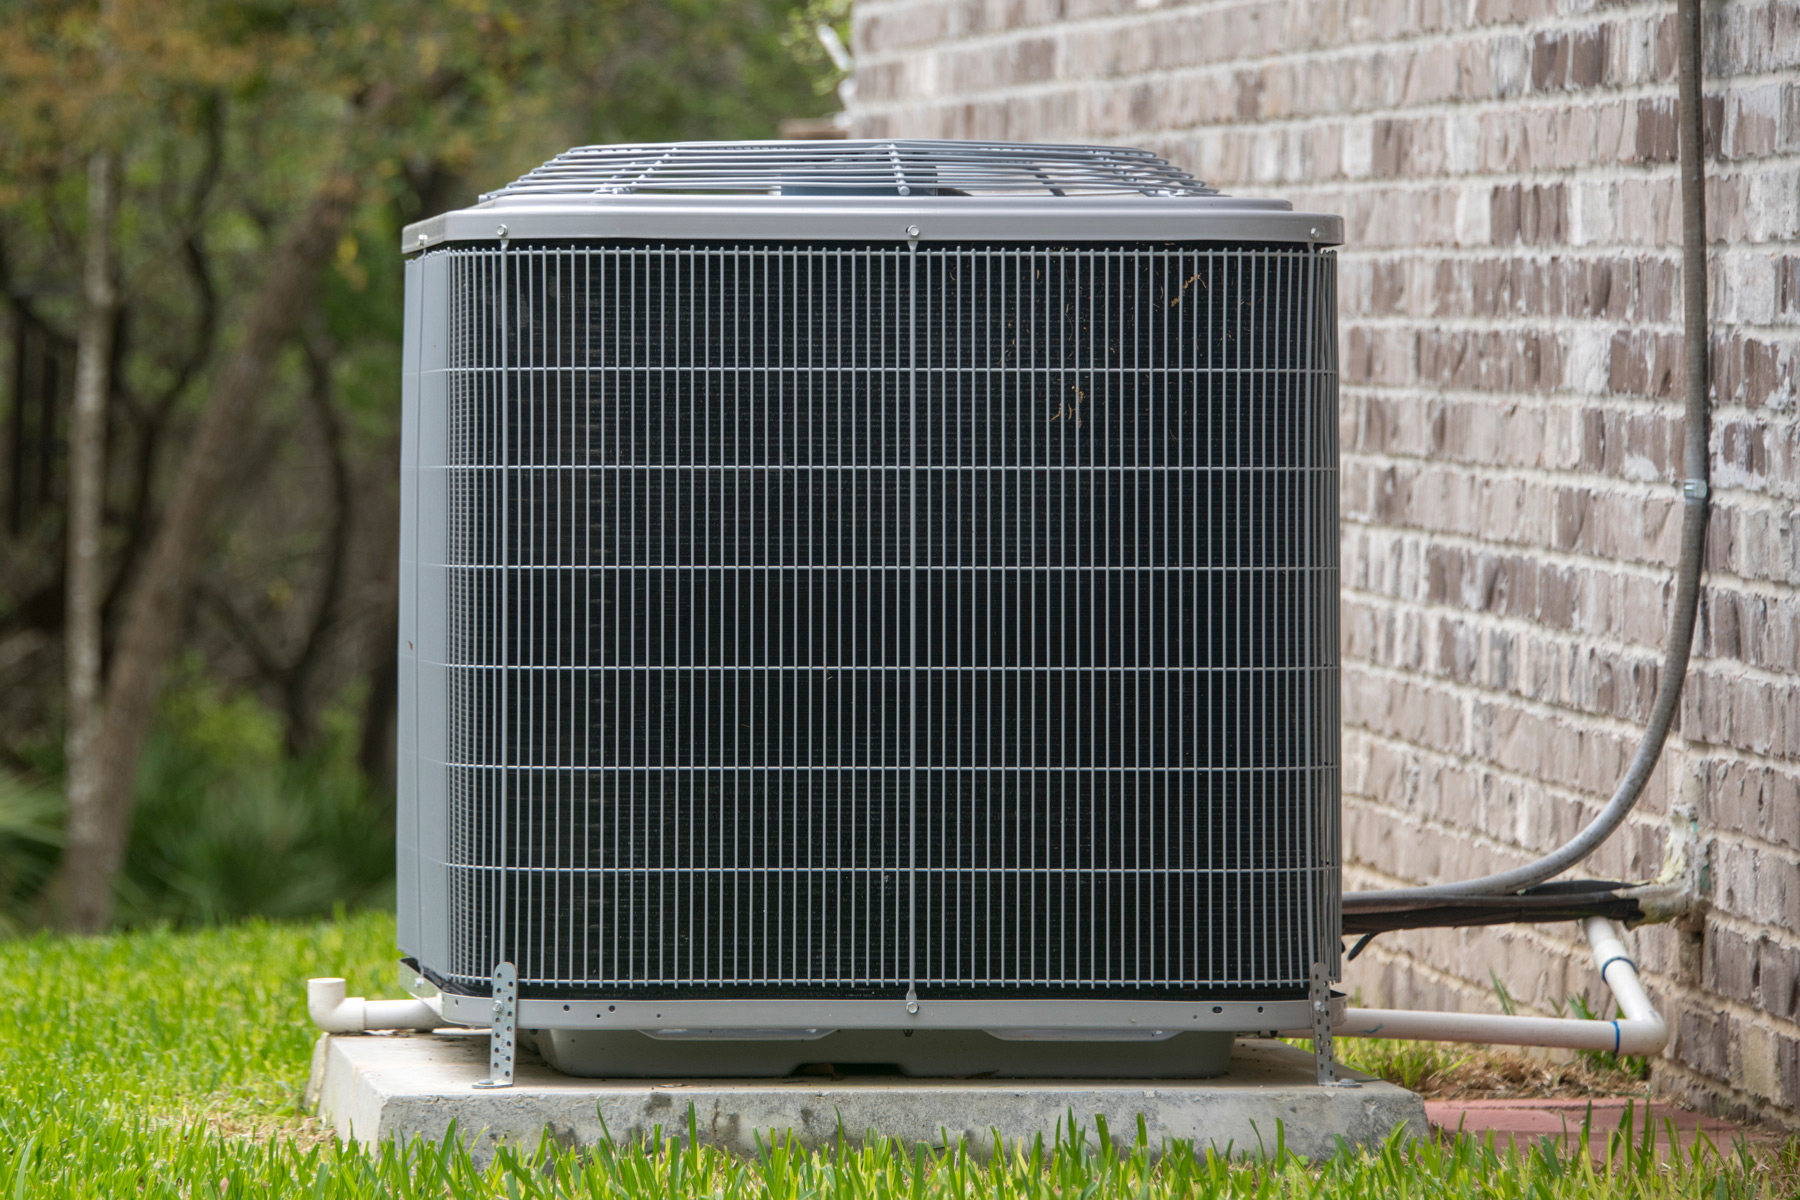
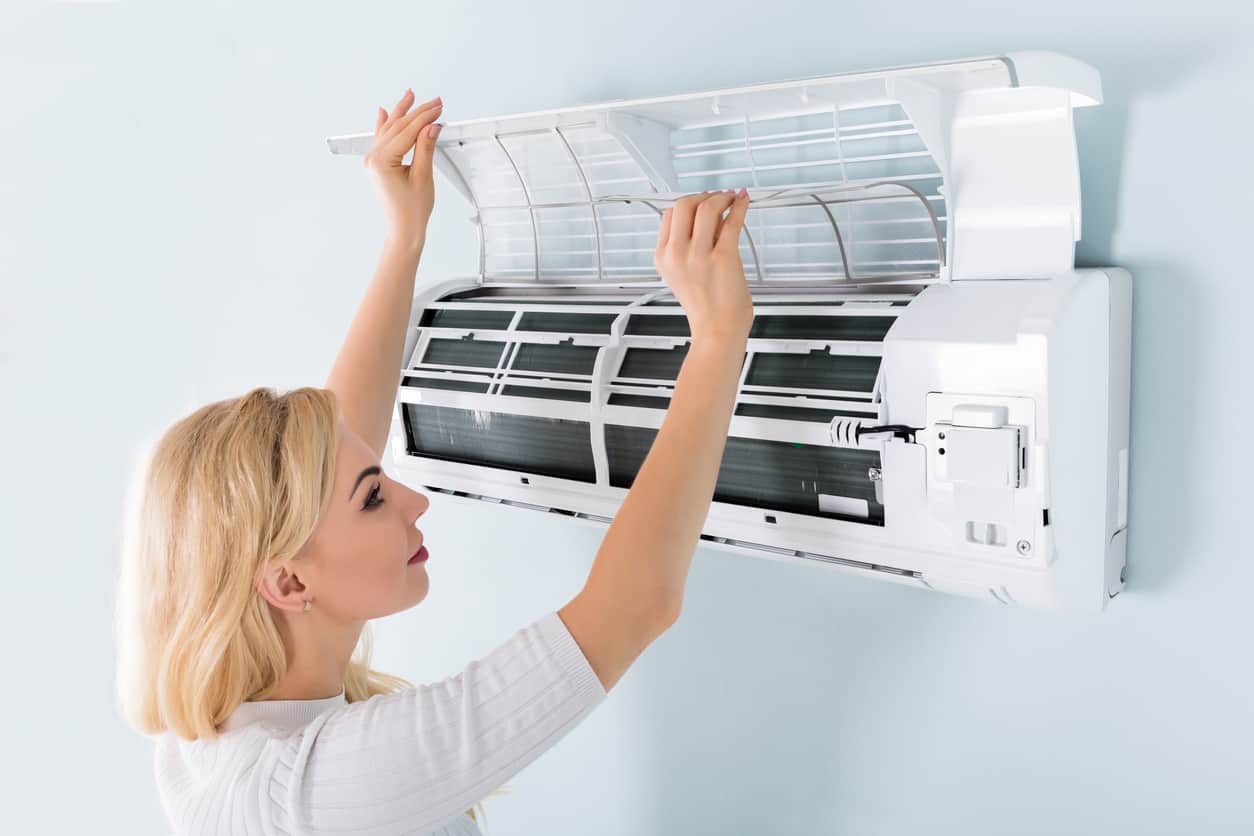
An air conditioning (AC) unit plays a crucial role in maintaining a comfortable environment during hot summer months. However, there may be instances when you need to pump down an AC unit, either for maintenance purposes or before moving or replacing the unit. Pumping down an AC unit involves recovering the refrigerant and safely storing or disposing of it. This process requires careful attention and the use of specific tools and equipment to ensure the job is done correctly and safely.
In this article, we will guide you through the step-by-step process of pumping down an AC unit. We will outline the necessary tools and equipment you will need, as well as provide detailed instructions on each step to follow. Whether you are a homeowner or a professional technician, understanding how to pump down an AC unit is a valuable skill that can save you time and money.
Before we dive into the steps, let’s first understand what it means to pump down an AC unit and why it is necessary in certain situations.
Key Takeaways:
- Pumping down an AC unit is crucial for safe maintenance, repair, and refrigerant handling. Following proper procedures and using the right tools ensures environmental responsibility and system efficiency.
- Prioritize safety and compliance when pumping down an AC unit. Properly storing and disposing of recovered refrigerant contributes to a cleaner environment and sustainable HVAC practices.
Read more: How To Cool Down Without AC
What is Pumping Down an AC Unit?
Pumping down an AC unit refers to the process of removing the refrigerant from the system and storing it in a recovery cylinder. This is typically done when the AC unit needs to be serviced, repaired, or replaced. It is essential to pump down the AC unit before any work is carried out to prevent refrigerant leaks and ensure the safety of the technician and the environment.
Refrigerant is a substance used in AC systems to remove heat from the air. It absorbs the heat from inside the building and releases it outside, creating a cool and comfortable indoor environment. However, refrigerants can be harmful to the environment if released into the atmosphere. They contain chemicals called hydrochlorofluorocarbons (HCFCs) or hydrofluorocarbons (HFCs) that contribute to climate change and can deplete the ozone layer.
By pumping down the AC unit, the refrigerant is collected and stored in a recovery cylinder for proper disposal or reuse. This ensures that the refrigerant is handled responsibly, minimizing the impact on the environment and complying with regulations and guidelines set by environmental agencies.
Pumping down an AC unit also ensures the safety of anyone working on the system. Refrigerant can be pressurized and potentially harmful if released improperly or accidentally. By removing the refrigerant from the system, technicians can work on the AC unit without the risk of exposure to harmful substances.
Now that we understand the importance of pumping down an AC unit, let’s move on to the next section, which discusses the reasons why you might need to pump down an AC unit.
Reasons for Pumping Down an AC Unit
There are several reasons why you may need to pump down an AC unit. Here are some common scenarios where pumping down is necessary:
- Maintenance and repairs: When performing maintenance or repairs on an AC unit, it is often required to remove the refrigerant from the system. This allows technicians to safely work on the unit without the risk of refrigerant leaks or accidental exposure.
- Replacing the AC unit: If you are replacing an old AC unit with a new one, you will need to pump down the refrigerant from the old unit and recover it. This ensures that the refrigerant is properly handled and disposed of before the old unit is removed and the new unit is installed.
- Relocating the AC unit: If you are moving an AC unit to a different location, it is necessary to pump down the refrigerant before disconnecting the unit. This prevents refrigerant leaks during the relocation process and allows for a smoother and safer transition of the unit.
- Leak detection and repair: If there is a refrigerant leak in the AC system, it is important to pump down the unit to prevent further leakage and assess the extent of the problem. By recovering the refrigerant, you can identify and repair the leak, ensuring the efficient operation of the AC unit.
- Disposal of an old AC unit: When disposing of an old AC unit, it is crucial to properly remove and recover the refrigerant. This is to comply with environmental regulations and prevent the release of harmful substances into the atmosphere. Pumping down the unit ensures that the refrigerant is safely taken out of the system for appropriate disposal or recycling.
These are just a few examples of why you might need to pump down an AC unit. It is important to follow proper procedures and guidelines to ensure the safe handling and disposal of refrigerant.
Now that we have discussed the reasons for pumping down an AC unit, let’s move on to the next section, which covers the tools and equipment required for the process.
Required Tools and Equipment
To successfully pump down an AC unit, you will need the following tools and equipment:
- Gauges: Gauges are essential for measuring and monitoring the pressure levels in the AC system. They consist of two gauges: a high-pressure gauge and a low-pressure gauge. These gauges allow you to determine the current pressure and ensure that it is at the appropriate level during the pumping down process.
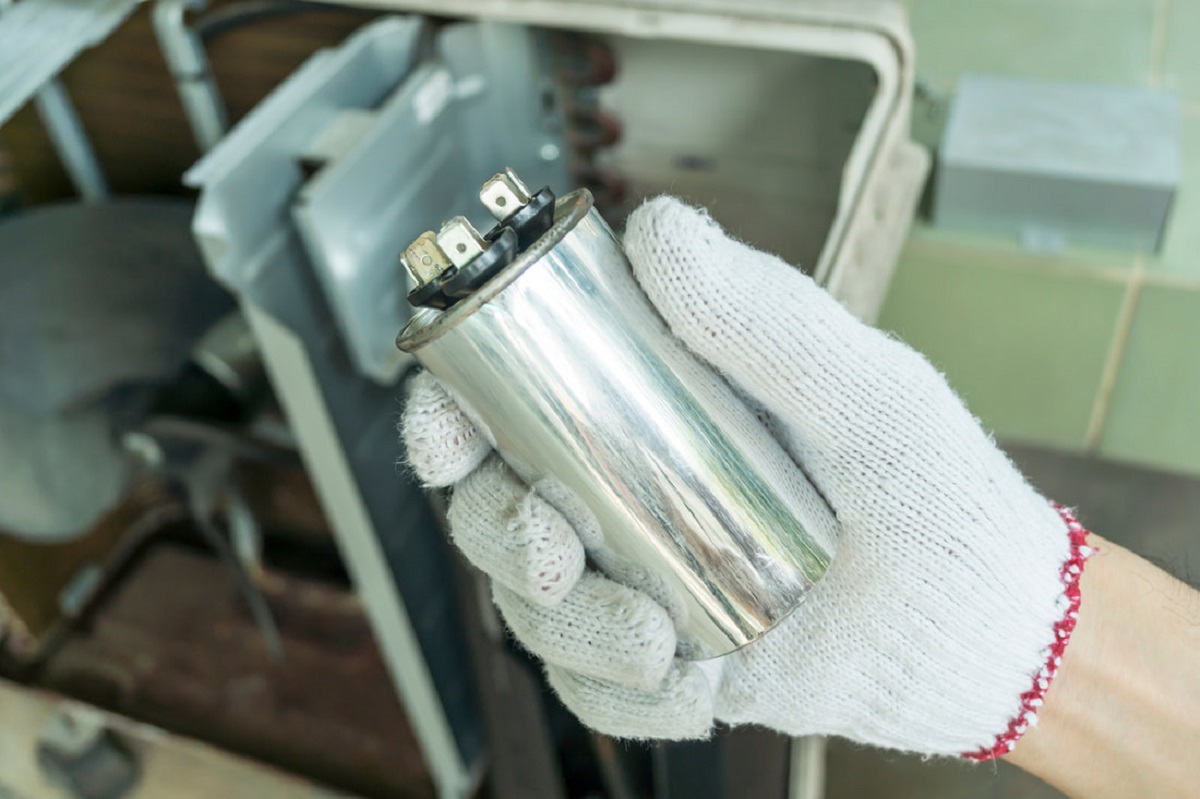
- Refrigerant Recovery Cylinder: A recovery cylinder is used to collect and store the refrigerant removed from the AC unit. Make sure to use a properly rated and approved recovery cylinder to comply with safety regulations.
- Vacuum Pump: A vacuum pump is used to create a vacuum within the AC system, aiding in the removal of the refrigerant. It helps in achieving a complete and efficient pump down of the unit.
- Hoses and Connections: Hoses and connections are required to connect the gauges and the vacuum pump to the AC unit. Ensure that you have the correct size and type of hoses and connections to ensure a secure and leak-free connection.
- Protective Gear: It is essential to wear appropriate protective gear to ensure your safety during the pumping down process. This may include safety glasses, gloves, and a respirator mask to protect against any potential leaks or chemical exposure.
- Refrigerant Scale: A refrigerant scale is helpful in accurately measuring the amount of refrigerant recovered from the AC unit. It ensures that the appropriate quantity of refrigerant is recovered, preventing under or overcharging of the system.
- Recovery Machine (optional): In some cases, a recovery machine may be used to assist in the removal of the refrigerant. However, this is not always necessary and will depend on the specific situation and the equipment available.
These are the essential tools and equipment needed for pumping down an AC unit. It is important to ensure that all equipment is in good working condition and properly calibrated before starting the process.
Now that we have covered the required tools and equipment, let’s move on to the step-by-step process of pumping down an AC unit.
Step 1: Turn Off the AC Unit
The first step in pumping down an AC unit is to turn off the unit itself. This is essential for the safety of the technician and the proper execution of the process. Follow these steps to turn off the AC unit:
- Locate the power source: Find the electrical disconnect switch for the AC unit. This could be located on the unit itself or on a nearby wall. It is usually a metal box with a hinged cover.
- Open the electrical disconnect box: Use a screwdriver or wrench to open the hinged cover of the electrical disconnect box. This will expose the power conductors inside.
- Switch off the power: Locate the identification labels or markings indicating which switch controls the AC unit. Flip that switch to the “off” position to cut off the power supply to the unit.
- Ensure power is off: Double-check that the AC unit is no longer receiving power by confirming that the unit is not running and the fan is not spinning.
Turning off the AC unit is an important safety measure to prevent any electrical accidents or mishaps during the pumping down process. It also allows the refrigerant to settle, making it easier to recover later on. Always prioritize your safety and follow proper procedures.
Now that you have turned off the AC unit, you are ready to proceed to the next step: preparing the refrigerant recovery cylinder.
Read more: How To Cool Down Apartment Without AC
Step 2: Prepare the Refrigerant Recovery Cylinder
Before you begin the process of pumping down an AC unit, you will need to prepare the refrigerant recovery cylinder. This involves ensuring that the cylinder is clean, properly labeled, and has enough capacity to hold the refrigerant being recovered. Follow these steps to prepare the refrigerant recovery cylinder:
- Inspect the cylinder: Check the recovery cylinder for any visible damage or signs of corrosion. Ensure that the cylinder is in good condition and does not have any leaks.
- Clean the cylinder: If the cylinder is dirty or contaminated, clean it thoroughly before use. Use mild soap and water to clean the exterior of the cylinder, and make sure to rinse it well to remove any residue.
- Check the capacity: Verify that the capacity of the recovery cylinder is sufficient to hold the amount of refrigerant expected to be recovered from the AC unit. This information should be labeled on the cylinder.
- Label the cylinder: Clearly label the recovery cylinder with the type of refrigerant that will be recovered. This helps to prevent cross-contamination and ensures proper handling of the refrigerant.
- Secure the cylinder: Place the recovery cylinder in a stable and secure position, ensuring that it will not tip over during the pumping down process. Make sure the cylinder is away from any potential hazards and that it is easily accessible for later disposal or recycling.
Proper preparation of the refrigerant recovery cylinder is crucial for a smooth and safe pumping down process. By taking the time to inspect, clean, and label the cylinder, you can ensure the integrity of the refrigerant and comply with environmental regulations.
Now that you have prepared the refrigerant recovery cylinder, you are ready to move on to the next step: connecting the gauges.
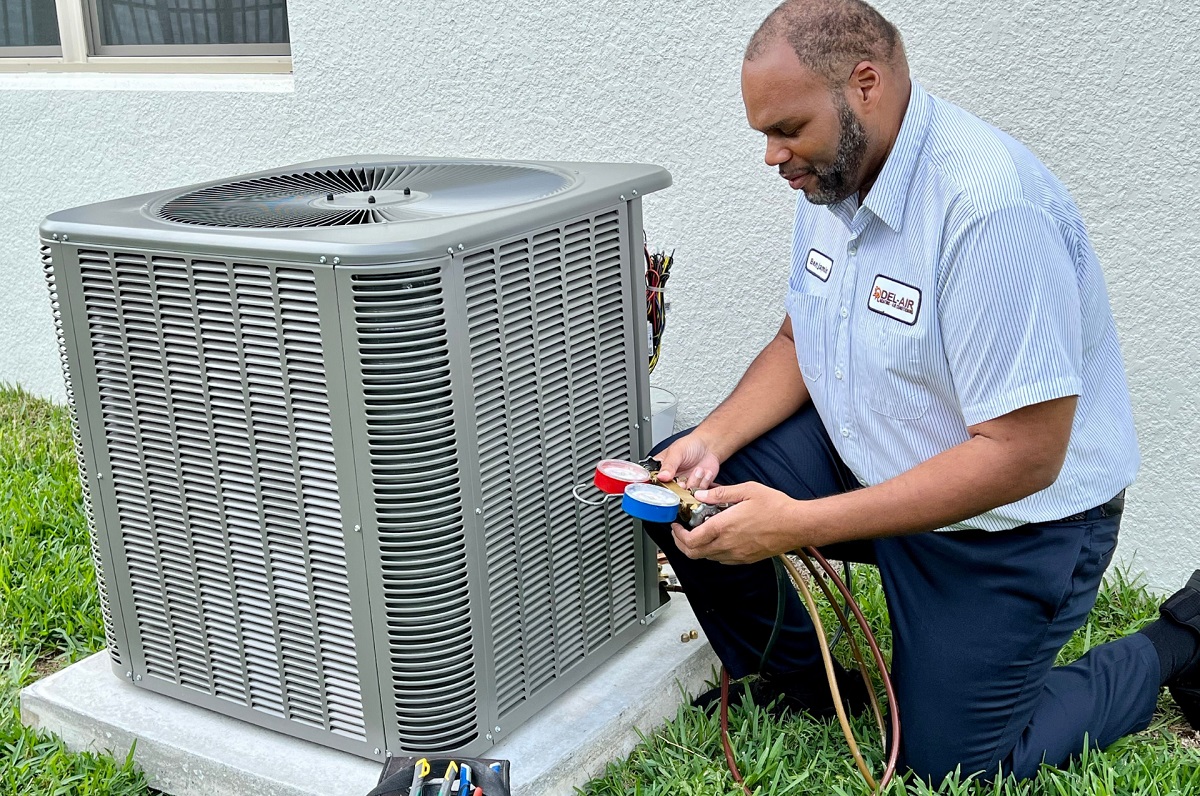
Step 3: Connect the Gauges
Once you have turned off the AC unit and prepared the refrigerant recovery cylinder, the next step in pumping down an AC unit is to connect the gauges. The gauges will allow you to monitor the pressure levels in the AC system during the recovery process. Follow these steps to connect the gauges:
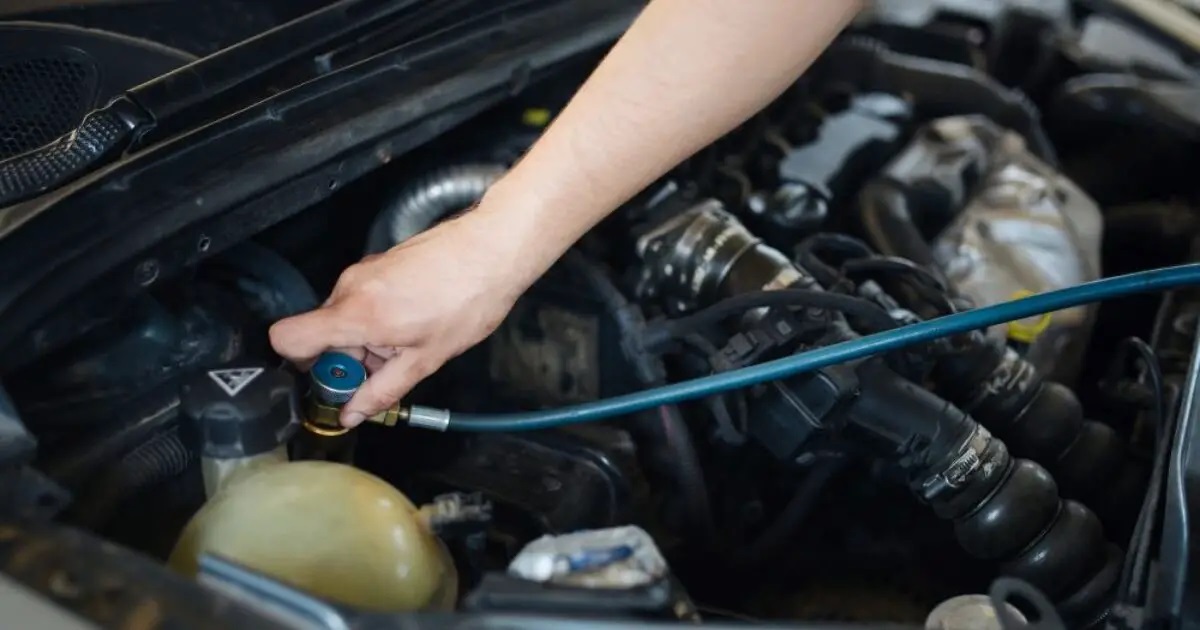
- Locate the service valves: Identify the service valves on the AC unit. These valves are typically located at the outdoor condenser unit. There are usually two valves: a high-pressure valve (red) and a low-pressure valve (blue).
- Attach the hoses: Connect the hoses to the service valves by screwing them onto the valve fittings. Make sure to connect the red hose to the high-pressure valve and the blue hose to the low-pressure valve. Tighten the connections securely to ensure a proper seal.
- Connect the gauges: Attach the high-pressure gauge to the red hose and the low-pressure gauge to the blue hose. Connect the gauges by securely screwing them onto the corresponding hose fittings.
- Tighten all connections: Double-check that all connections are tight and secure. This will help prevent any refrigerant leaks during the pumping down process.
Connecting the gauges is an important step as it allows you to accurately monitor the pressure levels in the AC unit. This information is crucial in determining the progress of the pump down process and ensuring that the refrigerant is effectively recovered.
Now that the gauges are properly connected, you are ready to move on to the next step: starting the vacuum pump.
Step 4: Start the Vacuum Pump
With the gauges properly connected, you are now ready to start the vacuum pump. The vacuum pump helps create a vacuum within the AC system, aiding in the removal of the refrigerant. Follow these steps to start the vacuum pump:
- Inspect the vacuum pump: Check the vacuum pump to ensure it is in good working condition. Look for any visible damage or signs of wear. Make sure that all connections and hoses are secure.
- Connect the vacuum pump: Attach one end of a hose to the suction port on the vacuum pump. Connect the other end of the hose to the service valve on the low-pressure side of the AC unit. Ensure a tight and secure connection.
- Set up the vacuum pump: Place the vacuum pump on a stable surface, ensuring it is on a level and secure platform. Make sure there is enough clearance around the pump for proper ventilation.
- Turn on the vacuum pump: Flip the switch or press the power button to start the vacuum pump. The pump will begin creating a vacuum within the AC system.
- Monitor the vacuum: Keep a close eye on the vacuum gauge during this process. You want to see the pressure steadily decreasing as the vacuum pump removes air and moisture from the system. It is important to achieve a deep vacuum before proceeding to the next step.
Starting the vacuum pump is a critical step in pumping down an AC unit. The vacuum created by the pump helps remove any air or moisture from the system, preparing it for the recovery of the refrigerant. A proper vacuum ensures the efficient pumping down of the unit and reduces the risk of contaminants being introduced back into the system.
Once the vacuum pump is running and the pressure is steadily decreasing, you can proceed to the next step: monitoring the pressure.
Before pumping down an AC unit, make sure to shut off the power to the unit to avoid any electrical accidents. This will ensure a safe and effective pump down process.
Step 5: Monitor the Pressure
After starting the vacuum pump, the next step in pumping down an AC unit is to monitor the pressure levels. Monitoring the pressure allows you to ensure that the unit is being properly evacuated of air and moisture, creating the ideal conditions for refrigerant recovery. Follow these steps to monitor the pressure:
- Observe the vacuum gauge: Keep a close eye on the vacuum gauge connected to the low-pressure side of the AC unit. The gauge will display the pressure within the system, indicating the progress of the evacuation process.
- Ensure a deep vacuum: Ideally, you want to achieve a deep vacuum of around 500 microns or lower before proceeding to the next step. This indicates that most of the air and moisture has been removed from the AC system.
- Monitor for pressure fluctuations: While the vacuum pump is running, observe the vacuum gauge for any sudden fluctuations in pressure. These fluctuations could indicate a potential leak in the system. If you notice a significant increase in pressure, stop the vacuum pump and investigate the source of the leak before proceeding.
- Allow sufficient time for evacuation: The time required for a complete evacuation will depend on the size and complexity of the AC system. It is important to be patient and allow sufficient time for the system to reach a deep vacuum. This ensures the best chance of a successful pump down.
- Record the pressure: Take note of the final pressure reading once the system has reached a deep vacuum. This can serve as a reference for future maintenance or troubleshooting purposes.
Monitoring the pressure during the evacuation process is crucial as it helps you determine when the system is ready for refrigerant recovery. Achieving a deep vacuum ensures the optimal conditions for effective pumping down of the AC unit.
Once you have achieved a deep vacuum and recorded the final pressure, you are ready to proceed to the next step: recovering the refrigerant.
Read more: How Much Is An AC Recharge
Step 6: Recover the Refrigerant
After monitoring the pressure and ensuring a deep vacuum, you are now ready to recover the refrigerant from the AC unit. The recovery process involves transferring the refrigerant from the system to the designated recovery cylinder for proper storage and disposal. Follow these steps to recover the refrigerant:
- Prepare the refrigerant recovery cylinder: Ensure that the refrigerant recovery cylinder is properly labeled and securely positioned. Make sure the recovery cylinder is connected to the recovery machine or vacuum pump system, following the manufacturer’s instructions.
- Open the service valves: Slowly open both the high-pressure and low-pressure service valves on the AC unit. This will allow the refrigerant to flow from the system into the recovery cylinder.
- Initiate the refrigerant recovery process: Start the recovery machine or activate the vacuum pump to begin the transfer of refrigerant from the AC unit to the recovery cylinder. Follow the manufacturer’s instructions for your specific equipment.
- Monitor the recovery process: Keep a close eye on the recovery machine or vacuum pump as the refrigerant is being recovered. Pay attention to any pressure or temperature readings, ensuring they remain within safe operating limits.
- Continue the recovery until complete: Allow the recovery process to continue until all the refrigerant has been transferred from the AC unit to the recovery cylinder. This may take some time, depending on the size of the system and the amount of refrigerant to be recovered.
- Close the service valves: Once the recovery is complete, close the high-pressure and low-pressure service valves on the AC unit to prevent any leaks or further loss of refrigerant.
- Shut down the recovery equipment: Turn off the recovery machine or vacuum pump, following the manufacturer’s instructions. Ensure that all equipment is powered off and properly stored.
- Secure and label the recovered refrigerant: Seal the refrigerant recovery cylinder tightly and label it with the type and quantity of refrigerant recovered. Store the cylinder in a secure and well-ventilated area, following local regulations and guidelines.
Recovering the refrigerant from the AC unit is a critical step in the pumping down process. Proper recovery ensures the responsible handling and disposal of refrigerant, minimizing its impact on the environment and complying with regulations.
Now that you have successfully recovered the refrigerant, you can proceed to the next step: shutting off the vacuum pump.
Step 7: Shut Off the Vacuum Pump
After successfully recovering the refrigerant from the AC unit, the next step in the pumping down process is to shut off the vacuum pump. Shutting off the vacuum pump ensures the proper completion of the process and prepares the system for the next steps. Follow these steps to shut off the vacuum pump:
- Turn off the recovery equipment: If you used a recovery machine, follow the manufacturer’s instructions to properly shut it off. If you used a vacuum pump, locate the power switch or button and turn it off.
- Close the service valve: After shutting off the vacuum pump, close the service valve on the low-pressure side of the AC unit. This prevents any air or contaminants from entering the system.
- Switch off the electrical disconnect: Locate the electrical disconnect switch for the AC unit and flip it to the “off” position. This cuts off the power supply to the unit, ensuring safety during further maintenance or repair work.
- Remove connections: Carefully disconnect the hose between the vacuum pump and the service valve on the AC unit. Take your time to ensure a smooth disconnection without causing any damage.
- Inspect for leaks: After removing the connections, inspect the valve and hose for any signs of leaks. If you notice any leaks, address them immediately before proceeding with further steps.
Shutting off the vacuum pump marks the end of the evacuation and refrigerant recovery process. By following these steps, you ensure the safe and efficient purge of air and moisture from the AC system, as well as the responsible recovery of the refrigerant.
Now that the vacuum pump is shut off, you can move on to the next step: disconnecting the gauges.
Step 8: Disconnect the Gauges
After shutting off the vacuum pump, the next step in the pumping down process is to disconnect the gauges from the AC unit. Disconnecting the gauges allows for the proper disconnection of equipment and ensures a safe and organized workspace. Follow these steps to disconnect the gauges:
- Turn off any remaining valves: If there are any remaining valves, such as a manifold valve, close them to prevent any unwanted flow of refrigerant or air.
- Relieve pressure: To relieve any pressure that may be present in the hoses, slowly open the valve on the refrigerant recovery cylinder. This will allow any residual pressure to escape.
- Remove the hoses: Unscrew and remove the hoses from the service valves on the AC unit. Begin with the low-pressure side by removing the blue hose, followed by the high-pressure side and the red hose. Take care not to spill or release any refrigerant during this process.
- Inspect the gauges and hoses: Take a moment to inspect the gauges and hoses for any signs of damage or wear. If any issues are detected, address them accordingly, whether it be repairing or replacing the equipment.
- Properly store the gauges: Once disconnected, carefully store the gauges in a safe and designated location. This will protect them from damage and ensure they are readily available for future use.
Disconnecting the gauges is a crucial step in the pumping down process, allowing for the safe removal of equipment and minimizing the risk of refrigerant leaks. By following these steps, you ensure a controlled and organized workflow.
Now that the gauges are disconnected, you can move on to the next step: storing the recovered refrigerant properly.
Step 9: Store the Recovered Refrigerant Properly
After completing the pumping down process and disconnecting the gauges, it is crucial to store the recovered refrigerant properly. Proper storage ensures the refrigerant remains contained and secure until it can be properly managed. Follow these steps to store the recovered refrigerant:
- Seal the refrigerant recovery cylinder: Verify that the refrigerant recovery cylinder is tightly sealed. This helps prevent any leaks or unintentional release of the refrigerant.
- Label the refrigerant recovery cylinder: Clearly label the cylinder with the type and amount of refrigerant contained inside. This information ensures proper identification and handling of the refrigerant for future use or disposal.
- Store the cylinder in a well-ventilated area: Find a well-ventilated and secure location to store the refrigerant recovery cylinder. Ensure that the area is away from any flammable materials, sources of heat, or direct sunlight.
- Follow local regulations and guidelines: Adhere to any local, state, or national regulations regarding the storage and disposal of refrigerant. It is important to comply with environmental requirements and ensure the proper management of refrigerant.
- Maintain records: Keep accurate records of the refrigerant recovery, including the type and amount recovered, the date, and any other relevant information. These records can be useful for future reference or regulatory compliance.
- Dispose of or reuse the refrigerant appropriately: Depending on local regulations and the condition of the recovered refrigerant, it may need to be properly disposed of or reused. Consult with local authorities or refrigerant management professionals to determine the best course of action.
Properly storing the recovered refrigerant is crucial for environmental protection and compliance with regulations. By following these steps, you ensure the responsible handling and management of refrigerant throughout the pumping down process.
Now that the recovered refrigerant is properly stored, you can proceed to the final step: disposing of any remaining refrigerant.
Read more: How Does A AC Compressor Work
Step 10: Dispose of Any Remaining Refrigerant
After completing the pumping down process and storing the recovered refrigerant, the final step is to dispose of any remaining refrigerant properly. Disposing of refrigerant in an environmentally friendly manner is essential to prevent its release and minimize its impact on both human health and the environment. Follow these steps to dispose of any remaining refrigerant:
- Contact a licensed professional: Reach out to a licensed refrigerant disposal company or a qualified technician to handle the proper disposal of the remaining refrigerant. These professionals have the expertise and resources to safely and responsibly dispose of the refrigerant.
- Follow local regulations and guidelines: Comply with any local, state, or national regulations and guidelines for the disposal of refrigerant. Different locations may have specific requirements regarding recycling, reclaiming, or destruction of refrigerant.
- Provide details about the refrigerant: Provide accurate information about the type and quantity of refrigerant to the disposal company or technician. This information helps them determine the appropriate method for disposal and ensures compliance with environmental regulations.
- Ensure proper transportation: If the remaining refrigerant needs to be transported to a disposal facility, ensure that it is done so in compliance with transportation regulations. This may involve using specialized containers or vehicles designed for the safe transport of refrigerant.
- Maintain records: Keep detailed records of the disposal process, including the date, method, and destination of the refrigerant. This information may be required for regulatory compliance or future reference.
- Consider refrigerant reclamation or recycling: If the remaining refrigerant is still in usable condition, explore the option of reclamation or recycling. Some refrigerants can be purified and reused, reducing the need for new refrigerant production and minimizing environmental impact.
Proper disposal of any remaining refrigerant is crucial for environmental protection and compliance with regulations. By following these steps and working with professionals, you ensure the responsible and sustainable management of refrigerant waste.
With the completion of these steps, you have successfully pumped down the AC unit and managed the refrigerant in a safe and environmentally conscious manner. Congratulations on a job well done!
Remember, always prioritize safety and compliance when working with refrigerants, and consult with experts or professionals if you are unsure about any aspect of the pumping down process.
Conclusion
Pumping down an AC unit is an important process that allows for the safe maintenance, repair, relocation, or replacement of the unit. By following the step-by-step guide outlined in this article, you can successfully pump down an AC unit while ensuring the proper handling of the refrigerant and compliance with environmental regulations.
Throughout the process, we discussed the significance of pumping down an AC unit and highlighted the reasons why it may be necessary. We also covered the tools and equipment required, including gauges, a refrigerant recovery cylinder, a vacuum pump, hoses, and protective gear.
Each step in the pumping down process was carefully explained, from turning off the AC unit and preparing the refrigerant recovery cylinder to connecting the gauges and starting the vacuum pump. We emphasized the importance of monitoring the pressure, recovering the refrigerant, and ultimately shutting off the vacuum pump.
We discussed the crucial steps of disconnecting the gauges, storing the recovered refrigerant properly, and disposing of any remaining refrigerant in an environmentally-friendly manner. By following these steps, you contribute to the responsible management of refrigerants and help to protect the environment.
Remember to always prioritize safety by wearing proper protective gear, double-checking connections, and following local regulations and guidelines. Working with a licensed professional for refrigerant disposal is strongly recommended, as they have the expertise and knowledge to handle refrigerant waste safely.
As you become more familiar with the pumping down process, you will gain confidence in your abilities as an AC technician or homeowner. Properly pumping down an AC unit not only ensures the longevity and efficiency of the unit but also contributes to a cleaner and greener environment.
We hope this comprehensive guide has provided you with the knowledge and understanding necessary to successfully pump down an AC unit. Embrace the process, remain attentive to safety precautions, and always prioritize environmental responsibility when working with refrigerants.
Thank you for joining us on this journey, and happy pumping down!
Frequently Asked Questions about How To Pump Down An AC Unit
Was this page helpful?
At Storables.com, we guarantee accurate and reliable information. Our content, validated by Expert Board Contributors, is crafted following stringent Editorial Policies. We're committed to providing you with well-researched, expert-backed insights for all your informational needs.


0 thoughts on “How To Pump Down An AC Unit”