Home>Articles>How To Put A Crocheted Edge On A Flannel Blanket

Articles
How To Put A Crocheted Edge On A Flannel Blanket
Modified: August 17, 2024
Learn how to enhance your flannel blankets with a beautiful crocheted edge. Read our informative articles for step-by-step instructions and inspiration.
(Many of the links in this article redirect to a specific reviewed product. Your purchase of these products through affiliate links helps to generate commission for Storables.com, at no extra cost. Learn more)
Introduction
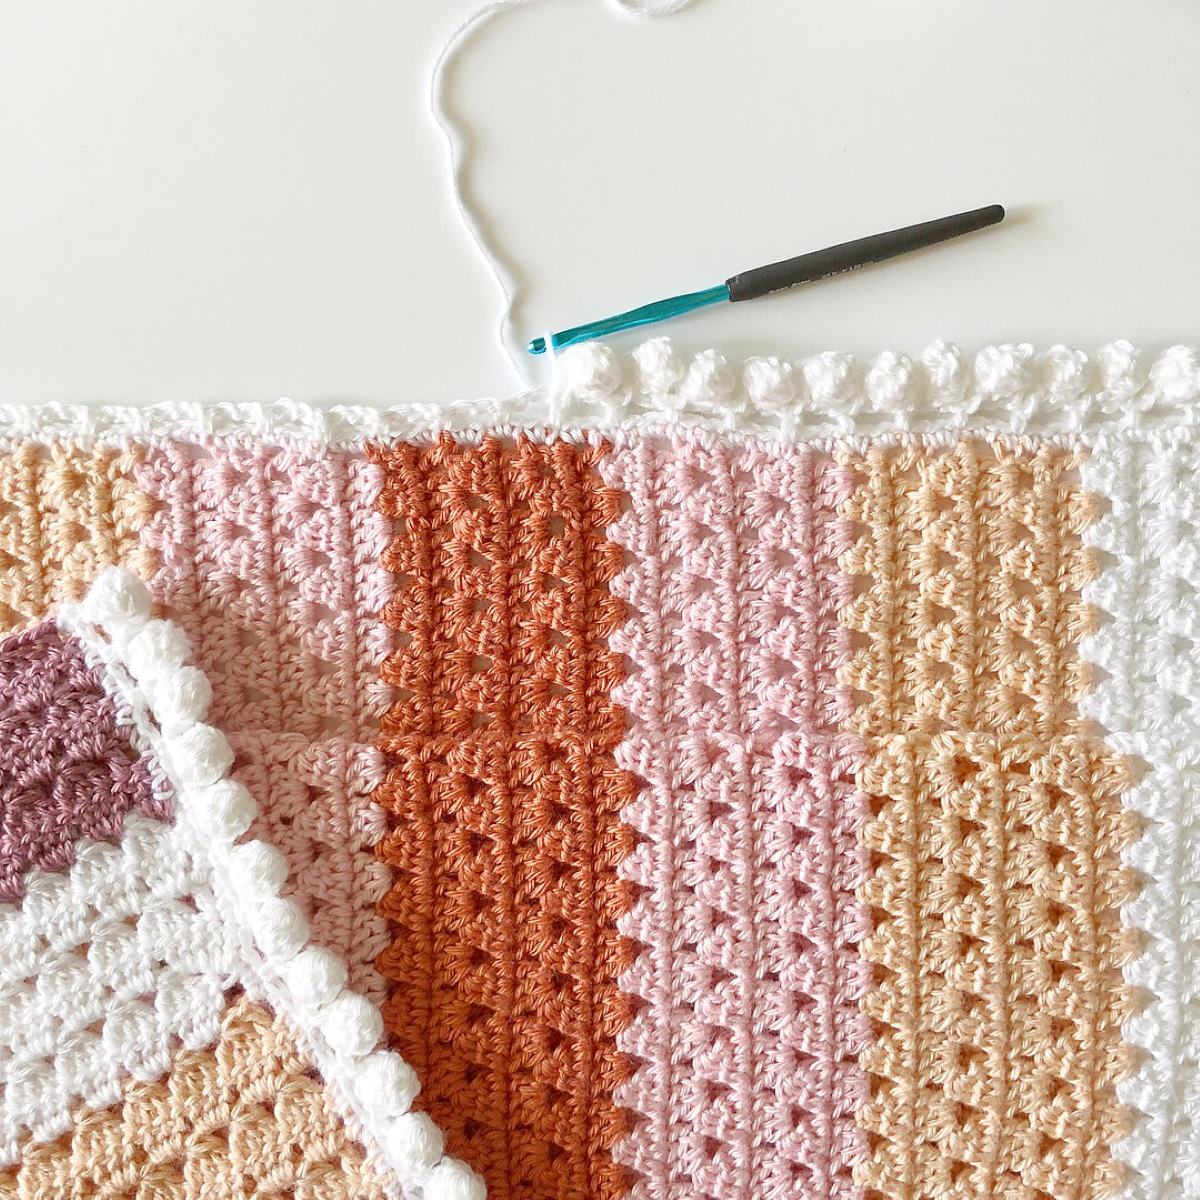
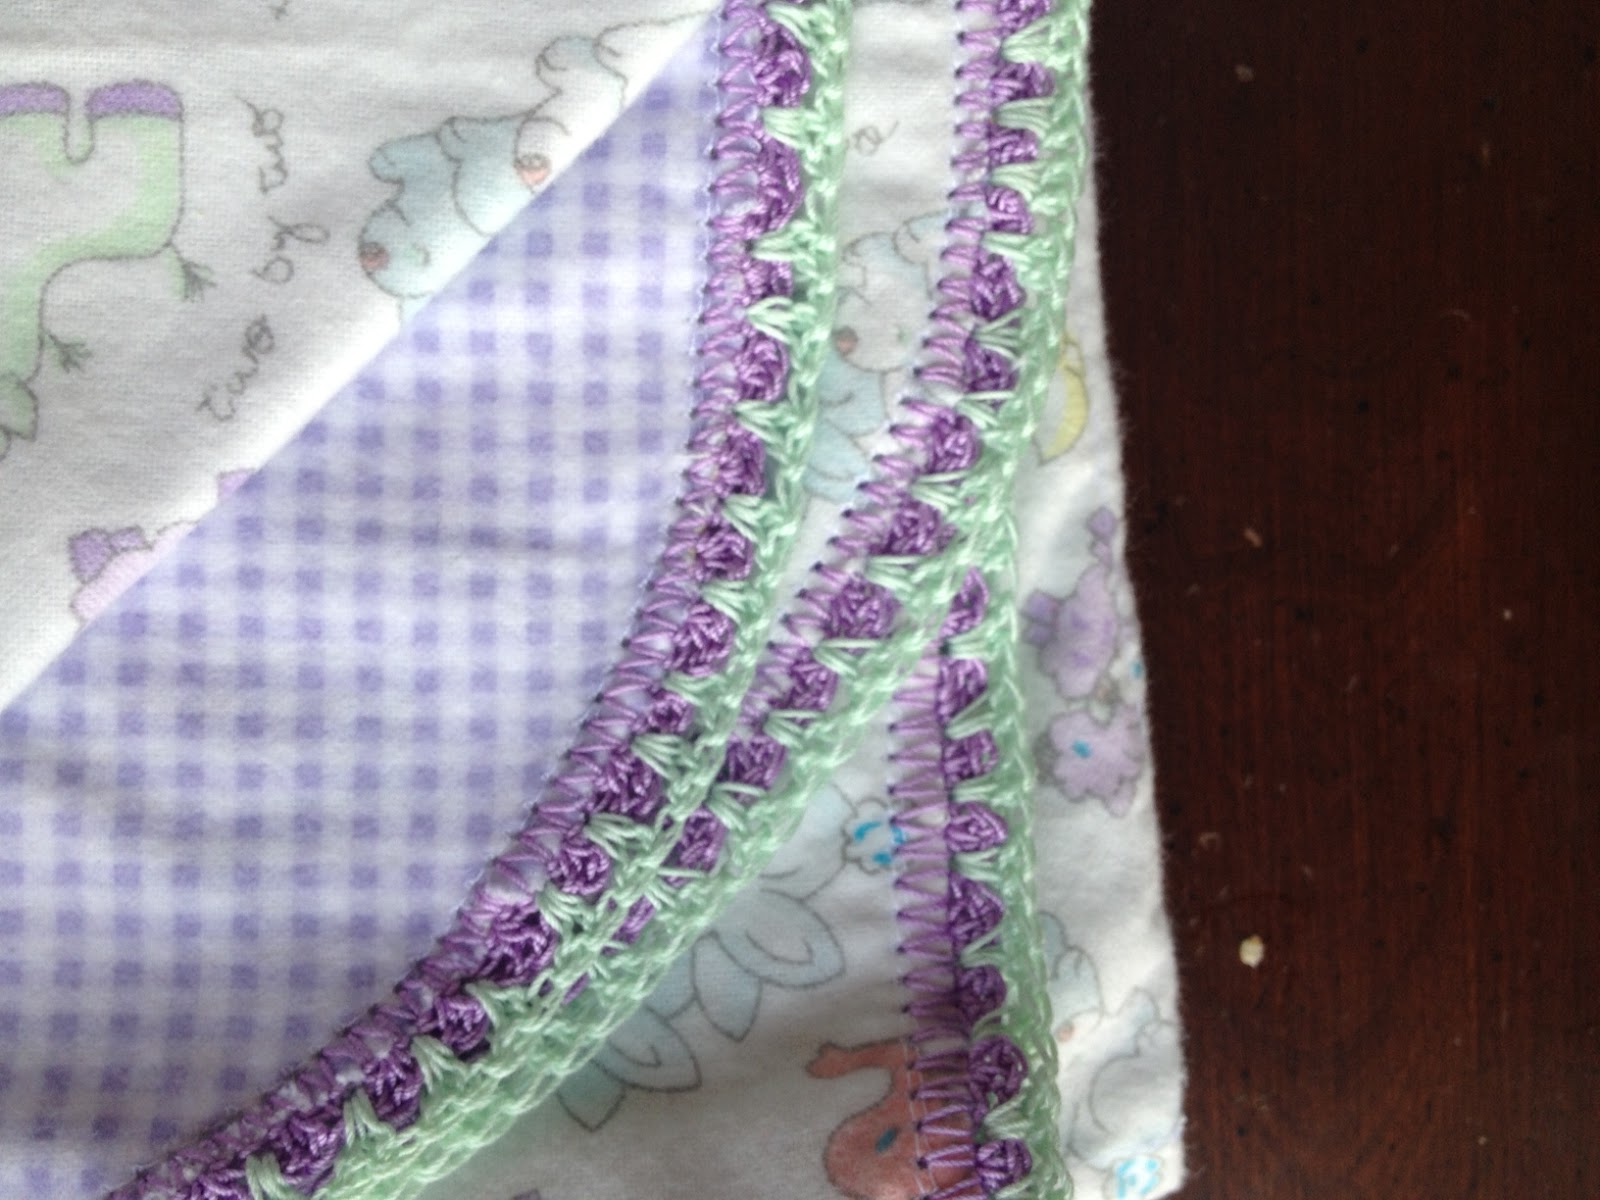
Adding a crocheted edge to a flannel blanket is a wonderful way to personalize and elevate the look of a simple and cozy blanket. Not only does it add a touch of handmade charm, but it also gives you the opportunity to showcase your crochet skills and create a unique and beautiful piece.
In this article, we will take you through the step-by-step process of putting a crocheted edge on a flannel blanket. We will discuss the materials needed, different crochet edging patterns you can choose from, and how to prepare the blanket before adding the crochet border. By following these instructions, you will be able to create a stunning and customized flannel blanket that will be cherished for years to come.
So, gather your crochet hook, yarn, and flannel blanket, and let’s get started on this fun and rewarding project!
Key Takeaways:
- Personalize and elevate your flannel blanket with a crocheted edge, showcasing your creativity and crochet skills while creating a unique and beautiful piece that will be cherished for years to come.
- Gather your materials and enjoy the rewarding process of adding a crocheted edge to your flannel blanket, transforming it into a stunning and cozy masterpiece that reflects your unique style and attention to detail.
Read more: How To Put A Crochet Edge On A Pillowcase
Materials Needed
Before you begin adding a crocheted edge to your flannel blanket, it’s important to gather all the necessary materials. Here’s what you’ll need:
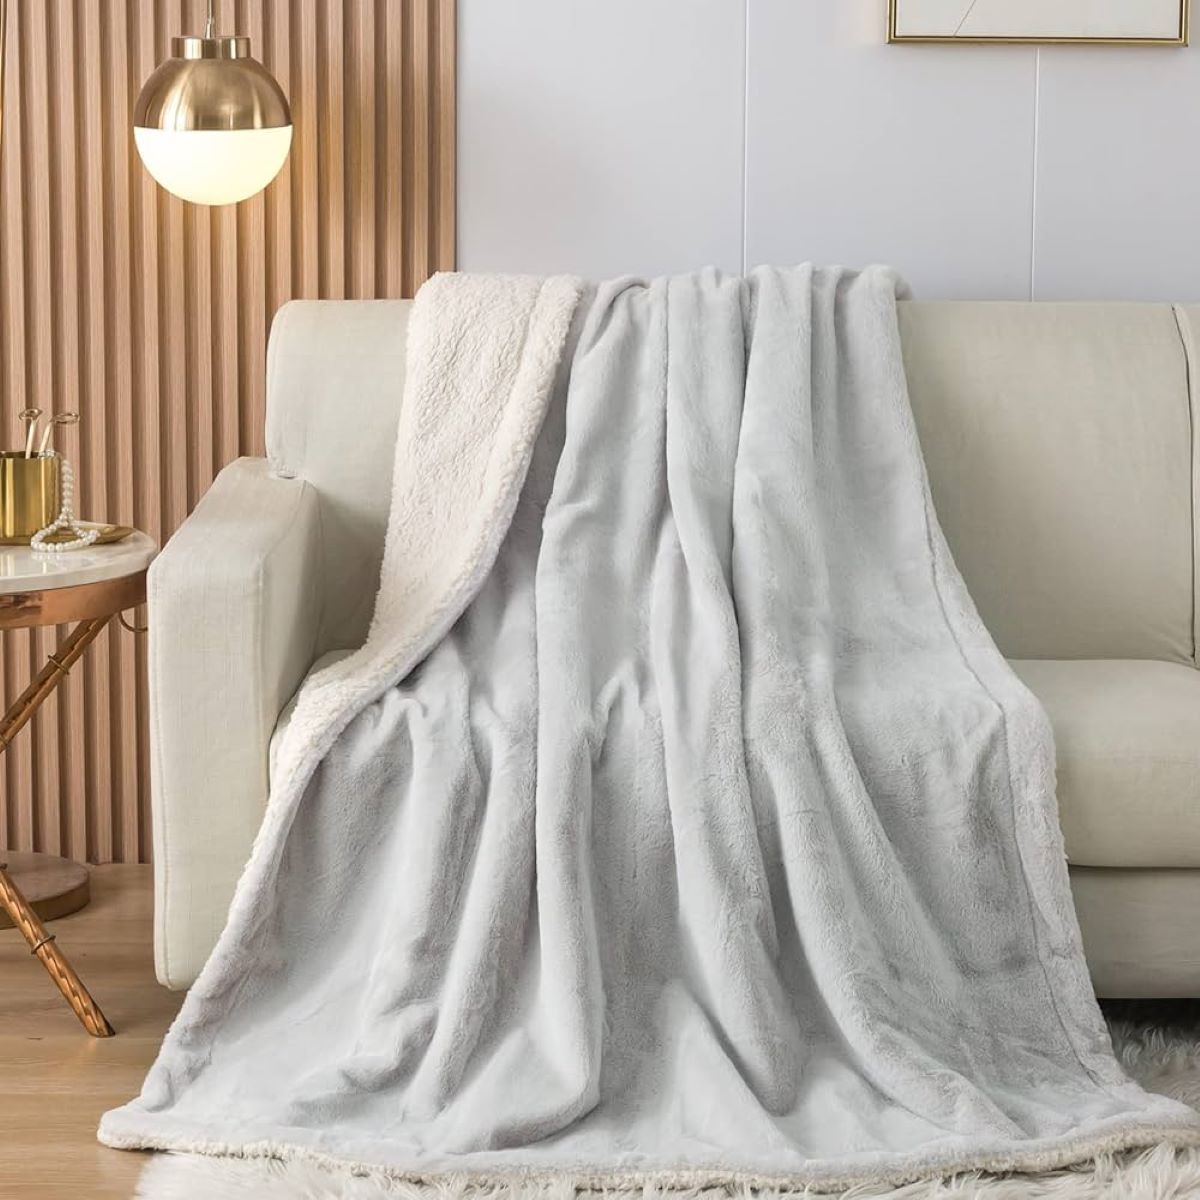
- Flannel blanket: Choose a cozy and soft flannel blanket as the base for your crochet edging. You can buy a plain flannel blanket or repurpose an old one.
- Crochet hook: Select an appropriate crochet hook size based on the thickness of your yarn and desired tension. The standard sizes are labeled on the hooks (e.g., US size G, H, I, etc.). Check your crochet pattern or refer to the yarn label to determine the recommended hook size.
- Yarn (matching or contrasting color): Pick a yarn that complements your flannel blanket. You can choose a color that matches the blanket for a subtle look, or go for a contrasting color to create a bold and eye-catching border. Opt for a soft and durable yarn suitable for blankets, such as acrylic or cotton.
- Scissors: Keep a pair of sharp scissors handy for cutting yarn and trimming any loose ends.
- Tapestry needle: A tapestry needle with a large eye will be useful for weaving in the yarn tails and securing any loose stitches.
Once you have gathered these materials, you are ready to proceed with adding a beautiful crocheted edge to your flannel blanket.
Choosing the Crochet Edging Pattern
Now that you have the necessary materials, it’s time to choose the crochet edging pattern that will enhance the beauty of your flannel blanket. There are various patterns to choose from, each offering a unique and decorative touch. Here are a few popular options:
- Lace edging: Lace edging adds an elegant and delicate touch to your flannel blanket. It typically involves intricate patterns of yarn overs and decreases to create a lacy and airy design.
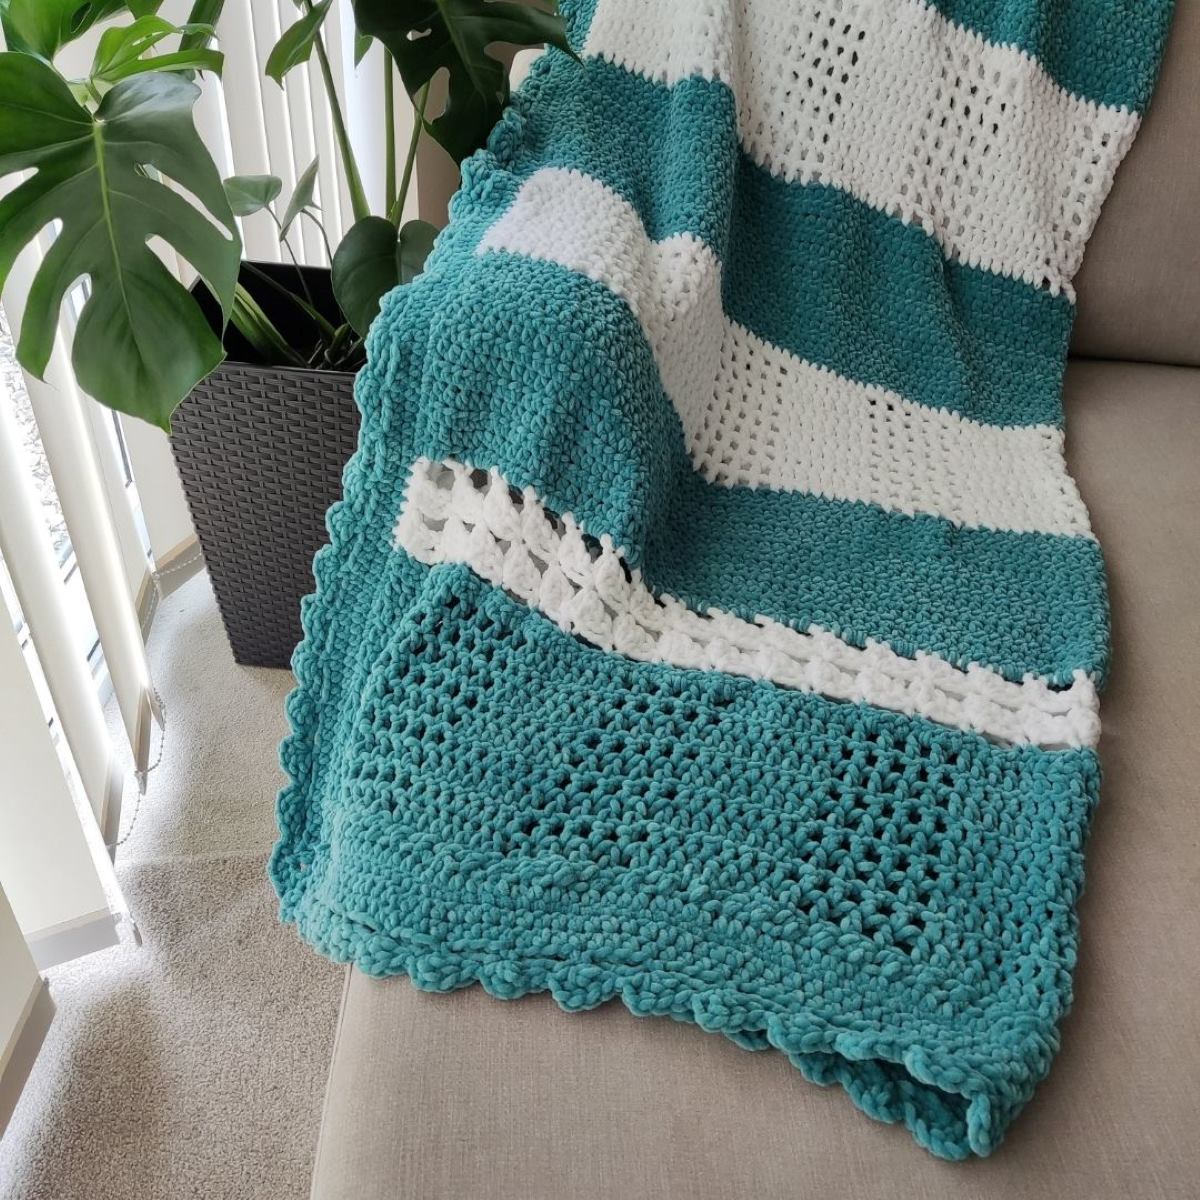
- Scalloped edging: Scalloped edging creates a decorative border reminiscent of scallop shells. This pattern involves combinations of single crochet, double crochet, and chain stitches to form the scallop shape.
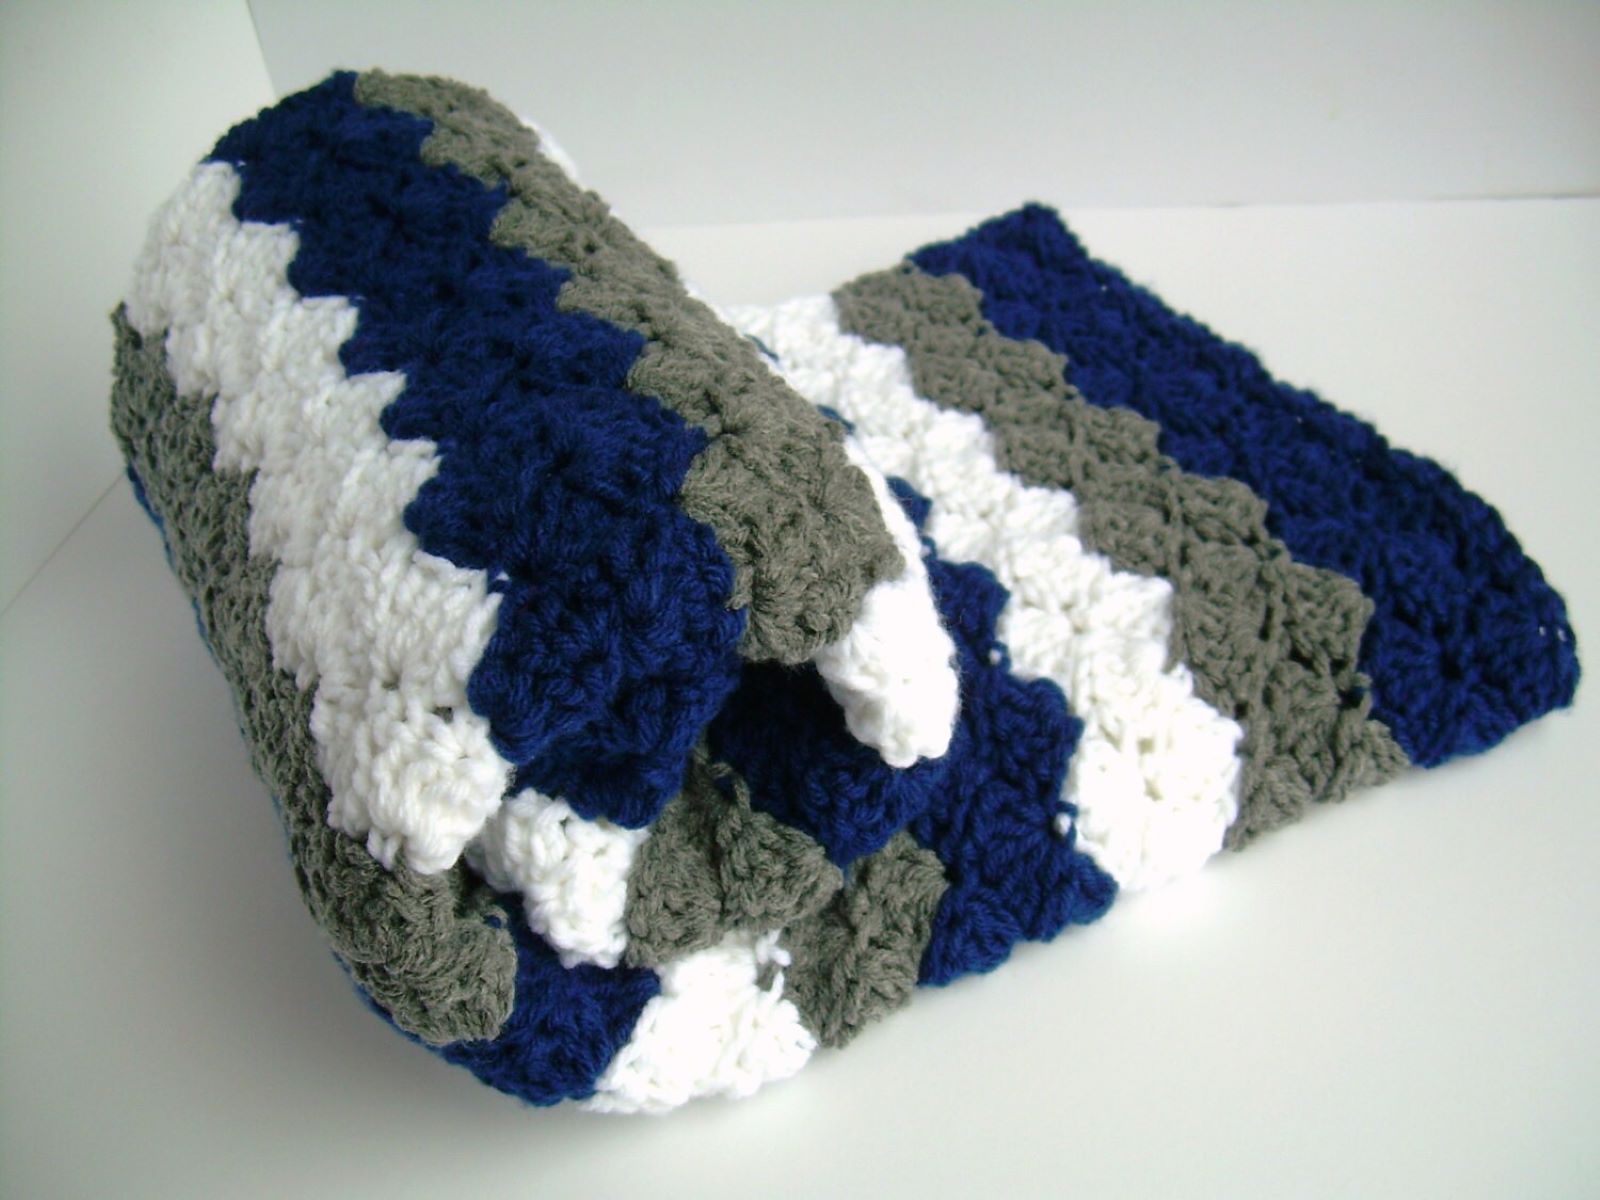
- Shell stitch edging: Shell stitch edging features clusters of stitches that resemble shells. This pattern is created by working multiple stitches into one stitch or space, creating a beautiful shell-like texture.
- Single crochet edging: If you prefer a simple and classic look, you can opt for a single crochet edging. This pattern involves working single crochet stitches evenly along the edge of the blanket, creating a clean and neat border.
These are just a few examples of the crochet edging patterns you can choose for your flannel blanket. You can explore various patterns online or in crochet pattern books to find the perfect one that matches your personal style and complements the overall look of your blanket.
Once you have decided on the crochet edging pattern, you are one step closer to adding a beautiful finishing touch to your flannel blanket.
Preparing the Blanket
Before you begin adding the crocheted edge to your flannel blanket, it’s important to properly prepare the blanket to ensure a clean and smooth surface for the crochet work. Here are the steps to prepare your blanket:
- Washing and drying: If your flannel blanket is new or hasn’t been washed recently, it’s a good idea to wash it to remove any dust or chemicals. Follow the care instructions on the blanket’s label, and use a gentle cycle with mild detergent. After washing, tumble dry it on a low heat setting or let it air dry.
- Ironing (optional): If you want your blanket to have a crisp and neat appearance, you can iron it before adding the crocheted edge. Make sure to check the care instructions on the blanket, as not all flannel blankets are suitable for ironing. Use a low heat setting and iron on the reverse side of the fabric to avoid damaging the flannel.
- Folding and smoothing: Once the blanket is dry, fold it neatly and smooth out any wrinkles or creases. This will help you have a straight and even edge to work with when adding the crochet border. Take your time to ensure the blanket is well-folded and free from any bumps or uneven areas.
By following these steps, you will have a clean and well-prepared flannel blanket ready for the crocheting process. Now you can move on to adding the beautiful crochet edge to your blanket and giving it a personalized touch.
When adding a crocheted edge to a flannel blanket, be sure to use a large enough crochet hook to easily work through the fabric. It’s also helpful to pre-punch holes along the edge of the blanket to make the crocheting process smoother.
Adding the Crocheted Edge
Now comes the exciting part – adding the crocheted edge to your flannel blanket! Follow these step-by-step instructions to achieve a stunning and professional-looking crocheted border:
- Starting at a corner: Choose one corner of your blanket to start adding the crochet edge. This will serve as your reference point for the entire process.
- Joining the yarn: Select your desired yarn color and join it to the corner of the blanket using a slip stitch. To do this, insert your crochet hook through a stitch or space at the corner, yarn over, and draw the yarn through both loops on your hook to create a slip stitch.
- Making the first row of stitches: Once you have joined the yarn, begin making the first row of stitches along the edge of the blanket. The type of stitch will depend on your chosen crochet edging pattern. Follow the pattern instructions and work the stitches evenly and consistently along the entire edge, maintaining a consistent tension.
- Turning the blanket and working along the side edges: Once you reach the end of the first row, turn the blanket 90 degrees clockwise to work along the side edges. Continue working the designated stitches along the side edge, making sure to space them evenly and maintain a straight line. Repeat this process for each side of the blanket.
- Turning the blanket and working along the remaining edges: After completing the side edges, turn the blanket 90 degrees clockwise again to work along the remaining edges. Repeat the same process of working the designated stitches evenly along each edge.
- Finishing the last row of stitches: Once you have worked along all the edges, continue crocheting until you reach the starting point at the corner of the blanket. Finish the last row of stitches according to the edging pattern you chose, ensuring that it complements the rest of the border.
Throughout the process, pay attention to tension and stitch placement to maintain a consistent and visually appealing crocheted edge. Take your time and enjoy the creative process as you watch your flannel blanket transform into a stunning and personalized piece of art.
Read more: How To Fix Uneven Edges Of A Crochet Blanket
Weaving in the Ends
After you finish crocheting the edge of your flannel blanket, there will be yarn tails left from joining and changing colors. It is important to weave in these ends to secure them and create a clean and professional finish. Here’s how to weave in the ends:
- Securing the yarn tails: To secure the yarn tails, insert the crochet hook under several stitches at the back of the work, close to where the tails emerge. Take one yarn tail and pull it through the stitches using the crochet hook. Repeat the same process with the other end, making sure both tails are securely woven in.
- Using a tapestry needle: If you prefer, you can also use a tapestry needle to weave in the yarn tails. Thread the tail onto the needle, then carefully pass the needle through the back of the crocheted stitches, going back and forth to secure the yarn. Make sure the yarn is hidden and does not show through the front of the blanket.
Weaving in the ends not only creates a neat and finished look but also ensures that the yarn tails won’t unravel or come loose with use. By taking the time to properly secure the ends, you can be confident that your crocheted edge will stand the test of time.
Final Touches
Once you have added the crocheted edge to your flannel blanket and woven in the ends, there are a few final touches you can consider to further enhance the overall appearance and durability of your project:
- Blocking the blanket (optional): If you want to achieve a perfectly square shape or smooth out any slight curls in the blanket, you may choose to block it. Blocking involves dampening the blanket and gently stretching it to the desired dimensions. Lay the blanket flat on a clean surface, pinning the corners and edges with rust-proof pins. Let it dry completely before unpinning. Note that not all flannel blankets require blocking, so assess whether the blanket truly needs it before proceeding.
- Trimming any excess yarn: Take a pair of sharp scissors and carefully trim any excess yarn or loose ends that may be sticking out along the crocheted edge. This will ensure a clean and polished look.
- Inspecting the edge for any corrections: Carefully examine your crocheted edging for any mistakes or areas that need correction. If you spot any uneven stitches, missed stitches, or other imperfections, take the time to fix them. You can use a crochet hook to carefully undo stitches and rework them to achieve a smooth and consistent border.
By paying attention to these final touches, you can showcase your attention to detail and create a finished flannel blanket that you can be proud of. Take the time to step back and admire your handiwork, knowing that you have added a beautiful and personalized crochet edge to your cozy flannel blanket.
Conclusion
Adding a crocheted edge to a flannel blanket is a creative and rewarding project that allows you to showcase your crochet skills and create a unique and personalized piece. By following the steps outlined in this article, you can transform a simple flannel blanket into a stunning and cozy masterpiece.
Starting with the materials needed, which include a flannel blanket, crochet hook, yarn, scissors, and tapestry needle, you can gather everything necessary for the project. Choosing a crochet edging pattern, such as lace, scalloped, shell stitch, or single crochet, adds a decorative touch to the blanket and allows you to customize the design to suit your style.
Before beginning the crochet work, it’s important to prepare the blanket by washing and drying it, ironing (if desired), and folding and smoothing it to create a clean and even surface. Once the blanket is ready, you can start adding the crocheted edge by joining the yarn at a corner and working the first row of stitches along the edges.
Turning the blanket and working along the side and remaining edges allows you to complete the crochet border, giving the blanket a finished look. After finishing the last row of stitches, weave in the ends using a crochet hook or tapestry needle to secure the yarn tails and create a neat appearance.
For the final touches, you can consider blocking the blanket to achieve a square shape and smooth out any curls, trimming any excess yarn to ensure a clean edge, and inspecting the edge for any corrections that may be needed.
With these steps completed, you will have a beautifully crocheted flannel blanket with a personalized edge that adds charm and character. Whether you keep the blanket for yourself or gift it to someone special, it is sure to be treasured and cherished for years to come.
So gather your materials, embrace your creativity, and enjoy the process of adding a crocheted edge to your flannel blanket. Let your imagination run wild as you design a border that reflects your unique style, and revel in the joy of transforming a simple blanket into a work of art.
Frequently Asked Questions about How To Put A Crocheted Edge On A Flannel Blanket
Was this page helpful?
At Storables.com, we guarantee accurate and reliable information. Our content, validated by Expert Board Contributors, is crafted following stringent Editorial Policies. We're committed to providing you with well-researched, expert-backed insights for all your informational needs.
