Articles
How To Put Up Picture Frames
Modified: October 18, 2024
Learn how to put up picture frames with our helpful articles. Discover tips and step-by-step guides for hanging frames like a pro.
(Many of the links in this article redirect to a specific reviewed product. Your purchase of these products through affiliate links helps to generate commission for Storables.com, at no extra cost. Learn more)
Introduction
Putting up picture frames may seem like a simple task, but if not done correctly, it can lead to crooked and unstable displays. Whether you’re decorating a new home, renovating your existing space, or simply looking to spruce up your walls, knowing how to properly put up picture frames is essential. With the right tools and techniques, you can transform a blank wall into a captivating gallery of cherished memories, artwork, or decorative pieces.
In this article, we will guide you through the step-by-step process of hanging picture frames, ensuring they are securely mounted and perfectly aligned. From gathering the necessary supplies to adjusting and leveling your frames, we will cover all the crucial aspects to help you achieve professional-looking results. So, roll up your sleeves, grab your hammer and nails, and let’s get started!
Key Takeaways:
- Transform blank walls into captivating galleries by following these expert steps for hanging picture frames. Achieve professional results with precision, attention to detail, and thoughtful consideration of visual balance and aesthetics.
- Elevate your picture frame display with final touches and considerations, including cleaning, lighting, and personalization. Create visually stunning focal points that showcase cherished memories and decorative accents.
Read more: How To Hang Up Multiple Picture Frames
Step 1: Gather Necessary Supplies
Before you begin hanging picture frames, it’s important to gather all the necessary supplies. Having everything on hand will save you time and allow for a smoother installation process. Here are the supplies you’ll need:
- Picture frames: Choose the frames you want to hang and make sure they are in good condition.
- Wall anchors or screws: Depending on the weight of your frames and the type of wall you have, you’ll need appropriate anchors or screws to securely attach them.
- Hammer or screwdriver: A hammer will be useful for driving nails, while a screwdriver will be needed to install screws or wall anchors.
- Measuring tape: Accuracy is key when it comes to hanging picture frames, so a measuring tape is essential to ensure proper placement and alignment.
- Pencil or marker: Use a pencil or marker to mark the spots where you’ll be putting screws or wall anchors.
- Level: A level will help you ensure that your frames are straight and aligned correctly.
- Protective gloves and eyewear: It’s always a good idea to protect your hands and eyes during any DIY project.
By gathering all these supplies beforehand, you’ll be prepared to tackle the hanging process without any hiccups.
Step 2: Choose the Right Location
Choosing the right location for your picture frames is crucial for creating an aesthetically pleasing display. Consider the following factors when selecting a spot:
- Visibility: Determine which area of your wall can showcase your picture frames effectively. Consider the room’s layout, lighting, and any other elements that might enhance or detract from the display.
- Eye level: Hang your frames at eye level or slightly above to ensure they can be easily viewed and appreciated. This is typically around 57 to 60 inches from the floor.
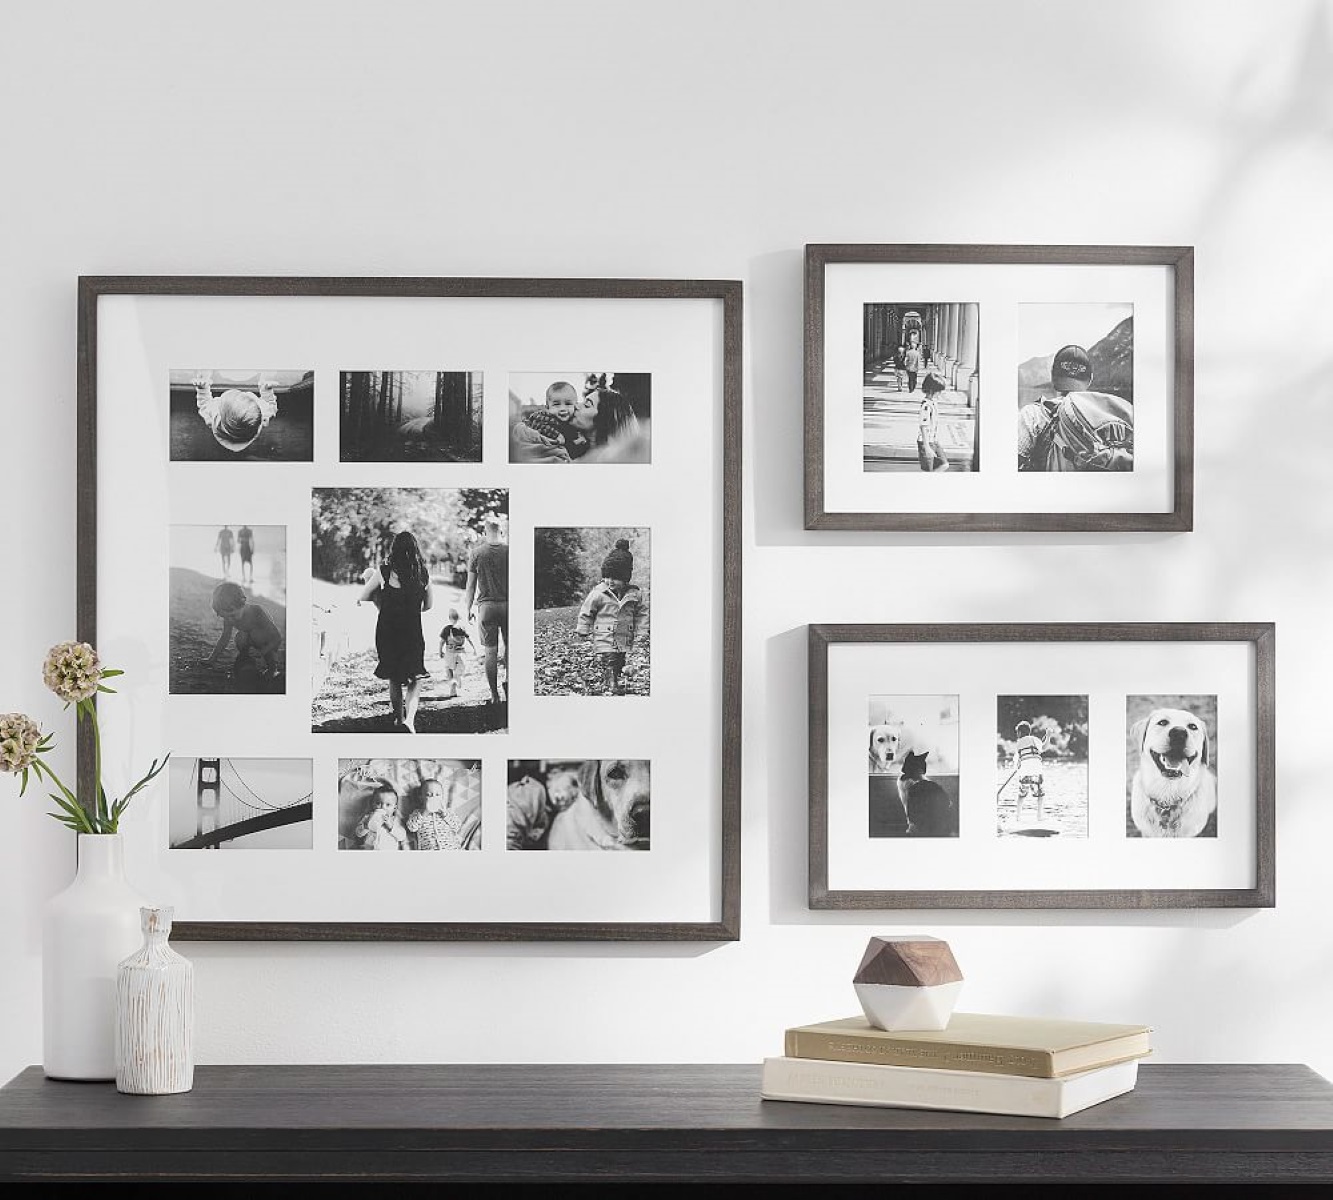
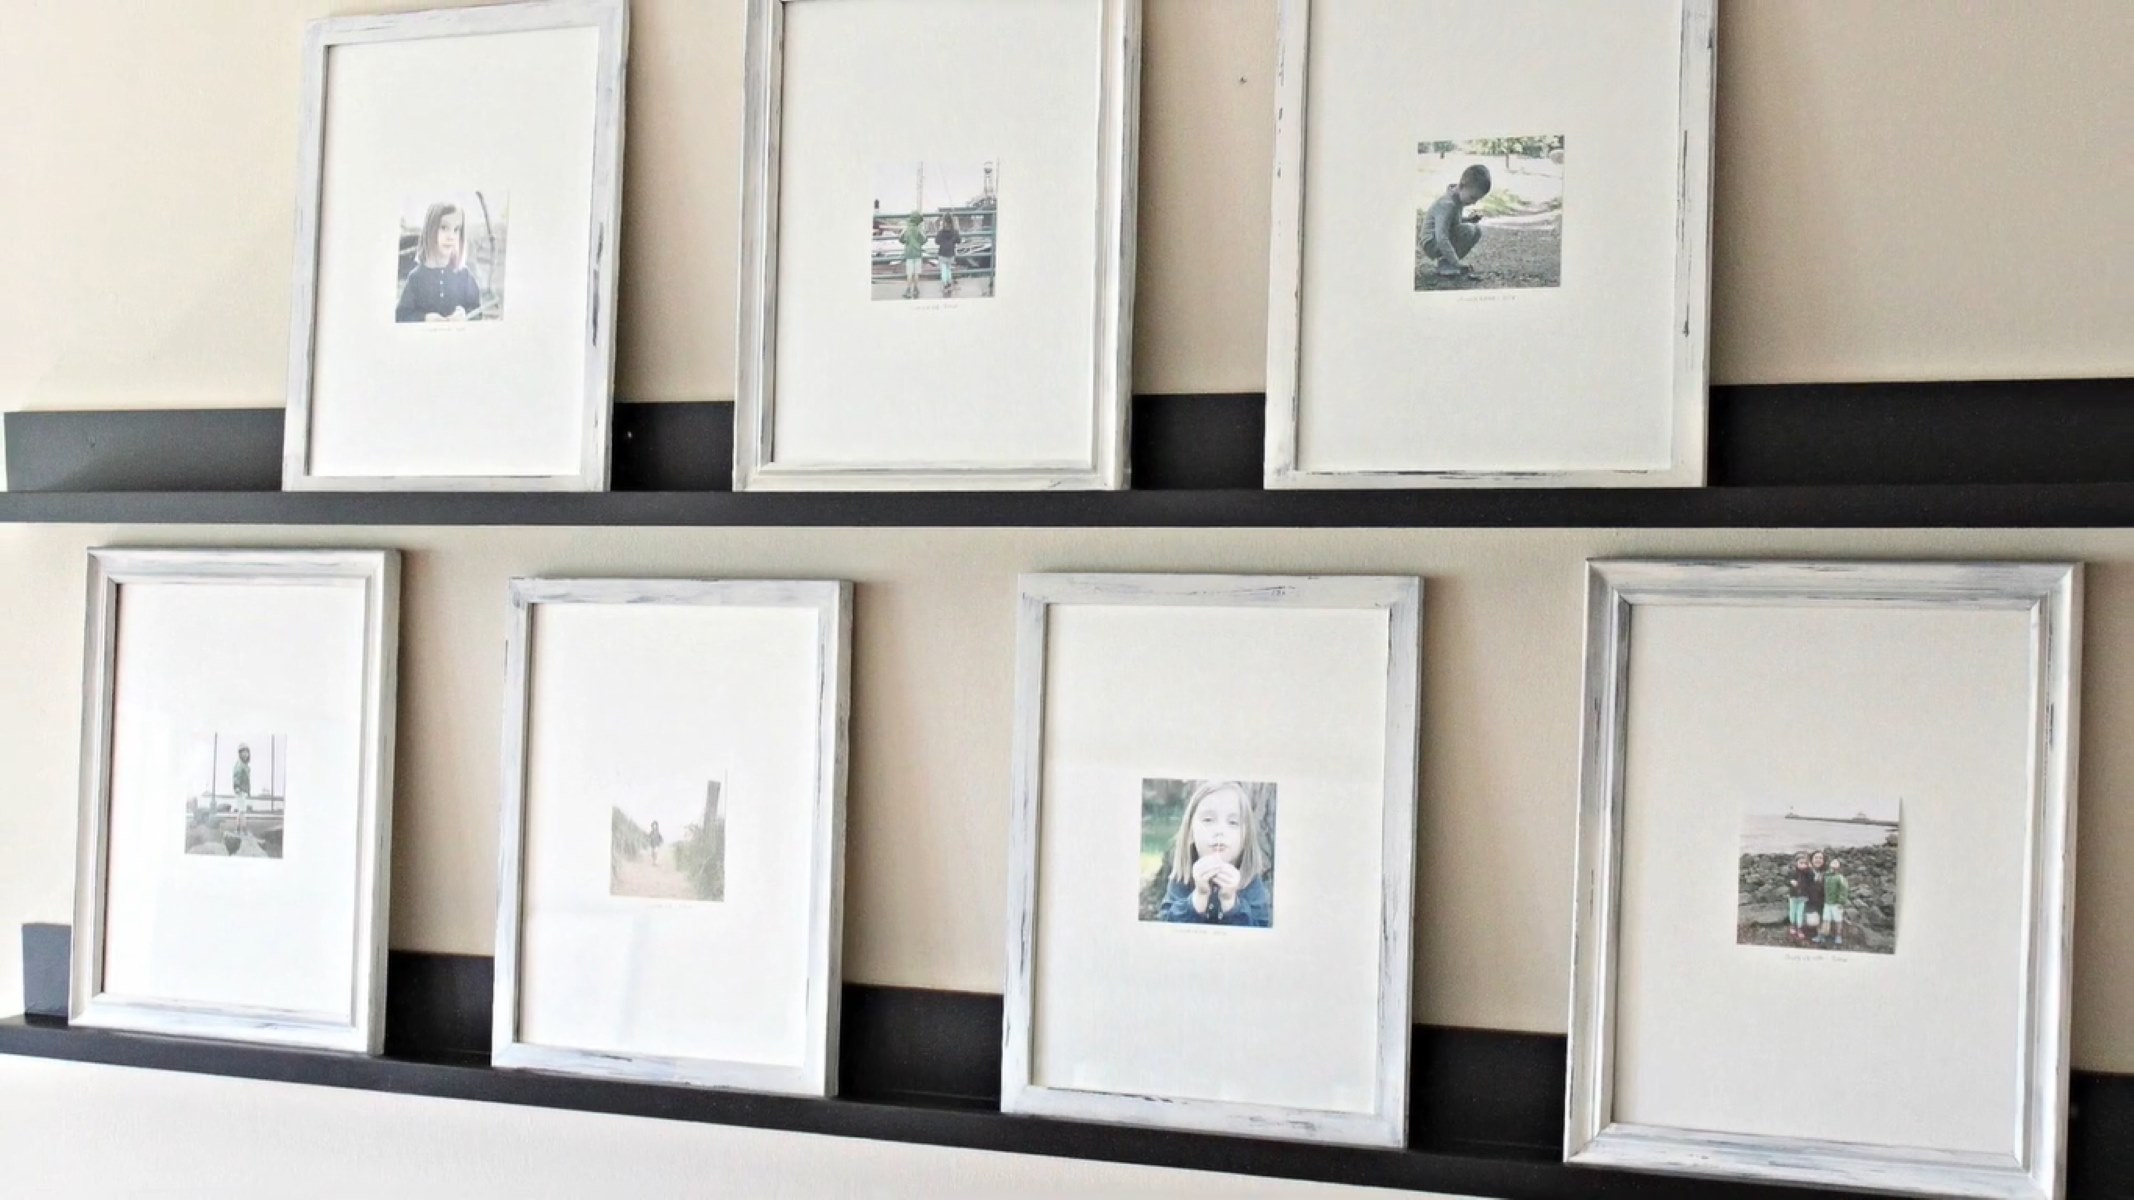
- Spacing: Plan the spacing between frames to achieve a balanced and visually appealing arrangement. Keep in mind that you can create symmetry by aligning frames horizontally, vertically, or in a grid pattern.
- Wall type: Different walls require different hanging methods. Be aware of the type of wall you’re working with, whether it’s drywall, plaster, or a different material. This will help you determine the appropriate hanging hardware.
- Weight considerations: If you have heavier frames or artwork, make sure the chosen location can support their weight. Consider using additional wall anchors or seeking professional advice to ensure your frames are securely mounted.
- Adjacent elements: Take into account any furniture, fixtures, or architectural details near your chosen location. You want to ensure that the frames complement the overall aesthetic of the space.
By carefully considering these factors, you’ll be able to select the perfect location to showcase your picture frames and create a visually pleasing display.
Step 3: Determine the Placement
Once you have chosen the general location for your picture frames, it’s time to determine their specific placement within that area. Follow these steps to ensure a well-balanced and visually appealing arrangement:
- Outline the area: Use painter’s tape or a string to create an outline of the space where you plan to hang your frames. This will give you a visual reference and help you determine the desired dimensions of the display.
- Lay out the frames: Lay out your frames on the floor or a large table to experiment with different arrangements. Play around with different positions, angles, and orientations to find the most pleasing arrangement.
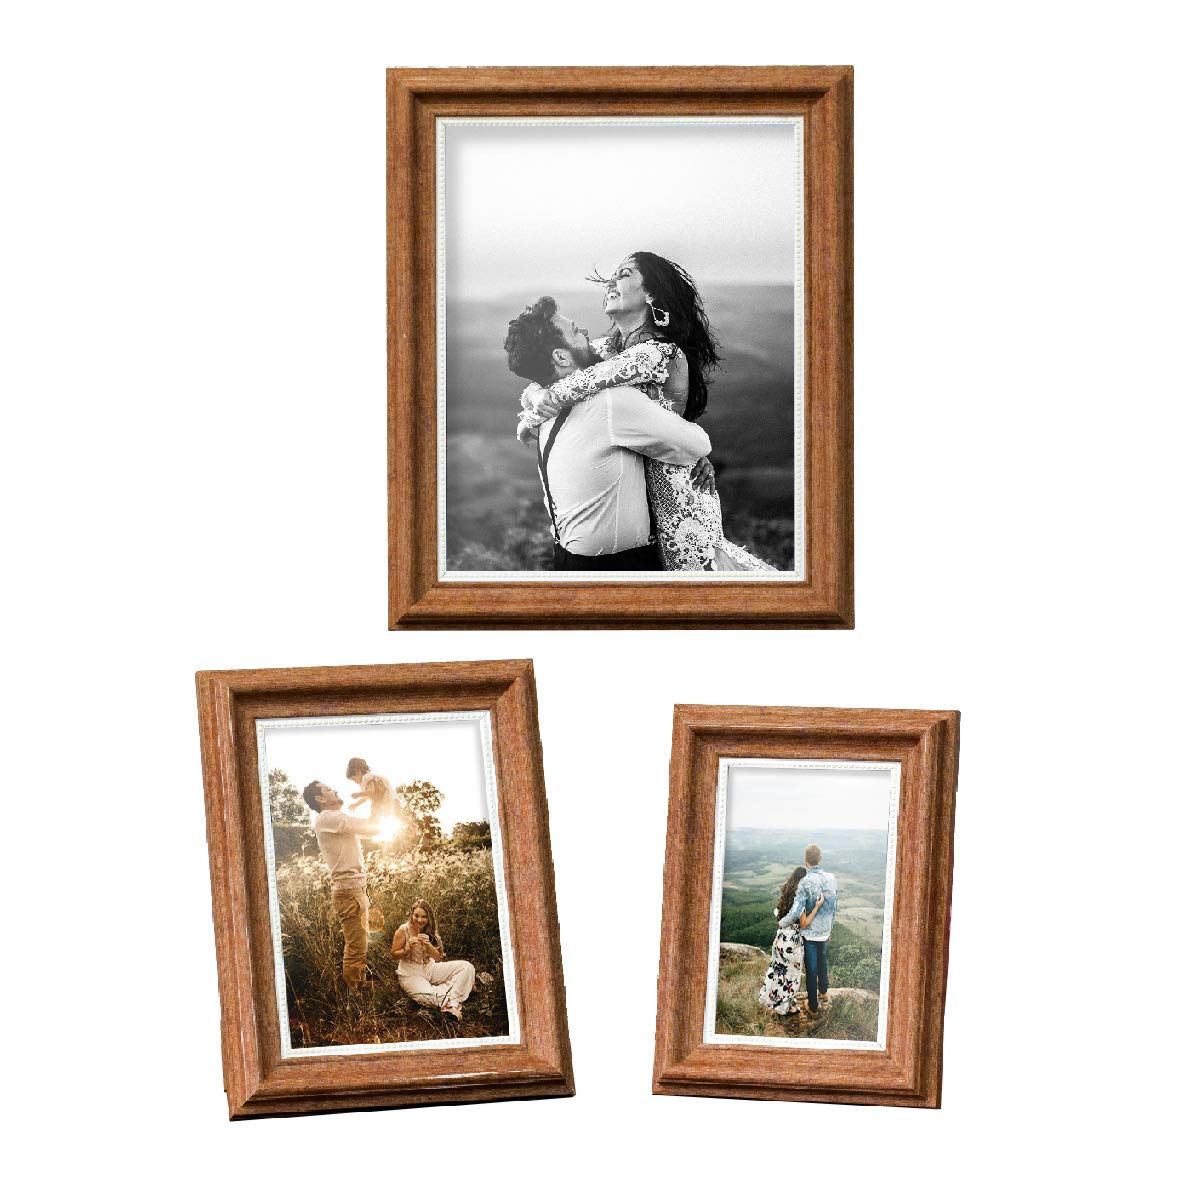
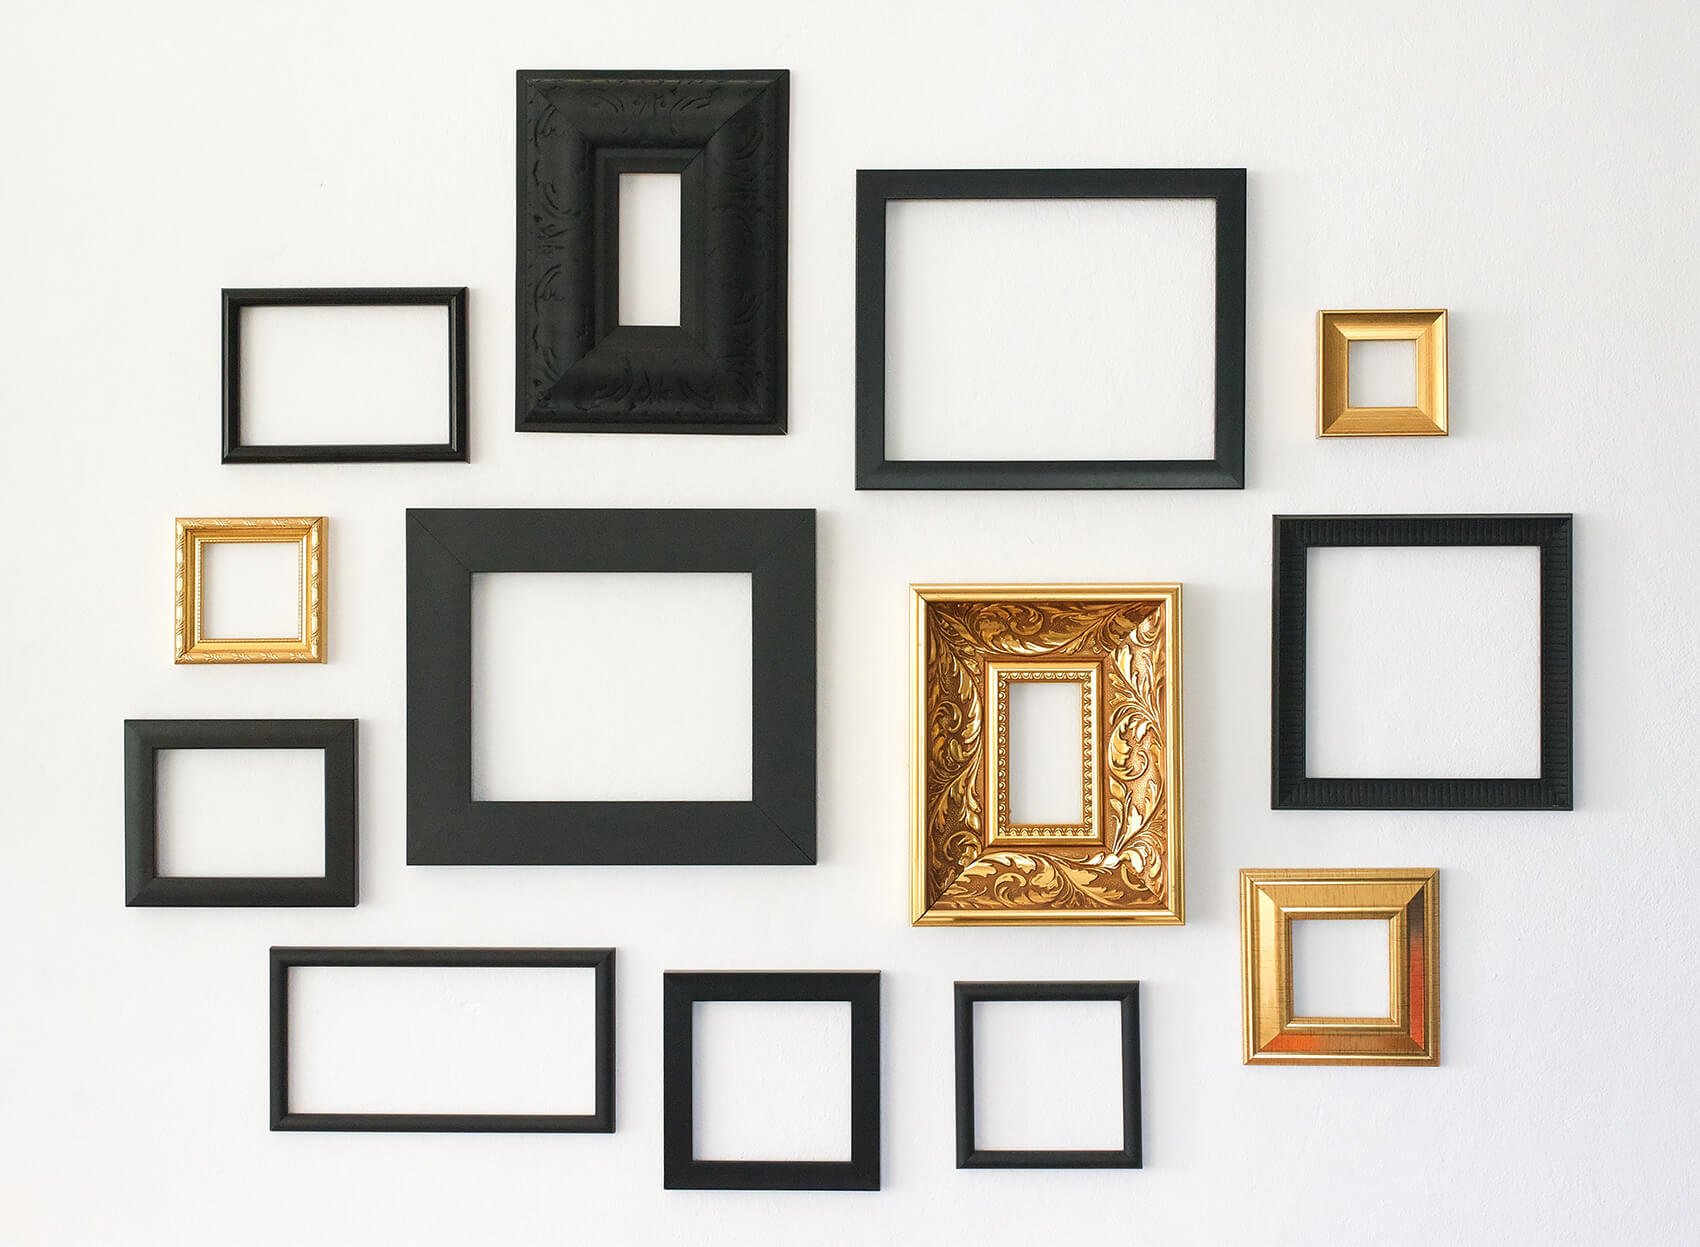
- Consider visual weight: Take into account the visual weight of each frame, which refers to its perceived heaviness or lightness. Larger frames, frames with bold colors, or frames with intricate details may have greater visual weight. Distribute the frames in a way that creates visual balance across the display.
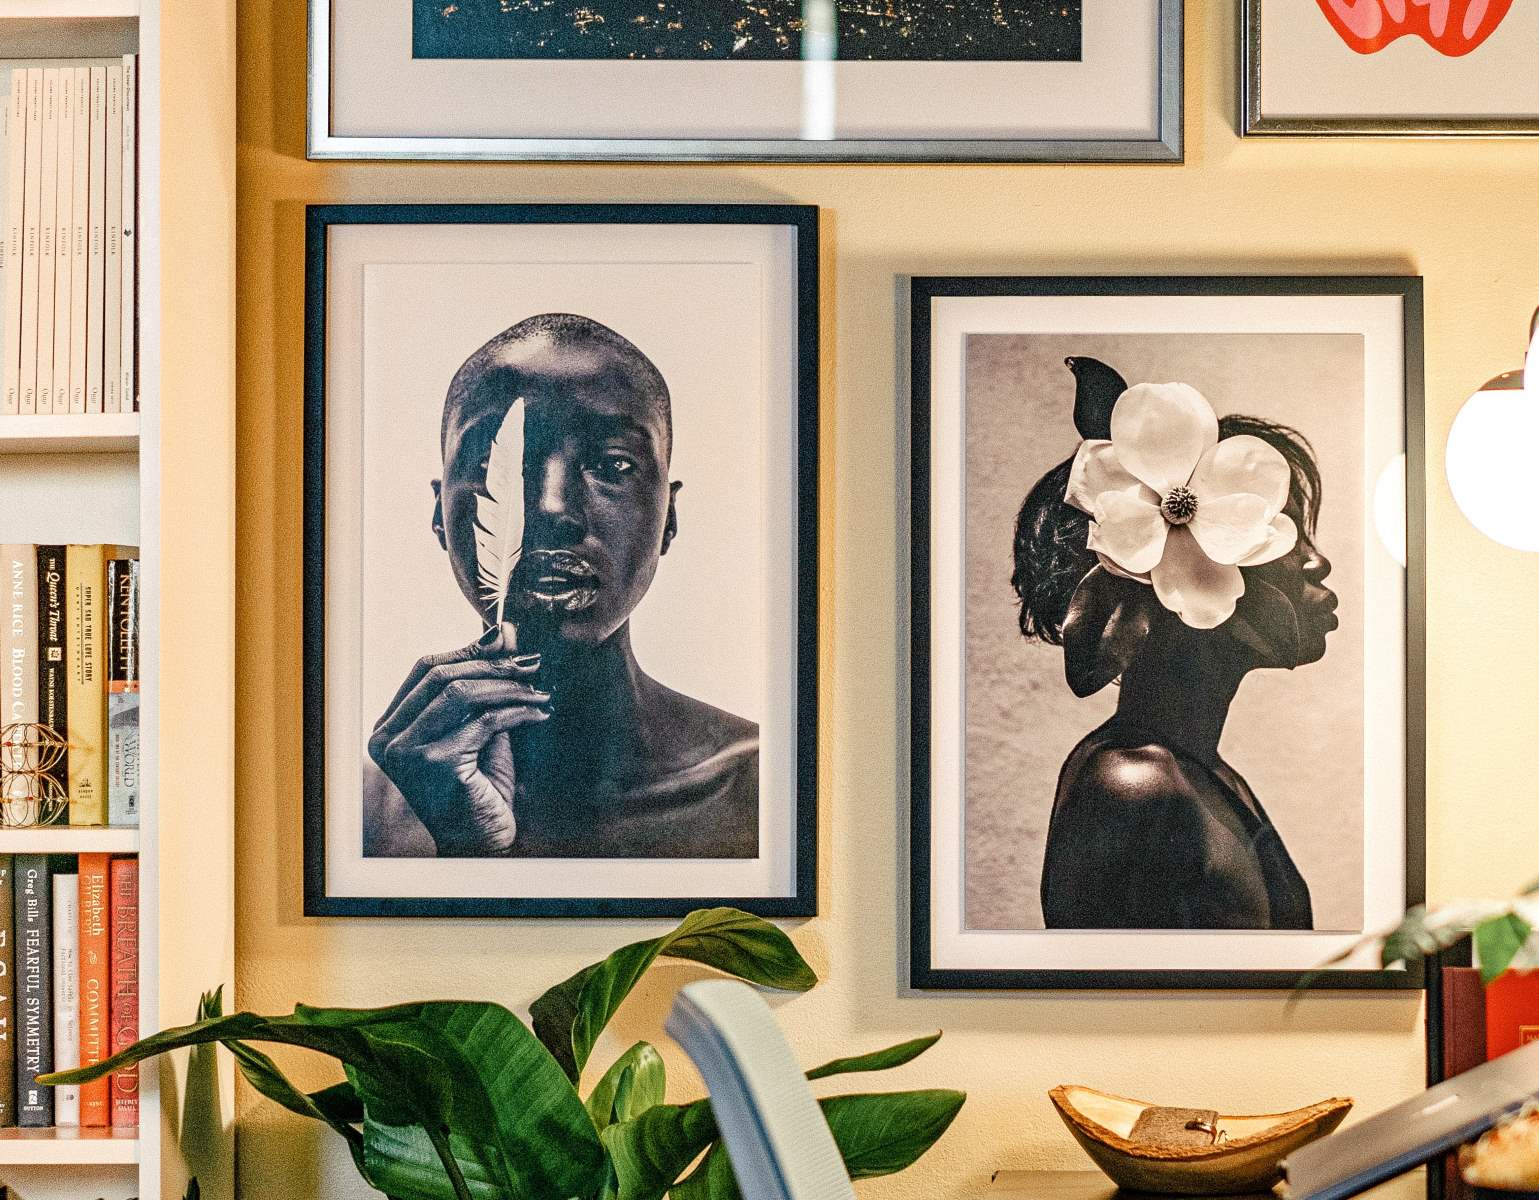
- Create focal points: Consider creating one or more focal points within the arrangement by placing larger or more eye-catching frames in strategic positions. These focal points will draw attention and add interest to the overall display.
- Leave room for expansion: If you plan on adding more frames in the future, ensure that your initial placement allows for the addition of new frames without disrupting the overall arrangement.
Take your time during this step to experiment with different layouts and find the arrangement that best suits your style and preferences. Once you have determined the placement, you’ll be ready to move on to the next steps of hanging your picture frames.
Step 4: Measure and Mark
Measurements and markings are crucial for ensuring accurate placement and alignment of your picture frames. Follow these steps to measure and mark the desired locations:
- Measure the wall space: Use a measuring tape to measure the height and width of the outlined area where you will hang your frames. Take note of these measurements as they will guide you in determining the exact placement.
- Find the center: Locate the center point of the wall space both horizontally and vertically. This will serve as your starting point for hanging the frames and creating a balanced display.
- Transfer measurements: Measure the dimensions of each frame and mark the corresponding measurements on the wall. Use a pencil or marker to make small dots or lines at the desired locations.
- Double-check the alignment: Use a level to ensure that your markings are straight and aligned correctly. Adjust if needed to maintain a level and well-aligned display.
It is important to be precise with your measurements and markings to avoid any mistakes during the hanging process. Taking the time to double-check the alignment will ensure a professional and visually pleasing result.
Note: If you are hanging multiple frames in a grid pattern or a specific arrangement, it might be helpful to create a template using craft paper or cardboard. Cut out shapes to represent your frames and use them to experiment with different layouts, spacing, and dimensions on the wall before making any permanent markings.
When hanging picture frames, use a level to ensure they are straight. Measure the distance between frames for a balanced look. Use wall anchors for heavy frames.
Read more: What To Put In Picture Frames Besides Photos
Step 5: Install Hanging Hardware
Installing the proper hanging hardware is essential to securely mount your picture frames. Depending on the weight of your frames and the type of wall, you may need to use different hardware options. Follow these steps to install the appropriate hanging hardware:
- Choose the right hardware: Consider the weight of your frames and the type of wall you have. For lightweight frames and drywall, use picture hooks or adhesive hooks. For heavier frames or different wall materials, such as plaster or concrete, use wall anchors, screws, or picture hangers.
- Locate the marked spots: Refer to the markings on the wall that you made in the previous step. Align the hanging hardware with the marked spots to ensure accurate placement.
- Follow manufacturer instructions: Pay attention to the instructions provided with the hardware and follow them carefully. This will ensure the hardware is installed correctly and securely.
- Secure the hanging hardware: Install the hooks, screws, or anchors according to the manufacturer’s instructions. Make sure they are firmly attached to provide proper support for your frames.
Installing the appropriate hanging hardware will ensure that your picture frames are securely mounted and will stay in place for years to come. Take your time during this step to ensure that the hardware is installed correctly and can support the weight of your frames.
Step 6: Hang the Picture Frame
Now that you’ve prepared your wall and installed the hanging hardware, it’s time to hang your picture frames. Follow these steps to ensure a successful hanging:
- Prepare the frame: Remove any protective coverings or backings from your picture frame. Ensure that the frame is clean and free of any smudges or fingerprints.
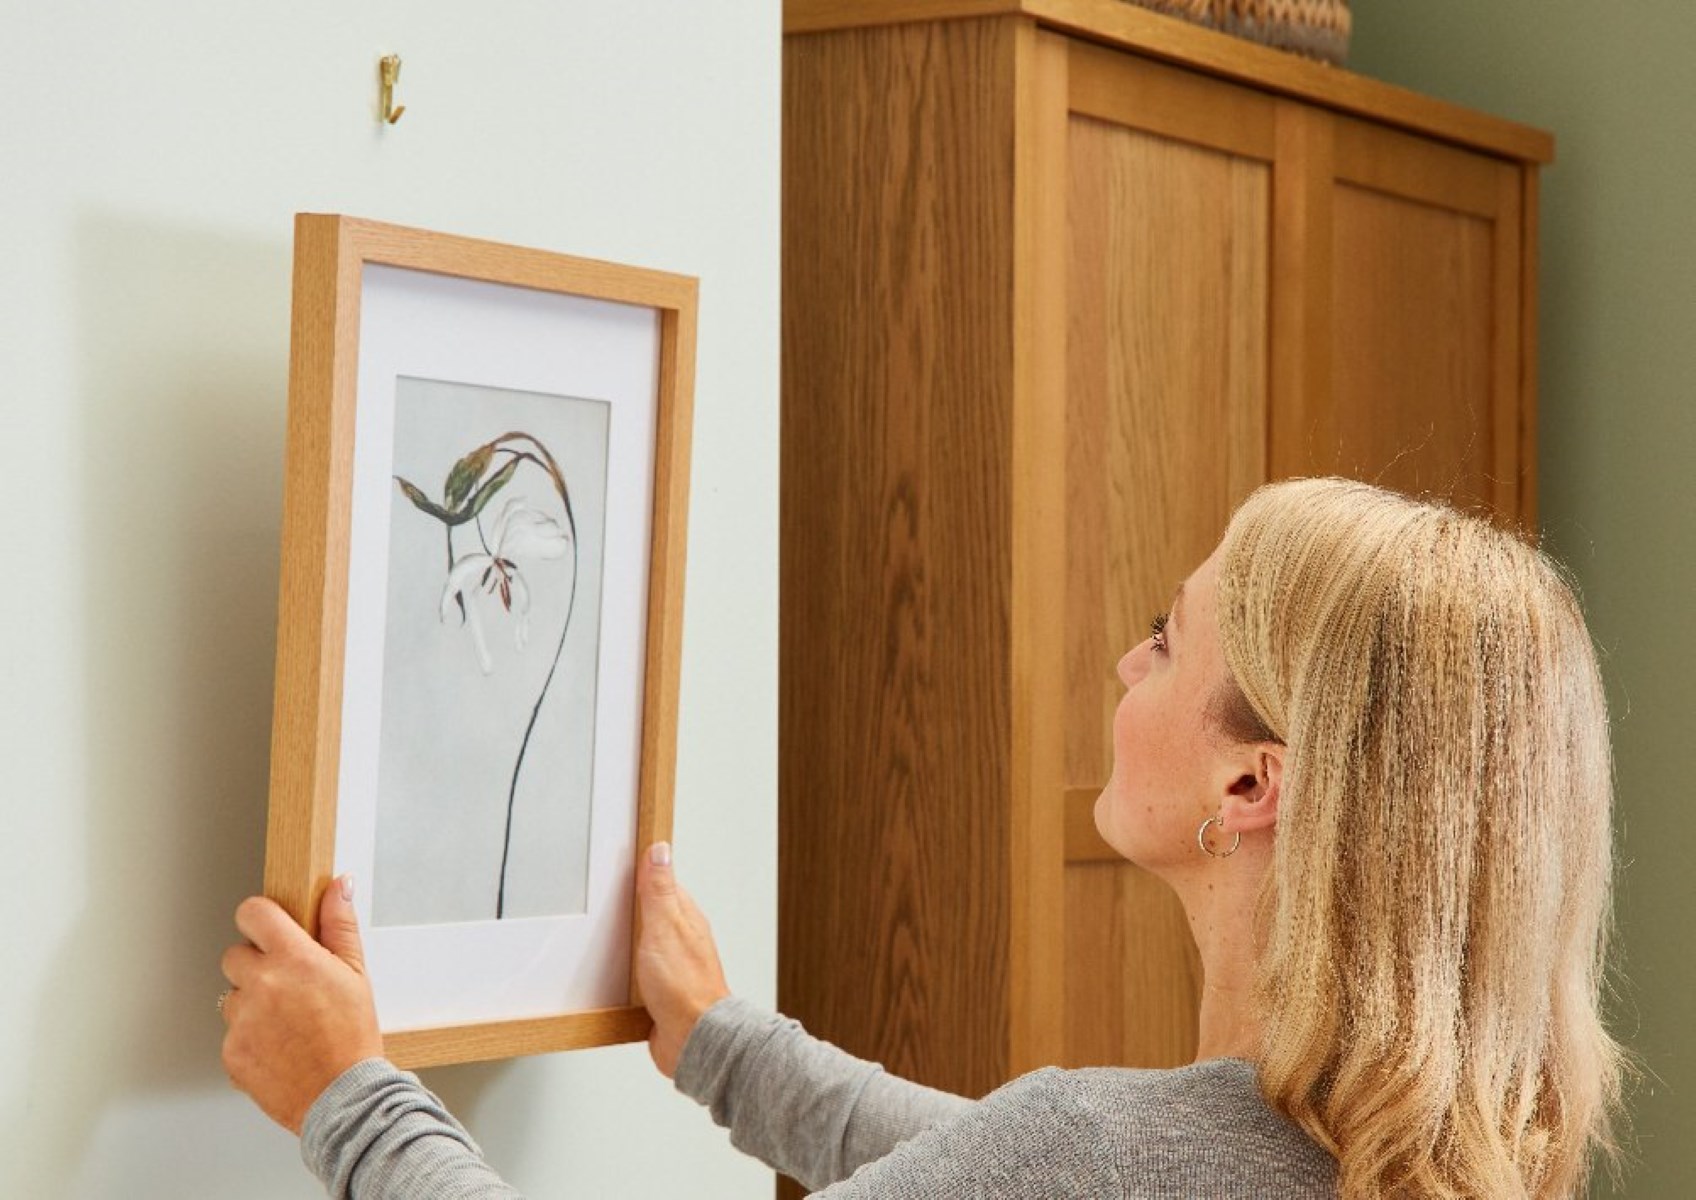
- Position the frame: Align the top of the frame with the hanging hardware. Gently lower the frame onto the hardware, making sure it is securely in place.
- Attach the frame: If you are using picture hooks or adhesive hooks, simply hang the frame onto the hooks. If you are using screws or wall anchors, use a screwdriver or drill to attach the frame to the wall.
- Double-check the alignment: Step back and observe the frame’s alignment with the markings on the wall and the adjacent frames. Make any necessary adjustments to ensure a straight and balanced display.
Take care when handling your frames to avoid any damage or accidents. Use caution when attaching the frames to the hanging hardware to prevent them from slipping or falling off the wall. If you are unsure or have heavy frames, it may be helpful to have a second person assist you during the hanging process.
Continue this process for each frame, following the same steps to hang them securely and maintain a consistent arrangement.
Step 7: Adjust and Level
After hanging your picture frames, it’s important to take the time to adjust and level them to ensure a professional and polished display. Follow these steps to make any necessary adjustments:
- Check for alignment: Step back and assess the overall alignment of your frames. Look for any frames that appear off-center or crooked.
- Make adjustments: If any frames need to be adjusted, gently lift them off the hanging hardware and reposition them accordingly. Use a level to ensure they are straight and aligned with the adjacent frames.
- Level horizontally and vertically: Use a level to check the horizontal and vertical alignment of each frame. Make small adjustments as needed to achieve a level display.
- Ensure consistent spacing: Keep an eye on the spacing between frames to ensure it remains consistent. Make any adjustments to create an even and appealing arrangement.
Take your time during this step to meticulously adjust and level each frame. It’s worth the extra effort to create a visually pleasing display that will enhance the overall aesthetic of your space.
Note: If you are hanging a large gallery wall with multiple frames, it may be helpful to use a laser level or a template to ensure accurate spacing and alignment. These tools can simplify the process and make it easier to achieve a professional finish.
Step 8: Final Touches and Considerations
As you near the completion of hanging your picture frames, there are a few final touches and considerations to keep in mind. Follow these steps to add those finishing touches:
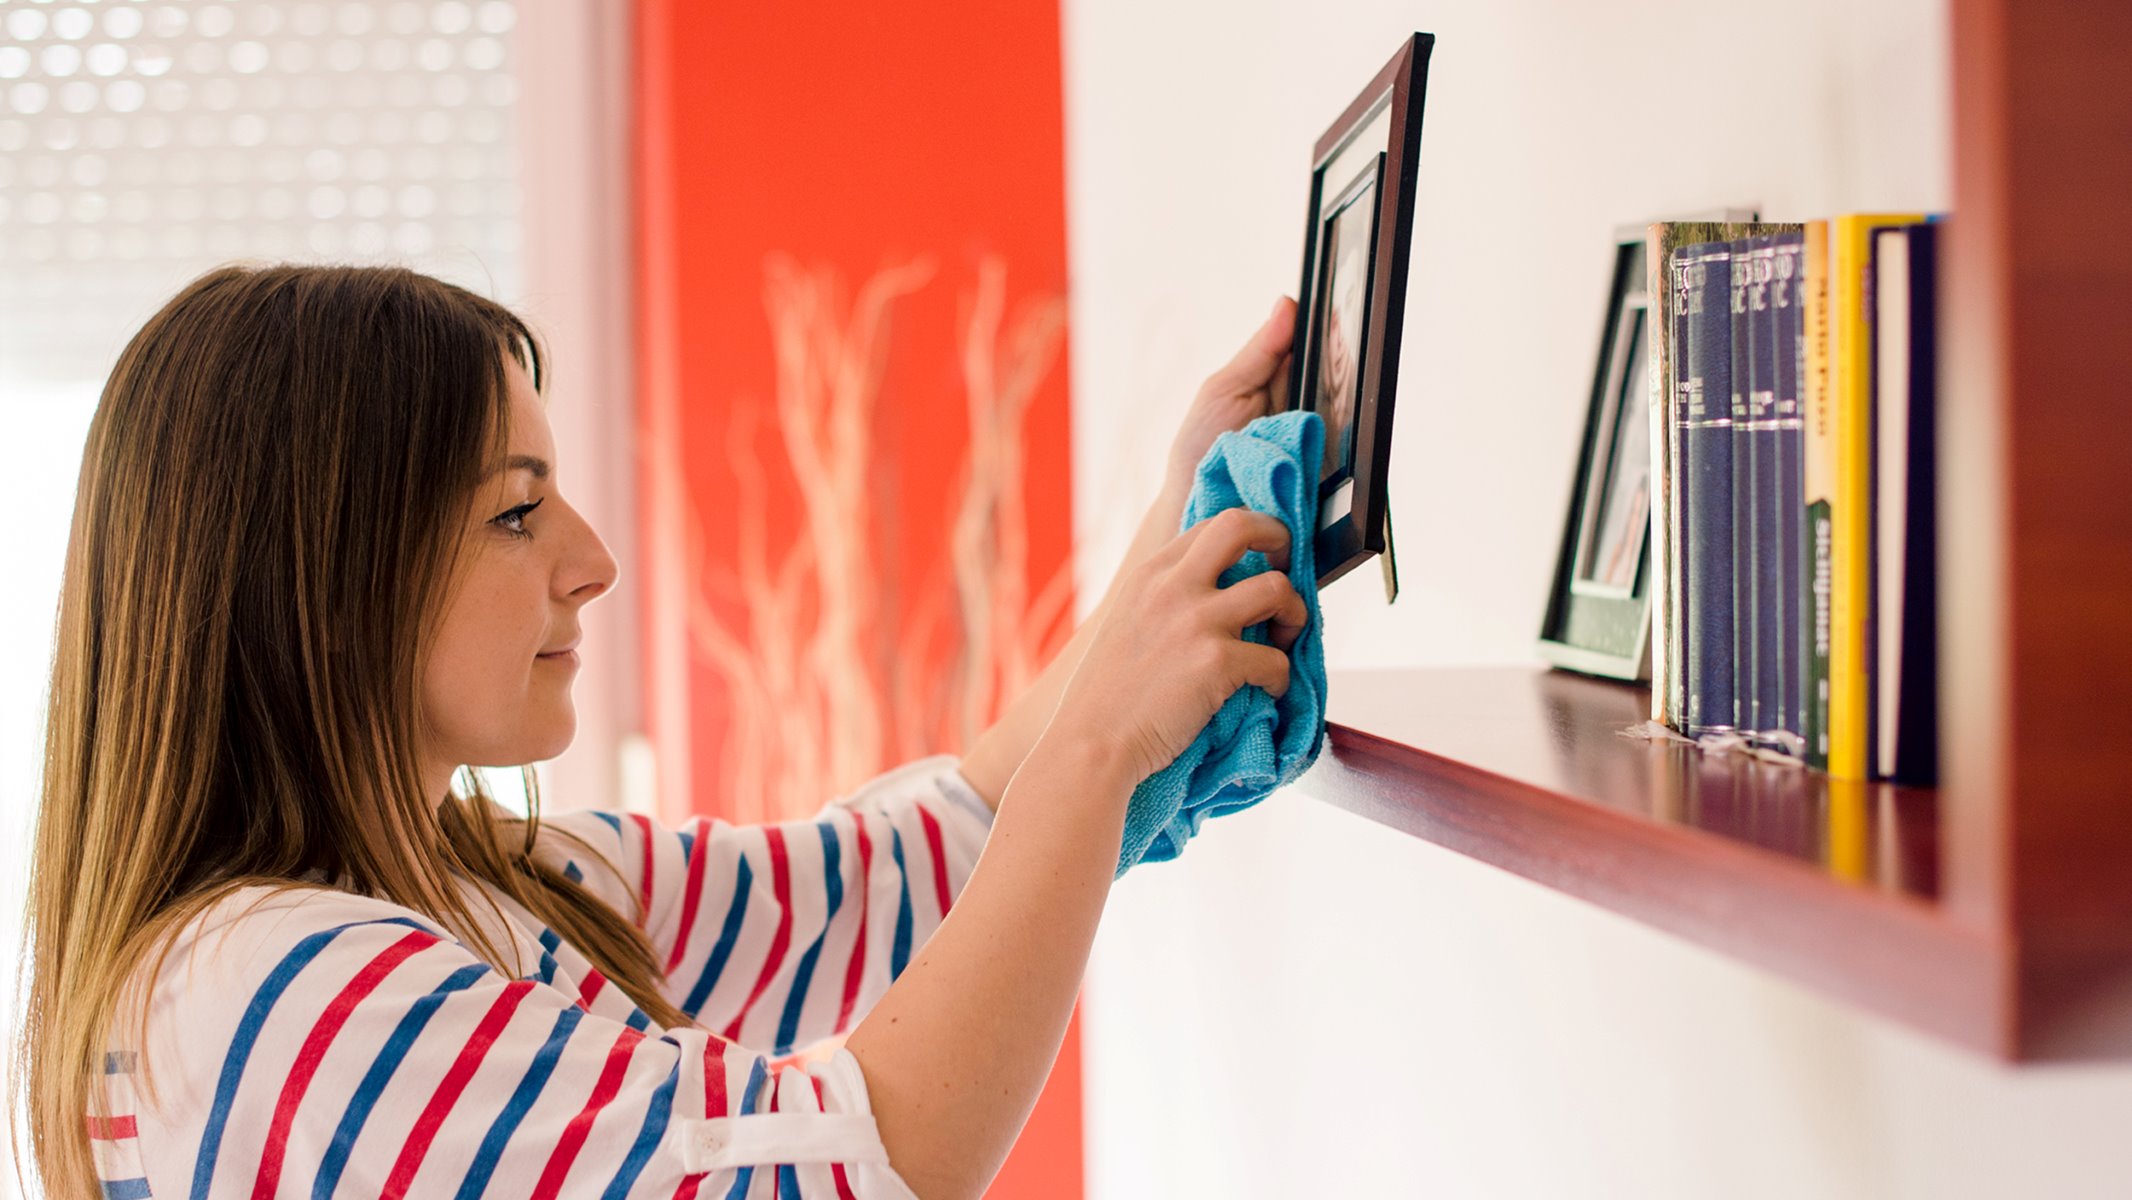
- Clean and polish: Take a moment to clean any smudges or fingerprints on the frames or glass. Use a soft cloth or cleaning solution specifically designed for picture frames to restore their shine and clarity.
- Secure loose wires or cords: If your frames have wire or cord attachments for hanging, make sure they are securely fastened and not dangling or loose. This will ensure stability and prevent any accidents.
- Consider lighting: Evaluate your display’s lighting to enhance the visual impact of your frames. Install appropriate light fixtures or adjust existing lighting to highlight your frames and create a captivating focal point.
- Regular maintenance: Keep your frames looking their best by periodically dusting them and checking for any signs of wear or damage. Address any issues promptly to maintain the longevity and integrity of your display.
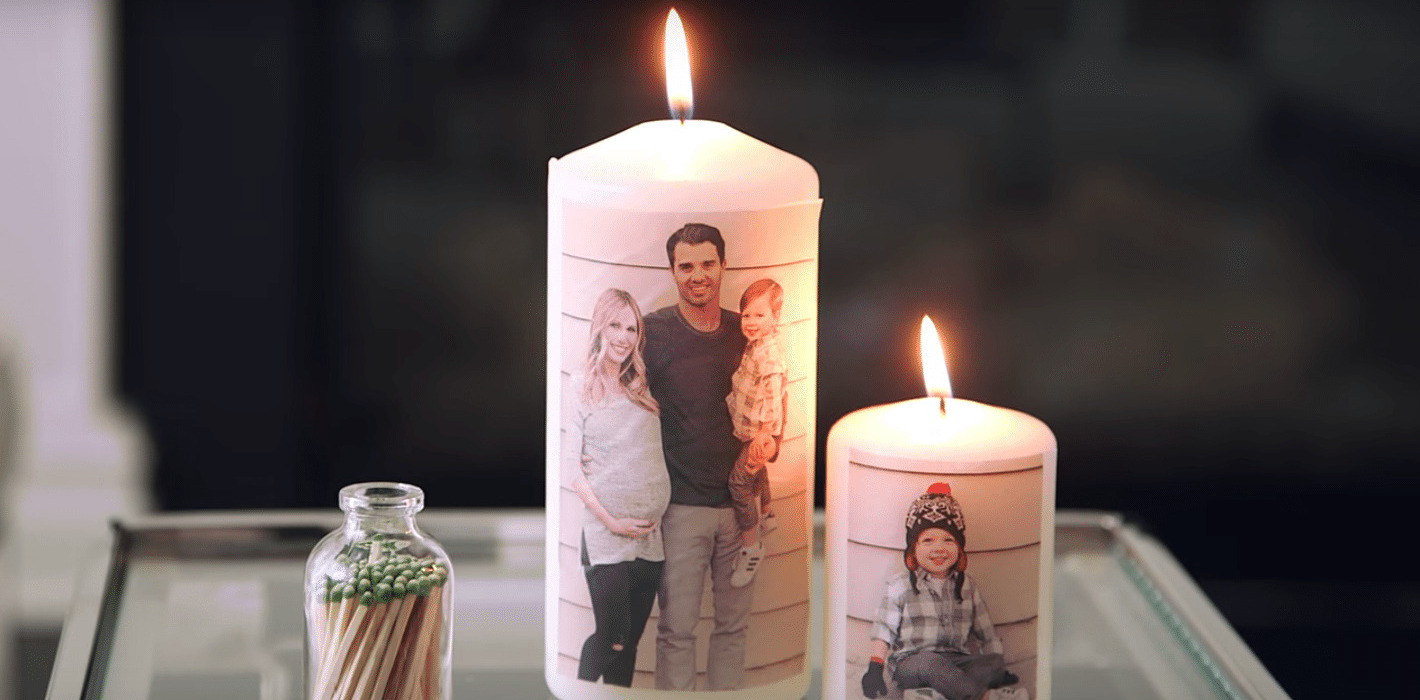
- Personalize your display: Consider adding additional elements such as decorative accents, plants, or small shelves to complement your picture frames and enhance the overall aesthetic of the display.
By paying attention to these final touches and considerations, you can elevate your picture frame display and create a visually stunning focal point in your space.
Congratulations! You have successfully learned how to put up picture frames like a pro. By following these steps and considering the tips and techniques provided, your frames will be securely hung and beautifully displayed in no time.
Read more: How To Hang Up Picture Frames Without Nails
Conclusion
Hanging picture frames can transform a blank wall into a stunning gallery of memories, art, and decorative accents. By following the step-by-step guide outlined in this article, you have learned the essential techniques and considerations for putting up picture frames like a professional.
From gathering the necessary supplies and choosing the right location, to measuring, marking, and installing the hanging hardware, every step in the process is crucial for achieving a visually pleasing and balanced display. Taking the time to adjust and level your frames and adding final touches will ensure a polished finish that enhances the overall aesthetic of your space.
Remember, precision and attention to detail are key when it comes to hanging picture frames. Careful measurement, proper alignment, and the use of suitable hanging hardware are essential for a secure and long-lasting display. Regular maintenance and consideration of lighting and personalization will help keep your frames looking their best.
So, whether you’re creating a gallery wall, displaying cherished family photos, or showcasing a collection of artwork, you now have the knowledge and confidence to put up picture frames with expertise. Enjoy the process, get creative, and let your personality shine through as you curate a beautiful and meaningful display on your walls.
Happy framing!
Frequently Asked Questions about How To Put Up Picture Frames
Was this page helpful?
At Storables.com, we guarantee accurate and reliable information. Our content, validated by Expert Board Contributors, is crafted following stringent Editorial Policies. We're committed to providing you with well-researched, expert-backed insights for all your informational needs.


0 thoughts on “How To Put Up Picture Frames”