Home>Furniture & Design>Interior Design Trends>How To Put Pictures On Glass
Interior Design Trends
How To Put Pictures On Glass
Modified: October 19, 2024
Learn the latest interior design trends and discover how to put pictures on glass to elevate your home decor. Explore creative ideas and expert tips for a stunning visual impact.
(Many of the links in this article redirect to a specific reviewed product. Your purchase of these products through affiliate links helps to generate commission for Storables.com, at no extra cost. Learn more)
Introduction
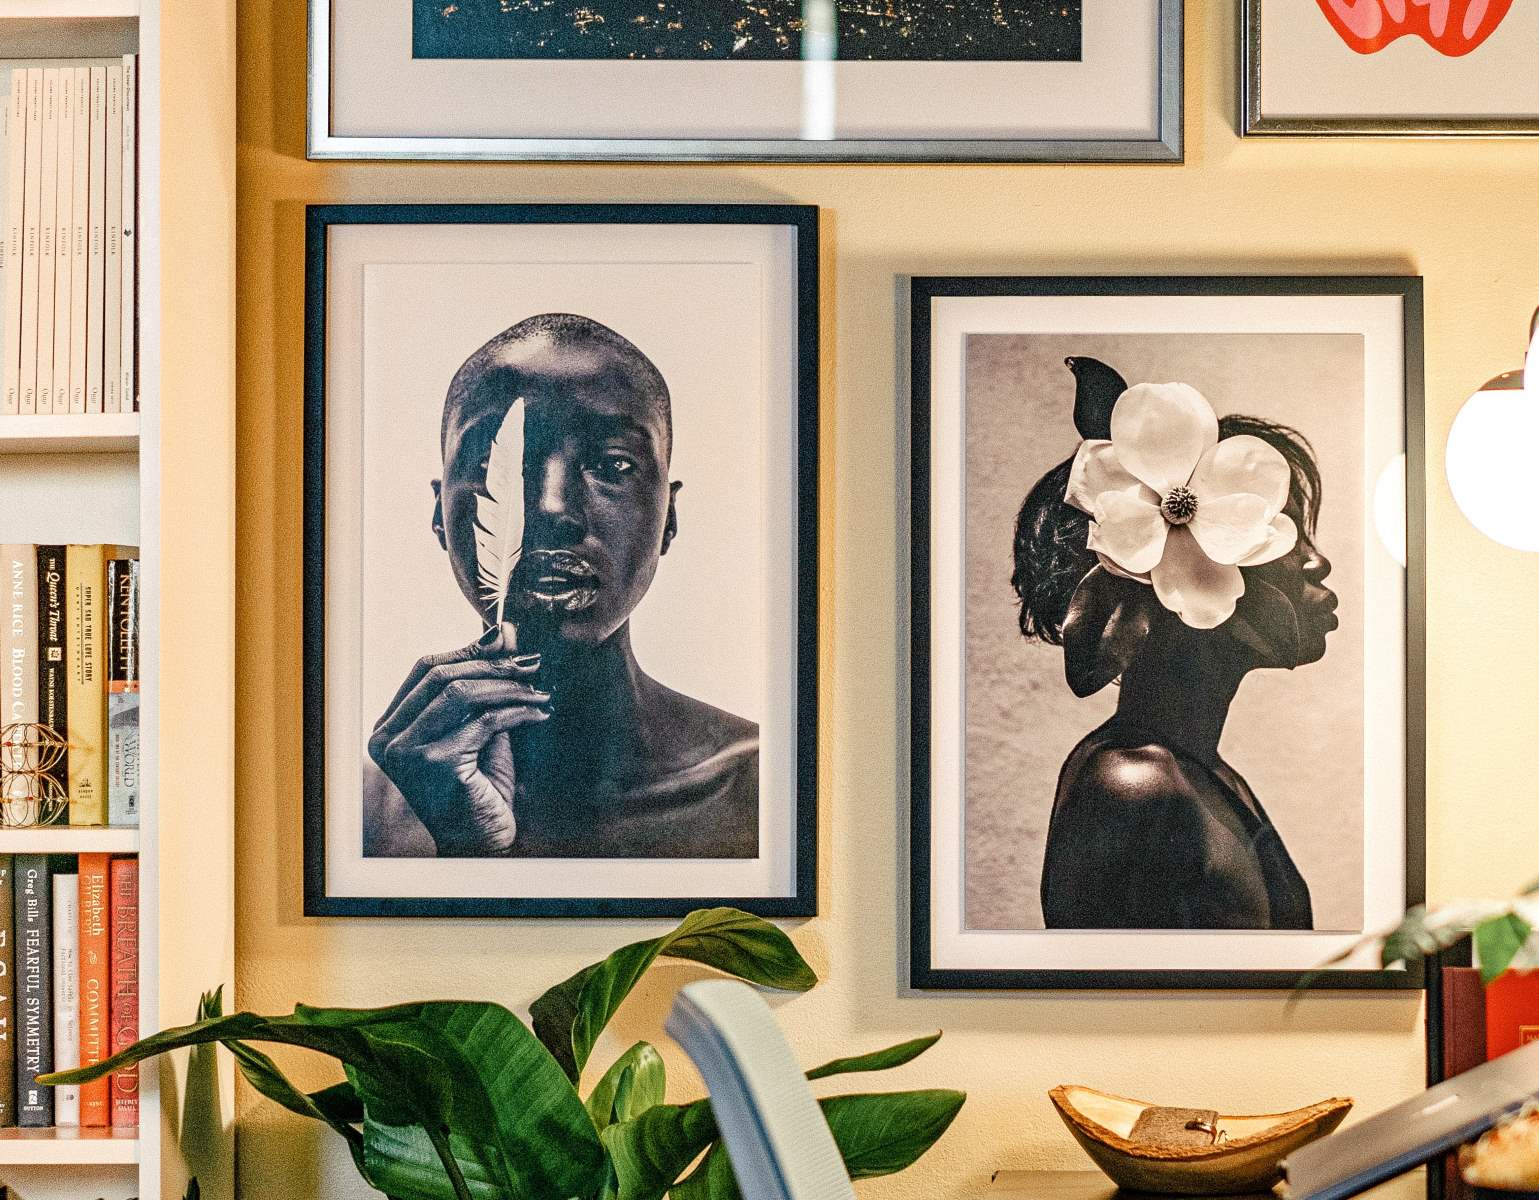
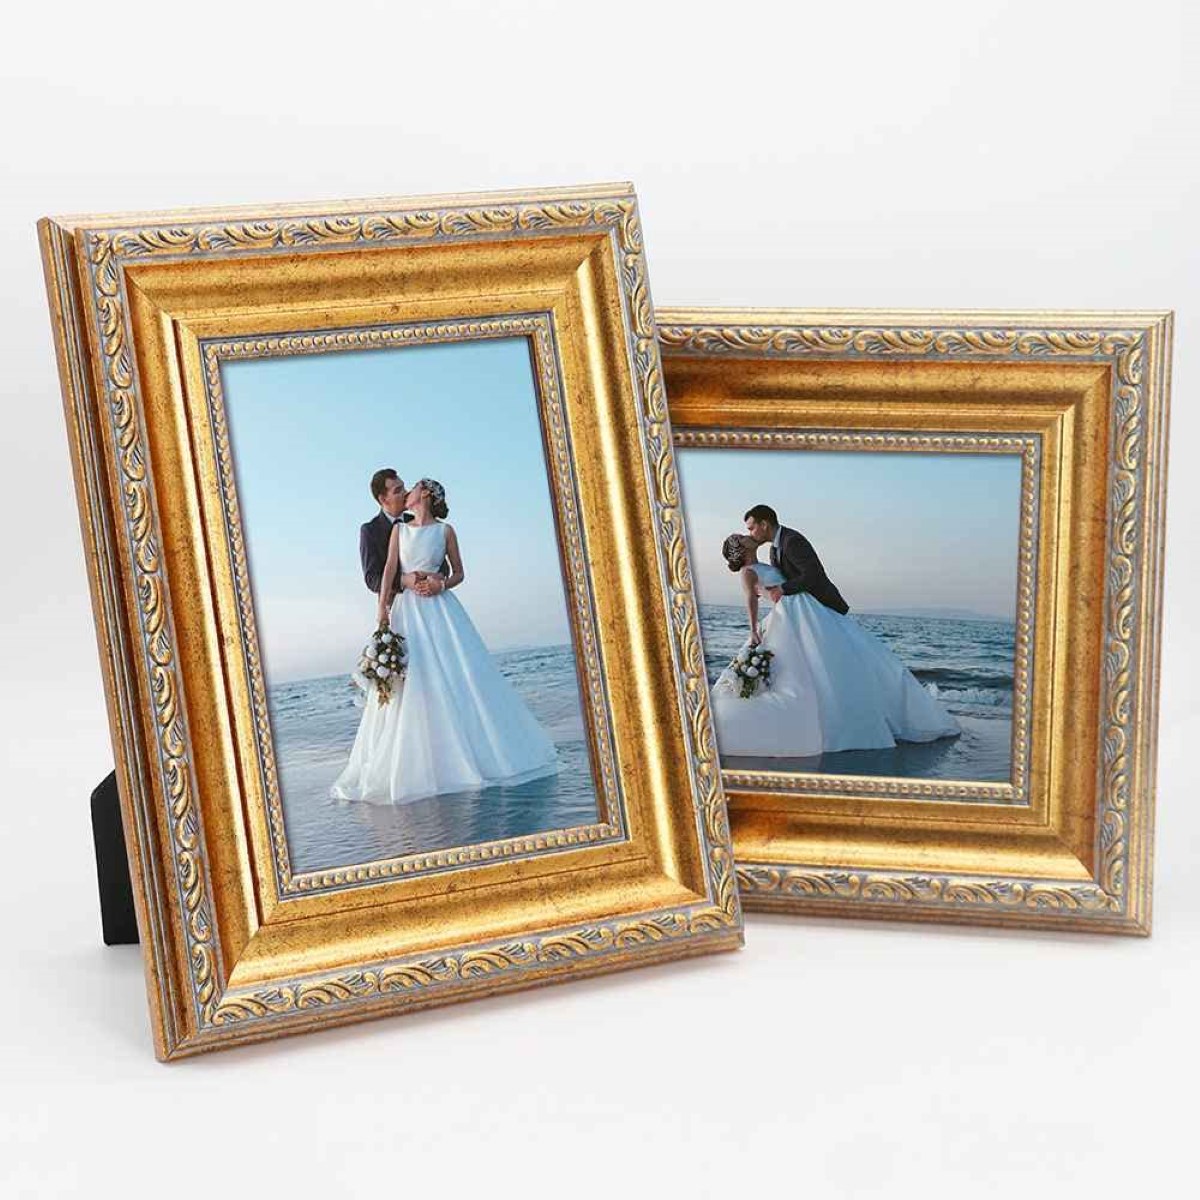
Decorating glass surfaces with pictures is a captivating way to add a personal touch to your living space. Whether you want to display cherished memories, create a unique art piece, or simply enhance the aesthetic appeal of your home, putting pictures on glass can be a rewarding and creative endeavor. This process allows you to transform ordinary glass into a stunning focal point that reflects your individual style and personality.
By carefully selecting the right type of glass and choosing the perfect images, you can create visually striking pieces that elevate the ambiance of any room. The process of adhering pictures to glass involves precision and attention to detail, but the end result is a beautiful and customized display that can become a conversation starter in your home.
In this comprehensive guide, we will explore the step-by-step process of putting pictures on glass, from selecting the appropriate type of glass to applying the images with finesse. Whether you are a seasoned DIY enthusiast or a novice looking to embark on a creative project, this guide will provide you with valuable insights and practical tips to achieve stunning results.
Let's delve into the intricacies of this artful process, where creativity meets craftsmanship, and transform ordinary glass into a captivating canvas for your cherished memories and artistic expressions.
Key Takeaways:
- Transform ordinary glass into a personalized canvas by carefully selecting the right type of glass and choosing high-quality images. This creative process allows you to showcase cherished memories and artistic expressions, adding a unique touch to your living space.
- Prepare the glass surface meticulously and apply the pictures with precision to create a visually stunning and enduring display. Adding finishing touches, such as a protective sealant and subtle embellishments, elevates the glass display into a refined work of art that enriches your home with elegance and individuality.
Read more: How To Put Pictures On Candles
Choosing the Right Glass
Selecting the right type of glass is a crucial first step in the process of putting pictures on glass. The characteristics of the glass will significantly impact the final appearance and durability of the finished piece. Here are some key considerations to keep in mind when choosing the right glass for your project:
-
Thickness: The thickness of the glass plays a vital role in determining its sturdiness and visual impact. Thicker glass, such as 1/8 inch or 1/4 inch, provides greater durability and a more substantial presence, making it suitable for larger displays or areas with higher risk of impact.
-
Clarity: Opt for glass with high clarity to ensure that the images appear vivid and true to color. Low-iron glass, which has a reduced greenish tint compared to standard clear glass, is an excellent choice for achieving optimal image clarity and color accuracy.
-
Tempering: Consider using tempered glass for projects that require enhanced safety and durability. Tempered glass is heat-treated to increase its strength and shatter resistance, making it ideal for applications where safety is a concern, such as tabletops or large wall-mounted displays.
-
Smooth Surface: Ensure that the glass has a smooth, even surface free of imperfections, such as scratches or blemishes. A flawless surface will provide the best foundation for adhering the pictures and achieving a professional-looking result.
-
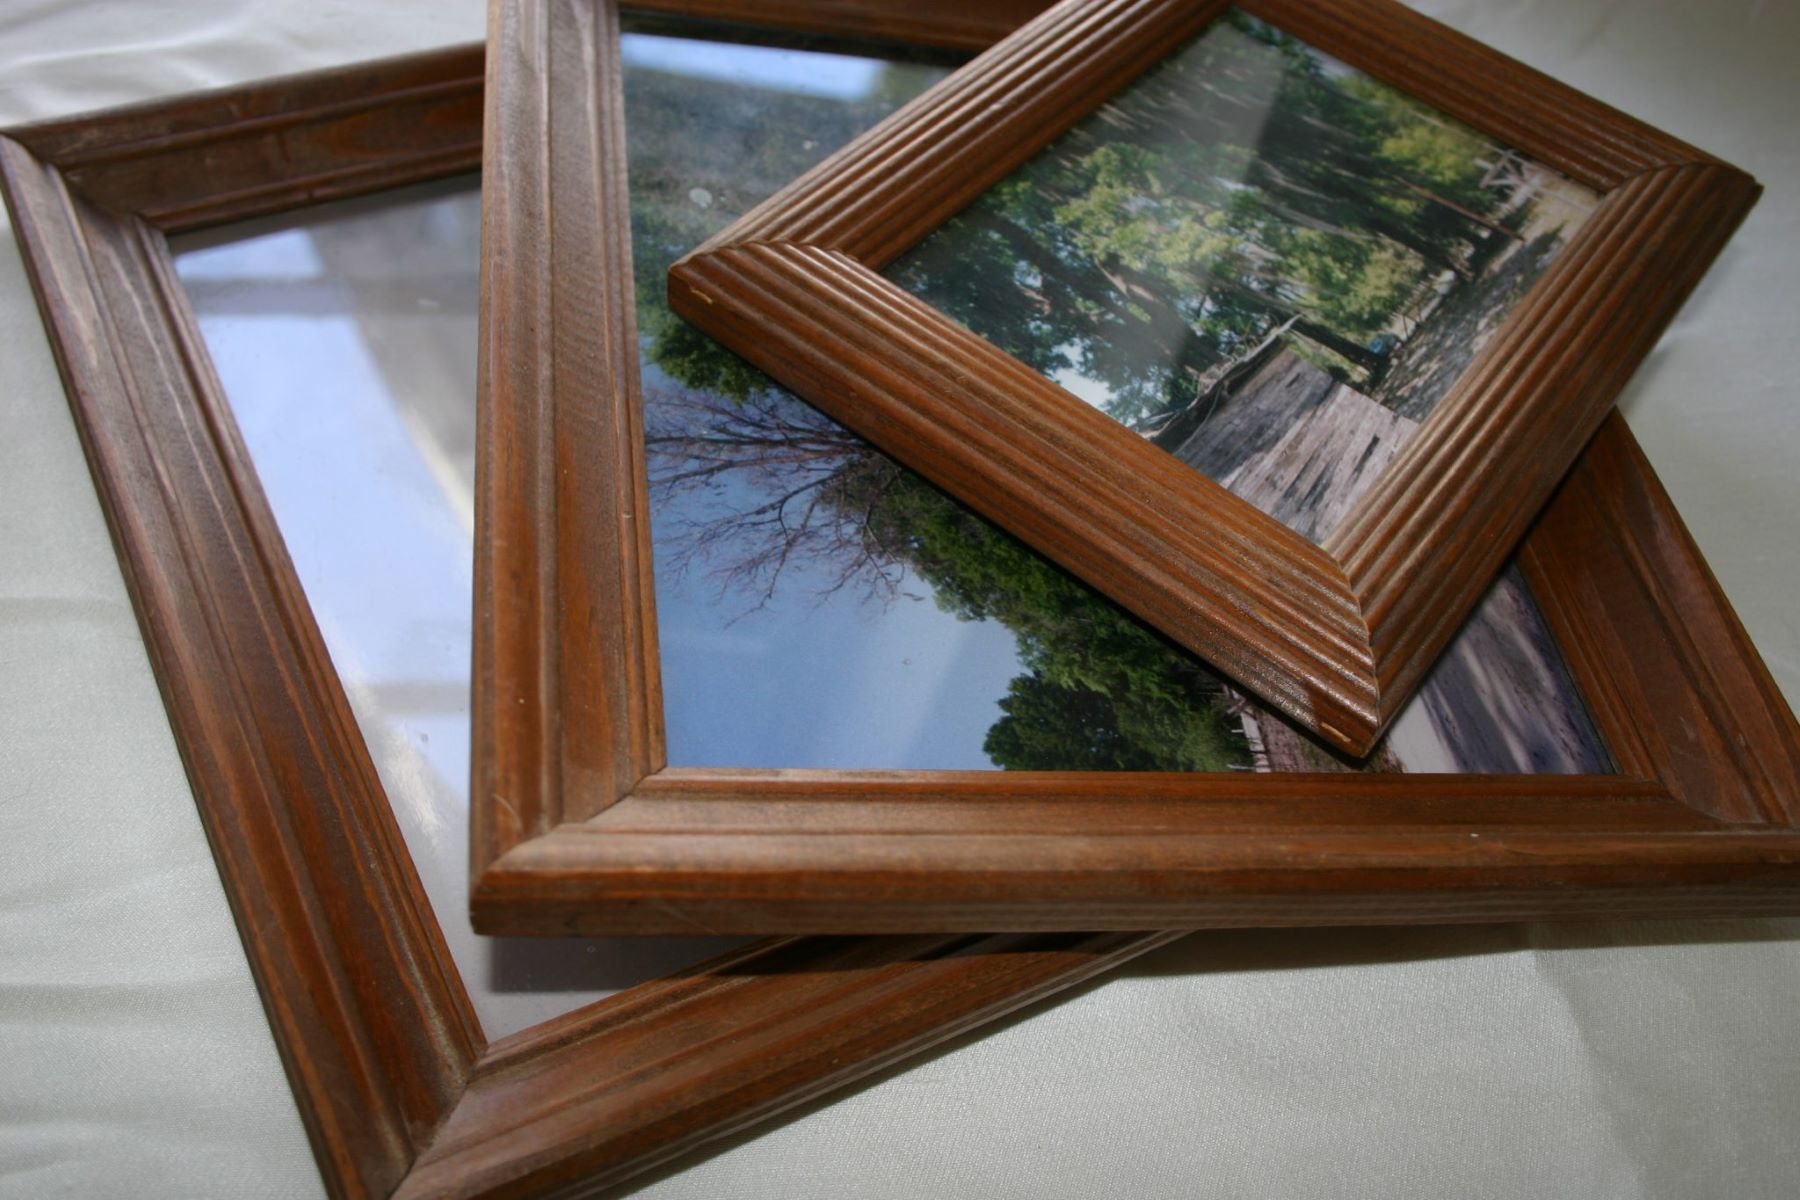
Size and Shape: Determine the desired size and shape of the glass based on the specific requirements of your project. Whether you are creating a small photo frame or a large wall-mounted display, choosing the appropriate dimensions and shape of the glass is essential for achieving the desired visual impact.
By carefully considering these factors, you can select the right type of glass that aligns with the aesthetic and functional goals of your project. The chosen glass will serve as the canvas for your pictures, providing the foundation for a visually stunning and enduring display that captures the essence of your creative vision.
Selecting the Right Pictures
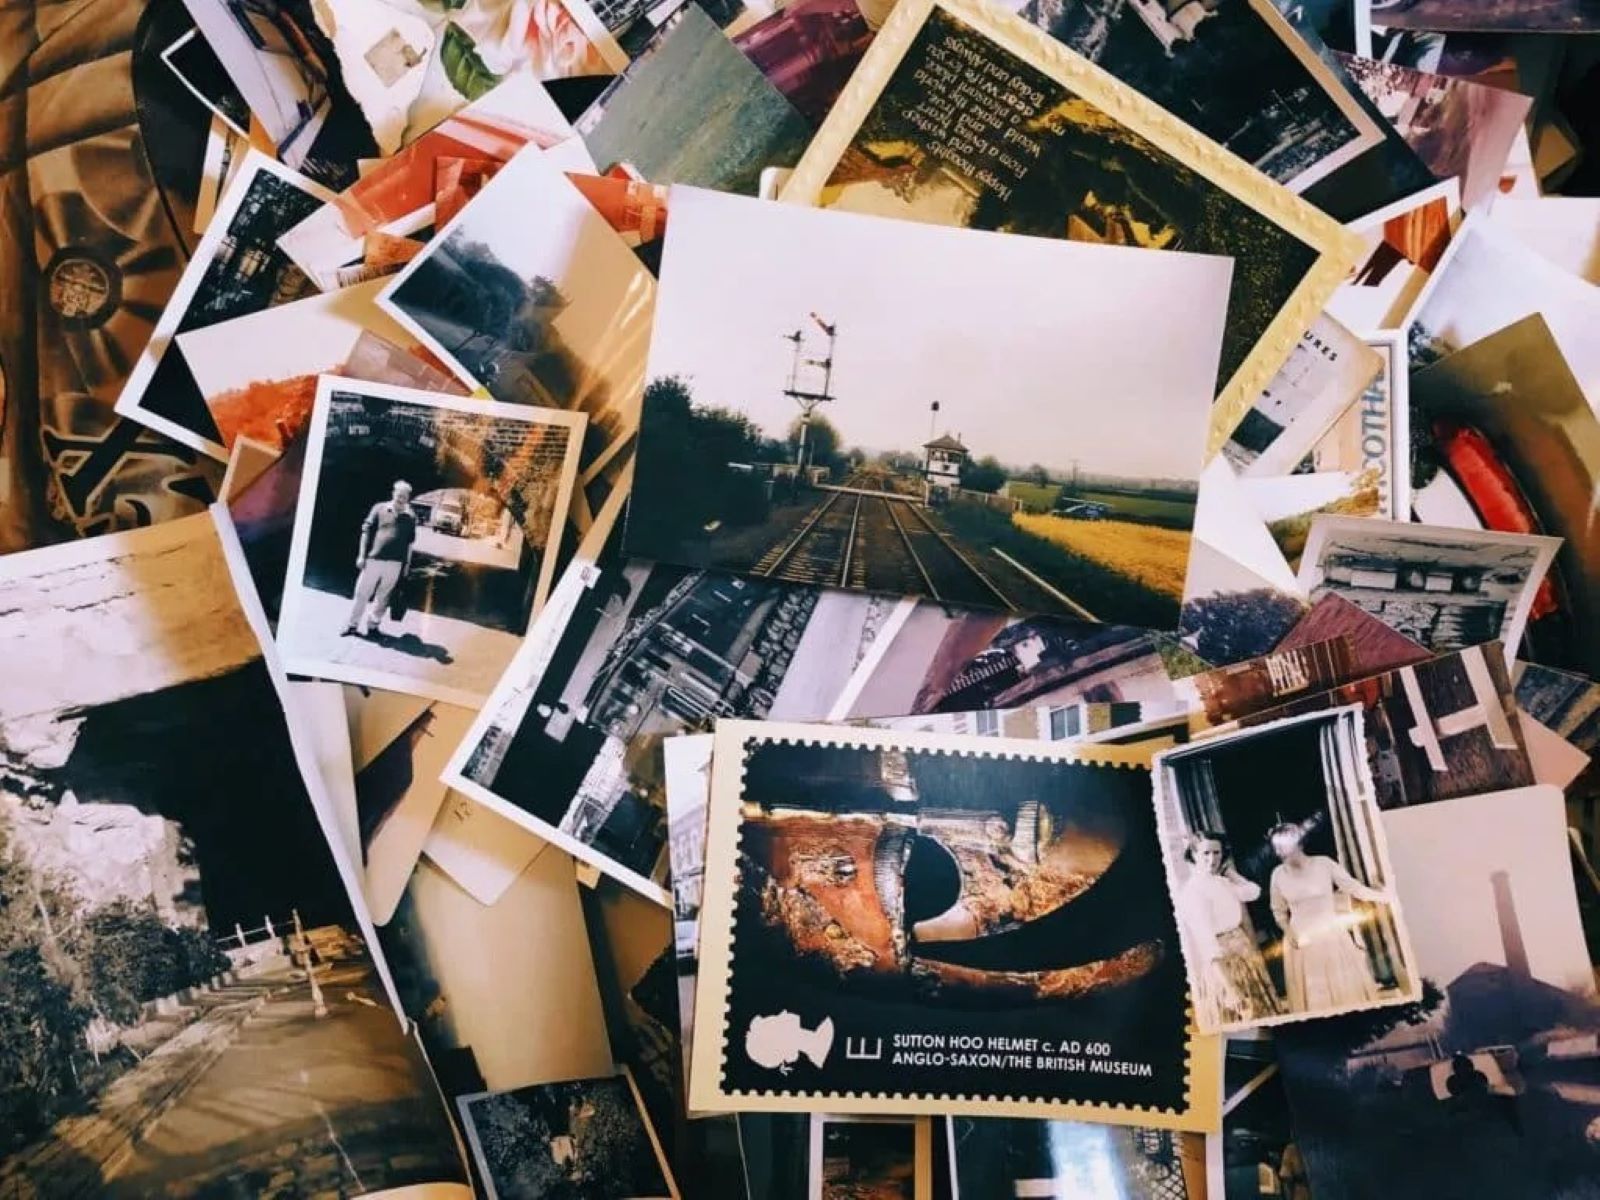
Choosing the right pictures is a pivotal step in the process of putting pictures on glass. The images you select will define the visual impact and emotional resonance of the finished piece. Whether you aim to evoke nostalgia, showcase artistic flair, or simply add a touch of elegance to your space, the selection of pictures plays a crucial role in achieving your desired outcome.
When choosing pictures for your glass display, consider the following factors to ensure a harmonious and visually compelling result:
Theme and Mood
Select pictures that align with the overall theme and mood you wish to convey. Whether you prefer a cohesive collection of family photos, captivating landscapes, abstract art, or vibrant illustrations, the chosen images should harmonize with the ambiance and purpose of the display. Consider the emotional impact and visual narrative that each picture contributes to the overall composition.
Image Quality
Opt for high-resolution images with sharp details and vibrant colors. The quality of the pictures will significantly influence the clarity and visual appeal of the final display. High-quality images ensure that the details remain crisp and the colors appear vivid when transferred onto the glass surface, resulting in a captivating and professional-looking outcome.
Read more: How To Put A Picture On A Blanket
Composition and Balance
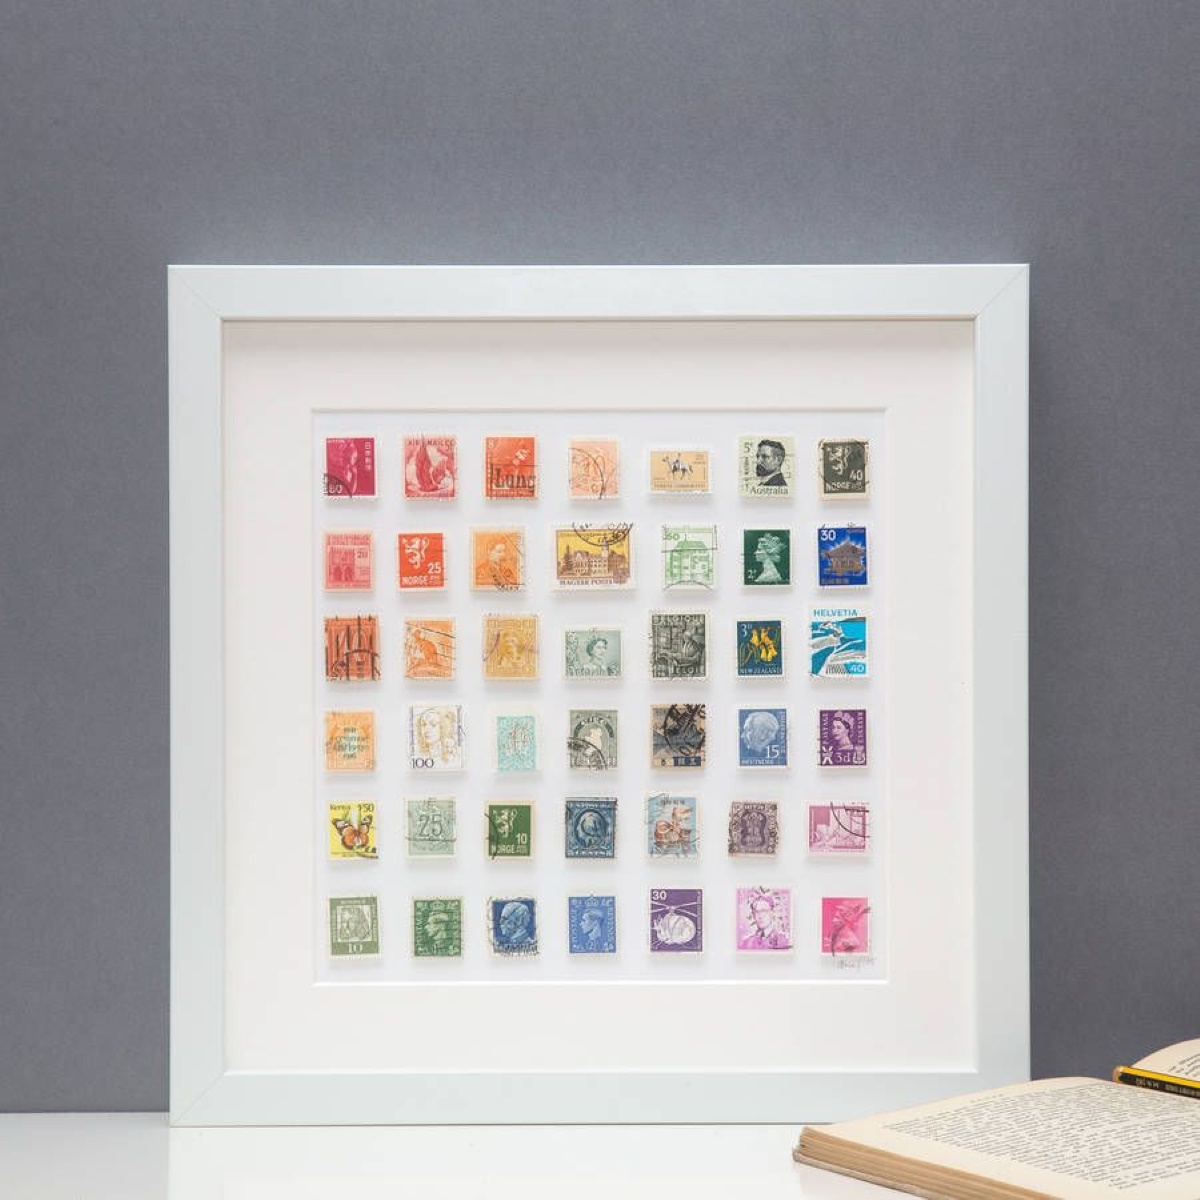
Consider the composition and balance of the pictures to create a visually pleasing arrangement. Whether you are working with a single large image or a collage of multiple pictures, pay attention to the arrangement, spacing, and visual flow of the images. Strive to achieve a balanced composition that captures the viewer's attention and creates a sense of visual harmony.
Personal Significance
Choose pictures that hold personal significance and emotional value. Whether they depict cherished memories, meaningful moments, or artistic expressions, the selected images should resonate with you on a personal level. Infusing the display with personal significance adds depth and authenticity, transforming the glass surface into a meaningful canvas that reflects your unique experiences and sentiments.
Adaptability to the Glass Surface
Consider how the selected images will adapt to the glass surface. Certain images, such as those with bold colors, striking contrasts, or intricate details, may translate exceptionally well onto glass, creating a visually captivating effect. Assess how the characteristics of each picture will interact with the transparency and reflective properties of the glass to achieve the desired visual impact.
By carefully considering these factors and selecting pictures that align with your vision and emotional resonance, you can create a glass display that not only captivates the eye but also resonates with personal significance, infusing your living space with a touch of individuality and artistic expression.
Preparing the Glass Surface
Preparing the glass surface is a critical step that sets the foundation for successful picture application. Proper preparation ensures that the glass is clean, smooth, and ready to receive the images with optimal adhesion and visual clarity. Here's a detailed guide on how to prepare the glass surface for picture application:
-
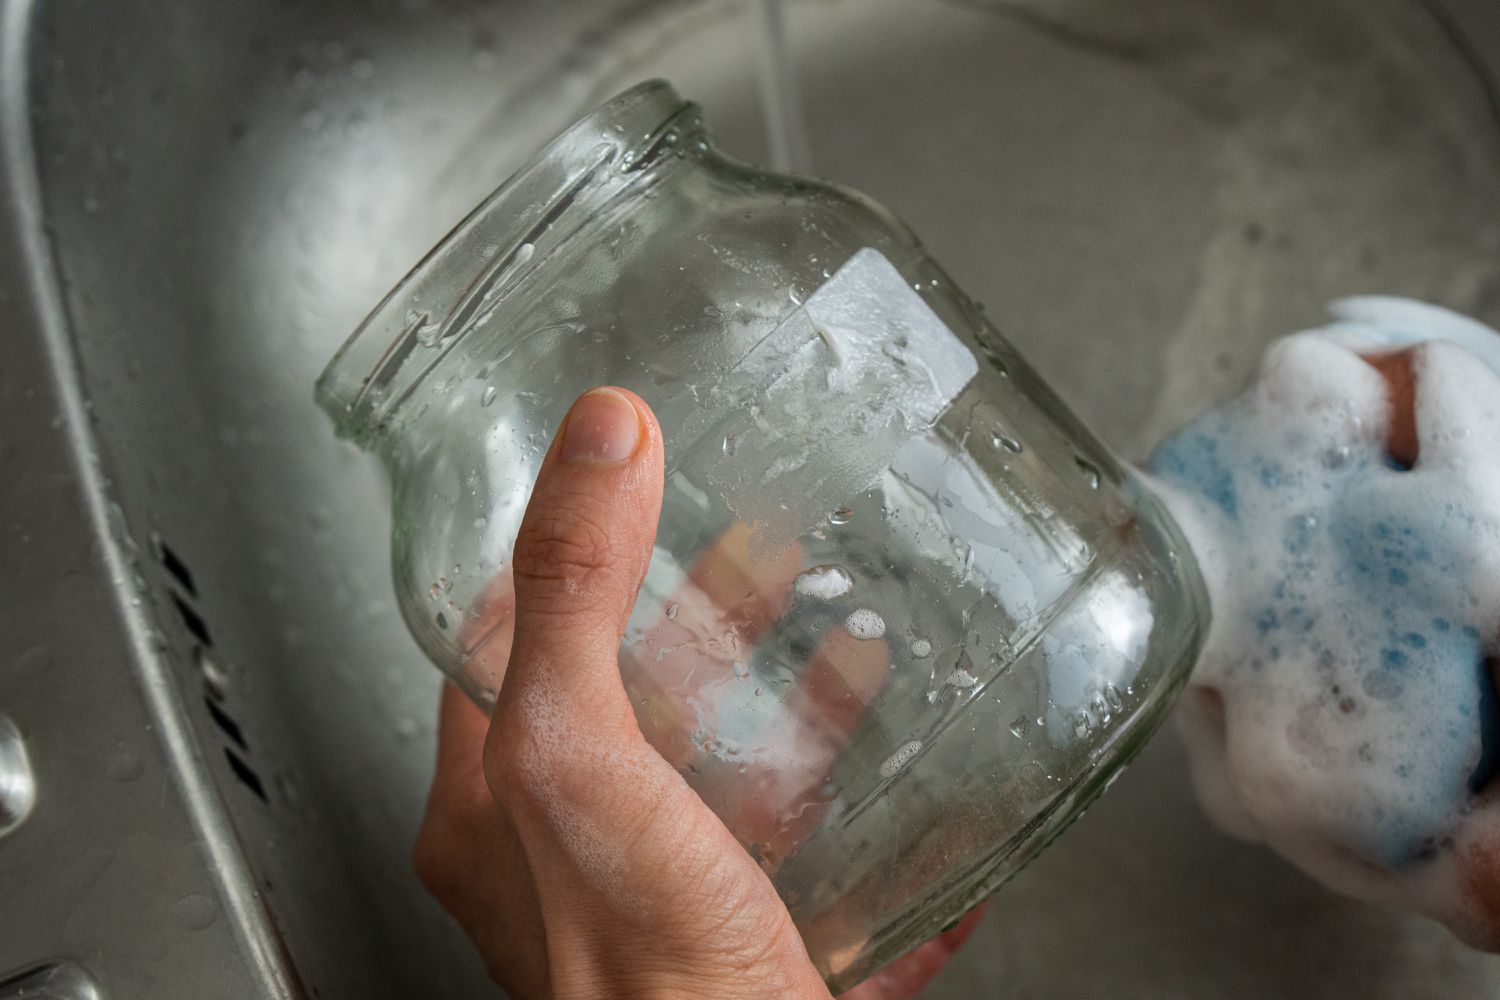
Cleaning the Glass: Begin by thoroughly cleaning the glass surface to remove any dust, dirt, or residues that could interfere with the adhesion of the pictures. Use a gentle glass cleaner or a solution of water and mild dish soap to clean the surface. Ensure that the glass is completely free of smudges, fingerprints, and any other contaminants that could affect the image transfer process.
-
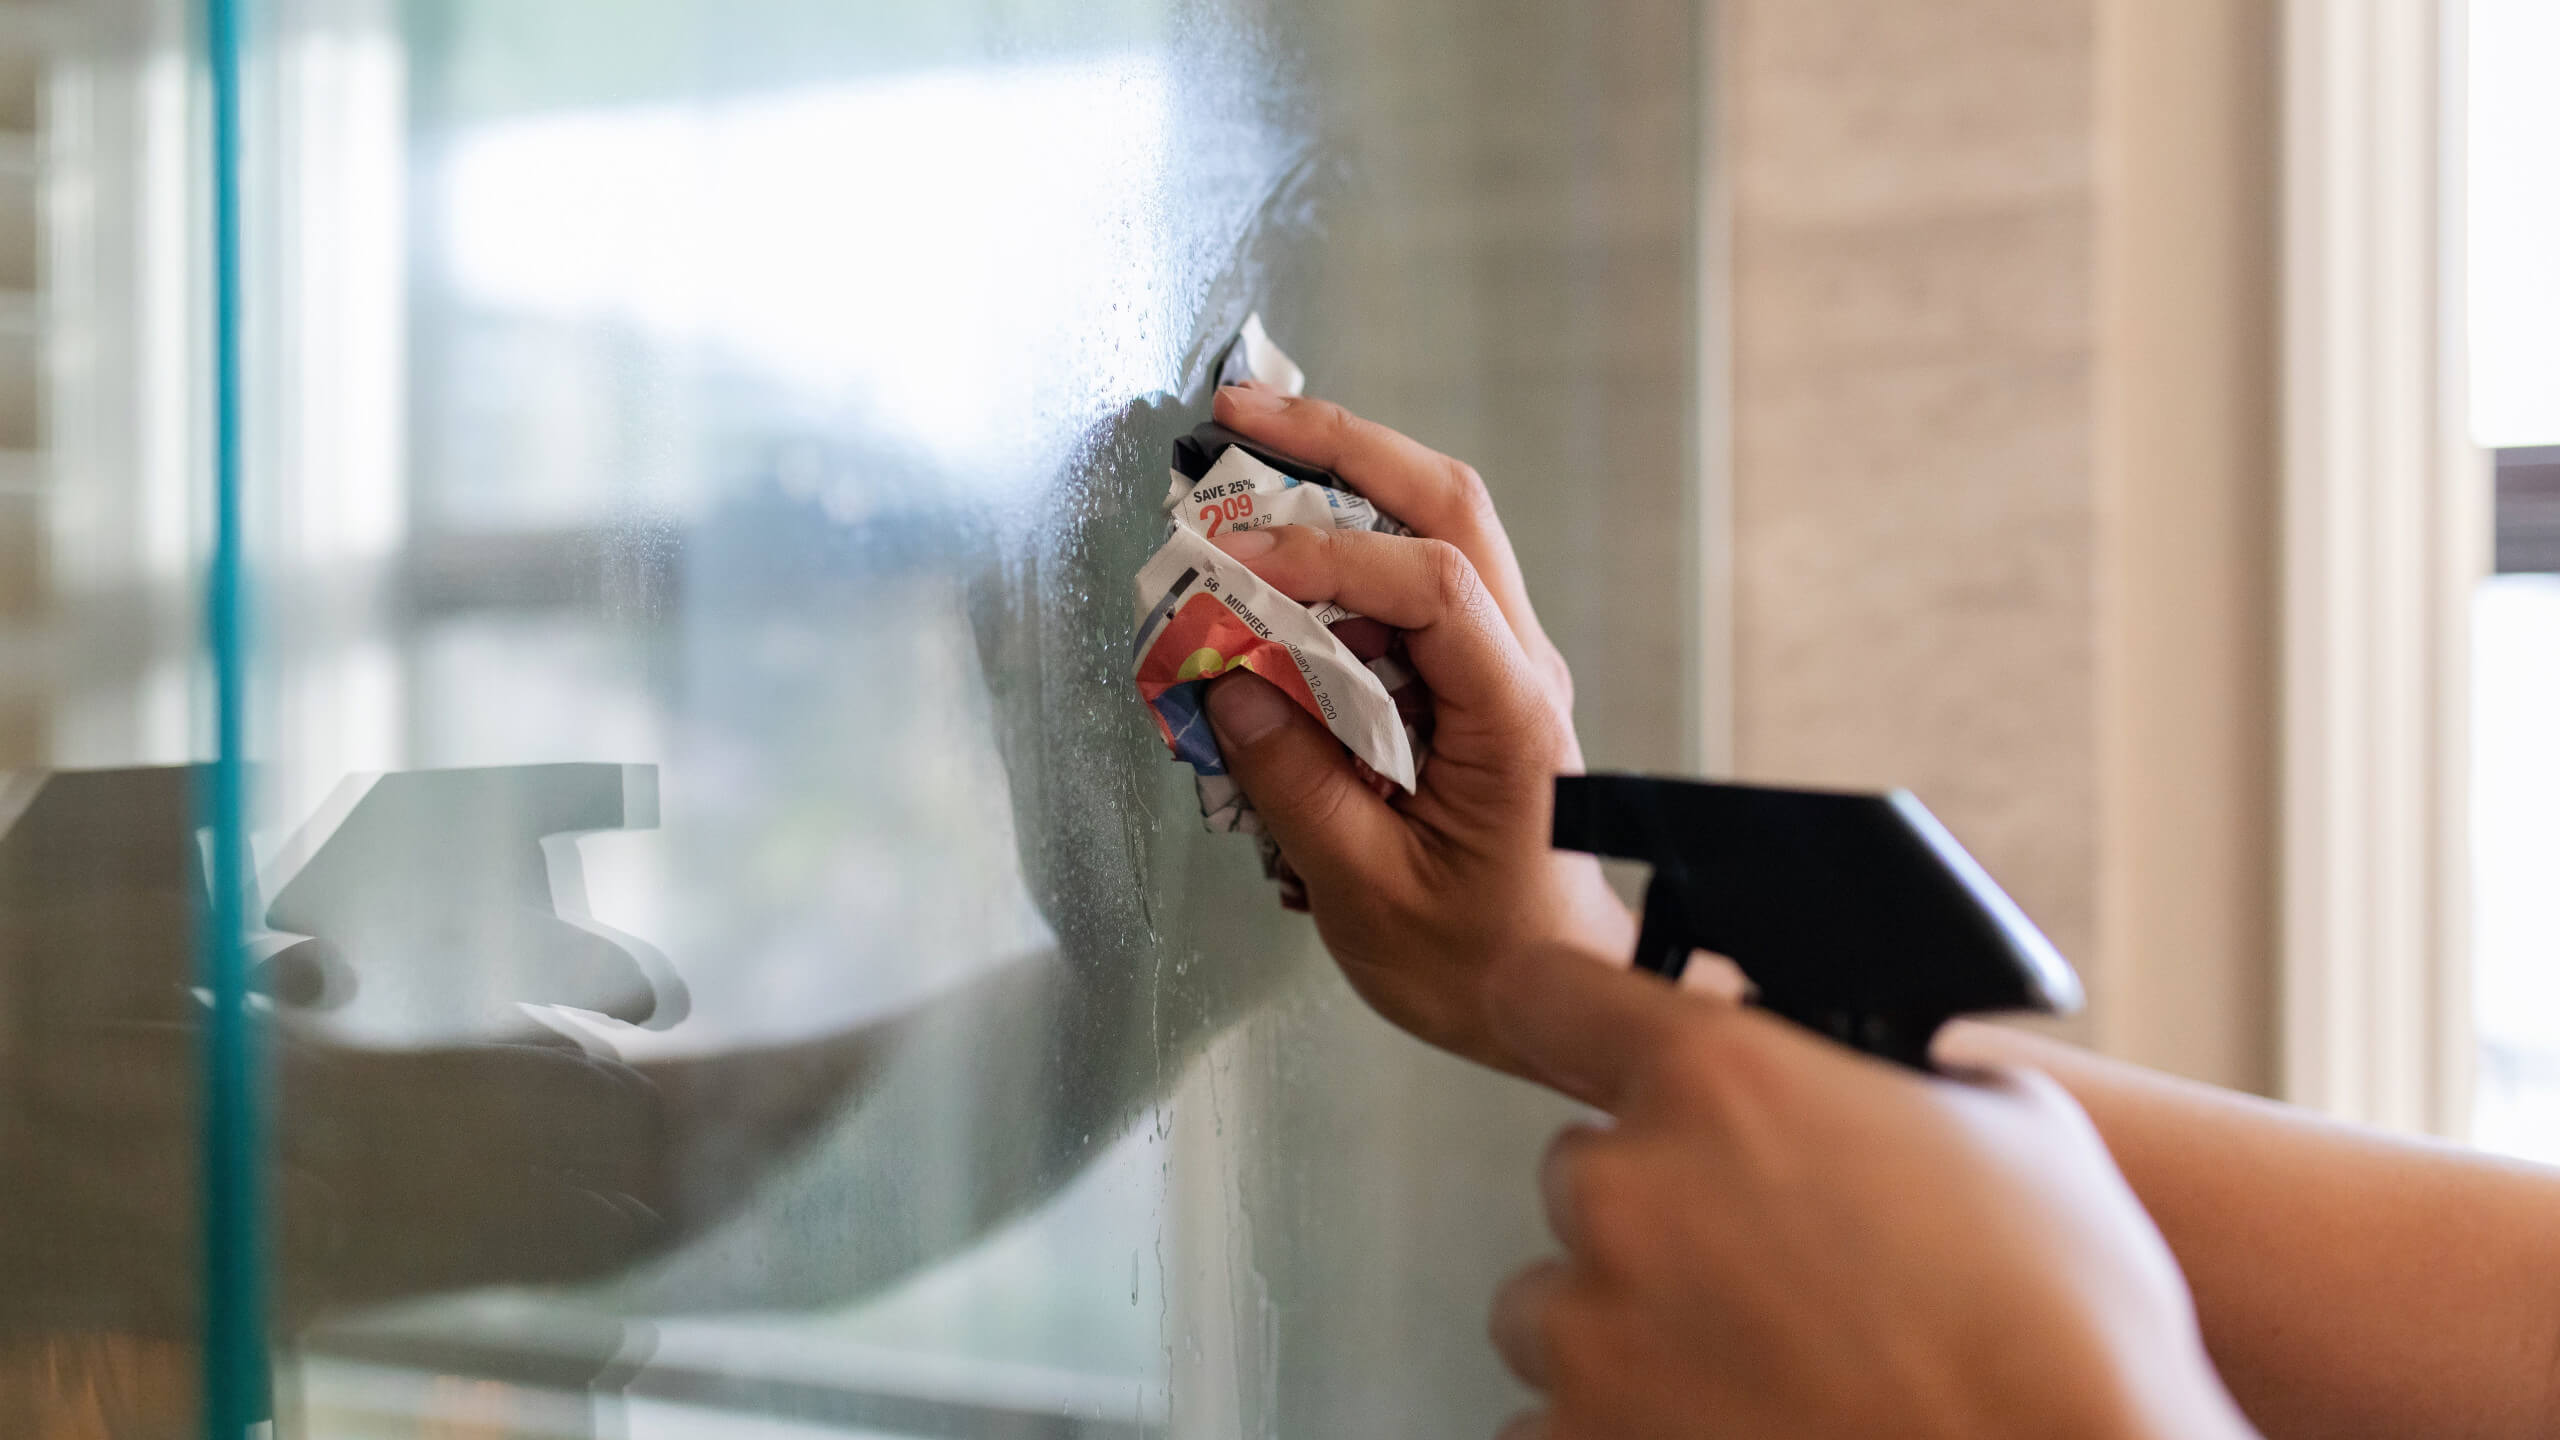
Drying the Glass: After cleaning, allow the glass to dry completely. Use a lint-free microfiber cloth to gently dry the surface and remove any remaining moisture. A dry and pristine glass surface is essential for ensuring proper adhesion and preventing any imperfections or air bubbles during the picture application process.
-
Applying Glass Primer (Optional): For enhanced adhesion, consider applying a glass primer designed specifically for image transfer projects. The primer helps create a receptive surface for the images, promoting better adhesion and longevity. Follow the manufacturer's instructions for the application and drying of the primer to ensure optimal results.
-
Smoothing the Surface: Inspect the glass surface for any imperfections, such as minor scratches or blemishes. If necessary, use a glass polishing compound to gently buff out any imperfections and ensure a smooth, flawless surface. A smooth glass surface provides the ideal canvas for picture application, allowing the images to adhere evenly and appear visually striking.
-
Protecting the Surrounding Area: Before proceeding with picture application, consider protecting the surrounding area to prevent any accidental spills or smudges. Place a clean, soft cloth or a protective barrier around the work area to safeguard the glass surface and maintain a clean and controlled environment for the application process.
By meticulously preparing the glass surface, you set the stage for a seamless and visually stunning picture application. The attention to detail during the preparation phase ensures that the images adhere flawlessly, resulting in a professional-looking display that enhances the visual appeal of your living space.
Read more: How To Put Up Picture Frames
Applying the Pictures
Once the glass surface is meticulously prepared, the process of applying the pictures begins, marking a pivotal stage in transforming the glass into a captivating display of visual artistry. The application process requires precision, patience, and attention to detail to ensure that the images adhere seamlessly and create a visually striking impact. Here's a detailed guide on how to apply the pictures to the prepared glass surface:
-
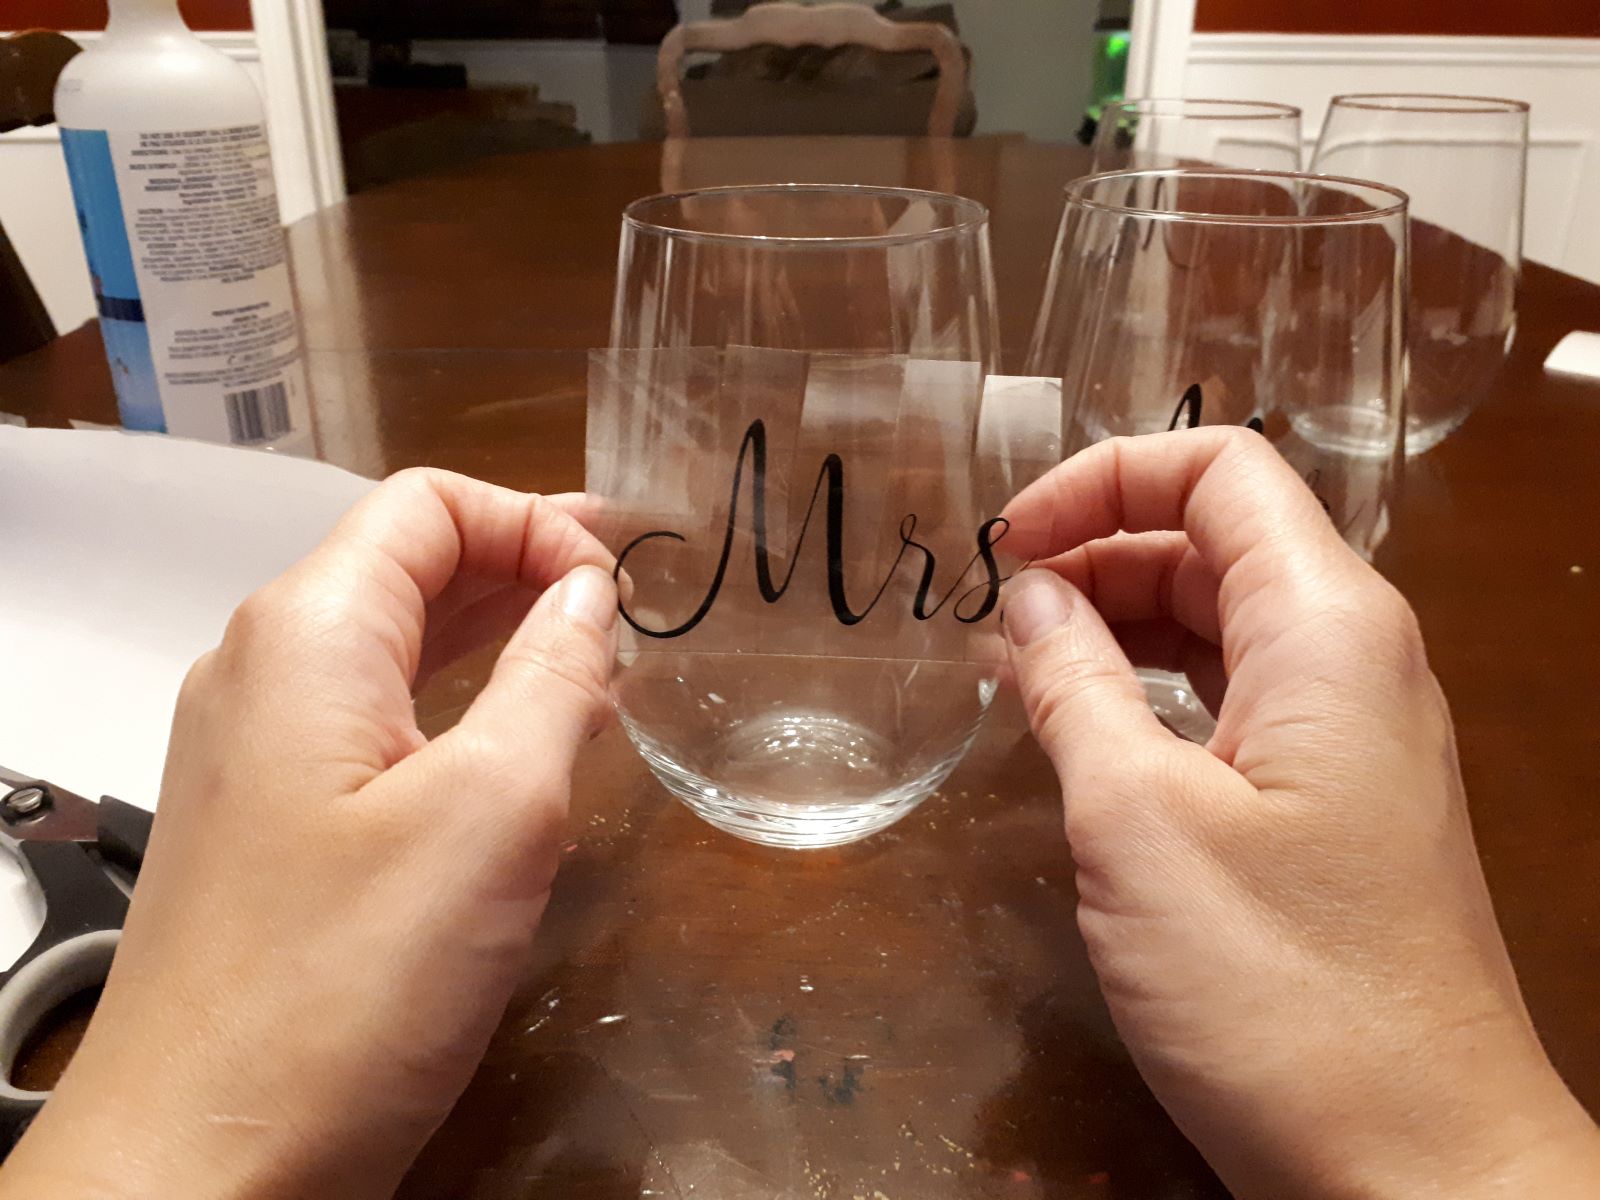
Image Transfer Method: Select the preferred method for transferring the images onto the glass surface. Options include using specialized image transfer paper designed for glass applications or employing a transparent adhesive medium to affix the images. Choose a method that aligns with the characteristics of your selected images and the desired visual outcome.
-
Image Alignment: Carefully position the images on the glass surface, ensuring precise alignment and spacing. Whether you are working with a single large image or a collage of pictures, take the time to arrange and align the images according to your envisioned composition. Pay attention to symmetry, balance, and visual flow to create a harmonious arrangement.
-
Adhesion Process: If using image transfer paper, follow the manufacturer's instructions for transferring the images onto the glass. Apply gentle pressure to ensure that the images adhere uniformly to the surface. For adhesive mediums, carefully affix the images to the glass, smoothing out any air bubbles or wrinkles to achieve a seamless and professional-looking result.
-
Drying and Curing: Allow the transferred images to dry and cure according to the recommended duration provided by the selected transfer method. This step is crucial for ensuring that the images bond securely to the glass surface, creating a durable and long-lasting display.
-
Finishing Touches: After the images have fully adhered to the glass, consider applying a protective sealant or varnish to enhance the durability and visual appeal of the display. The sealant not only protects the images from environmental factors but also adds a subtle sheen, enriching the overall aesthetic of the finished piece.
-
Quality Inspection: Thoroughly inspect the applied images for any imperfections, such as air bubbles, uneven adhesion, or smudges. Address any minor issues promptly to maintain the visual integrity of the display.
By following these meticulous steps, you can achieve a flawless and visually captivating result, where the images seamlessly merge with the glass surface, creating a stunning display that captures attention and admiration. The process of applying the pictures marks the culmination of meticulous preparation and artistic vision, resulting in a personalized and visually captivating glass display that adds a touch of elegance and individuality to your living space.
Finishing Touches
After the images have fully adhered to the glass surface, the application process enters the pivotal stage of finishing touches, where attention to detail and a commitment to enhancing the visual appeal of the display come to the forefront. This phase encompasses several essential steps aimed at refining the overall aesthetic and ensuring the durability of the finished piece.
One crucial consideration during the finishing touches stage is the application of a protective sealant or varnish. This protective layer serves multiple purposes, including safeguarding the transferred images from environmental factors such as dust, moisture, and UV exposure. Additionally, the sealant adds a subtle sheen to the glass surface, enhancing the vibrancy and depth of the images while imparting a professional and polished finish to the display.
When selecting a sealant or varnish for the glass display, opt for a product specifically formulated for image transfer projects. Consider factors such as compatibility with glass surfaces, resistance to yellowing over time, and the ability to provide long-term protection without compromising the visual clarity of the images. Apply the sealant evenly and meticulously, ensuring comprehensive coverage of the entire glass surface to create a uniform and durable protective layer.
The application of the sealant not only enhances the visual appeal of the glass display but also contributes to its longevity and resilience. By protecting the transferred images from potential damage and preserving their vividness, the sealant ensures that the display remains a captivating focal point in your living space for years to come.
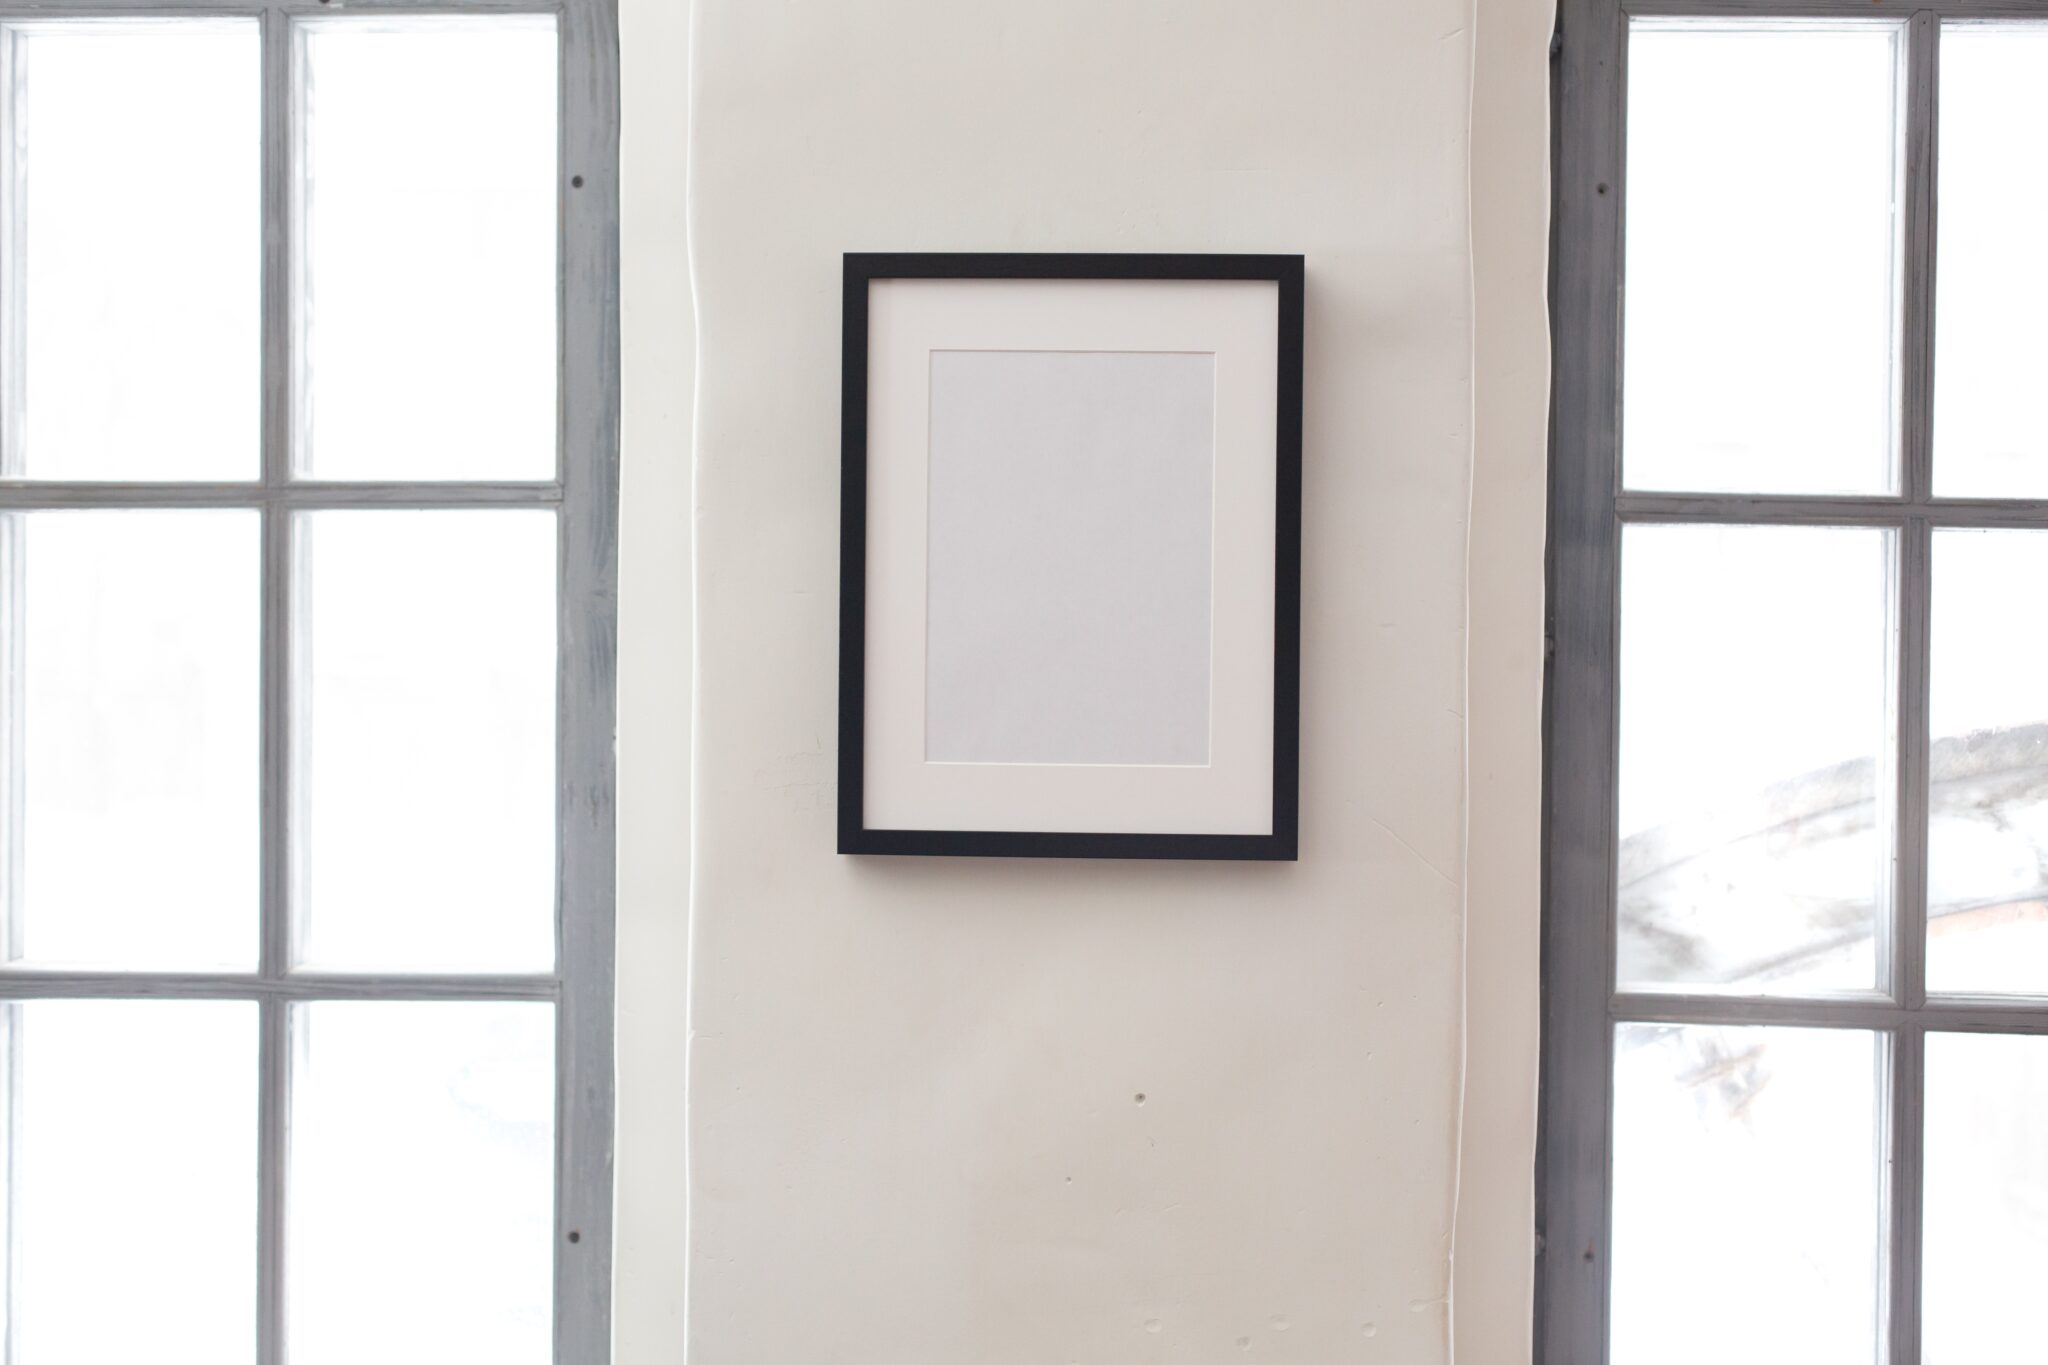
In addition to the protective sealant, consider incorporating subtle embellishments to further elevate the aesthetic impact of the glass display. For instance, framing the glass with an elegant border or integrating decorative elements around the periphery can accentuate the visual allure of the images while adding a touch of sophistication to the overall composition. These embellishments serve to frame the images, drawing attention to their captivating details and creating a cohesive and refined presentation.
Finally, conduct a meticulous quality inspection to scrutinize the finished display for any imperfections or irregularities. Address any minor issues promptly, such as air bubbles, uneven sealant application, or smudges, to uphold the visual integrity of the display. This meticulous attention to detail ensures that the finished piece exudes a sense of craftsmanship and artistry, captivating viewers with its flawless presentation and enduring allure.
By meticulously attending to the finishing touches, you elevate the glass display from a mere collection of images to a refined and captivating work of art. The application of the protective sealant, thoughtful embellishments, and meticulous quality inspection culminate in a visually stunning and enduring display that enriches your living space with its elegance and individuality.
To put pictures on glass, use a clear-drying adhesive like Mod Podge to attach the picture to the glass. Smooth out any air bubbles and let it dry completely for a professional-looking finish.
Conclusion
In conclusion, the process of putting pictures on glass is a captivating blend of artistic expression and meticulous craftsmanship. From selecting the right type of glass to carefully choosing the perfect images, preparing the glass surface, applying the pictures with finesse, and adding the finishing touches, each step contributes to the creation of a visually stunning and enduring display.
By embarking on this creative endeavor, you have the opportunity to transform ordinary glass into a personalized canvas that reflects your individual style, cherished memories, and artistic vision. The resulting glass display becomes a captivating focal point in your living space, evoking emotions, sparking conversations, and adding a touch of elegance and individuality to your home.
The fusion of creativity and precision in this process allows you to curate a visual narrative that resonates with personal significance and aesthetic allure. Whether you choose to showcase family moments, breathtaking landscapes, abstract art, or vibrant illustrations, the glass display becomes a testament to your unique experiences and artistic sensibilities.
Furthermore, the meticulous attention to detail, from the preparation of the glass surface to the application of protective sealants, ensures that the finished piece not only captivates the eye but also withstands the test of time. The durability and visual clarity of the images, coupled with the refined finishing touches, guarantee that the glass display remains a cherished and enduring addition to your home decor.
Ultimately, the process of putting pictures on glass transcends mere decoration; it becomes a form of artistic expression that enriches your living space with its elegance, individuality, and emotional resonance. Each carefully curated image, seamlessly merged with the glass surface, tells a story, captures a moment, or evokes a feeling, creating a captivating tapestry of visual artistry within your home.
As you embark on this creative journey, may the process of putting pictures on glass inspire you to infuse your living space with personal significance, artistic flair, and enduring beauty, transforming your home into a gallery of cherished memories and captivating visual narratives.
Frequently Asked Questions about How To Put Pictures On Glass
Was this page helpful?
At Storables.com, we guarantee accurate and reliable information. Our content, validated by Expert Board Contributors, is crafted following stringent Editorial Policies. We're committed to providing you with well-researched, expert-backed insights for all your informational needs.

0 thoughts on “How To Put Pictures On Glass”